Samsung Electronics Co SGHI718 Dual-Band GSM/ EDGE Phone with Bluetooth User Manual
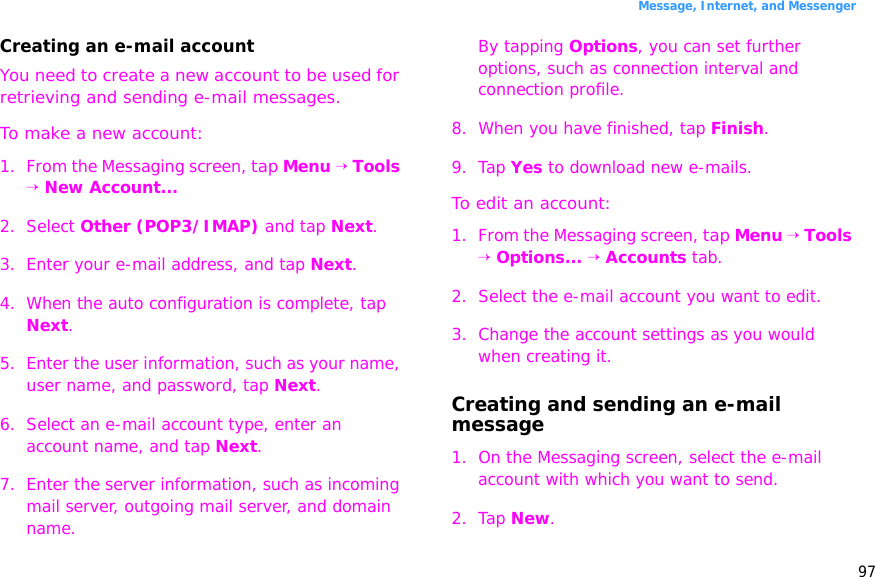
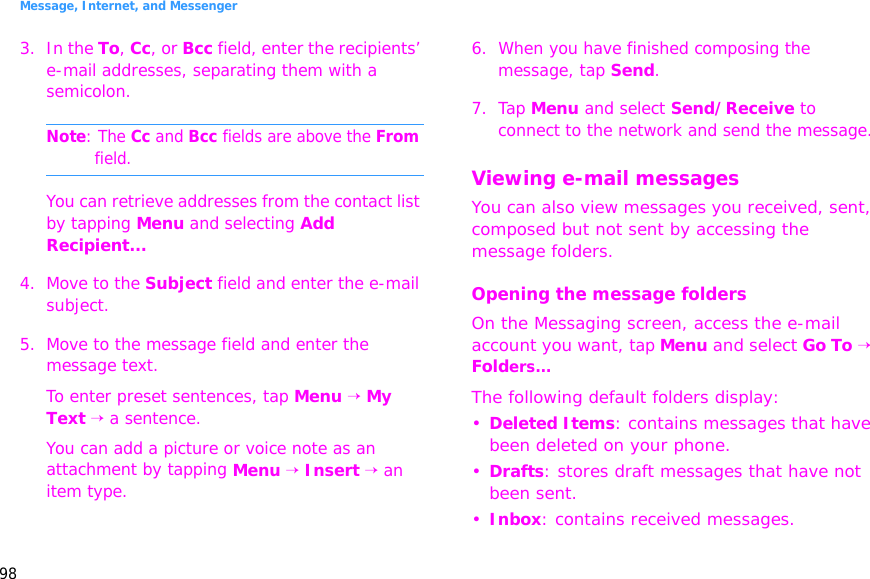
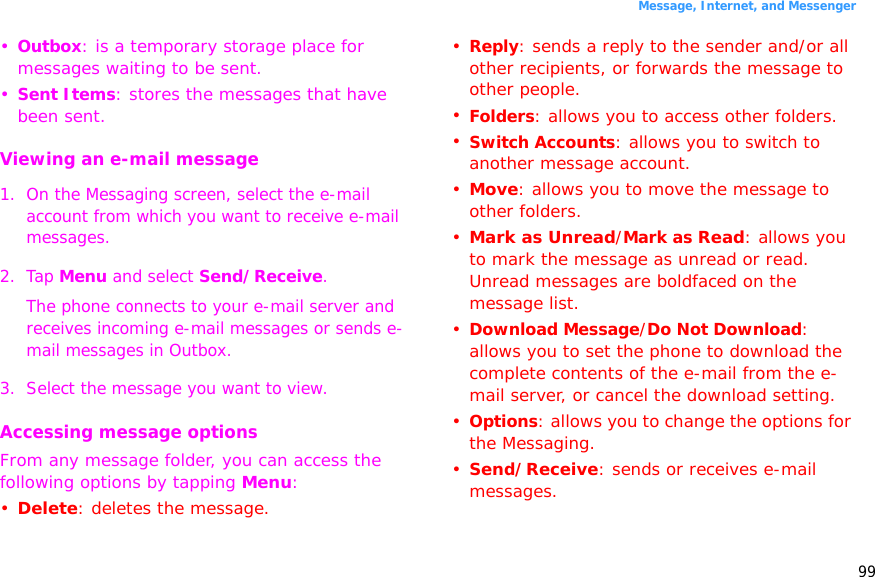
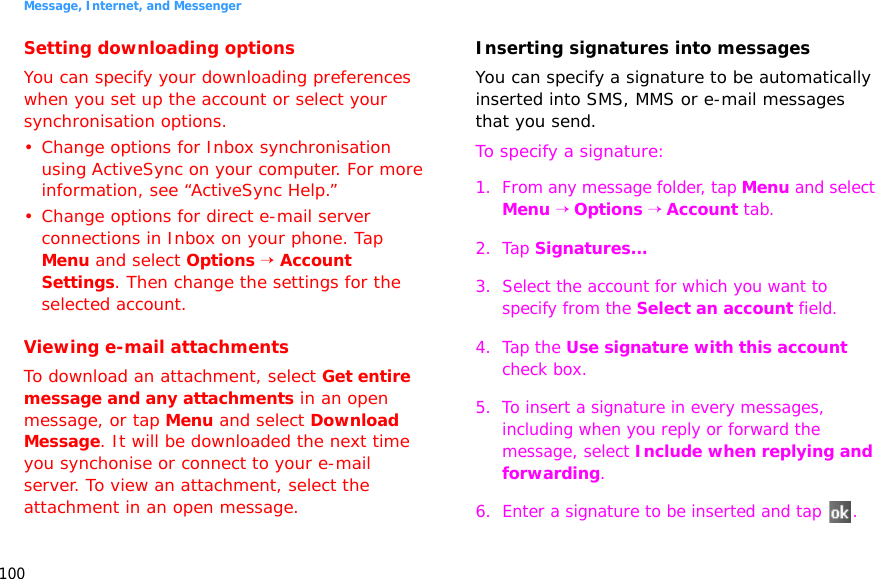
Samsung Electronics Co Ltd Dual-Band GSM/ EDGE Phone with Bluetooth Users Manual
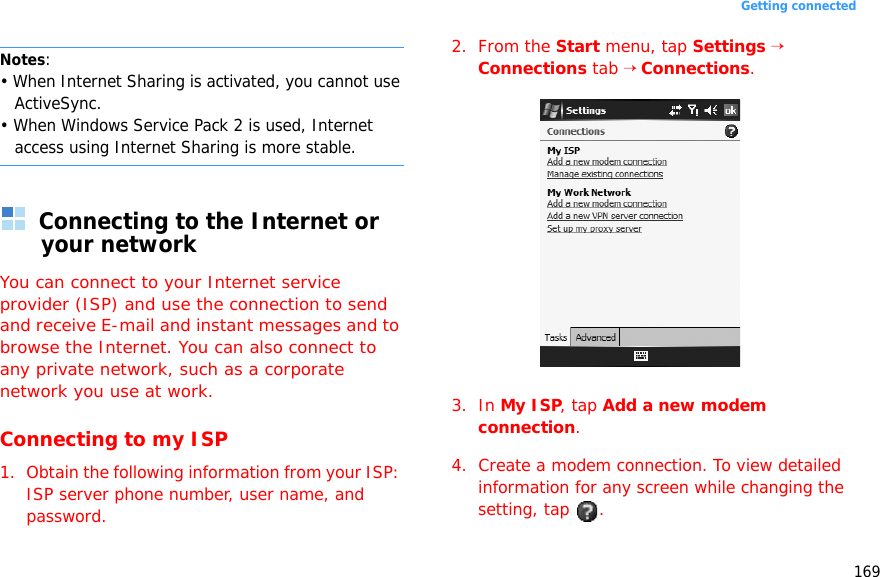
UserManual.wiki
>
Samsung Electronics Co
>
SGHI718 User Manual
Users Manual
Navigation menu
Upload a User Manual
Namespaces
Wiki Guide
HTML
PDF
Info
Views
User Manual
Discussion / Help
Navigation

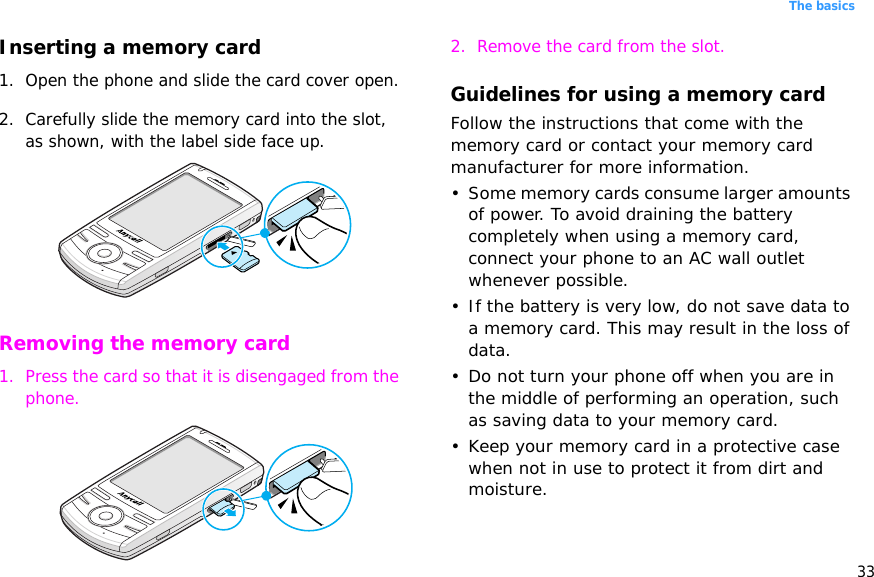


![179Appendixareas), chemical plants or where blasting operations are in progress.Areas with a potentially explosive atmosphere are often but not always clearly marked. They include the areas below deck on boats, chemical transfer or storage facilities, vehicles using liquefied petroleum gas (such as propane or butane), areas where the air contains chemicals or particles, such as grain, dust or metal powders, and any other area where you would normally be advised to turn off your vehicle engine.Emergency callsThis phone, like any wireless phone, operates using radio signals, wireless and landline networks as well as user-programmed functions, which cannot guarantee connection in all conditions. Therefore, you should never rely solely on any wireless phone for essential communications (medical emergencies, for example).Remember, to make or receive any calls the phone must be switched on and in a service area with adequate signal strength. Emergency calls may not be possible on all wireless phone networks or when certain network services and/or phone features are in use. Check with local service providers.To make an emergency call:If the phone is not on, switch it on.1.Key in the emergency number for your present location (for example, 911 or other official emergency number). Emergency numbers vary by location.2.Press [ ].If certain features are in use (call barring, for example), you may first need to deactivate those features before you can make an emergency call. Consult this document and your local cellular service provider.When making an emergency call, remember to give all the necessary information as accurately as possible. Remember that your phone may be the only means of communication at the scene of an accident; do not end the call until given permission to do so.](https://usermanual.wiki/Samsung-Electronics-Co/SGHI718/User-Guide-735067-Page-179.png)