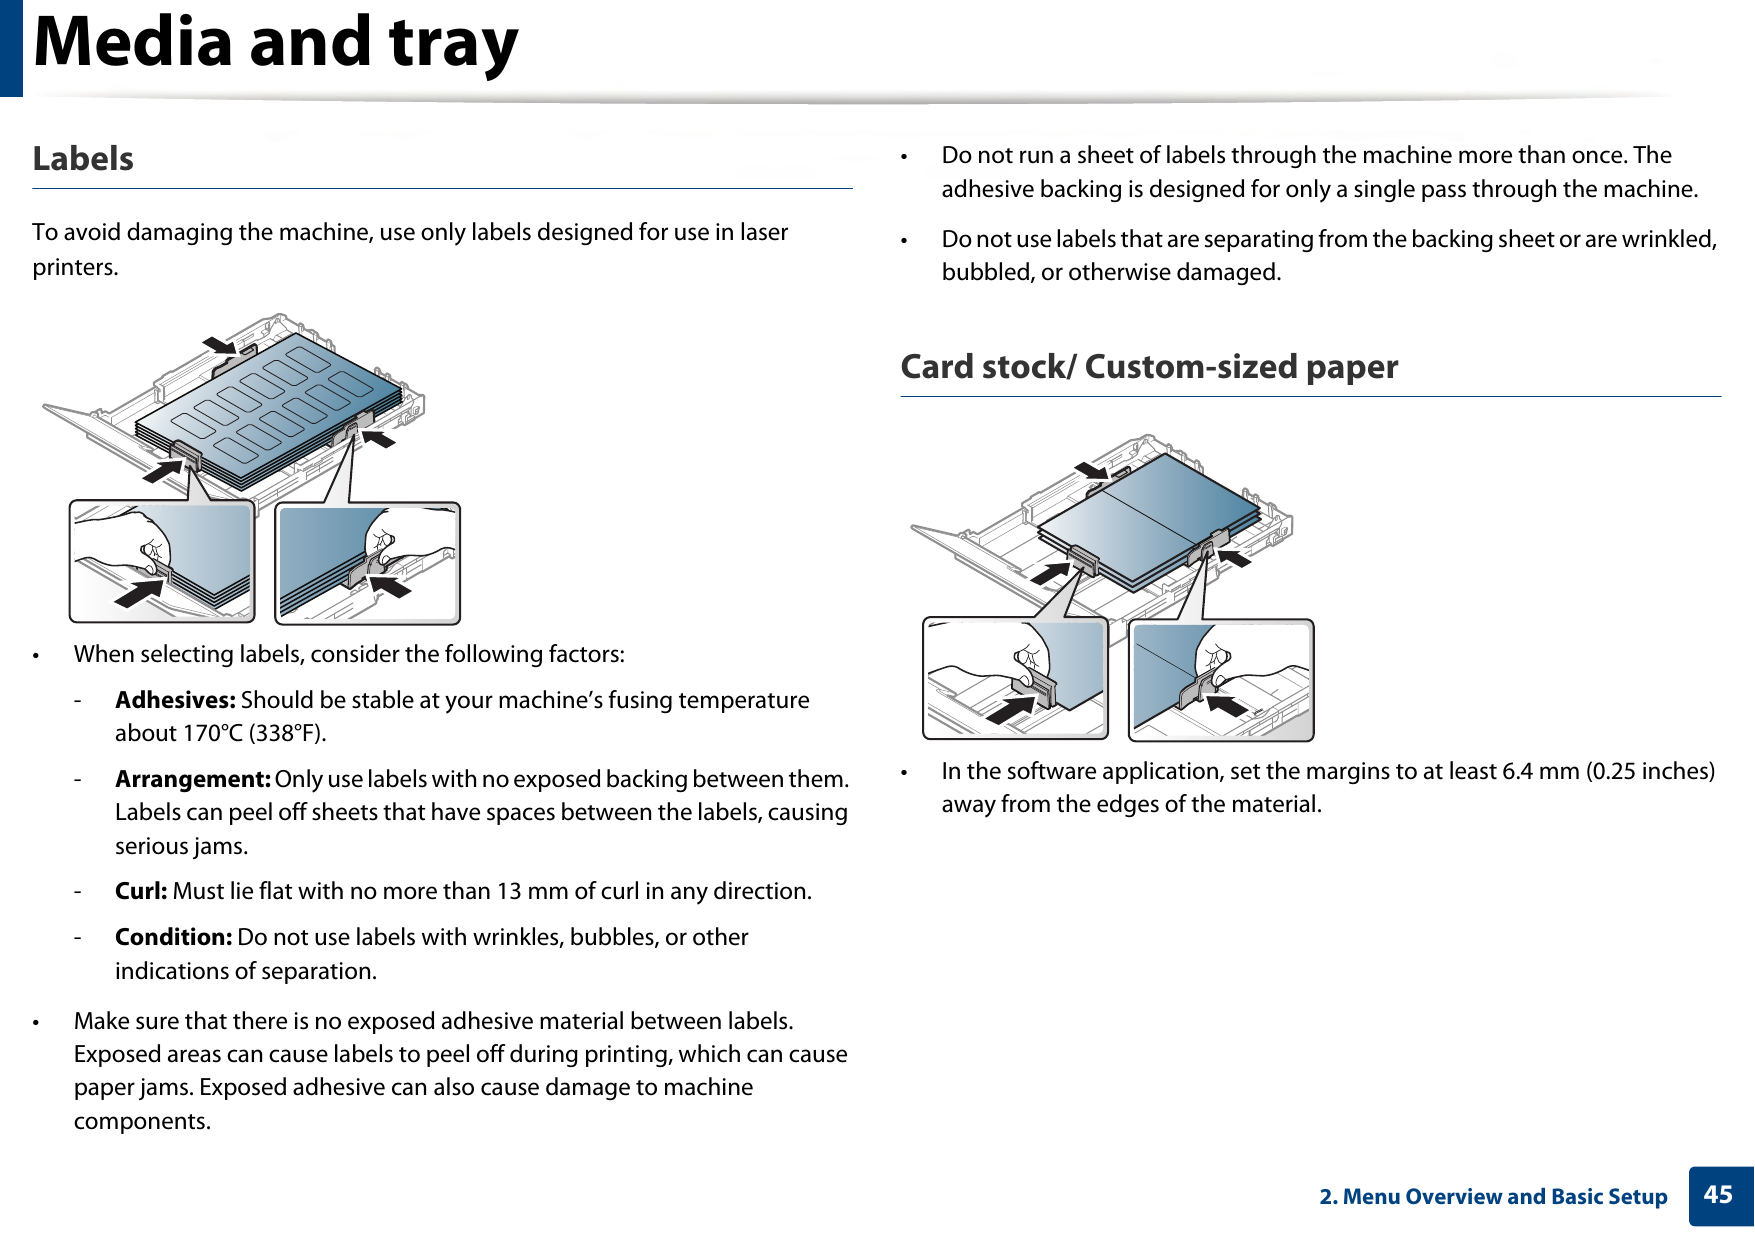
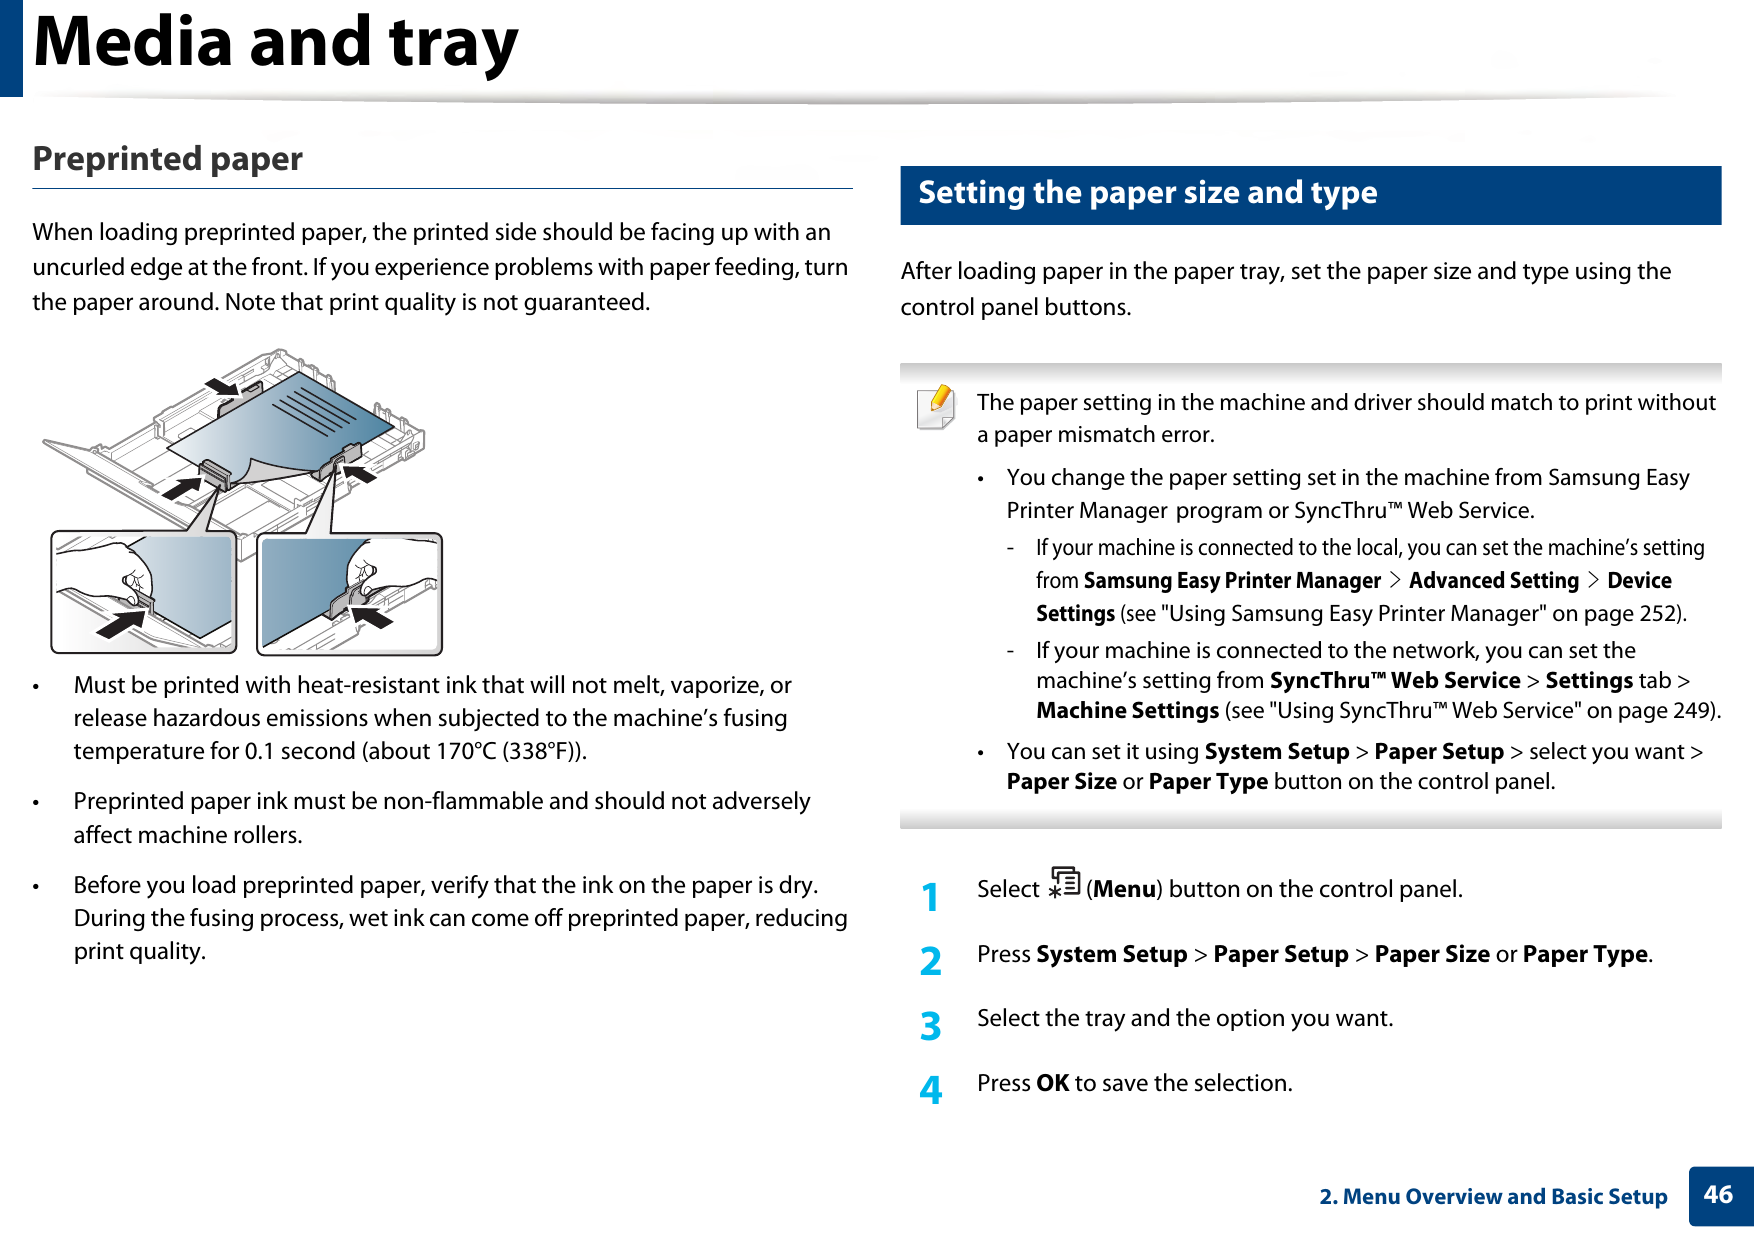
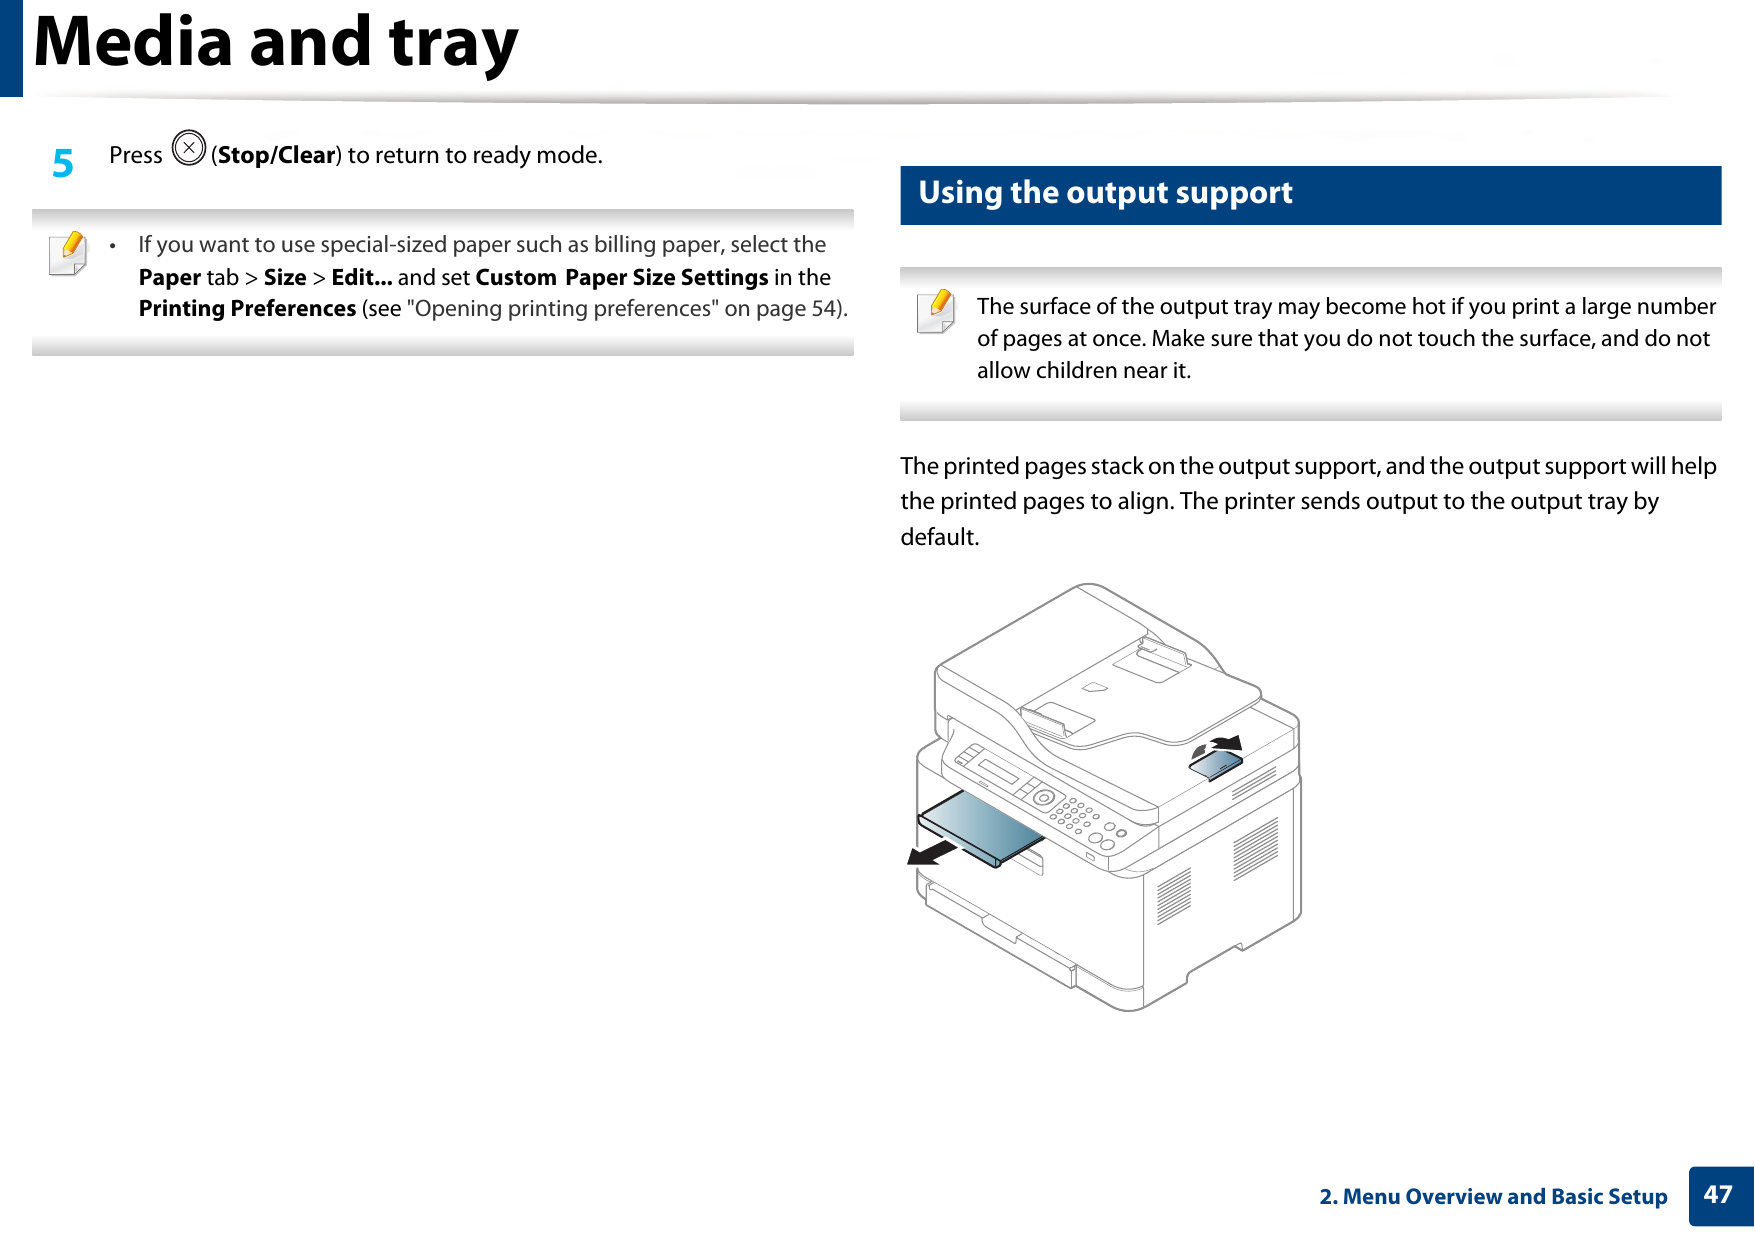
Samsung Electronics Co SLC480FW Printer User Manual 1
Samsung Electronics Co Ltd Printer 1
UserManual.wiki
>
Samsung Electronics Co
>
SLC480FW User Manual
>
User Manual 1
Contents
1.
User Manual 1
2.
User Manual 2
3.
User Manual 3
4.
User Manual 4
User Manual 1
Navigation menu
Upload a User Manual
Namespaces
Wiki Guide
HTML
PDF
Info
Views
User Manual
Discussion / Help
Navigation
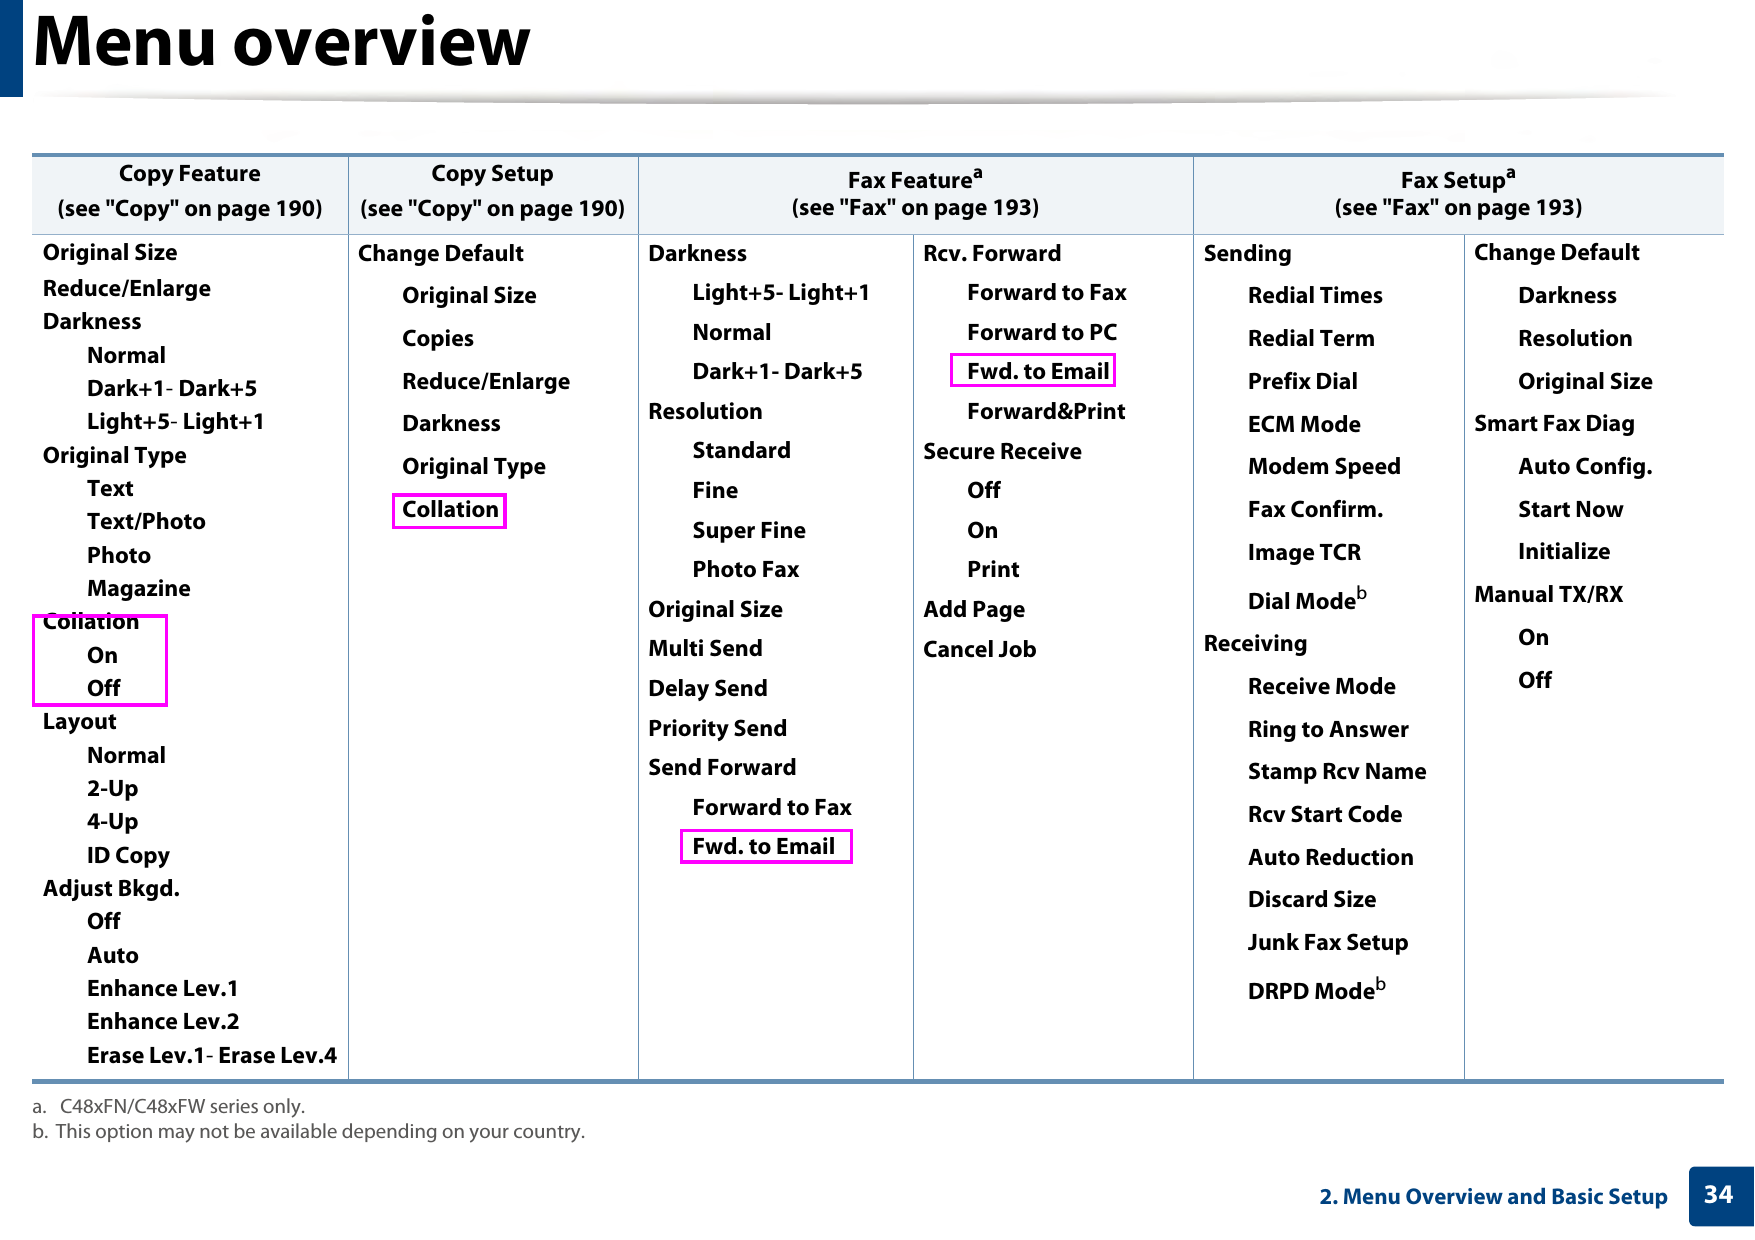
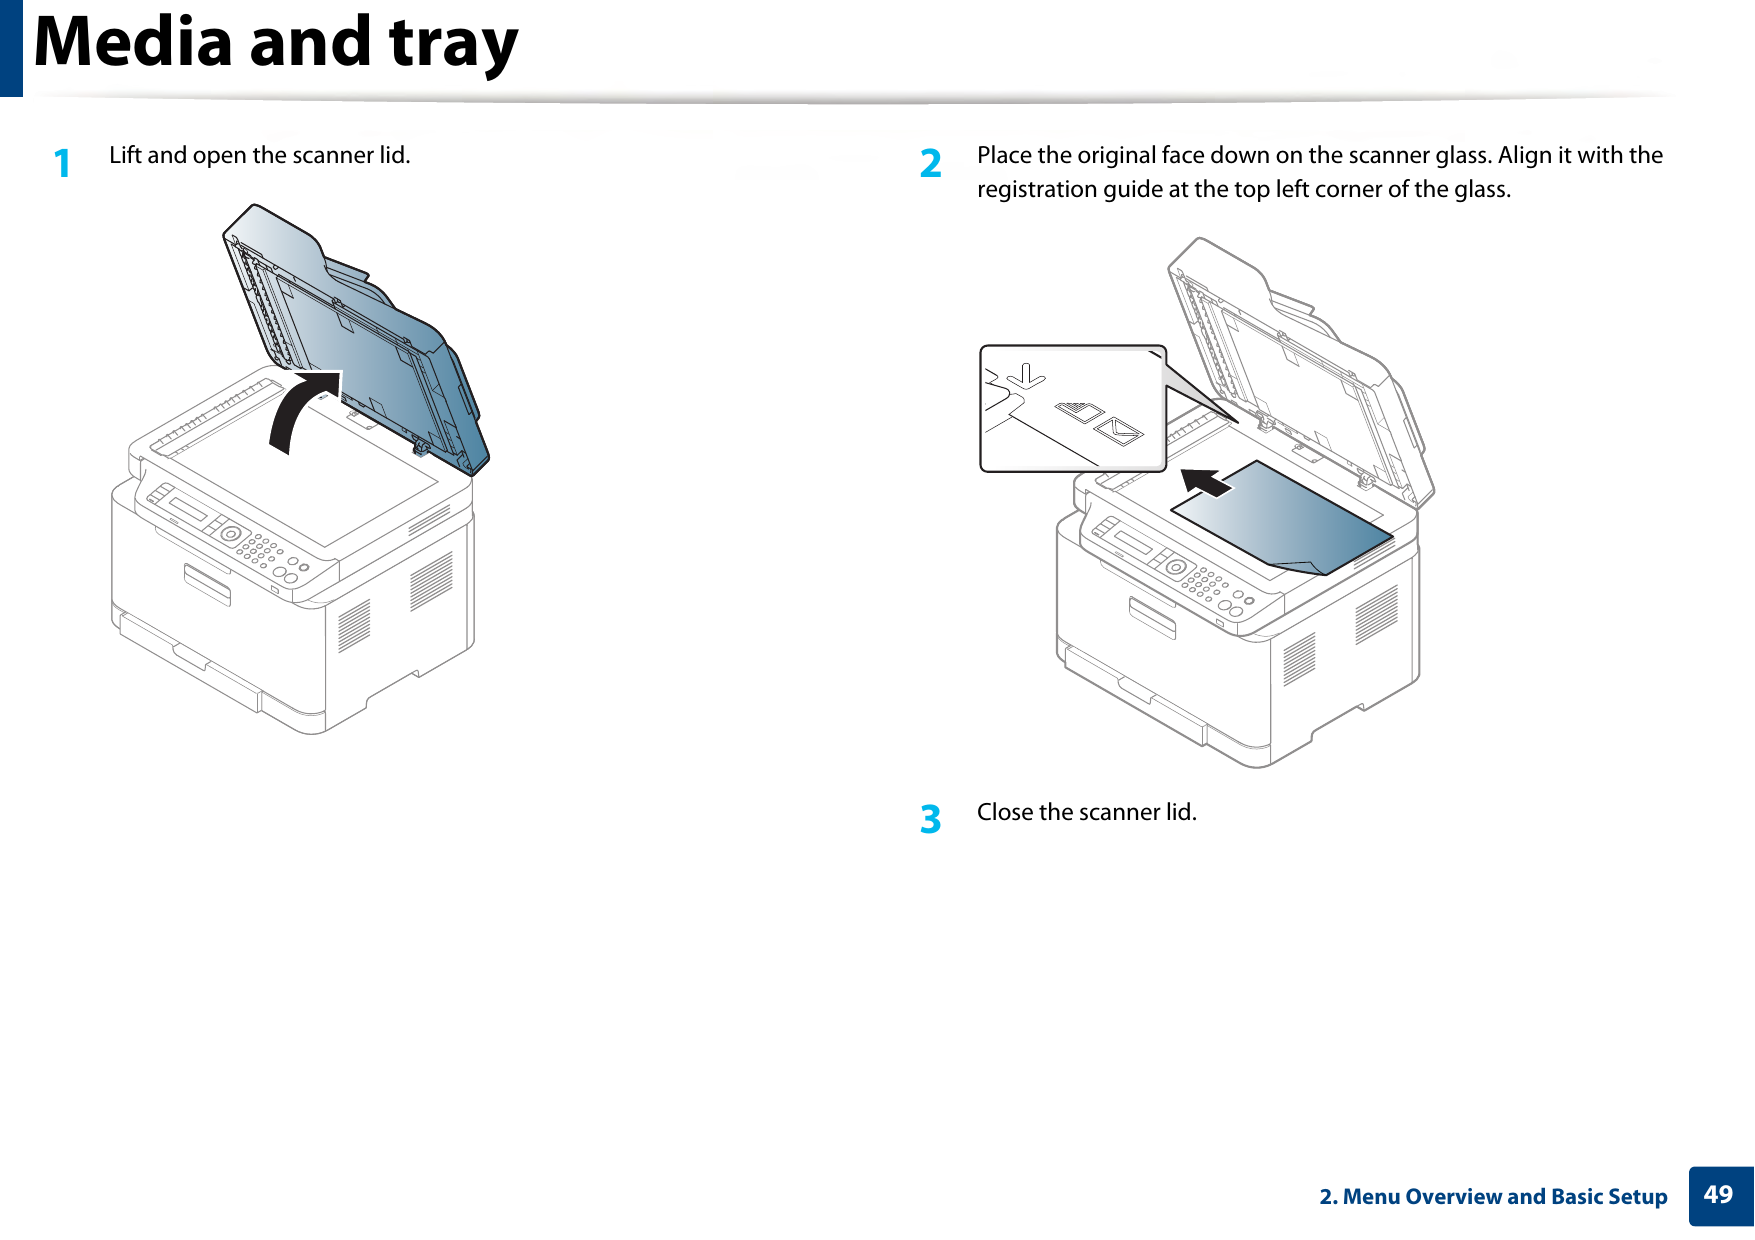
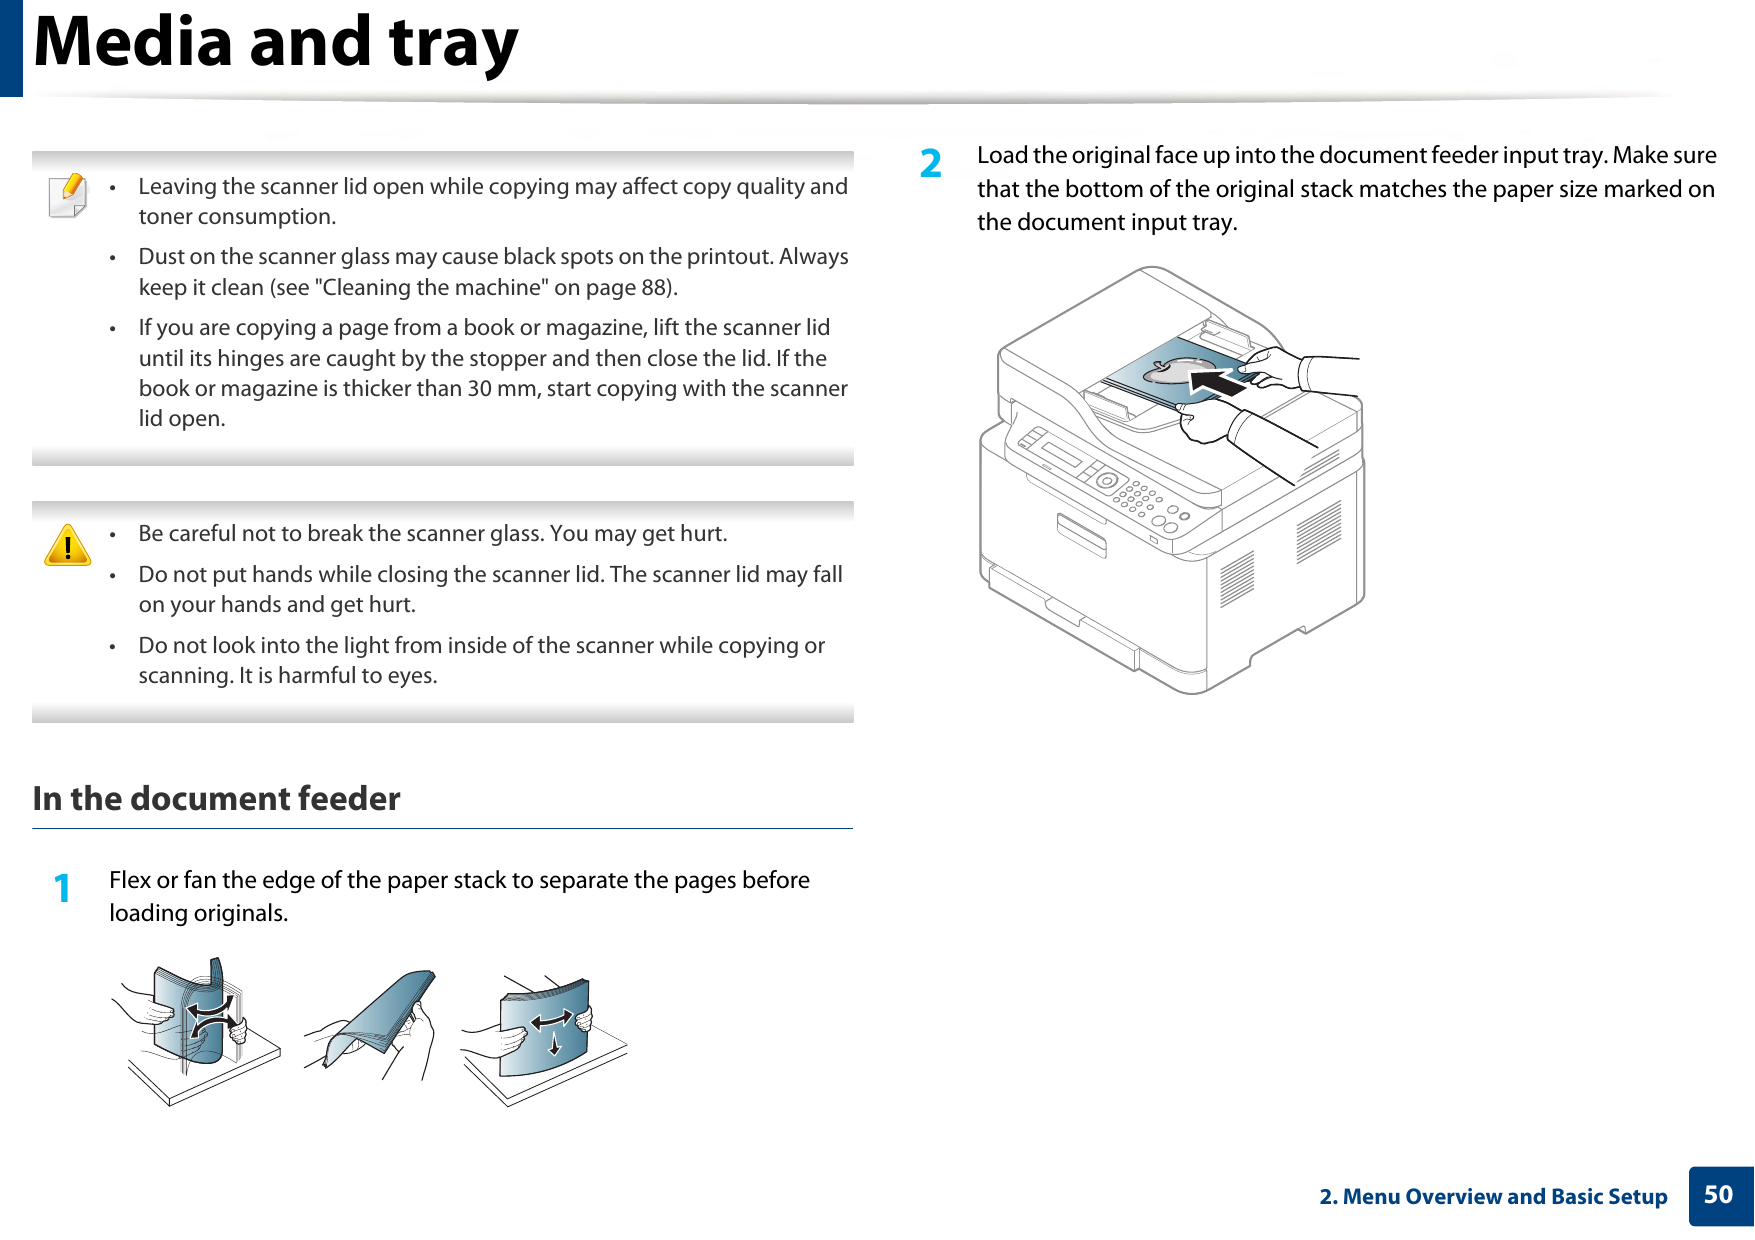
![Menu overview352. Menu Overview and Basic Setup Scan Featurea(see "Scan" on page 197)a. C48xW/C48xFN/C48xFW series only.Scan Setupa(see "Scan" on page 197)Print Setup(see "Print" on page 189)USB FeatureOriginal SizeOriginal TypeResolutionColor ModeFile FormatDarknessEmail FeaturebOriginal SizeOriginal TypeResolutionColor ModeDarknessSamsung CloudbOriginal SizeOriginal TypeResolutionColor ModeDarknessb. C48xFN/C48xFW series only.Change DefaultUSB DefaultEmail DefaultbSamsung CloudbOrientationPortraitLandscapeCopies[1 - 999]ResolutionStandardHigh Resol.Clear TextOffMinimumMediumMaximumEdge EnhanceOffNormalMaximumTrappingOffNormalMaximumScreenNormalEnhancedDetailedAuto CRLFLF+CRSkipBlankPagesOnOffEmulationEmulation TypeSetup](https://usermanual.wiki/Samsung-Electronics-Co/SLC480FW.User-Manual-1/User-Guide-2579313-Page-35.png)