Samsung Electronics Co SMT378V WCDMA/LTE Tablet + BT/BLE, DTS/UNII a/b/g/n User Manual 1 of 2
Samsung Electronics Co Ltd WCDMA/LTE Tablet + BT/BLE, DTS/UNII a/b/g/n 1 of 2
UserManual.wiki
>
Samsung Electronics Co
>
SMT378V User Manual
>
User manual 1 of 2
Contents
1.
User manual 1 of 2
2.
User manual 2 of 2
User manual 1 of 2
Navigation menu
Upload a User Manual
Namespaces
Wiki Guide
HTML
PDF
Info
Views
User Manual
Discussion / Help
Navigation


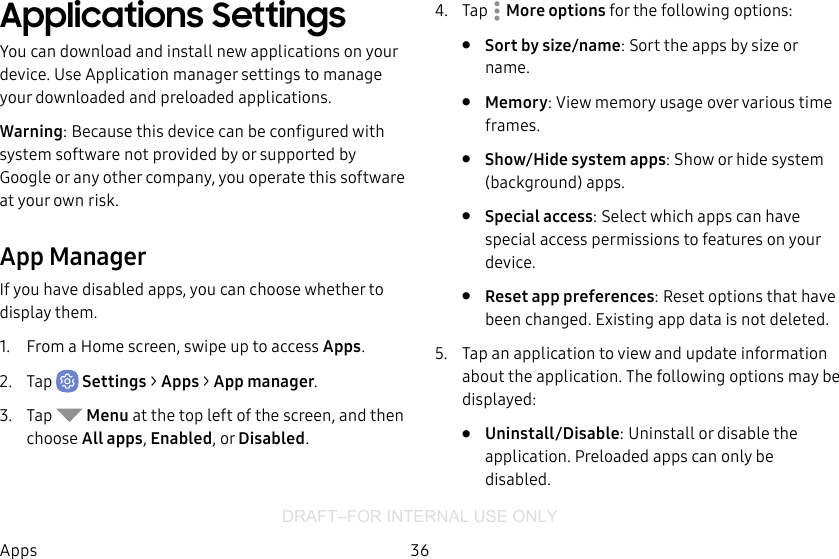
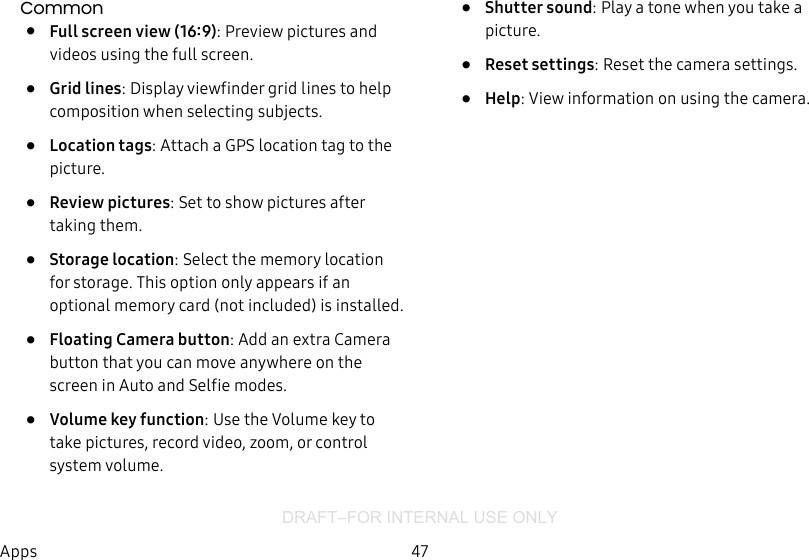

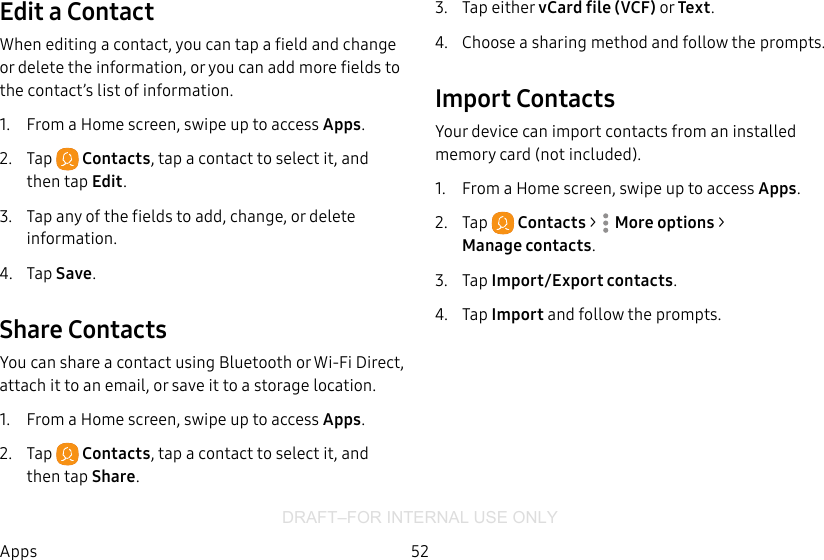
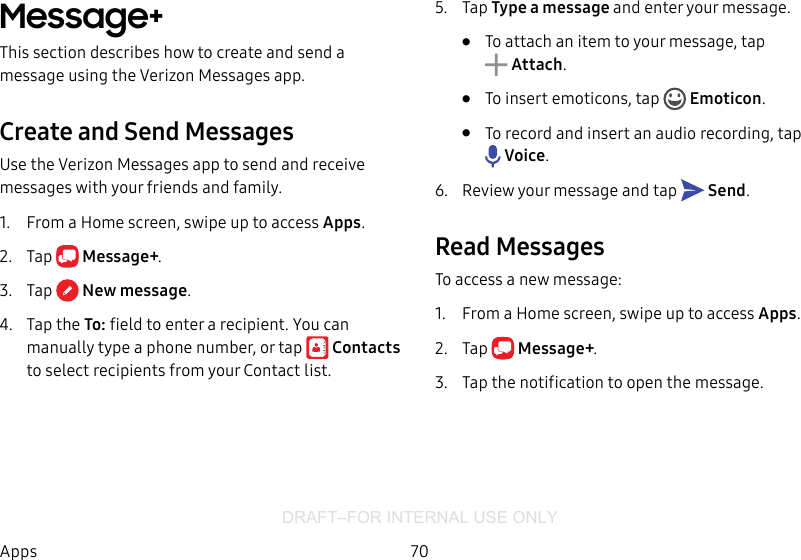
![DRAFT–FOR INTERNAL USE ONLY58AppsManage the InboxThere are several tools available from the Inbox screen.1. From a Home screen, swipe up to access Apps.2. Tap Email.• Tap a message to read and reply or forward it.• Tap Search to search for key words in your emailinbox.• Tap Edit for additional message options.• Tap Sort by to customize how messages display.View Multiple Email AccountsYou can view email you receive for multiple accounts, or you can view email accounts individually.1. From a Home screen, swipe up to access Apps.2. Tap Email.3. Tap Mailbox at the top left of the screen to choose a different view:• [Account name]: View email for only one email account.• All accounts: View all email in a combined inbox.](https://usermanual.wiki/Samsung-Electronics-Co/SMT378V.User-manual-1-of-2/User-Guide-3576706-Page-63.png)

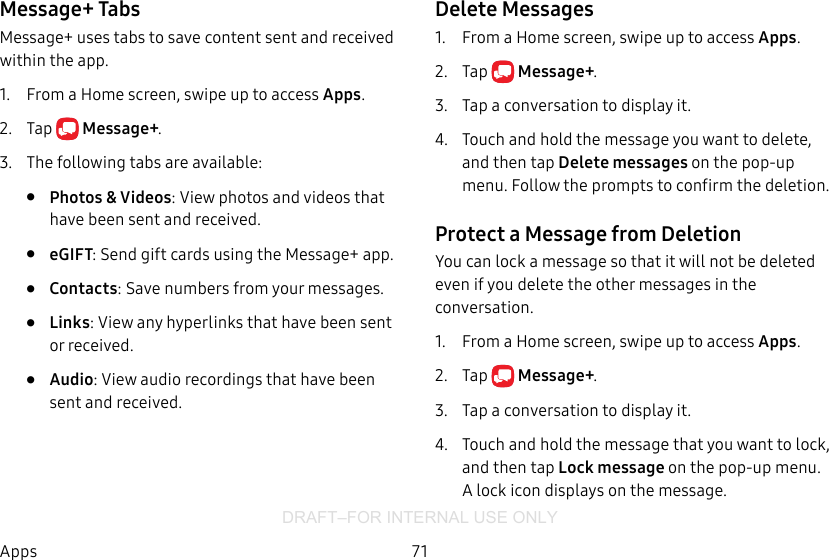


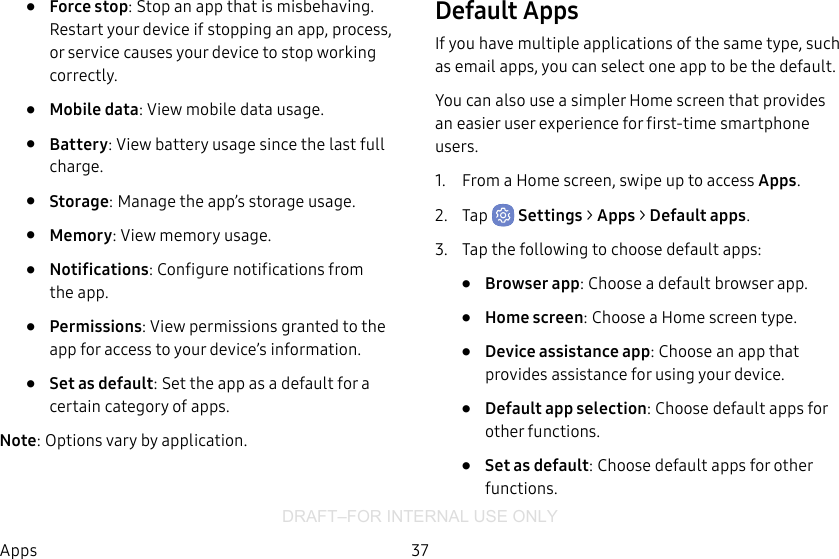
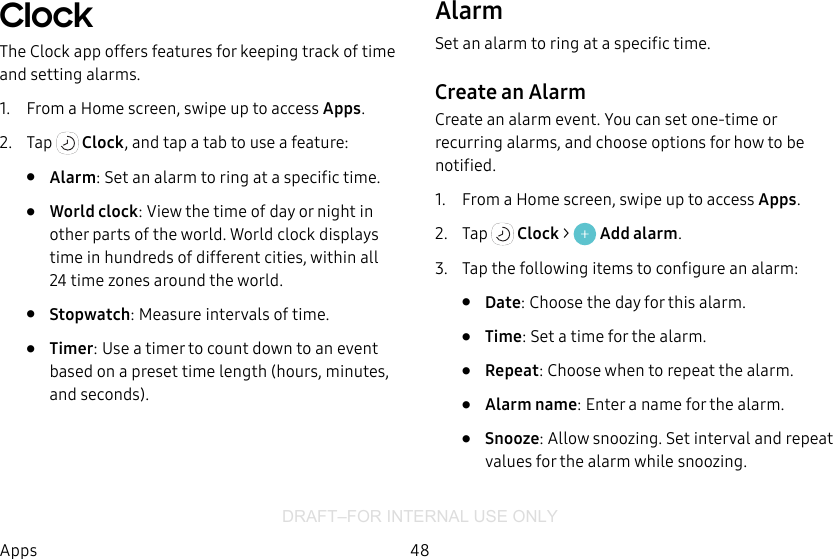
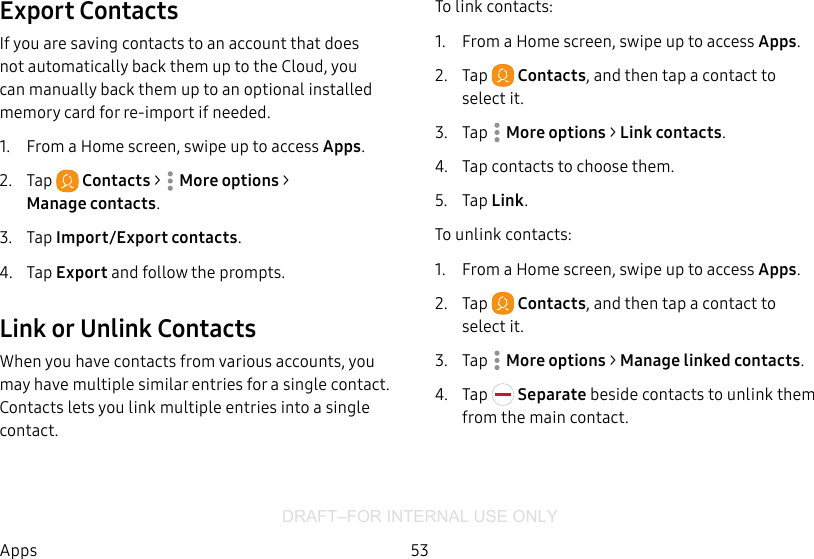
![DRAFT–FOR INTERNAL USE ONLYSettings 130Add an AccountYou can add and manage all your email, social networking, and picture and video sharing accounts.1. From a Home screen, swipe up to access Apps.2. Tap Settings > Accounts > Addaccount.3. Tap one of the account types.4. Follow the prompts to enter your credentials and set up the account.Synchronize AccountsYou can synchronize your calendar, contacts, and other types of accounts.1. From a Home screen, swipe up to access Apps.2. Tap Settings > Accounts > [Accounttype].3. Tap an account to view the sync settings for that account.4. Tap individual data items to sync.5. Tap Moreoptions > Sync now to synchronize the account.](https://usermanual.wiki/Samsung-Electronics-Co/SMT378V.User-manual-1-of-2/User-Guide-3576706-Page-135.png)
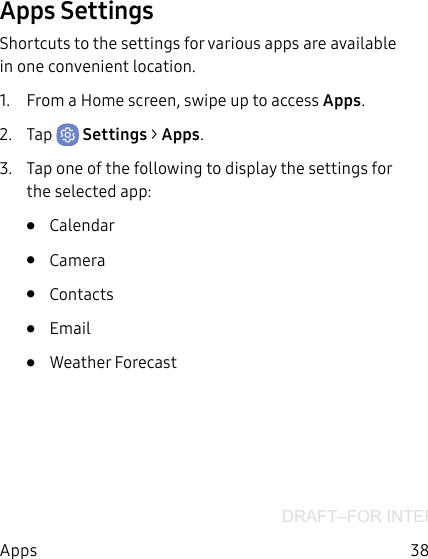
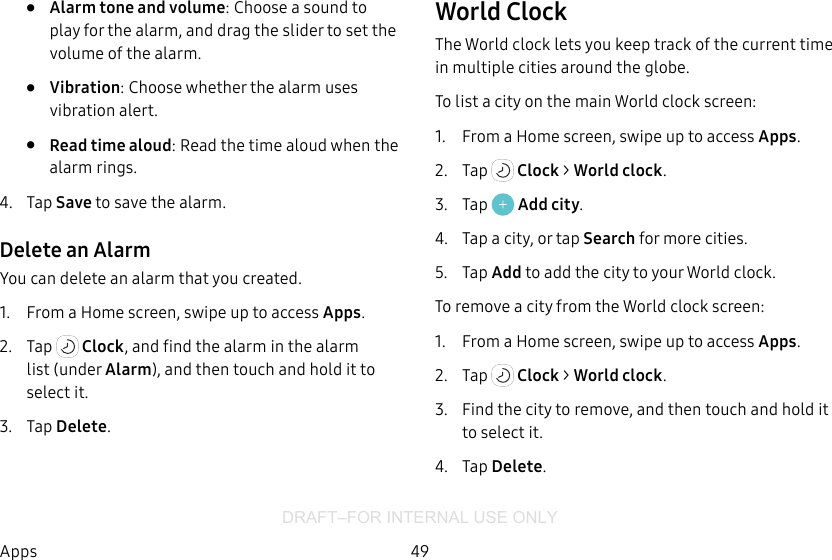
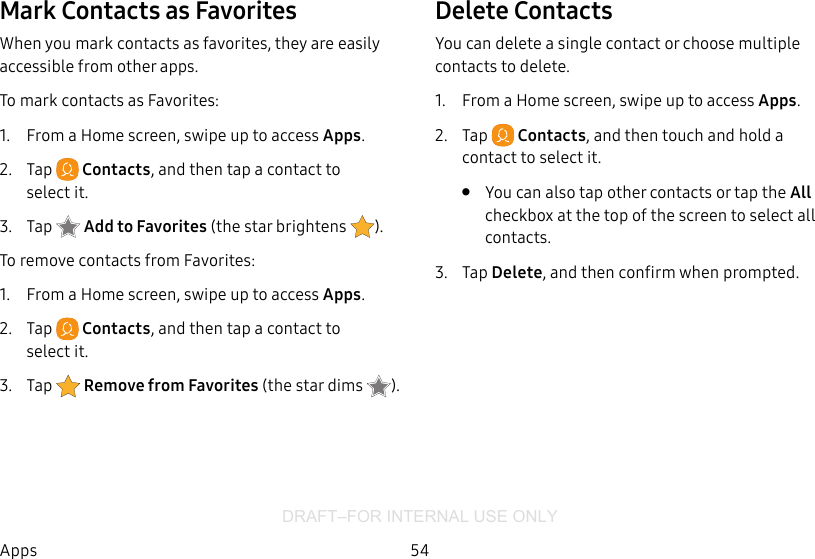
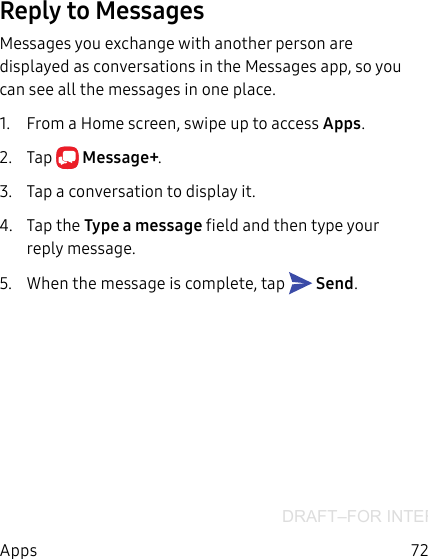
![DRAFT–FOR INTERNAL USE ONLYSettings 131Account SettingsEach account has its own set of settings. In addition, you can configure common settings for all accounts of the same type.Account settings and available features vary between account types and service providers. Contact your service provider for more information on your account’s settings.1. From a Home screen, swipe up to access Apps.2. Tap Settings > Accounts > [Accounttype].3. Tap an account to configure that account’s sync settings.4. Tap other available options for the account type.Remove an AccountYou can remove accounts from your device.1. From a Home screen, swipe up to access Apps.2. Tap Settings > Accounts > [Accounttype].3. Tap the account and then tap Moreoptions > Removeaccount. Confirm when prompted.](https://usermanual.wiki/Samsung-Electronics-Co/SMT378V.User-manual-1-of-2/User-Guide-3576706-Page-136.png)