Samsung Electronics Co STHA255 Dual-Mode Cellular (AMPS/TDMA) Phone User Manual
Samsung Electronics Co Ltd Dual-Mode Cellular (AMPS/TDMA) Phone Users Manual
UserManual.wiki
>
Samsung Electronics Co
>
STHA255 User Manual
>
Users Manual
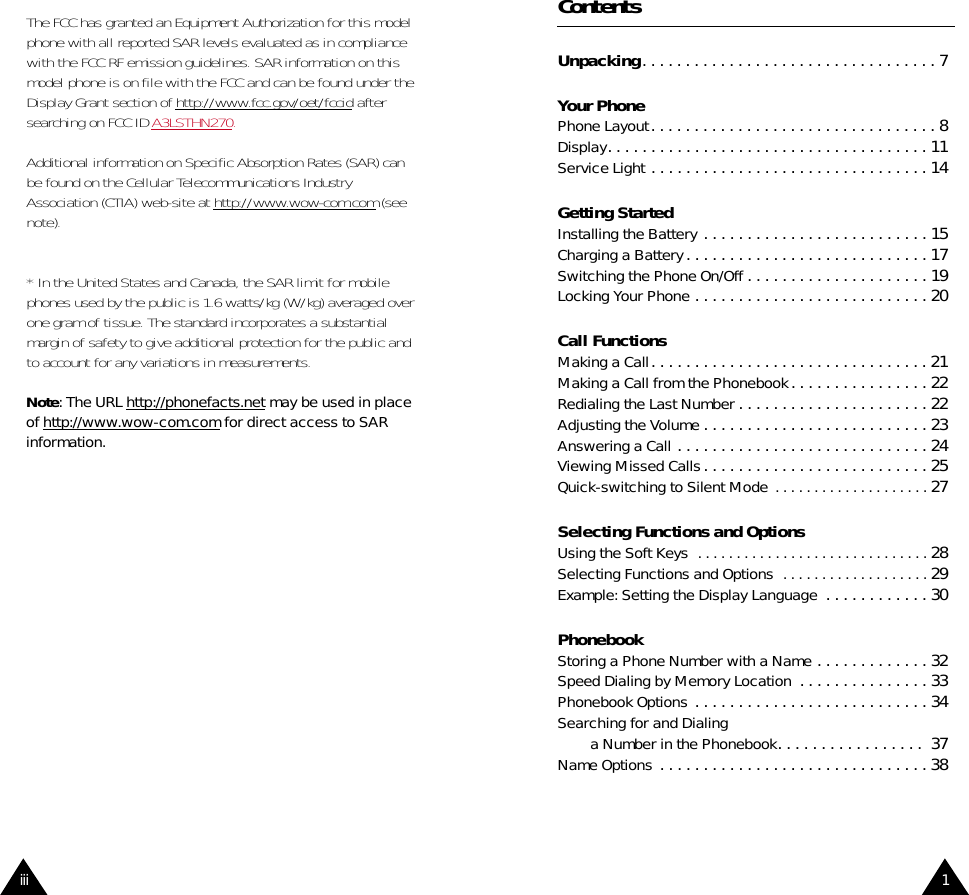
Contents
1.
Users Manual
2.
Revised Users Manual per CRN 22143
3.
Revised Users Manual per CRN 22816
Users Manual
Navigation menu
Upload a User Manual
Namespaces
Wiki Guide
HTML
PDF
Info
Views
User Manual
Discussion / Help
Navigation