Samsung Electronics Co SWDI8510C Cellular/PCS GSM/EDGE Phone with Bluetooth User Manual i8510C
Samsung Electronics Co Ltd Cellular/PCS GSM/EDGE Phone with Bluetooth i8510C
UserManual.wiki
>
Samsung Electronics Co
>
SWDI8510C User Manual
Users Manual
Navigation menu
Upload a User Manual
Namespaces
Wiki Guide
HTML
PDF
Info
Views
User Manual
Discussion / Help
Navigation

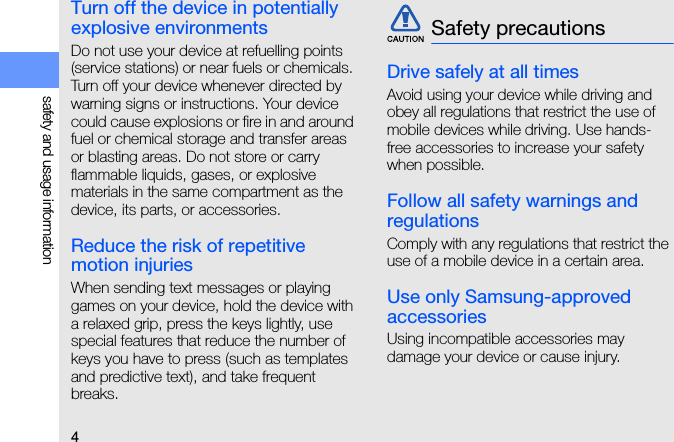
![iiiusing this manualCopyrights and trademarksRights to all technologies and products that comprise this device are the property of their respective owners:→Followed by—the order of options or menus you must select to perform a step; for example: Press the Menu key → Media → Music plyr. (represents the Menu key, followed by Media, followed by Music plyr.)[] Square brackets—device keys; for example: [ ] (represents the End/Power key).<> Angled brackets—softkeys that control different functions at each screen; for example: <OK> (represents the OK softkey).• This product includes software licensed from Symbian Ltd. © 1998-2008. Symbian and Symbian OS are trademarks of Symbian Ltd.• Java™ is a trademark of Sun Microsystems, Inc.•Bluetooth® is a registered trademark of the Bluetooth SIG, Inc. worldwide— Bluetooth QD ID: B0XXXXX.• Windows Media Player® is a registered trademark of Microsoft Corporation.](https://usermanual.wiki/Samsung-Electronics-Co/SWDI8510C/User-Guide-991901-Page-4.png)


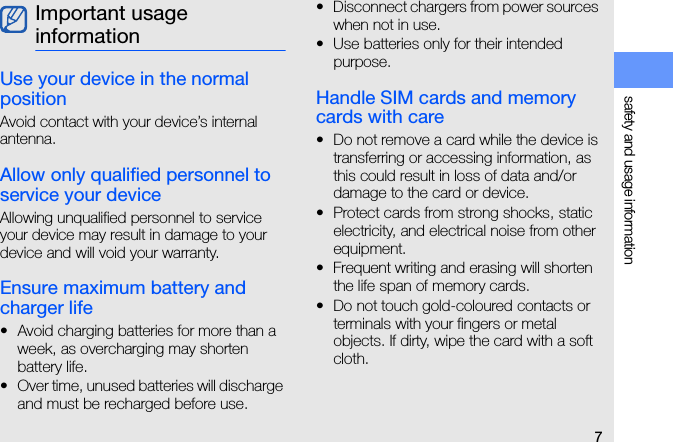


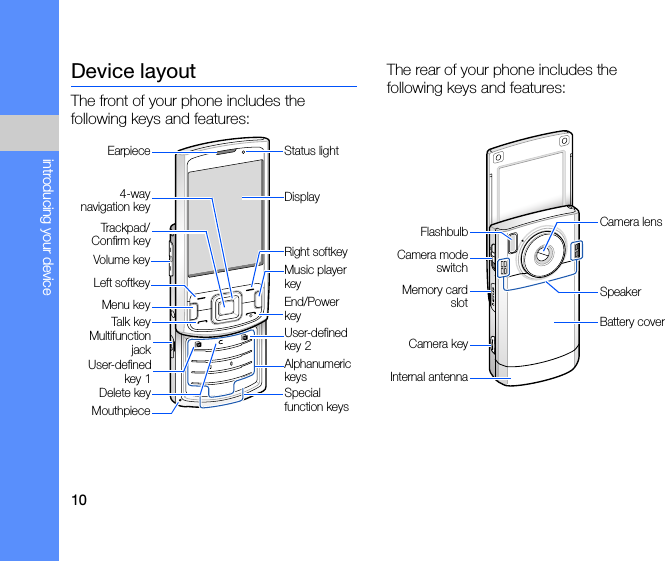
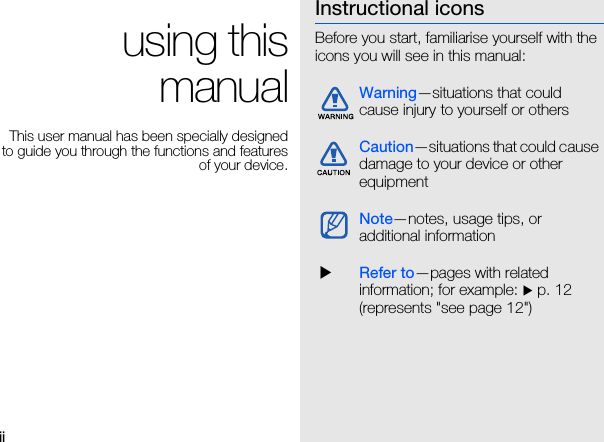
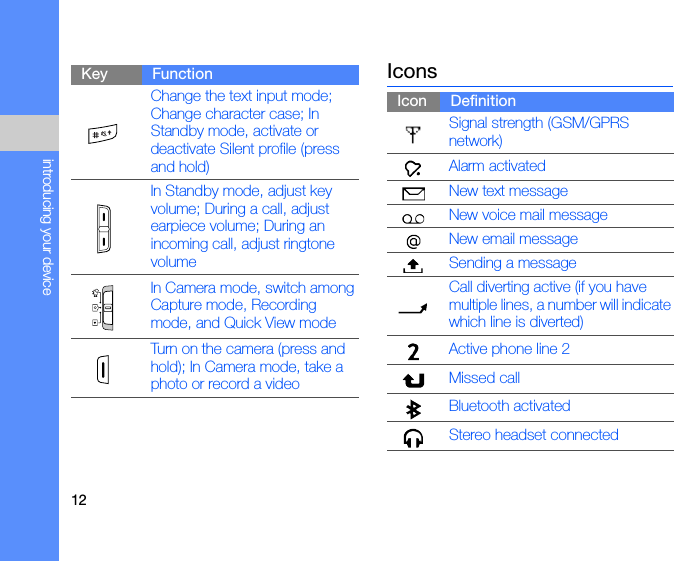
![11introducing your deviceKeysKey FunctionPerform actions indicated at the bottom of the displayOpen the main menu; Show all active applications (press and hold)Move through lists or menus; Move the cursor up, down, left, or rightMove the cursor (drag your finger across the trackpad); Confirm your selection or execute the selected applicationLaunch the music playerMake or answer a call; In Standby mode, access call logsTurn the device on or off (press and hold); Access the Quick Menu; End a call; Exit an applicationOpen the defined applicationDeleteOpen the defined applicationEnter numbers and characters; In Standby mode, press and hold [1] to access voice mail and [0] to launch the web browserEnter an international call prefix or pause; Display a list of symbols Key Function](https://usermanual.wiki/Samsung-Electronics-Co/SWDI8510C/User-Guide-991901-Page-20.png)

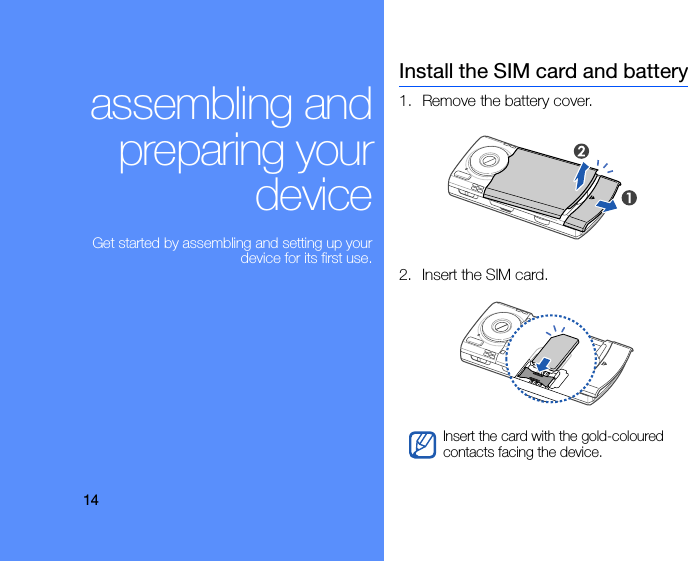
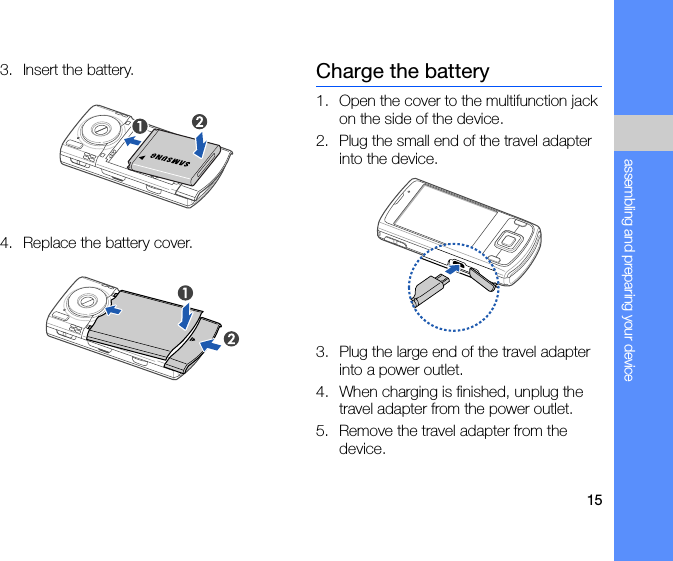
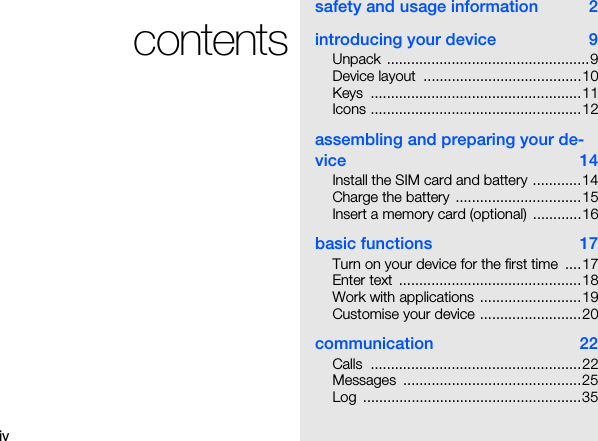
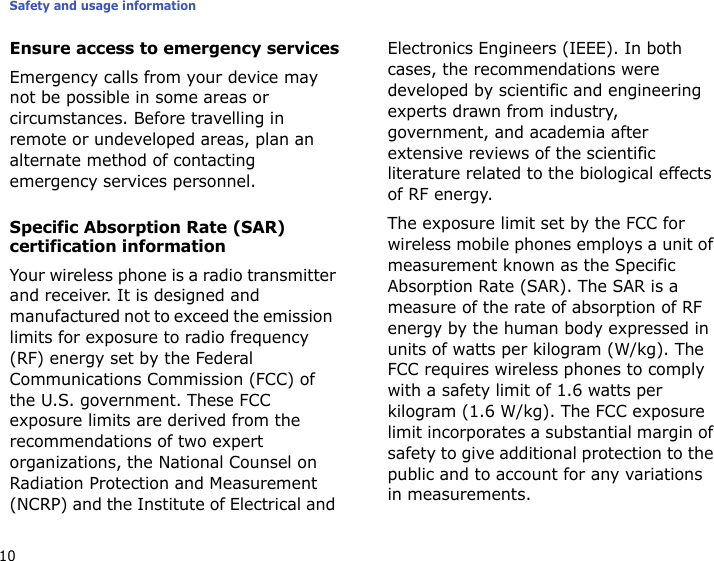
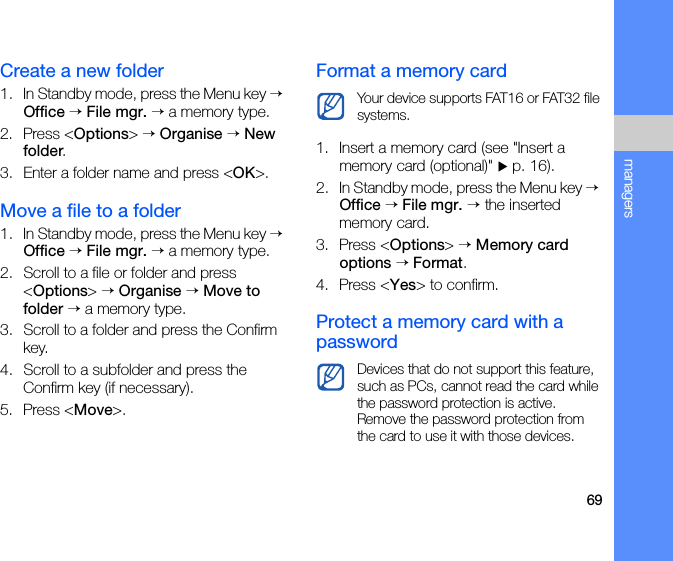
![16assembling and preparing your deviceInsert a memory card (optional)By inserting a memory card, you can store multimedia files and messages or back up your important information. Your phone accepts microSD™ memory cards up to 8 GB (depending on memory card manufacturer and type).1. Open the cover to the memory card slot on the side of the device.2. Insert a memory card into the memory card slot with the label facing down.3. Push the memory card into the memory card slot until it locks (clicks) in place.4. Close the cover to the memory card slot.Follow these steps when removing a memory card Carefully follow the steps below when removing a memory card to avoid data loss or damage to the memory card.1 Press [ ] and select Remove F: memory card.2. Press <Yes> to confirm.3. Open the cover to the memory card slot and gently push the memory card in until it disengages (clicks) from the device.4. Pull the memory card out of the memory card slot.5. Press <OK>.If you must reboot the device to finish installing an application, do not remove the memory card until the reboot is complete. Otherwise, your application files may be corrupted or erased.](https://usermanual.wiki/Samsung-Electronics-Co/SWDI8510C/User-Guide-991901-Page-25.png)
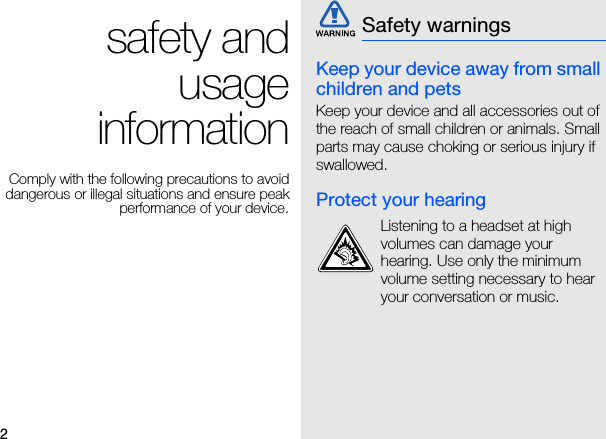
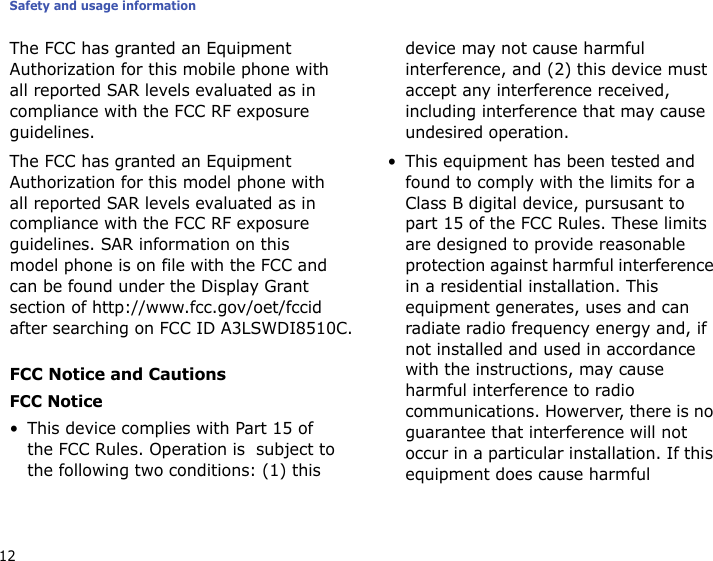
![17basic functionsLearn how to perform basic operations and use the main features of your device.Turn on your device for the first time1. Press and hold [ ] to turn on your device. 2. Follow the on-screen instructions to set the region, city, current time, and the date. Your device will automatically connect to the cellular network.Unlock the external keysWhen you close your device, it automatically locks the external keys. To unlock the keys, press <Unlock> and then press the Confirm key.](https://usermanual.wiki/Samsung-Electronics-Co/SWDI8510C/User-Guide-991901-Page-26.png)
![18basic functionsEnter textChange the text input modePress [ ] to switch between the following text input modes:• - Pinyin mode• - Stroke mode•Abc - Normal mode (initial capital)•abc - Normal mode (lower case)•123 - Number modeTo access symbols, press and hold [ ].Enter text in Pinyin modePinyin is a system to enter Chinese words by spelling them phonetically (how they sound) using the Latin alphabet.1. Press the appropriate alphanumeric keys to enter pinyins.2. Scroll left or right to select a pinyin.3. Press the Confirm key.A number appears by each character.4. Scroll up or down to select a character.5. Press an alphanumeric key to enter the corresponding character.6. When you are finished, press <Cancel>.To use Pinyin and Stroke modes, you must change the input language by pressing <Options> → Writing language → .](https://usermanual.wiki/Samsung-Electronics-Co/SWDI8510C/User-Guide-991901-Page-27.png)
![19basic functionsEnter text in Stroke modeStroke mode allows you to enter individual Chinese strokes, in written order, from top to bottom, and from left to right.1. Press [1] through [5] to enter strokes.Press [6] when you are unsure which stroke to enter. This will insert a placeholder.2. Scroll left or right to select a character.A number appears by each character.3. Press an alphanumeric key to enter the corresponding character.4. When you are finished, press <Cancel>.Work with applicationsOpen applications or folders1. In Standby mode, press the Menu key.2. Scroll to an application and press the Confirm key.Switch applicationsYour device allows you to multitask by running multiple applications at the same time. To switch from one active application to another,1. Press and hold the Menu key to open a list of applications.2. Scroll to an application and press <Select>.](https://usermanual.wiki/Samsung-Electronics-Co/SWDI8510C/User-Guide-991901-Page-28.png)
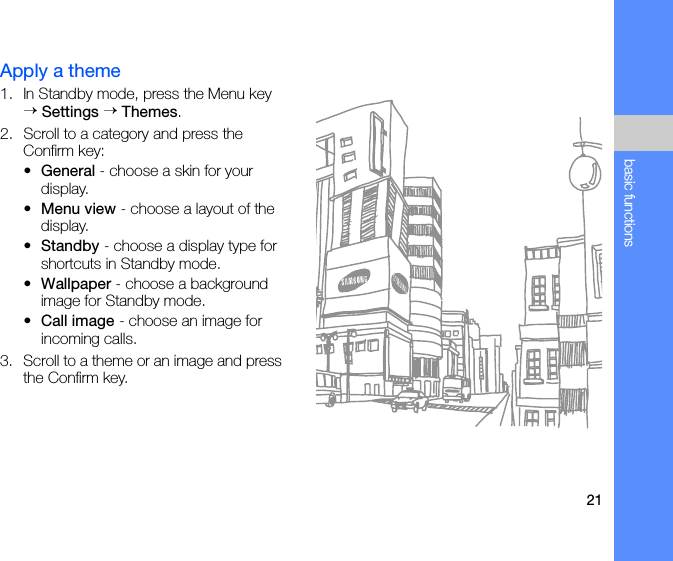
![20basic functionsClose applicationsTo close the current application, press [].To close an application that is running in the background,1. Press and hold the Menu key to open a list of applications. 2. Scroll to an application and press [C].3. Press <Yes> to close the application.Customise your deviceYour device includes preset profiles that control ringtones, key tones, and alerts and themes that control skins, wallpaper, and menu layouts. You can activate profiles for different situations, personalise profiles, apply themes, and download new themes from the web.Activate a profile1. In Standby mode, press the Menu key → Settings → Profiles.2. Scroll to a profile and press <Options> → Activate.Personalise a profile1. In Standby mode, press the Menu key → Settings → Profiles.2. Press <Options> → Personalise.3. Change the settings as desired.4. When you are finished personalising the profile, press <Back>.In Standby mode, the current profile is shown at the top of the display (except for the General profile). To quickly change profiles, press [ ] and select a different profile.](https://usermanual.wiki/Samsung-Electronics-Co/SWDI8510C/User-Guide-991901-Page-29.png)
![22communicationYour device allows you to send and receive many types of calls and messages over cellular networks and the internet.CallsLearn to use your device's call functions.Make a voice call1. In Standby mode, enter an area code and phone number.2. Press [ ] to dial the number.3. To end the call, press [ ]. Answer a call1. When a call comes in, press [ ].2. To end the call, press [ ].](https://usermanual.wiki/Samsung-Electronics-Co/SWDI8510C/User-Guide-991901-Page-31.png)
![23communicationCall an international number1. Press [ ] twice to insert the + character (this replaces the international access code).2. Enter the complete number you want to dial (country code, area code, and phone number), and then press [ ] to dial.3. To end the call, press [ ].Make a call from the contact list1. In Standby mode, press the Menu key → Contacts to open your contact list.2. Scroll to a contact or search by entering the first few letters of the contact's name. 3. Press [ ] to call the default number for the contact.Insert a pauseWhen calling automated systems, you can insert a pause between the device number and another set of numbers.To insert a pause, press [ ] to select the type of pause:•p (automatic pause)—press [ ] three times to insert an automatic pause. The device will pause for two seconds, then automatically transmit the numbers after the pause.•w (manual pause)—press [ ] four times to insert a manual pause. After the pause, you must press <Send> to transmit the remaining numbers.View and return missed callsYour device will show missed calls on the display.To return a missed call,1. Press the Confirm key.You can also press the Confirm key to open the contact information and select a different number.](https://usermanual.wiki/Samsung-Electronics-Co/SWDI8510C/User-Guide-991901-Page-32.png)
![24communication2. Scroll to a missed call. 3. Press [ ] to dial.Call a recently dialled number1. In Standby mode, press [ ] to display a list of recent numbers.2. Scroll to a number and press [ ].Divert callsYour service provider or network may or may not support this feature. To divert your incoming calls to another number,1. In Standby mode, press the Menu key → Settings → Settings → Phone → Call divert.2. Scroll to a call type and press the Confirm key.3. Scroll to a diverting type and press <Options> → Activate.4. Scroll to a diverting location (mailbox or other number) and press the Confirm key.For fax calls, skip this step.5. Enter a number and select a delay, and then press <OK> (if necessary).Bar (block) callsTo activate this function, you need a barring password from your service provider. To bar incoming calls from a specific number,1. In Standby mode, press the Menu key → Settings → Settings → Phone → Call barring.2. Scroll to a barring type and press <Options> → Activate.3. Enter the barring password and press <OK>.If you enter the incorrect barring password three times, the device will lock. Contact your service provider.](https://usermanual.wiki/Samsung-Electronics-Co/SWDI8510C/User-Guide-991901-Page-33.png)
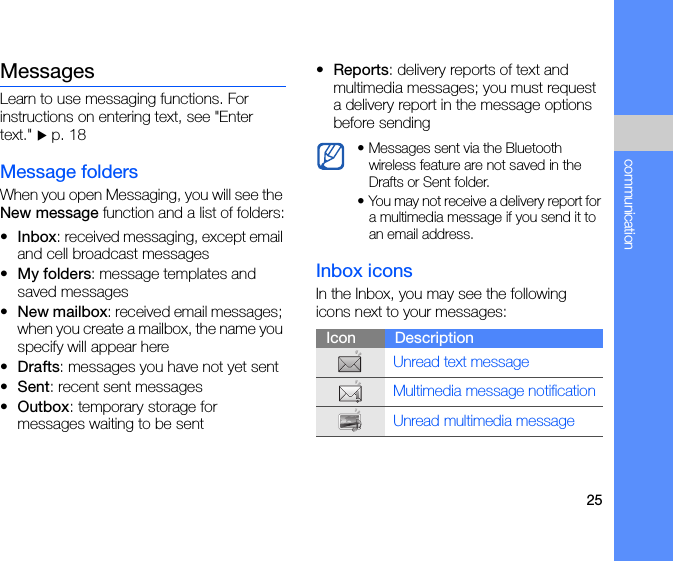
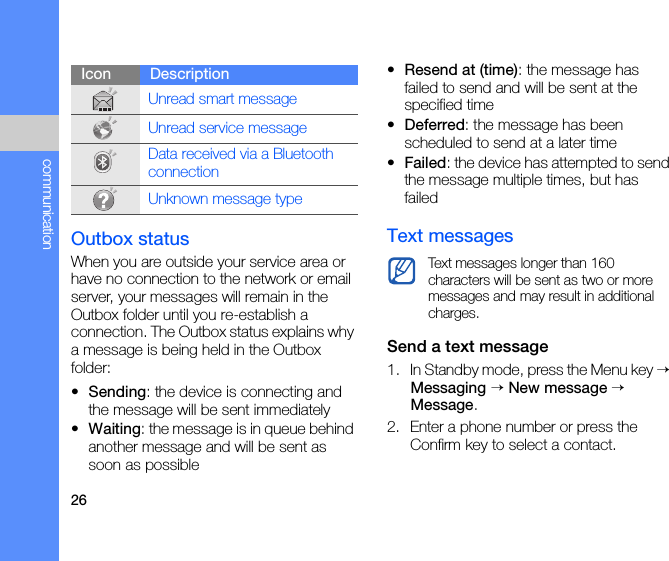
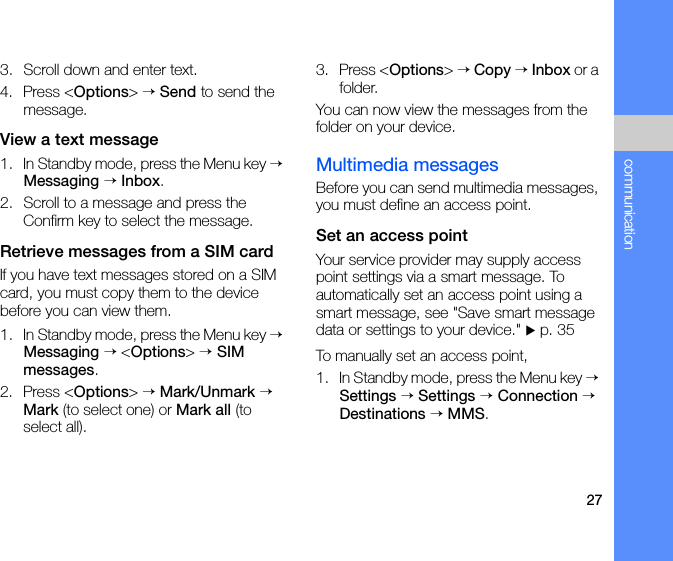
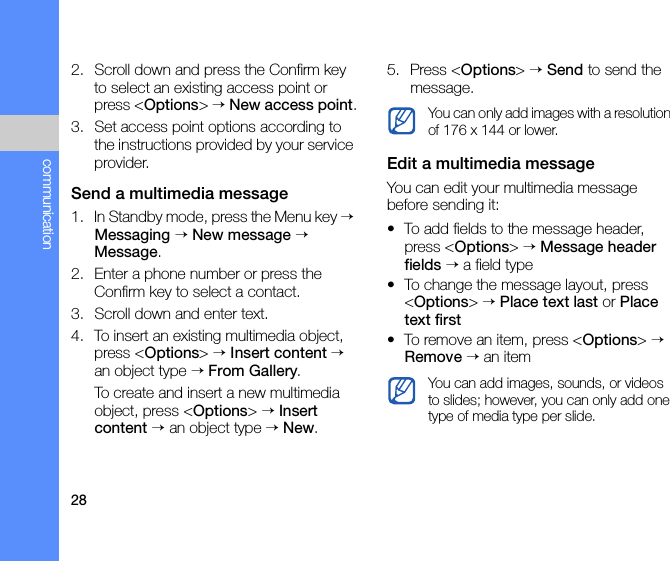
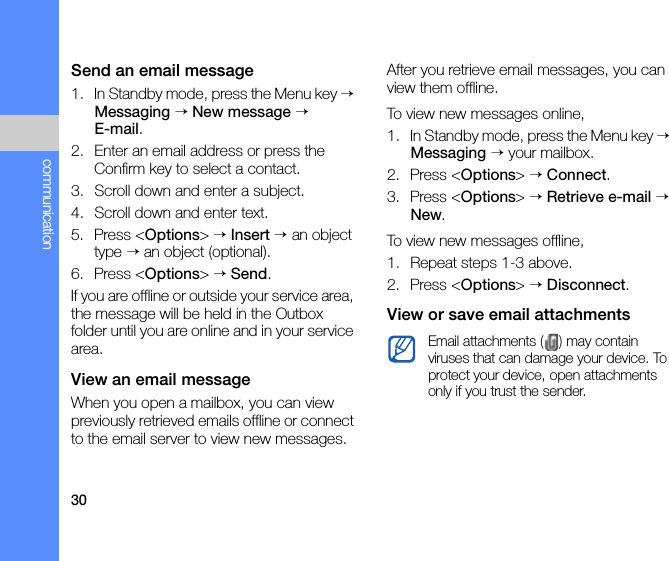
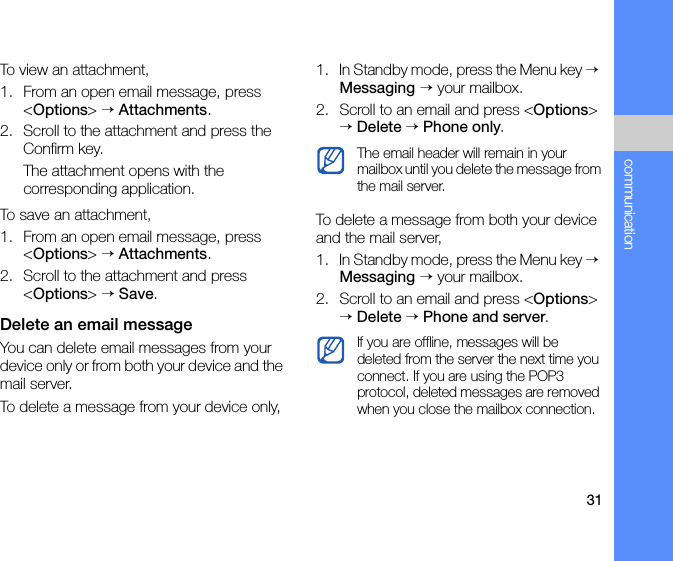
![29communicationView a multimedia message1. In Standby mode, press the Menu key → Messaging → Inbox.2. Scroll to a message and press the Confirm key to select the message.Listen to voice mailIf your voice mail number is preset by your service provider, you can press and hold [1] to access your voice mail.If the voice mail number is not preset or if you need to change the voice mail number,1. In Standby mode, press the Menu key → Tools → Call mailbox. → <Options> → Change number.2. Enter the voice mail number provided by your service provider and press <OK>.You can now access your voice mail from Standby mode by pressing and holding [1].Email messagesBefore you send or receive email messages, you must create a mailbox.Create a mailbox1. In Standby mode, press the Menu key → Messaging → <Options> → Settings → E-mail or Sync e-mail → Mailboxes.2. Press <Options> → New mailbox.3. Press <Start> to start the mailbox setup wizard and follow the on-screen instructions.The new mailbox will automatically appear in Messaging. To change the current mailbox, return to email settings and switch the "Mailbox in use" to another mailbox.If you use the POP3 protocol, the mailbox will not update automatically when you are online. You must disconnect and then reconnect to view new messages.](https://usermanual.wiki/Samsung-Electronics-Co/SWDI8510C/User-Guide-991901-Page-38.png)
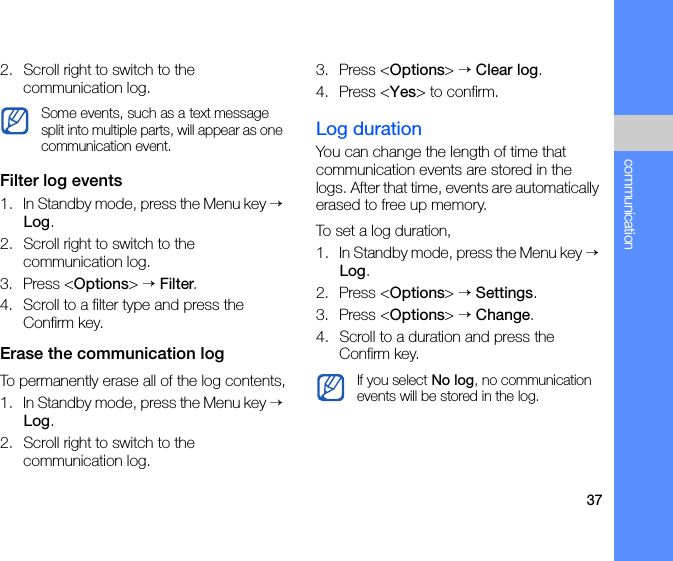
![35communicationSave smart message data or settings to your device1. In Standby mode, press the Menu key → Messaging → Inbox.2. Scroll to a message and press the Confirm key.3. Press <Options> and save the data or settings according to the smart message type.You may also receive an email notification, which tells you how many new emails are in your remote mailbox.Service messagesYou may receive service messages from your service provider that are deleted automatically when they expire. You can view service messages from the Inbox (you may have to download the message from the service provider). Contact your service provider for more information about service messages. LogLearn to view log information about calls, packet data, and other communication events.Recent callsYou can view and erase logs of recently missed calls, received calls, or dialled numbers.View recent call logsTo view recently missed calls, received calls, or dialled numbers,1. In Standby mode, press the Menu key → Log → Recent calls.2. Scroll to a call type and press the Confirm key.To call a number from a call log, scroll to the number and press [ ].](https://usermanual.wiki/Samsung-Electronics-Co/SWDI8510C/User-Guide-991901-Page-44.png)
![36communicationErase recent call logsYou can erase all recent call logs at once, erase a single call log, or delete a single number from a log. To erase all recent call logs,1. In Standby mode, press the Menu key → Log → Recent calls.2. Press <Options> → Clear recent calls.3. Press <Yes> to confirm.To erase a single call log,1. In Standby mode, press the Menu key → Log → Recent calls → a call type.2. Press <Options> → Clear list.3. Press <Yes> to confirm.To erase a single number from a log,1. In Standby mode, press the Menu key → Log → Recent calls → a call type.2. Scroll to a number and press [C], or press <Options> → Delete.3. Press <Yes> to confirm.Call durationTo view the durations of your last call, dialled number, received call, or all calls, in Standby mode, press the Menu key → Log → Call duration.Packet dataTo view the amount of sent or received packet data, in Standby mode, press the Menu key → Log → Packet data.Communication logYou can view communication details and filter logs with the communication log.View the communication log1. In Standby mode, press the Menu key → Log.](https://usermanual.wiki/Samsung-Electronics-Co/SWDI8510C/User-Guide-991901-Page-45.png)

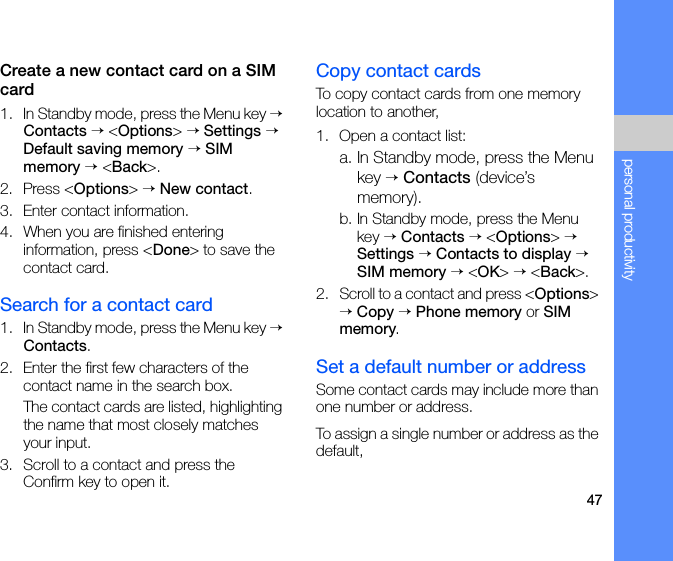
![48personal productivity1. Open a contact list (see "Copy contact cards" X p. 47).2. Scroll to a contact and press the Confirm key.3. Press <Options> → Defaults.4. Scroll to a default type and press the Confirm key.5. Scroll to a number or address and press the Confirm key.6. When you are finished, press <Back>.Assign a speed dial number to a contact cardYou can assign speed dial numbers to up to eight contact cards ([2] through [9]); [1] is reserved as a speed dial number for your voice mail. To assign a speed dial number,1. In Standby mode, press the Menu key → Contacts.2. Scroll to a contact and press the Confirm key.3. Scroll to a phone number and press <Options> → Assign speed dial.4. Scroll to a speed dial number and press the Confirm key. 5. Press <Yes> (if necessary).Assign a ringtone to a contact card or groupYou can assign a ringtone to any contact card or group. 1. In Standby mode, press the Menu key → Contacts.2. Scroll to a contact and press the Confirm key.Or, scroll right and scroll to a group.3. Press <Options> → Ringing tone.](https://usermanual.wiki/Samsung-Electronics-Co/SWDI8510C/User-Guide-991901-Page-57.png)


![58connectivity3. Scroll to a paired device and press the Confirm key.4. Enter a passcode and press <OK> (if necessary).Receive data via the Bluetooth wireless feature1. When another device attempts to access yours, press <Yes> to permit the connection.2. Press <Yes> again to confirm that you are willing to receive data from the device (if necessary).Activate Remote SIM modeTo use Remote SIM mode with a compatible hands-free car kit,1. Connect to your device from an authorised hands-free car kit.2. In Standby mode, press the Menu key → Connect. → Bluetooth → Remote SIM mode → On. You can now make or answer calls only with the connected hands-free car kit via the SIM card on your device.To deactivate it, press [ ] → Exit remote SIM mode.Accepted items are placed in the Inbox folder. The icon indicates messages received via Bluetooth.](https://usermanual.wiki/Samsung-Electronics-Co/SWDI8510C/User-Guide-991901-Page-67.png)
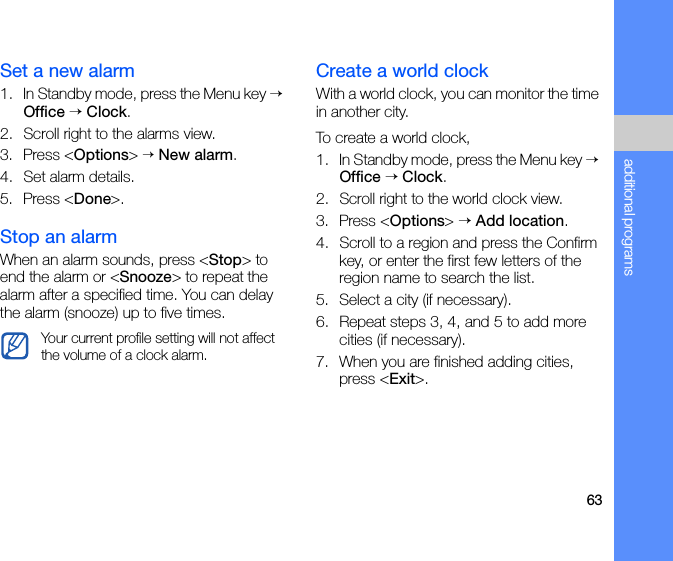
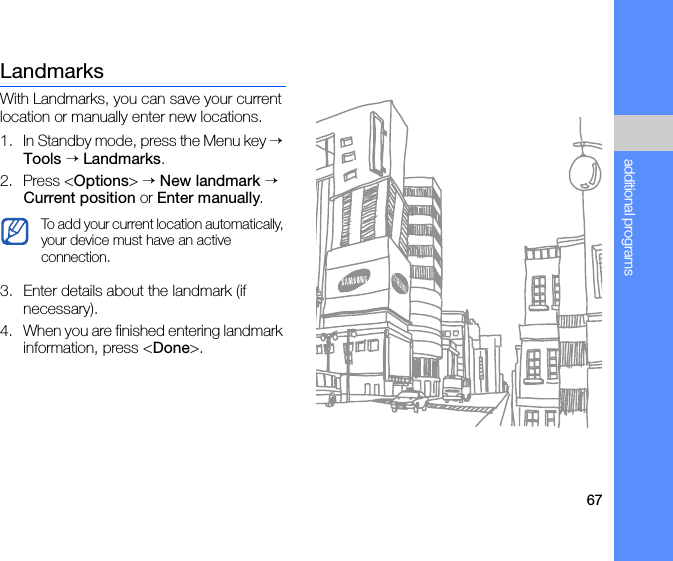
![62additional programsLearn to use Calculator, Clock, Converter, GPS data, and Landmarks.Calculator1. In Standby mode, press the Menu key → Office → Calculator.2. Use the alphanumeric keys and the navigation key to perform basic mathematical operations.ClockYou can adjust clock settings, set alarms, and create a world clock.Change clock settings1. In Standby mode, press the Menu key → Office → Clock.2. Press <Options> → Settings.3. Set the time and date.4. Press <Back>.Press [ ] to insert a decimal. Press [C] to clear a result. Press [ ] to switch functions.](https://usermanual.wiki/Samsung-Electronics-Co/SWDI8510C/User-Guide-991901-Page-71.png)

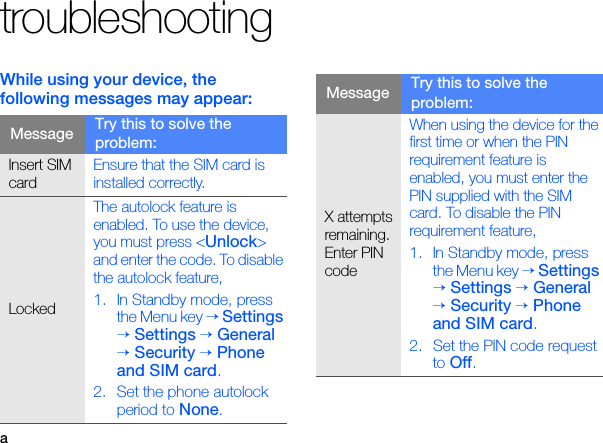
![btroubleshootingYour device does not show a signal (no bars next to the network icon)• If you just turned on the device, wait about 2 minutes for your device to find the network and receive a signal.• You may not be able to receive a signal in tunnels or elevators. Move to an open area.• You may be between service areas. You should receive a signal when you enter a service area.You forgot a security code, PIN, or PUKThe default lock code is 00000000. If you forget or lose this or another code, contact the seller or your service provider.Your display shows white linesThe display may show white lines if you have turned the device on after a long period of disuse or if you removed the battery without first turning off the device. The display should correct itself in a short time.You enter a number, but the call is not dialled• Ensure that you have pressed [ ].• Ensure that you have accessed the right cellular network.• Ensure that you have not set call barring for the phone number.X attempts remaining. Enter PUK codeYour SIM card is blocked, usually as a result of entering your PIN incorrectly several times. You must enter the PUK supplied by your service provider.Message Try this to solve the problem:](https://usermanual.wiki/Samsung-Electronics-Co/SWDI8510C/User-Guide-991901-Page-88.png)
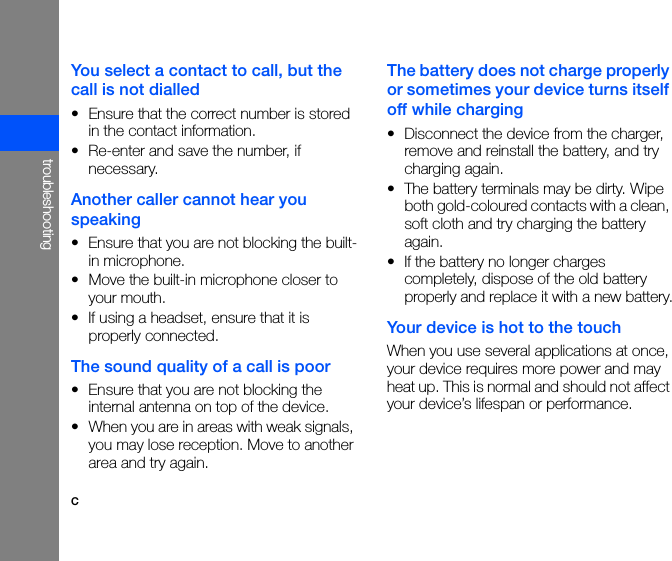
![dtroubleshootingYour device prompts you to delete some dataThe available memory is low. Move your data to a memory card or delete old items from applications.An application is frozen (will not respond)1. Press and hold the Menu key to open the application list.2. Scroll to the application that is frozen and press [C] and then <Yes>.3. Launch the application again.You cannot find a Bluetooth-enabled device• Ensure that both devices have activated the Bluetooth wireless feature.• Ensure that the distance between the devices is not more than 10 metres and that they are not separated by walls or other obstacles.• Ensure that each device's visibility is not set to Hidden.• Ensure that both devices are compatible with Bluetooth wireless technology.](https://usermanual.wiki/Samsung-Electronics-Co/SWDI8510C/User-Guide-991901-Page-90.png)