Sangean Electronics 010 INTERNET RADIO User Manual 20070830 WFR 20 381R101 A GB p65
Sangean Electronics Inc INTERNET RADIO 20070830 WFR 20 381R101 A GB p65
UserManual.wiki
>
Sangean Electronics
>
010 User Manual
>
User manual I
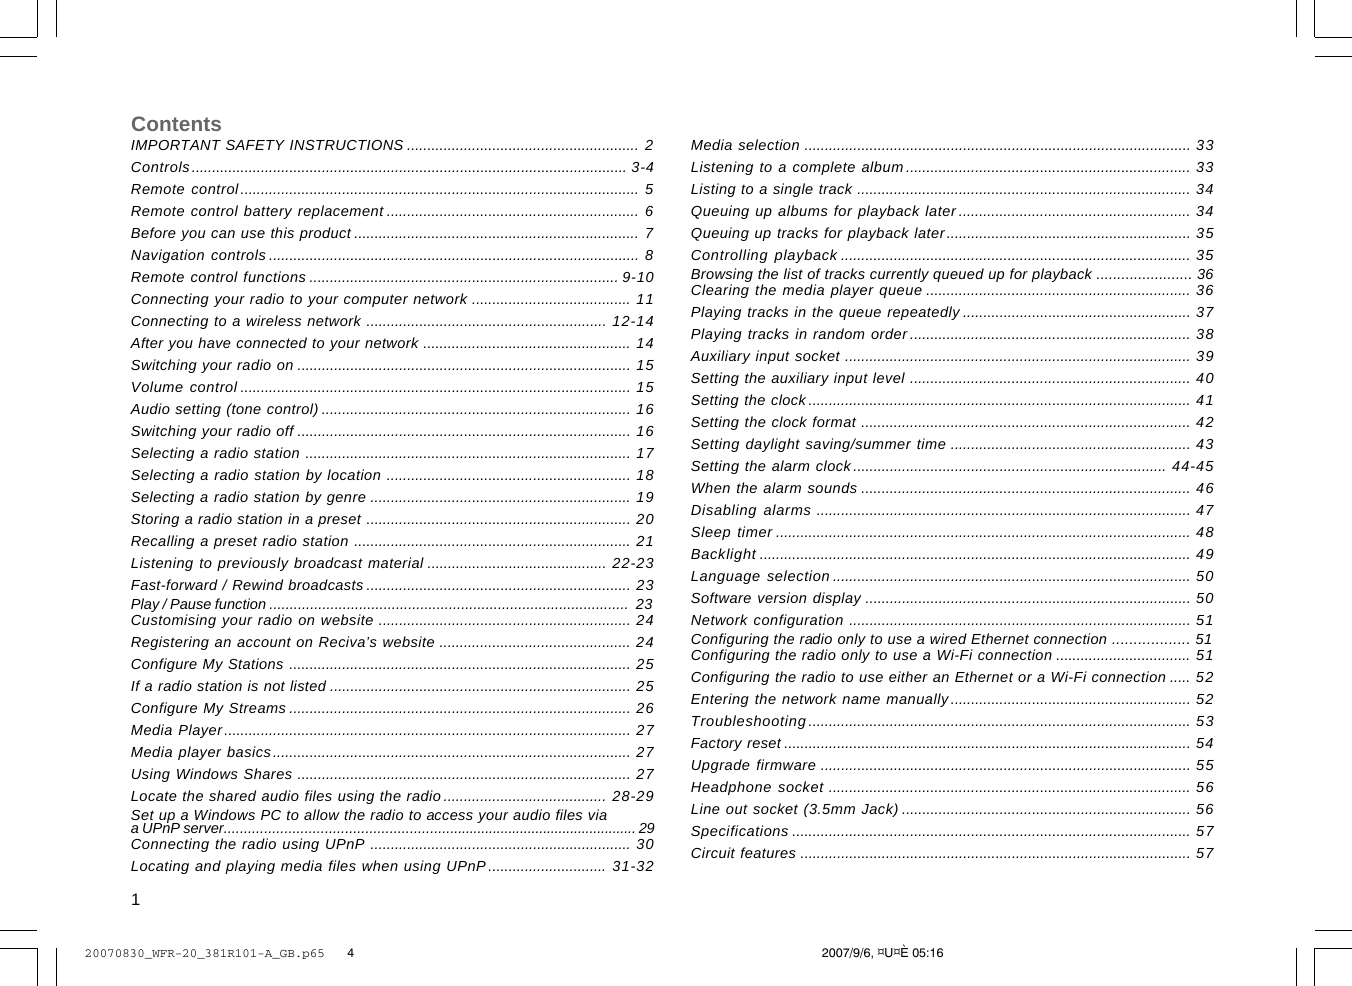
Contents
1.
User manual I
2.
User manual II
User manual I
Navigation menu
Upload a User Manual
Namespaces
Wiki Guide
HTML
PDF
Info
Views
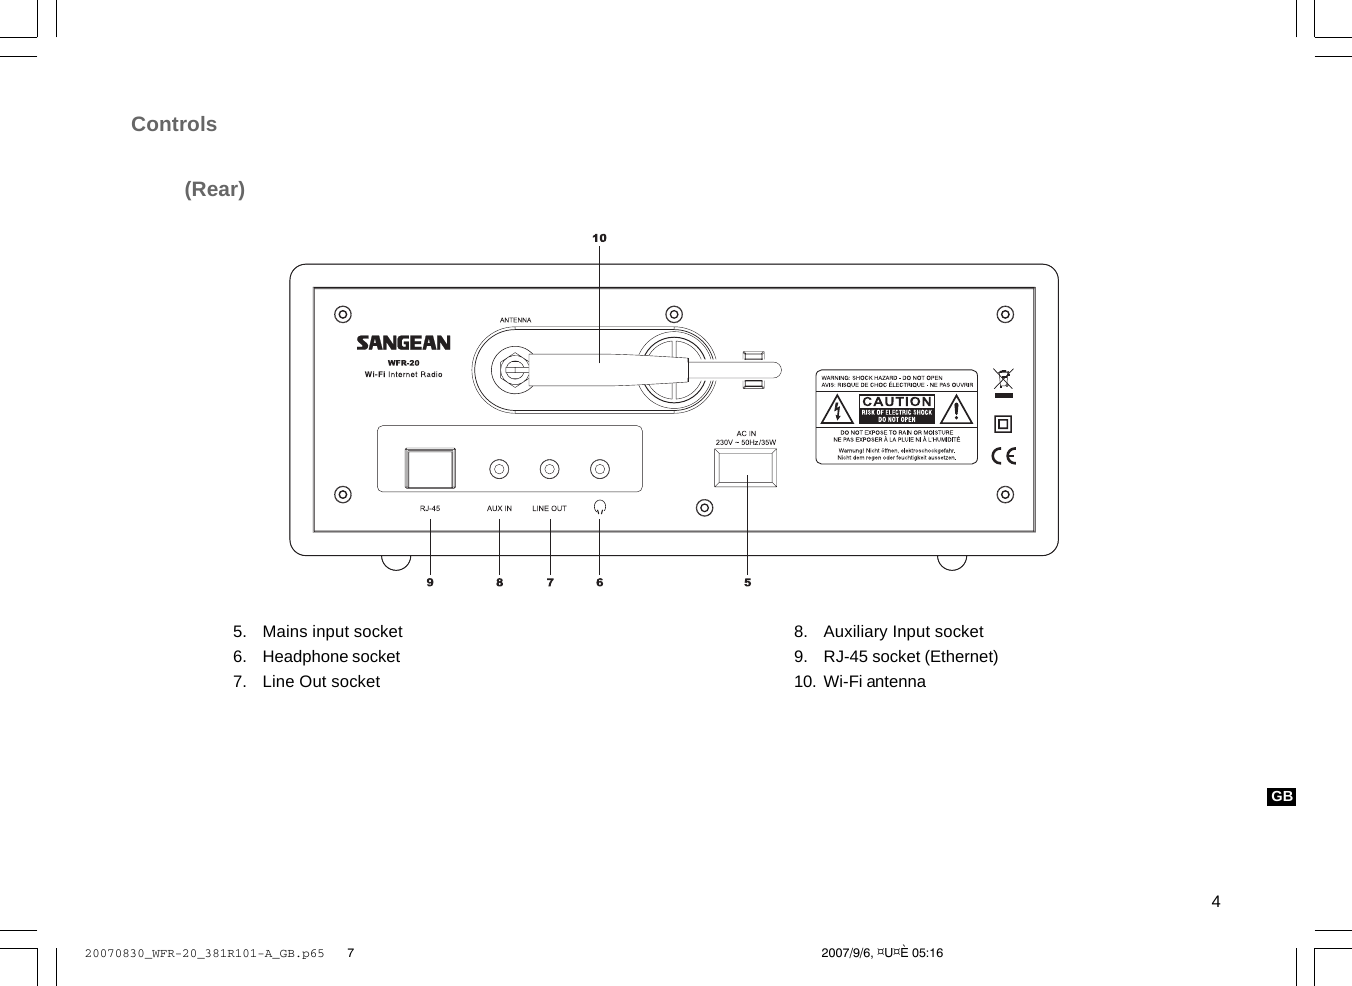
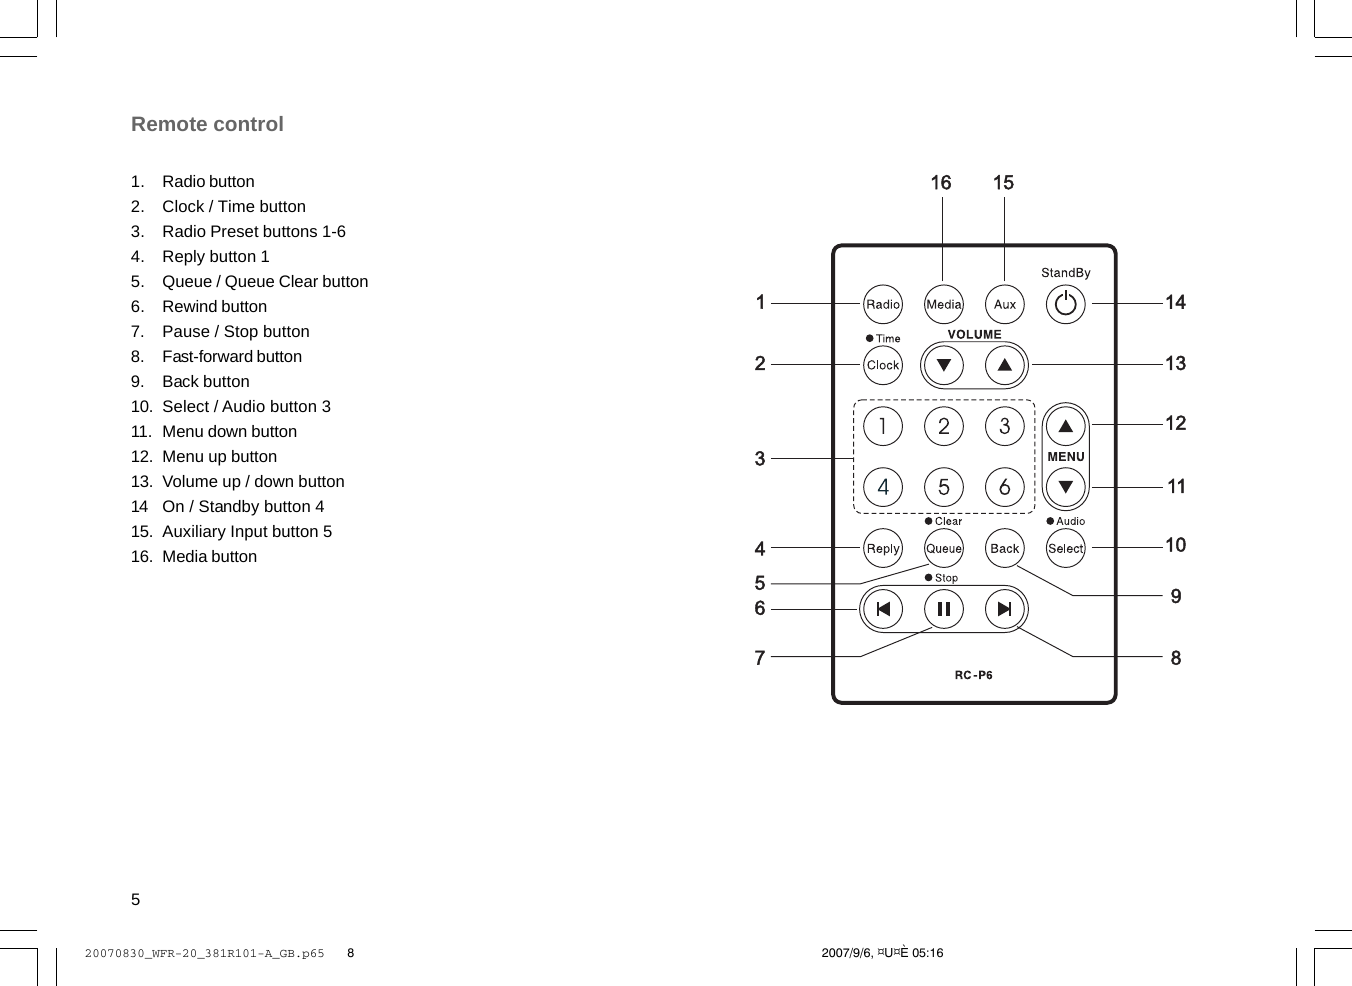
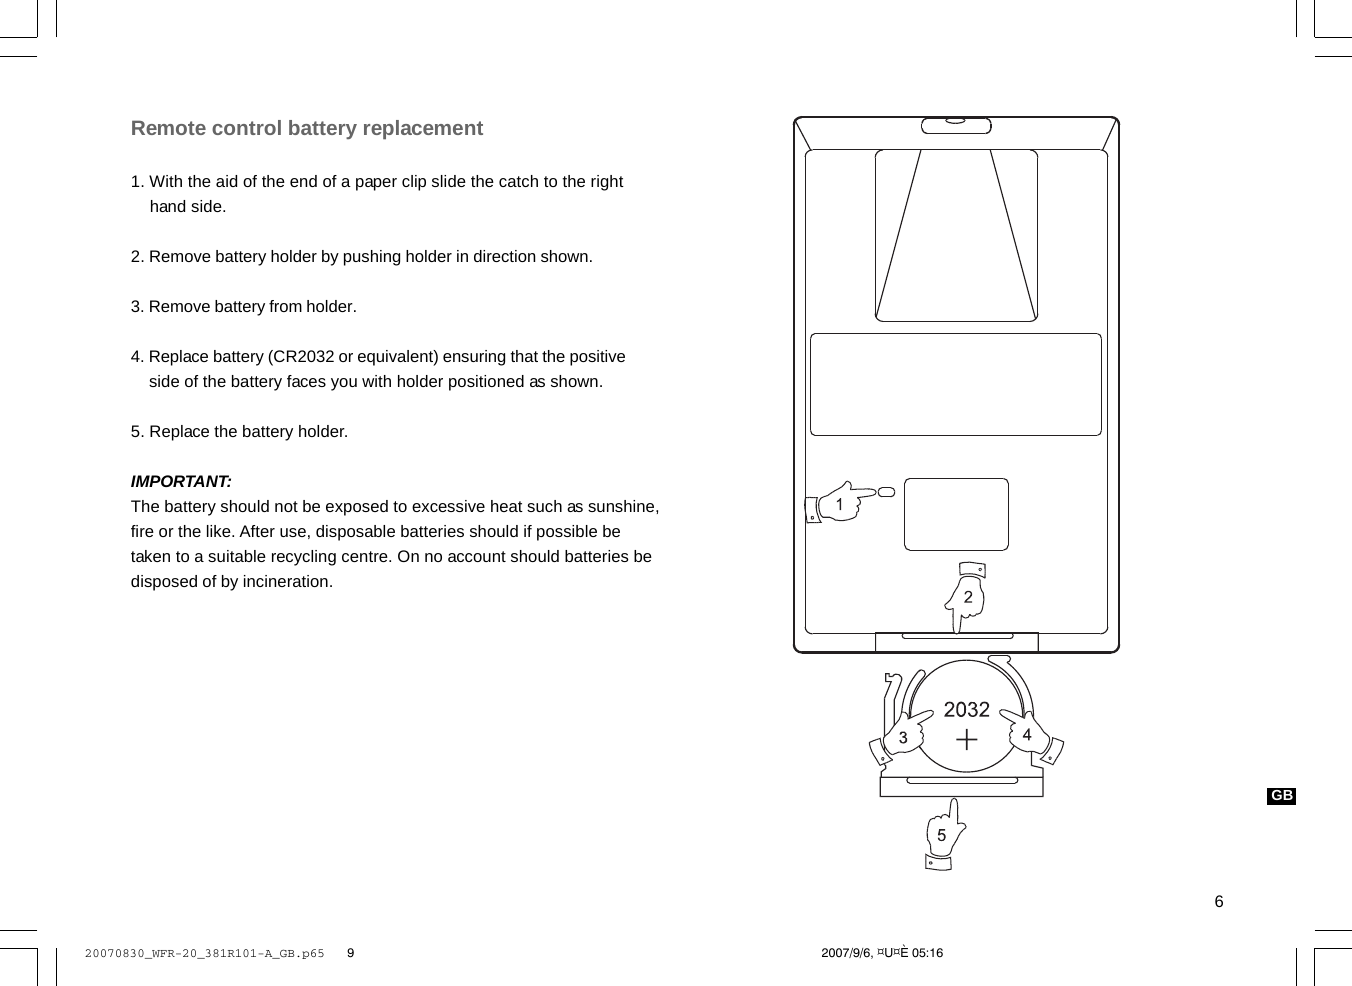
User Manual
Discussion / Help
Navigation