Sarotech DVP-260 Multi Media Player User Manual DVP 260 FCC
Sarotech Co., Ltd. Multi Media Player DVP 260 FCC
UserManual.wiki
>
Sarotech
>
DVP 260 User Manual
User Manual
Navigation menu
Upload a User Manual
Namespaces
Wiki Guide
HTML
PDF
Info
Views
User Manual
Discussion / Help
Navigation
![15 2. In case of connection PC and abigs with a USB cable, a new driver will automatically be created in [My Computer]. Now, users can read or use various files or folders in this drive. ■ Release of Connection Press the USB connection icon ( )at the right side and bottom of the Windows program with the mouse left button and select “drive removal”. After the process has successfully taken place, a message allowing the separation pops up. Users can then separate PC and abigs. 8-3. During the use of Windows 98/98SE Installation of a dedicated driver is necessary in Windows 98/98SE. ■ Installation of Drive Run the “/USB Driver₩DVP-260₩Windows 98/Setup.exe” in the provided CD. Select “Next” in the installation wizard window. Continue to select “Next” that appears in each window. Select “Complete” in the window that confirms the completion. Now, the driver has successfully been installed. 1. Connect the power. 2. If users connect the PC and abigs with a USB cable, a new drive will automatically be created in [My Computer]. Users can then read and use various files and folders in the drive. ■ Connecting, Releasing The method of connecting and releasing is similar to that in Windows ME/2000/XP. Please refer to the relevant explanation.](https://usermanual.wiki/Sarotech/DVP-260/User-Guide-770014-Page-15.png)
![23 11. Viewing MOVIE/MUSIC/PHOTO * Reference Part of the features or method of usage can be different according to the firmware version. 11-1. File Browser 1. The file name is clearly displayed from the [File Browser] and [Play List]. If you press the “ZOOM” button from the remote control on the [File Browser] and [Play List], the letter size will change as shown. 2. Previous Folder Movement Feature If the user presses the “STOP” button while moving from the current folder to the upper folder, the screen moves to the last upper folder. If the user presses the “STOP” button at the current location of “/hd1/folder1/folder2/”, the screen moves to the “/hd1/folder1/” folder. 3. Movement of [File Browser] Page Unit If you click the “▶▶|” button from the [File Browser], the screen moves from the current file item to the next page. If you click the “|◀◀” button from the [File Browser], the screen moves from the current file item to the previous page.](https://usermanual.wiki/Sarotech/DVP-260/User-Guide-770014-Page-23.png)
![24 11-2. File Play (Movie/Music/Photo) Press the “▲,▼” button to move to [File Browser]. Press the “OK” button for selection. Press the “◀,▶” button from the [File Browser] screen to move to the [Movie]/[Music]/[Photo]/[Listall] items. Only the relevant files of the selected item are displayed on the screen. If the user selects the [Listall] item, all files are displayed. Press the “▲,▼” button to select the play file. Press the “▶▌▌” or “OK” button to play movie, music or picture. Press the “MENU” button during play time to see the menu screen. 11-3. Watching Movie ■ Menu during Movie Play Press the “MENU” button to see the menus. Use the “▲,▼” button to select the detailed items. Select the detailed item. Press the “OK” button to designate the detailed item. (The letter color of the detailed item changes) Use the “◀,▶” button to input the value. Press the “OK” button to apply the changed details. (The letter color of the detailed item returns) Press the “MENU” button again to close the menu screen. 1. Play Information Information of the currently played file is displayed. The current play time and total play time are displayed. 2. Subtitle Change Select the subtitle location, size, on/off, color and language. 3. Screen Size Users can expand or reduce the screen size. 4. Screen Setting Users can change the screen brightness, color and gradation.](https://usermanual.wiki/Sarotech/DVP-260/User-Guide-770014-Page-24.png)
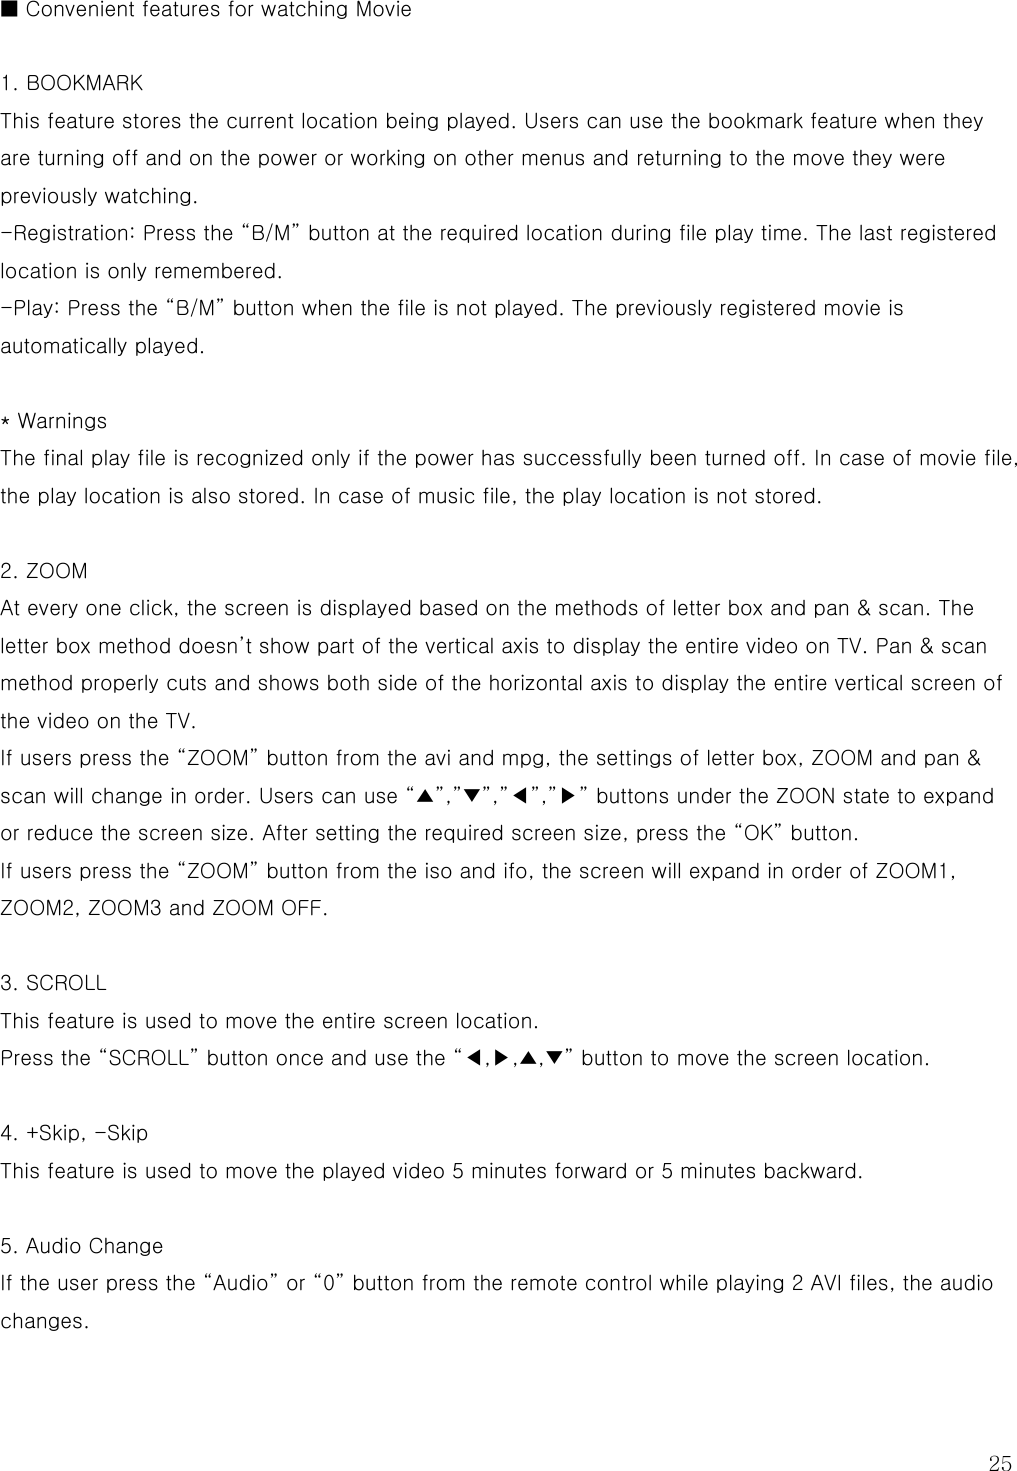
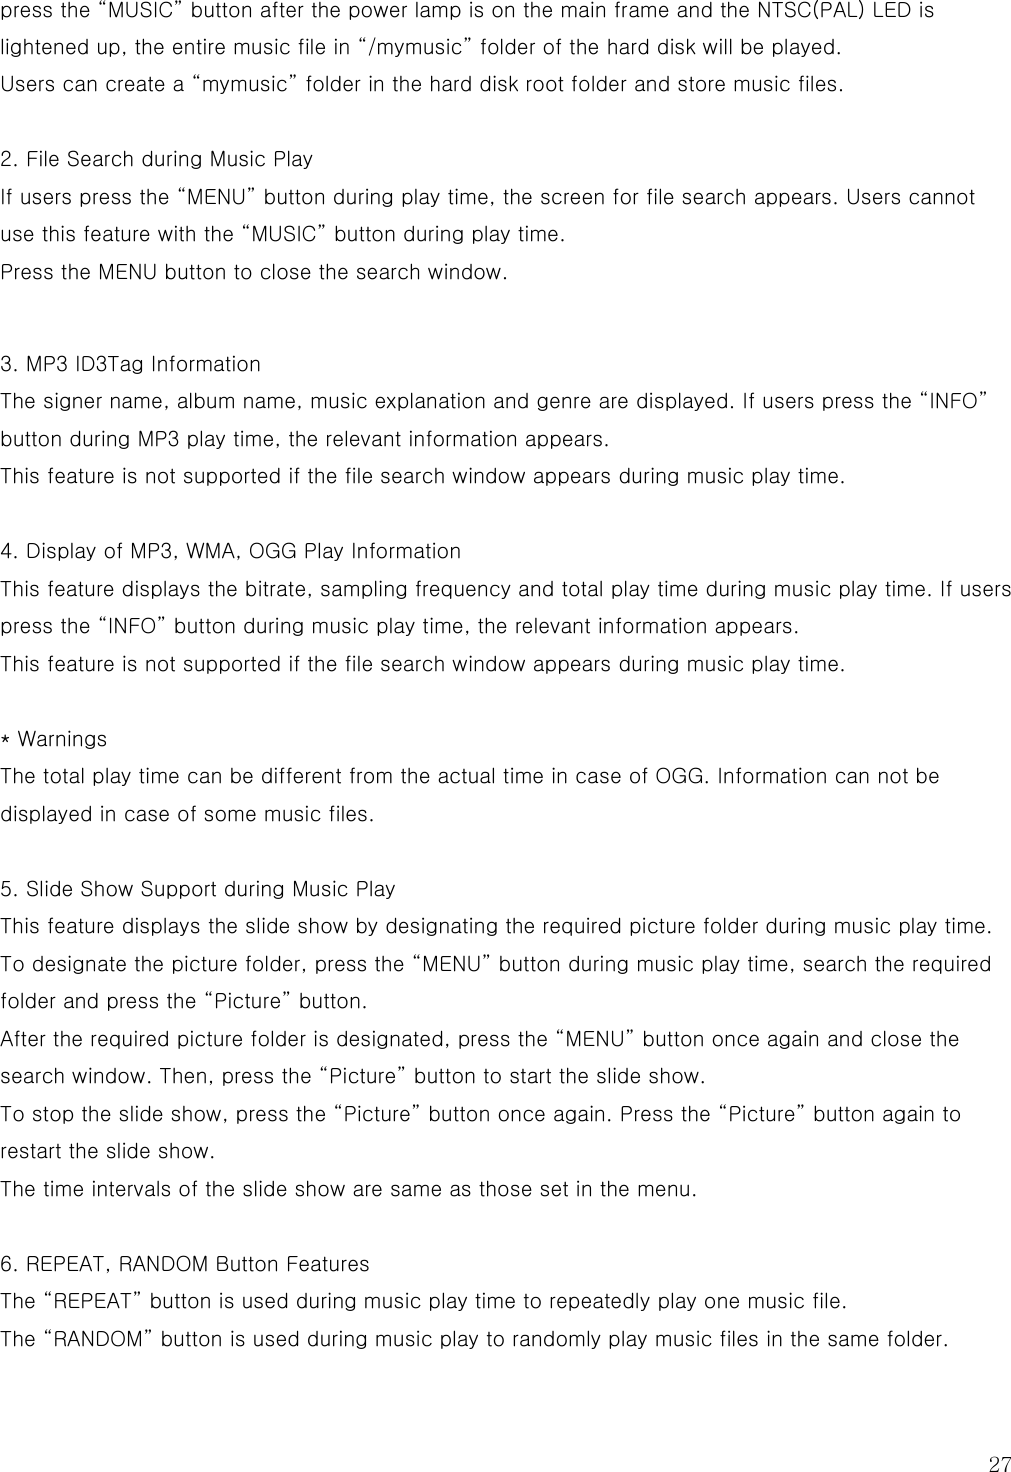
![26 6. Double Speed Play Whenever pressing “◀”,“▶” buttons from the remote control while playing AVI files, the double speed play will take place with the indications of high-speed play 4, high-speed play 8, high-speed play 16, high-speed play 32, high-speed backward play 4, high-speed backward play 8, high-speed backward play 16 and high-speed backward play 32”. 7. ISO File Play Features Users can play the ISO file of DVD format. Select the file with the iso extension from the [Movie] menu of [File Browser]. * Reference Users can only play the DVD made in ISO file. Other normal data in ISO format cannot be played. 8. Repeat Play Features The “REPEAT” button is used to repeatedly play one movie file during play time. 11-4. Listening Music ■ Background Image Change If there is a jpg file with the name same as that of the music file (extension excluded) in the same music play folder, use the jpg file for the background screen image. If there is no jpg file with the same name but only the /mymusic/background.jpg file, use this file for the background screen image. If there is neither the jpg file with the same name nor the /mymusic/background.jpg file, use the basic background screen image. * Warnings: Create the background screen in 720 x 480. In case of designating the resolution above that level, the basic screen will be played. ■ Convenient Features for Music Listening 1. Play Music without TV Image This feature is used to play the music without a TV. Press the “I/O” switch from the main frame or the “Power” button from the remote control. If users](https://usermanual.wiki/Sarotech/DVP-260/User-Guide-770014-Page-26.png)
![29 11-6. Usage of Play List Press the “MENU” button or the “◀, ▶” button. Use the “▲, ▼” button to move to the [Play List]. Press the “OK” button for selection. Press the “◀, ▶” button from the [Play List] screen and select the [Play Order]. Press the “▲, ▼” button to select the movie file. Press the “▶▌▌” button to play the movie. * Reference Users can only use the play list feature for movie files. ■ PLAY LIST Press the “◀, ▶” button from the[Play List] screen to select the [Play List ]. Press the “▲, ▼” button to select the movie file that the user wants to play. Press the “OK” button to select the file that the user wants to move. (The left icon activates) Press the “▲, ▼” button to select the location that the user wants to move. (The selected file move at the same time) Press the “OK” button to apply the current location. (The icon returns to its original state) ■ ADD/DEL Press the “◀, ▶” button from the [Play List] screen to select the [ADD/DEL]. Press the “▲, ▼” button to select the file that the user wants to add from the play list. Press the “OK” button to add the file to the play list. (Checking is indicated) Press the “OK” once again to delete the file from the play list.](https://usermanual.wiki/Sarotech/DVP-260/User-Guide-770014-Page-29.png)
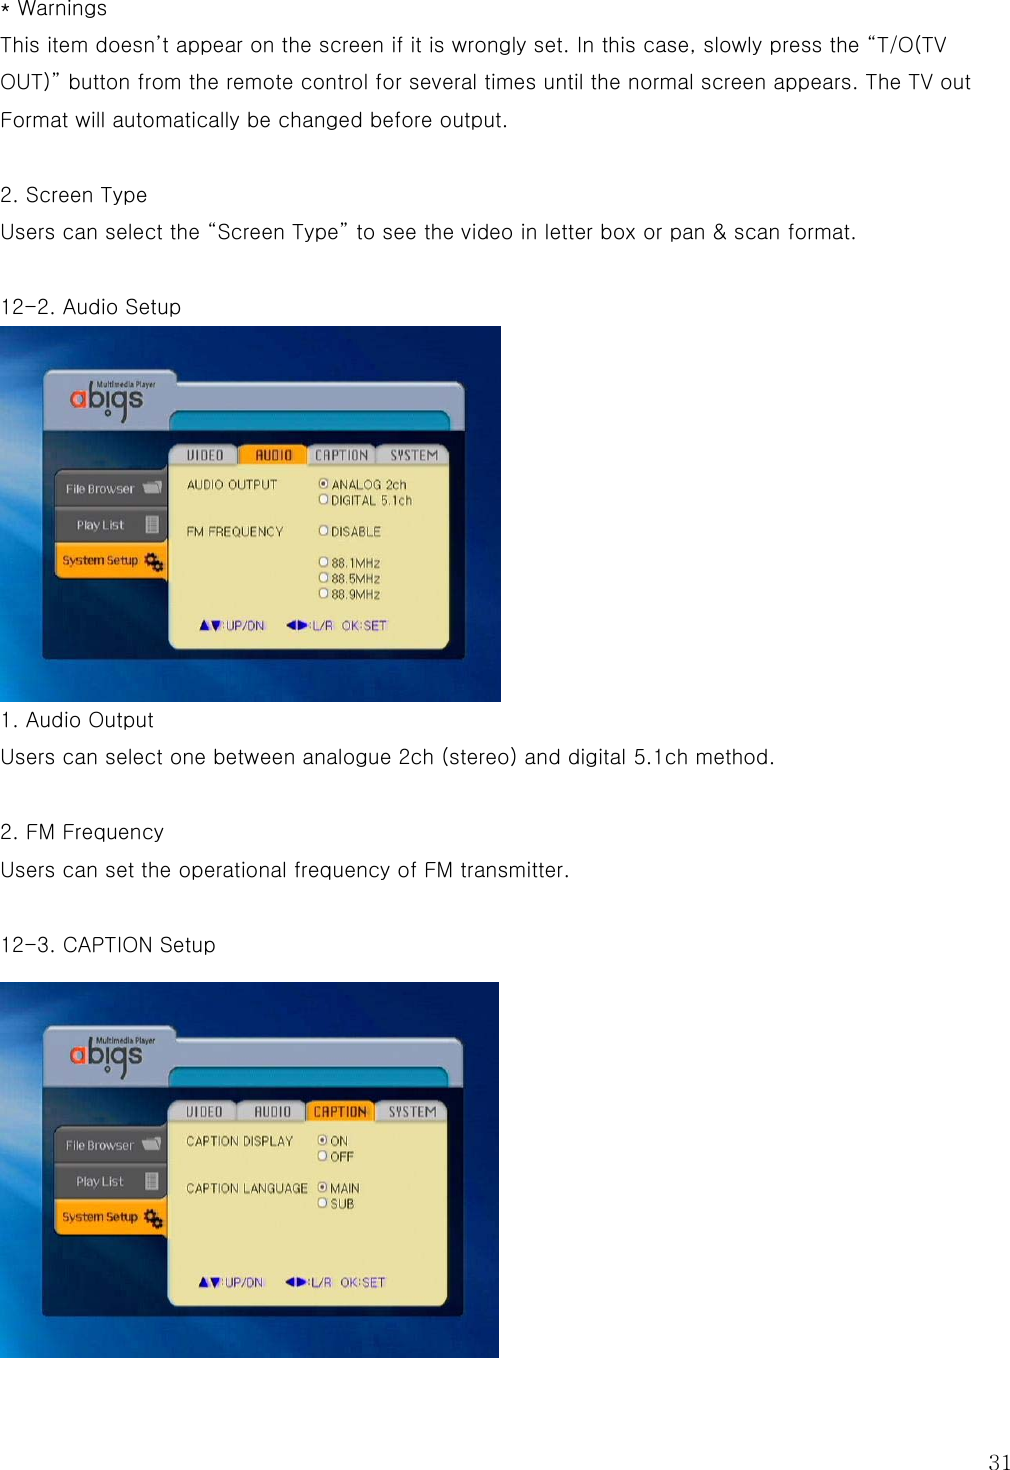
![30 ■ REMOVE Press the “◀, ▶” button from the [Play List] screen to select the [REMOVE]. Press the “▲, ▼” button to select the file that the user wants to delete from the play list. Press the “OK” button to delete the file from the play list. 12. System Setup * Reference - Some setting items can be different according to the firmware version. - Support features can be different according to the product model. Please use the product after checking its specifications. Press the “MENU” or “◀, ▶” button. Use the “▲, ▼” button to move to the [System Setup] menu. Press the “OK” button to select the [System Setup]. Press the “◀, ▶” button to select one of the [ViIDEO]/[AUDIO]/[CAPTION]/[SYSTEM] menus. Press the “▲, ▼” button to select the detailed setting item. Press the “OK” button to make or cancel the checking. 12-1. Video Setup 1. HDTV, TV out Format This item selects the TV type.](https://usermanual.wiki/Sarotech/DVP-260/User-Guide-770014-Page-30.png)
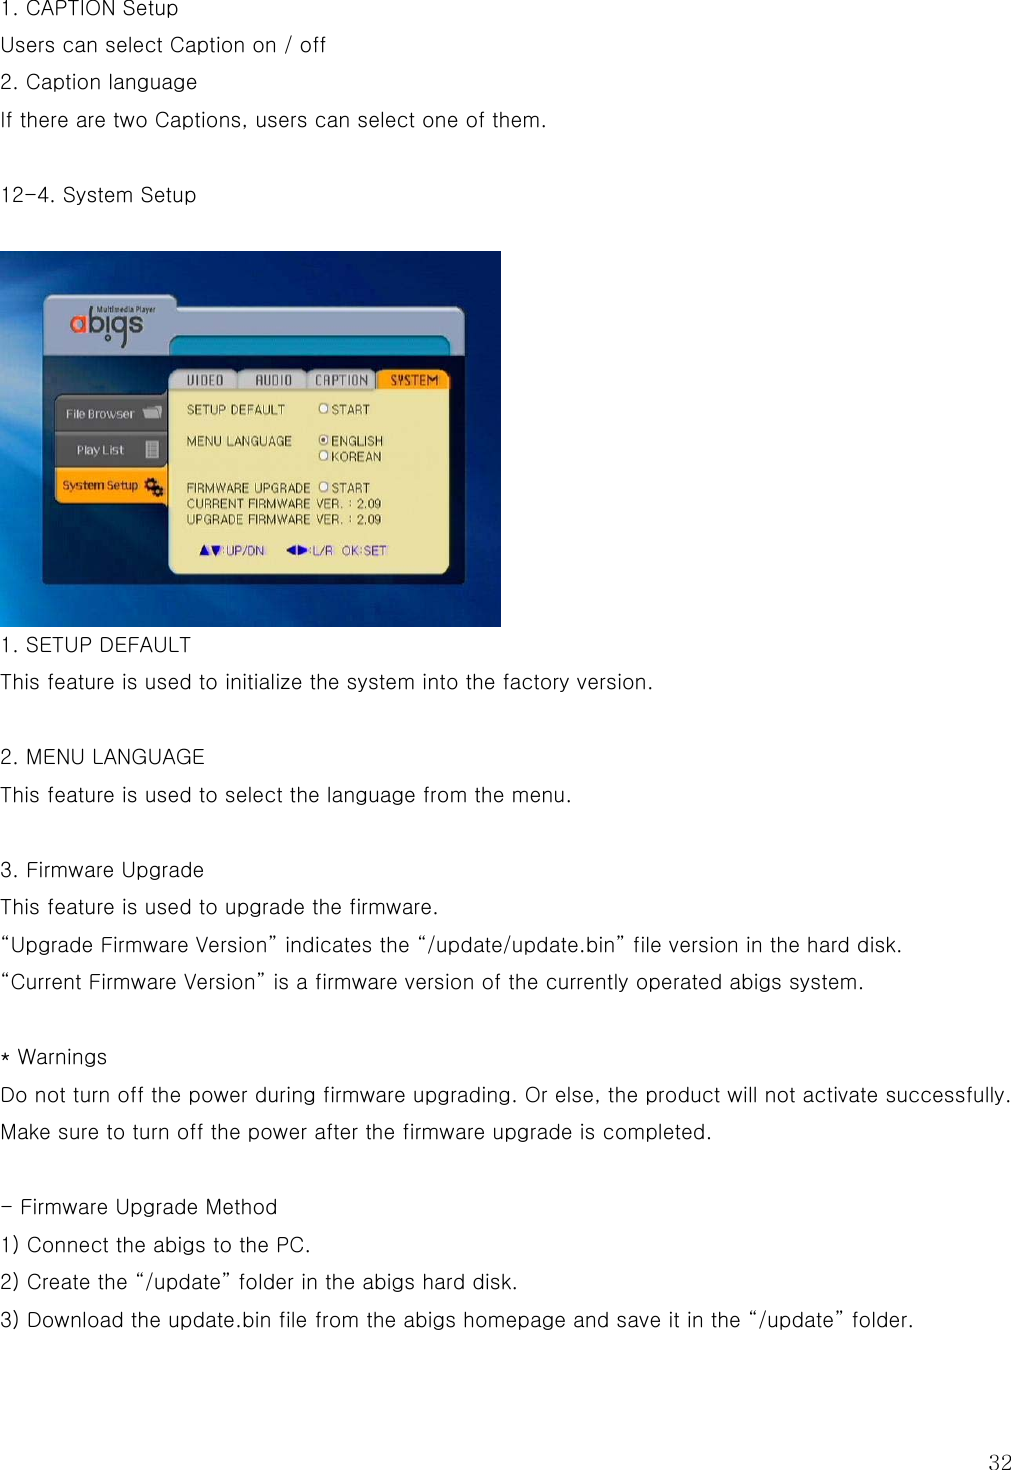
![33 4) Remove the abigs from the PC and turn on the power by connecting the abigs to the TV. 5) Move to the [SYSTEM SETUP]/[System] screen and press the “▲, ▼” button and the “OK” button from the “Start the Firmware Upgrade” item. 6) Press the “▲, ▼” button from the reconfirm message window and move to the “Yes” location. Press the “OK” button to see the window for upgrade. The firmware upgrade will begin. If users want to cancel the firmware upgrade, press the “OK” button from the “No” location. 7) After the firmware upgrade is completed, abigs automatically restarts. * Reference If the “Upgrade Firmware Version” is higher than the “Current Firmware Version”, start the upgrade.](https://usermanual.wiki/Sarotech/DVP-260/User-Guide-770014-Page-33.png)