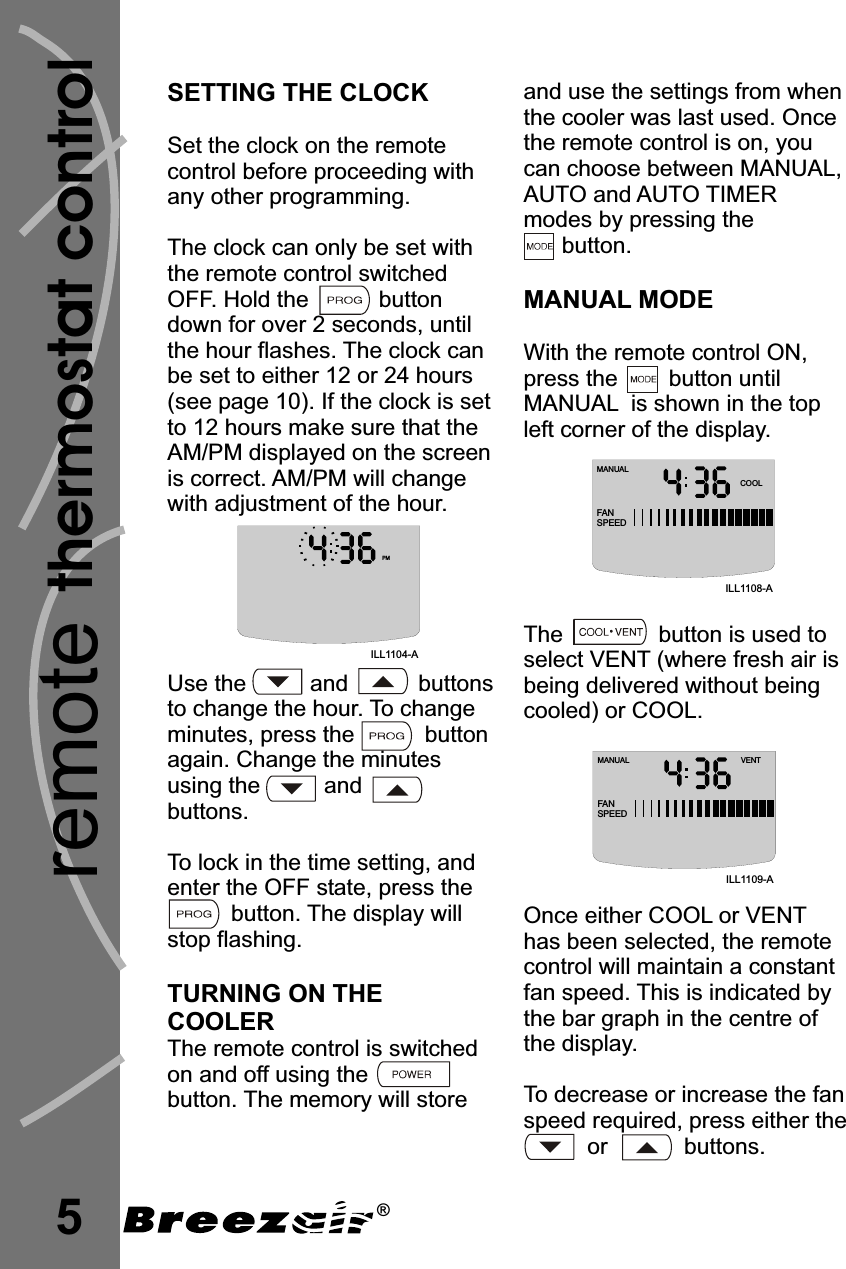
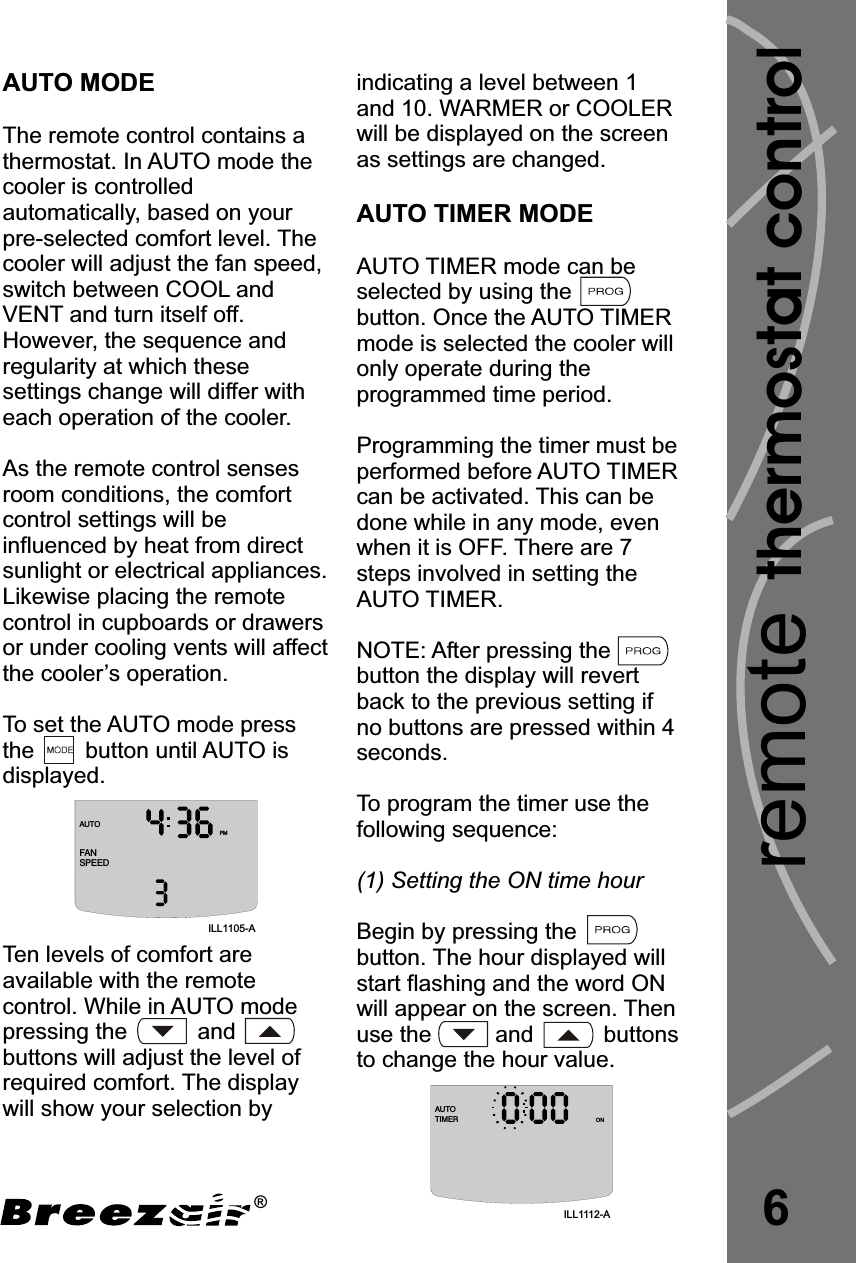
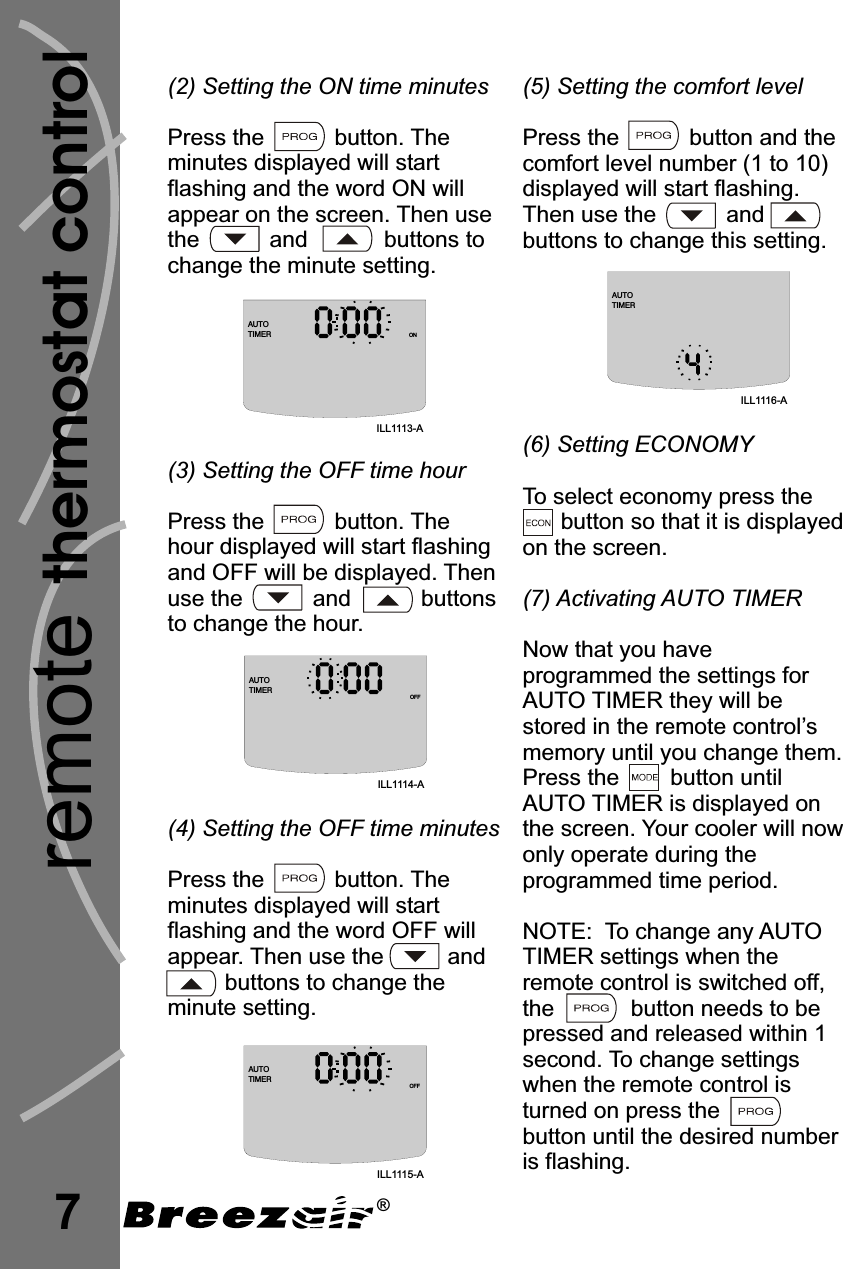
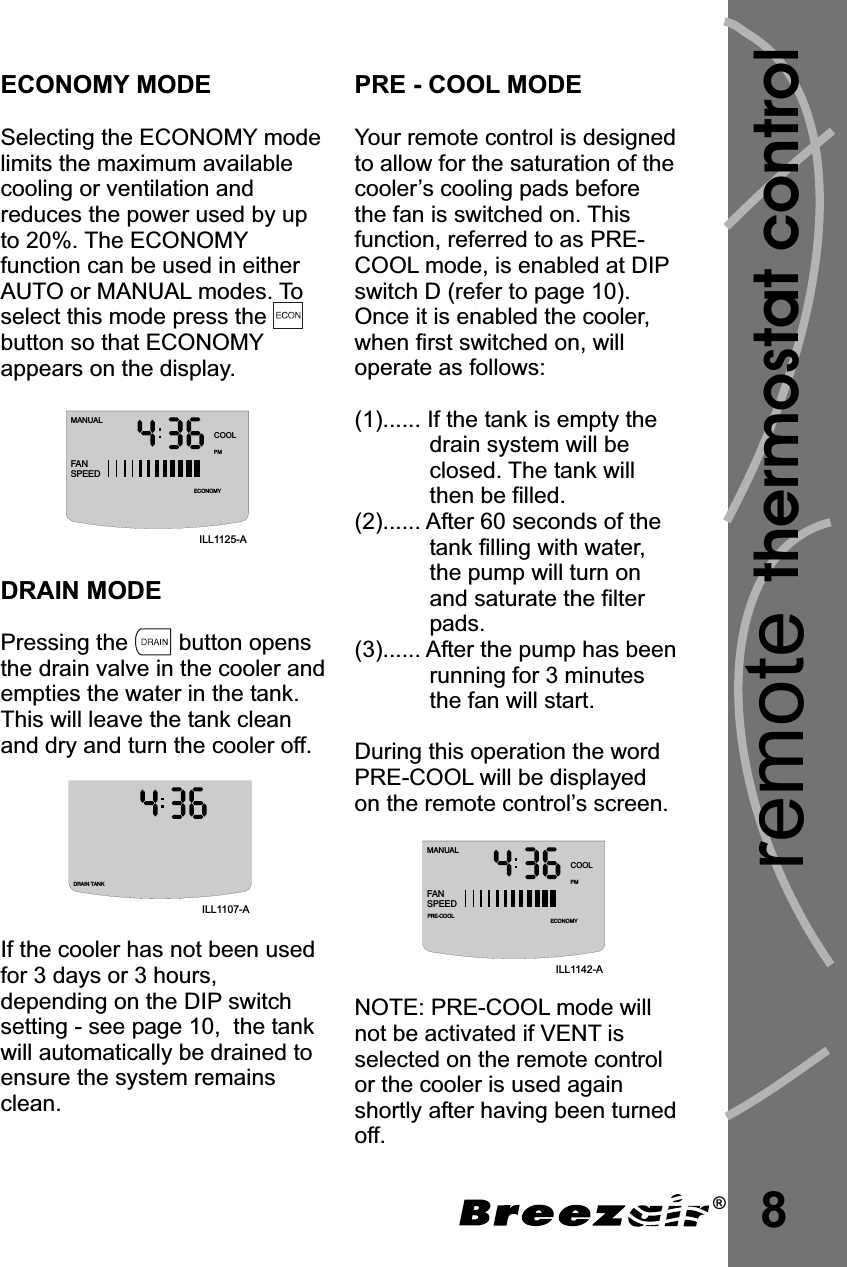
Seeley SIA06 Remote control transmitter User Manual Breezair Freedom Owners Manua
Seeley International Pty. Ltd. Remote control transmitter Breezair Freedom Owners Manua
UserManual.wiki
>
Seeley
>
SIA06 User Manual
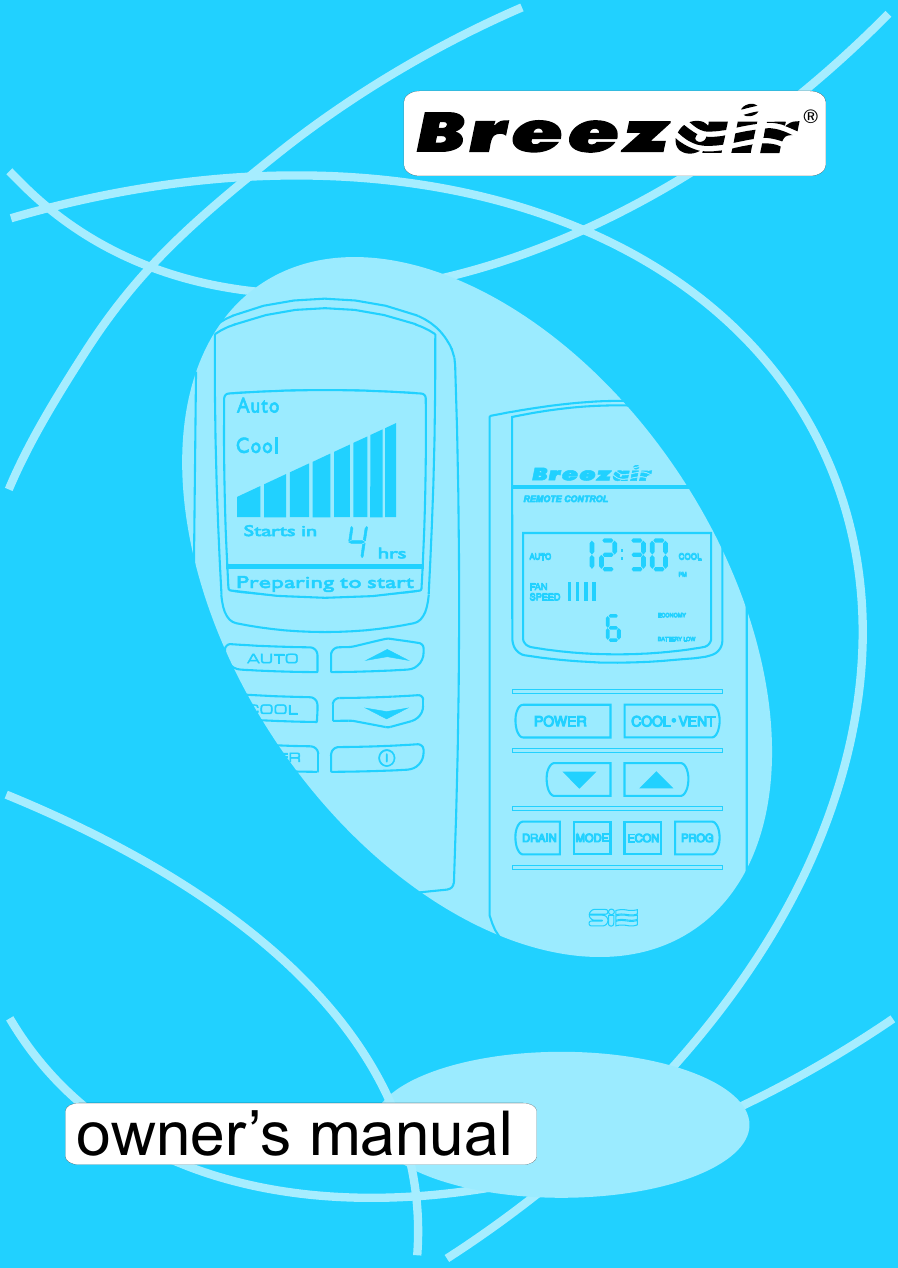
owners manual
Navigation menu
Upload a User Manual
Namespaces
Wiki Guide
HTML
PDF
Info
Views
User Manual
Discussion / Help
Navigation