Sercomm OC400 Interactive Services - Outdoor Camera User Manual
Sercomm Corporation Interactive Services - Outdoor Camera
Sercomm >
User manual
Interactive Services -
Outdoor Camera
IS-OC-1000
User Guide

i
Table of Contents
CHAPTER 1 INTRODUCTION .............................................................................................1
Package Contents ..............................................................................................................1
Features..............................................................................................................................1
LEDs...................................................................................................................................2
CHAPTER 2 INITIAL INSTALLATION..............................................................................4
Requirements.....................................................................................................................4
Procedure...........................................................................................................................4
CHAPTER 3 SPECIFICATIONS ...........................................................................................6
Hardware features.............................................................................................................6
Software features...............................................................................................................7
Regulatory..........................................................................................................................9
Copyright © 2010. All Rights Reserved.
Document Version: 1.0
All trademarks and trade names are the properties of their respective owners.

1
Chapter 1
Introduction
This Chapter provides an overview of the Outdoor Network Camera's fea-
tures and capabilities.
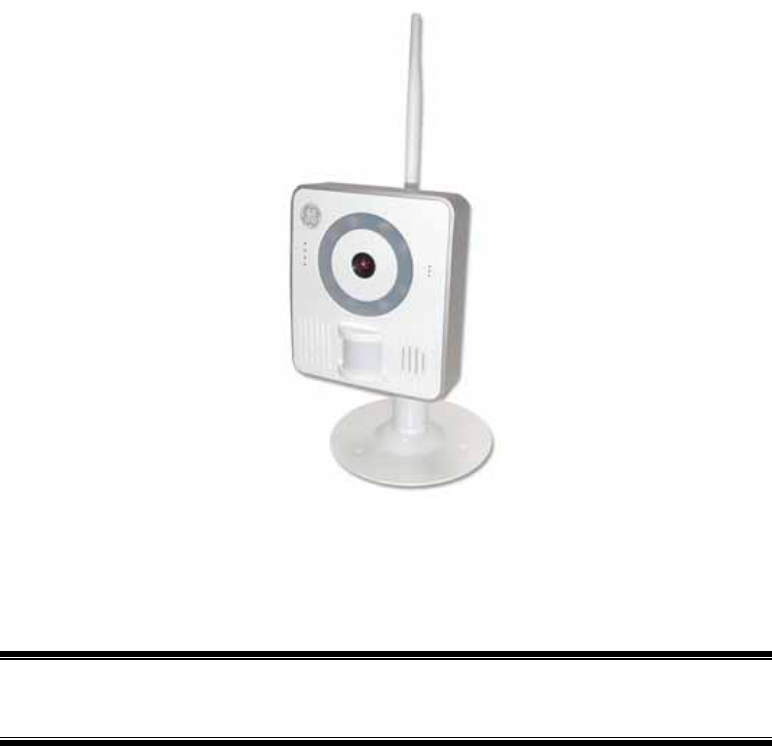
Congratulations on the purchase of your new Outdoor Network Camera. The Outdoor Network
Camera is a Water/Dust Proof device, which is used for home monitoring and security.
Package Contents
The following items should be included:
• The Outdoor Network Camera Unit
• Antenna
• Power Adapter
• A Stand
• Default kit
If any of the above items are damaged or missing, please contact your dealer immediately.
Features
• Support Dust Proof and Water Proof IP65
• Provide MPEG4 Simple Profile (up to 30fps) and Motion-JPEG video streams simultane-
ously (up to 30fps)
• Streaming resolution at VGA (640x480), QVGA (320x240) and QQVGA (160x120).
• Support Day /Night mode by auto IR switcher as well as 8 IR LED
Low Light Sensitivity is 0.5 Lux without IR LED
Low Light Sensitivity is 0.1 Lux with IR LED
• Support H/W Motion Detection by PIR Sensor.
• Support full duplex bi-directions audio with Echo Cancellation function
• Support IEEE 802.11b/g.
• Support Motion Detection by analyzing the video stream.
• Support user-defined HTTP CGI for the HTTP notification action.
• Image controls:AWB (Auto-White-Balance), AGC (Auto-Gain-Control), Contrast,
Sharpness, Brightness, Image Quality, Time Stamp and Text Overlay, image flip and mir-
ror control.
• Alarm Event includes File upload via FTP, HTTP, email notification and FTP event
recording.
1
Wireless Adapter User Guide
2
LEDs
Front-mounted LEDs
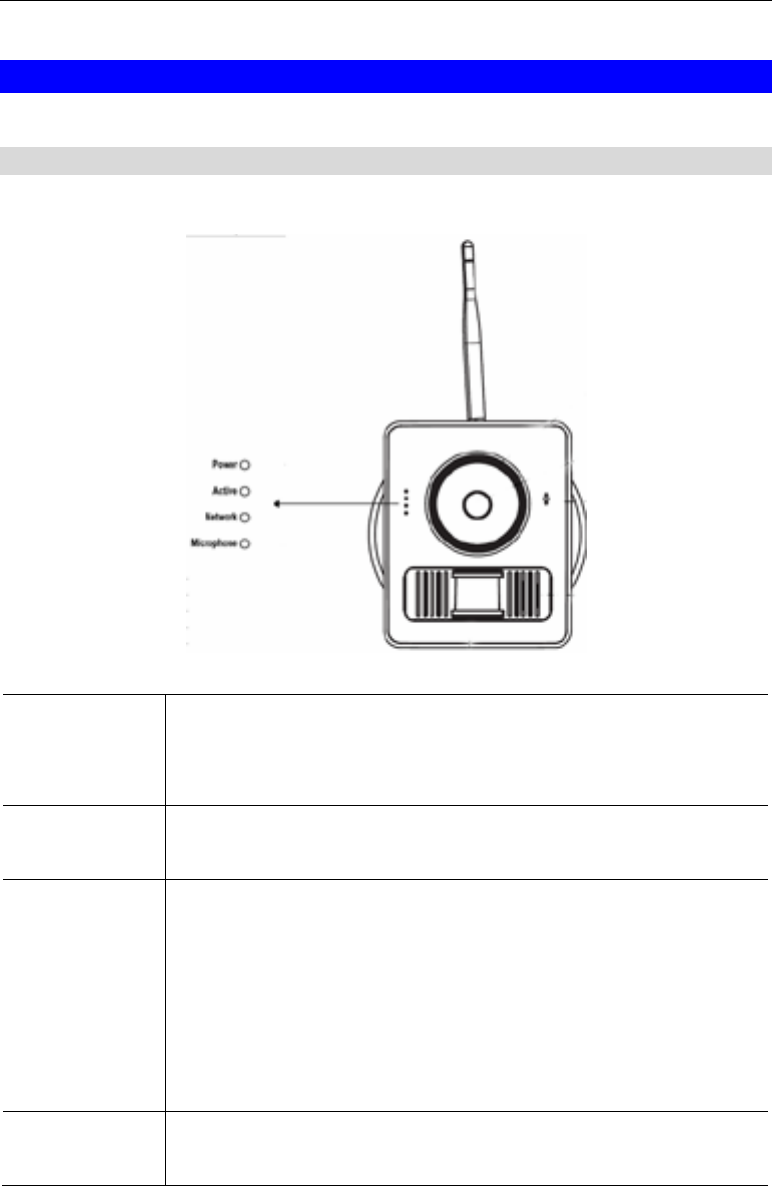
The Outdoor Network Camera has 4 LEDs.
Power • On (Green)- Power On
• Off - Power Off
• Flashing - The device is rebooting.
Active • Off - No user is viewing the camera.
• Blinking - User(s) is viewing the camera.
Network / WPS • On (Green)- LAN connection established.
• Off - Wireless or LAN is not connected.
• Flashing (Green) - Data is being transmitted or received via the
corresponding LAN (hub) port.
• On (Amber)- If the LED is on, the WPS is not processing success-
fully.
• Flashing (Amber) - WPS function is being processed.
Microphone • On - Microphone function is enabled.
• Off - Microphone function is disabled.
Introduction
3
Rear Panel
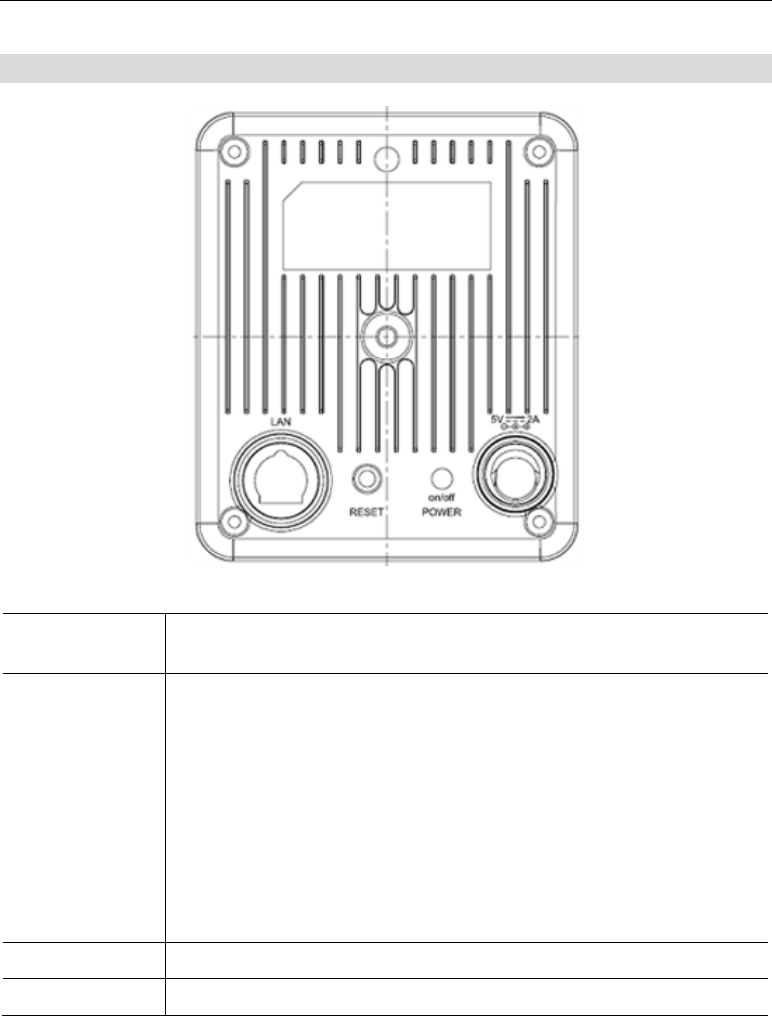
LAN Port Use standard LAN cables (RJ45 connectors) to connect your PCs to
these ports.
RESET Click this button to setup WPS Auto mode and pin mode, or reset all
setting to factory default. After Reset switch is pressed, system will take
following actions:
• Press once (less than 3 seconds) under Wireless connection, system
will be in WPS PBC model (Auto mode).
• Press and hold over 3 seconds (less than 10 seconds) under Wire-
less connection, system will be in WPS PIN code mode (8 digital,
generated from last 3 byte of MAC address)
• Press and hold over 10 seconds, reset to manufacturer default value
and reboot.
POWER Switch Push the button down to power on the device
Power Port Connect the supplied power adapter here.
4
Chapter 2
Initial Installation
This Chapter covers the software installation of the Outdoor Network Camera.
Requirements
• Network cables. Use standard 10/100BaseT network (UTP) cables with RJ45 connectors.
Procedure
1. Choose an Installation Site
Select a suitable place to install the Outdoor Network Camera.
2. Connect LAN Cables
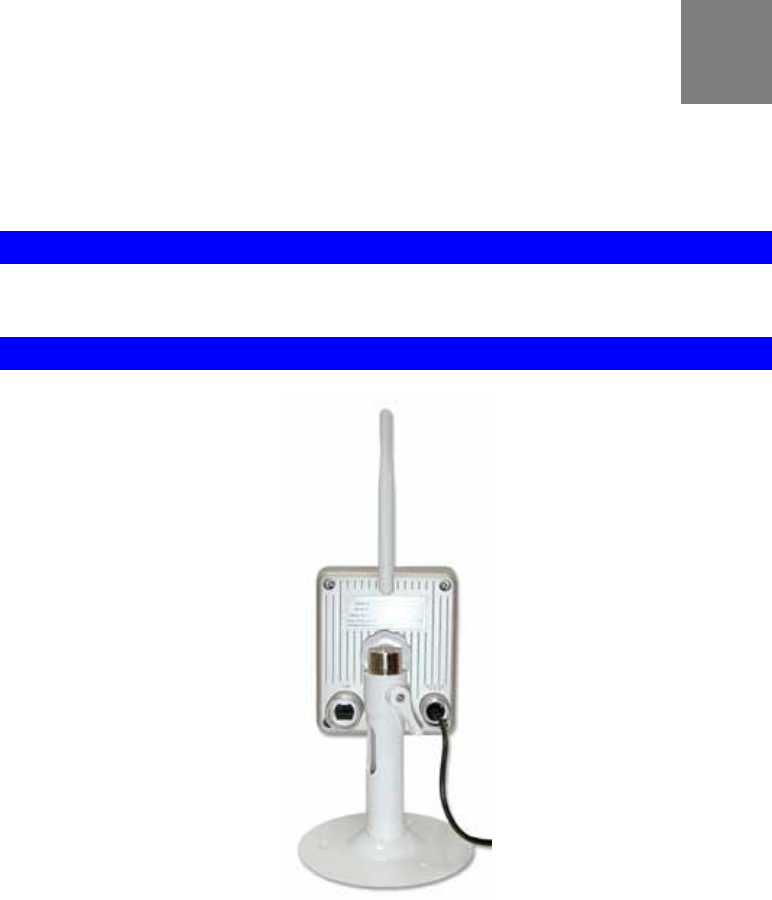
Use standard LAN cables to connect devices to the LAN port on the Outdoor Network
Camera.
4. Power Up
Connect the supplied power adapter to the Outdoor Network Camera. Use only the power
adapter provided. Using a different one may cause hardware damage.
Push the Power switch down to turn on the device.
5. Check the LEDs
• The Power LED should be ON.
2

Initial Installation
5
• The Network LED should be ON (provided the PC is also ON.)

6
Chapter 3
Specifications
This Chapter provides specifications for the Outdoor Network Camera.
Hardware features
Feature Description
CPU SC1100, ARM9 based, 32bit-192Mhz base clock
Hardware MPEG-4 SP/MJPEG Encoders
Flash ROM 4 Mbytes
SDRAM 32 Mbytes SDRAM
LAN DM9102H, Ethernet 10/100BaseT, Auto-MDIX,
WiFi IEEE 802.11b/g standard
Max 50m line of sight, with no interference
External Antenna with 4.2dBi, water proof
Indicators Power Green
Active Green
Network Green/ Amber
Microphone Green
Connectors Ethernet, RJ45 connector
Reset Button, Tack switch
Power on/off button
DC Power,
External Power
Adapter 5V/2A, 10W, 100~240 VAC, Switching
2.5mm Phone Jack, 180 Degree
Power Consumption Estimated 5W
Audio
Microphone/Speaker Bi-directional, built in mic and speaker
Codec G.726 (ADPCM)/G7.11 (PCM)
Audio option Software controlled on/off via web interface and firmware
Audio recoding/playback
Built-in Speaker 8 ohm, 1.5W
3

Appendix B - About Wireless LANs
7
Built-in Microphone 6mm, – 40 dB + 3db, >55dB
Image Sensor
Image Sensor Omni Vision OV7740 1/5” CMOS Sensor, Effective Pixels
640x480 (6µm x6µm pixels)
Lens F2.0 @ f1.8 Fixed Focus lens (board lens, 3P), 50cm infinity, 60
view angle
Viewing Angle 600 Viewing Angle
Software features
Operating System
OS Linux Operating System
Management
interface
Web based user interface
DHCP Client
Protocol Support TCP/IP, HTTP, HTTPS, IPv4, RTSP/RTP, RTCP, QoS, DHCP,
NTP, FTP, SMTP, DNS, DDNS, UPnP, IGMP, ICMP, iControl API
protocol compatible
Video
Video Compression z MPEG4
z MJPEG
Resolution z 640x480 (VGA)
z 320x240 (QVGA, system default)
z 160x120 (QQVGA)
Frame Rate z MPEG4 max. 30fps
z MJPEG max. 30fps
3GPP z 160x120@15fps, M-PEG4 for mobile phone viewing
Digital Zoom z 4x
Security z Password Protection, HTTPS encryption, IP address filtering,
user access log
Video verification z Time Stamp
z Text Overlay, 20 characters

Wireless Adapter User Guide
8
Browser Support Internet Explorer 6 and above
ActiveX Support ActiveX 8.0 and above
Audio
Audio Compression G.726 (16/32 Kbps), G.711 (64 Kbps)
Sampling Rate 8 KHz
Events
Internal Motion
Detection
On board video pixel motion detection
Trigger PIR trigger
HTTP trigger
Motion Detection
Triggered Action File upload via FTP, HTTP and email notification, FTP event re-
cording support, PIR trigger,
Pre/Post Alarm Yes, configurable
E-Mail Client, For event trigger alert notification

Appendix B - About Wireless LANs
9
Regulatory
Regulatory
Water-Proof IP65
EMI / EMC FCC, CA, RoHS, WEEE
Safety UL2044
Wireless Adapter User Guide
10
This device has been designed to operate with the antennas listed below, and having a
maximum gain of [4.2] dB. Antennas not included in this list or having a gain greater
than [4.2] dB are strictly prohibited for use with this device. The required antenna
impedance is [50] ohms.