Sharp NAR0059 Laptop Computer with Integral 802.11 Transmitter User Manual safety m4000
Sharp Corporation Laptop Computer with Integral 802.11 Transmitter safety m4000
Sharp >
Contents
- 1. Users Manual part 1
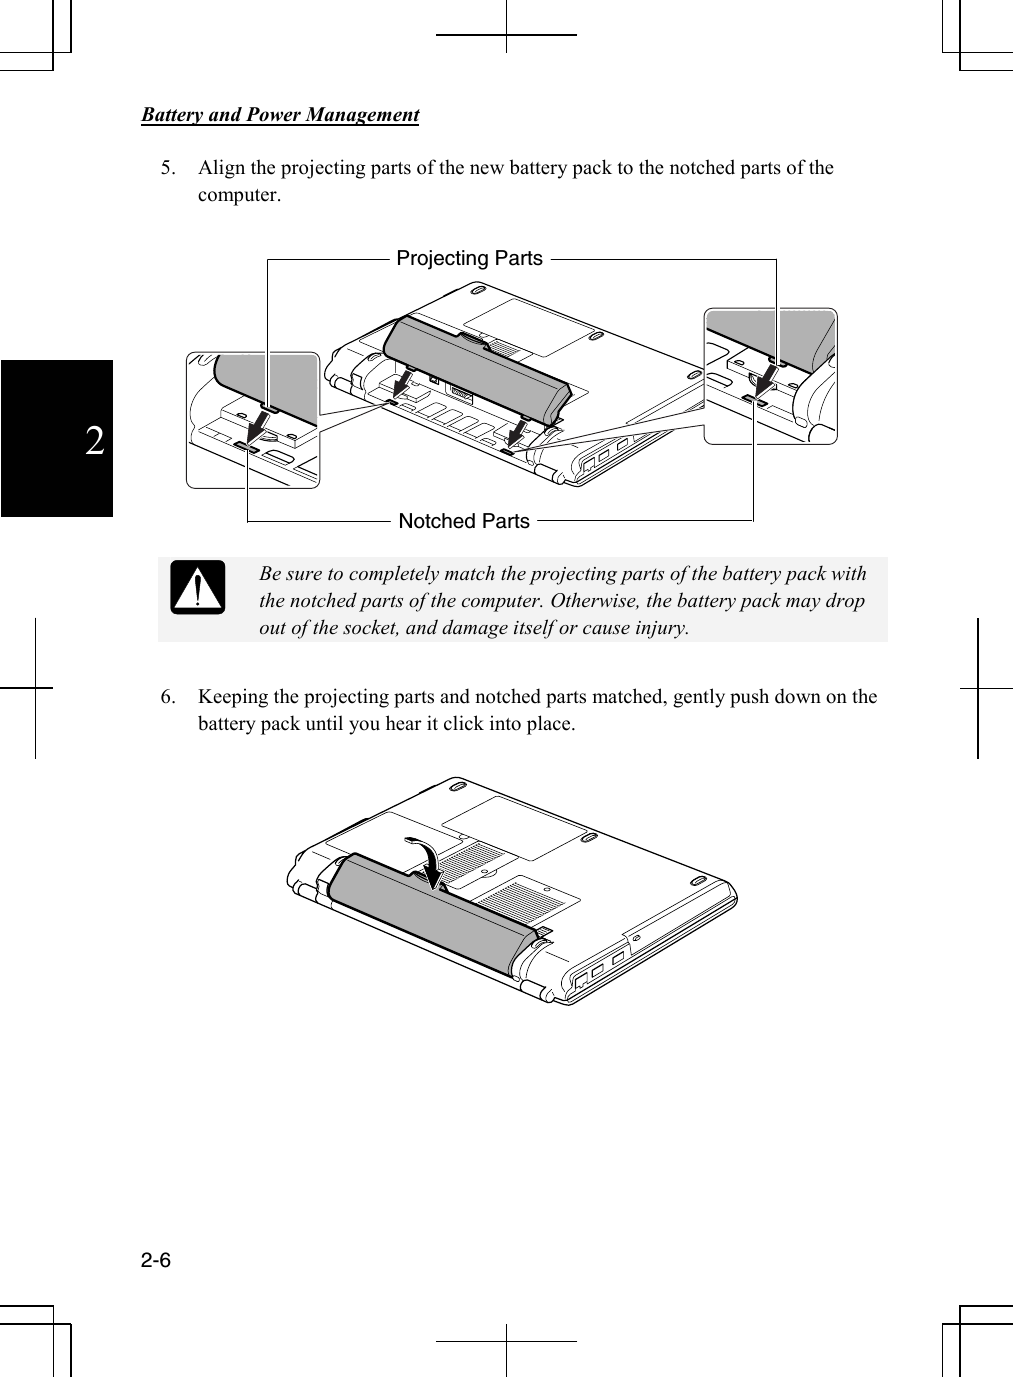
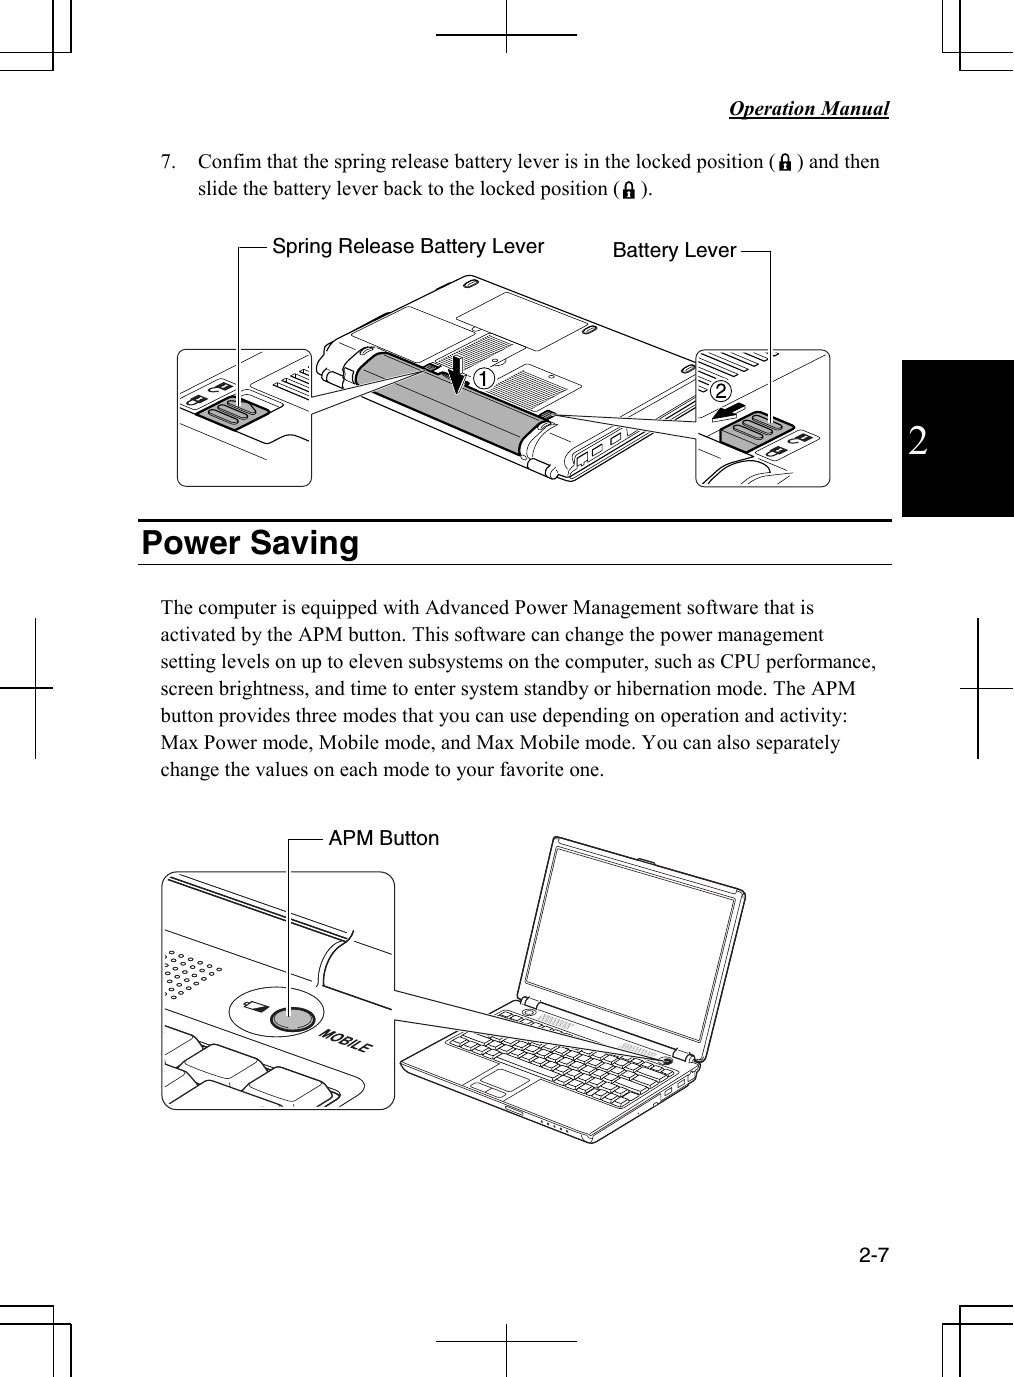
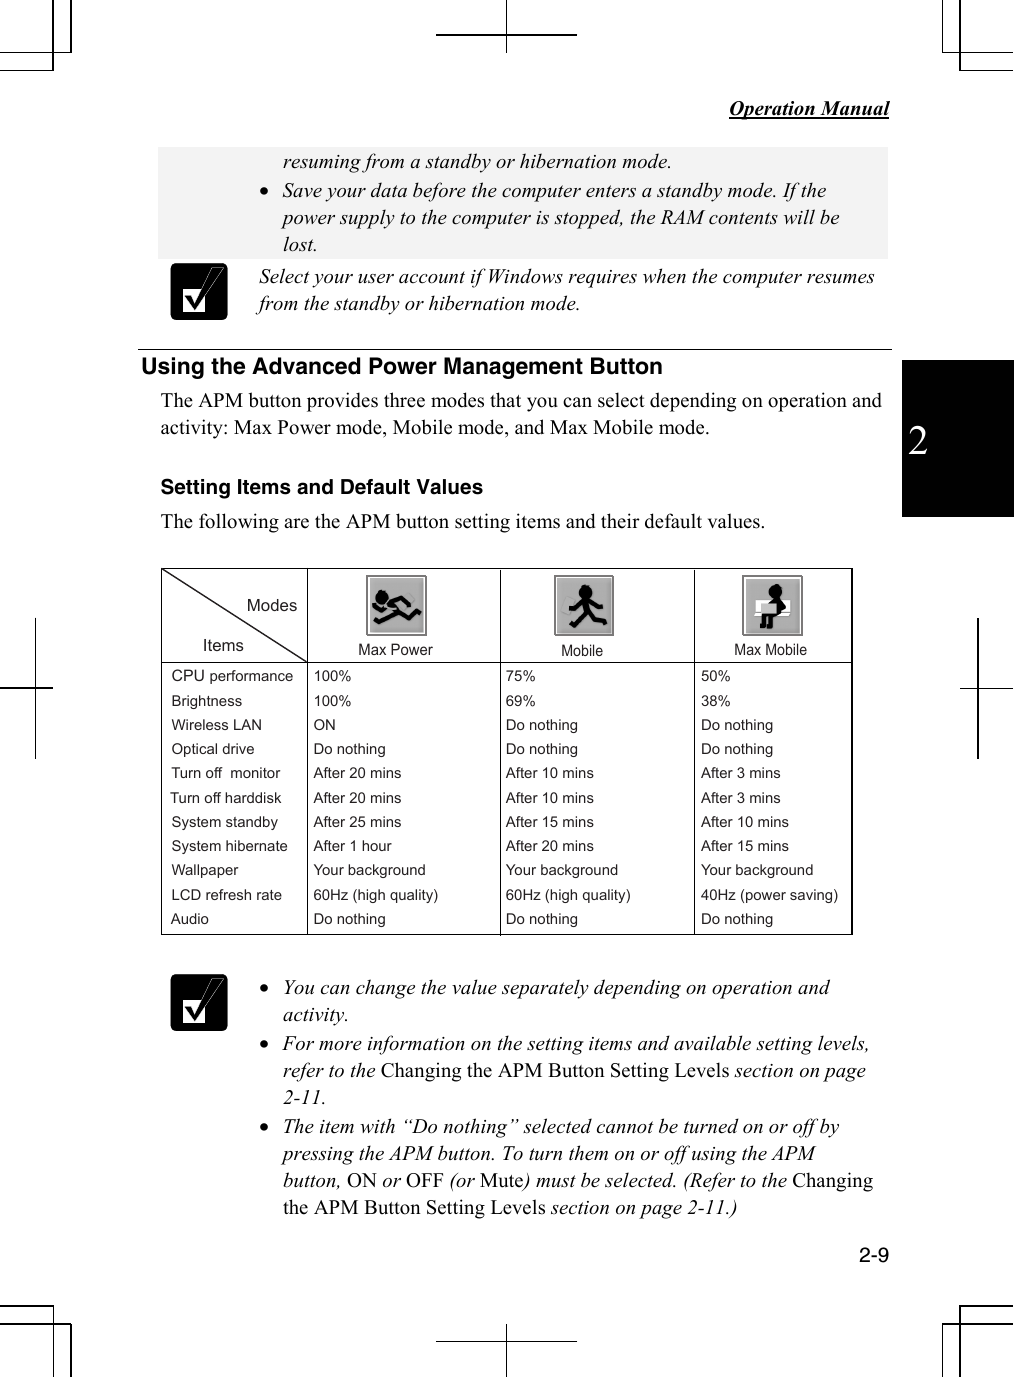
- 2. Users Manual part 2
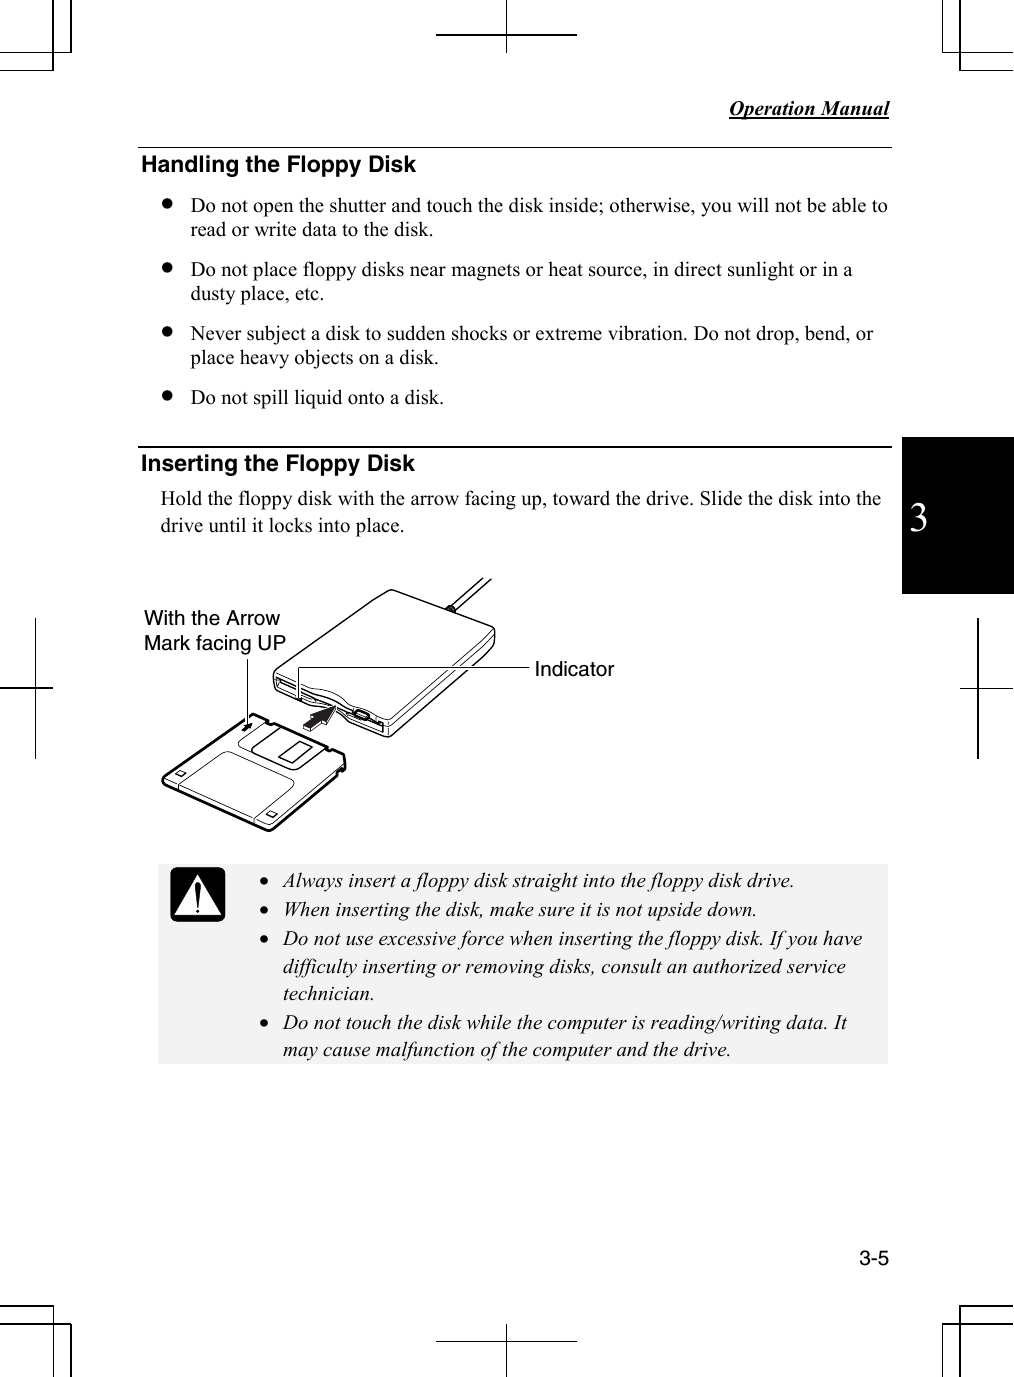
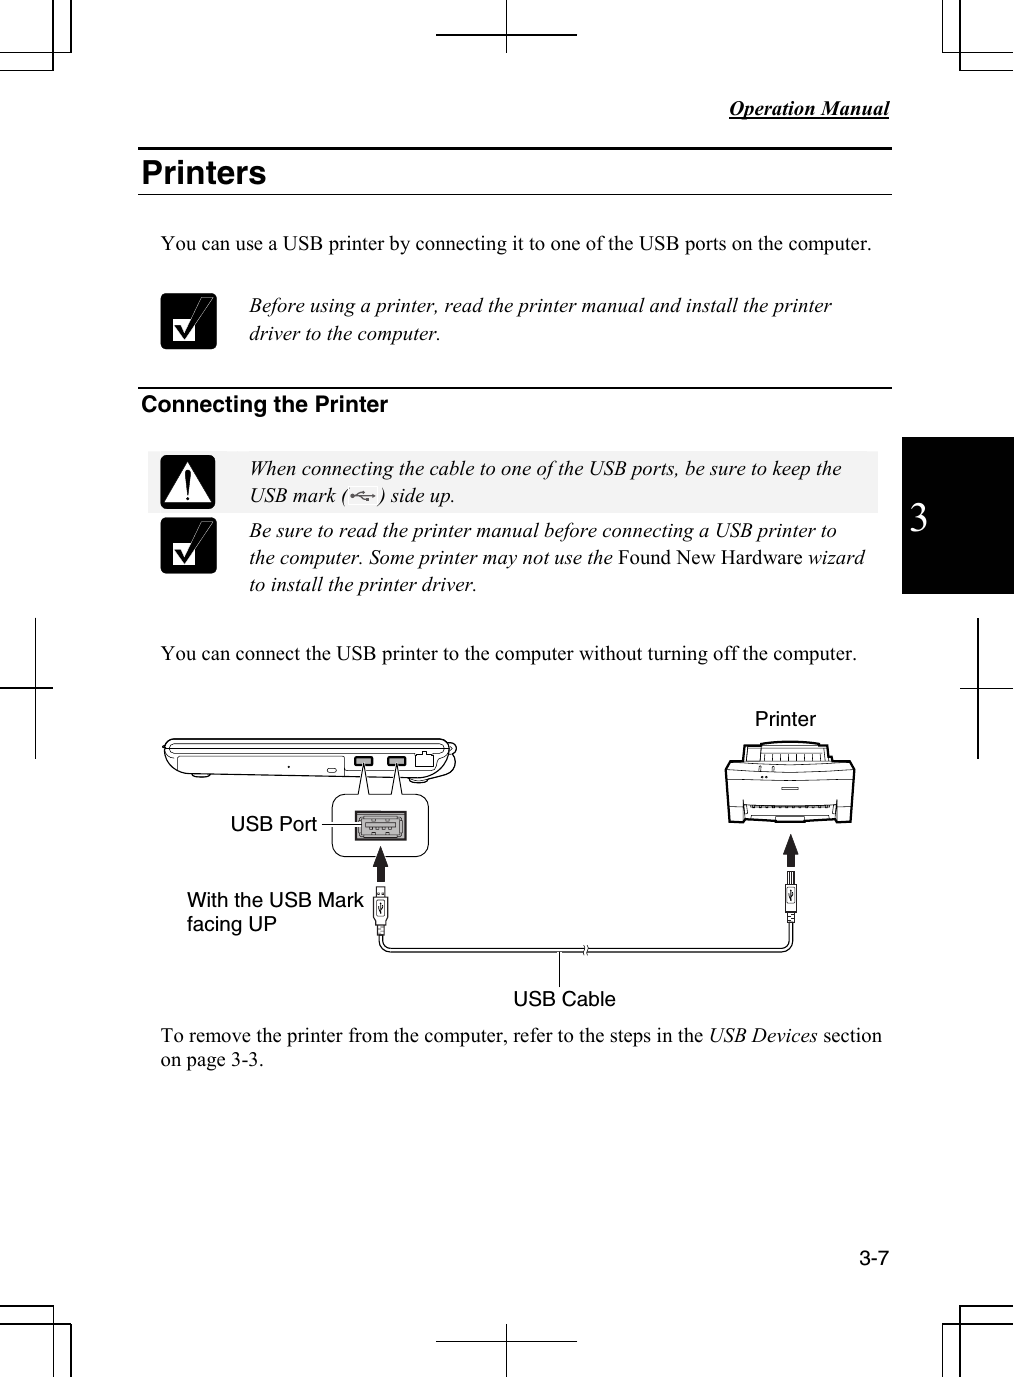
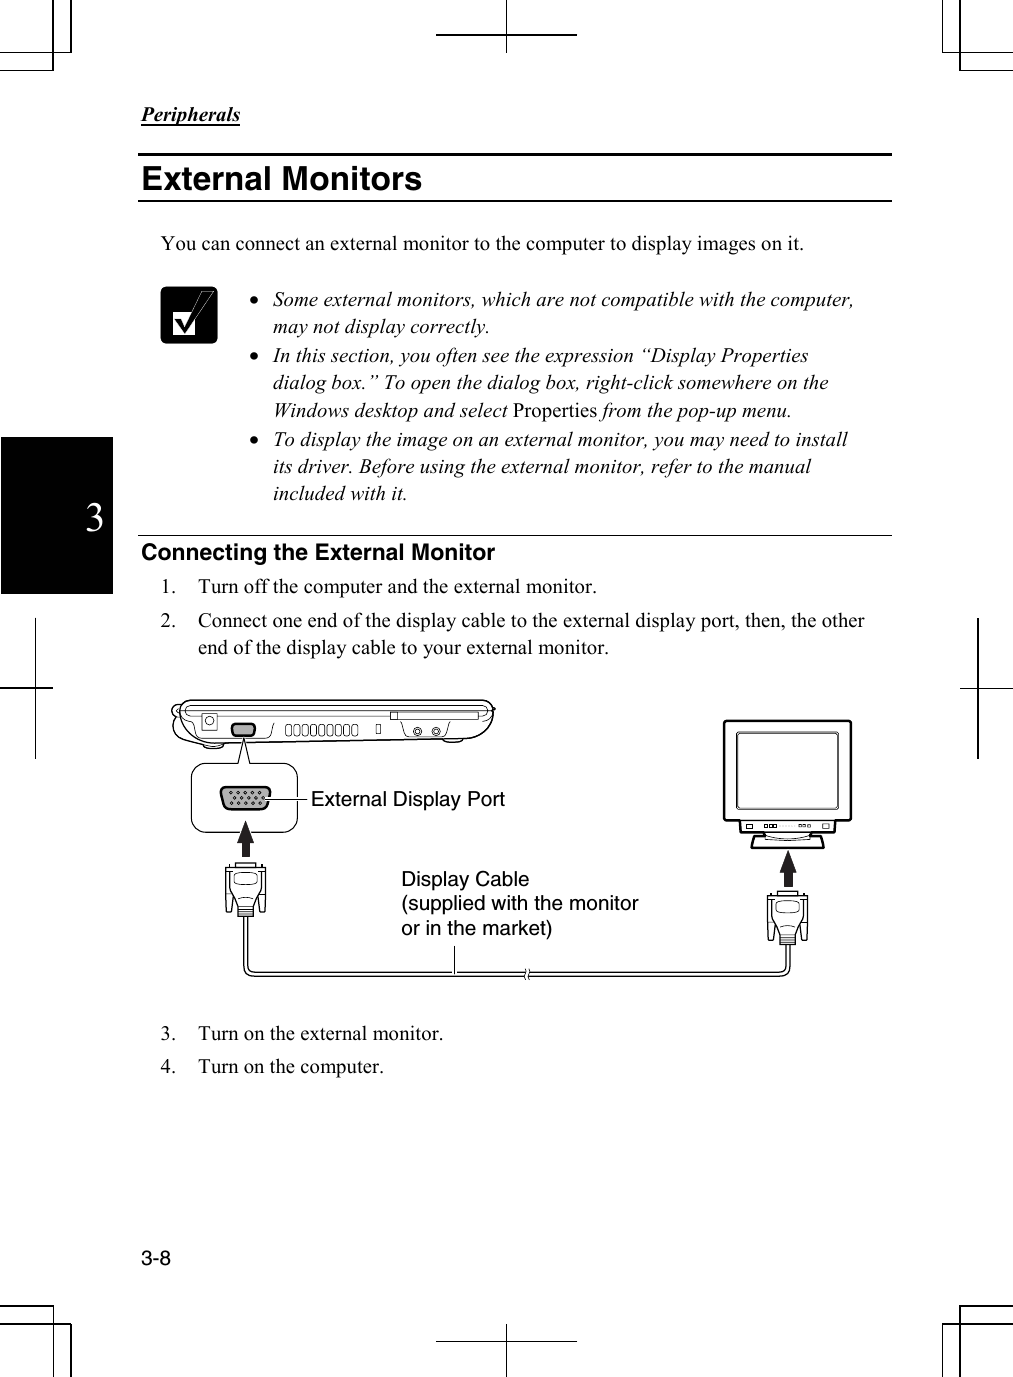
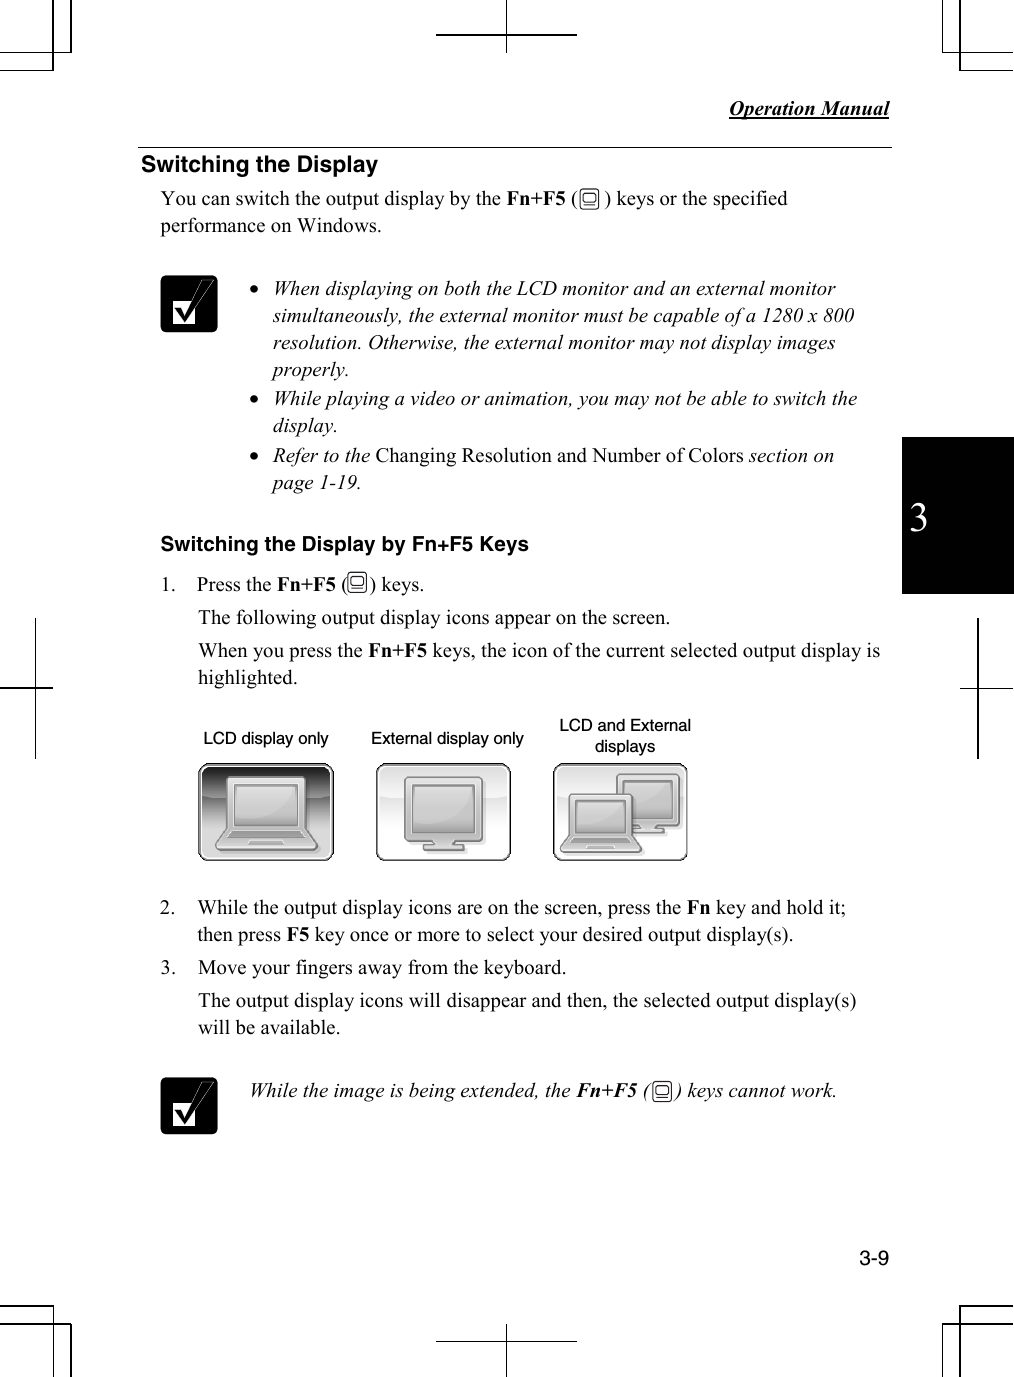
Users Manual part 1
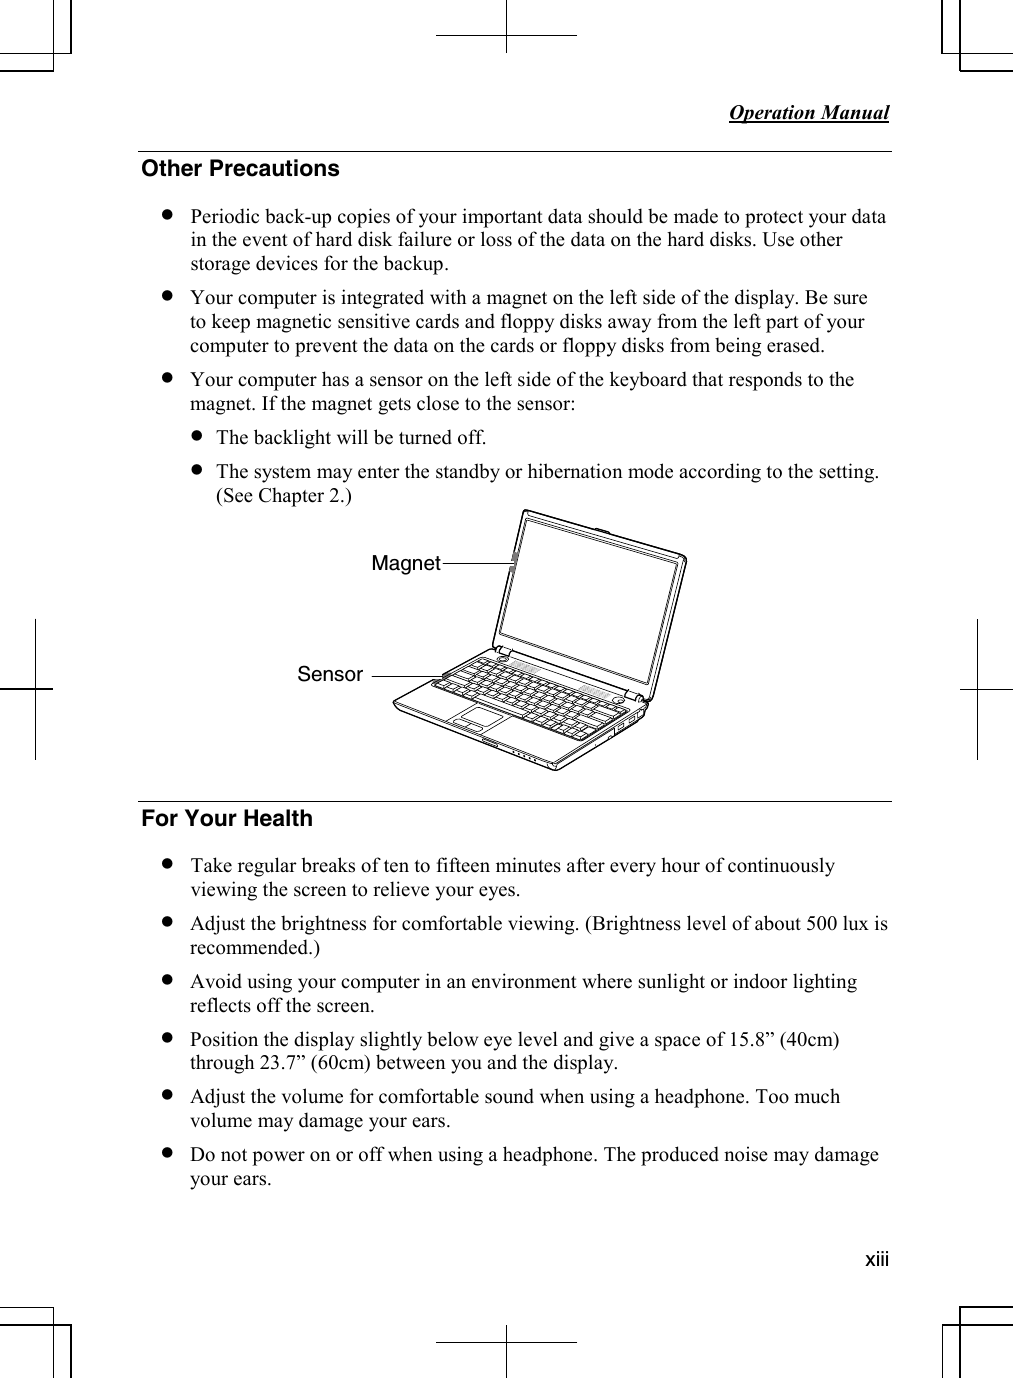
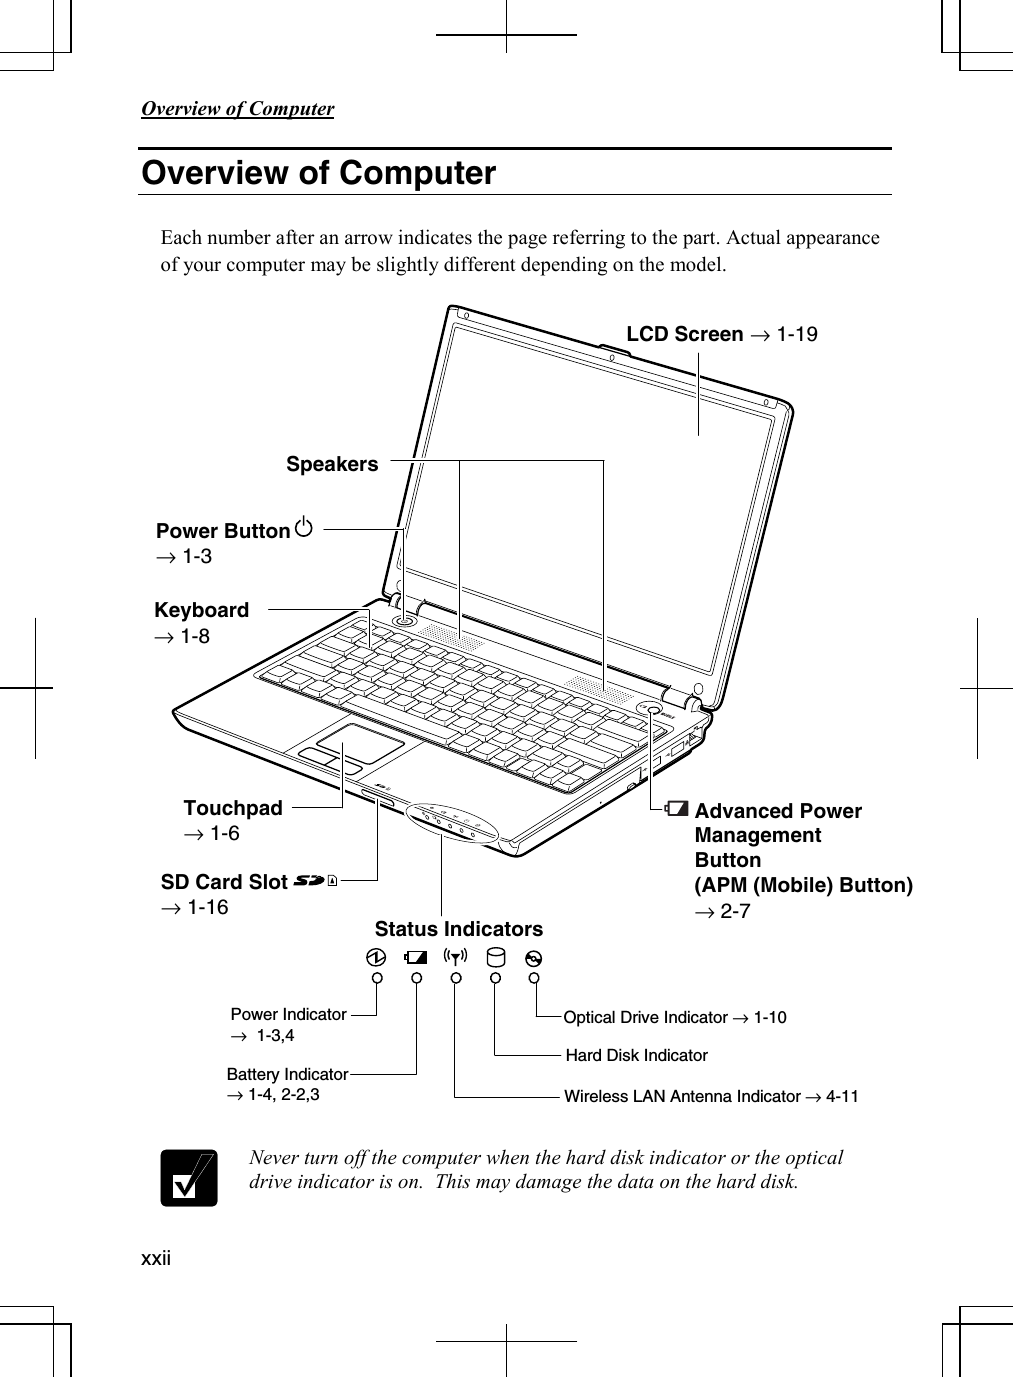


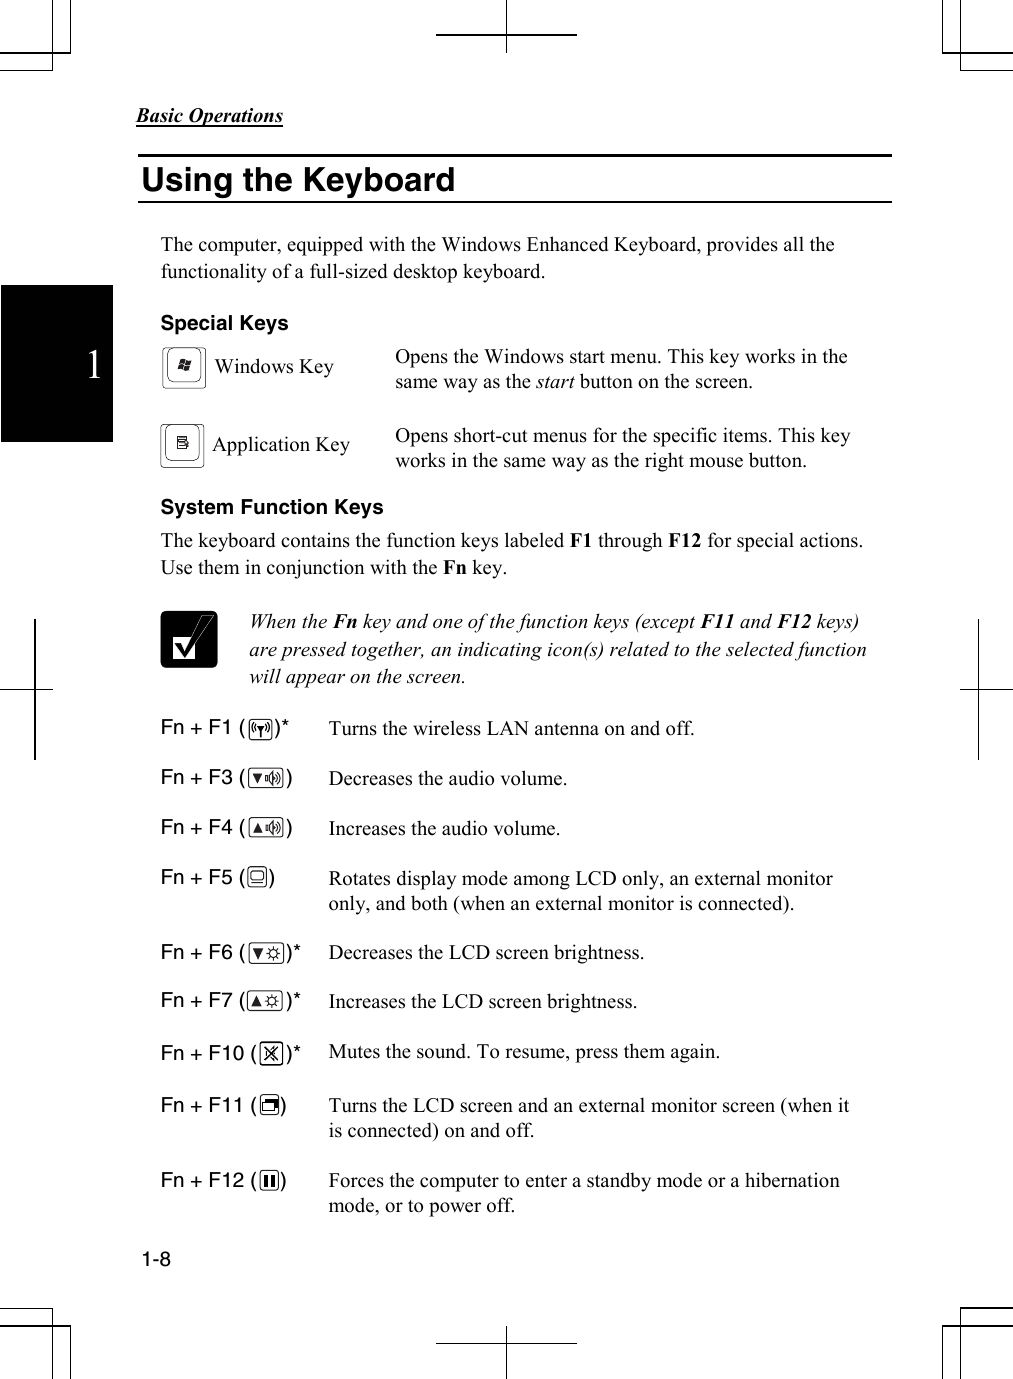
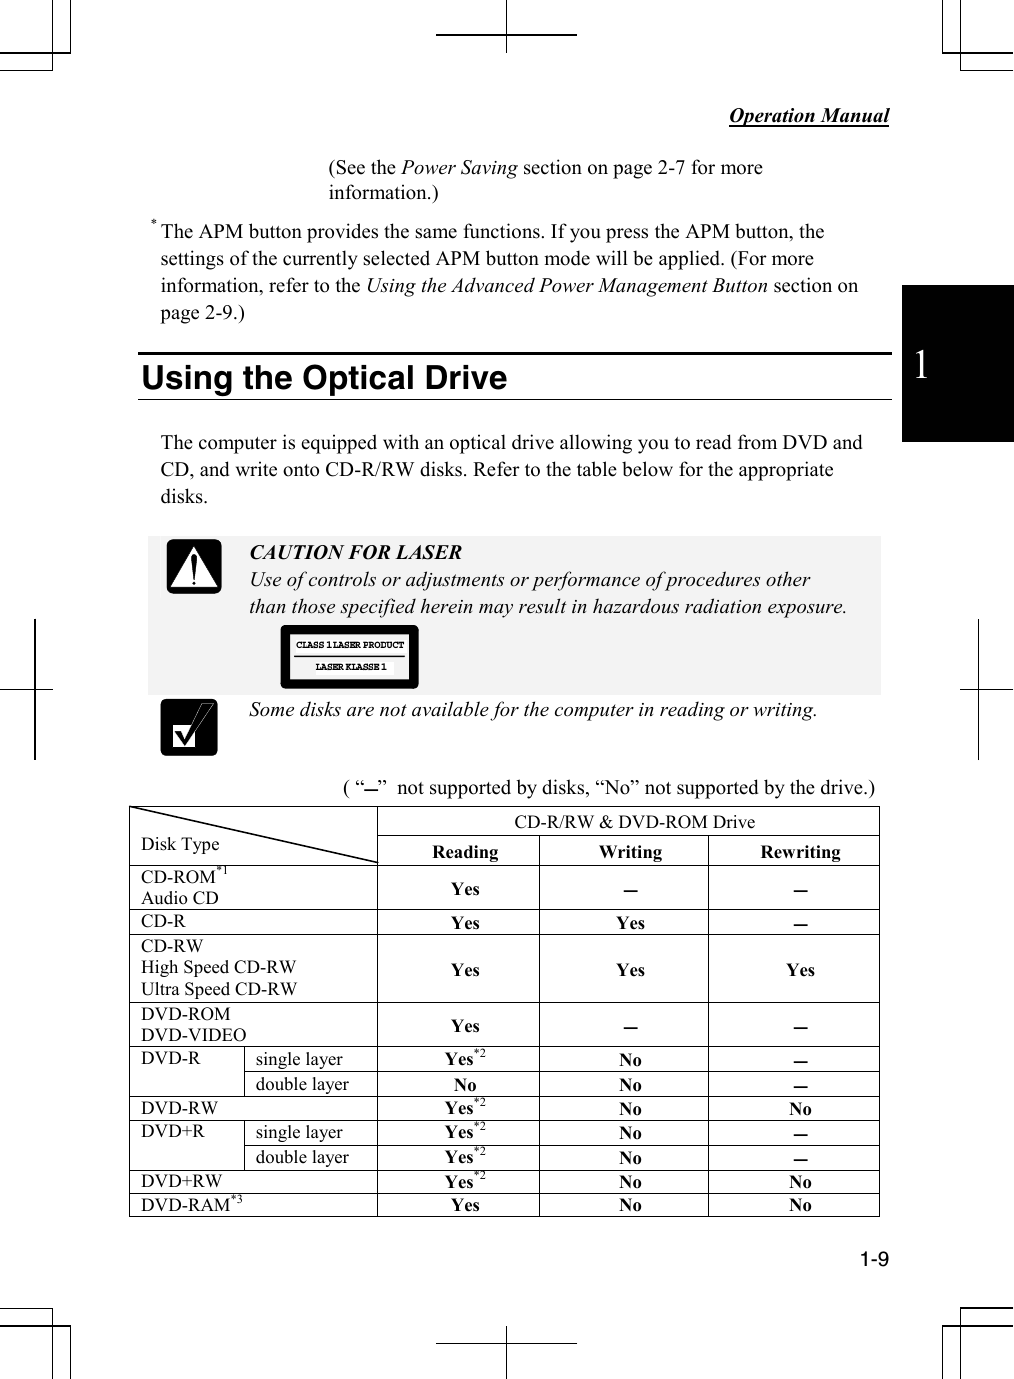
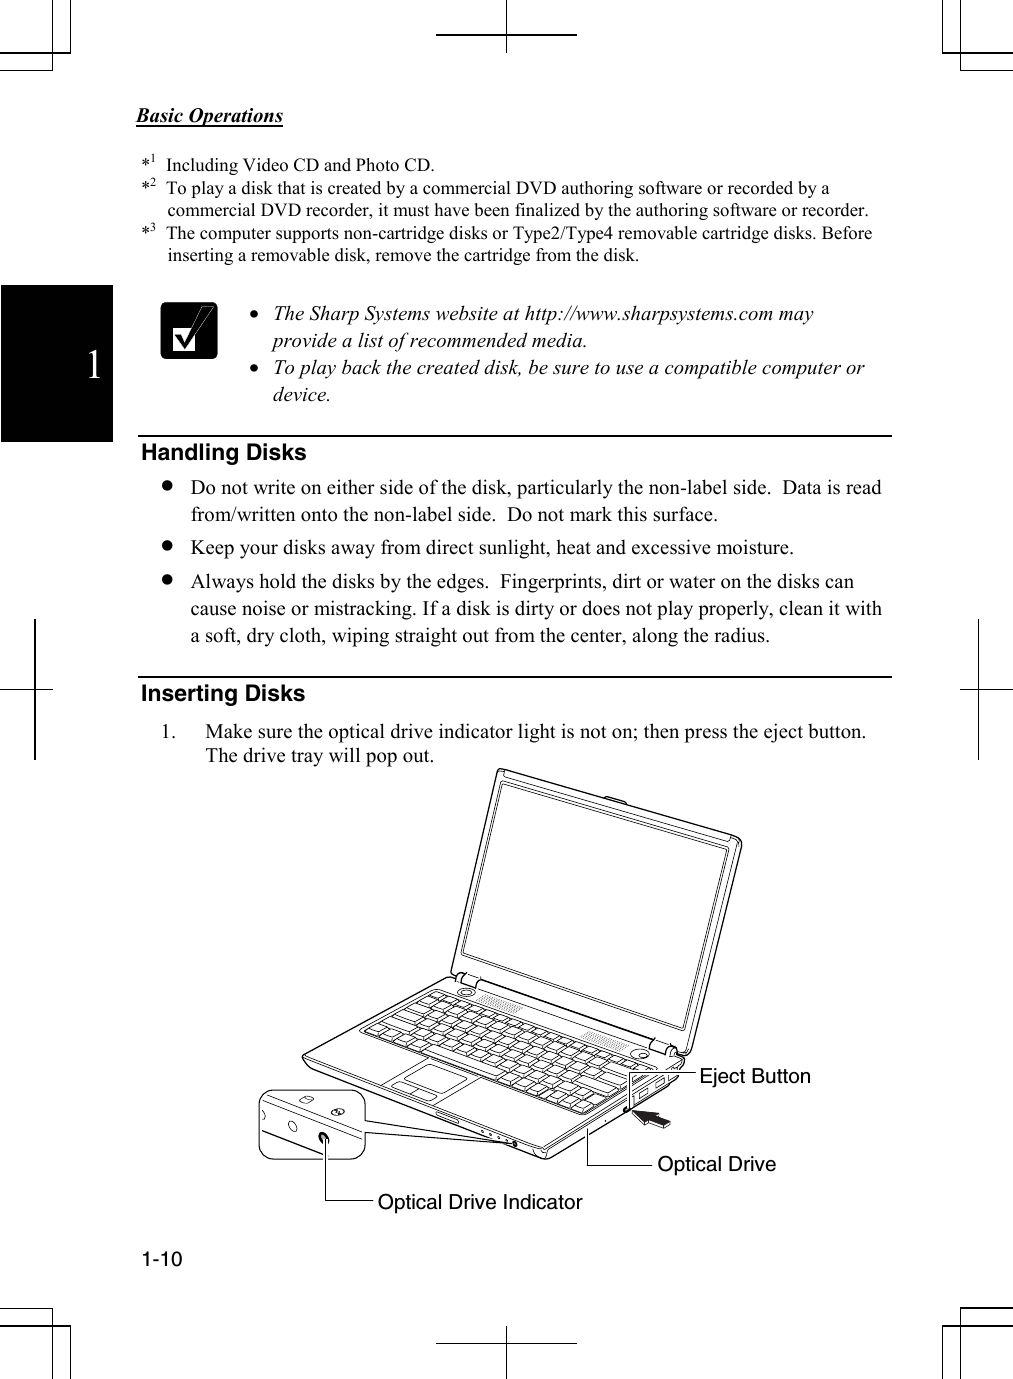
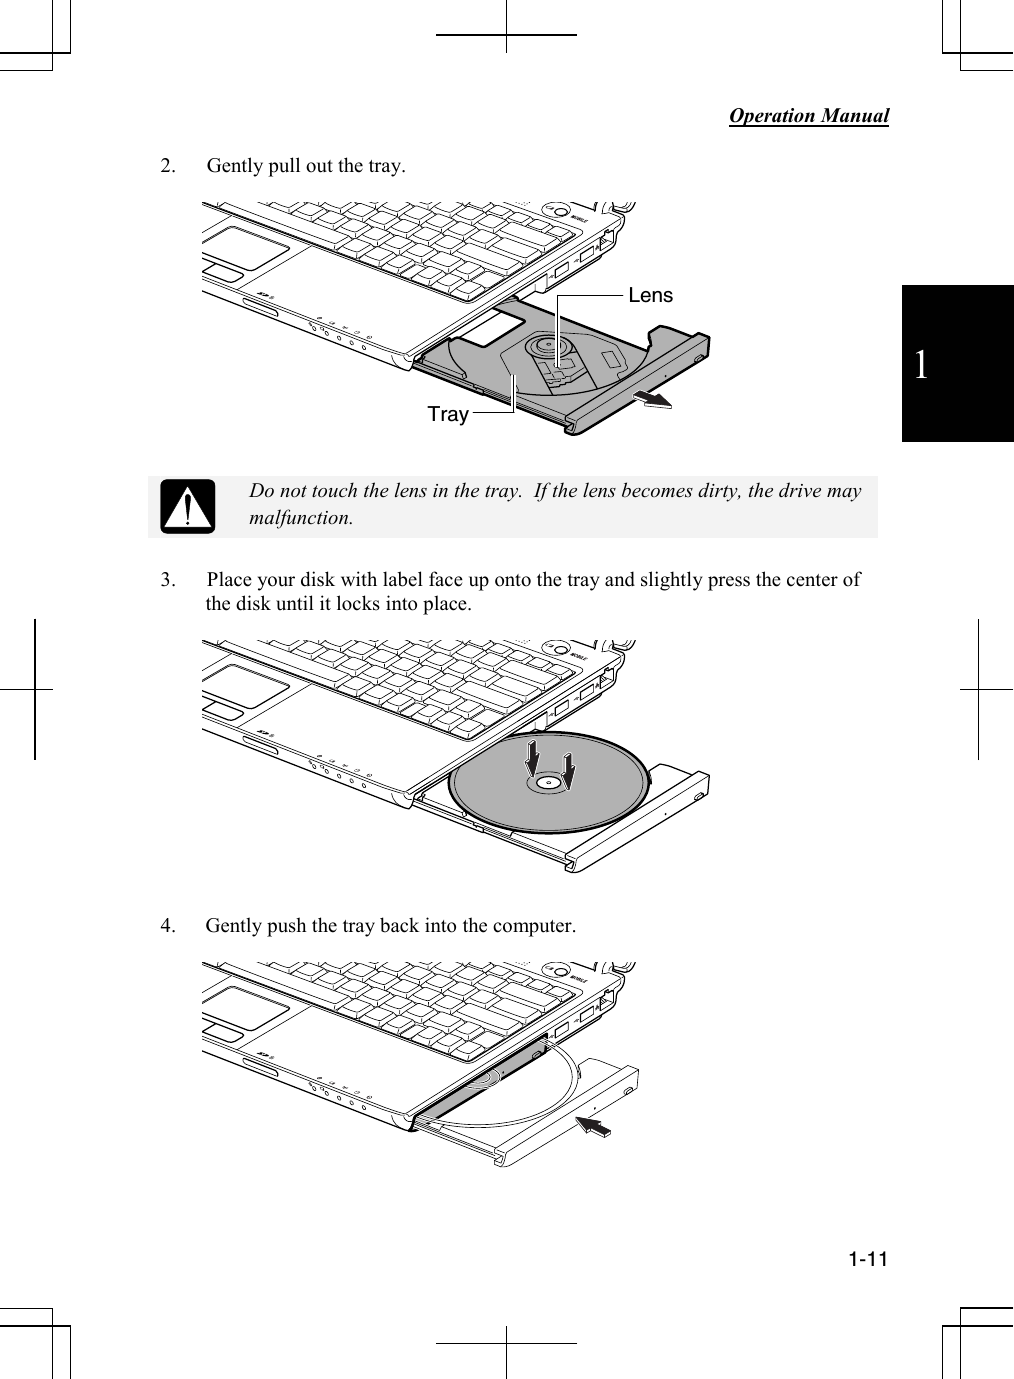
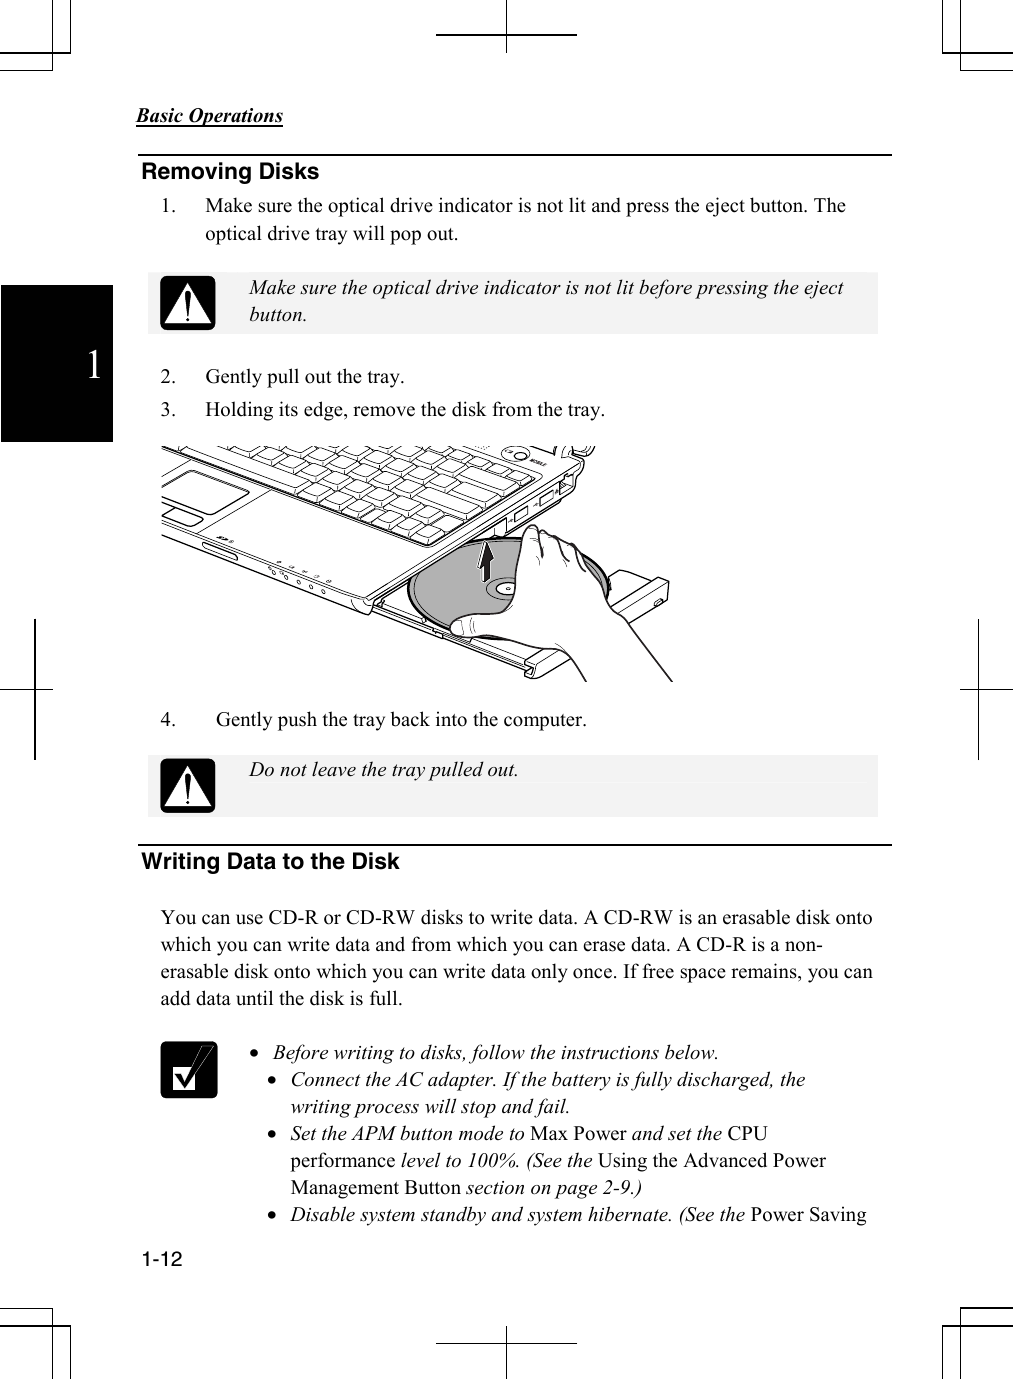
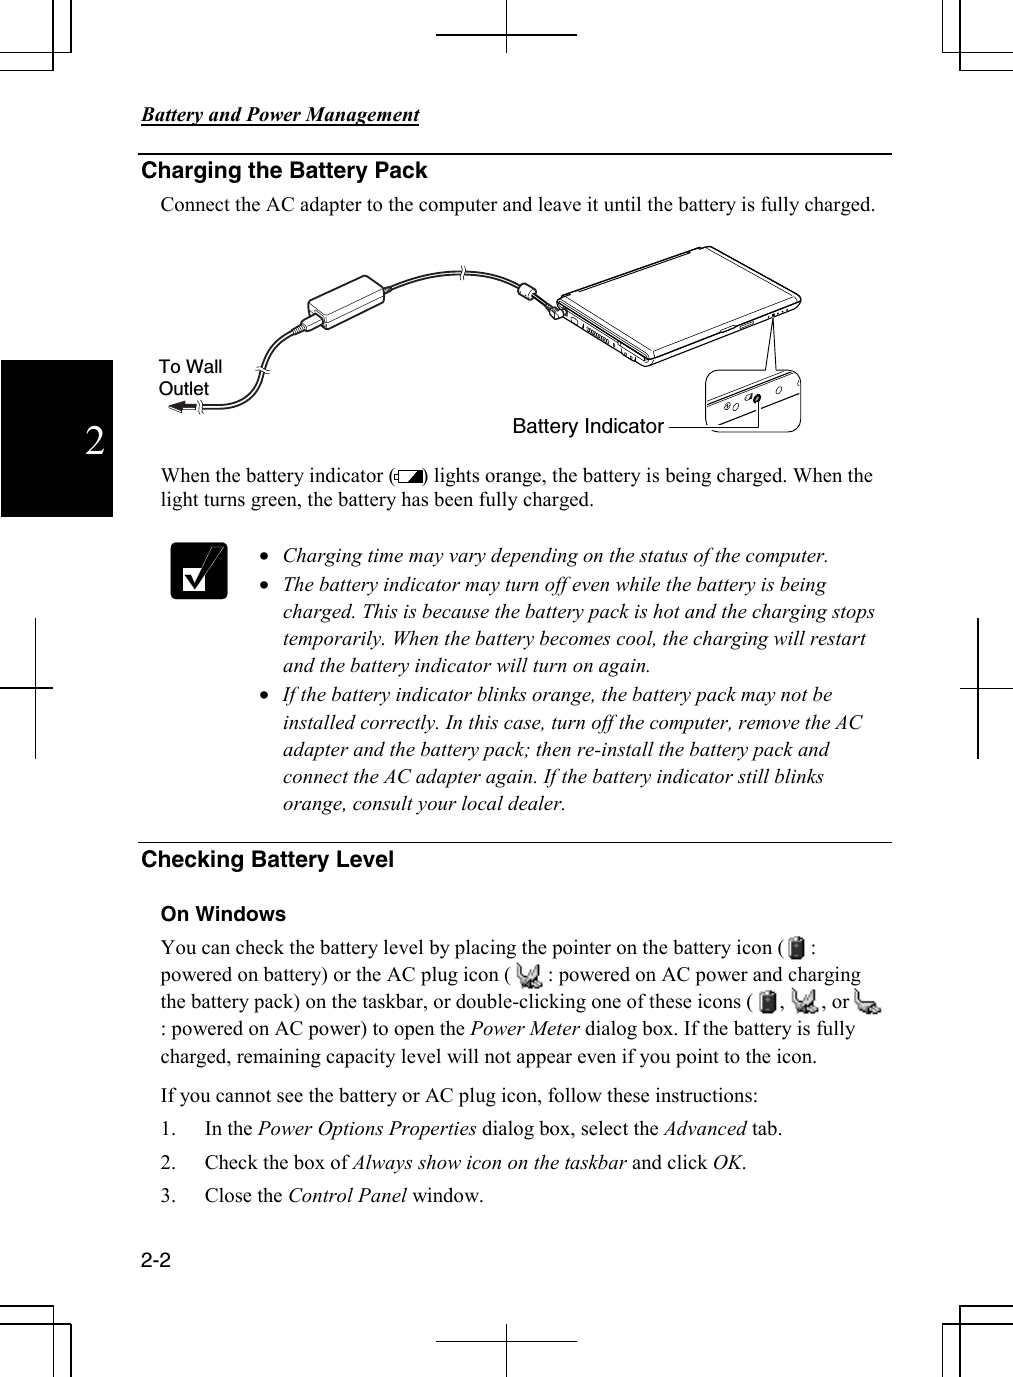
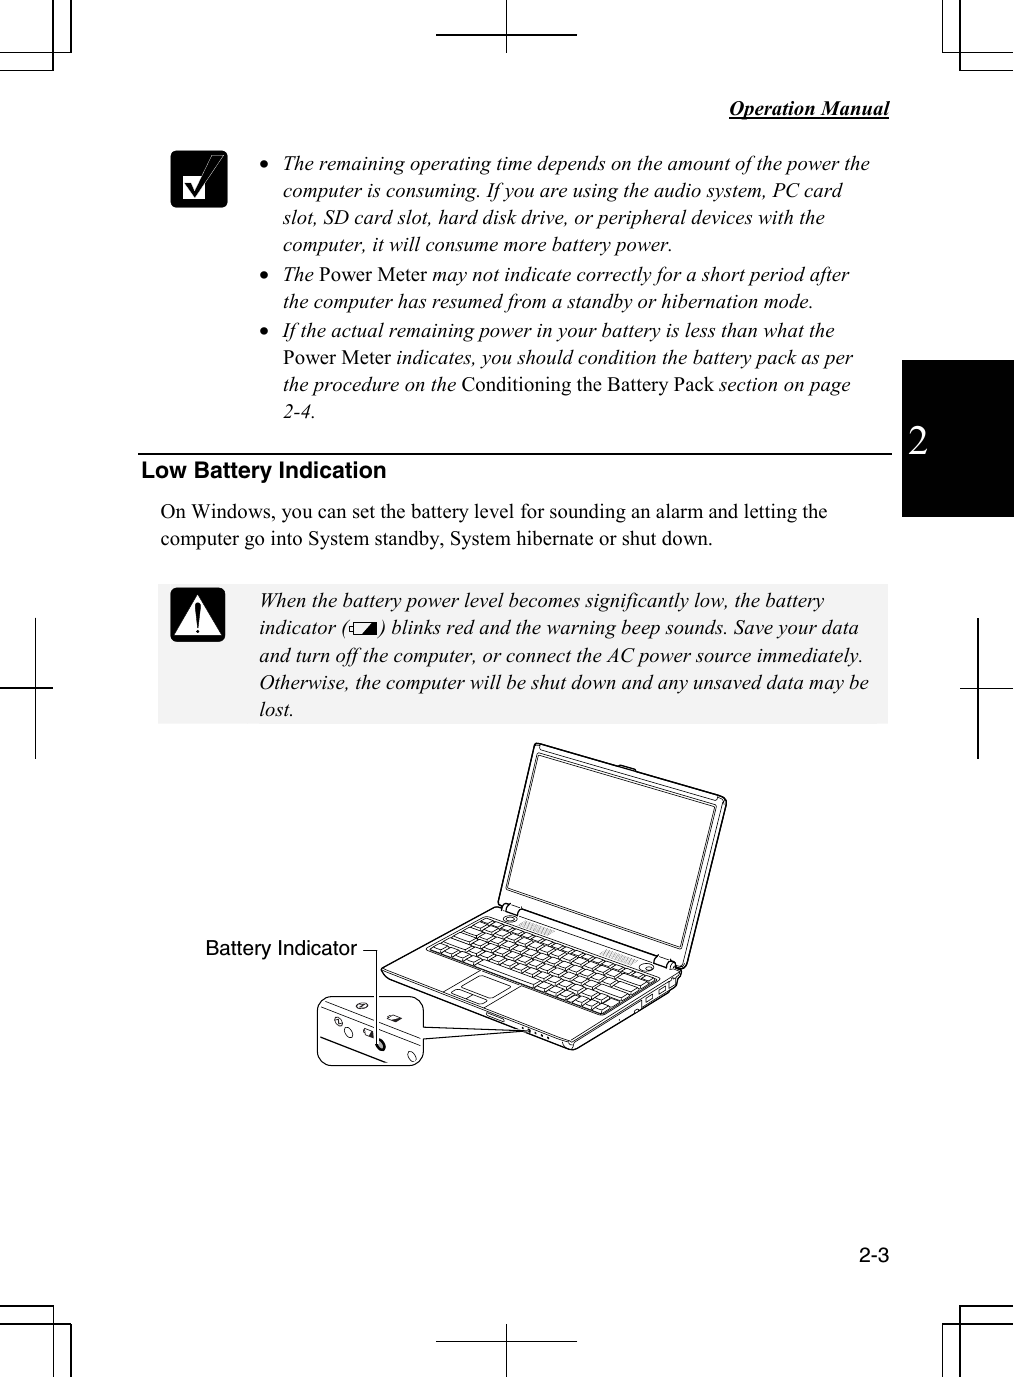
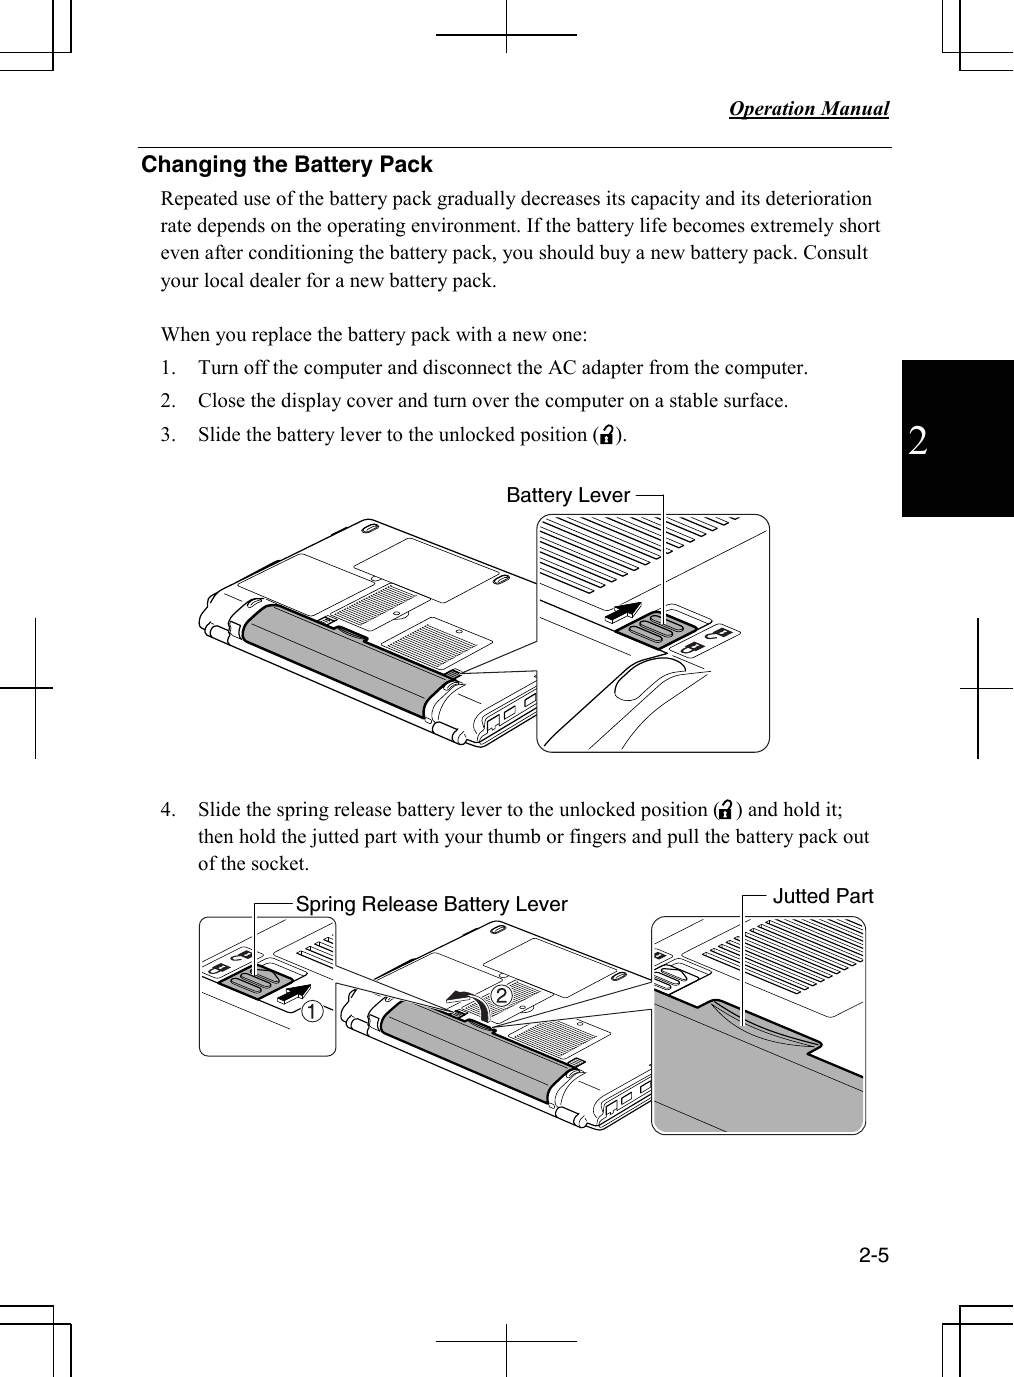
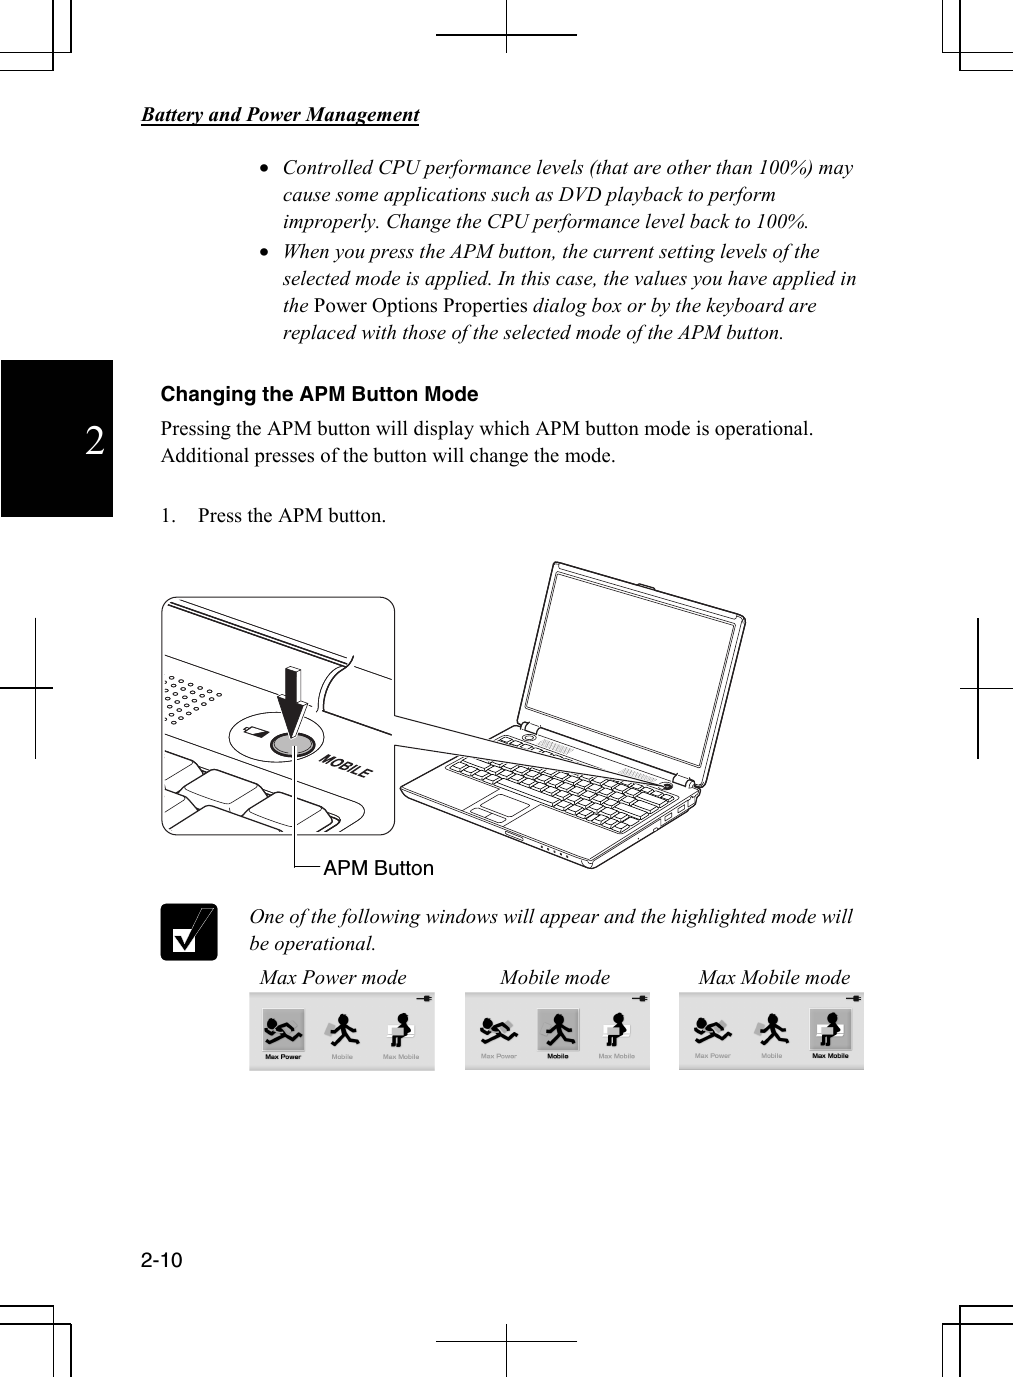
![Basic Operations 1-20 1 Available Resolutions and Colors Resolution *1 : 800 x 600, 1024 x 768, 1280 x 768, 1280 x 800 Number of Colors *2: 64K, 16M *1 When displaying on your external display only, you can set any of the available resolutions for the external monitor. Note that some of the resolutions may not allow the monitor to work properly. Please check your monitor’s specifications or with your monitor manufacturer. *2 The internal LCD screen supports 16,770,000 (16M) colors by using a Dithering algorithm. • You cannot switch to display resolutions and number of colors that are not available. • In the Color quality, Medium (16 bit) means 65,536 (64K) colors, and High (32 bit) means 16,770,000 (16M) colors. Wallpaper and Screen Saver Changing Wallpaper 1. In the Display Properties dialog box, select the Desktop tab. 2. Select desired wallpaper in the Background pull-down menu. 3. Click OK. Setting Screen Saver 1. In the Display Properties dialog box, select the Screen Saver tab. 2. Select a desired screen saver in the Screen saver pull-down menu and set time when screen saver starts. 3. Click OK. To disable the screen saver, select [None] from the Screen saver pull-down menu.](https://usermanual.wiki/Sharp/NAR0059.Users-Manual-part-1/User-Guide-571347-Page-44.png)