Sharp NAR0068 GSM/UMTS Phone with Bluetooth User Manual Sharp STX2
Sharp Corporation Slide GSM/UMTS Phone with Bluetooth Sharp STX2
UserManual.wiki
>
Sharp
>
NAR0068 User Manual
Manual
Navigation menu
Upload a User Manual
Namespaces
Wiki Guide
HTML
PDF
Info
Views
User Manual
Discussion / Help
Navigation


![ENTERINGLETTERS,NUMBERS & SYMBOLSThe input mode willautomaticallybeactivated whenitisnecessarytoenter letters and numbers. There are 4 available modes: Alphabet mode (Abc/ABC), Numeric mode (123), Symbol mode (Symbols) and Emoticon mode (Emoticon). The input mode indicator appears on the lower portion of the display when letters and numbers are entered. 42 Using the touch screen keypad: Tap Options To change the entry mode - [Abc] [123] [Symbols][Emoticon] Tap Del Tap to delete a character. Tap and hold to delete the entire entry. Tap abc icon Tap to select a letter case of the standard text input. [Abc], [ABC] and [abc] indicate the standard text input. Tap to change mode. Tap icon Tap to accept a word and add a space.](https://usermanual.wiki/Sharp/NAR0068/User-Guide-1233606-Page-42.png)
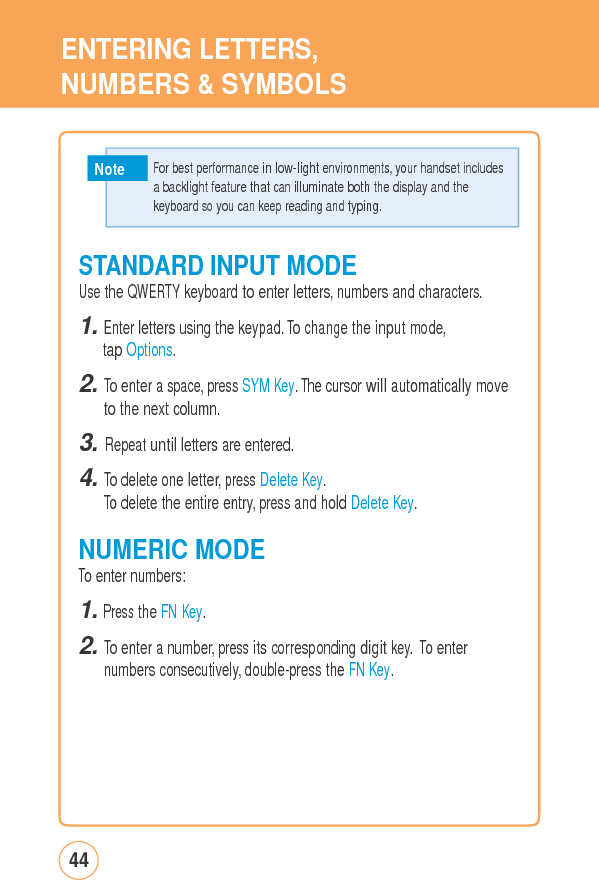
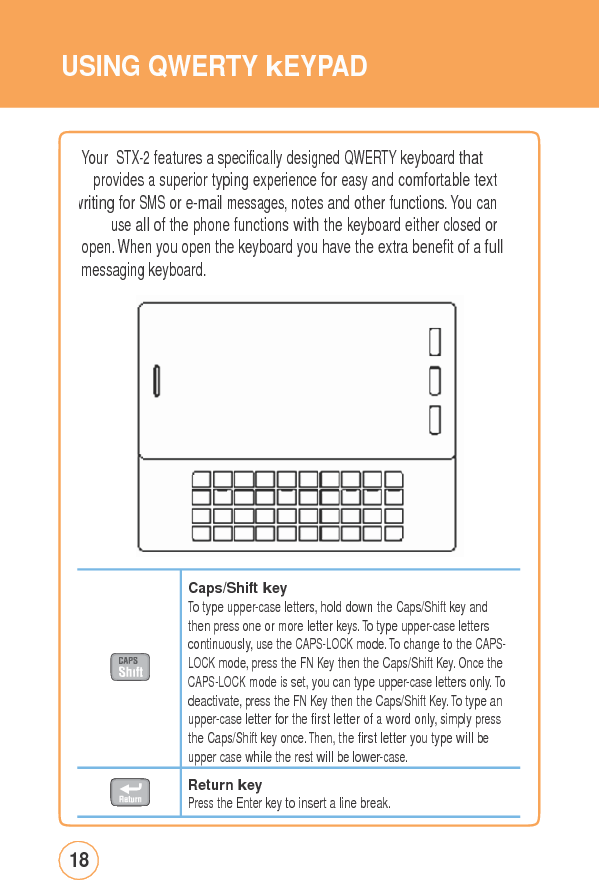
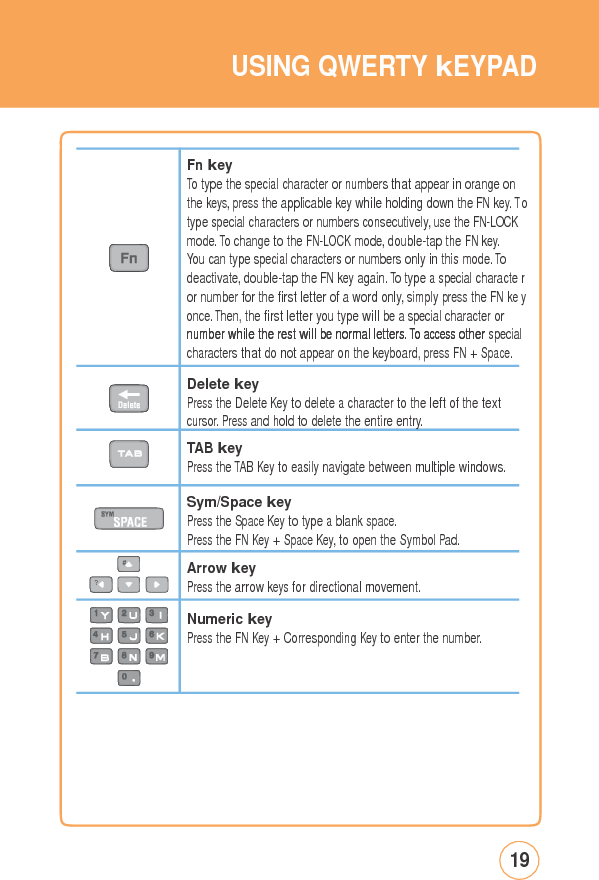
![ENTERINGLETTERS,NUMBERS & SYMBOLSUSING QWERTYkEYBOARDYour device has a specifically designed QWERTY keyboard that provides a superior typing experience on a small handheld for easy and comfortable input. You can use all of the handset functions with the keyboard either closed or open. When you open the keyboard you have the extra benefit of a full messaging keyboard. The handheld includes a fully-functional QWERTY keyboard you can use to compose text for email messages, notes, and so on. 43Using the QWERTY Keypad: Tap Options To change the entry mode - [Symbols] [Emoticon]Press Delete Key Press to delete a character. Press and hold to delete the entire entry. Press SYM Key Press the Space key to type a blank space. Press CAP Key To type upper-case letters, hold down the CAP key and then press one or more letter keys. To return to typing lower-case letters, press and release theCAP key and then press a letter key. Press FN Key To type the number or symbol printed in orange at the top of a key, hold down the orange-colored FN key and then press one or more letter keys. To return to typing letters, press and release the FN key and then press a letter key. To write in number or symbol printed in orange at the top of a key only, press the FN key twice.](https://usermanual.wiki/Sharp/NAR0068/User-Guide-1233606-Page-43.png)