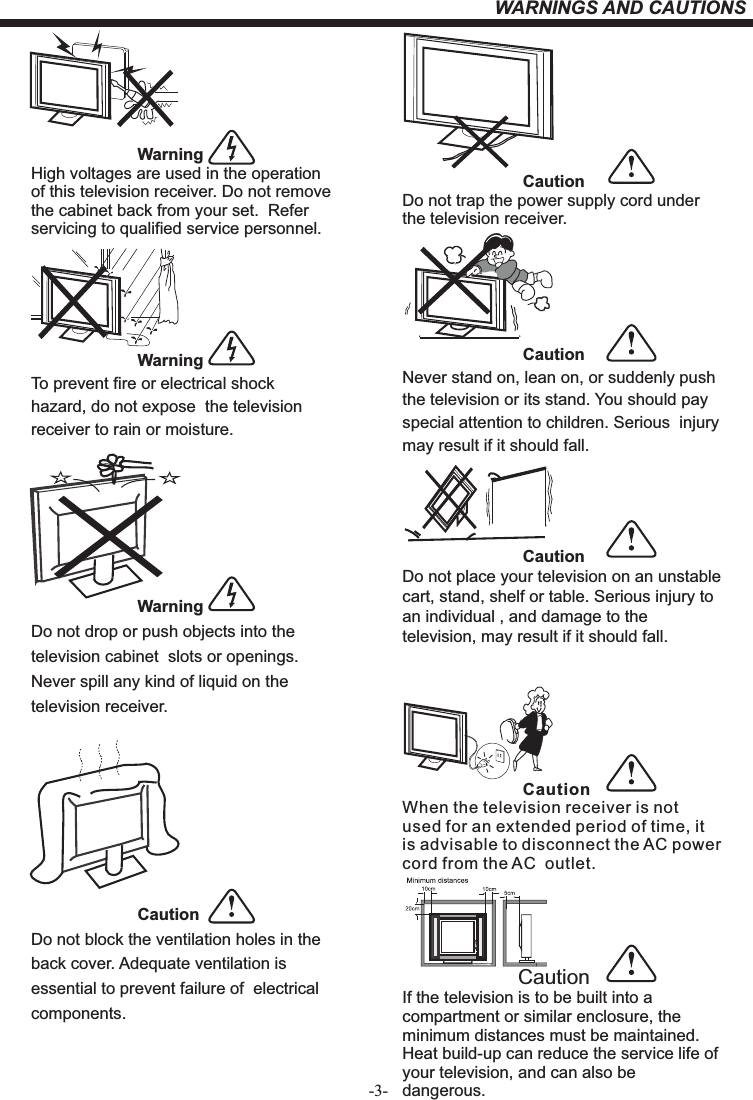
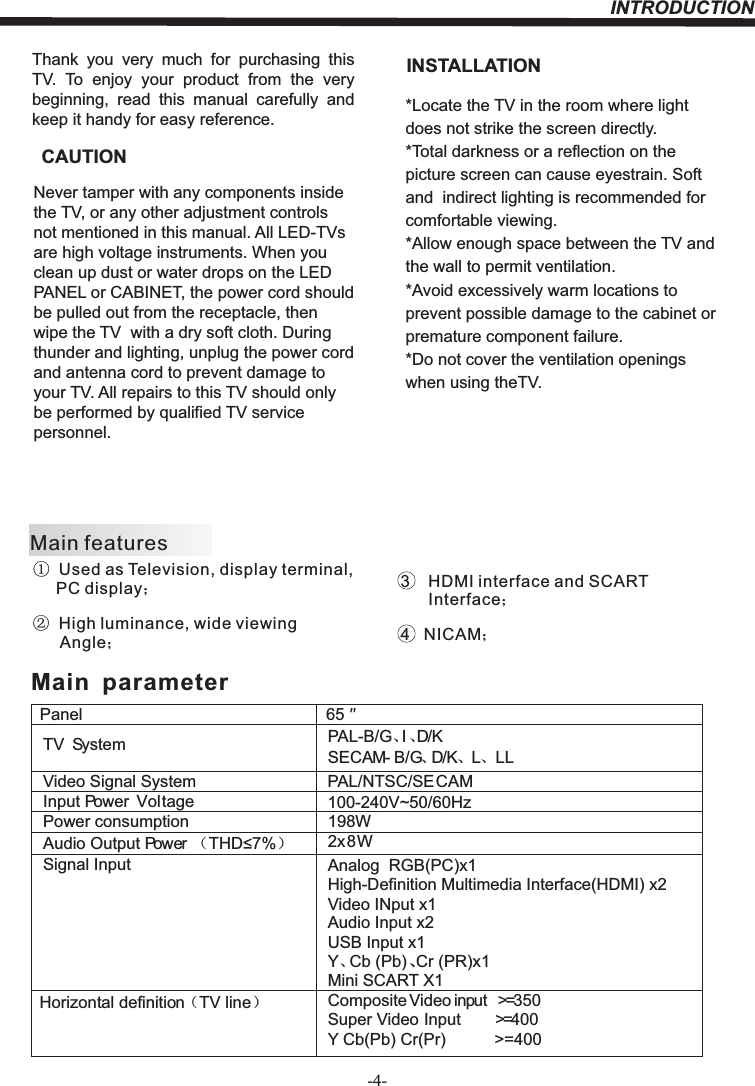
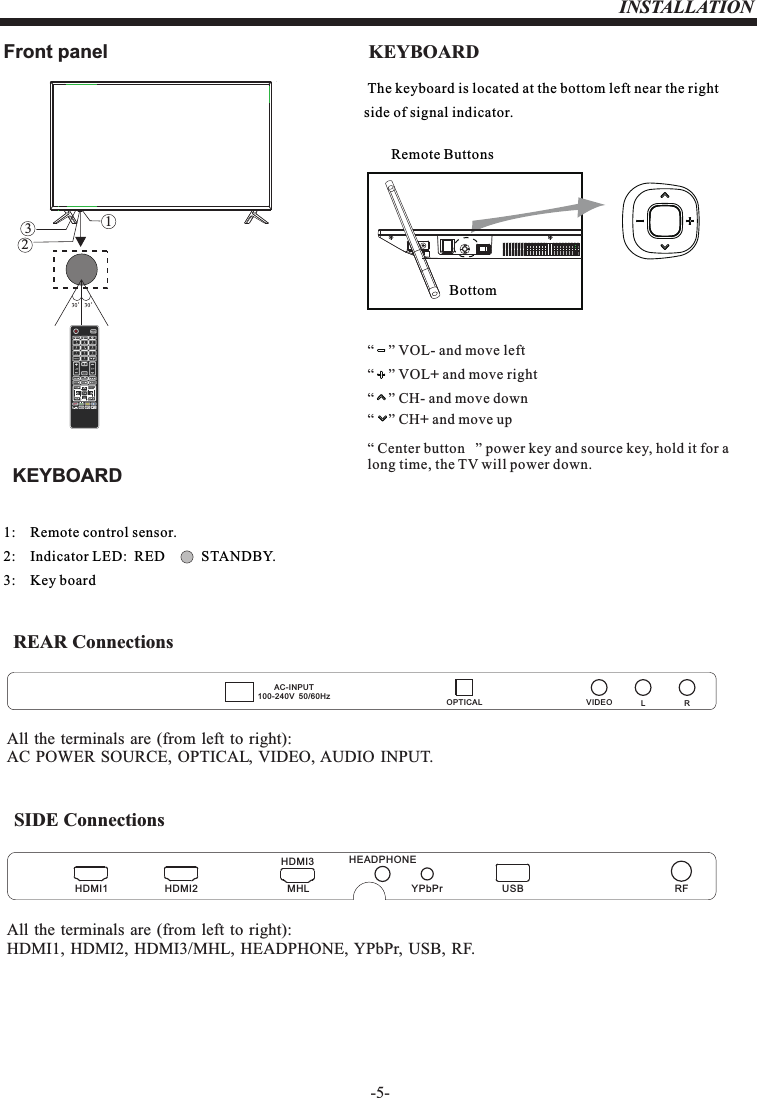
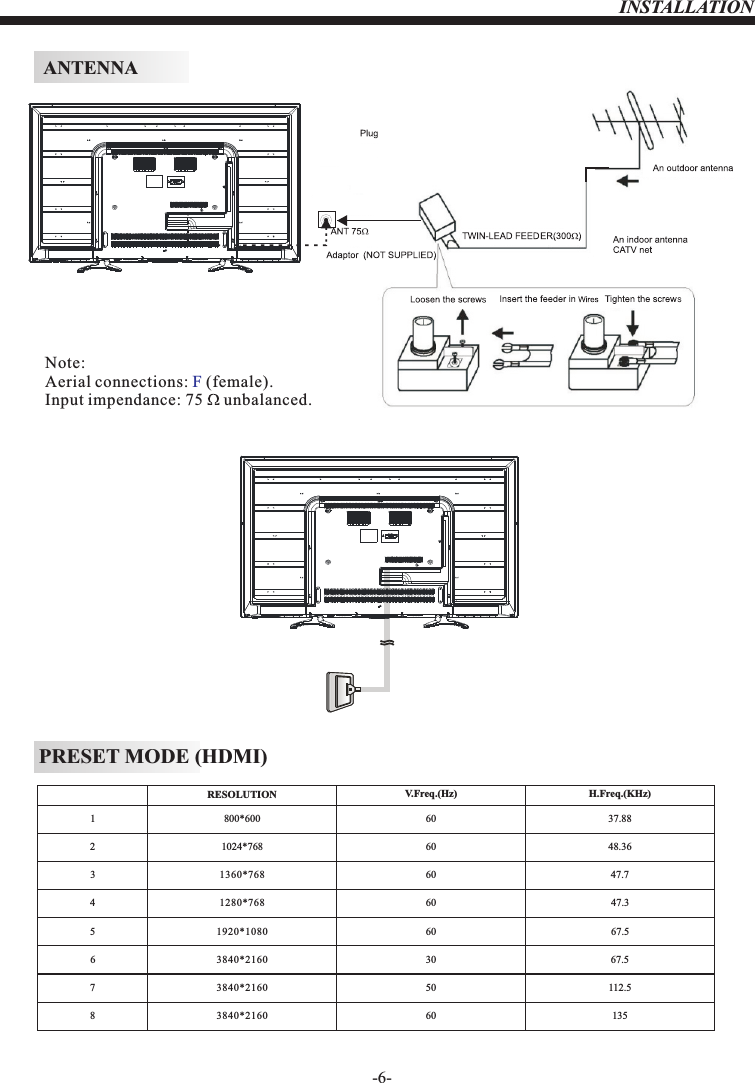
Shen Zhen MTC 6534580 LED TV User Manual MUAV6550Y 34580
Shen Zhen MTC Co., LTD LED TV MUAV6550Y 34580
UserManual.wiki
>
Shen Zhen MTC
>
6534580 User Manual
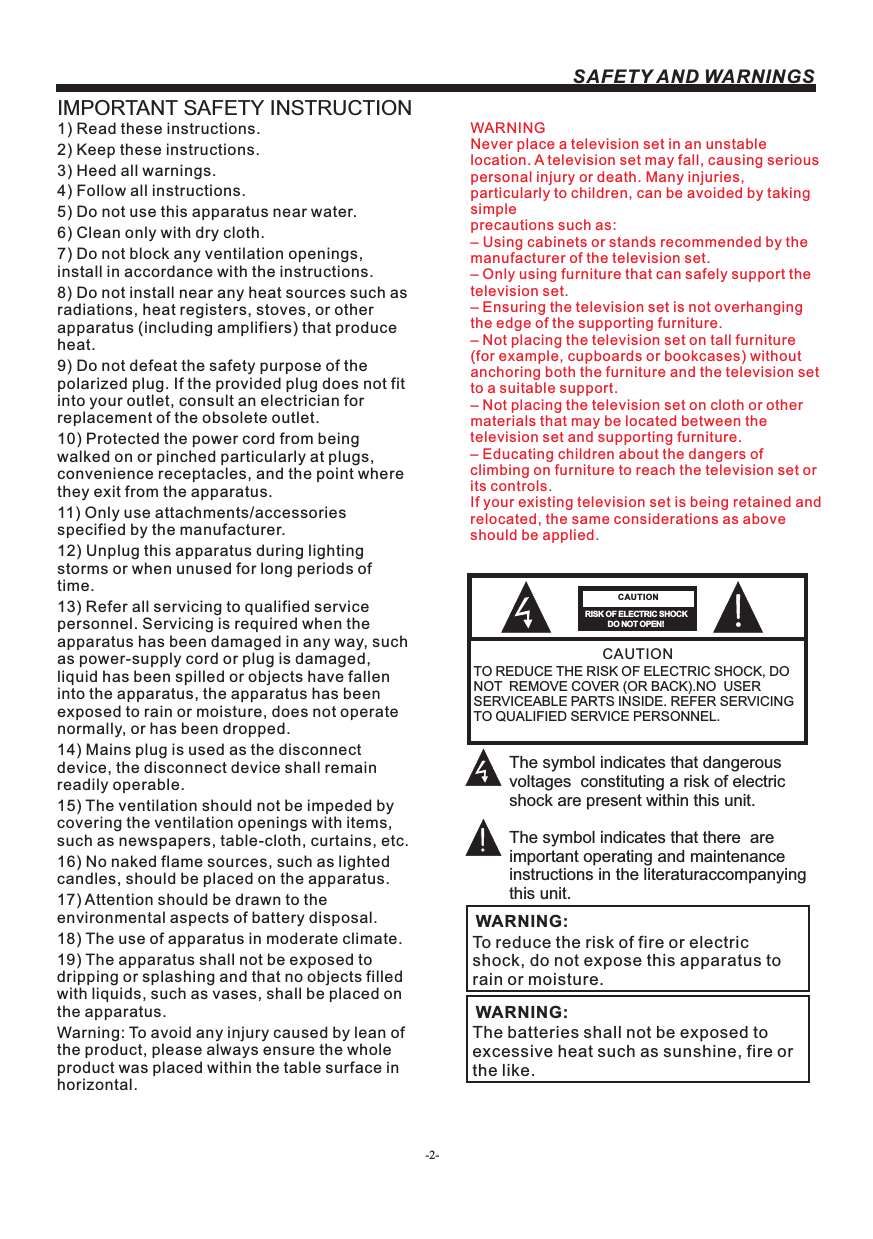
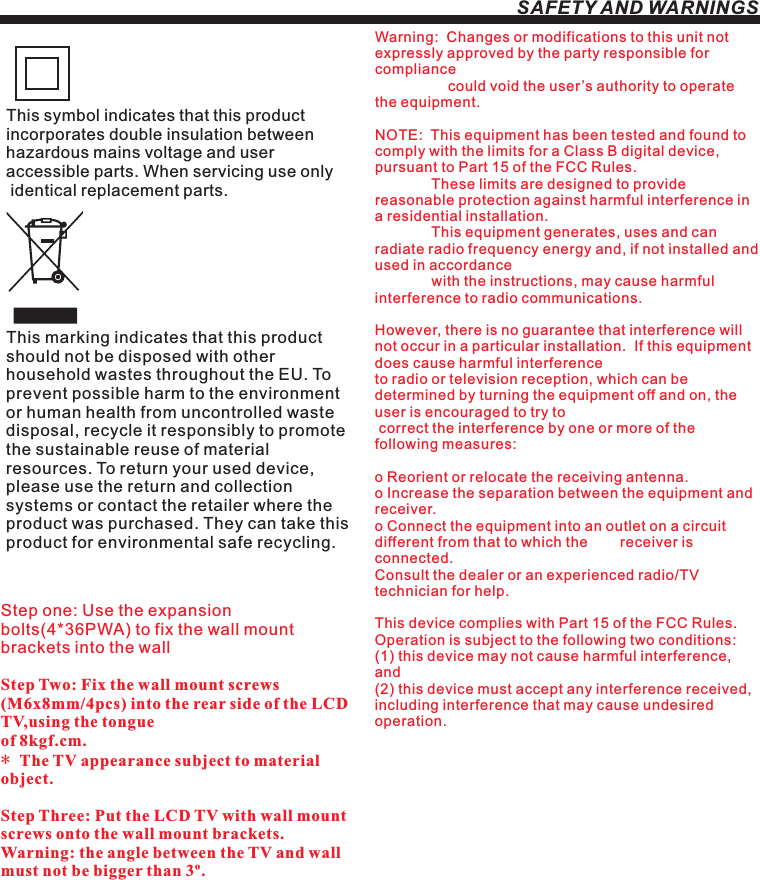
User Manual
Navigation menu
Upload a User Manual
Namespaces
Wiki Guide
HTML
PDF
Info
Views
User Manual
Discussion / Help
Navigation