Sierra Wireless SB3000P PCS CDMA Voice/Data Modem for Handspring PDAs User Manual SB3000
Sierra Wireless, Inc PCS CDMA Voice/Data Modem for Handspring PDAs SB3000
UserManual.wiki
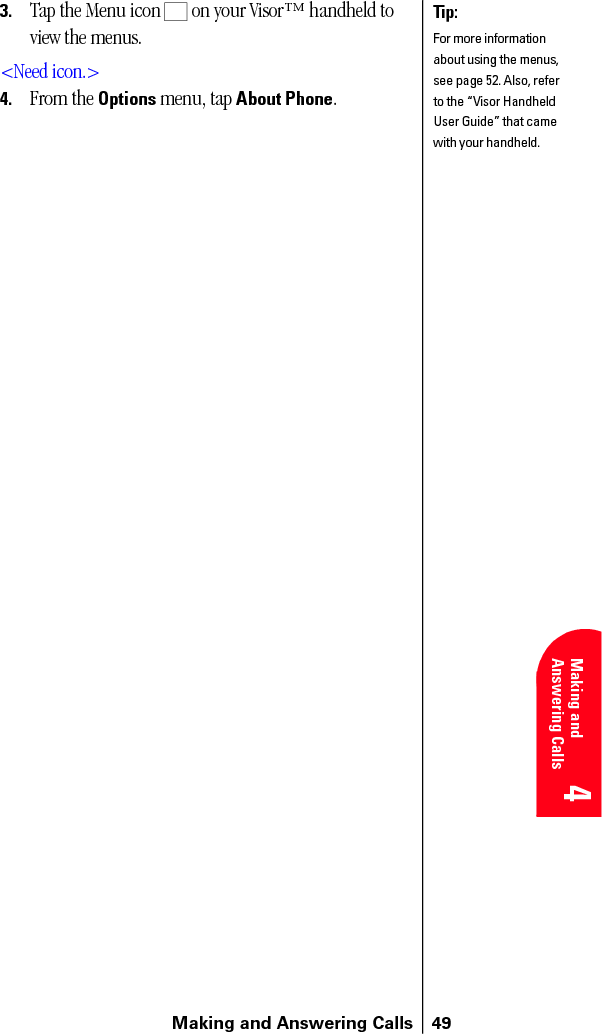
>
Sierra Wireless
>
SB3000P User Manual
>
Users Manual Part 4 of 6
Contents
1.
Users Manual Part 1 of 6
2.
Users Manual Part 2 of 6
3.
Users Manual Part 3 of 6
4.
Users Manual Part 4 of 6
5.
Users Manual Part 5 of 6
6.
Users Manual Part 6 of 6
Users Manual Part 4 of 6
Navigation menu
Upload a User Manual
Namespaces
Wiki Guide
HTML
PDF
Info
Views
User Manual
Discussion / Help
Navigation
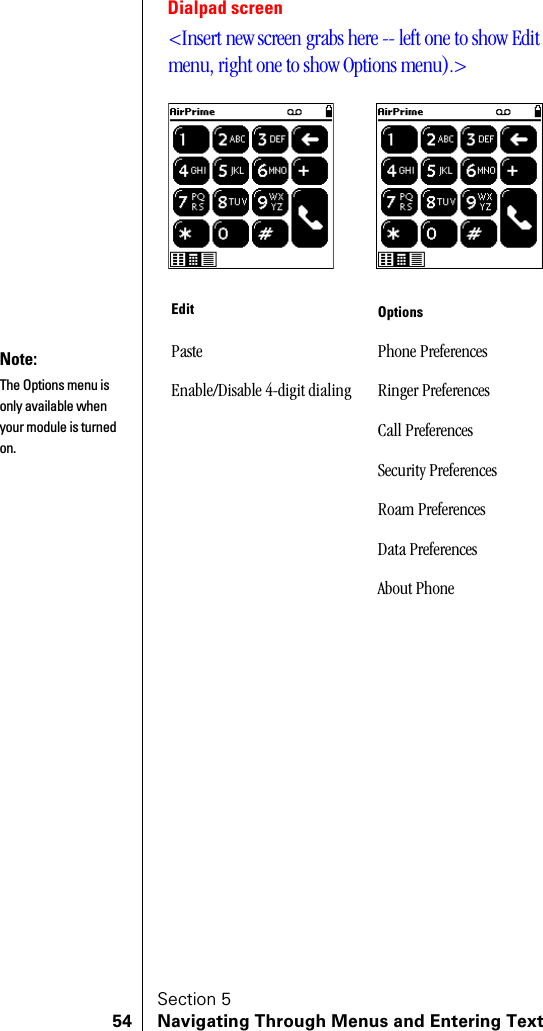
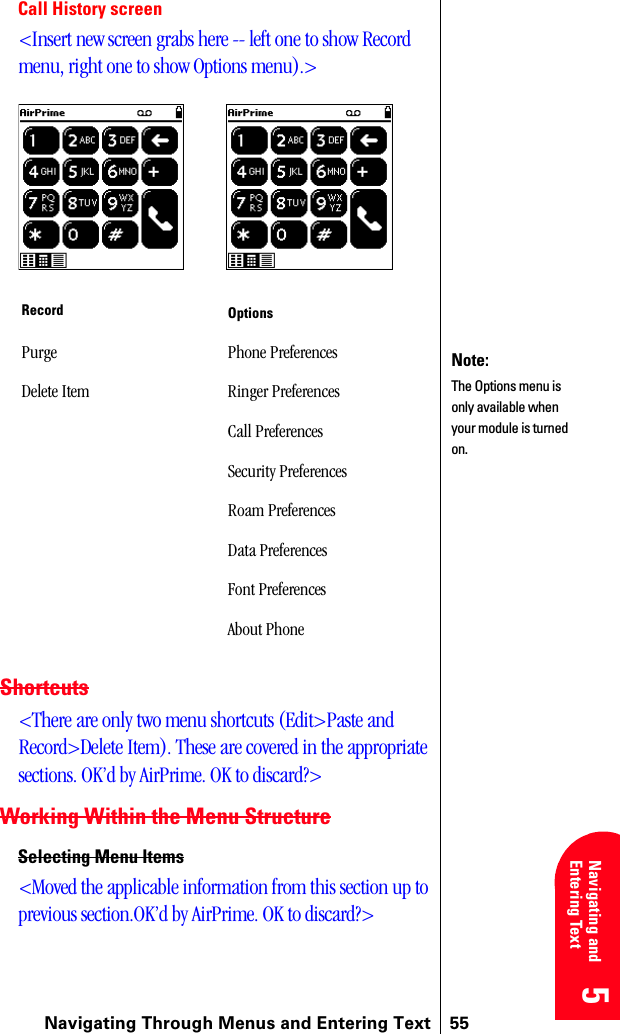


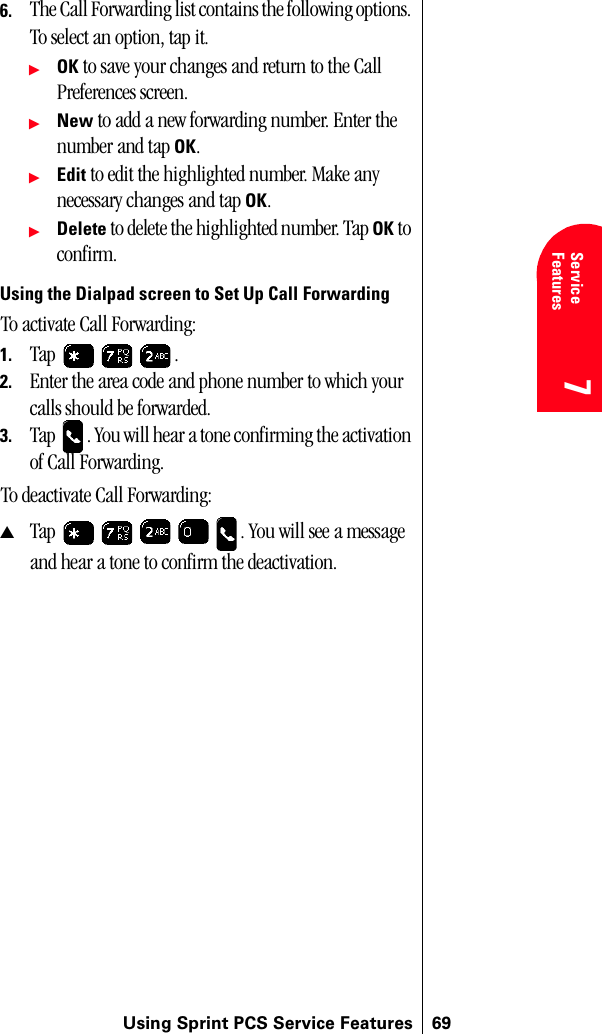

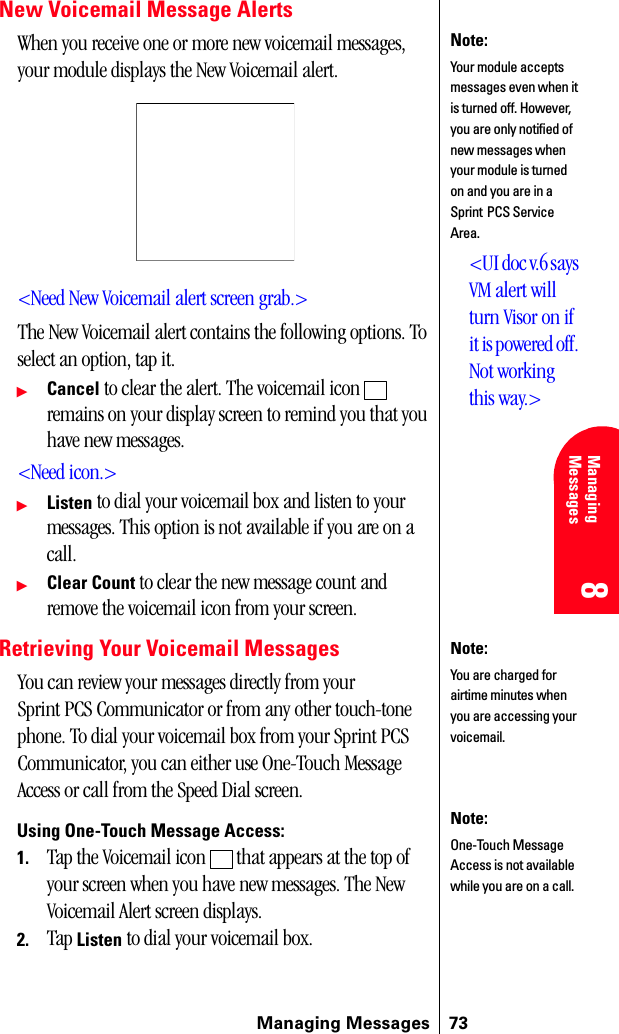
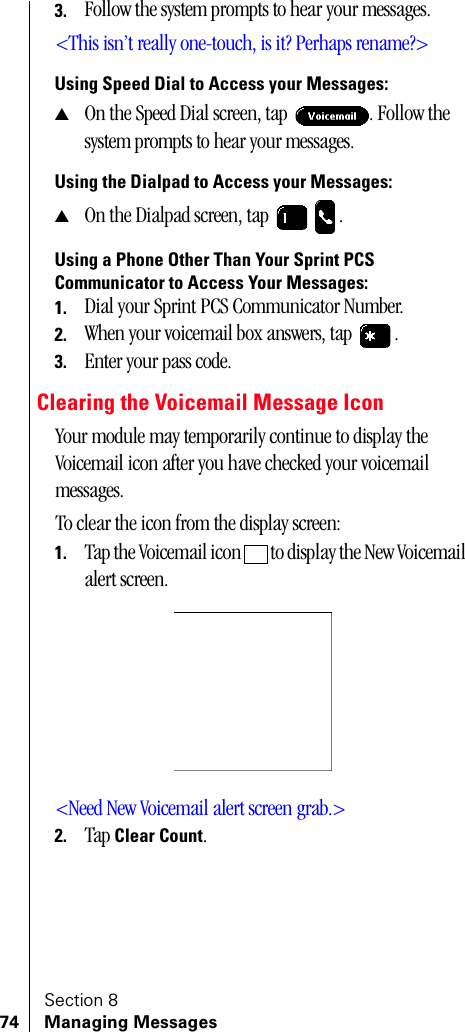


![Section 1098 Using Your Address Bookᮣ[Additional Phone Numbers] to display alternate phone numbers (if the entry has more than one phone number).ᮣAdd Phone # to add a phone number to the entry. (See Adding a Phone Number to an Internal Phone Book Entry” on page xx.)Adding a Phone Number to an Internal Phone Book Entry<This section is not applicable. Confirmed by AirPrime. OK to remove?>To add a phone number to an entry:1.2.3.Adding a Call Alarm From the Internal Phone Book<This section is not applicable. Confirmed by AirPrime. OK to remove?>A call alarm reminds you when you need to make an important phone call. (See “Call Alarm Alerts” on page xx.)To add a call alarm from the Internal Phone Book:1.2.3.Call Alarm Alerts<This section is not applicable. Confirmed by AirPrime. OK to remove?>There are several ways your Sprint PCS Communicator alerts you of call alarms:ᮣBy playing the assigned ringer type.ᮣBy illuminating the backlight.ᮣBy flashing the LED red.Note:Phone numbers labeled Fax or Data can only be dialed through a personal computer.Note:You can also add a call alarm from the Scheduler menu (see “Adding a Call Alarm to the Scheduler” on page xx.)](https://usermanual.wiki/Sierra-Wireless/SB3000P.Users-Manual-Part-4-of-6/User-Guide-153681-Page-53.png)