Sintai Optical ISHOW1000 Hand-held Projector User Manual
Sintai Optical (Shenzhen) Co., Ltd. Hand-held Projector
UserManual.wiki
>
Sintai Optical
>
ISHOW1000 User Manual
User manual
Navigation menu
Upload a User Manual
Namespaces
Wiki Guide
HTML
PDF
Info
Views
User Manual
Discussion / Help
Navigation
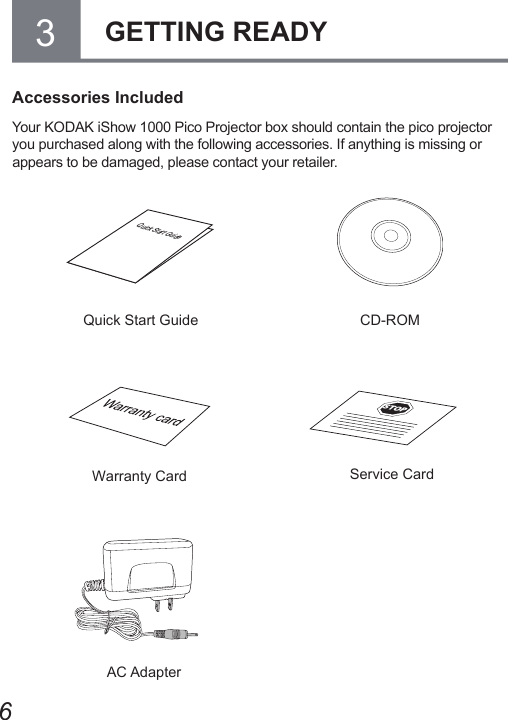
![4For Customers in Europe"CE" mark indicates that this product complies with the European requirements for safety, health, environment, and customer protection. "CE" marked products are intended for sales in Europe.This symbol [crossed-out wheel bin WEEE Annex IV] indicates separate collection of electrical waste and electronic equipment in the European countries. Please do not throw the equipment into domestic refuse. Please use the return and collection systems available in your country for proper, safe disposal of this product.About this ManualThank you for purchasing this KODAK iShow 1000 Pico Projector. Please read this manual carefully and keep it in a safe place for future reference. Windows is registered in the United States and other countries by Microsoft Corporation, and its trademark use rights are reserved by Microsoft Corporation. Product names and trademarks involved in the Manual are for illustrative and identication purposes only. All of them are the registered trademarks or copyrights of their original companies. This manual provides you with instructions on how to use your new KODAK iShow 1000 Pico Projector. Every effort has been made to en-sure that the contents of this manual are accurate, however JK Imaging Ltd. reserves the right to make changes without notice.](https://usermanual.wiki/Sintai-Optical/ISHOW1000/User-Guide-1917034-Page-5.png)

![19If your device supports HDMI output, you can use an HDMI cable to connect your device to the KODAK iShow 1000 Pico Projector for mirroring what is on your display regardless of any app running.Using the HDMI cable specically designed for your device enables you to use live streaming apps (such as YouTube ® , Facebook ®) while running the KODAK iShow 1000 Pico Projector.1. Start the projector. 2. Connect the KODAK iShow 1000 Pico Projector to your device using the HDMI cable (not included) designed for your device. The image from your device will then be displayed by the projector. Limitations for iOS: (1) iPad 1, iPhone 4 and below, iPod touch gen 4 and below, support HDMI but can only view photos and video. (2) iPad 2 and above, iPhone 4S and newer, support HDMI and can view any le.When using the HDMI projection, the KODAK iShow 1000's wireless function is disabled.When using the HDMI projection, the supporting resolution will be: 640x480P [60Hz (4:3)], 720x480P [60Hz (4:3)/60Hz (16:9)], 720x576P [50Hz (4:3)/50Hz (16:9)], 1280x720P [50Hz (16:9)/60Hz (16:9)], 1920x1080P [23.97Hz (16:9)/24Hz (16:9)/25Hz (16:9)/29.97Hz (16:9)/ 30Hz (16:9)]7Using HDMI for projection](https://usermanual.wiki/Sintai-Optical/ISHOW1000/User-Guide-1917034-Page-20.png)