Smiths Detection Ireland SD-E0001 Body Scanner User Manual
Smiths Detection Ireland Limited Body Scanner
UserManual.wiki
>
Smiths Detection Ireland
>
SD E0001 User Manual
User Manual
Navigation menu
Upload a User Manual
Namespaces
Wiki Guide
HTML
PDF
Info
Views
User Manual
Discussion / Help
Navigation


![Product DescriptionImportant!The function keys are not only used for the functions explained above. When inside an input field the lowercase numbers and letters [1 abc] ... [0 _.] written above each function key are active. This gives the operator the ability to enter letters and nu m b ers. The nu m bers are used by default. To s witch between the entry of letters and n u m bers press o .5 E m ergency Stop S witchSy m bol N a m e D escriptionEmergency Stop SwitchWhen activated in an emergency situation, it shuts off the electrical power for the high frequency parts of the eqo system. The computer will shut down but still be powered by the supply voltage and the 24 V auxiliary supply.6 N avigatorSy m bol N a m e D escriptionNavigator Navigates inside the menu structure of a displayed menuImportant!Move between adjacent items in screen menus or windows by directing the navigator up or down.If you direct the navigator to the right or to the left, you change the entries or call up a selected menu item or function.You can delete wrong text entries by moving the cursor to the left using the navigator.95591706 22/07/09 © smiths detection proprietary information12](https://usermanual.wiki/Smiths-Detection-Ireland/SD-E0001/User-Guide-1152357-Page-16.png)

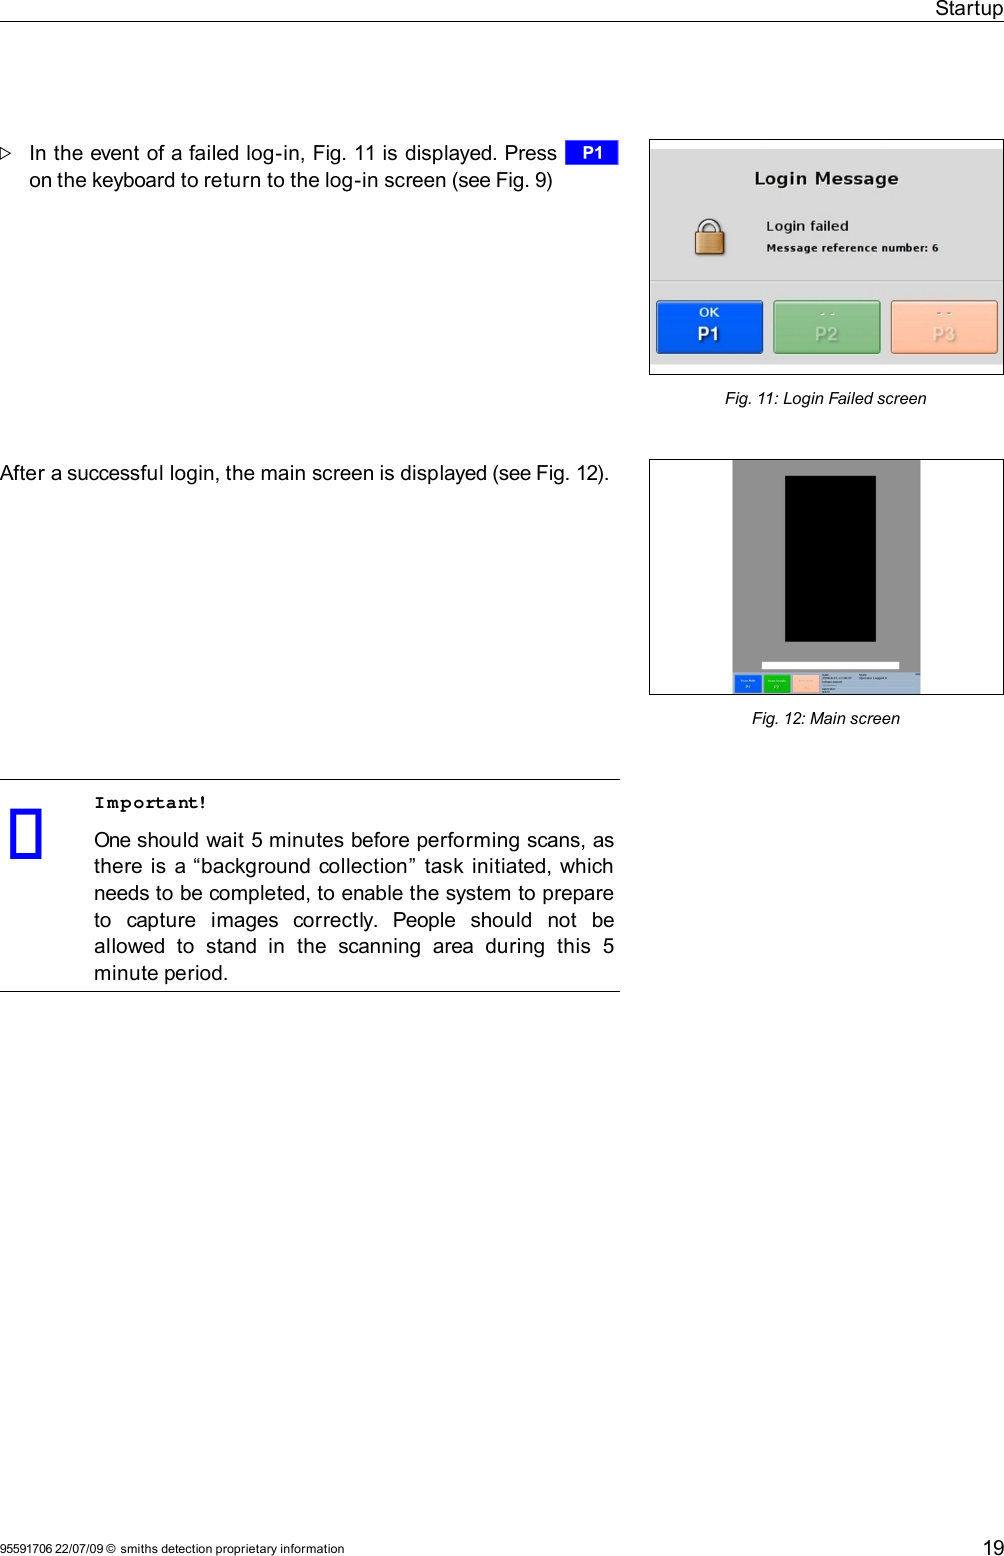
![StartupLogin procedureAfter the initial boot sequence, a splash screen will appear (see Fig. 8) on the monitor, which will clear after approximately five minutes when the system has started.The splash screen is followed by the login screen (see Fig. 9).Enter your login data by using the function keys (see Fig. 10).The default user login is:User-ID: 135Pass w ord: 135Important!Inside an input field the lowercase numbers and letters [1 abc] ... [0 _.] written above each function key are active. This gives the operator the ability to enter letters and nu m b ers. The n u m bers are used by default. To s witch between the entry of letters and nu m b ers press o .You can delete wrong text entries by moving the cursor to the left using the navigator.95591706 22/07/09 © smiths detection proprietary informationFig. 10: Function keysFig. 9: Login screen18Fig. 8: Splash screen](https://usermanual.wiki/Smiths-Detection-Ireland/SD-E0001/User-Guide-1152357-Page-22.png)