Somfy Systems MCZ 900 Band ZWAVE Low Power Remote MCZ1 User Manual
Somfy Systems 900 Band ZWAVE Low Power Remote MCZ1
UserManual.wiki
>
Somfy Systems
>
MCZ User Manual
User Manual
Navigation menu
Upload a User Manual
Namespaces
Wiki Guide
HTML
PDF
Info
Views
User Manual
Discussion / Help
Navigation
![0 Motorized Shades Featuring Z-Wave Technology Owner’s Manual [images of all 3 remotes] This application is for 900Band ZWAVE Low Power Remote Model #: MCZ1 FCC ID: DWNMCZ IC:12049A-MCZ](https://usermanual.wiki/Somfy-Systems/MCZ/User-Guide-3627669-Page-1.png)
![2 Getting to Know Your Remotes 2-Button Remote The 2-button remote can control up to 12 shades at once. [remote front image with labels/arrows for buttons] [remote back image with labels/arrows for buttons]](https://usermanual.wiki/Somfy-Systems/MCZ/User-Guide-3627669-Page-3.png)
![3 Single-Channel Remote The single-channel remote can control up to 12 shades at once. [remote front image with labels/arrows for buttons] [remote back image with labels/arrows for buttons]](https://usermanual.wiki/Somfy-Systems/MCZ/User-Guide-3627669-Page-4.png)
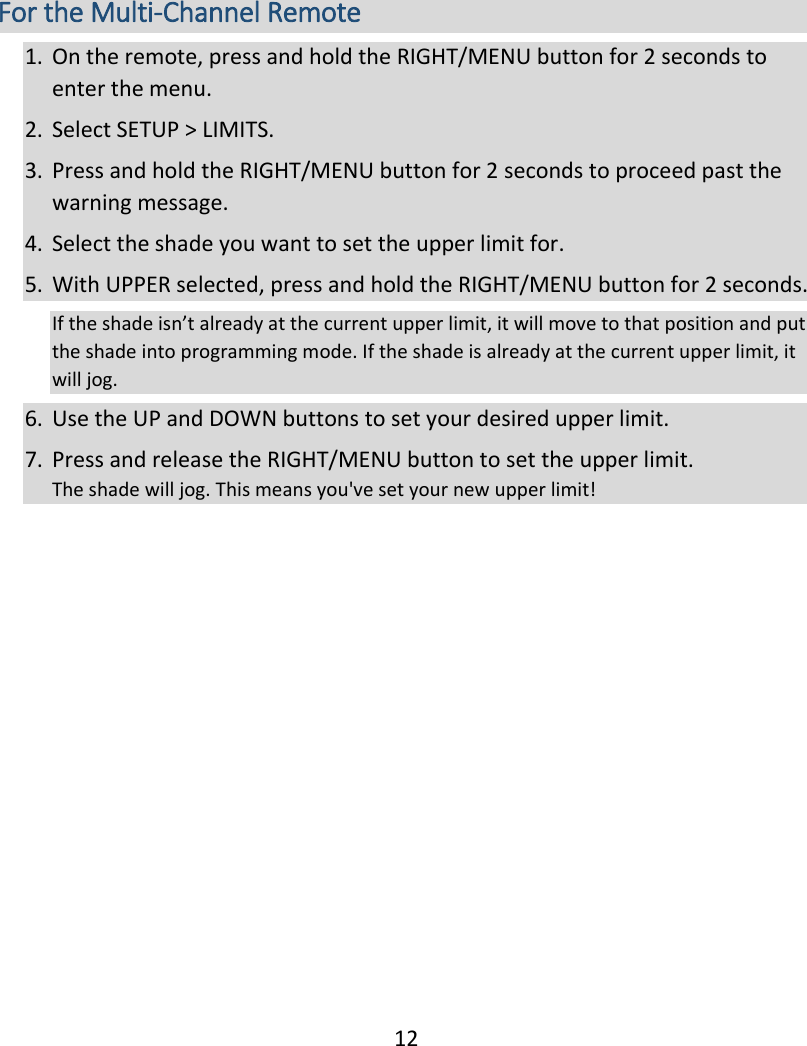
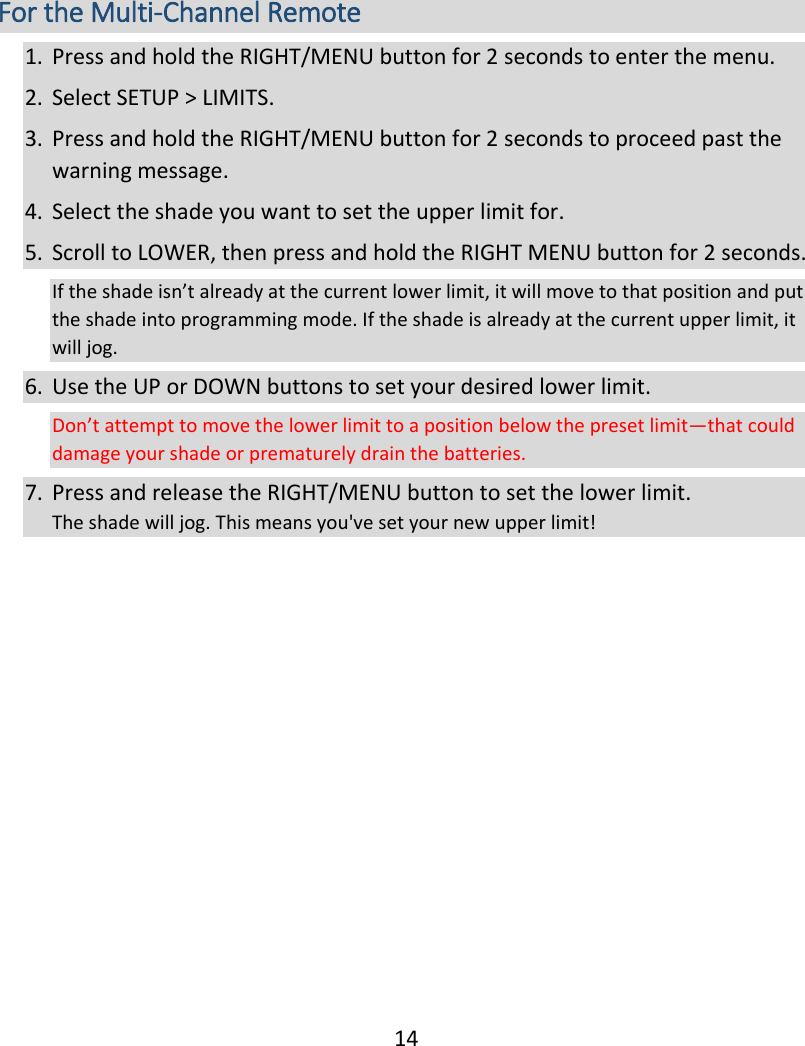
![4 Multi-Channel Remote The multi-channel remote can control up to 12 channels, with a maximum of 24 individual shades. (Think of a channel as a grouping of shades. Each channel can include a single shade or multiple shades.) [remote front image with labels/arrows for buttons] [remote back image with labels/arrows for buttons] <callout> Learn how to create groups and assign shades to channels on page X!](https://usermanual.wiki/Somfy-Systems/MCZ/User-Guide-3627669-Page-5.png)
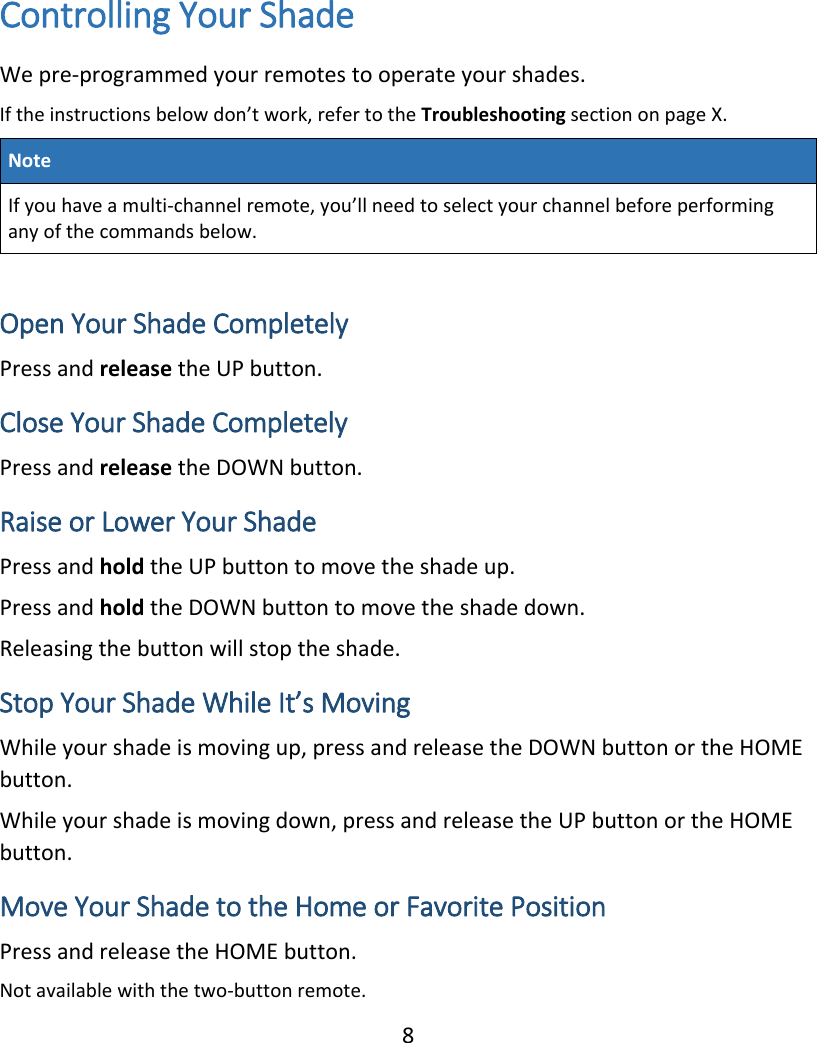
![5 Shade Program Button The program button on the shade’s headrail or motor end lets you move your shade without a remote. It’s also used to perform various programming functions, discussed later in this manual. [images of shade button on cellular endcap and solar motor end]](https://usermanual.wiki/Somfy-Systems/MCZ/User-Guide-3627669-Page-6.png)
![6 Getting Started (Quick Start Guide) Getting Your Remote Ready For the 2-Button or Single-Channel Remote Pull out the plastic strip on the back of the remote. Your remote is now ready to use! [images of both remotes] For the Multi-Channel Remote Inserting Batteries 1. Remove the battery door. 2. Insert 2 AAA batteries. 3. Replace the battery door. [image of adding batteries]](https://usermanual.wiki/Somfy-Systems/MCZ/User-Guide-3627669-Page-7.png)
![7 Knowing Your Shade’s Limits and Home Position To help you get started quickly and easily, we set your shade up with predefined positions. [image] Upper Limit: The highest position your shade can reach. We pick a position that gives you the best view and also protects your shade from damage. [image] Lower Limit: The lowest position your shade can reach. This matches the shade length you ordered. [image] Home Position: We set this to the midpoint of your shade, but you can adjust it to any point between the upper and lower limits. Not available with the two-button remote. You can adjust each of these to fit the needs of your home—just follow the instructions in the Adjusting Your Shade’s Limits and Home Position section.](https://usermanual.wiki/Somfy-Systems/MCZ/User-Guide-3627669-Page-8.png)
![11 Adjusting the Upper Limit Don’t attempt to move the upper limit to a position higher than the preset limit—that could damage your shade or prematurely drain the batteries. For the 2-Button or Single-Channel Remote Before You Start If you’re using your remote to control a group of shades, you’ll first need to target the specific shade that you want to adjust the upper limit for. To do that, perform the following steps first: 1. On the remote, press and release the program button on the back. 2. On the shade, press and hold the program button for 3 seconds. The shade LED will flash green and the shade will jog. [image of targeting process] 1. On the remote, press and release the UP button. Wait until the shade reaches its preset upper limit. 2. Press and hold the UP and DOWN buttons at the same time for 3 seconds. When the remote LED turns amber, release both buttons. The shade will jog. This means you’ve entered programming mode. 3. Use the UP or DOWN buttons to move your shade to the new upper limit. 4. Press and hold the UP and DOWN buttons at the same time for 3 seconds. When the remote LED turns amber, release both buttons. The shade will jog. This means you've set your new upper limit!](https://usermanual.wiki/Somfy-Systems/MCZ/User-Guide-3627669-Page-12.png)
![13 Adjusting the Lower Limit Don’t attempt to move the lower limit to a position below the preset limit—that could damage your shade or prematurely drain the batteries. For the 2-Button or Single-Channel Remote Before You Start If you’re using your remote to control a group of shades, you’ll first need to target the specific shade that you want to adjust the lower limit for. To do that, perform the following steps first: 1. On the remote, press and release the program button on the back. 2. On the shade, press and hold the program button for 3 seconds. The shade LED will flash green and the shade will jog. [image of targeting process] 1. On the remote, press and release the DOWN button. Wait until the shade reaches its preset lower limit. 2. Press and hold the UP and DOWN buttons at the same time for 3 seconds. When the remote LED turns amber, release both buttons. The shade will jog. This means you've entered programming mode. 3. Use the UP and DOWN buttons to move your shade to the new lower limit. 4. Press and hold the UP and DOWN buttons at the same time for 3 seconds. When the remote LED turns amber, release both buttons. The shade will jog. This means you've set your new lower limit!](https://usermanual.wiki/Somfy-Systems/MCZ/User-Guide-3627669-Page-14.png)
![15 Adjusting the Home Position Before you start, decide whether you want to adjust your upper or lower limit. If you do, make those changes first—moving those limits will reset your home position. Remember that the home position isn’t available with the 2-button remote. For the Single-Channel Remote Before You Start If you’re using your remote to control a group of shades, you’ll first need to target the specific shade that you want to adjust the home position for. To do that, perform the following steps first: 1. On the remote, press and release the program button on the back. 2. On the shade, press and hold the program button for 3 seconds. The shade LED will flash green and the shade will jog. [image of targeting process] 1. Find your single-channel remote and the 2-button remote for each shade in the group. Make sure you know which 2-button remote controls which shade. 2. On the back of the single-channel remote, press and release the program button. The remote LED will flash green. 3. On one shade in the group, press and hold the program button for 3 seconds. When the LED flashes green, release the button. The shade will jog. 4. On the 2-button remote for the shade you're adjusting, use the UP and DOWN buttons to move the shade to your new home position.](https://usermanual.wiki/Somfy-Systems/MCZ/User-Guide-3627669-Page-16.png)

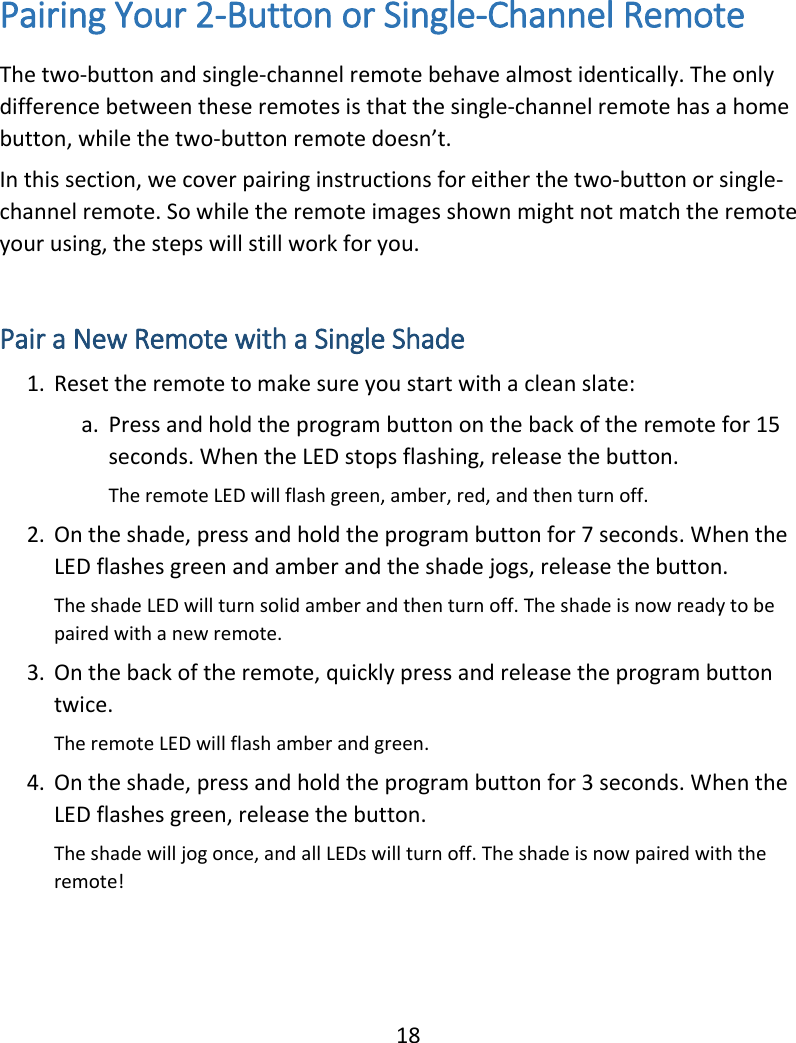
![20 Pair a Secondary Remote with a Single Shade in a Group of Shades You might want to control a group of shades with a group (primary) remote, but still be able to control each shade with an individual (secondary) remote. To do that, follow these steps. [image] Primary Remote Controls the group [image] Secondary Remote Controls a single shade in the group 1. On the primary remote, quickly press and release the program button on the back twice. The remote LED will flash amber and green. 2. On the secondary remote, press and hold the program button on the back for 3 seconds. When the LED flashes green, release the button. The LEDs on the primary and secondary remotes will flash green and then turn off. 3. On the secondary remote, press and release the program button on the back. The remote LED will flash green. 4. On the shade, press and hold the program button for 3 seconds. When the LED flashes green, release the button. The LED on the secondary remote will turn green, and the shade will jog once. Both the primary and secondary remotes will now control the shade! 5. Repeat steps 1–4 for each shade you want to control with a secondary remote.](https://usermanual.wiki/Somfy-Systems/MCZ/User-Guide-3627669-Page-21.png)
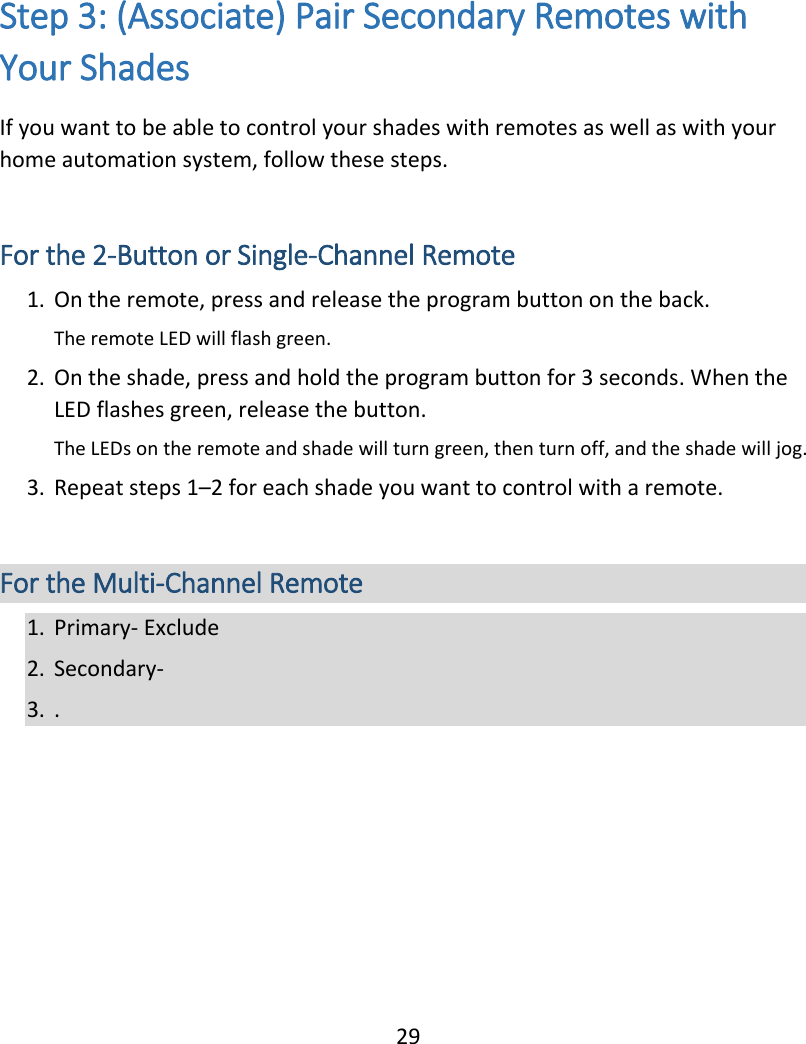
![23 Pair a Secondary Remote with a Single Shade in a Group of Shades You might want to control shades as a group, but still be able to control each shade individually with a secondary remote. To do that, follow these steps. [image of multi-channel remote] Primary Remote Controls the group [image of 2-button remote] Secondary Remote Controls a single shade in the group 1. On the primary remote, quickly press and release the program button on the back twice. 2. On the secondary remote, press and hold the program button for 3 seconds. When the LED flashes green, release the button. The LED on the secondary remotes will flash green and then turn off. 3. On the secondary remote, press and release the program button on the back. The LED will flash green. 4. On the shade, press and hold the program button for 3 seconds. When the LED flashes green, release the button. The LED on the secondary remote will turn green, and the shade will jog once. Both the primary and secondary remotes will now control the shade! 5. Repeat steps 1–4 for each shade you want to control individually.](https://usermanual.wiki/Somfy-Systems/MCZ/User-Guide-3627669-Page-24.png)
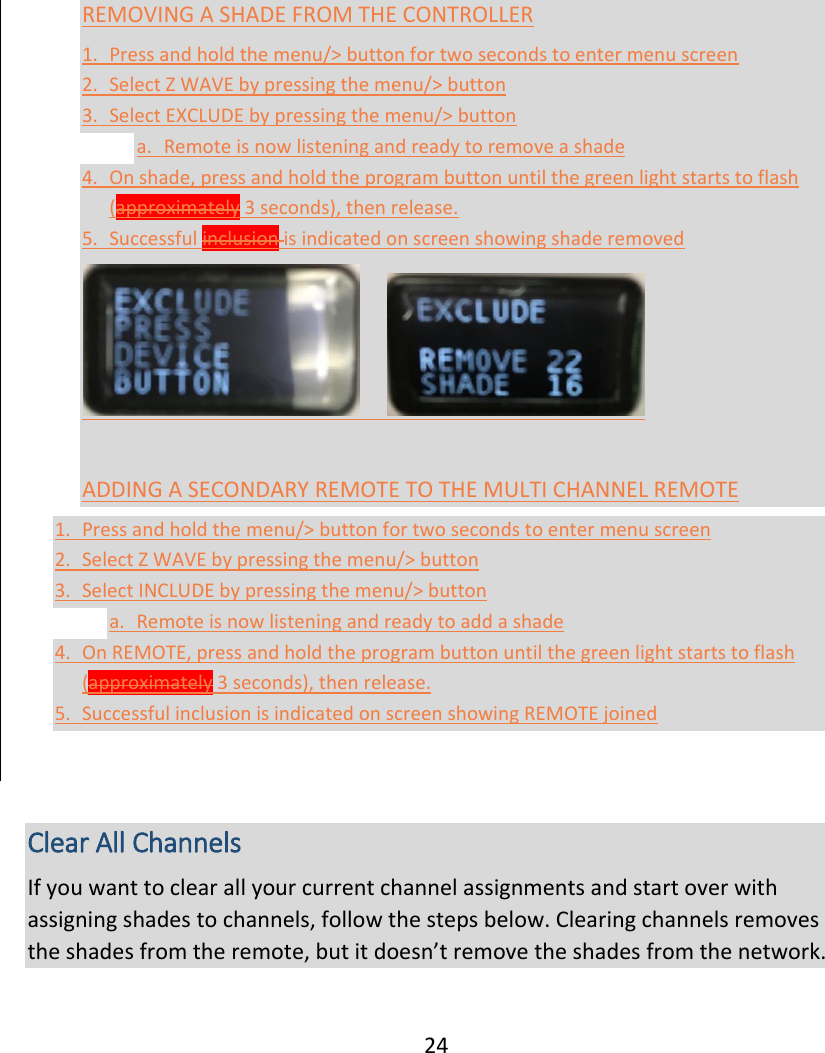
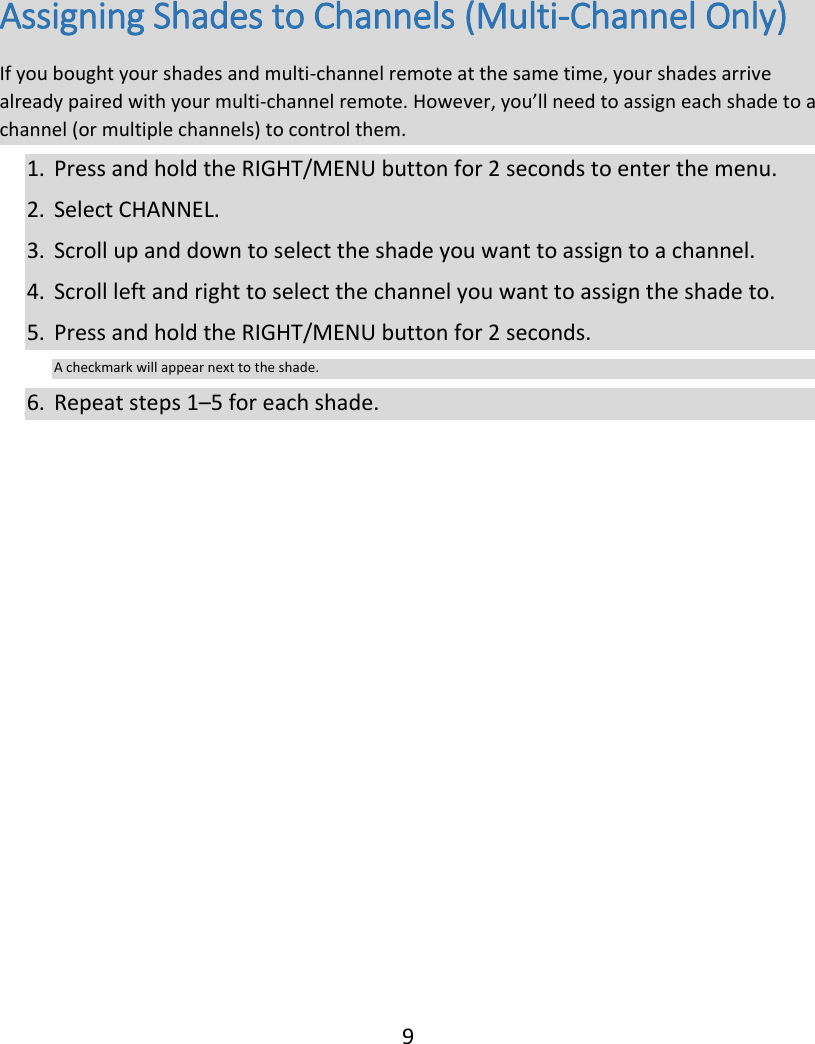
![25 To add the shades back to the remote, see the Pairing Your Remote with a Single Shade section. 1. Press and hold the menu/> button for two seconds to enter menu screen 2. Select CHANNEL by pressing menu/> button 3. There are two scrolling options, a. Use the up and down arrow buttons to scroll thru the list of shades b. Use the left and right arrow buttons to scroll thru the Channels. 4. Once you have selected the channel and the shade that is to be applied to that channel, press and hold the menu/> button for two seconds until a check mark appears. 1. Press and hold the RIGHT/MENU button for 2 seconds to access the programming options. 1. Scroll to SETUP and press and release the RIGHT/MENU button. 1. Scroll to CLR CHNLS and press and release the RIGHT/MENU button. 1. Scroll to CONFIRM and press the RIGHT/MENU button. Pair a Multi-Channel Remote with an Existing Shade Network If you bought a new multi-channel remote and want to pair it with a group of shades that are currently controlled by a single-channel remote, follow these steps. 1. [LEARN function] 2. . 3. .](https://usermanual.wiki/Somfy-Systems/MCZ/User-Guide-3627669-Page-26.png)
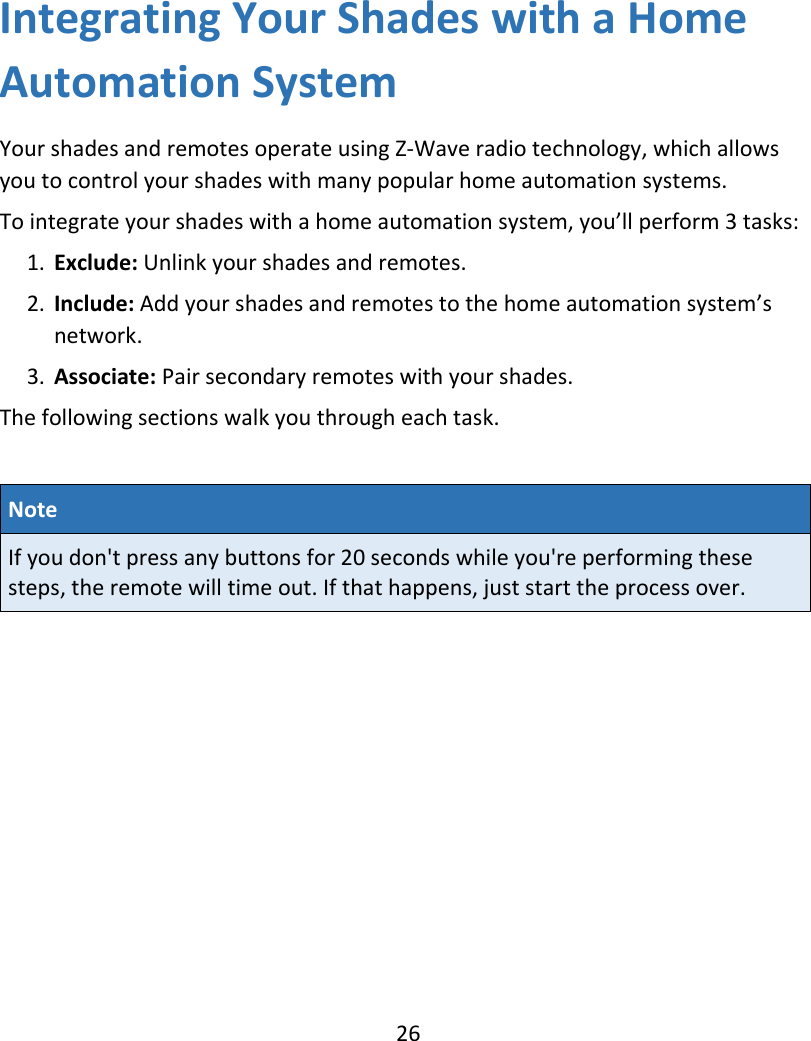
![28 Step 2: (Include) Add Your Shades and Remotes to the Home Automation System’s Network 1. From your home automation system’s user interface, select the option to enroll a new Z-Wave device. See your home automation system’s instructions for details. In some cases, you might need to choose “Other Z-Wave Supported Device” or “Lighting Devices.” 2. On one of your shades or remotes, press and hold the program button for 3 seconds. When the LED flashes green, release the button. The shade or remote should appear as a found Z-Wave device in your home automation system’s user interface. 3. Repeat steps 1–2 for each shade and remote. 4. If you have a multi-channel remote, [use the SHIFT function]. Note You need to add the shades and remotes to your home automation system for the integration process to work correctly.](https://usermanual.wiki/Somfy-Systems/MCZ/User-Guide-3627669-Page-29.png)
![30 Troubleshooting I need to replace the batteries in my shade or remote. Replacing Batteries in the Shade Insert 8 AA lithium batteries per battery case. [image] Replacing Batteries in the Two-Button or Single-Channel Remote Insert a #CR2430 lithium coin battery. [image] Replacing Batteries in the Multi-Channel Remote Insert 2 AAA batteries. [image] The programming steps aren’t working. If you don't press any buttons for 20 seconds while you're programming your remote or shade, the remote will time out. If that happens, just start the process over.](https://usermanual.wiki/Somfy-Systems/MCZ/User-Guide-3627669-Page-31.png)