Sonicwall 06C 802.11b/g/n Router User Manual SonicWALL TZ 210 Series Getting Started Guide

Sonicwall, Inc. 802.11b/g/n Router SonicWALL TZ 210 Series Getting Started Guide
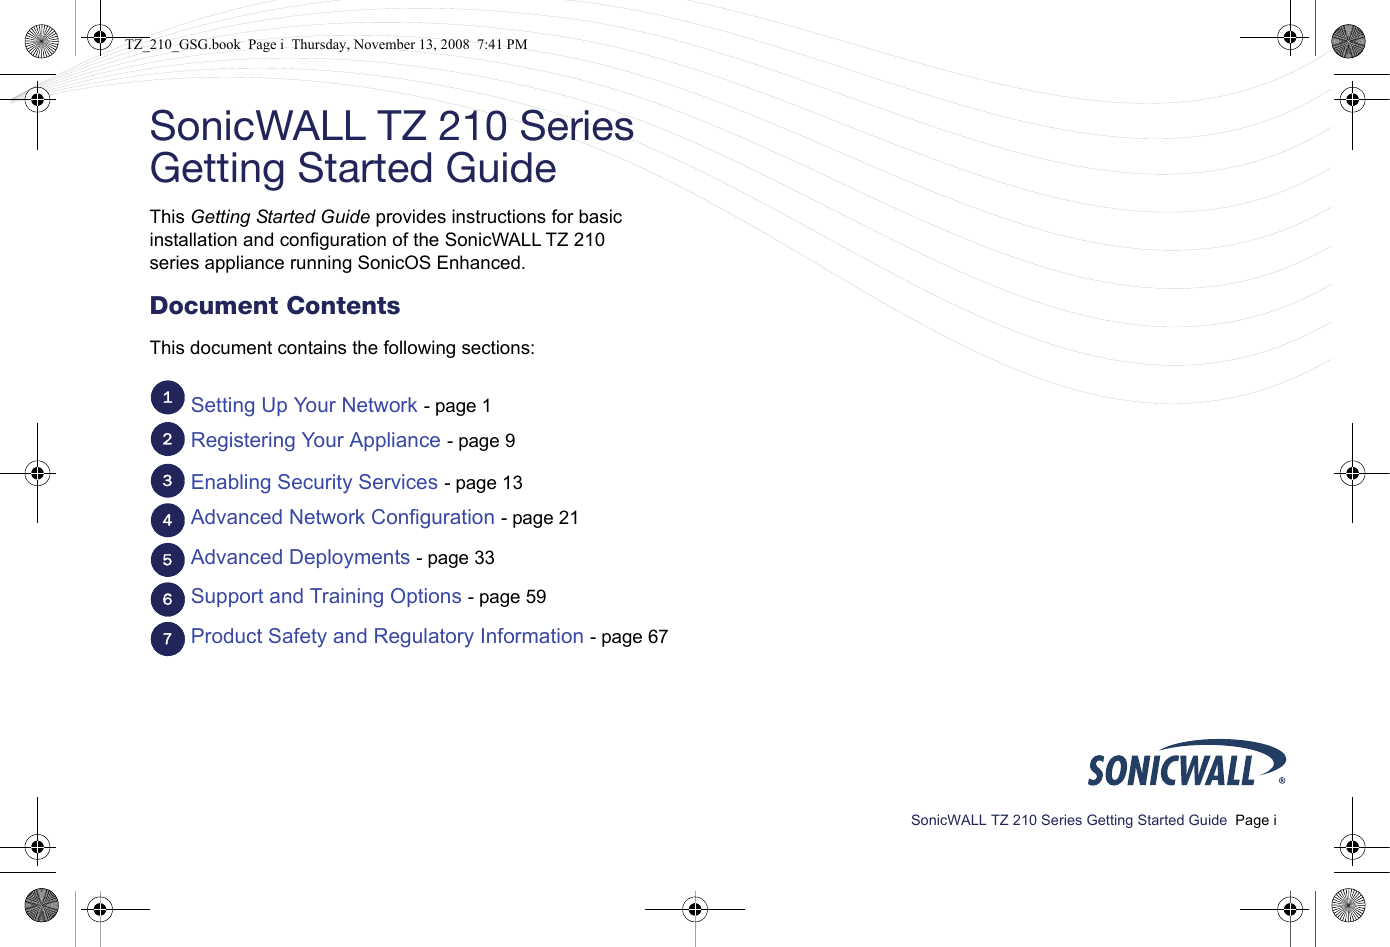
Manual Part 1

Getting Started GuideSonicWALL Network Security AppliancesNETWORK SECURITYTZ 210 SeriesTZ_210_GSG.book  Page 1  Thursday, November 13, 2008  7:41 PM
12345Getting Started GuideSonicWALL Network Security AppliancesNETWORK SECURITY TZ 210 SeriesMissing Items?If any items are missing from your package,  please contact SonicWALL support. A listing of the most current support documents are available online at: <http://www.sonicwall.com/us/support.html>*Antennas included with TZ 210 Wireless-N Only*SonicWALL TZ 210 Series Quick StartStart here if you are new to SonicWALL appliances. The next few pages provide a Quick Start to connecting your appliance. For a complete listing of contents, including more advanced network deployments, see the Table of Contents on page i of this guide.Verify ContentsConnect NetworkConnect PowerBoot ApplianceSetup WizardTZ_210_GSG.book  Page 1  Thursday, November 13, 2008  7:41 PM
SonicWALL TZ 210 Series Quick StartConnect the SonicWALL TZ 210 series appliance using standard CAT-5 Ethernet cables as shown in the illustration below.Verify ContentsConnect NetworkConnect PowerBoot ApplianceSetup WizardTZ_210_GSG.book  Page 2  Thursday, November 13, 2008  7:41 PM
SonicWALL TZ 210 Series Quick StartConnect the included power cable and adaptor and plug into a properly grounded 120V AC outlet.Verify ContentsConnect NetworkConnect PowerBoot ApplianceSetup WizardTZ_210_GSG.book  Page 3  Thursday, November 13, 2008  7:41 PM
12?Getting StartedGuide | page ivSonicWALL TZ 210 Series Quick StartThe TZ 210 series appliance powers on and the orange “test” LED blinks during the boot sequence. Continue to the next step when the “test” LED is no longer lit. This process may take up to 2 minutes.For troubleshooting this step, see page iv of this guide.Verify ContentsConnect NetworkConnect PowerBoot ApplianceSetup WizardTZ_210_GSG.book  Page 4  Thursday, November 13, 2008  7:41 PM
12345SonicWALL TZ 210 Series Quick Starthttp://192.168.168.168/http://192.168.168.168/?Getting StartedGuide | page 4Using a computer connected to the LAN port of the SonicWALL TZ 210 series appliance, navigate to “http://192.168.168.168/” in a Web browser. The SonicWALL Setup Wizard displays.Continue to page 4 of this guide to complete the Setup Wizard.Verify ContentsConnect NetworkConnect PowerBoot ApplianceSetup WizardTZ_210_GSG.book  Page 5  Thursday, November 13, 2008  7:41 PM
TZ_210_GSG.book  Page 6  Thursday, November 13, 2008  7:41 PM
SonicWALL TZ 210 Series Getting Started Guide  Page iSonicWALL TZ 210 SeriesGetting Started GuideThis Getting Started Guide provides instructions for basic installation and configuration of the SonicWALL TZ 210 series appliance running SonicOS Enhanced.Document ContentsThis document contains the following sections:Setting Up Your Network - page 1Registering Your Appliance - page 9Enabling Security Services - page 13Advanced Network Configuration - page 21Advanced Deployments - page 33Support and Training Options - page 59Product Safety and Regulatory Information - page 67123456677TZ_210_GSG.book  Page i  Thursday, November 13, 2008  7:41 PM
Page ii  SonicWALL TZ 210 Series Front Panel  SonicWALL TZ 210 Series Front Panel Provides Provides dedicated LAN/WAN port status as follows:link/spd:activity:LAN/WAN Port Status10/100 Ethernet Port StatusOff=10M   Green=100MSolid=linkBlinking=activitySolid=wireless radio onTZ_210_GSG.book  Page ii  Thursday, November 13, 2008  7:41 PM
SonicWALL TZ 210 Series Getting Started Guide  Page iiiSonicWALL TZ 210 Series Rear PanelX3 X4 X5 X6X2WANX1X0LANConsole PowerConsole PortProvides access to the SonicOS Command Line Interface (CLI) via the DB9 -> RJ45 cableLAN Port (X0)Provides dedicated LAN access to local area network resourcesWAN Port (X1)Provides dedicated WAN (Internet) Power SupplyProvides power connection using supplied power cableReset ButtonPress and hold to manually reset the appliance to SafeModeEthernet Ports (X2-X6)Provides configurable 10/100 Ethernet ports for connection to network devices on WAN, LAN, DMZ, and other zone typesHA Ethernet Port (X6)Provides 10/100 Ethernet port for high availability (HA) connectivityTZ_210_GSG.book  Page iii  Thursday, November 13, 2008  7:41 PM
Page iv  SonicWALL TZ 210 Series LED Reference  SonicWALL TZ 210 Series LED ReferenceX0 X1 X2 X3 X4 X5 X6TZ_210_GSG.book  Page iv  Thursday, November 13, 2008  7:41 PM
SonicWALL TZ 210 Series Getting Started Guide  Page 1Setting Up Your NetworkIn this Section:This section provides pre-configuration information. Review this section before setting up your SonicWALL TZ 210 series appliance.•System Requirements - page 2•Recording Configuration Information - page 2•Completing the Setup Wizard - page 4•Accessing the Management Interface - page 5•Verifying WAN (Internet) Connectivity - page 6•Connecting Your Network Devices - page 6•Troubleshooting Initial Setup - page 71TZ_210_GSG.book  Page 1  Thursday, November 13, 2008  7:41 PM
Page 2  System Requirements  System RequirementsBefore you begin the setup process, verify that you have:• An Internet connection• A Web browser supporting Java Script and HTTP uploads. Supported browsers include the following:Recording Configuration InformationRecord the following setup information to use during the setup process and for future reference:Registration InformationNetworking InformationAdministrator InformationSupported Browsers Browser Version NumberInternet Explorer 6.0 or higherFirefox 2.0 or higherNetscape 9.0 or higherOpera  9.10 or higher for WindowsSafari 2.0 or higher for MacOSSerial Number:                                                                 Record the serial number found on the bottom panel of your SonicWALL appliance.Authentication Code:                                                                Record the authentication code found on the bottom panel of your SonicWALL appliance.LAN IP Address:              .                .                .                Select a static IP address for your SonicWALL appliance that is within the range of your local subnet. If you are unsure, you can use the default IP address (192.168.168.168).Subnet Mask:               .                .                .                Record the subnet mask for the local subnet where you are installing your SonicWALL appliance.Ethernet WAN IP Address:              .                .                .                Select a static IP address for your Ethernet WAN. This setting only applies if you are already using an ISP that assigns a static IP address.Admin Name:                                                                Select an administrator account name. (default is admin)Admin Password:                                                                Select an administrator password. (default is password)TZ_210_GSG.book  Page 2  Thursday, November 13, 2008  7:41 PM
SonicWALL TZ 210 Series Getting Started Guide  Page 3Primary Internet Service Provider (ISP) InformationRecord the following information about your current ISP:Secondary ISP InformationRecord the following information about your secondary ISP:If you connect viaYou likely usePlease recordCable modem,DSL with a routerDHCP No Internet connection information is usually required, although some service providers require a host name.Host Name:                                                     Home DSL PPPoEUser Name:                                                    Password:                                                    Note: Your ISP may require your user name in the format: name@ISP.comT1/E1,Static broadband,Cable or DSL with a static IPStatic IP IP Address:             .            .              .             Subnet Mask:             .            .              .             Default Gateway(IP Address):             .            .              .             Primary DNS:             .            .              .             Secondary DNS (optional):             .            .              .             Dial-in to a serverPPTPServer Address:                                                    User Name:                                                    Password:                                                    If you connect viaYou likely usePlease recordCable modem,DSL with a routerDHCPHost Name:                                                     Home DSL PPPoEUser Name:                                                    Password:                                                    T1/E1,Static broadband,Cable or DSL with a static IPStatic IPIP Address:             .            .              .             Subnet Mask:             .            .              .             Default Gateway(IP Address):             .            .              .             Primary DNS:             .            .              .             Secondary DNS (optional):             .            .              .             Dial-in to a serverPPTPServer Address:                                                    User Name:                                                    Password:                                                    TZ_210_GSG.book  Page 3  Thursday, November 13, 2008  7:41 PM
Page 4  Completing the Setup Wizard  Completing the Setup WizardThe Setup Wizard takes you through several basic steps to get your SonicWALL TZ 210 series appliance configured for your network. Use the Recording Configuration Information section, on page 2 to record your configuration information as you complete the wizard.Note: If you are having trouble accessing the Setup Wizard, see the Troubleshooting the Setup Wizard section, on page 7 of this document.The Setup Wizard guides you through the following steps:Change Password—Create a new password so that only you have access to the management interface. The default password is “password.”Change Time Zone—Select the correct time zone for proper updates and time-based functionality.WAN Network Mode—Choose your method of connecting to the Internet. This information is provided by your Internet Service Provider (ISP).WAN Settings—Required for some WAN modes. This information is also provided by your ISP.LAN Settings—Enter custom local network address settings, or use the default values, which work well for most networks.LAN DHCP Settings—Allow your SonicWALL TZ 210 series appliance to automatically connect other local computers by specifying a DHCP range, or use the default.Ports Assignment—Configure the extra interfaces (X2-X6) for different network requirements.At the end of the wizard, a configuration summary displays. It is recommended that you record this information in the Recording Configuration Information section, on page 2 of this guide.After the Setup Wizard completes, the appliance may reboot. Please wait a few minutes while the SonicWALL appliance reboots  to save the updated firmware settings, and then continue with the next section of this guide.TZ_210_GSG.book  Page 4  Thursday, November 13, 2008  7:41 PM
SonicWALL TZ 210 Series Getting Started Guide  Page 5Accessing the Management InterfaceThe computer you use to manage the SonicWALL TZ 210 series appliance must be set up to connect using DHCP, or with a static IP address in your chosen subnet. The default subnet for LAN zone ports is 192.168.168.x.If your SonicWALL TZ 210 series appliance required a reboot after completing the Setup Wizard, wait until the   LED is no longer lit before continuing.To access the SonicOS Web-based management interface:1. Enter the default IP address of  http://192.168.168.168, or the LAN IP address you chose during the Setup Wizard, in the Location or Address field of your Web browser.Tip: If you changed the LAN IP of your SonicWALL during the Setup Wizard, you may need to restart your computer for changes to take effect.2. When the SonicWALL Management Login page displays, enter your username and password (default values are “admin” for user name and “password” for password).If the System > Status page (shown below) displays, then you have correctly configured the SonicWALL TZ 210 series appliance to work with the computer on your LAN. TZ_210_GSG.book  Page 5  Thursday, November 13, 2008  7:41 PM
Page 6  Verifying WAN (Internet) Connectivity  Verifying WAN (Internet) ConnectivityComplete the following steps to confirm your Internet connectivity:1. In the Windows interface, launch your Web browser.2. Enter “http://www.sonicwall.com” in the address bar and press Enter on the keyboard. The SonicWALL website displays. If you are unable to browse to a Website, see “Troubleshooting Internet Connection” on page 7.Connecting Your Network DevicesWireless Clients Desktop Clients Local ServerW0 WLAN X2 LAN X3 LAN X4 LAN Good for small networks (less than 5 clients)Easy to setupRequires less equipmentEach interface may be congured for a    dierent zone (LAN, WAN, DMZ)Connecting DirectlyWireless Clients Desktop ClientsHub/SwitchLocal ServerW0 WLANX2 LAN   Requires extra equipment (hub/switch)   Ability to connect to multiple clients    through one port       Zone security assignment (LAN, WAN, DMZ)   can be applied to many clients on a    single interfaceConnecting With a Hub/SwitchTZ_210_GSG.book  Page 6  Thursday, November 13, 2008  7:41 PM
SonicWALL TZ 210 Series Getting Started Guide  Page 7Troubleshooting Initial SetupThis section provides troubleshooting tips for the following initial setup topics:•Troubleshooting the Setup Wizard - page 7•Troubleshooting Internet Connection - page 7•Configuring DHCP IP Addressing - page 8Troubleshooting the Setup Wizard• If you see the login screen, but not the Setup Wizard:• Configure your Web browser to allow pop-ups.• Log into the security appliance using “admin” as the user name and “password” as the password. After you log in, click the Wizards button at the top right.• If you do not see the login screen or the Setup Wizard, verify the following:• Did you correctly enter the SonicWALL TZ 210 series appliance management IP address, 192.168.168.168, in your Web browser? • Is your computer set to accept DHCP addressing or set to a static IP address within the 192.168.168.x subnet range? If not, see the Configuring DHCP IP Addressing section, on page 8 for instructions.• Is the Ethernet cable connected between your computer and the LAN (X0) port on your SonicWALL?• Do you need to add the SonicWALL appliance to your list of trusted sites in your Web browser? Use the default IP address (192.168.168.168) for this.• Is the Test   LED on the front panel of your SonicWALL appliance lit? If the Test LED stays lit for more than a few minutes after the initial power on sequence, power cycle the SonicWALL appliance.Troubleshooting Internet Connection If you can view the SonicWALL home page, you have configured your SonicWALL TZ 210 series appliance correctly. If you cannot view the SonicWALL home page, try the following:•Renew your management station DHCP address if you changed the IP address/subnet of your network during setup. •Restart your management station to accept new network settings from the DHCP server in the SonicWALL  appliance.•Restart your Internet router or modem to communicate with the DHCP client in the SonicWALL  appliance.•Log into the SonicOS management interface and launch the Setup Wizard again by clicking the Wizards button in the top right corner of the interface. Ensure that all of your settings are correct.TZ_210_GSG.book  Page 7  Thursday, November 13, 2008  7:41 PM
Page 8  Troubleshooting Initial Setup  Configuring DHCP IP AddressingIf you are having trouble connecting to the SonicWALL TZ 210 series appliance, complete the following section based on your Windows operating system flavor. Configure your management computer to obtain an IP address using DHCP.Windows Vista1. From the Start menu, right-click Network and select Properties.2. In the Tasks menu, click Manage network connections. The Network Connections windows displays.3. Right-click on your Local Area Connection and select Properties.4. In the list, double-click Internet Protocol Version 4 (TCP/IP).5. Select Obtain an IP address automatically and Obtain a DNS address automatically.6. Click OK, and then click OK again for the settings to take effect.Windows XP 1. From the Start menu, highlight Connect To and then select Show All Connections.2. Right-click on your Local Area Connection and select Properties. 3. In the list, double-click Internet Protocol (TCP/IP).4. Select Obtain an IP address automatically and Obtain a DNS address automatically.5. Click OK, and then click OK again for the settings to take effect.Windows 20001. From the Windows Start menu, select Settings. 2. Open Network and Dial-up Connections. 3. Click Properties. 4. Highlight Internet Protocol (TCP/IP) and click Properties. 5. Select Obtain an IP address automatically and Obtain a DNS address automatically.6. Click OK for the settings to take effect.TZ_210_GSG.book  Page 8  Thursday, November 13, 2008  7:41 PM
SonicWALL TZ 210 Series Getting Started Guide  Page 9Registering Your ApplianceIn this Section:This section provides instructions for registering your SonicWALL TZ 210 series appliance.•Creating a MySonicWALL Account - page 10•Registering and Licensing Your Appliance on MySonicWALL - page 10Note: Registration is an important part of the setup process and is necessary to receive the benefits of SonicWALL security services, firmware updates, and technical support.2TZ_210_GSG.book  Page 9  Thursday, November 13, 2008  7:41 PM

Navigation menu