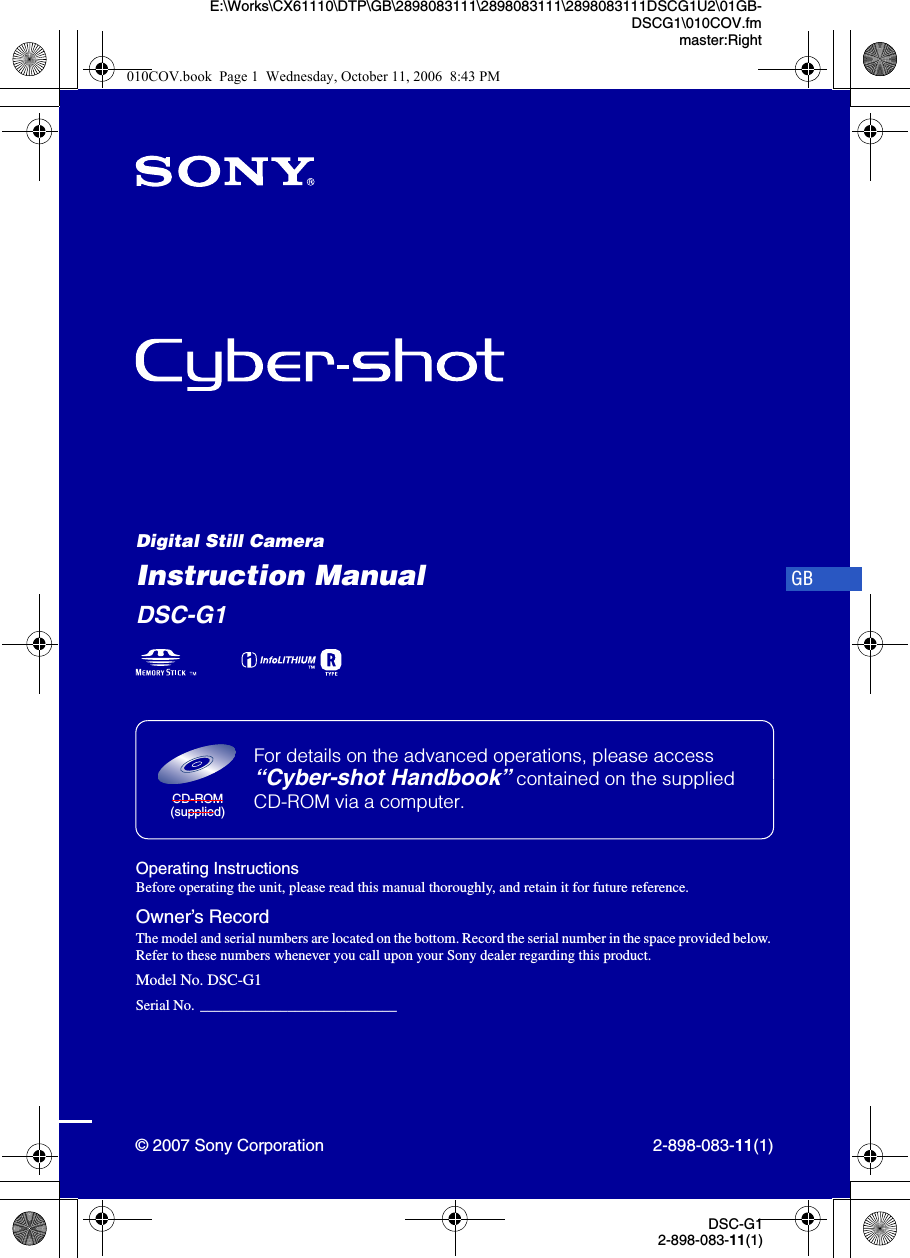
Sony Group DSCG1 Digital Still Camera User Manual 010COV
Sony Corporation Digital Still Camera 010COV
UserManual.wiki
>
Sony Group
>
DSCG1 User Manual
>
Manual 1
Contents
1.
Manual 1
2.
Manual 2
Manual 1
Navigation menu
Upload a User Manual
Namespaces
Wiki Guide
HTML
PDF
Info
Views
User Manual
Discussion / Help
Navigation
![12DSC-G12-898-083-11(1)E:\Works\CX61110\DTP\GB\2898083111\2898083111\2898083111DSCG1U2\01GB-DSCG1\040PRE.fmmaster:Left[When recording in a “Memory Stick Duo” (not supplied)You can also record images in a “Memory Stick Duo” (not supplied) instead of the internal memory.Push the “Memory Stick Duo” in once to remove the “Memory Stick Duo”.•Never remove the “Memory Stick Duo” when the access lamp is lit. The data may be corrupted.•When the [Default Media] is set to [Internal Memory], the images are recorded in the internal memory, although the “Memory Stick Duo” is being inserted (page 24).Access lampInsert the “Memory Stick Duo” with the terminal side facing as illustrated.010COV.book Page 12 Wednesday, October 11, 2006 8:43 PM](https://usermanual.wiki/Sony-Group/DSCG1.Manual-1/User-Guide-765767-Page-12.png)
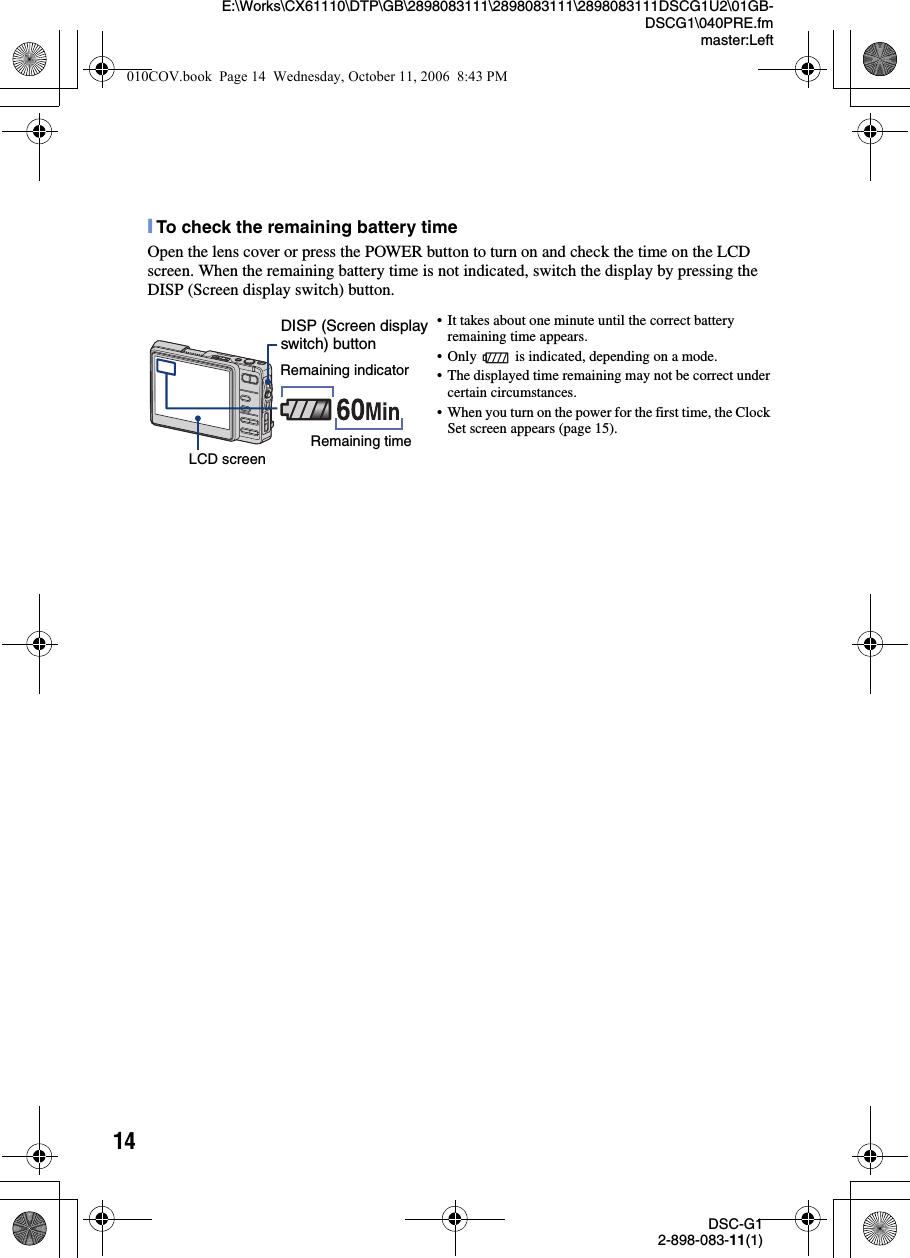
![15DSC-G12-898-083-11(1)E:\Works\CX61110\DTP\GB\2898083111\2898083111\2898083111DSCG1U2\01GB-DSCG1\040PRE.fmmaster:Right_PrepL23 Turning the camera on/setting the clock1Press the POWER button or open the lens cover.2Set the clock with the control button.1-1Select [Area], then press z.-2Select the desired area, then press z.2-1Select [Daylight Savings], then press z.-2Select [On] or [Off] of the daylight saving time, then press z.3-1Select [Date display order], then press z.-2Select the desired order, then press z.4-1Select each item and set the numeric value, then press z.-2Set up all the items.5Select [OK], then press z.[To change the date and timePress the HOME button, and select [Settings] t [ Clock Set] (page 26).[When you turn on the power•If the camera is running on battery power and you do not operate the camera for about three minutes, the camera turns off automatically to prevent wearing down the battery pack (Auto power-off function). POWER button Control buttonɟOPEN (CAMERA) lever Lens cover12HOME buttonUpDownLeft: Move the button to the LCD screen side.Right: Move the button to the lens side.Press z354010COV.book Page 15 Wednesday, October 11, 2006 8:43 PM](https://usermanual.wiki/Sony-Group/DSCG1.Manual-1/User-Guide-765767-Page-15.png)
![16DSC-G12-898-083-11(1)E:\Works\CX61110\DTP\GB\2898083111\2898083111\2898083111DSCG1U2\01GB-DSCG1\040PRE.fmmaster:Left_PrepL24 Connecting the camera with your computerIf you use the software contained in the CD-ROM (supplied), you can display images shot with the camera on the computer. For details, refer to “Cyber-shot Handbook.”Connect the USB cable to the (USB) jack of the Cyber-shot Station and the USB jack of a computer. Viewing “Cyber-shot Handbook”[For Windows users1Turn on your computer, and insert the CD-ROM (supplied) into the CD-ROM drive.The screen below appears.When you click the [Cyber-shot Handbook] button, the screen for copying “Cyber-shot Handbook” appears. Follow the on-screen instructions to copy.2After the installation is complete, double-click the shortcut created on the desktop.[For Macintosh users1Turn on your computer, and insert the CD-ROM (supplied) into the CD-ROM drive.Select the “Handbook” folder and copy “Handbook.pdf” stored in the “GB” folder to your computer.2After copying is complete, double-click “Handbook.pdf.” (USB) jack010COV.book Page 16 Wednesday, October 11, 2006 8:43 PM](https://usermanual.wiki/Sony-Group/DSCG1.Manual-1/User-Guide-765767-Page-16.png)
![17DSC-G12-898-083-11(1)E:\Works\CX61110\DTP\GB\2898083111\2898083111\2898083111DSCG1U2\01GB-DSCG1\040PRE.fmmaster:RightInstalling the softwareSupported Operating Systems for “Album Editor”, “Picture Motion Browser”• Must be installed with above OS at delivery.• For further details on the operating environment of “Album Editor” and “Picture Motion Browser,” refer to “Cyber-shot Handbook.”[For Windows users only1Turn on your computer, and insert the CD-ROM (supplied) into the CD-ROM drive.The screen below appears.When you click the [Install] button, the “Choose Setup Language” screen appears.2Follow the instructions on the screen to complete the installation.3After the installation is complete, double-click the shortcut created on the desktop.Application software “Album Editor”, “Picture Motion Browser”Windows 2000 Professional SP4, Windows XP Home Edition or Windows XP Professional010COV.book Page 17 Wednesday, October 11, 2006 8:43 PM](https://usermanual.wiki/Sony-Group/DSCG1.Manual-1/User-Guide-765767-Page-17.png)
![20DSC-G12-898-083-11(1)E:\Works\CX61110\DTP\GB\2898083111\2898083111\2898083111DSCG1U2\01GB-DSCG1\040PRE.fmmaster:LeftViewing/deleting images1Press the (Playback) button.• If you press (Playback) when the camera is powered off, the camera is turned on in playback mode. Pressing it again returns to the shooting mode.2Select an image by moving the control button to C/c.Movie:Press z to play back a movie. (Press z again to stop playback.)Moving the control button to C to rewind and to c to fast forward. (Press z to return to normal playback.)Moving the control button to X/x to adjust the volume.[To delete images1Display the image you want to delete and press (Delete).2Select [Original Image Only] or [Original & Album Images] with the control button, then press z.[To view an enlarged image (playback zoom)Press while displaying a still image.To undo the zoom, press .Adjust the portion: Moving the control button to X/x/C/c.Cancel playback zoom: Press BACK. (Delete) button (Playback)button Control buttonɟ (playback zoom)button (Index)/ (playbackzoom) buttonBACK buttonHOME button010COV.book Page 20 Wednesday, October 11, 2006 8:43 PM](https://usermanual.wiki/Sony-Group/DSCG1.Manual-1/User-Guide-765767-Page-20.png)