Sony Group DSXS300BT FM/AM Digital Media Player User Manual DSX S300BTX
Sony Corporation FM/AM Digital Media Player DSX S300BTX
UserManual.wiki
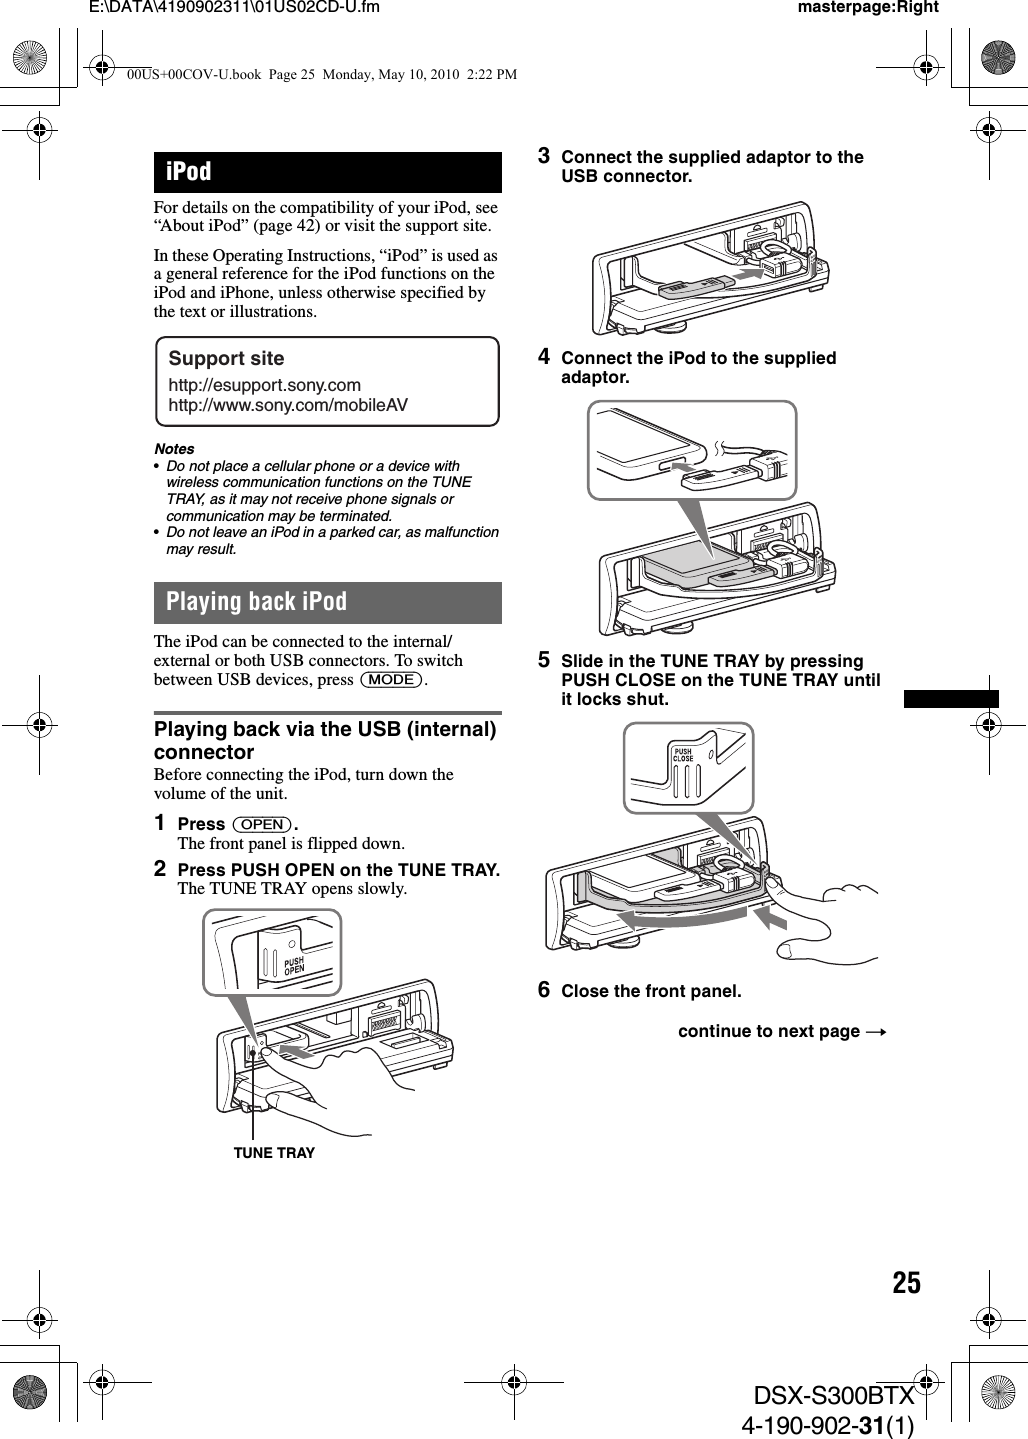
>
Sony Group
>
DSXS300BT User Manual
User Manual
Navigation menu
Upload a User Manual
Namespaces
Wiki Guide
HTML
PDF
Info
Views
User Manual
Discussion / Help
Navigation


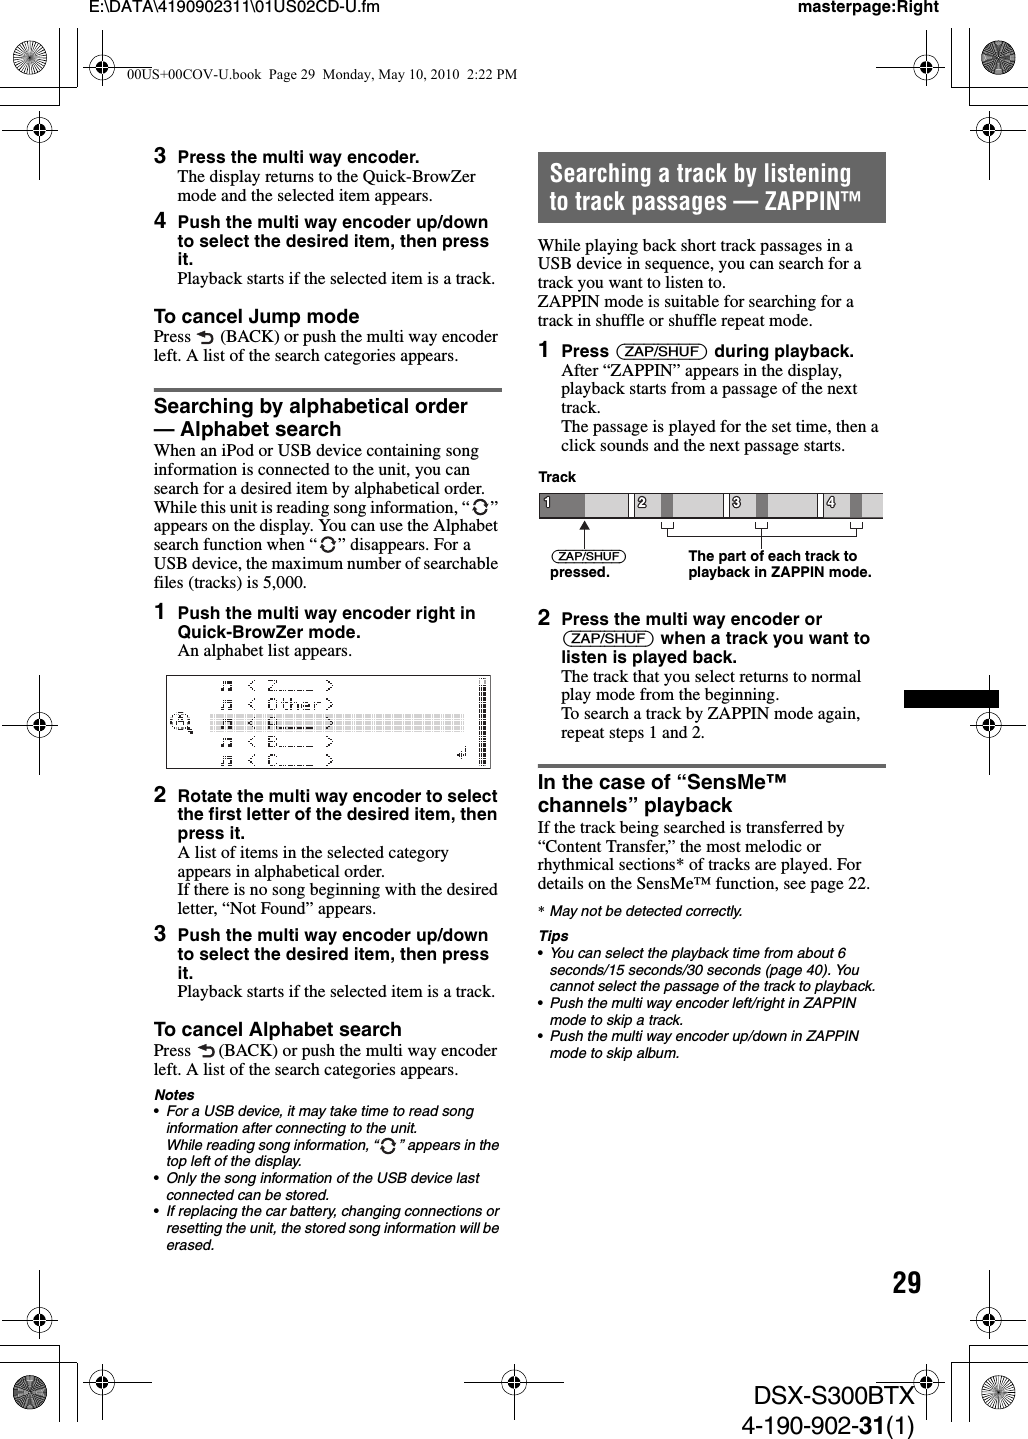
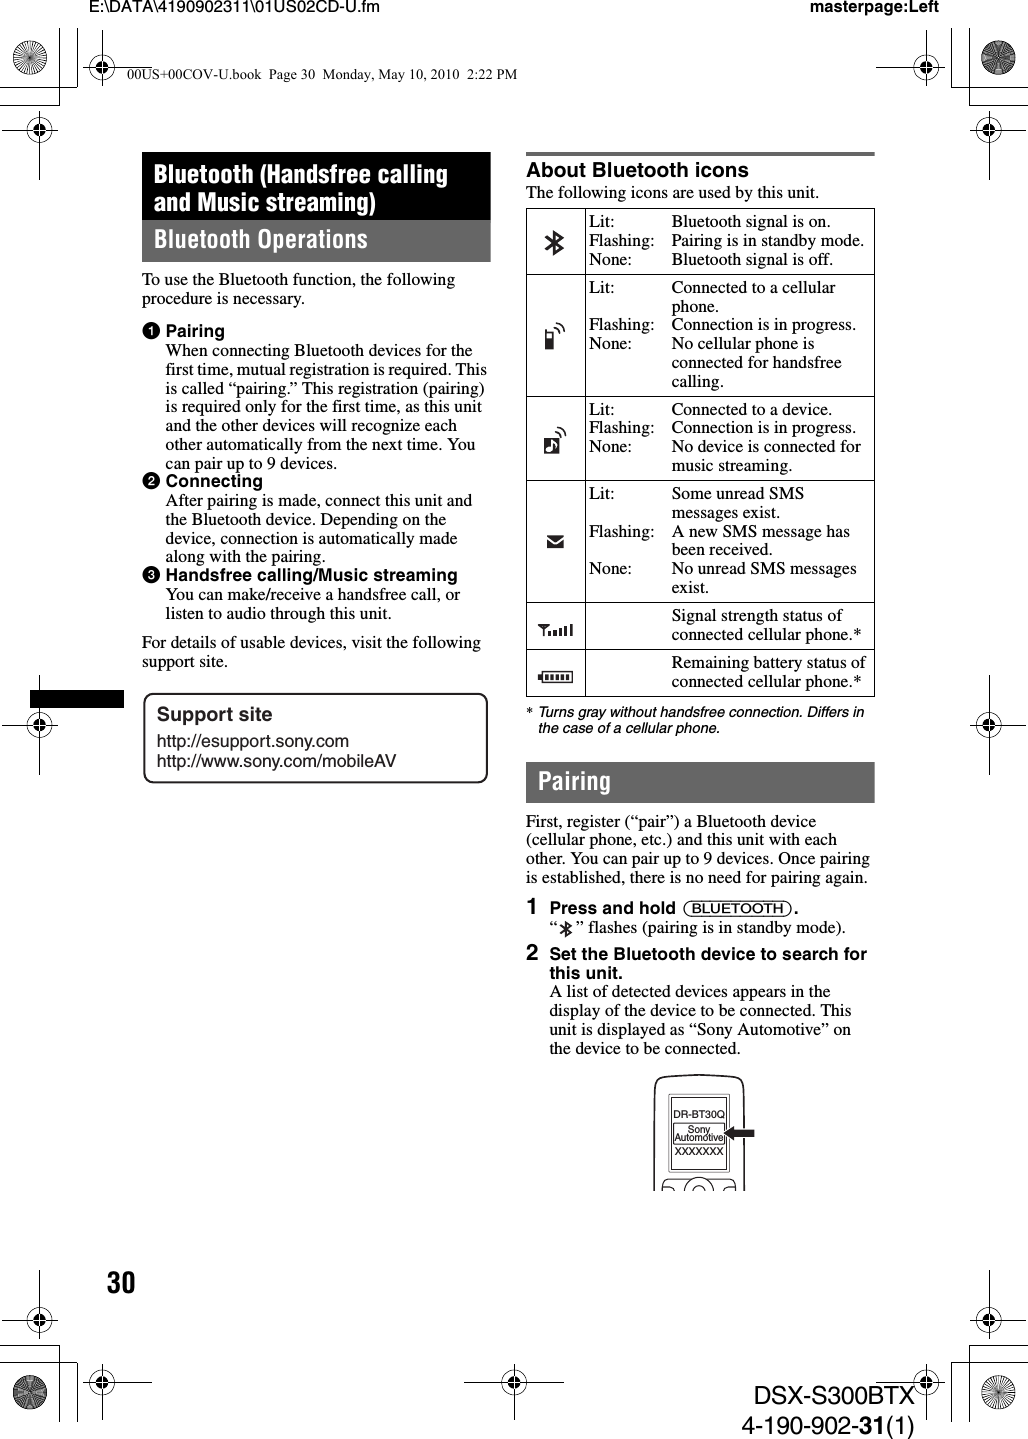

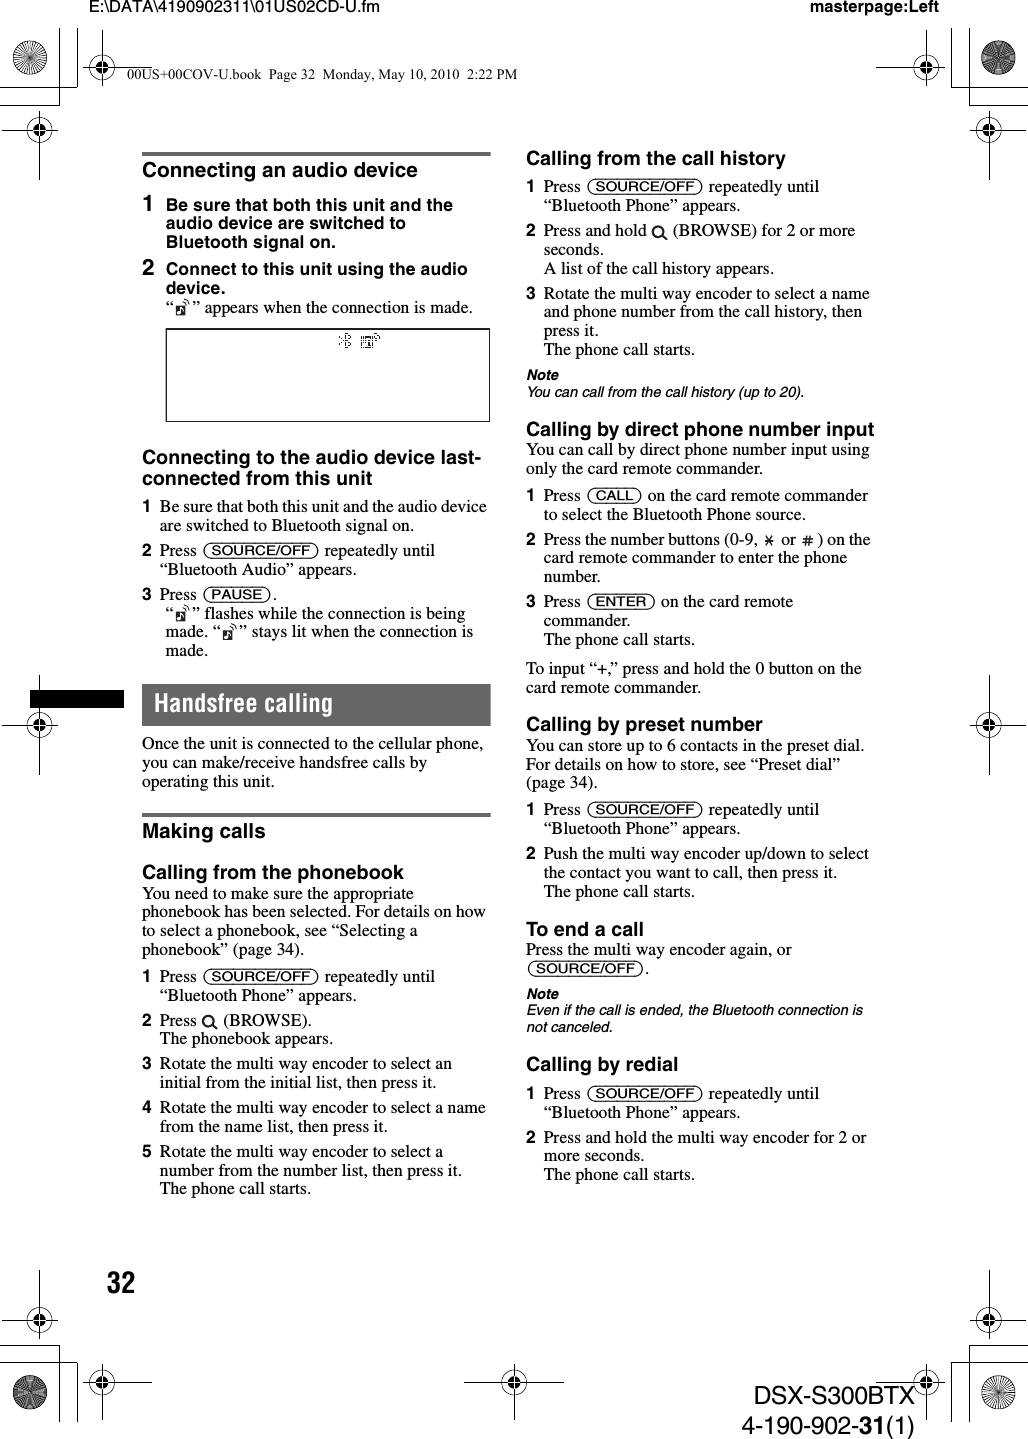
![36E:\DATA\4190902311\01US02CD-U.fm masterpage:LeftDSX-S300BTX4-190-902-31(1)Operating an audio device with this unitYou can perform the following operations on this unit if the audio device supports AVRCP (Audio Video Remote Control Profile) of Bluetooth technology. (The operation differs depending on the audio device.)*1 Depending on the device, it may be necessary to press twice.*2 Press repeatedly until the desired setting appears.*3 You can also shuffle play by pressing and holding (ZAP/SHUF) on this unit.Operations other than the above should be performed on the audio device.Notes•Depending on the audio device, its information, such as title, track number/time, playback status, etc., may not be displayed on this unit. The information is displayed during Bluetooth Audio playback only.•Even if the source is changed on this unit, playback of the audio device does not stop.TipYou can connect a cellular phone that supports A2DP (Advanced Audio Distribution Profile) as an audio device and listen to music.Other settingsInitializing Bluetooth SettingsYou can initialize all the Bluetooth-related settings from this unit.1Press and hold the multi way encoder.The menu list appears.2Rotate the multi way encoder to select “BT Initialize,” then press it.The confirmation appears.3Rotate the multi way encoder to select “Yes.”“Initializing...” appears while initializing the Bluetooth settings.4Press (BACK).The display returns to normal reception/play mode.NoteWhen disposing of this unit, phonebook data should be deleted with “BT Initialize.”Using optional equipmentExternal microphone XA-MC10By connecting an external microphone to the microphone input connector, you can improve audio quality while talking through this unit.Installing on the sun visorInstalling on the dashboardNoteIf you connect the external microphone, you cannot use the built-in microphone.To Do thisPlay Press (PAUSE).*1Pause Press (PAUSE).*1Skip tracks Push the multi way encoder left/right [once for each track].Reverse/Fastforward Push and hold the multi way encoder left/right.Repeat play Press (REP) on the card remote commander.*2Shuffle play Press (SHUF) on the card remote commander.*2*3Skip albums Push the multi way encoder up/down.External microphoneConnecting cordClampsClampsConnecting cordExternal microphone00US+00COV-U.book Page 36 Monday, May 10, 2010 2:22 PM](https://usermanual.wiki/Sony-Group/DSXS300BT/User-Guide-1293792-Page-36.png)