Sony Group HCDDH7BT DVD Receiver with Bluetooth User Manual 010COV indb
Sony Corporation DVD Receiver with Bluetooth 010COV indb
UserManual.wiki
>
Sony Group
>
HCDDH7BT User Manual
Manual
Navigation menu
Upload a User Manual
Namespaces
Wiki Guide
HTML
PDF
Info
Views
User Manual
Discussion / Help
Navigation

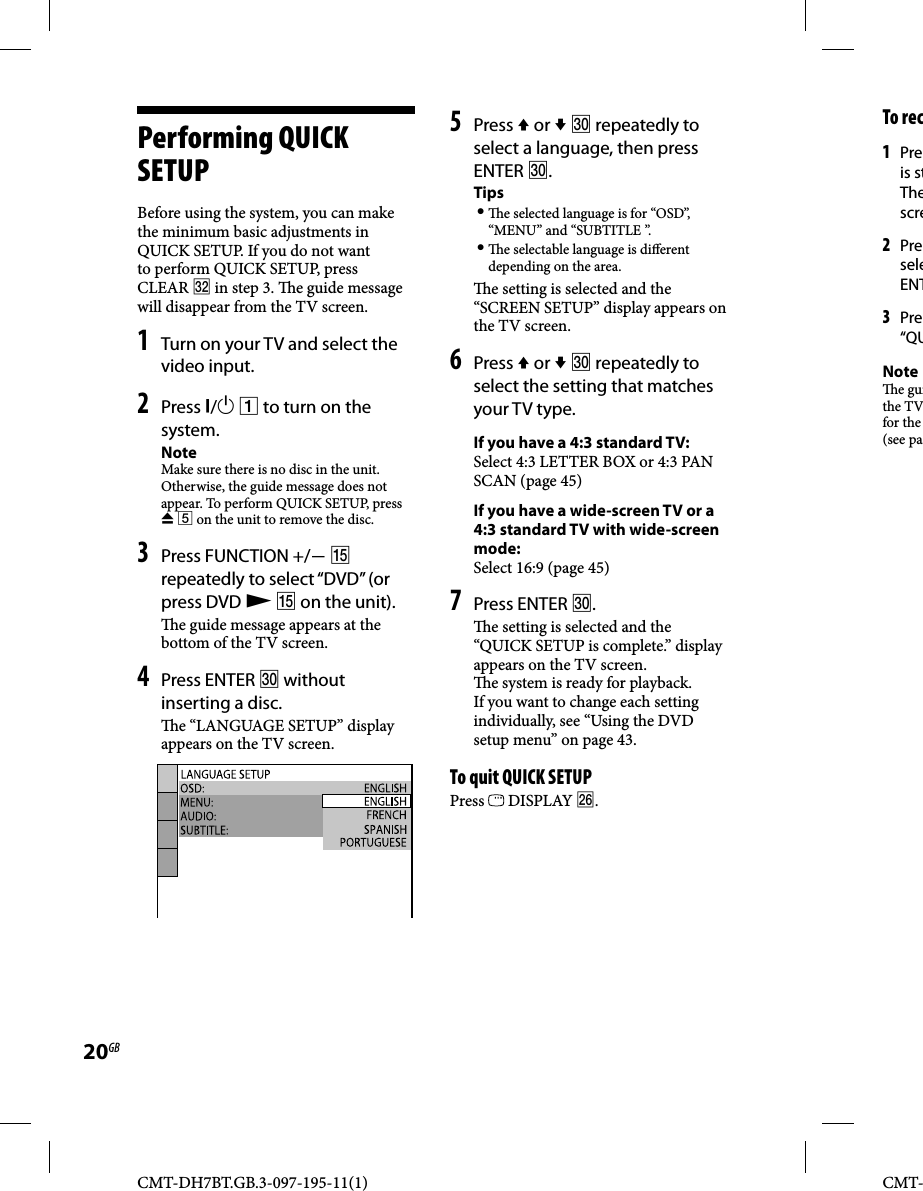
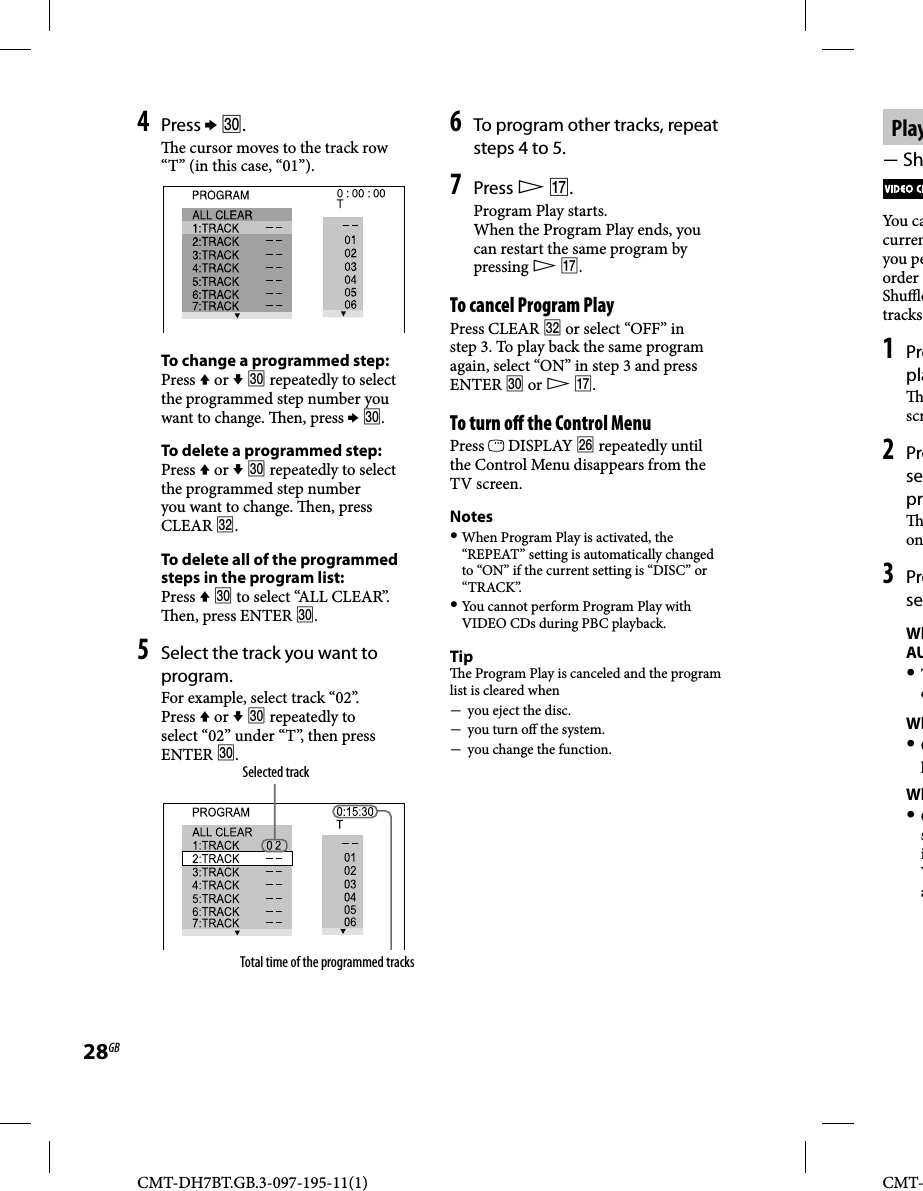


![CMT-DH7BT.GB.3-097-195-11(1)69GBAdditional Informationother not be th of MODE 00 es is set e the n 0,000 which bsite.th to k.er ks on time s on on itle, ers t Continued e character code that can be displayed by this system are as follows: Upper cases (A to Z) Lower cases (a to z) Numbers (0 to 9) Symbols (< > * +, / [ ] _) Other characters may not be displayed correctly.The surround e ect is di cult to hear when you are playing a Dolby Digital or MPEG audio sound track. Check the speaker connections and settings (pages 9 and 47). Depending on the DVD VIDEO, the output signal may not be the entire 5.1 channel. It may be monaural or stereo, even if the sound track is recorded in Dolby Digital or MPEG audio format.The sound loses stereo e ect when you play back an AUDIO CD, VIDEO CD, MP3 audio track or DVD VIDEO. Make sure the system is connected properly.Bluetooth devicePairing cannot be done. Move the Bluetooth device closer to the system.Connection is not possible. e Bluetooth device you attempted to connect does not support the A2DP and AVRCP pro les, and cannot be connected with the system. Enable the Bluetooth function of the Bluetooth device. e pairing registration information has been erased. Perform the pairing operation again. While connected to a Bluetooth device, this system cannot be detected and a connection cannot be established from another Bluetooth device.The sound skips or uctuates, or the connection is lost. e system and the Bluetooth device are too far apart. If there are obstacles between the system and your Bluetooth device, remove or avoid the obstacles. If there is equipment that generates electromagnetic radiation, such as a wireless LAN, other Bluetooth device, or a microwave oven nearby, move them away.The sound of your Bluetooth device cannot be heard on this system. Turn up the volume on your Bluetooth device rst, and then adjust the volume using VOLUME +/ .Severe hum or noise If there are obstacles between the system and your Bluetooth device, remove or avoid the obstacles. If there is equipment that generates electromagnetic radiation, such as a wireless LAN, other Bluetooth device, or a microwave oven nearby, move them away. Turn down the volume of the connected Bluetooth device.The sound from the Bluetooth headphones is distorted. Turn down the volume of the system using VOLUME . If your headphones have a volume control, also adjust the volume using the headphone’s volume control.](https://usermanual.wiki/Sony-Group/HCDDH7BT/User-Guide-748506-Page-69.png)
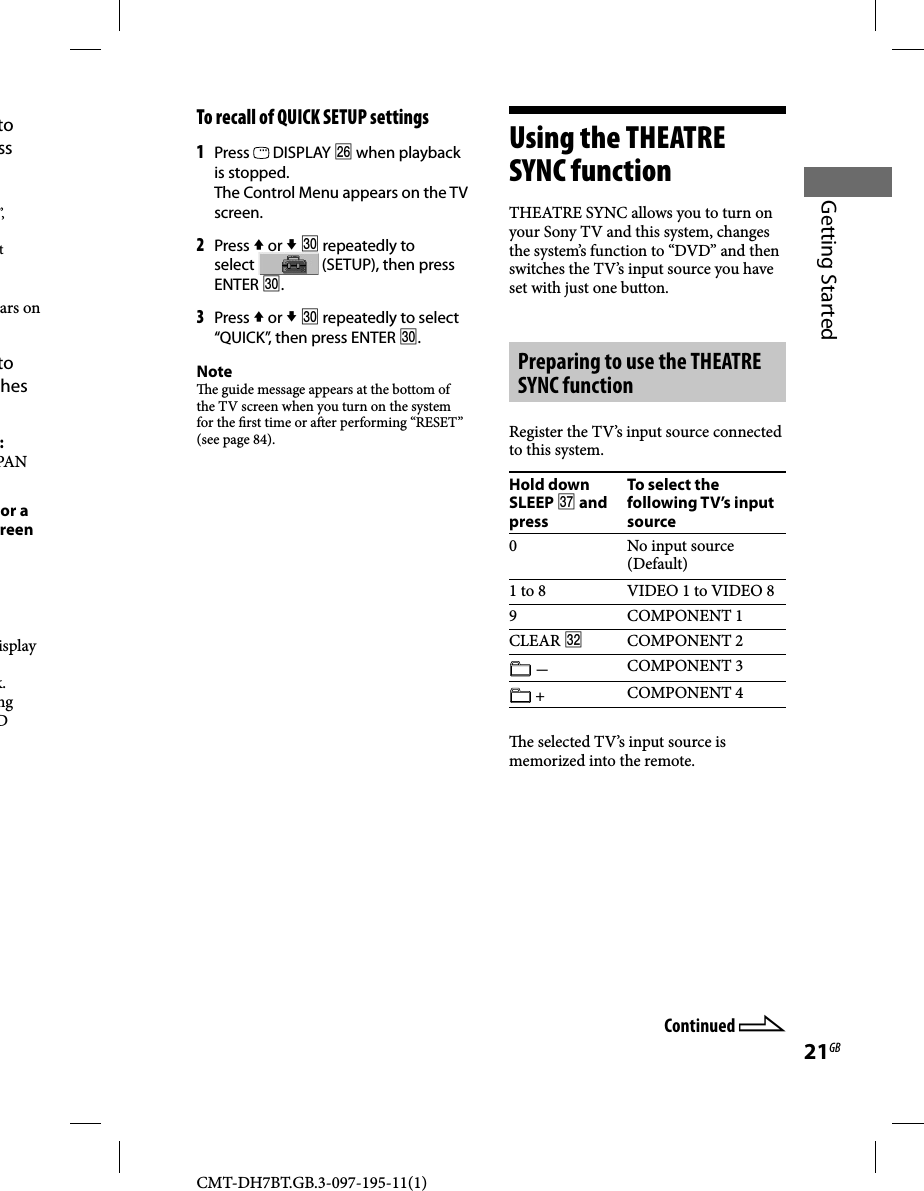
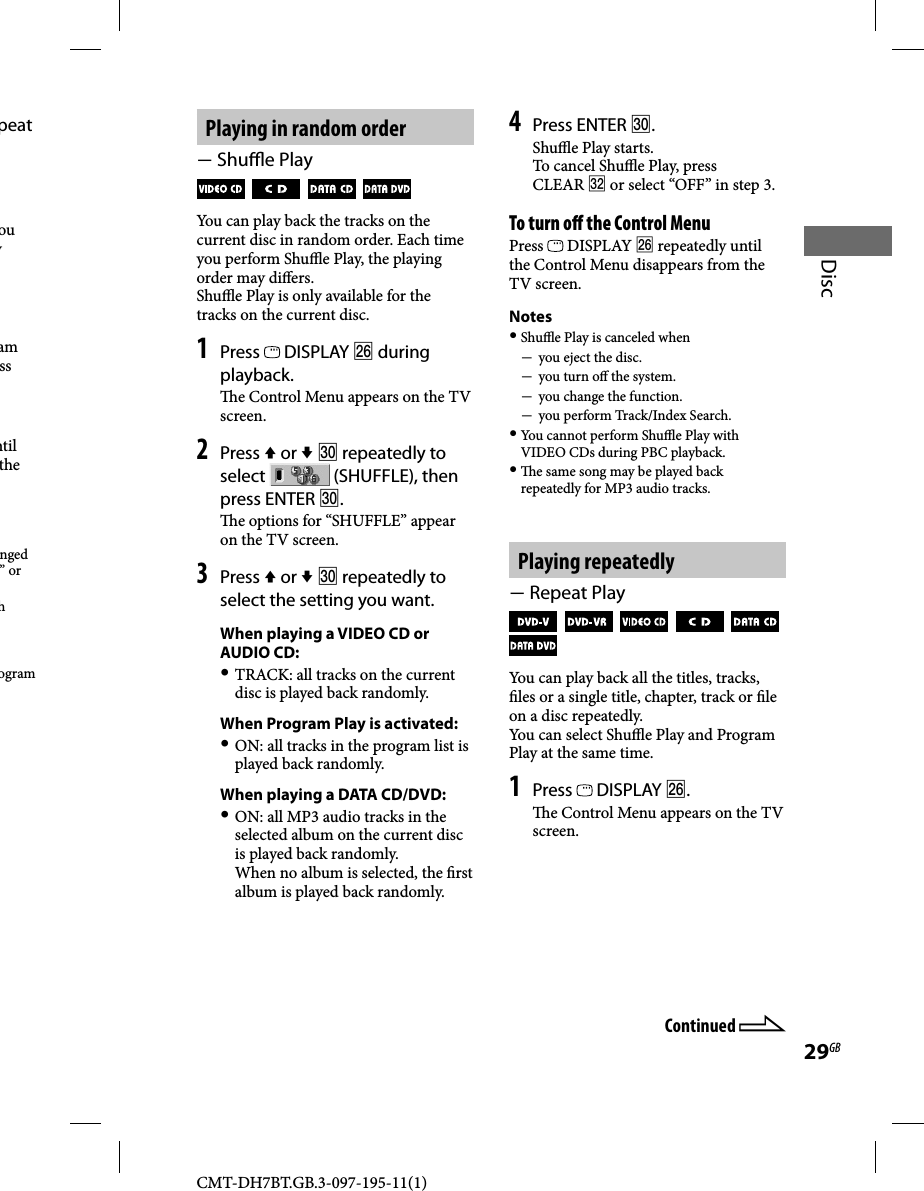
![CMT-DH7BT.GB.3-097-195-11(1)73GBAdditional Informationhe a ront e ctive with a 87).erted em, he med earest ocal y nd cter 0Continued When displaying the version number on the TV screenWhen you turn on the system, the version number [VER.X.XX] (X is a number) may appear on the TV screen. Although this is not a malfunction and for Sony service use only, normal system operation will not be possible. Turn o the system, and then turn on the system again to operate.MessagesOne of the following messages may appear or ash in the front panel display during operation.DVD player, TunerCannot Play A disc that cannot be played back was inserted. A DVD VIDEO with unsupported region code was inserted.Data Error e MP3 audio track and JPEG image le you want to play back is damaged. e MP3 audio track does not conform to MPEG 1 Audio Layer 3 format. e JPEG image le does not conform to DCF format. e MP3 audio track has the extension “.MP3” but it is not in MP3 format. e JPEG image le has the extension “.JPG” or “.JPEG” but it is not in JPEG format.No Disc ere is no disc in the disc slot.Not In UseYou have pressed a button whose operation is not allowed or invalid at that time.OFF TIME NG! e on time and o time of Play Timer is the same.](https://usermanual.wiki/Sony-Group/HCDDH7BT/User-Guide-748506-Page-73.png)