Sony A5025011 Licensed transmitter User Manual 08 user guide part 2
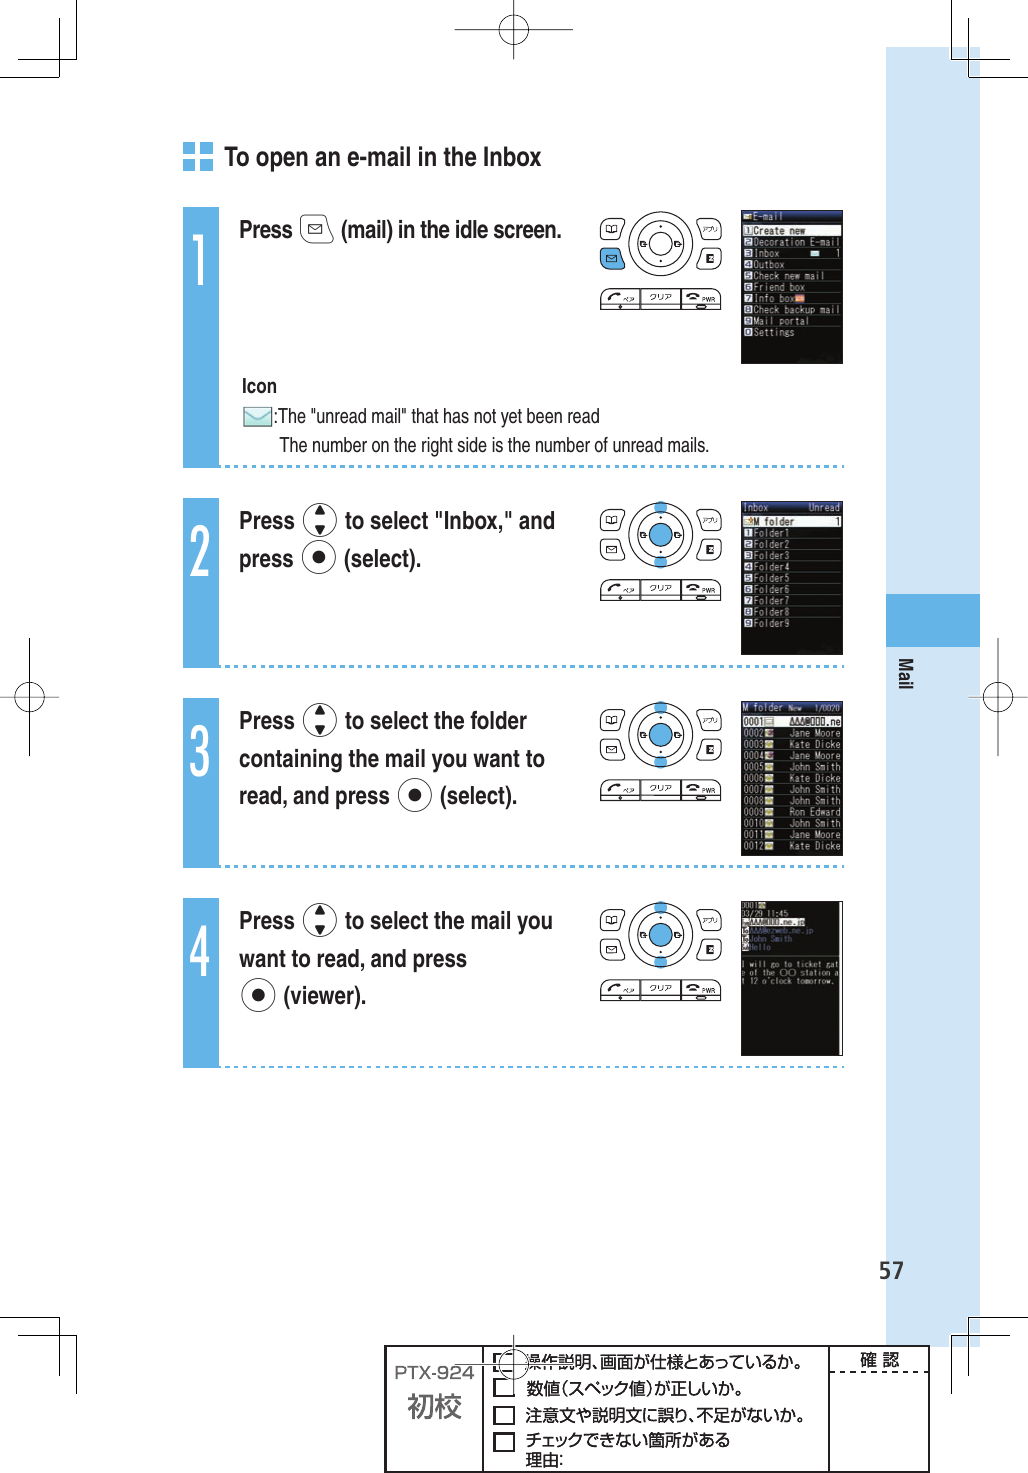
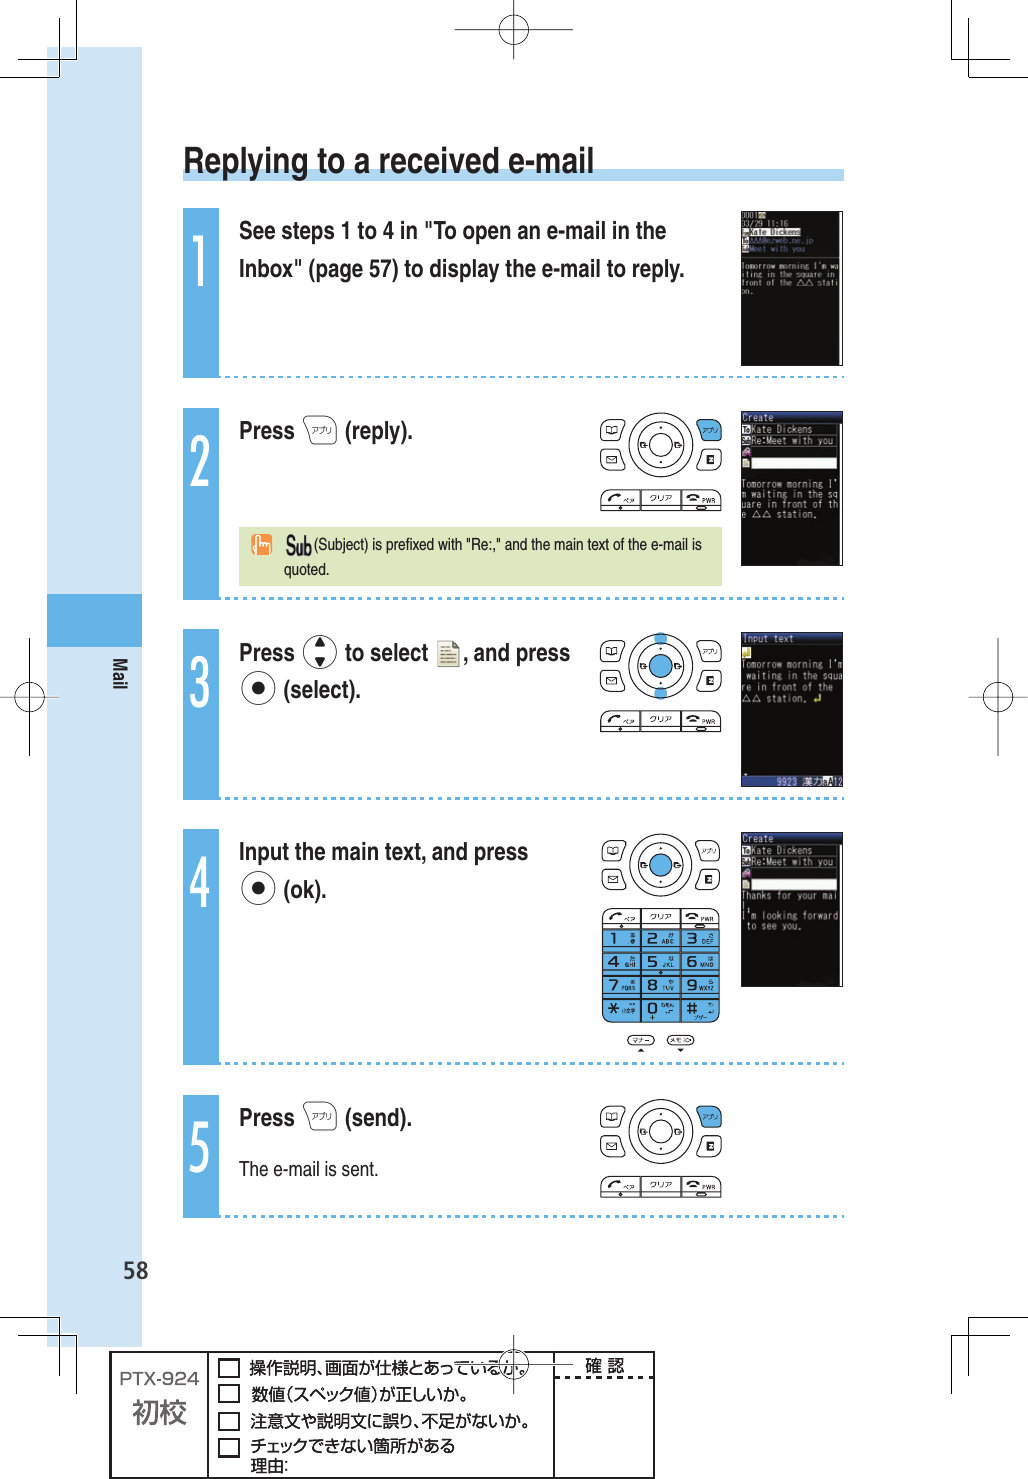
Sony Mobile Communications Inc Licensed transmitter 08 user guide part 2
Sony >
Contents
- 1. 08 user guide part 1
- 2. 08 user guide part 2
- 3. 08 user guide part 3
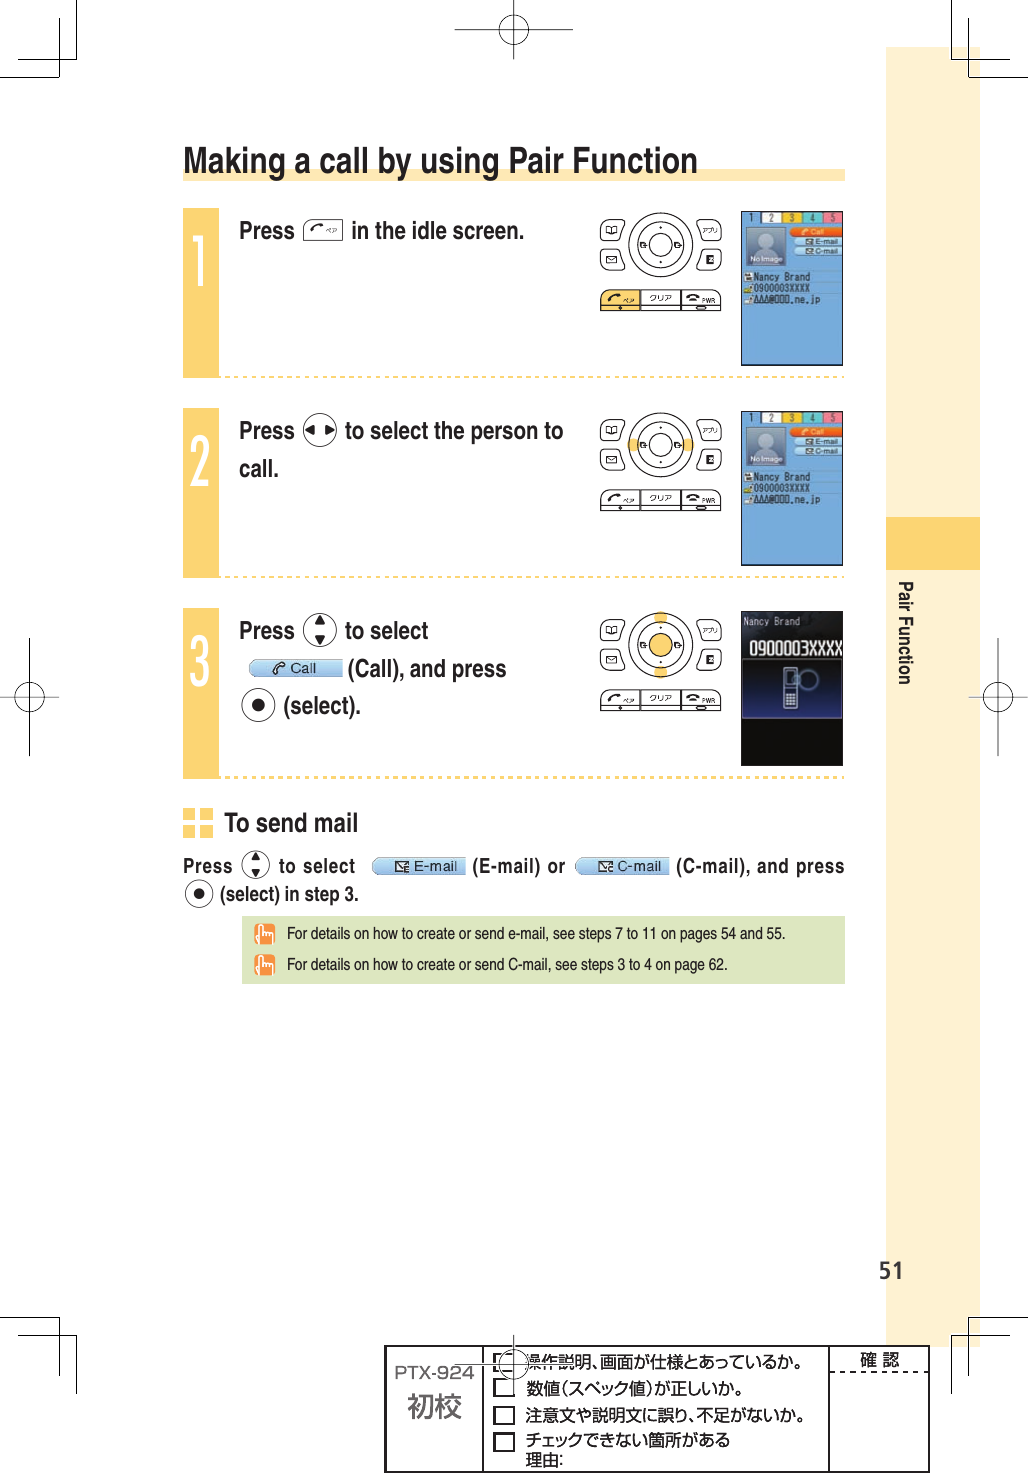
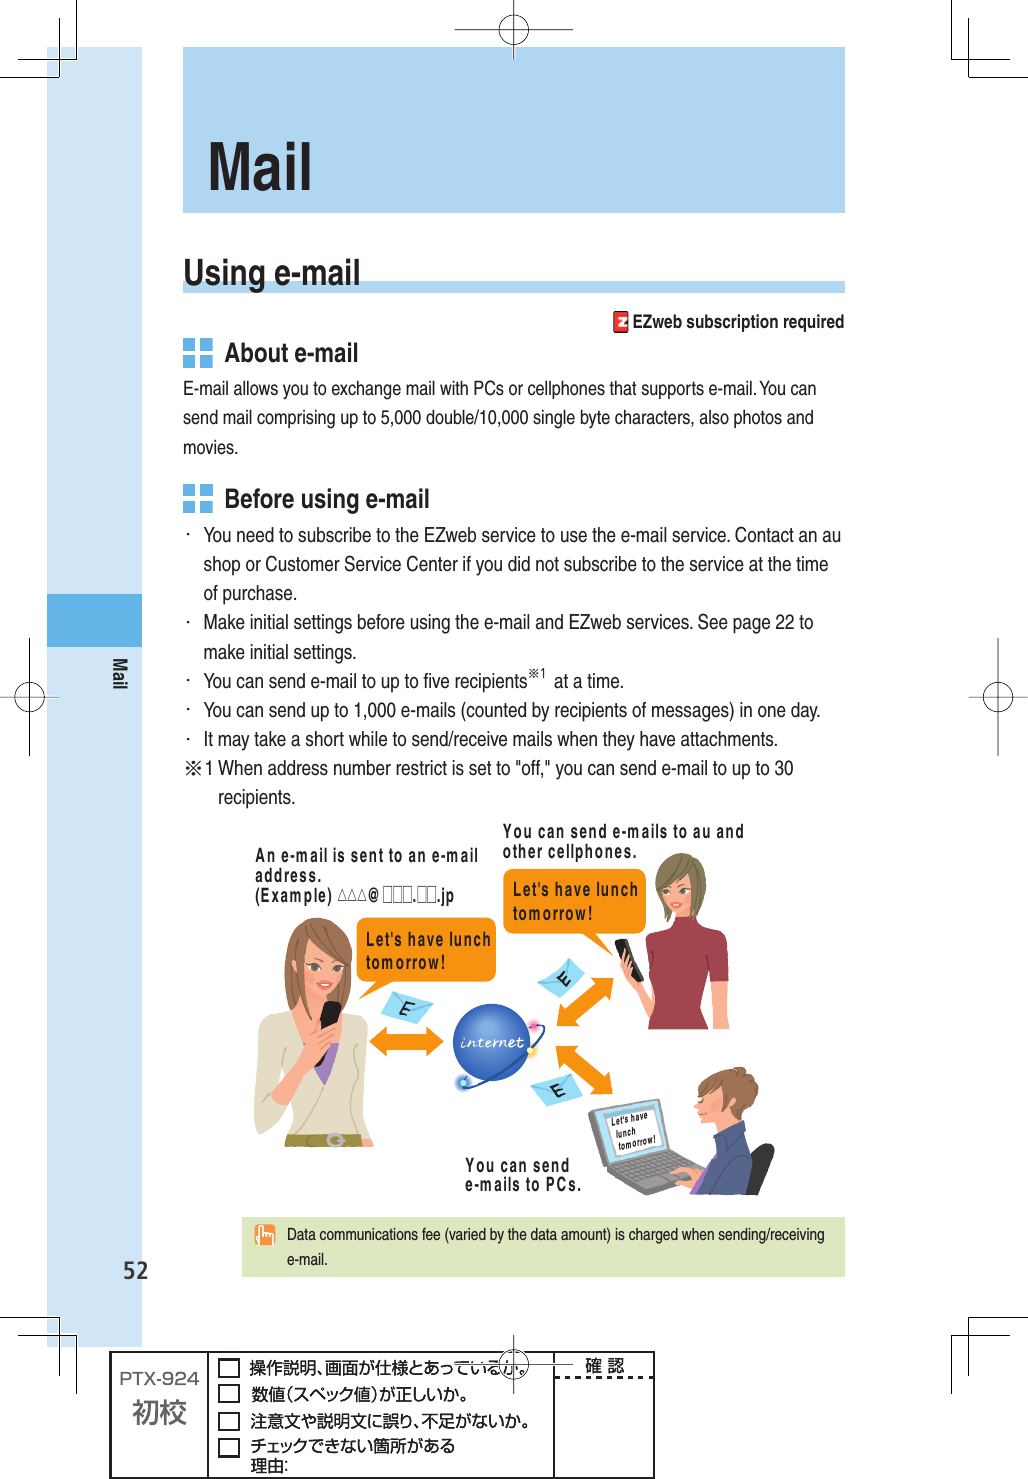
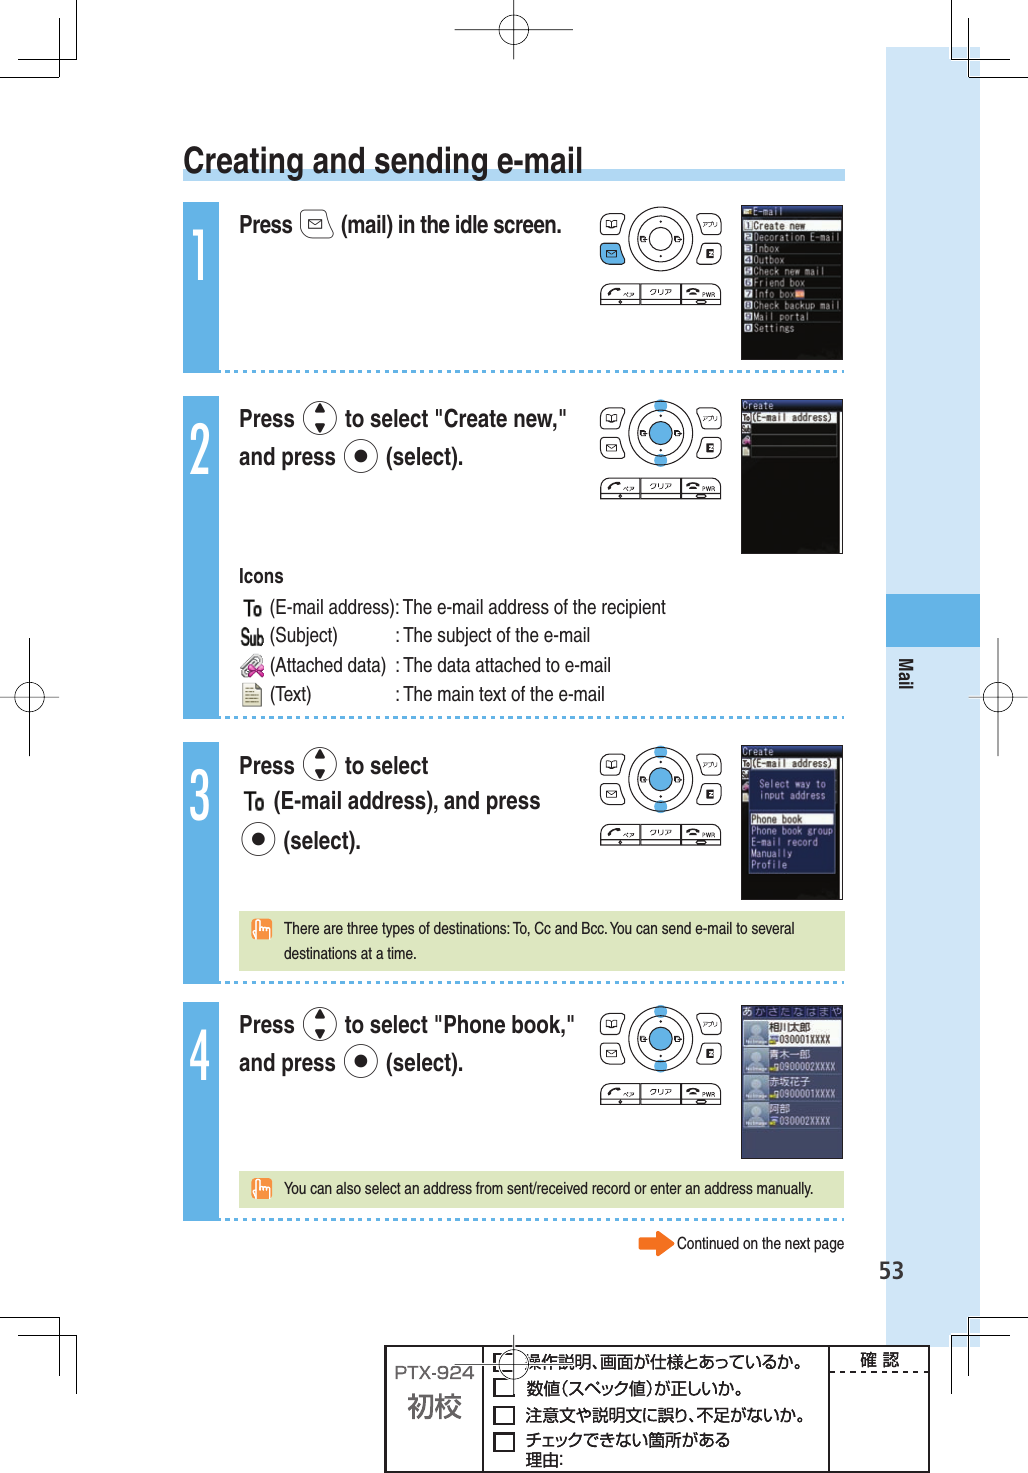
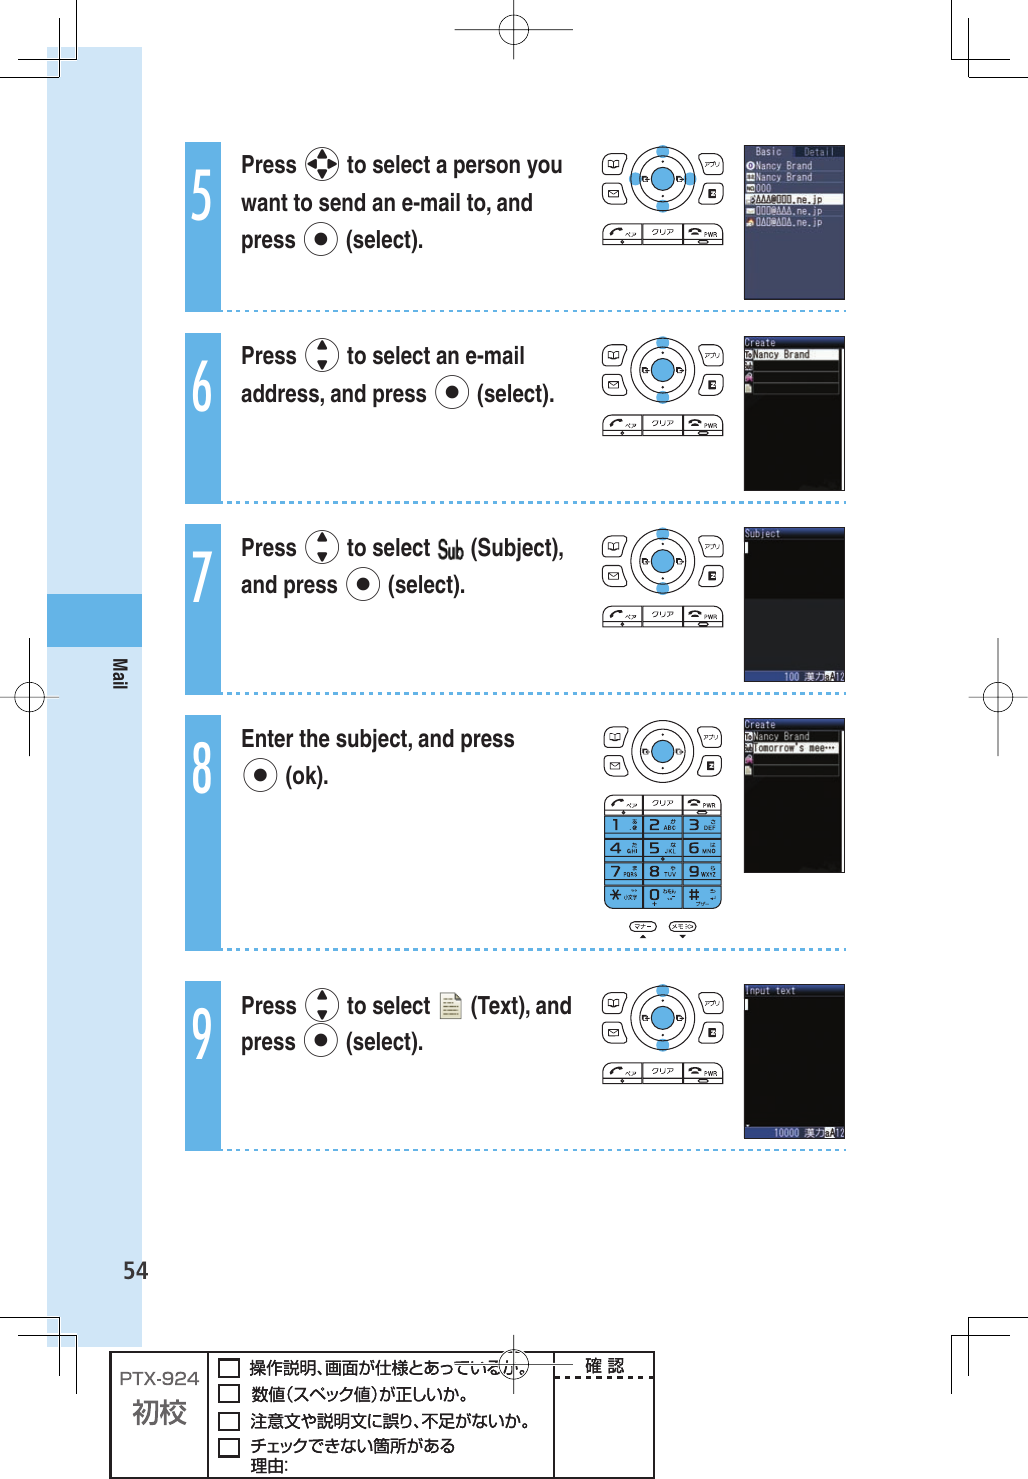
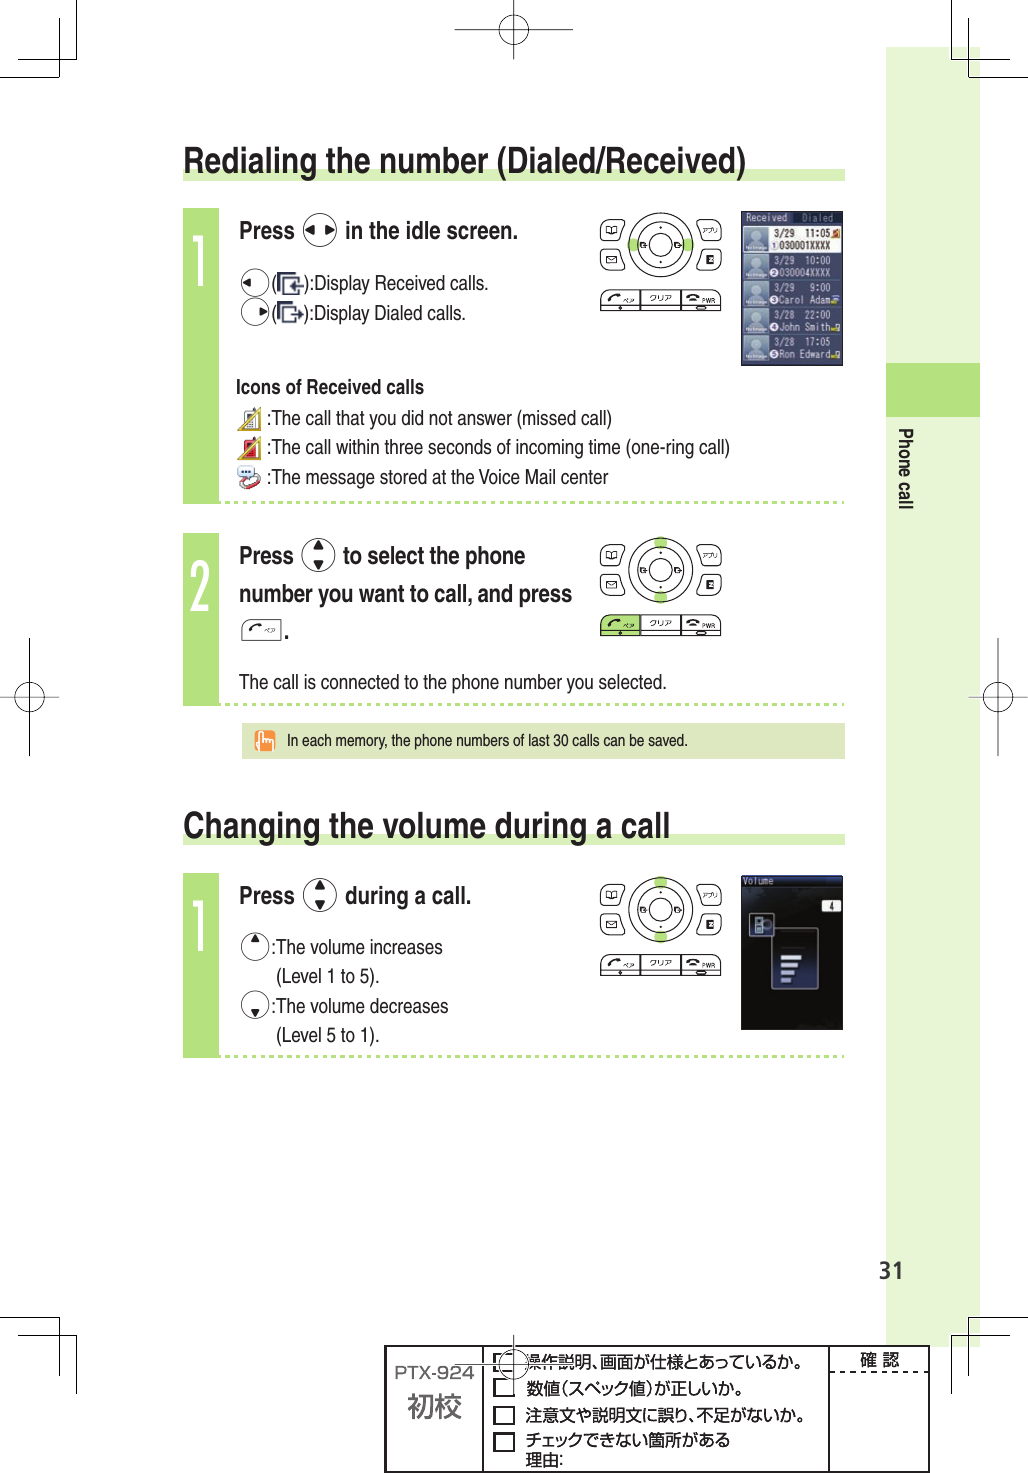
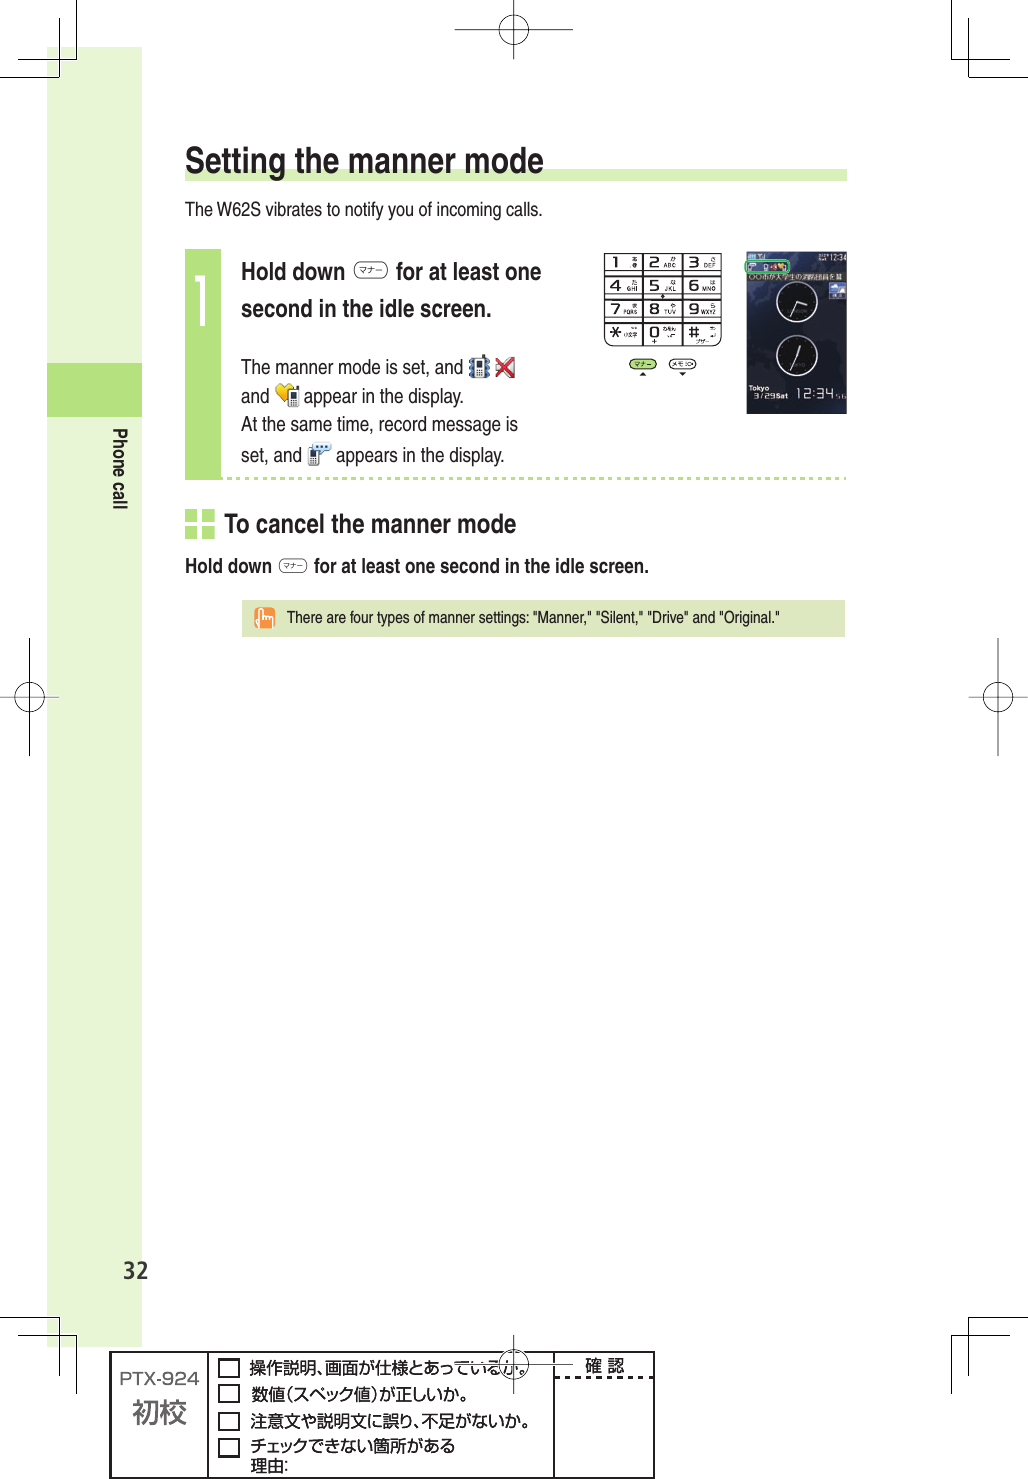
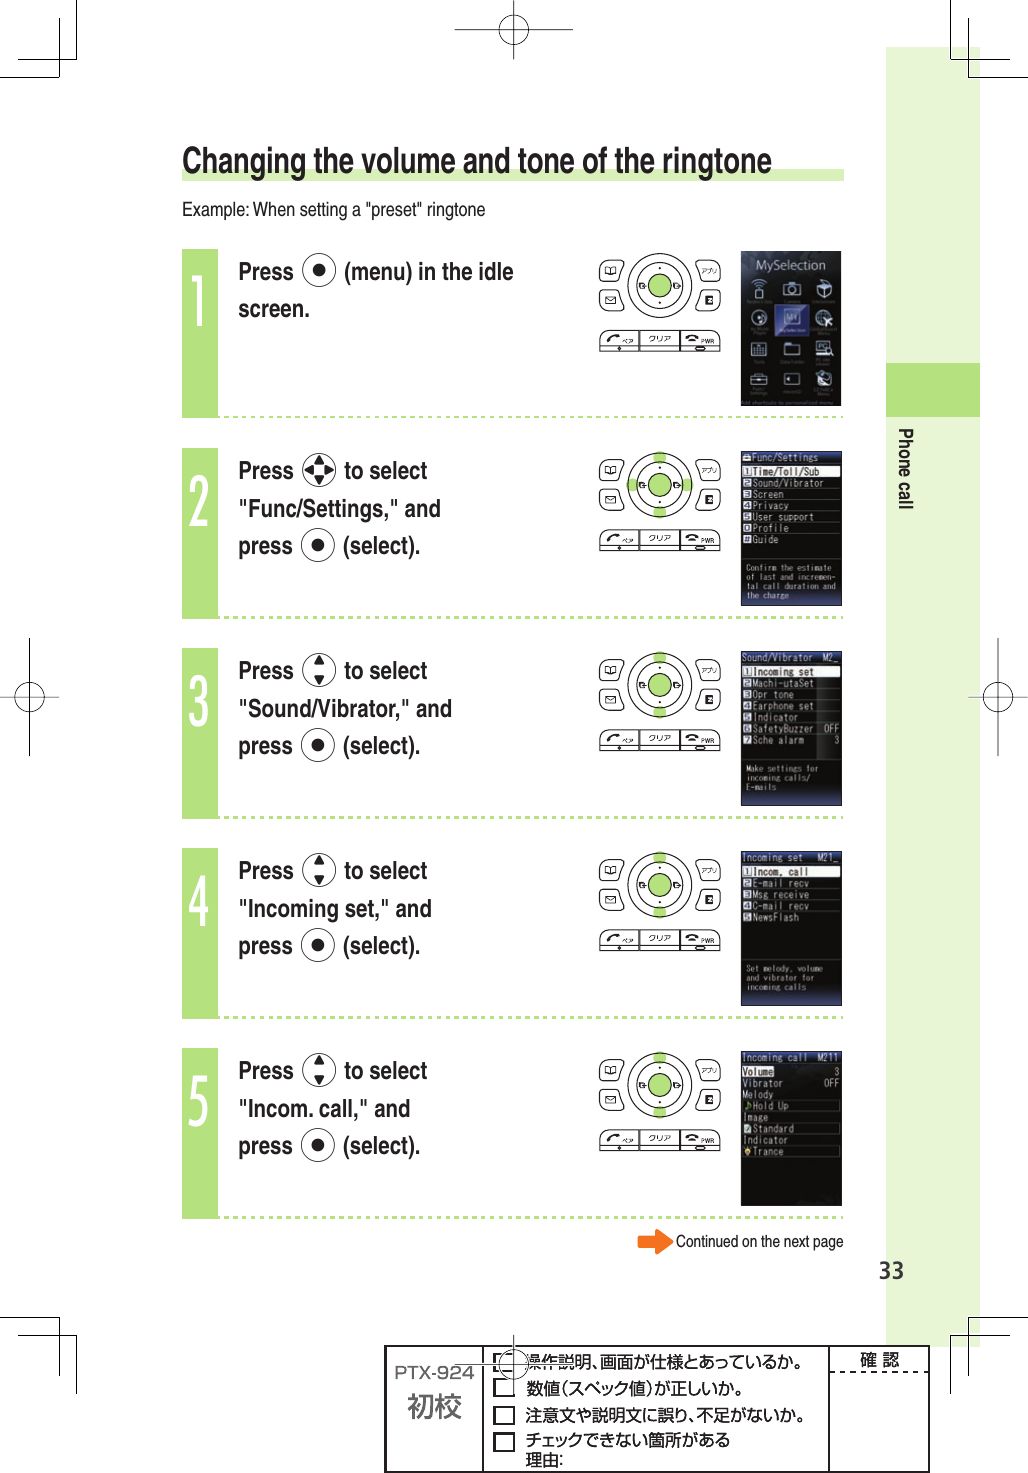
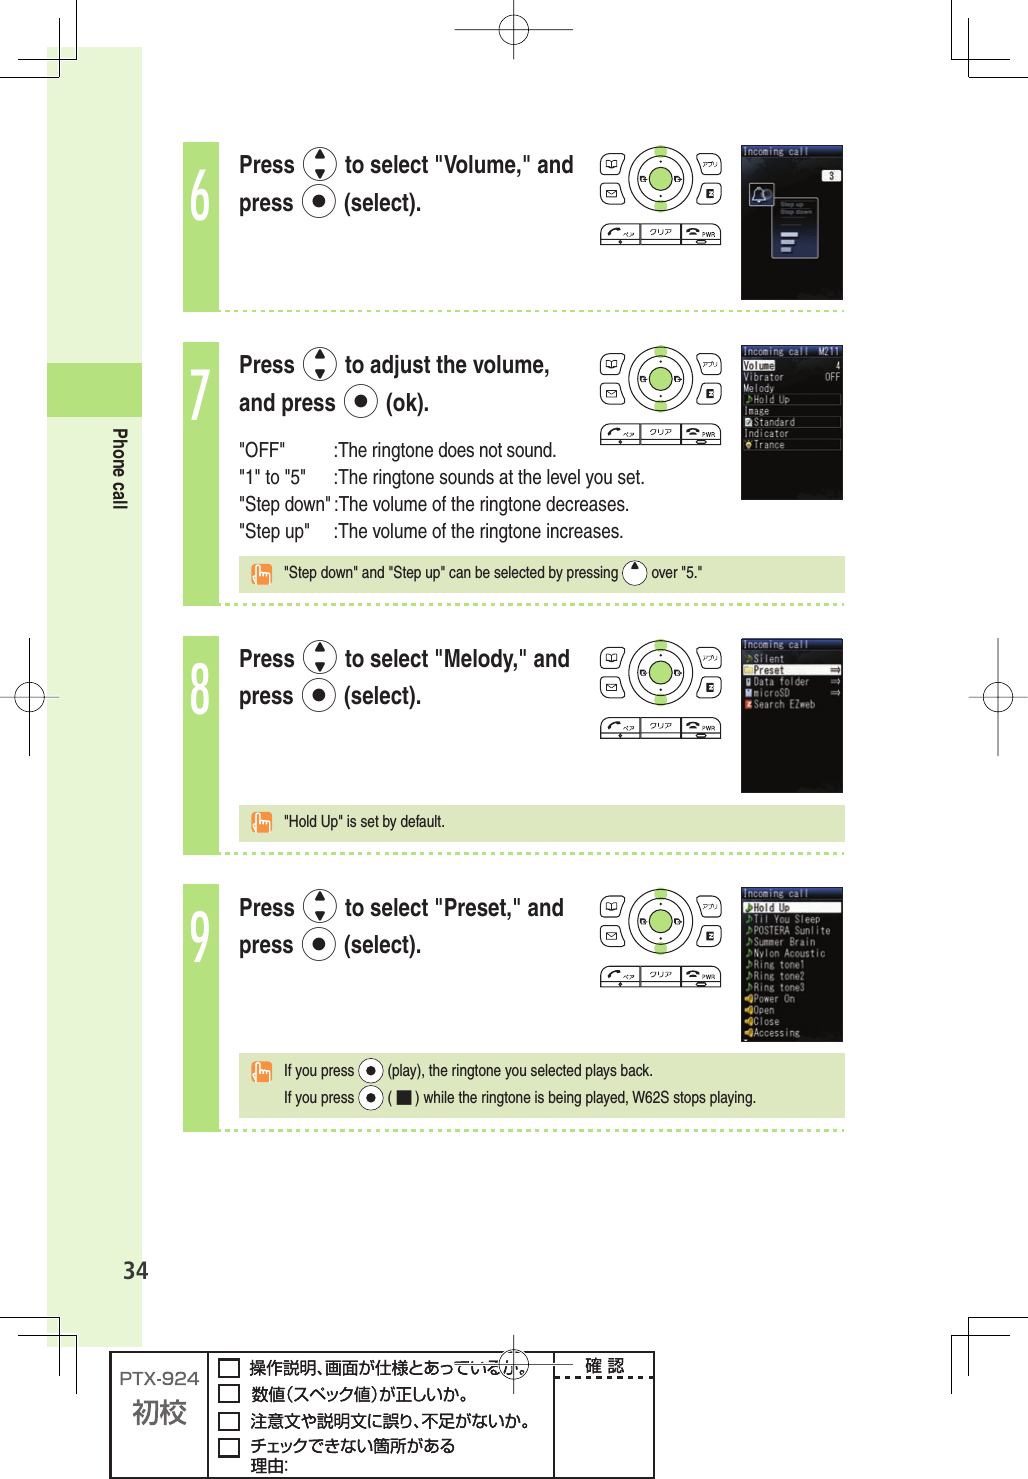
08 user guide part 2
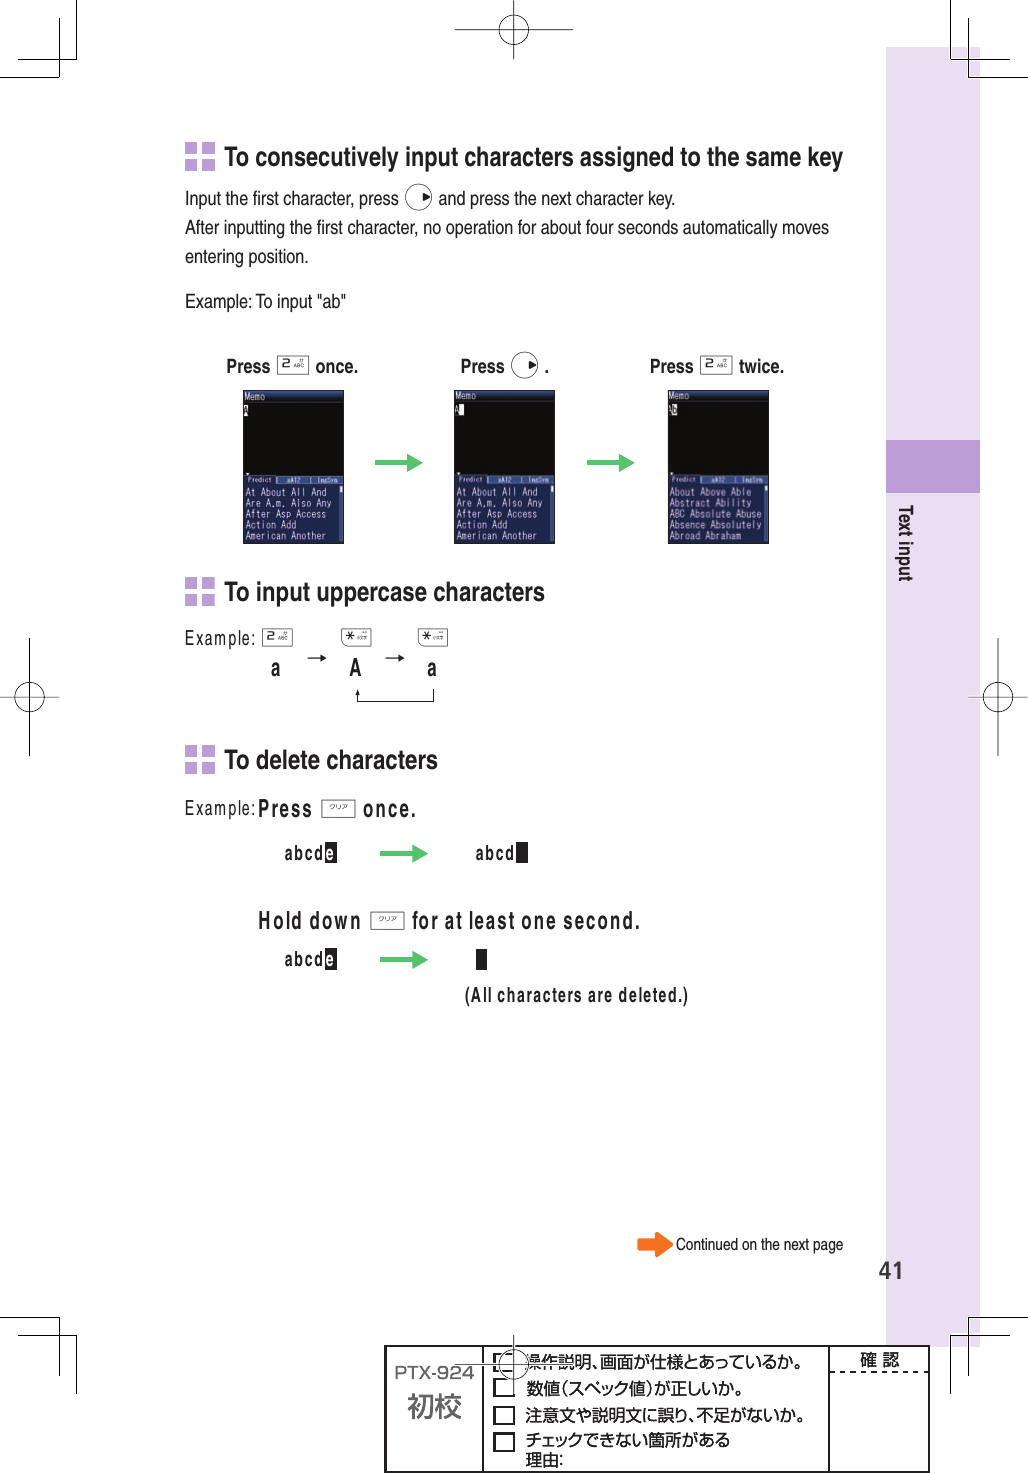
![38Text input Inputting text To input alphanumericsIn the text input screen, press the keys as described in the table below.→2222222→→→→→ABC!"#%XAMPLE◆ Character key assignment table (single byte alphanumerics)KeyNumber of times to press the key1234567891.@- _ / : ~12abcABC23de fDEF34gh iGHI 45jklJKL56mn oMNO67pq r sPQRS78tuvTUV89wxyzWXYZ90Space 0 !"#$%&’()%+, -. /:;<=>?@[¥]^ _ `{|}~*※1 .,-!?#Break linesBack space function when entering characters※2※1 * is also used to switch between uppercase and lowercase of current displayed characters. ※2 When you enter the characters by pressing keys, # is used to reverse the order of characters to be appeared (Back Space function).Example: 2→2→# a → b → a You can input your e-mail address using up to 30 single bytes alphanumeric in lowercase including "-" (hyphen), "." (dot), and "_" (underscore). Note, however, "." (dot) and "0" cannot be used at the beginning of your e-mail address. Characters and symbols with blue background in the above table cannot be used before @ of "△△△@ezweb.ne.jp."](https://usermanual.wiki/Sony/A5025011.08-user-guide-part-2/User-Guide-910998-Page-18.png)