Spectralink 875X Wireless IP Telephone User Manual UserGuide draft01x
Spectralink Corporation Wireless IP Telephone UserGuide draft01x
UserManual.wiki
>
Spectralink
>
875X User Manual
>
Manual 4
Contents
1.
Manual 1
2.
Manual 2
3.
Manual 3
4.
Manual 4
Manual 4
Navigation menu
Upload a User Manual
Namespaces
Wiki Guide
HTML
PDF
Info
Views
User Manual
Discussion / Help
Navigation


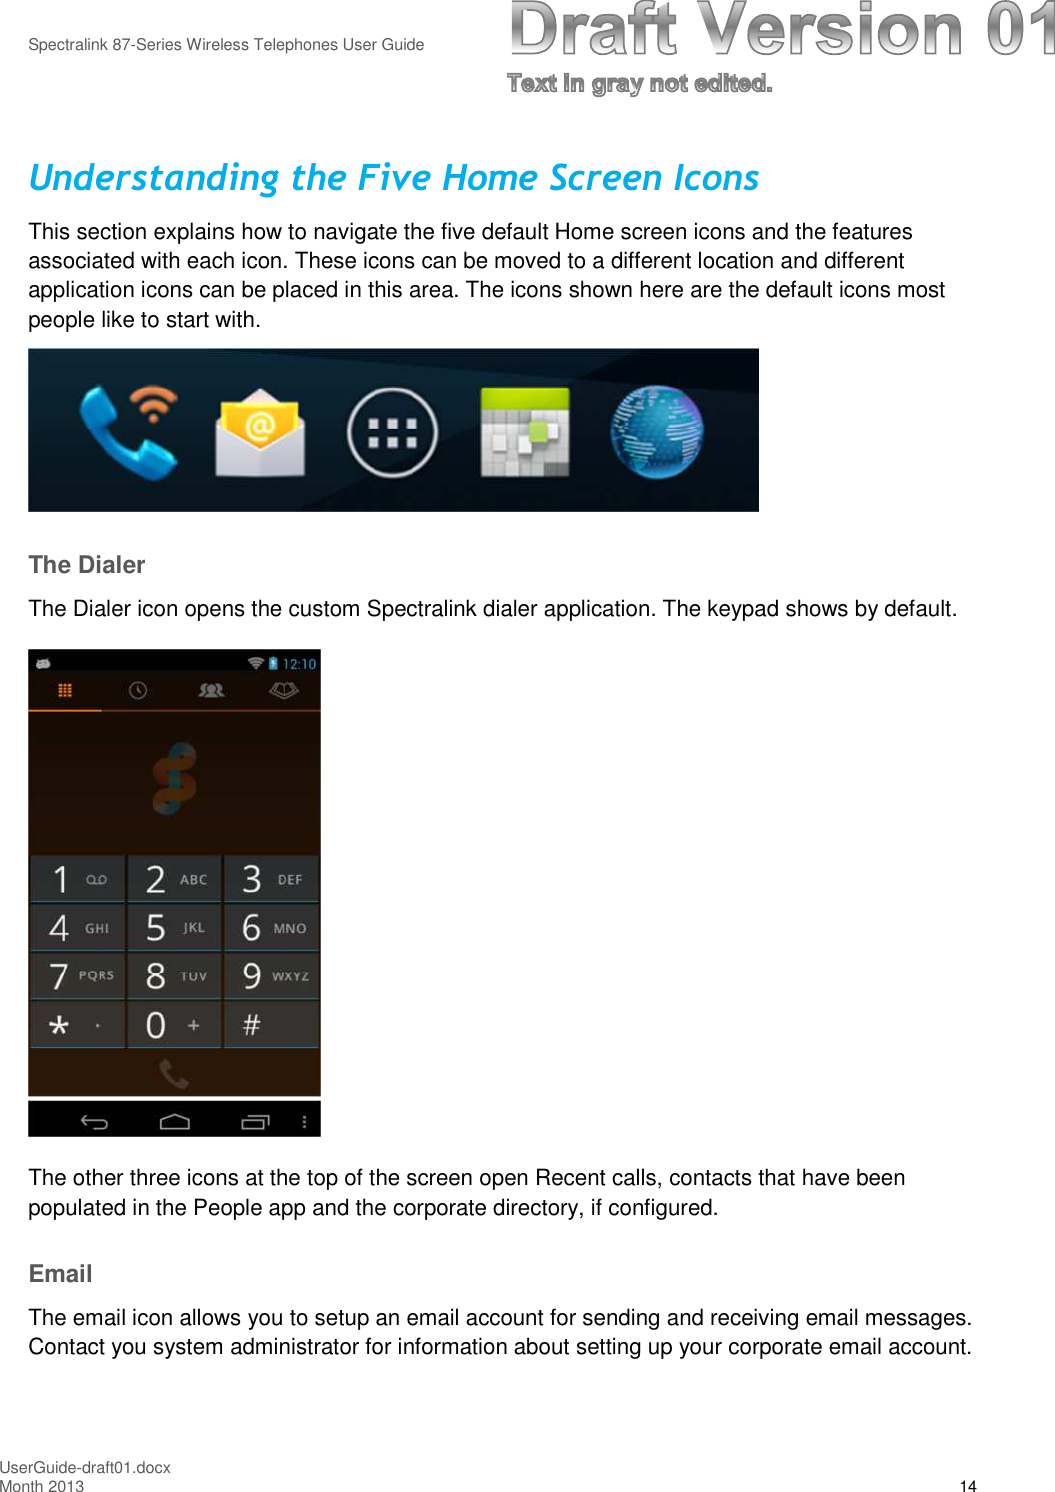

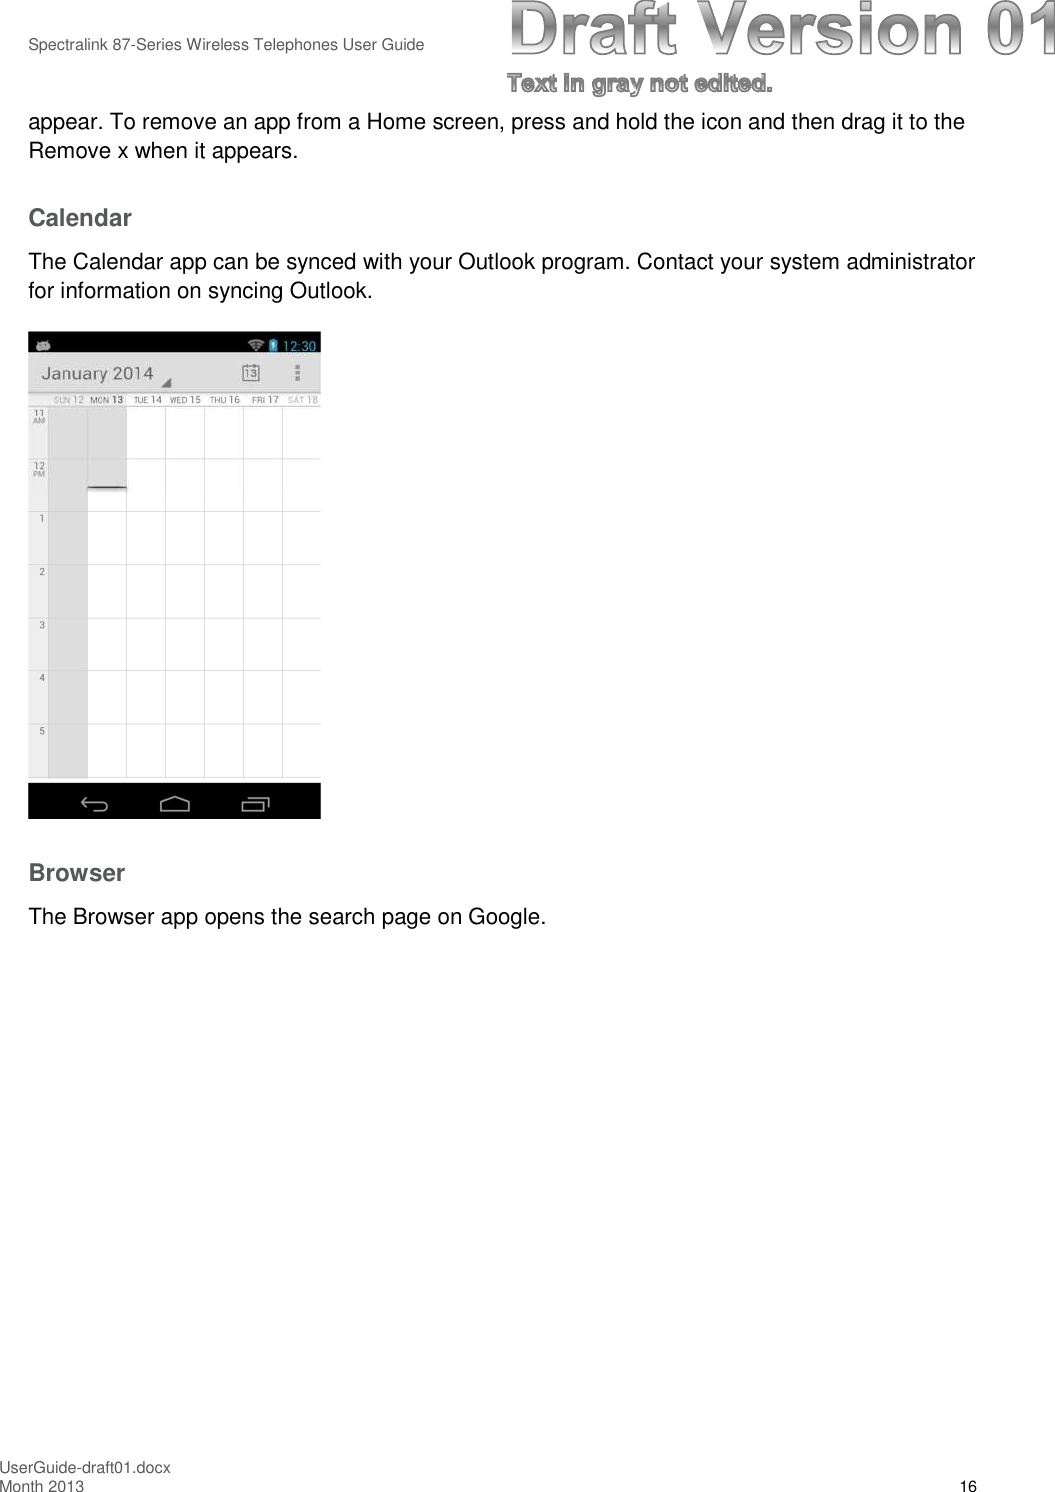
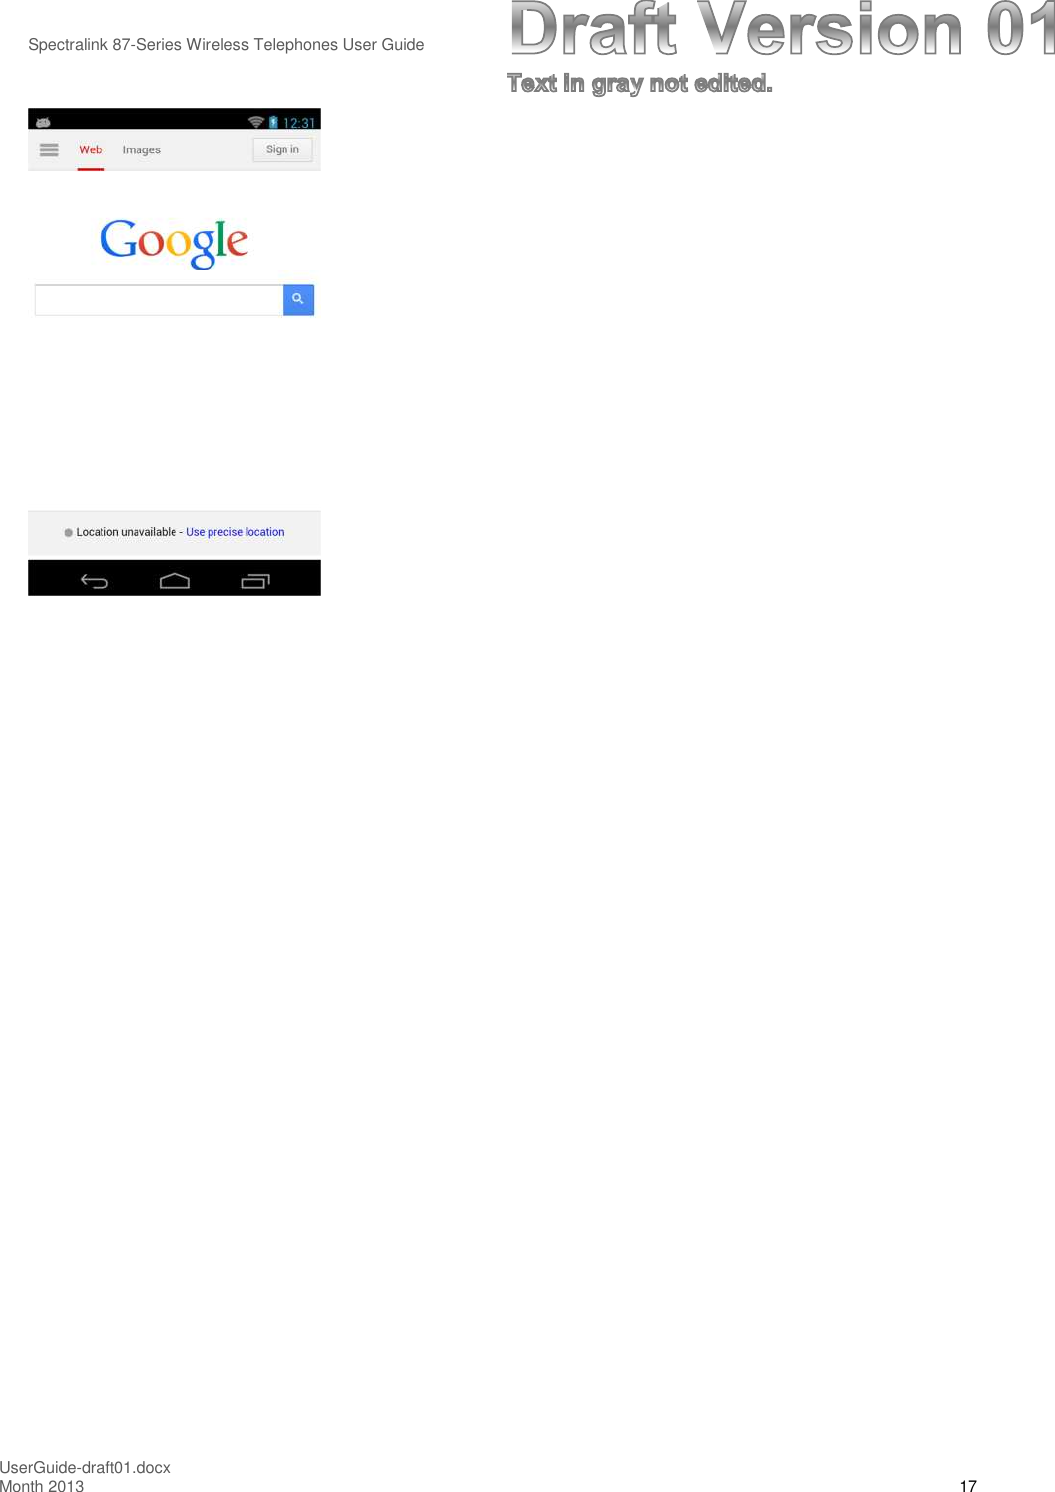
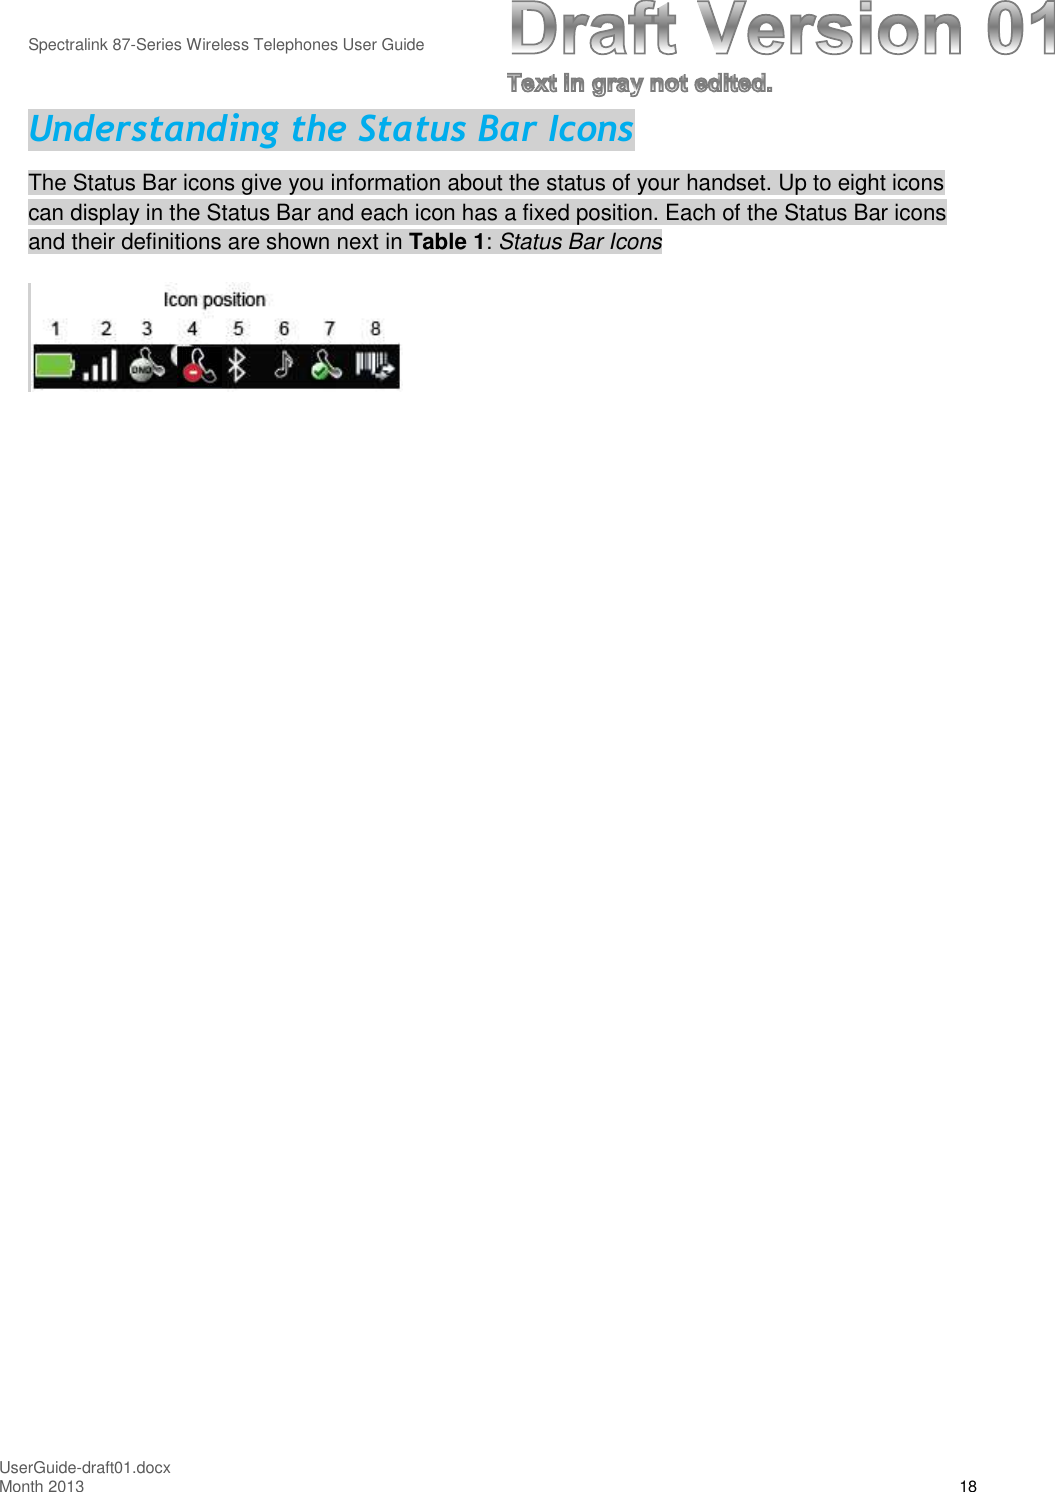


![Spectralink 87-Series Wireless Telephones User GuideUserGuide-draft01.docxMonth 2013 55○Do not use cleaning products containing quaternary ammonium compounds2, suchas CaviWipes™, CaviWipes™XL, Cavicide®or Sani-Wipes®, Sani-Cloth, SuperSani-Cloth®and Sani-Cloth®Plus. Quaternary ammonium compounds have beenlaboratory tested and proven to damage the handset plastics.○Do not use furniture polishes, waxes, or plasticizer-based cleaners (ArmorAll®, etc.)○Do not use lanolin, aloe, glycerin, or other skin care products○Do not apply any solvent such as acetone, mineral spirits, etc.Should the headset connector become dirty, you may experience a scratchy orintermittent signal. To clean the connector, dip the non-padded end of either a woodenor paper handled cotton swab in isopropyl alcohol. Gently insert in the connector andtwist, repeating several times. If available, blow compressed air into the connector toclear debris.Keep the headset jack covered when not in use.Using a carrying case may help protect the surfaces and help prevent liquids (rain, etc.)from entering into the interior of the handset. This product is not waterproof, andexposing the unit to liquids may result in permanent damage to the unit.If your wireless handset interior gets wet, do not try to accelerate drying with the use ofan oven or a dryer as this will damage the wireless handset and void the warranty.Instead, do the following:1Immediately power off the wireless handset.2Remove Battery Pack from wireless handset.3Shake excess liquid from the wireless handset.4Place the wireless handset and Battery Pack in an area that is at roomtemperature and has good airflow.5Let the wireless handset and Battery Pack dry for 72 hours beforereconnecting the Battery Pack and/or powering on the wireless handset.If the wireless handset does not work after following the steps listed above, contact yourdealer for servicing information.2Quaternary ammonium compounds are also known as C12-18-alkyl [(ethylphenyl) methyl] dimethyl, chlorides and Benzyl-C12-18-alkyldimethyl ammonium chlorides. Review the Materials Safety Data Sheet for your specific product to verify thechemical composition.](https://usermanual.wiki/Spectralink/875X.Manual-4/User-Guide-2183819-Page-55.png)