Stratasys RFID Assembly of RFID reader and two antenna boards User Manual Connex500 350 User Guide
Stratasys Ltd Assembly of RFID reader and two antenna boards Connex500 350 User Guide
UserManual.wiki
>
Stratasys
>
RFID User Manual
User Manual
Navigation menu
Upload a User Manual
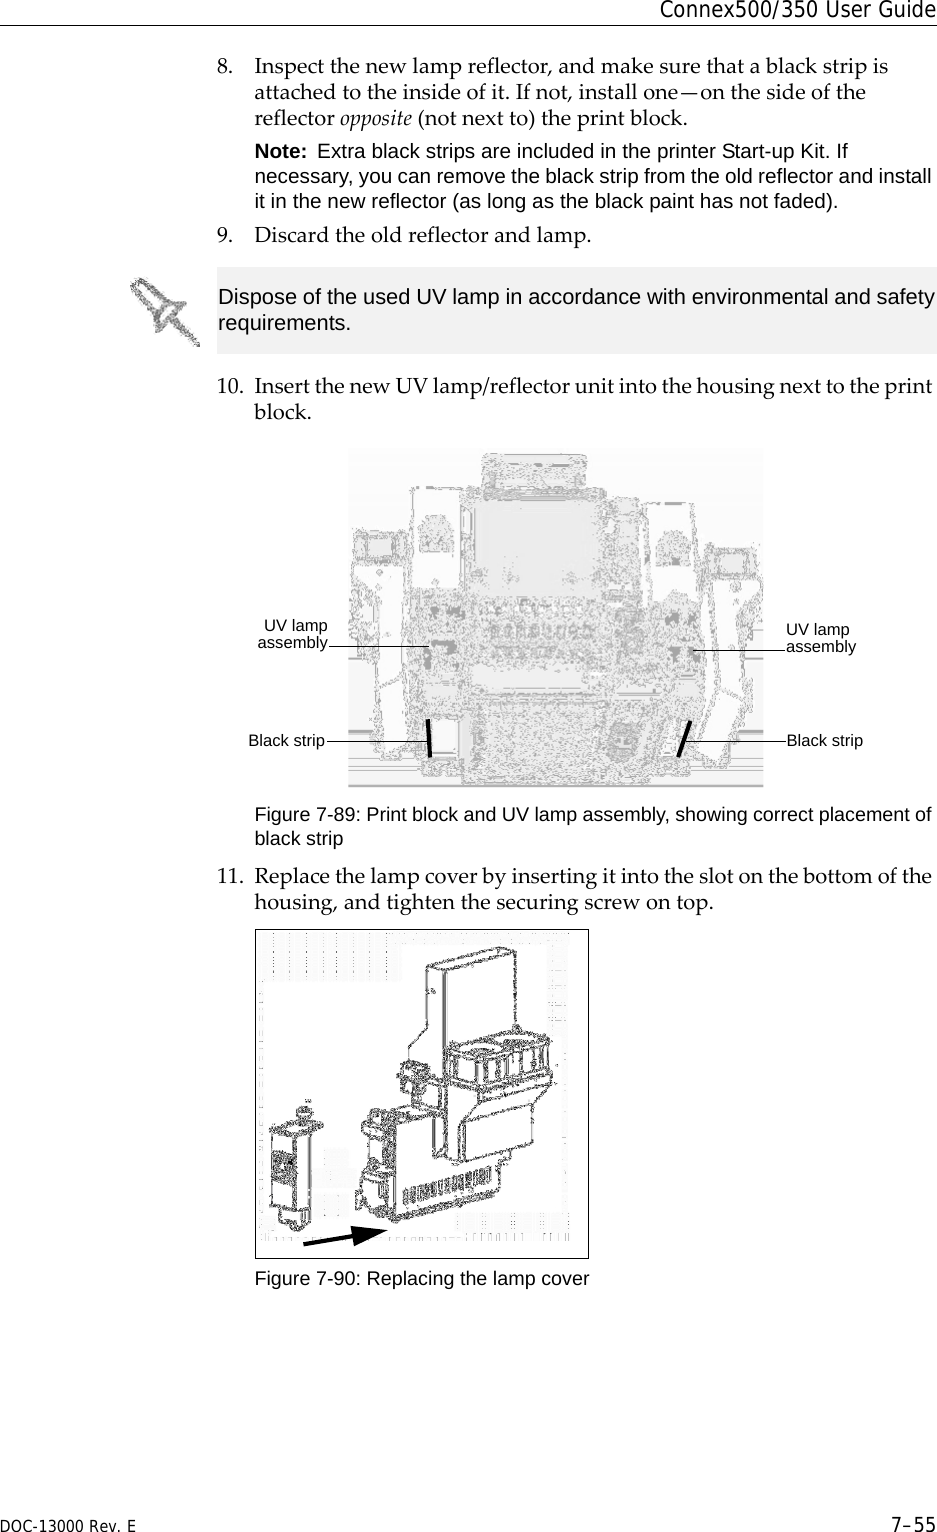
Namespaces
Wiki Guide
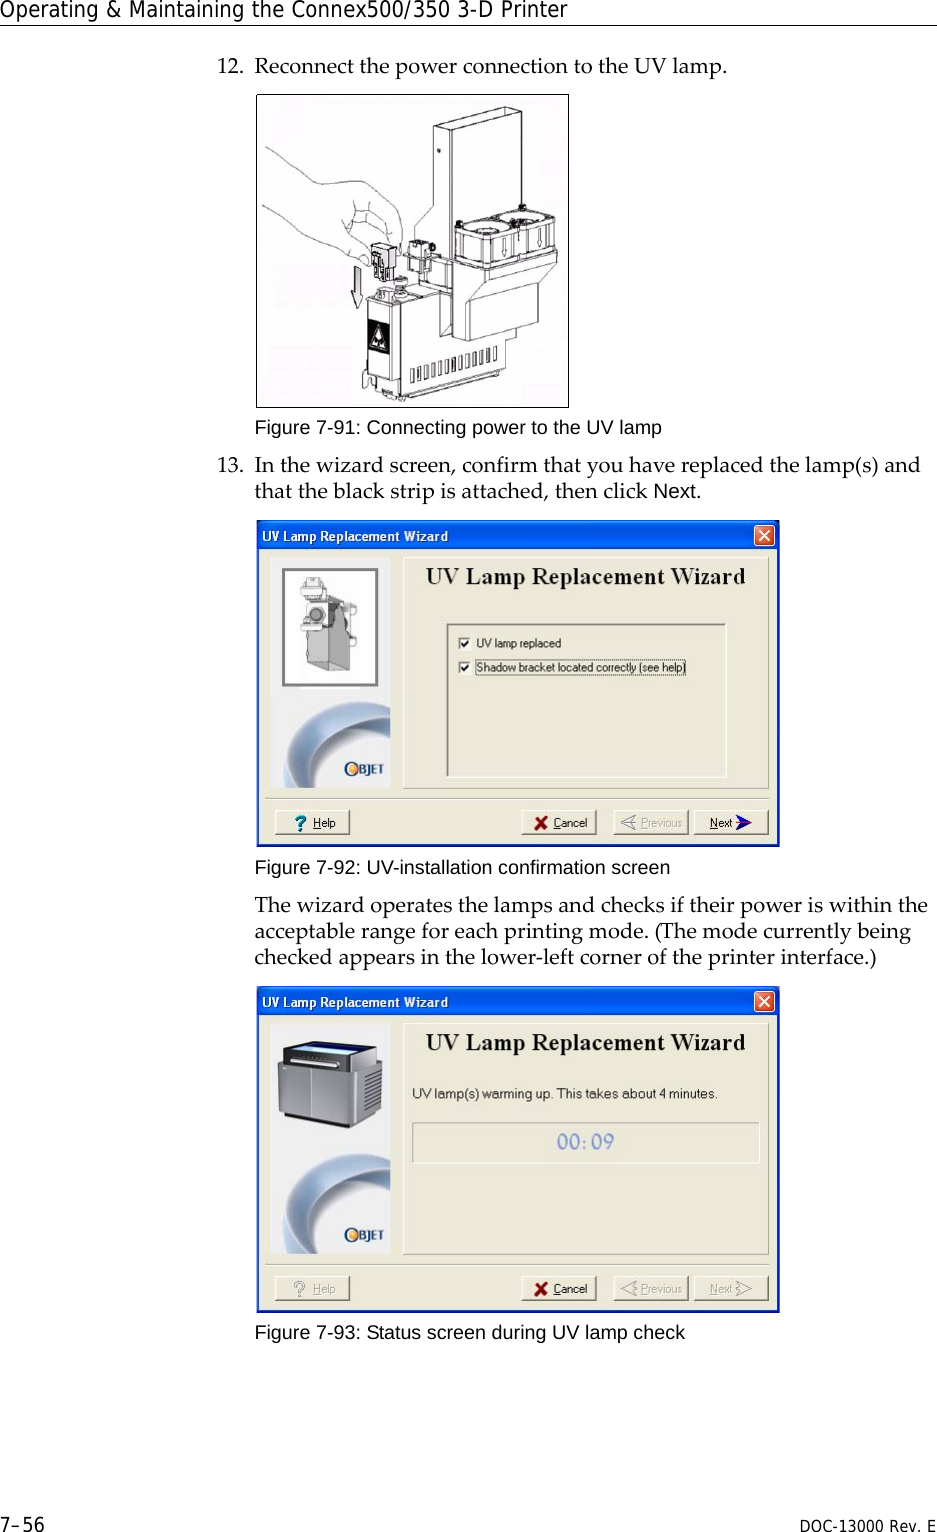
HTML
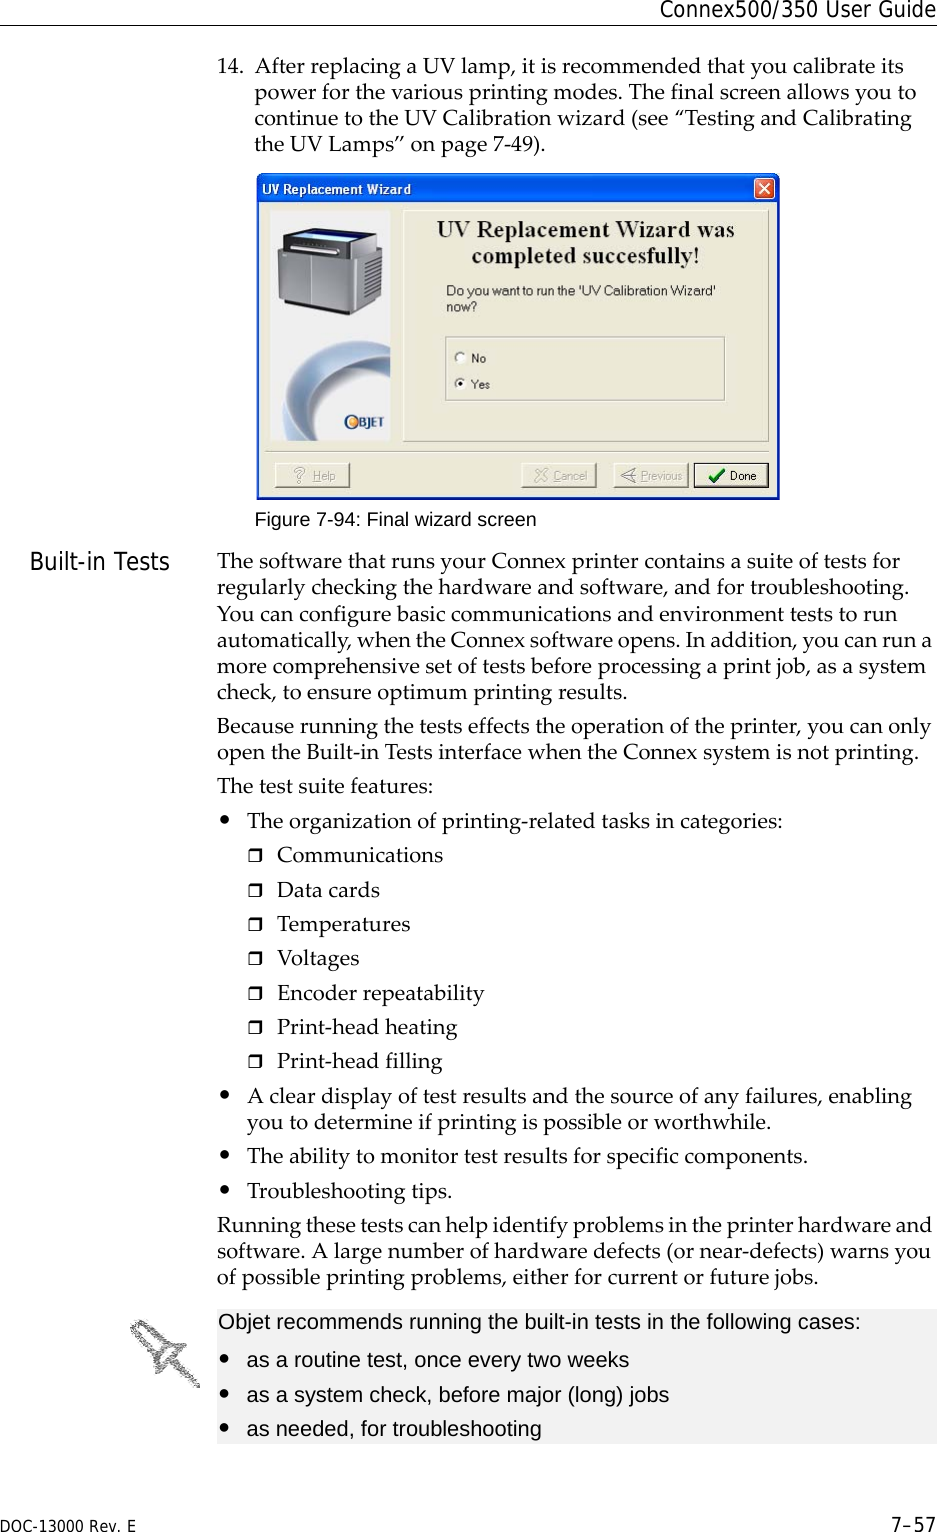
PDF
Info
Views
User Manual
Discussion / Help
Navigation


![Operating & Maintaining the Connex500/350 3-D Printer7–60 DOC-13000 Rev. ETest Results To save and view a report of all of the tests:¾UsetheSaveandViewcommandbuttons(seebelow).Command Buttons Youclickthecommandbuttons,ontherightsideofthescreen,toperformthefollowingoperations:RunClicktoruntheselectedtests.ResetClicktoclearpreviouslyruntests.ThisreturnsthestatusofeachtesttoUnknown(?).SaveClicktosaveareportthatsummarizesthetestsrun.ThereportissavedasanHTMLfile.Youcansaveanynumberofreportsforthetestsyourun;thenameofthefilesavedisBITReport [date][time].htm.Bydefault,thesefilesaresavedintheConnexinstallationfolder,butyoucansaveitinanyotherfolder.ViewClicktodisplaythelatesttestreportthatyousaved.(YoucanviewothertestreportsbyopeningtherelevantfilesinyourWebbrowser.Todoso,openWindowsExplorer,anddoubleclicktheBITReportfile.)CloseClicktoclosetheBuilt‐inTestsscreen.Summary Ontherightsideofthescreen,asymbolrepresentsthecombinedresultsofallthetestsrun,usingthesymbolsfromtheStatuscolumn.Alltestssuccessfullycompleted.Atleastonetestfailed.Notalltestsperformed.](https://usermanual.wiki/Stratasys/RFID/User-Guide-1393113-Page-60.png)