Sun Communications DECT64-S64 US DECT PHONE- HEADSET User Manual users manual
SunCorp Communications Limited US DECT PHONE- HEADSET users manual
UserManual.wiki
>
Sun Communications
>
DECT64 S64 User Manual
users manual
Navigation menu
Upload a User Manual
Namespaces
Wiki Guide
HTML
PDF
Info
Views
User Manual
Discussion / Help
Navigation

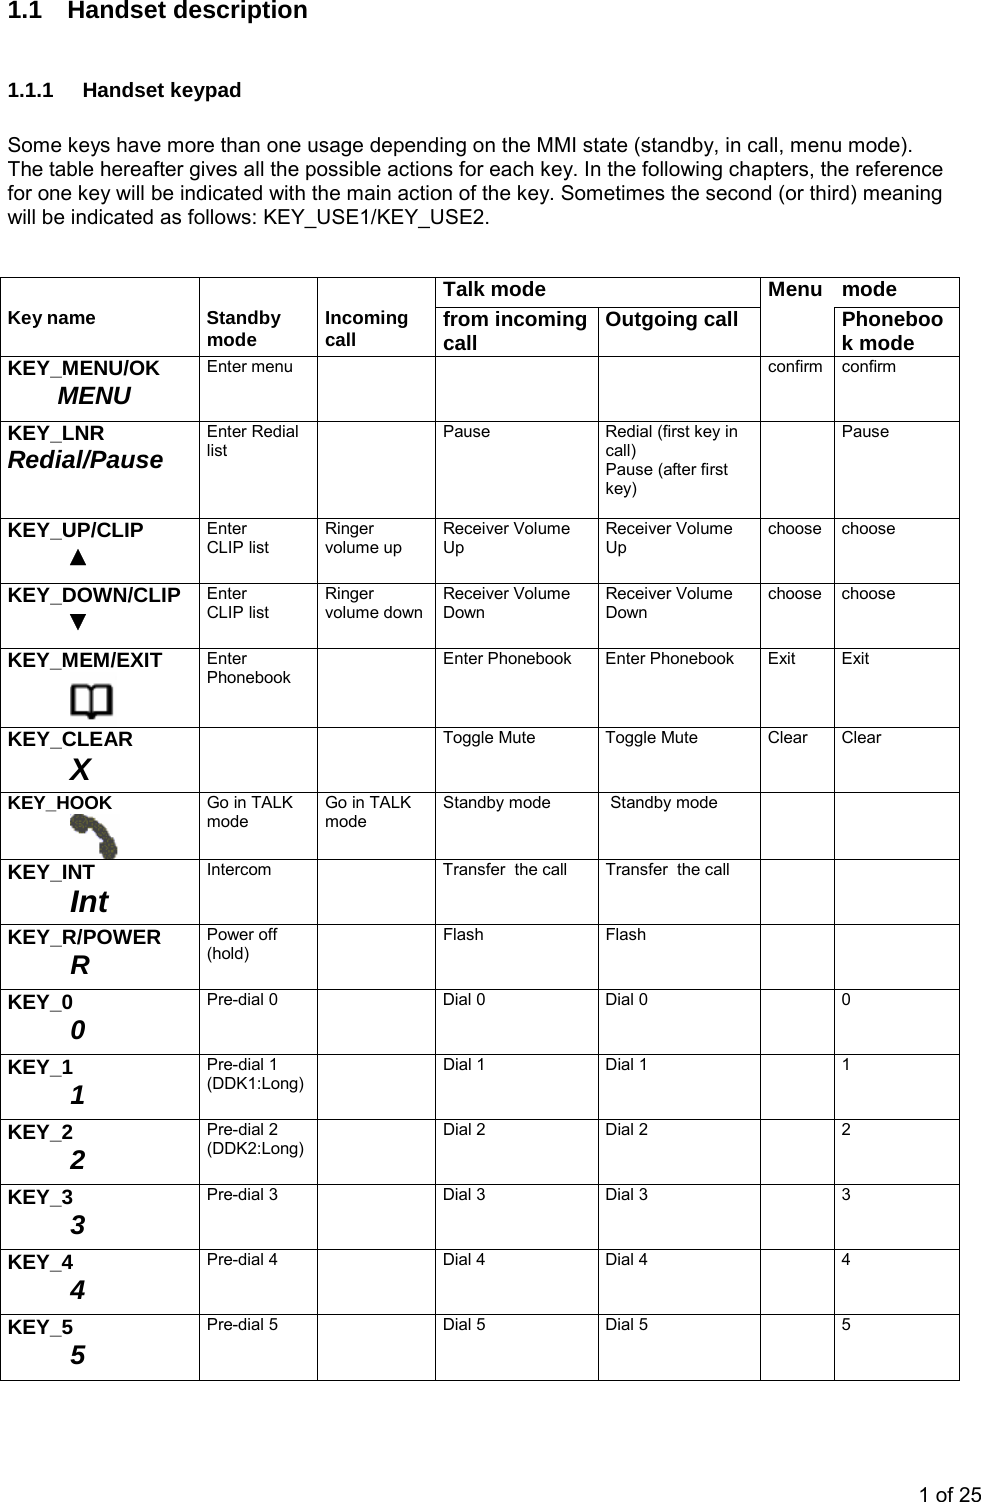
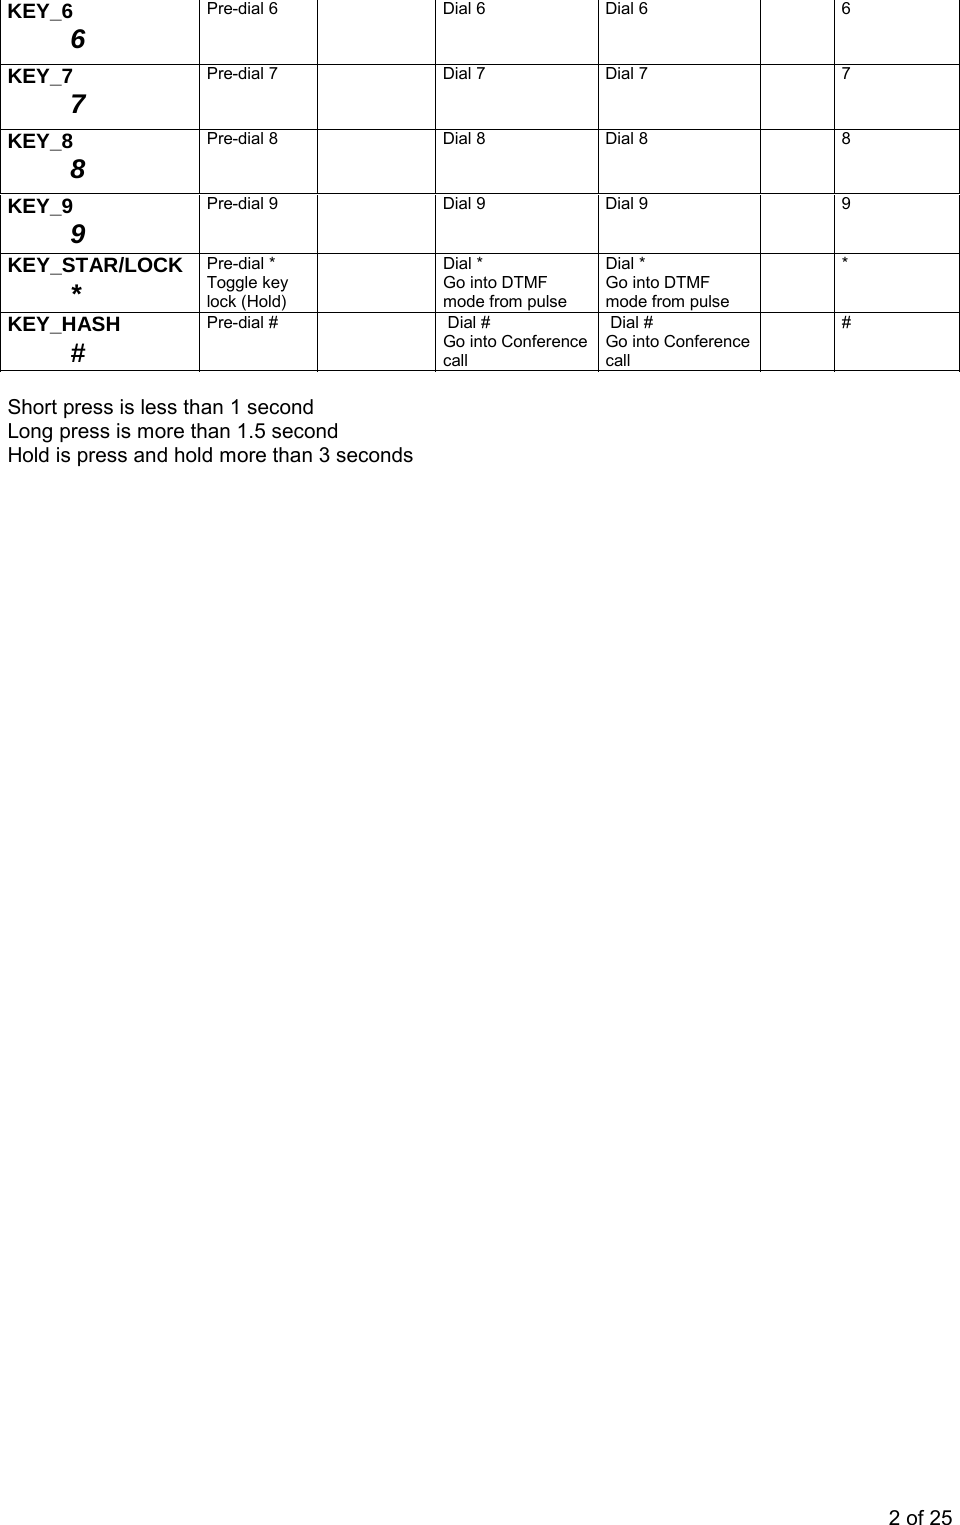
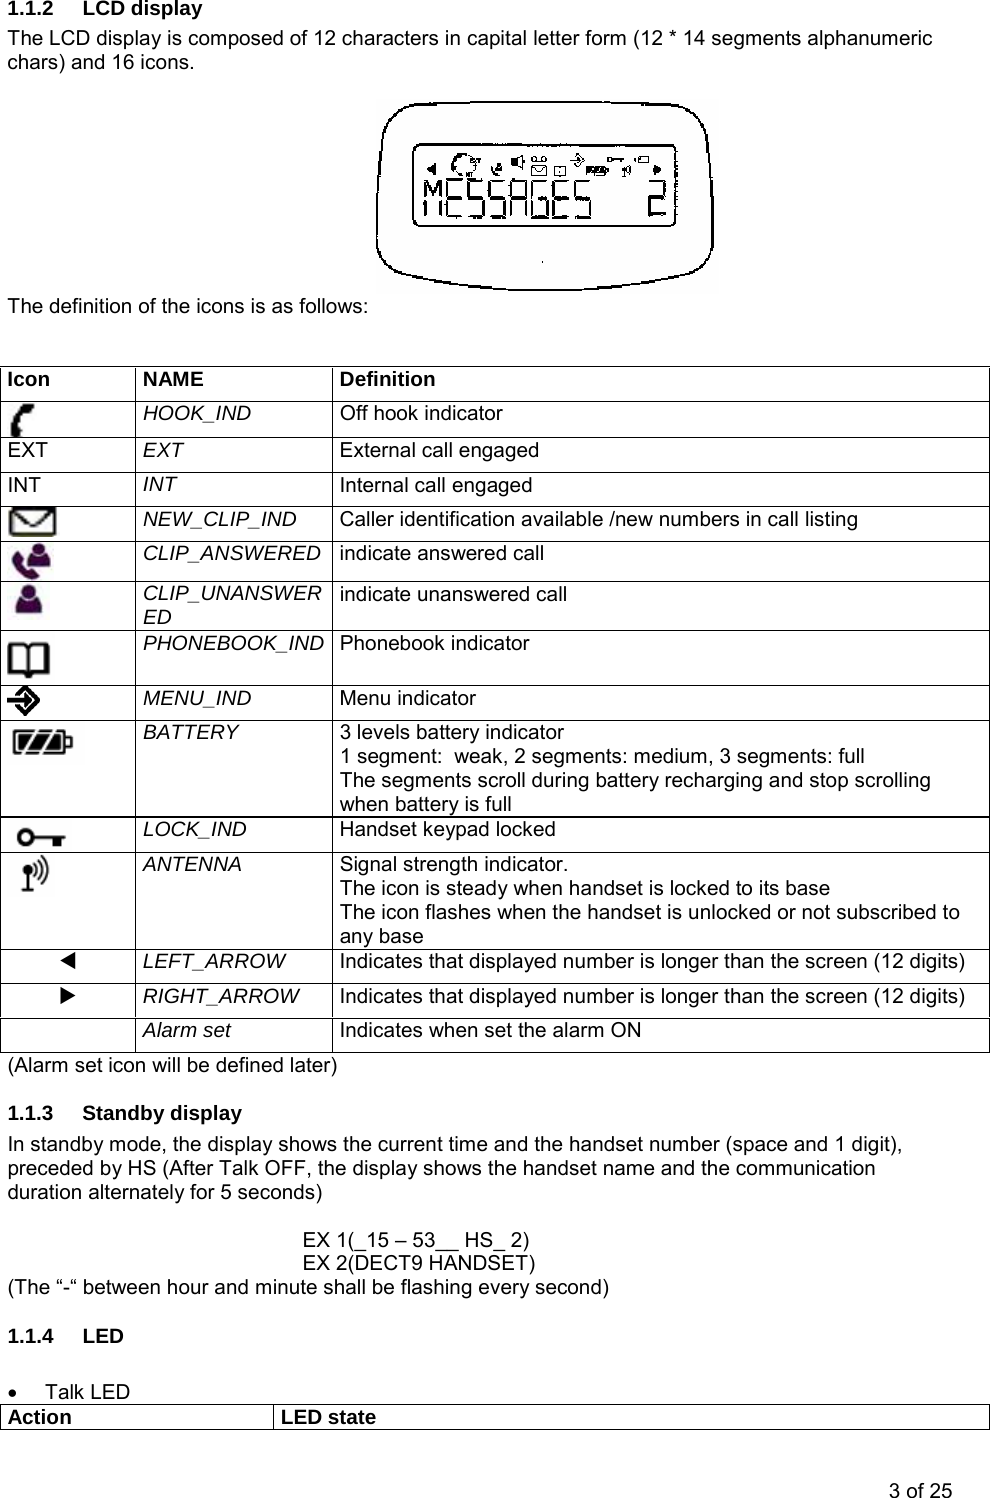
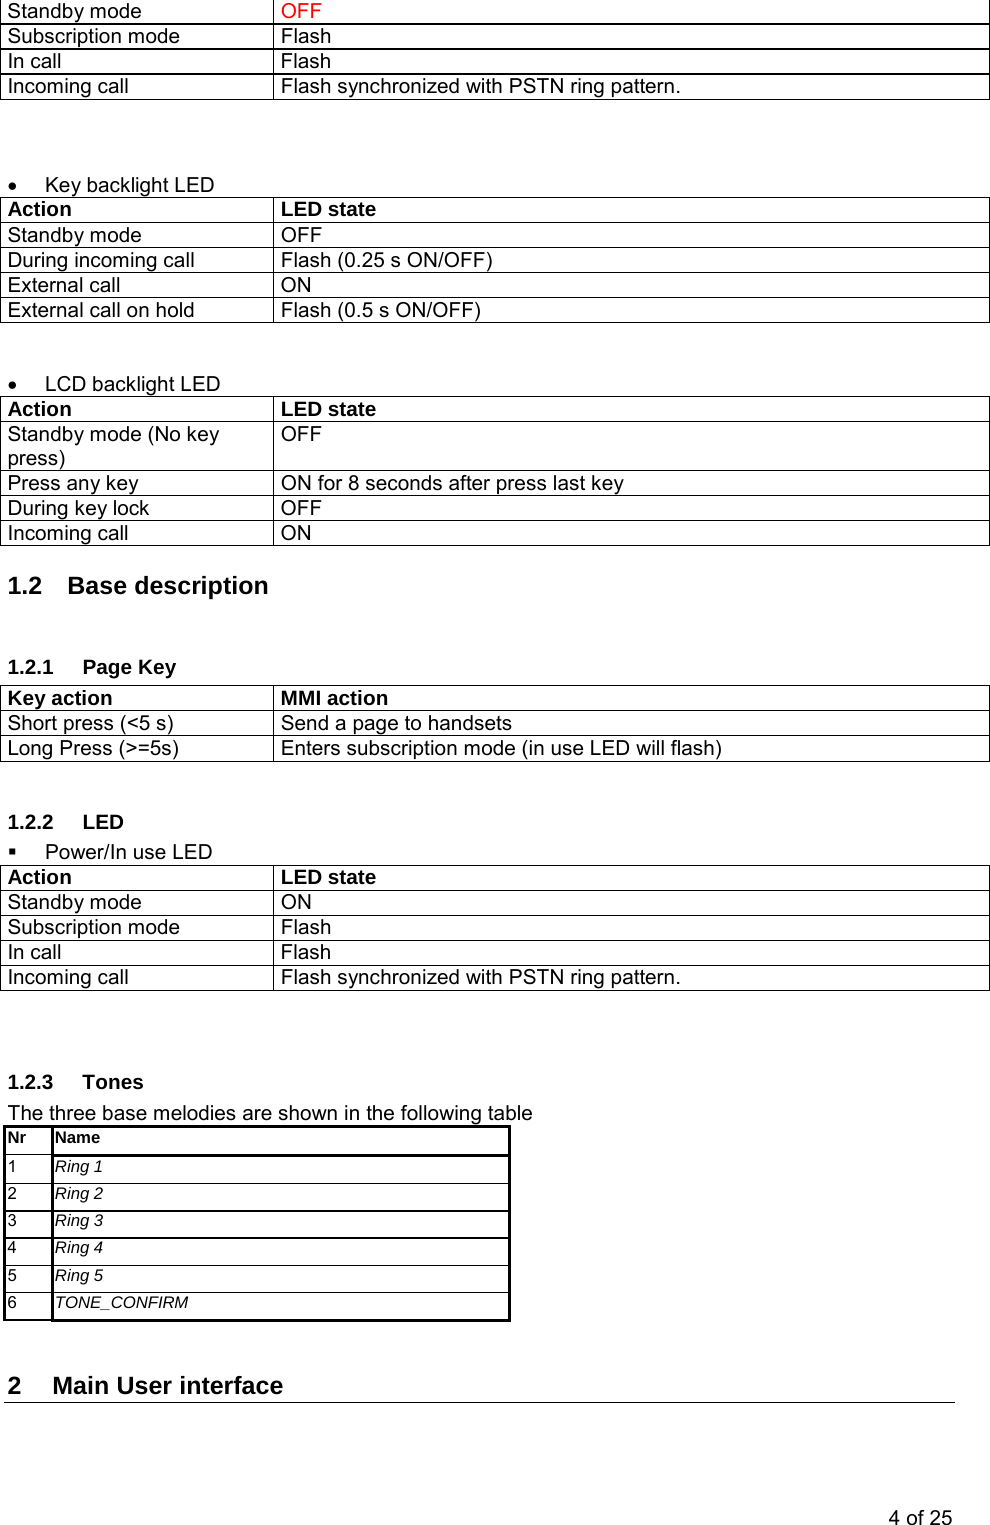
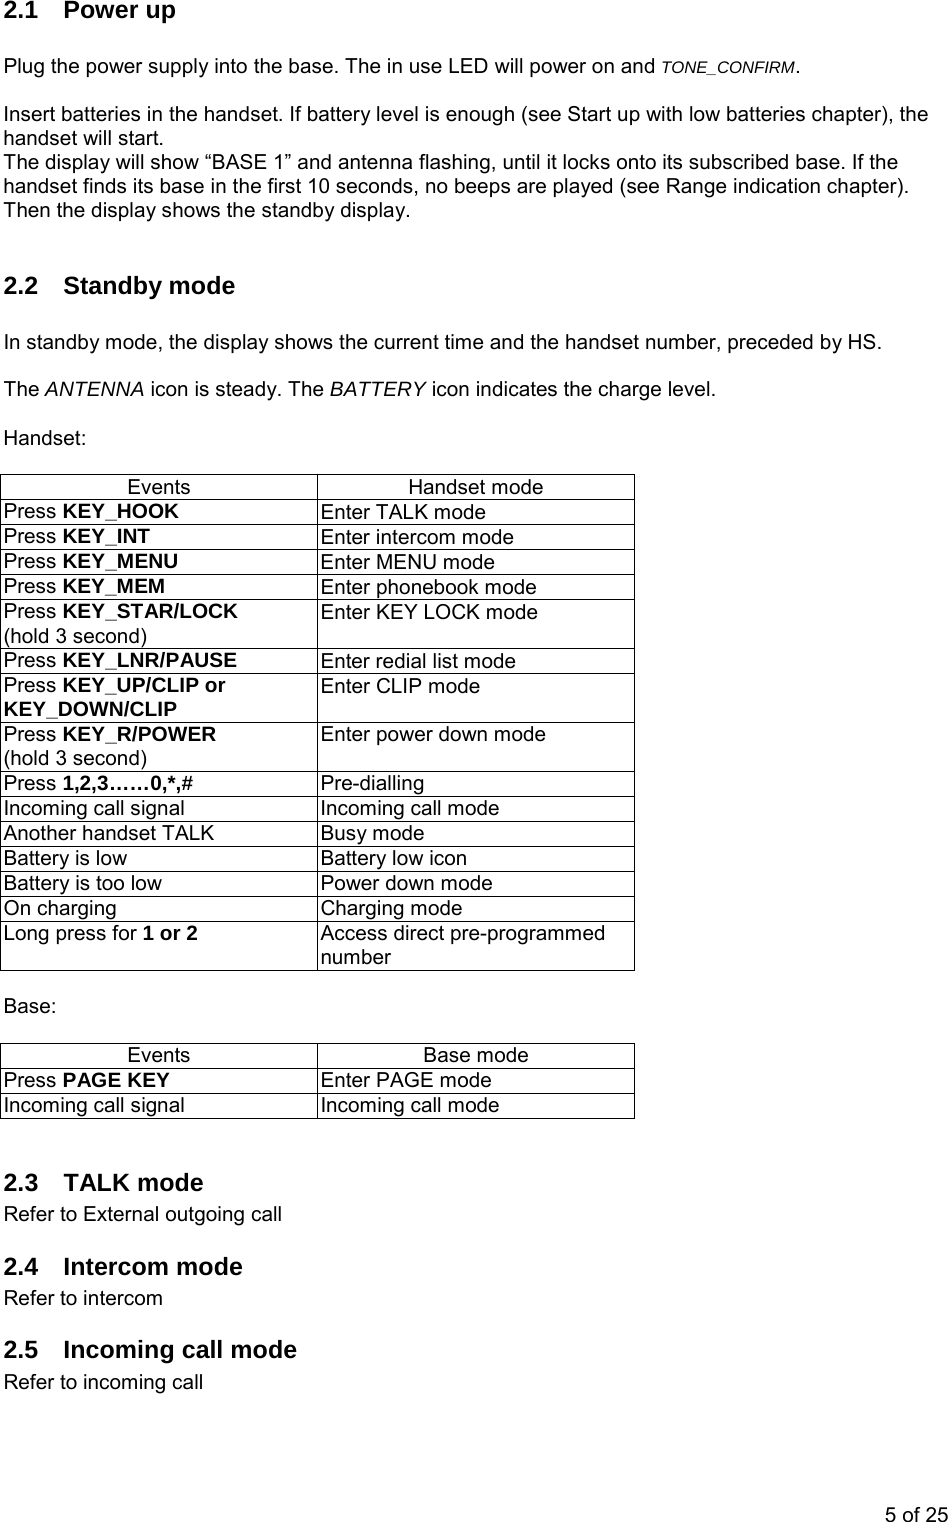
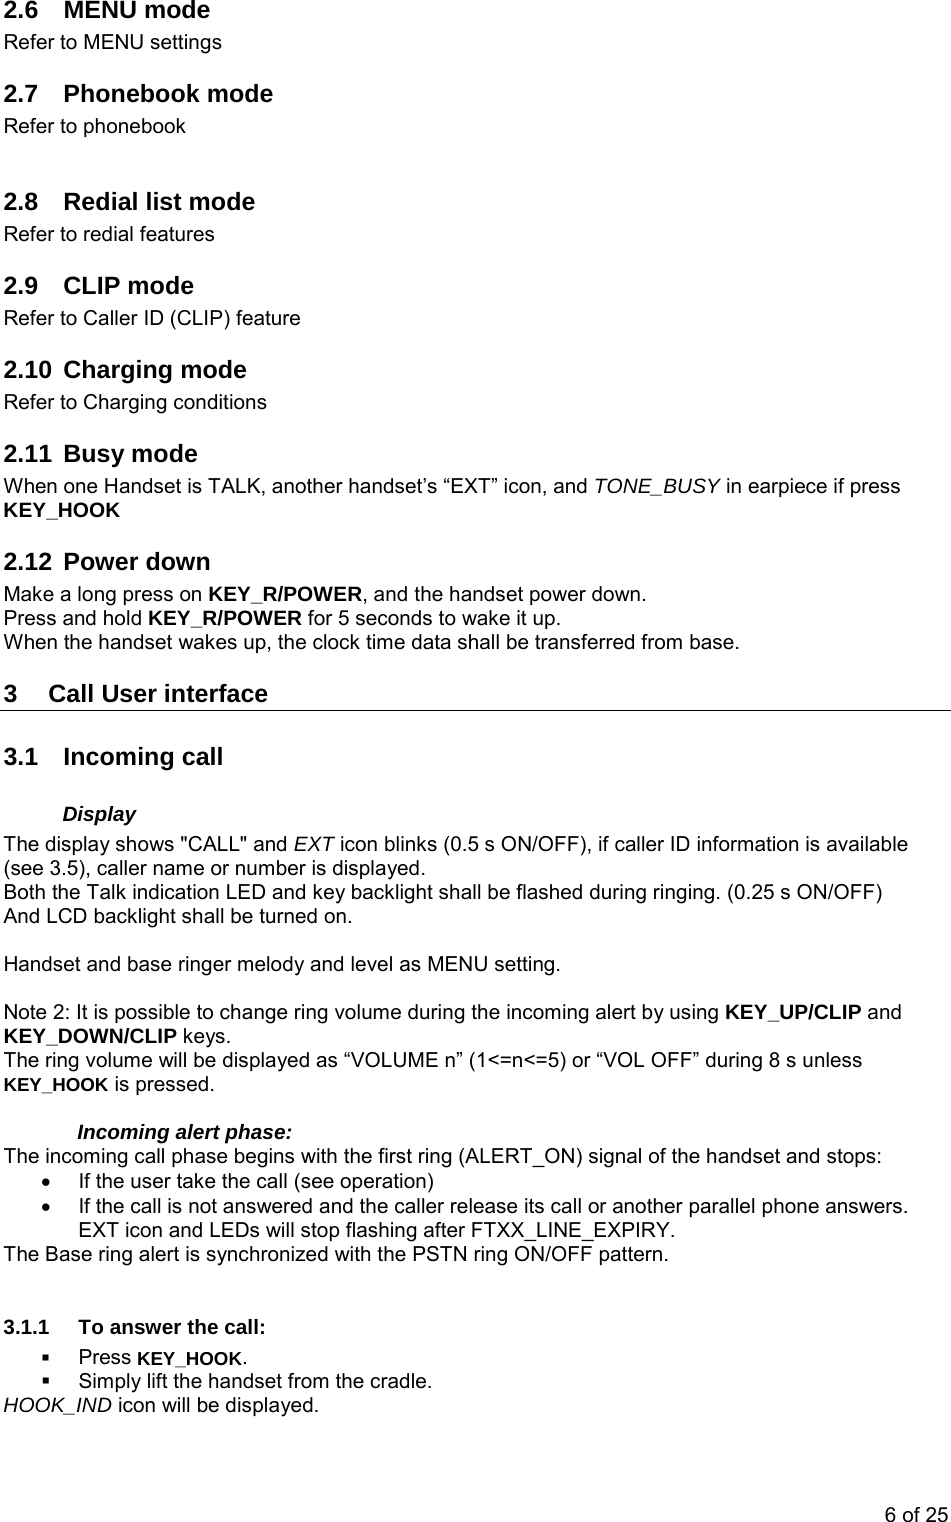
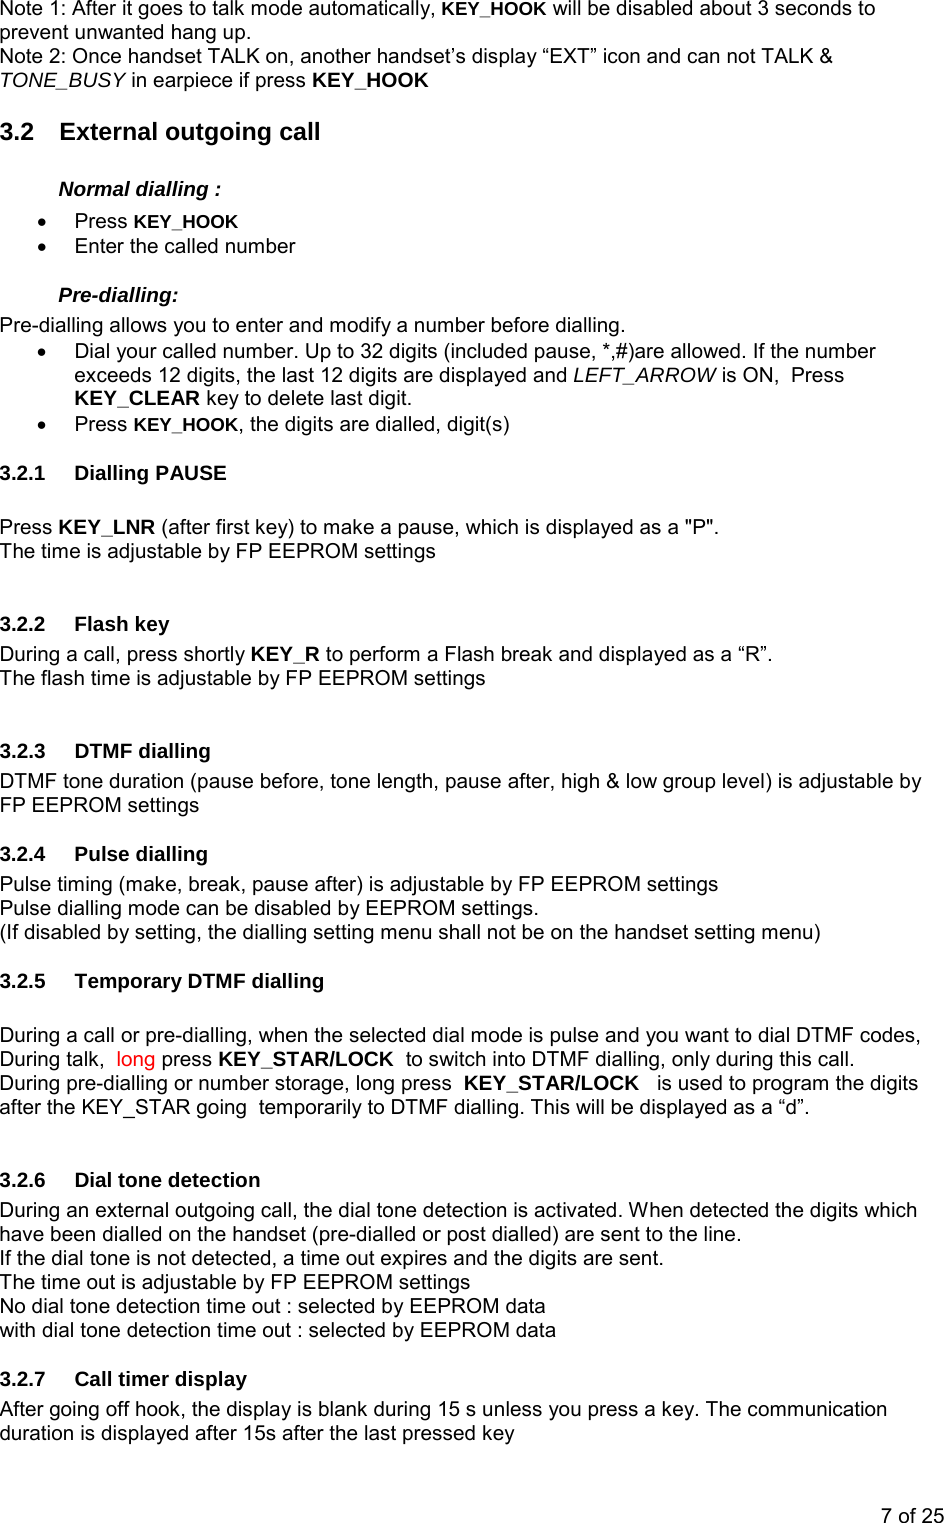
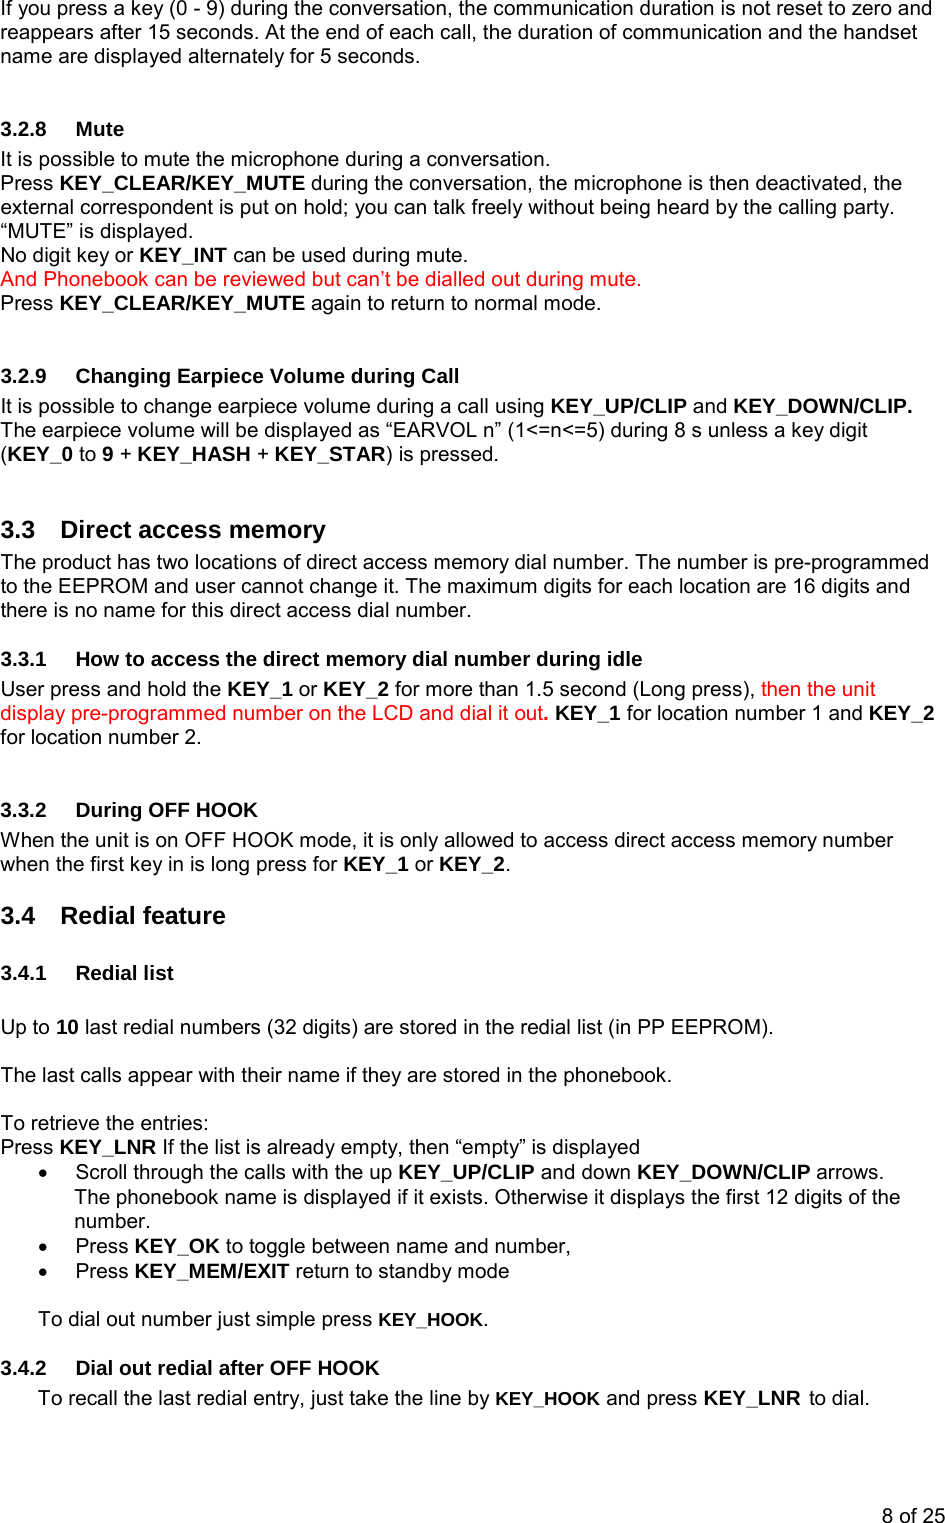
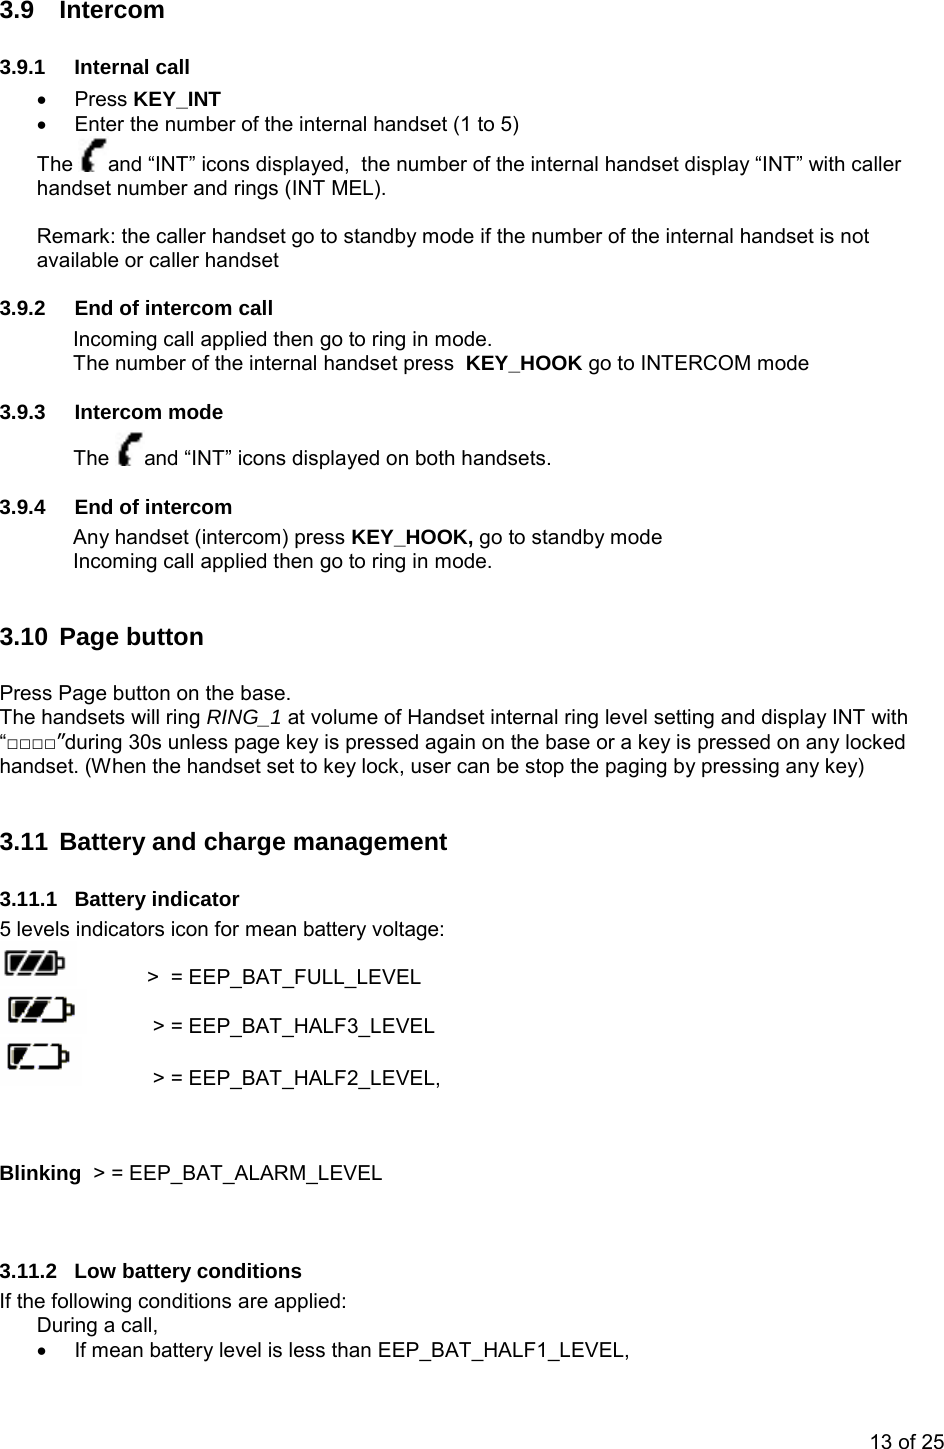
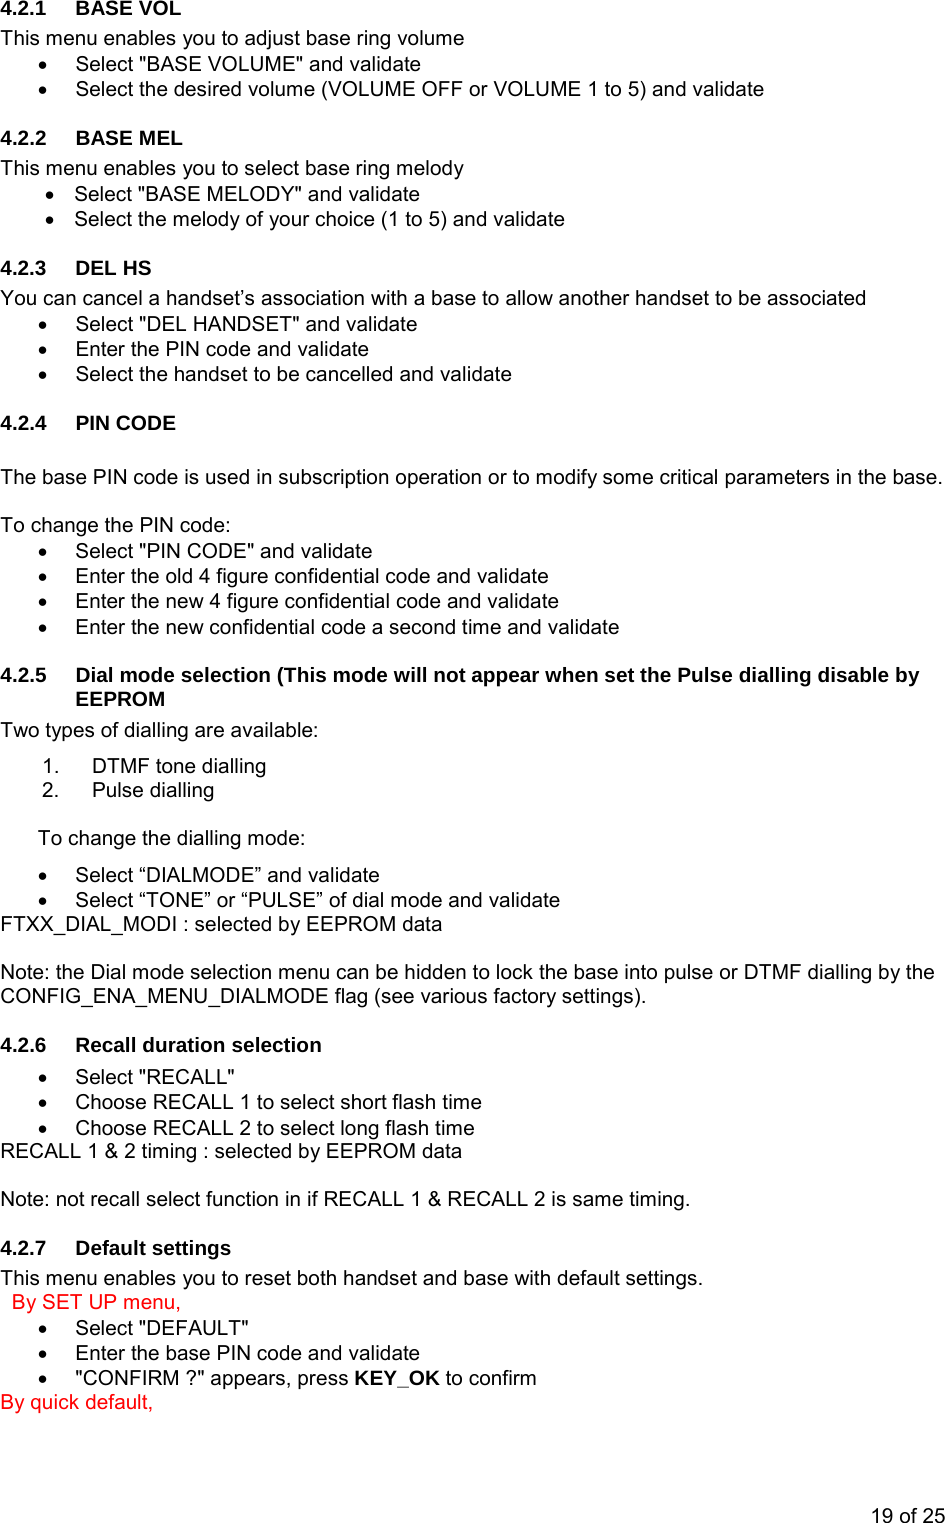
![• Press and hold * key when insert the battery for 5 seconds, “DEFAULT” appears, then “CONFIRM?”, press KEY_OK to confirm Then the handset and base will apply default parameter settings and make a software RESET. Default parameter Value Handset name TBD Low battery indicator ON Out of range indicator ON Key click ON Auto answer ON INT melody 1 INT volume 3 EXT melody 1 EXT volume 3 ear volume 3 Language English Phonebook Empty CLID list Empty Redial list Empty PIN CODE 0000 PAUSE 3 s dial mode DTMF(Tone) Key lock OFF CLOCK 00 :00 ALARM OFF Default values in handset and base are defined by EEPROM settings [1]. So they can be adjusted for each country. 4.3 HANDSET • Select "HANDSET" 4.3.1 BEEP Beep features The handsets may or may not emit beeps while the keys are pressed , the batteries are low and when the handset is out of range of the base. 4.3.1.1 KEYTONE • Select "KEYTONE" and validate • Select “ON” or “OFF” and validate 4.3.1.2 LOW BATTERY • Select "LOW BATTERY" and validate • Select “ON” or “OFF” and validate 4.3.1.3 OUTRANGE • Select "OUT RANGE" and validate • Select “ON” or “OFF” and validate 4.3.2 INT RING VOL This menu enables you to adjust handset ring volume (intern melody) 20 of 25](https://usermanual.wiki/Sun-Communications/DECT64-S64/User-Guide-697013-Page-25.png)