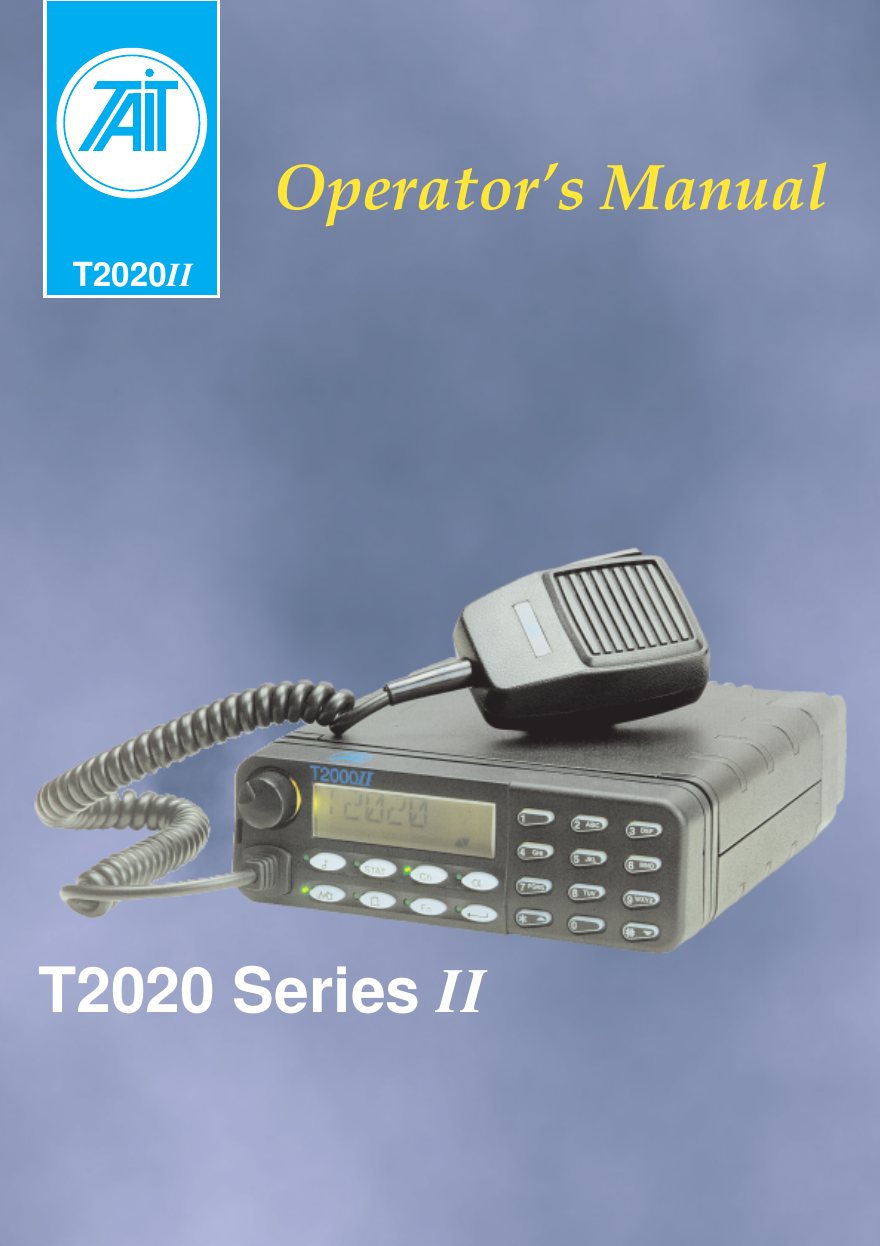
Tait TEL0051 Mobile Transceiver User Manual Operators Manual T2020
Tait Limited Mobile Transceiver Operators Manual T2020
Tait >
Contents
- 1. Manual and Installation Guide
- 2. Installation Guide T2000
- 3. Operators Manual T2020
- 4. Operators Manual T2040
Operators Manual T2020
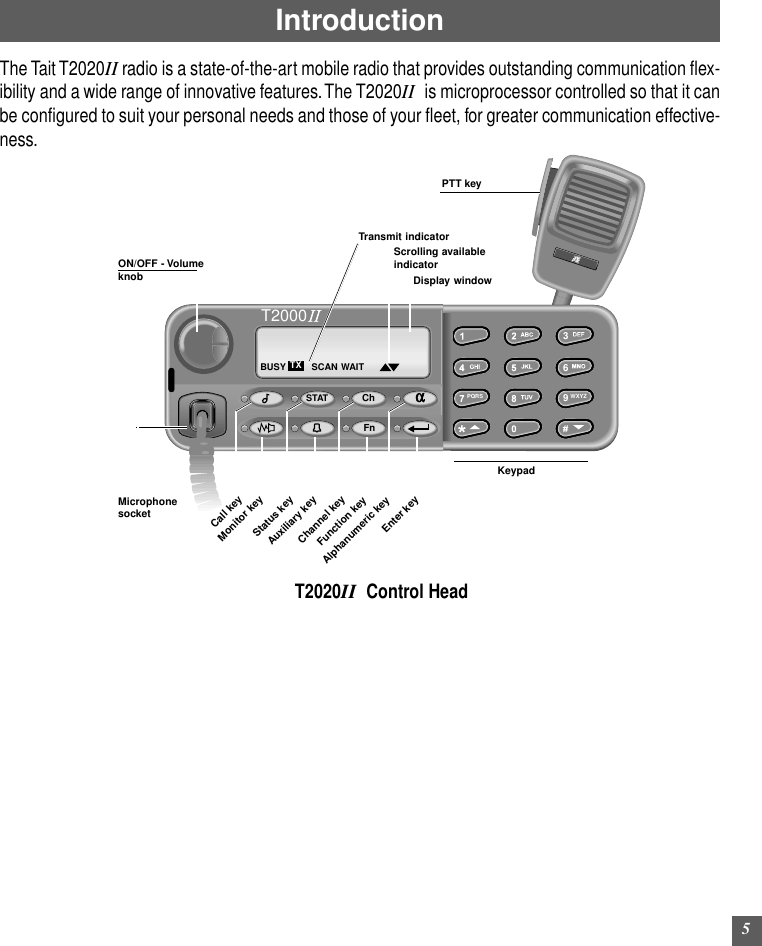
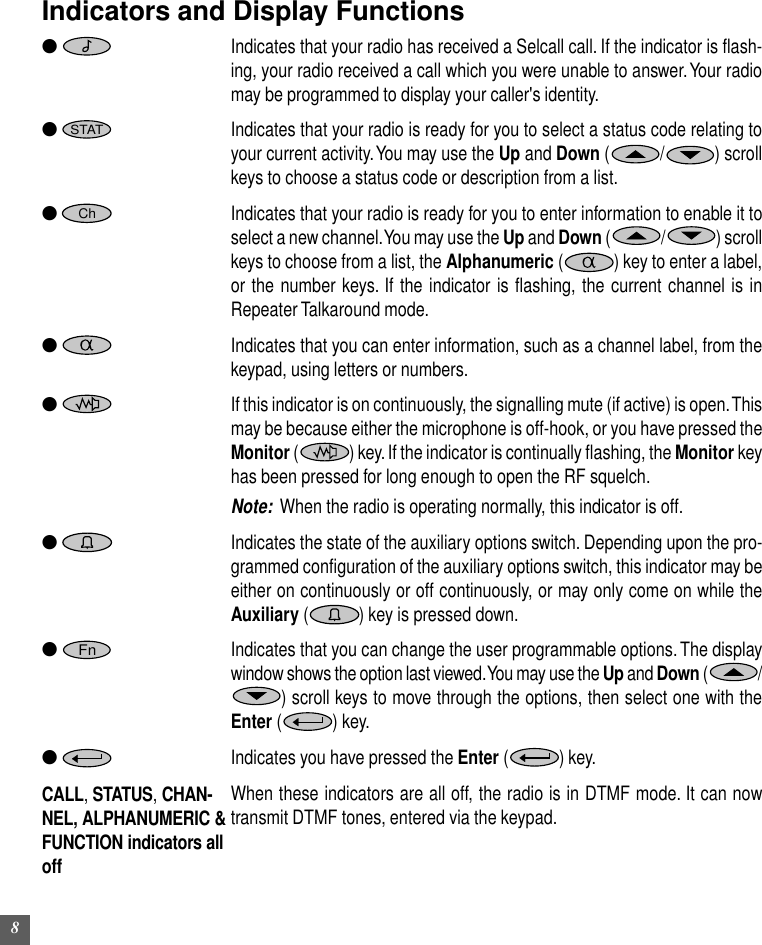
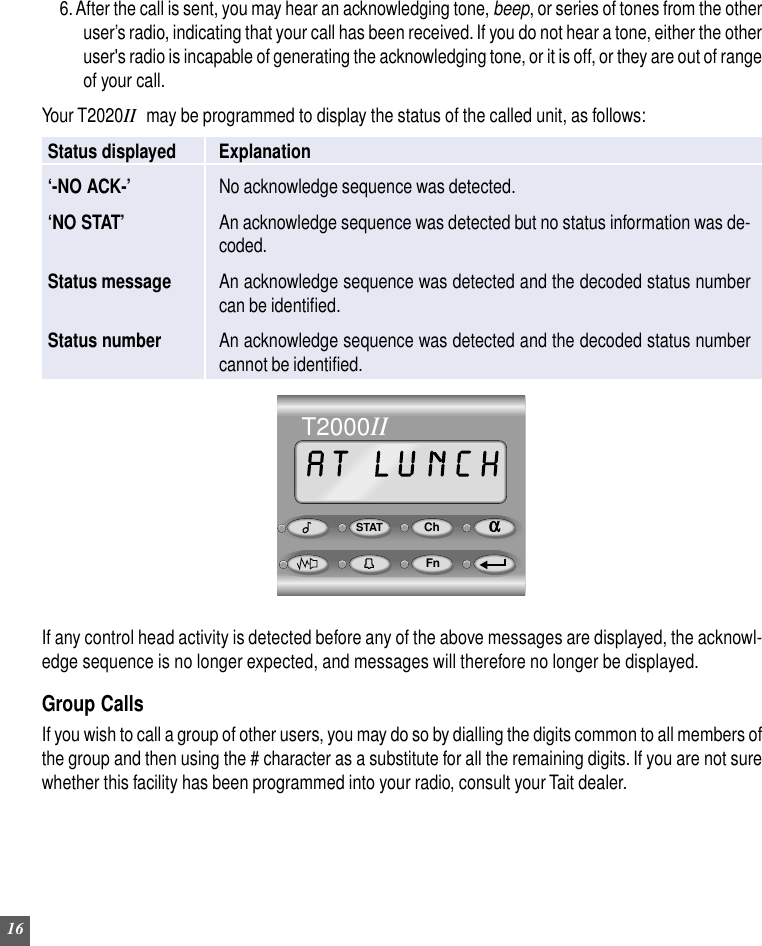
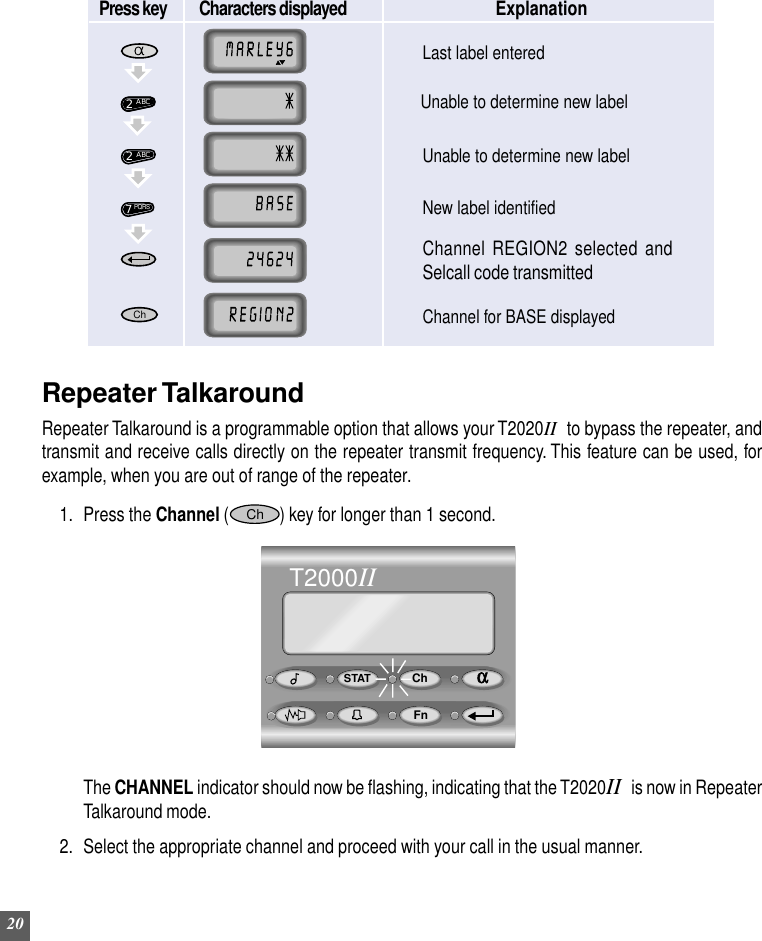
![7Basic OperationsThe T2020IIcontrol head includes the following keys and indicators:Key FunctionsThe keypad functions are as follows:Call Used to activate the Selcall function, to enable you to make calls to otherusers.Status Used to select preprogrammed status messages to indicate your ownpresent status (such as ‘EN ROUTE’ or ‘AT LUNCH’).Channel Used to select a channel, a scan group, a number or a label associatedwith the channel name, and to access the Repeater Talkaround option.Alphanumeric Used to turn on Alphanumeric mode.Monitor Used to access to the signalling mute and RF squelch control of yourreceiver.Auxiliary Used to control an auxiliary hardware option.Function Used to customise the operation of your radio to suit your own require-ments.Enter Used to complete dialling entries. (Used for channel entry, Selcall calls,DTMF dialling, alphanumeric entry and option selections.)0 to 9 Used for dialling numbers when the indicator beside the Alphanumeric() key is not illuminated.[ABC] to [WXYZ] Used for entering letters when the indicator beside the Alphanumeric() key is illuminated.Star/Up If the ‘’ indicator is displayed in the display window, these keys areused to scroll up and down through a list of choices.Hash/Down If the ‘’ indicator is not displayed in the display window, they act asdialling keys for Selcall and DTMF dialling.STATChFn](https://usermanual.wiki/Tait/TEL0051.Operators-Manual-T2020/User-Guide-134981-Page-9.png)