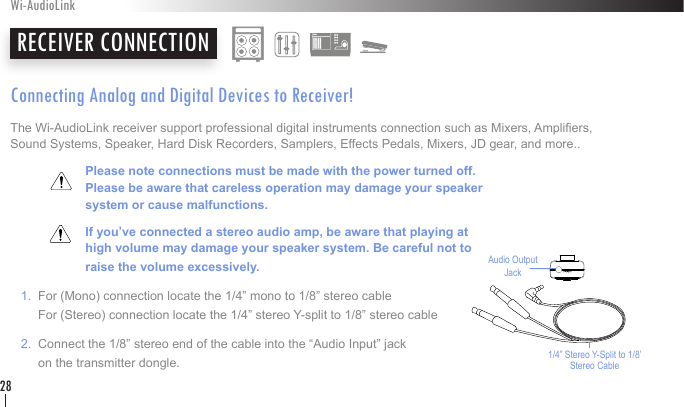
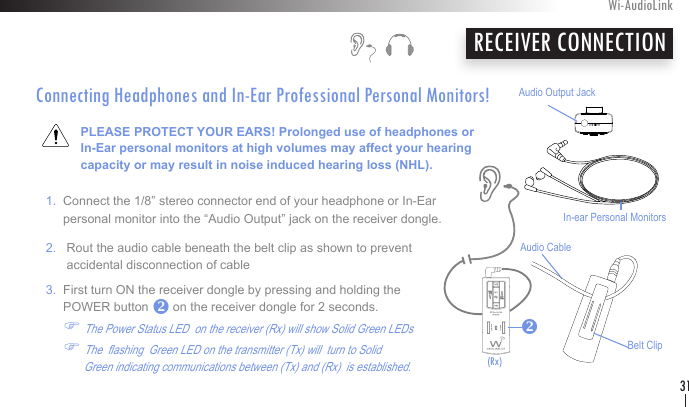
Tatung KEN4-T STEREO DIGITAL WIRELESS AUDIO DONGLES (TRANSMITTER) User Manual USERS MANUAL 1
Tatung Company STEREO DIGITAL WIRELESS AUDIO DONGLES (TRANSMITTER) USERS MANUAL 1
Tatung >
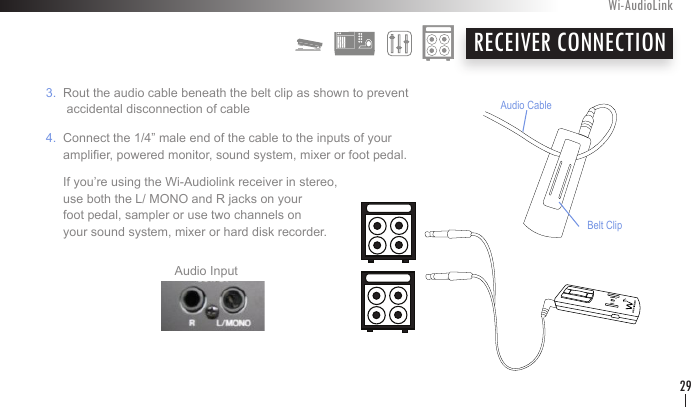
Contents
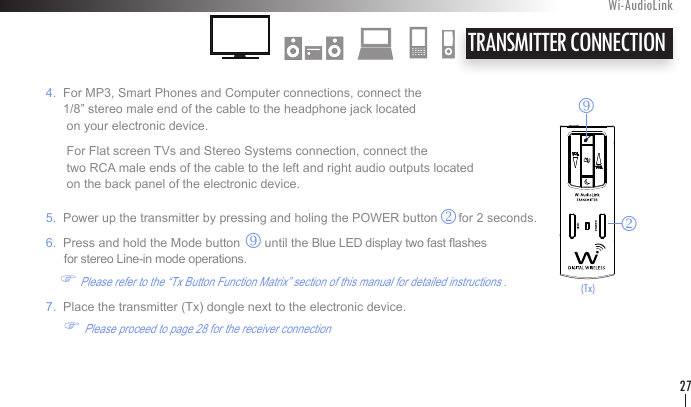
- 1. USERS MANUAL 1
- 2. USERS MANUAL 2
USERS MANUAL 1
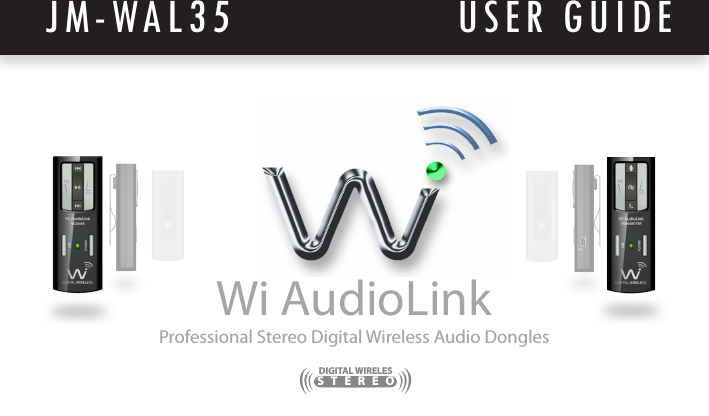

![Getting Answers! We want you to get the most from your new Wi-AudioLink professional stereo digital wireless audio dongles! Simply logon to www.jangusmusic.com and access the powerful resources available online including instructional manuals and frequently asked questions.Our customer service support staff are ready to assist you with any question you may have. Your Wi-AudioLink comes with 90 days of telephone support and one year of service coverage. There are may ways to contact Jangus Music customer service support. E-Mail: support@jangusmusic.com Website: https://www.jangusmusic.com/support Technical support: (949) 526-4877 [949-JANGUS7] Wi-AudioLink3TECHNICAL SUPPORT](https://usermanual.wiki/Tatung/KEN4-T.USERS-MANUAL-1/User-Guide-1141980-Page-3.png)