Tatung M1 Quad Band Smart Phone W/ Bluetooth User Manual cover
Tatung Company Quad Band Smart Phone W/ Bluetooth cover
UserManual.wiki
>
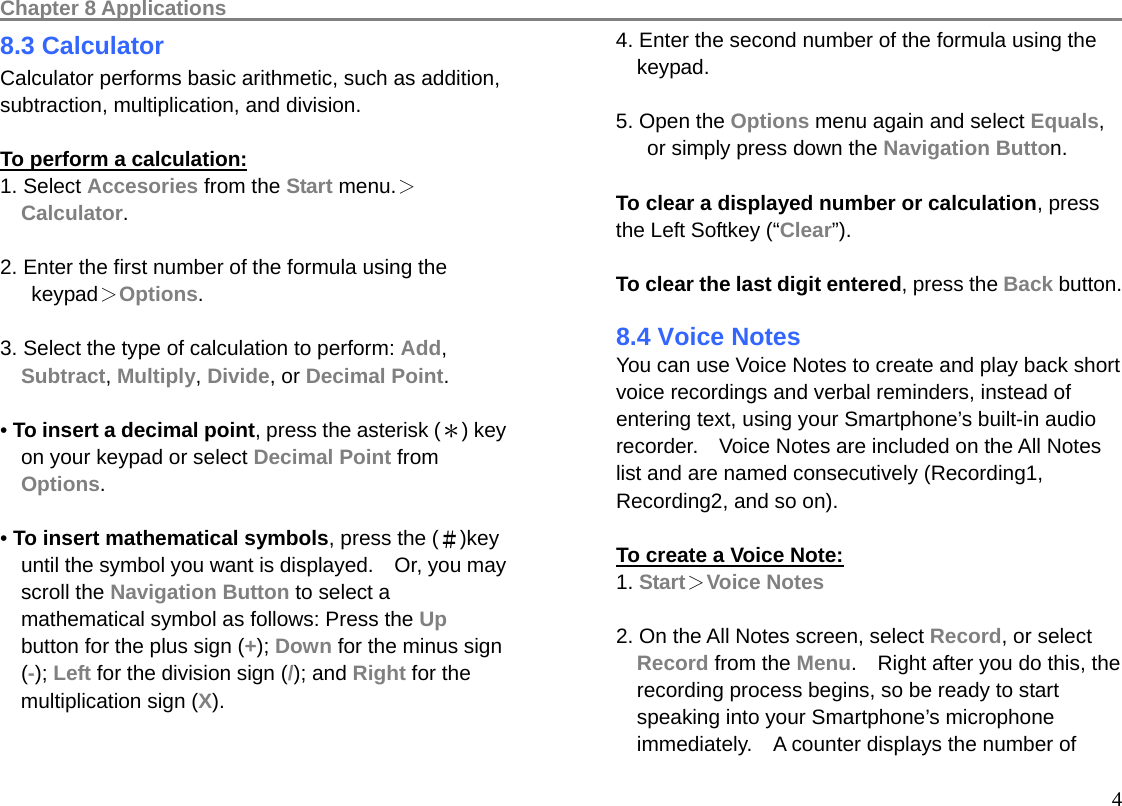
Tatung
>
M1 User Manual
Users Manual
Navigation menu
Upload a User Manual
Namespaces
Wiki Guide
HTML
PDF
Info
Views
User Manual
Discussion / Help
Navigation


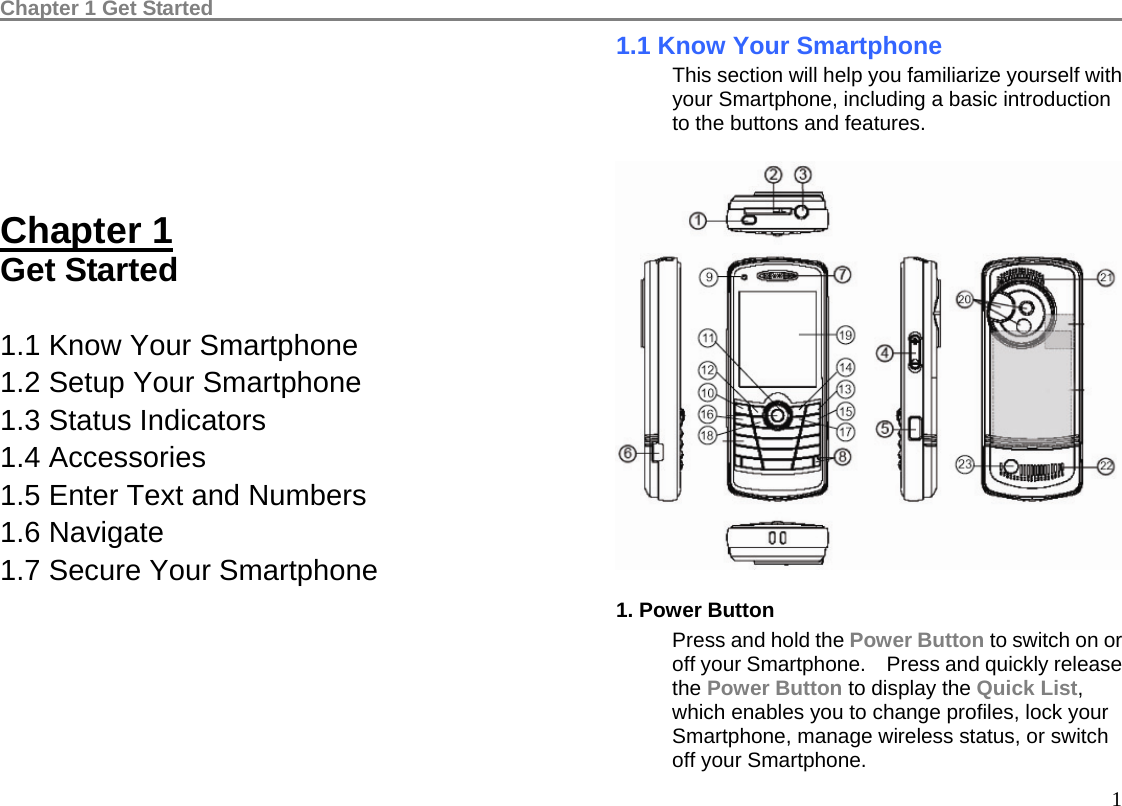
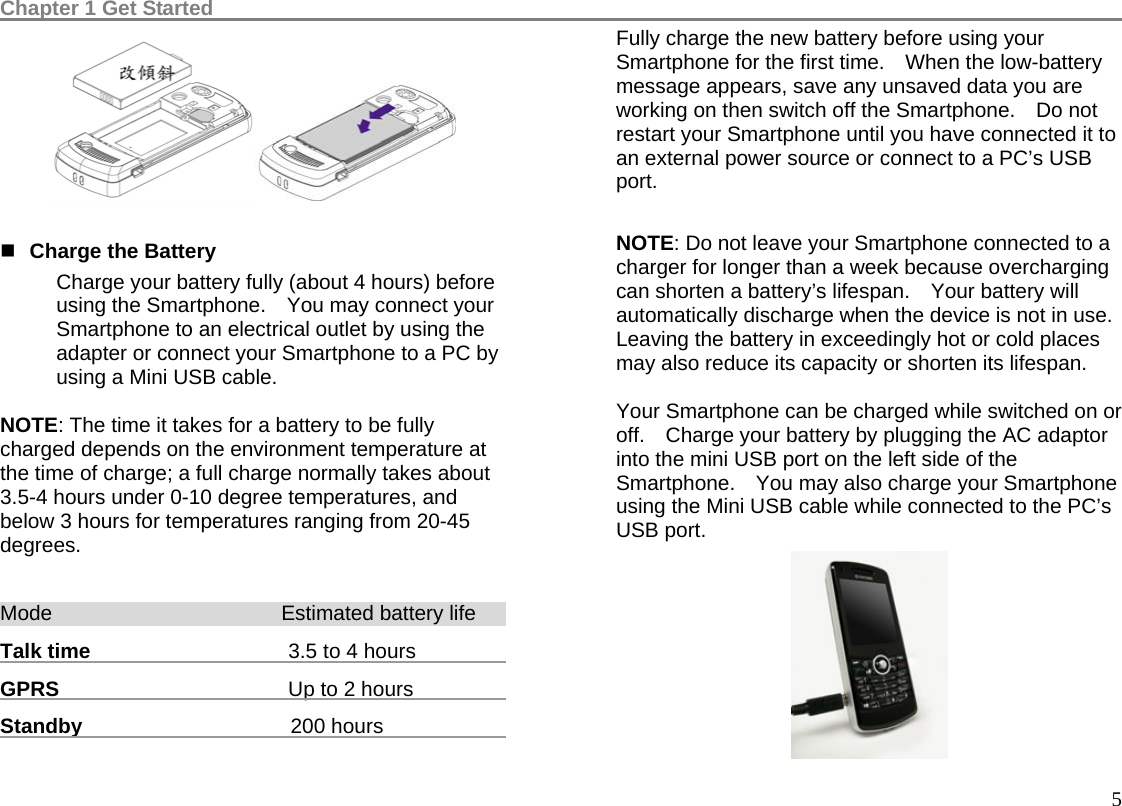
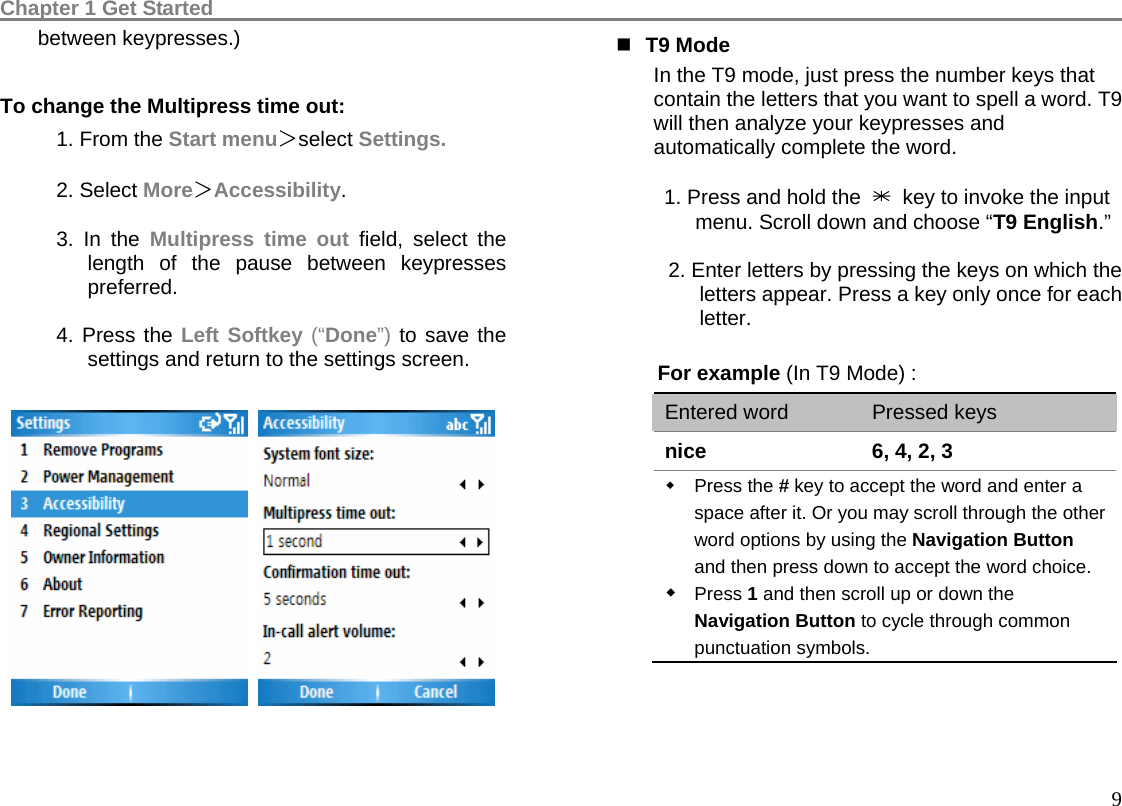
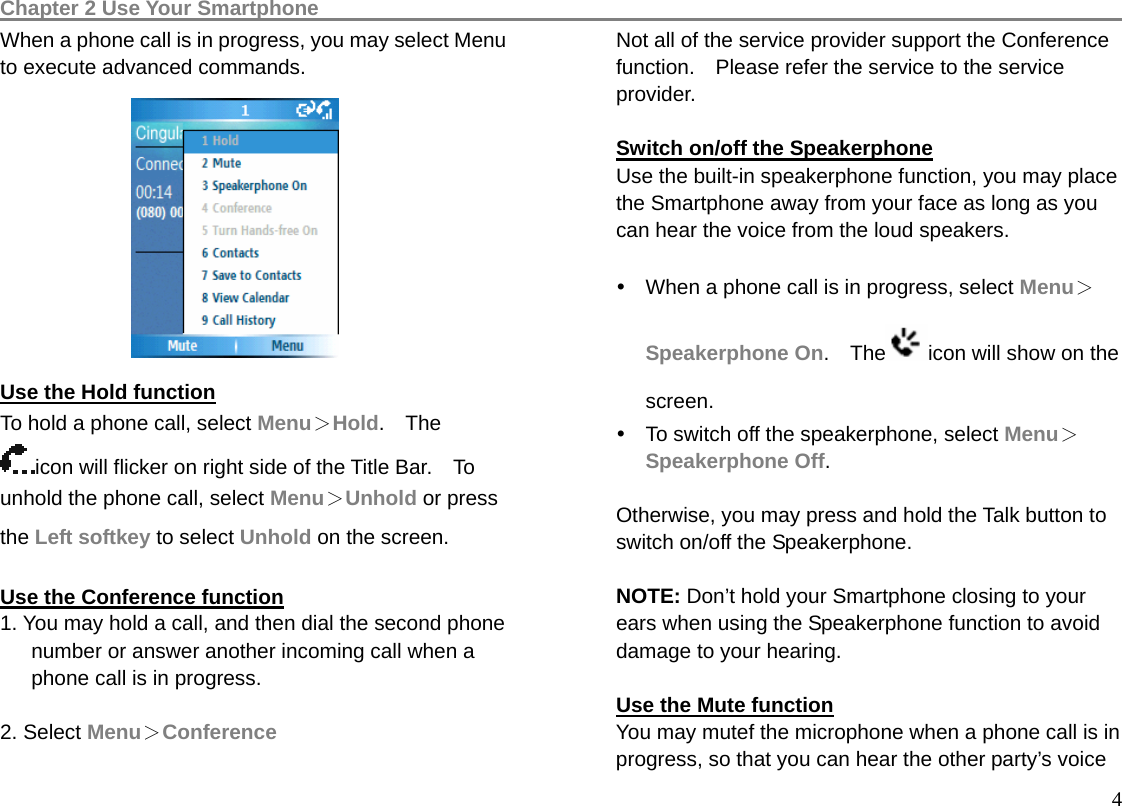
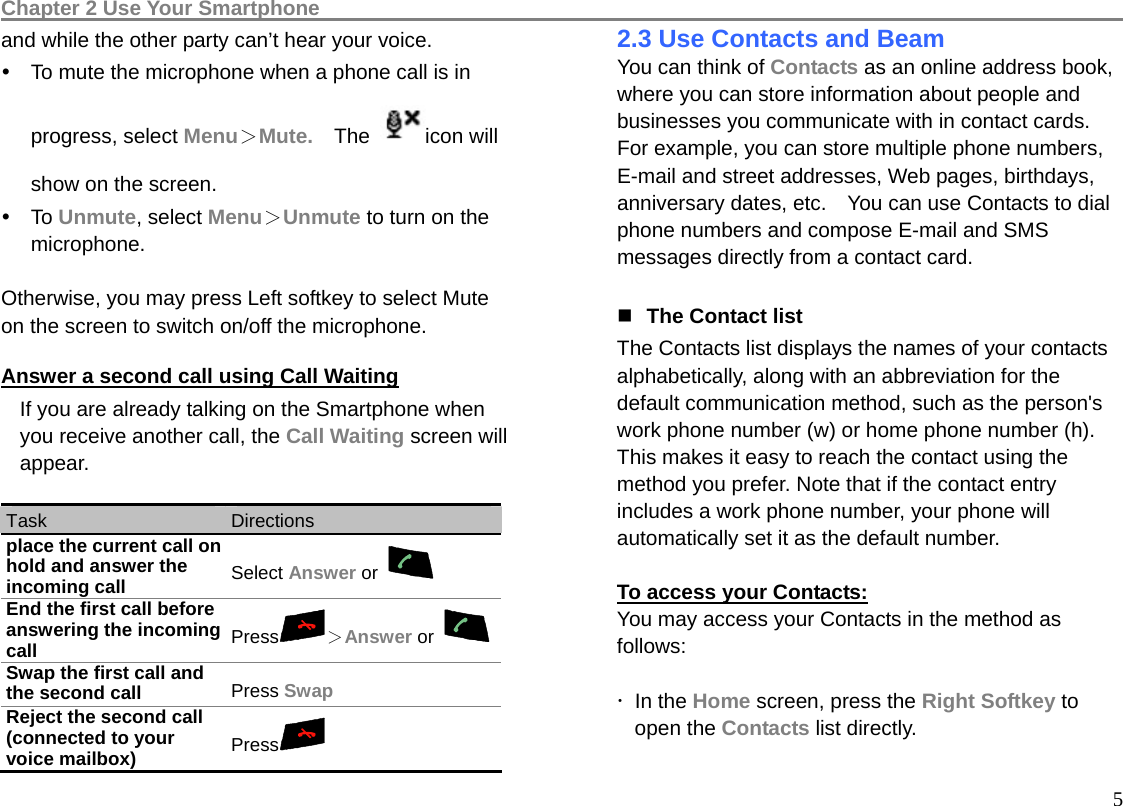
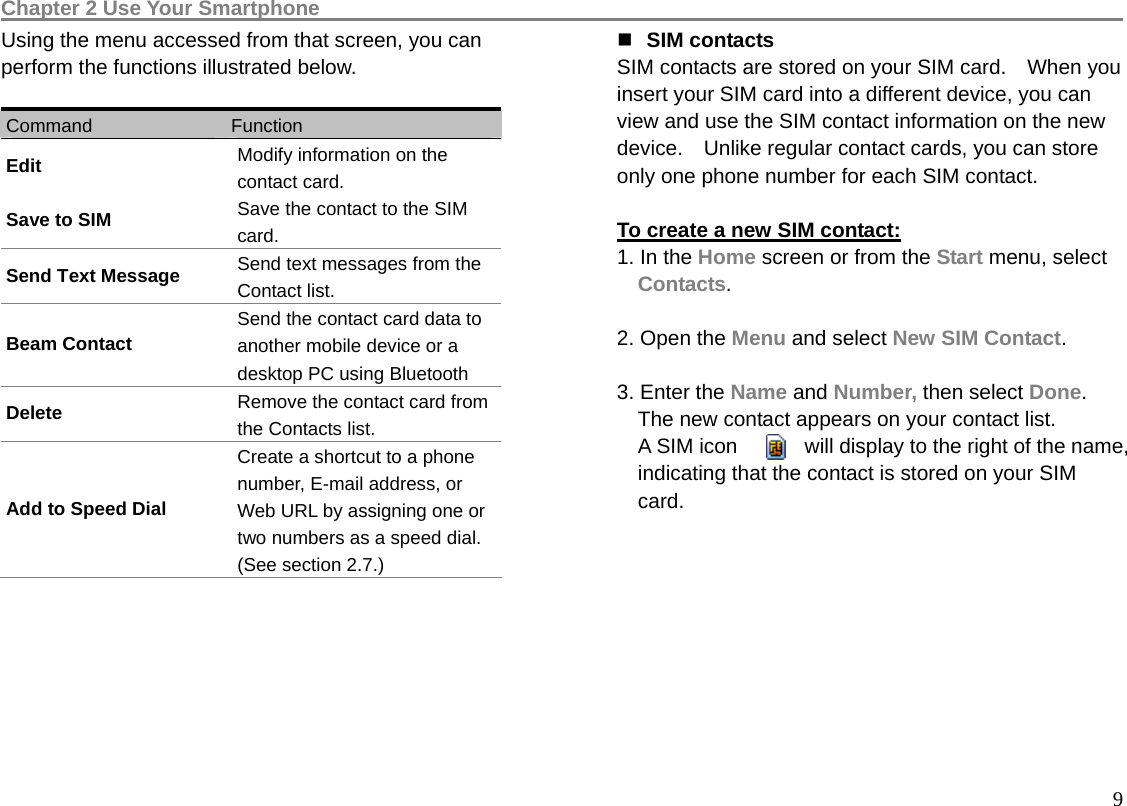
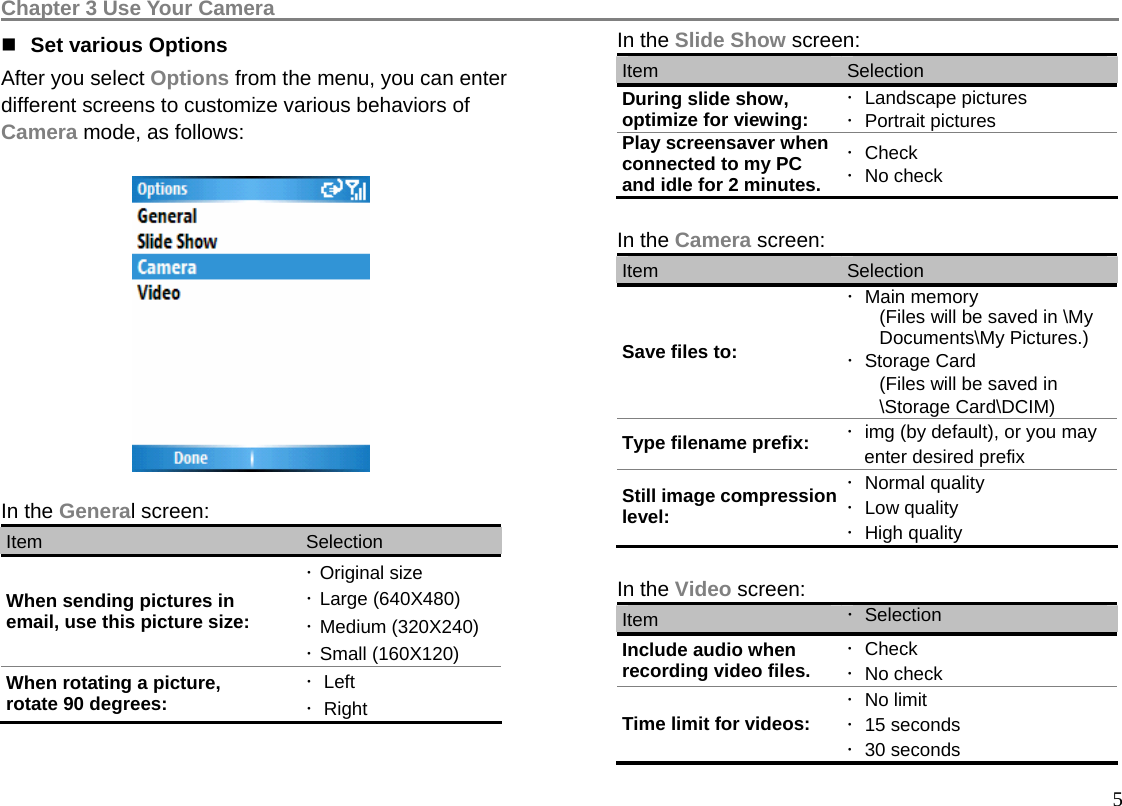
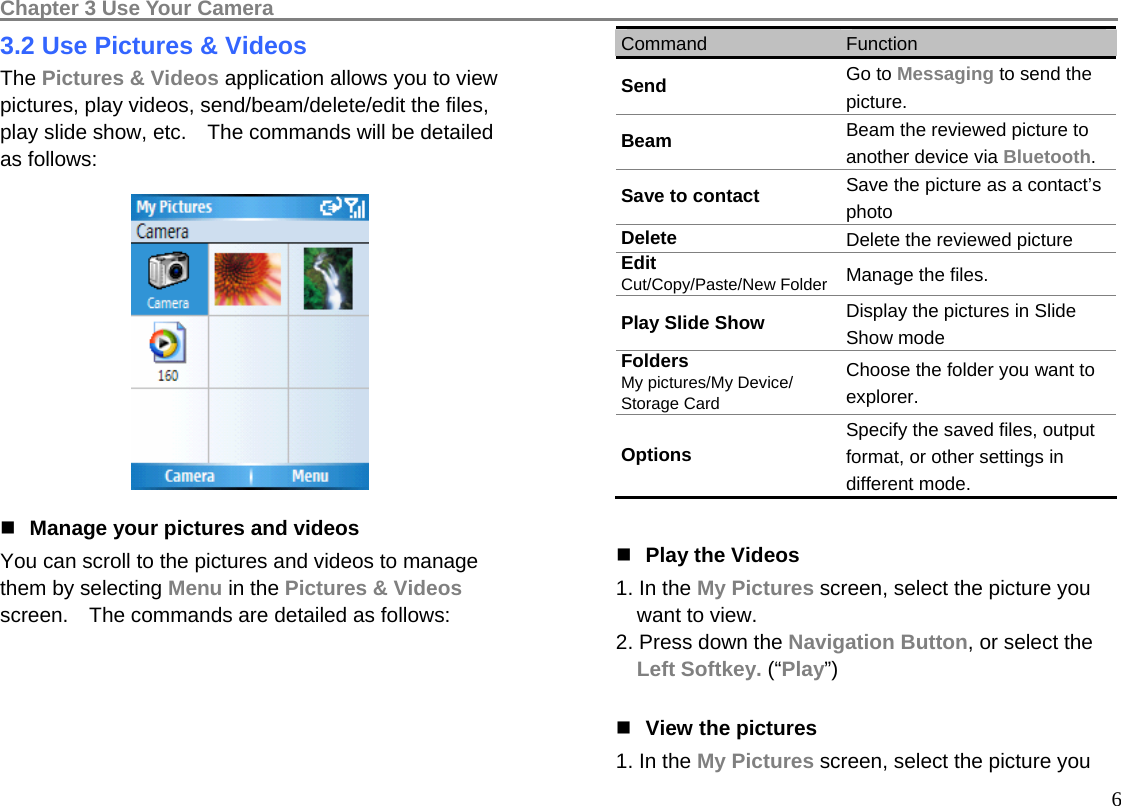
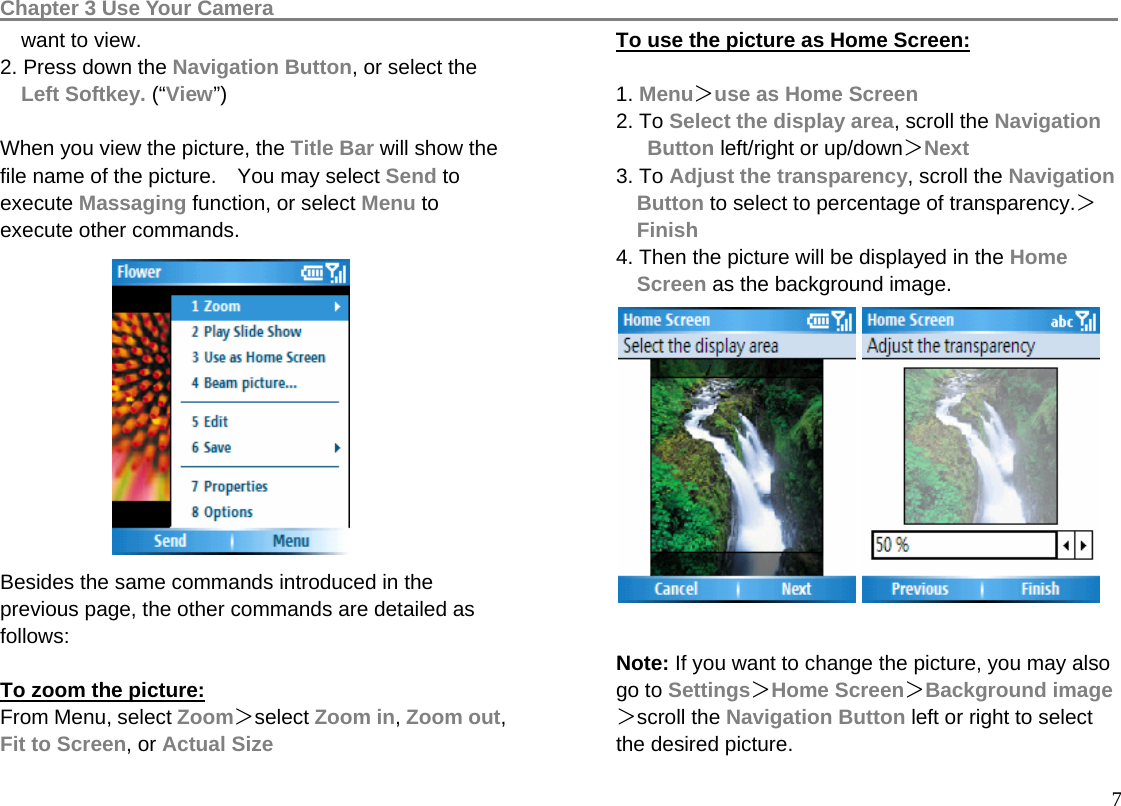
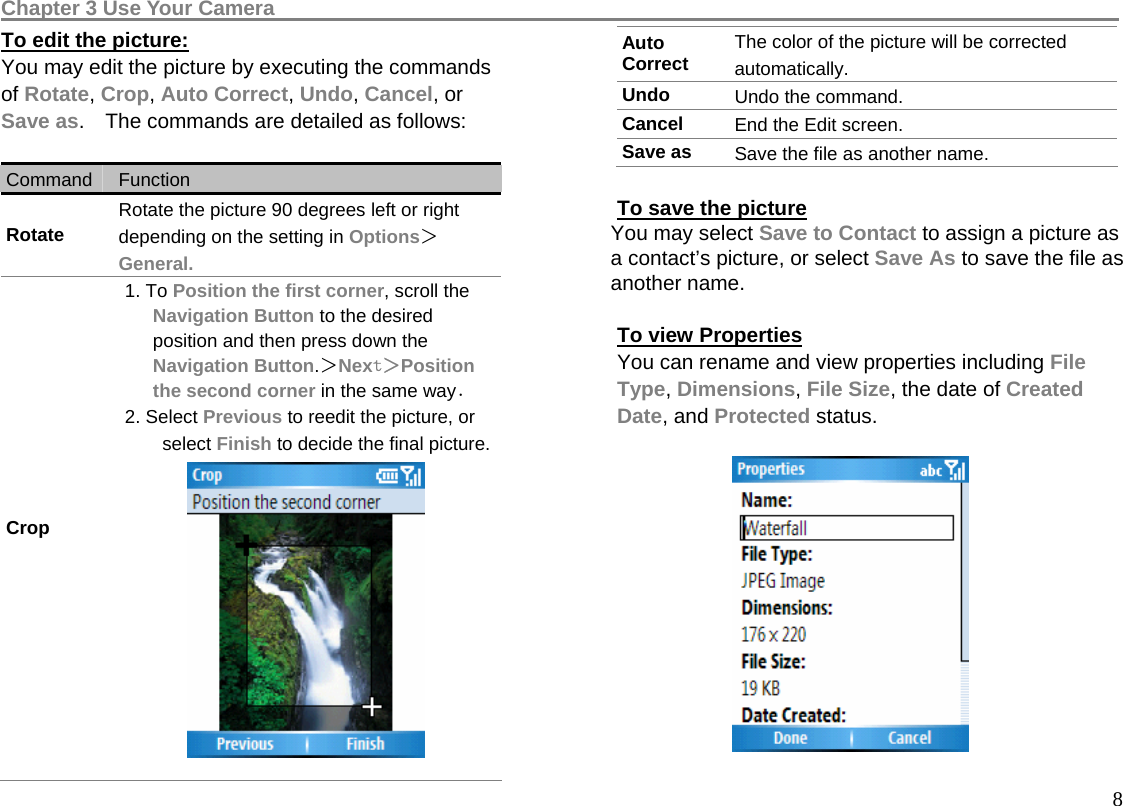
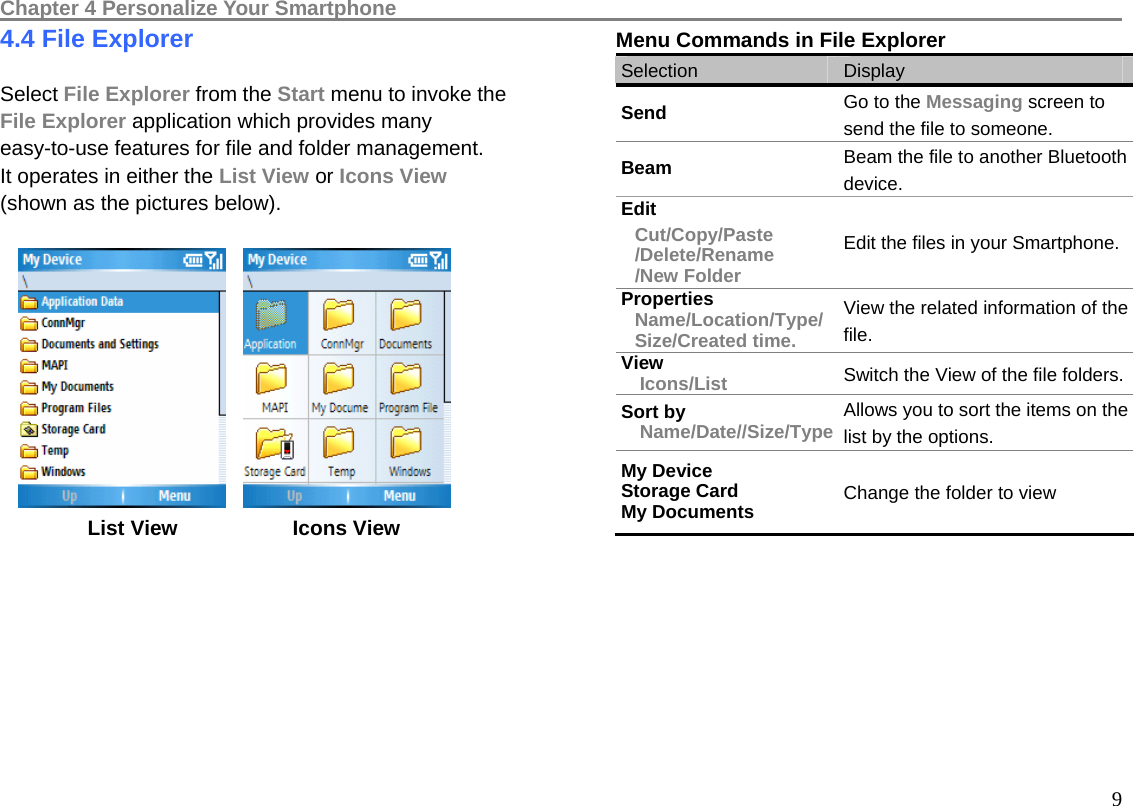
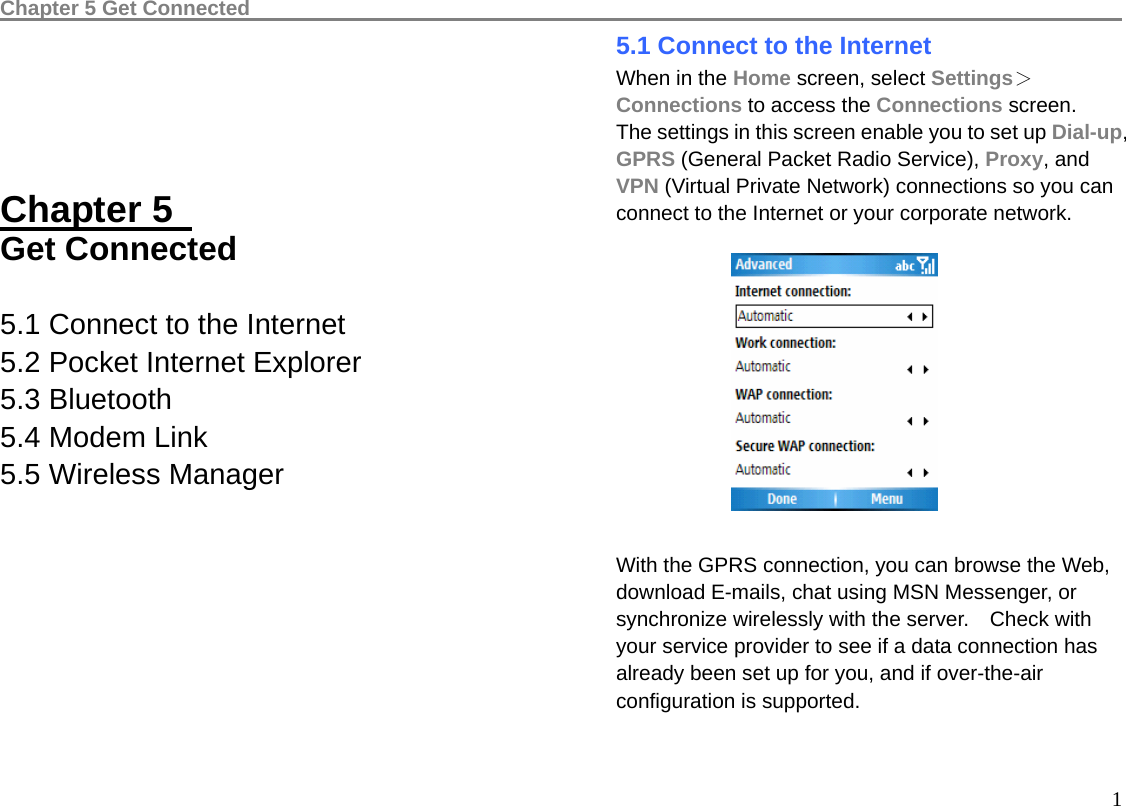
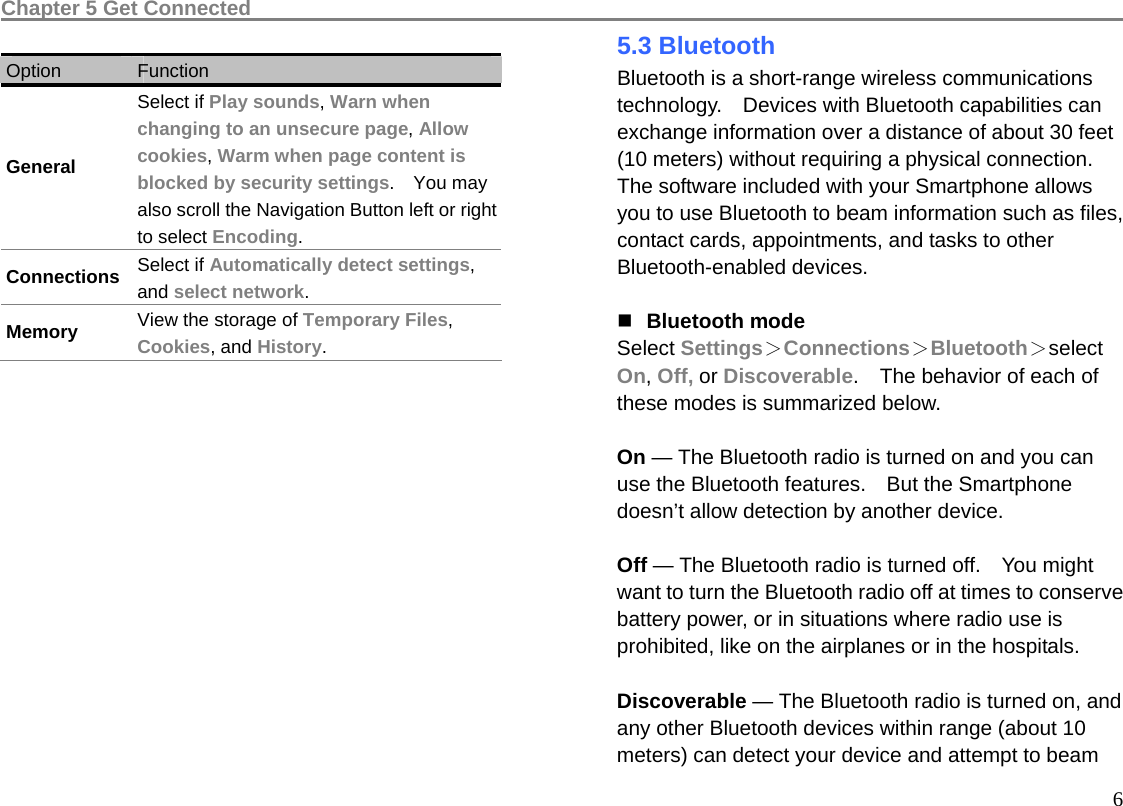
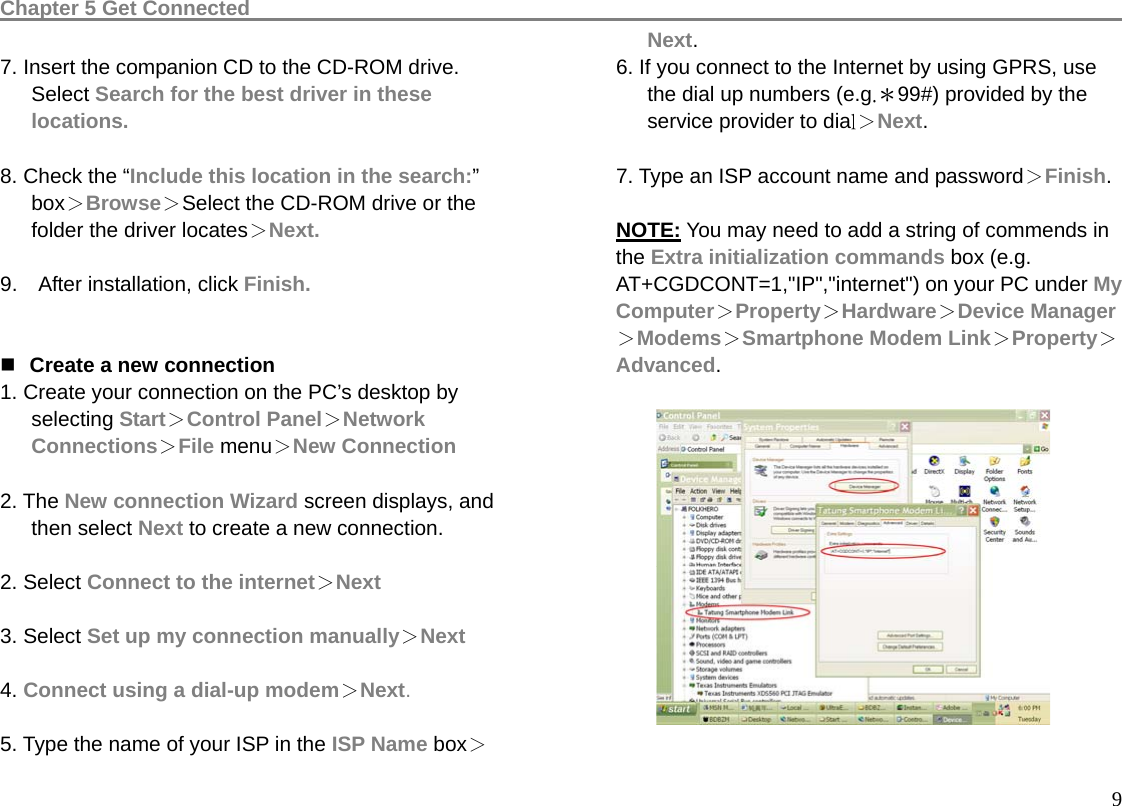
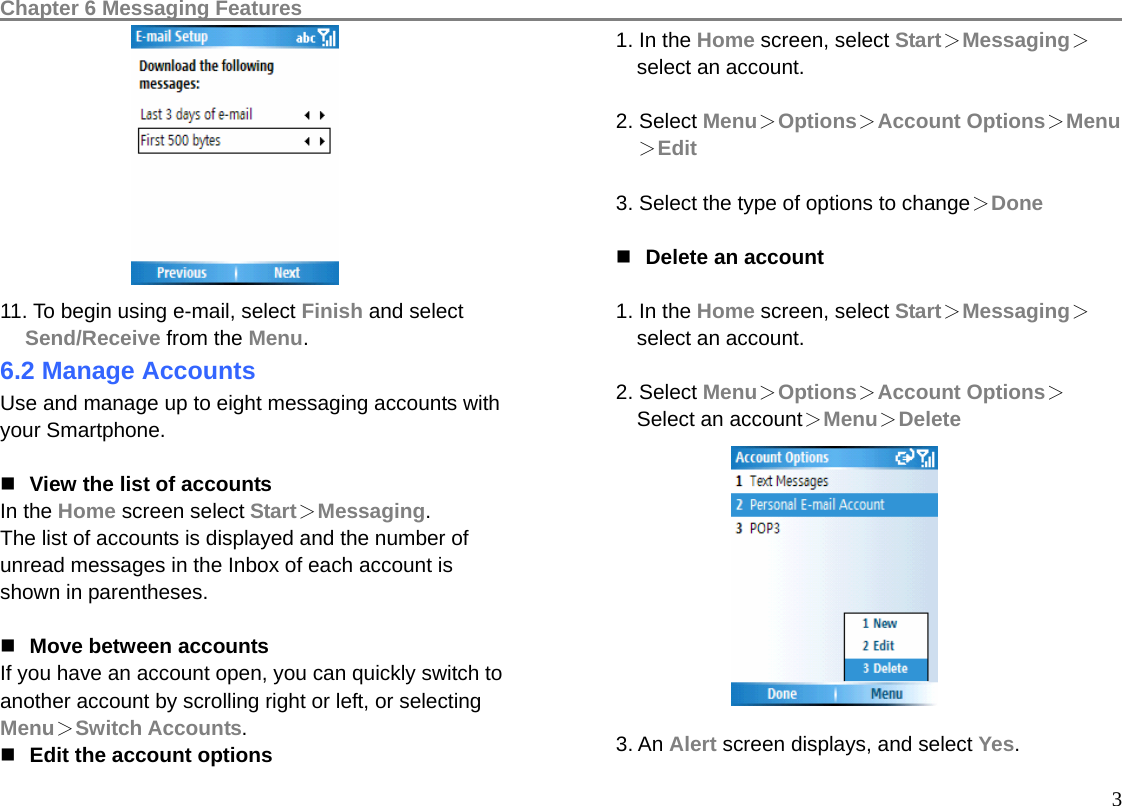
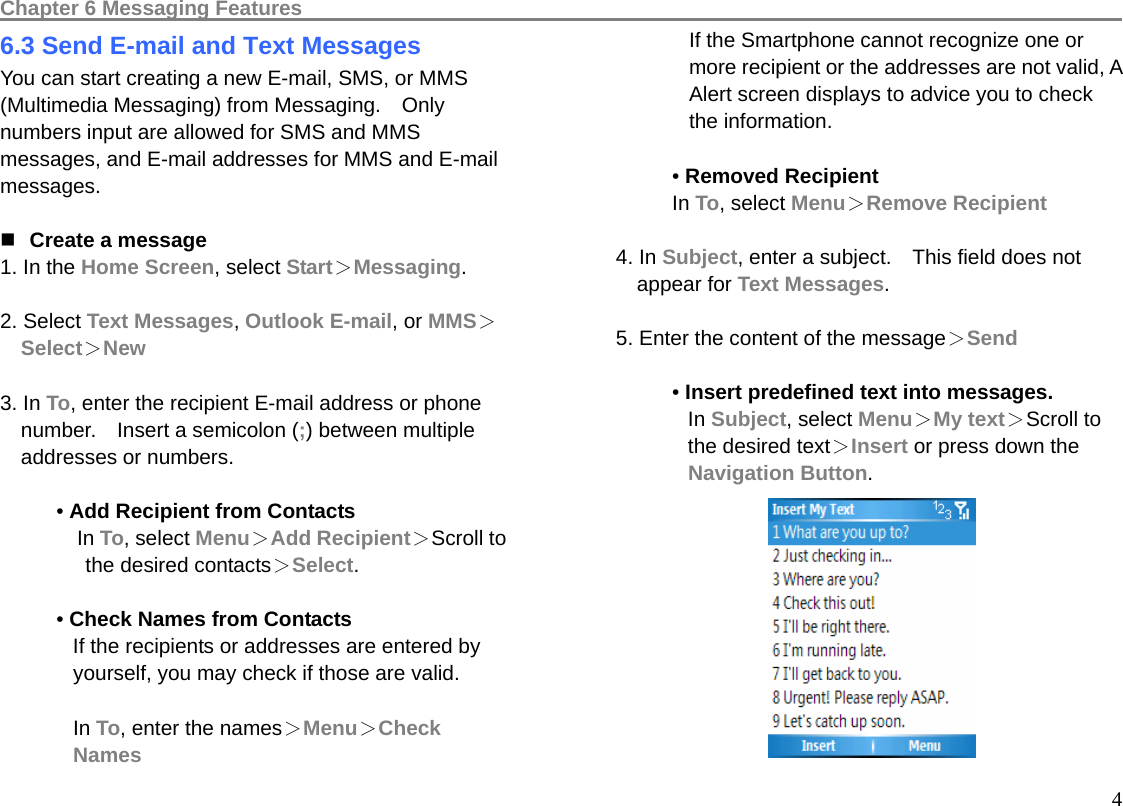
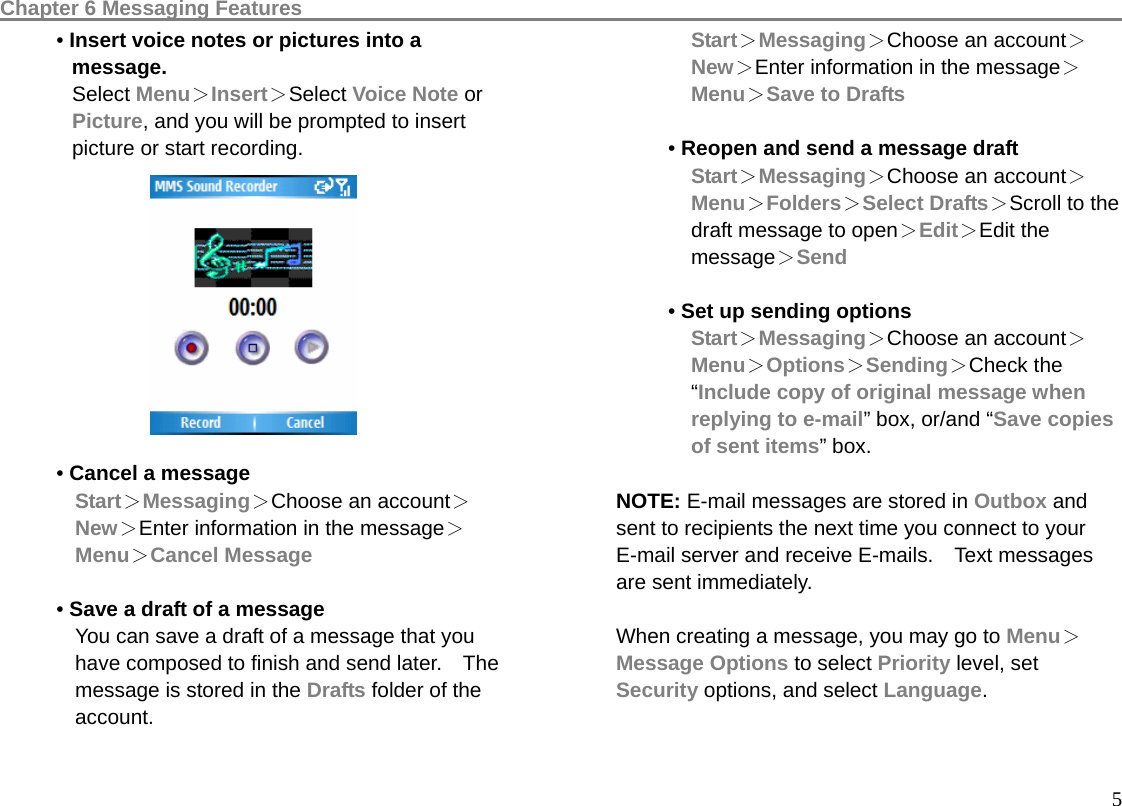
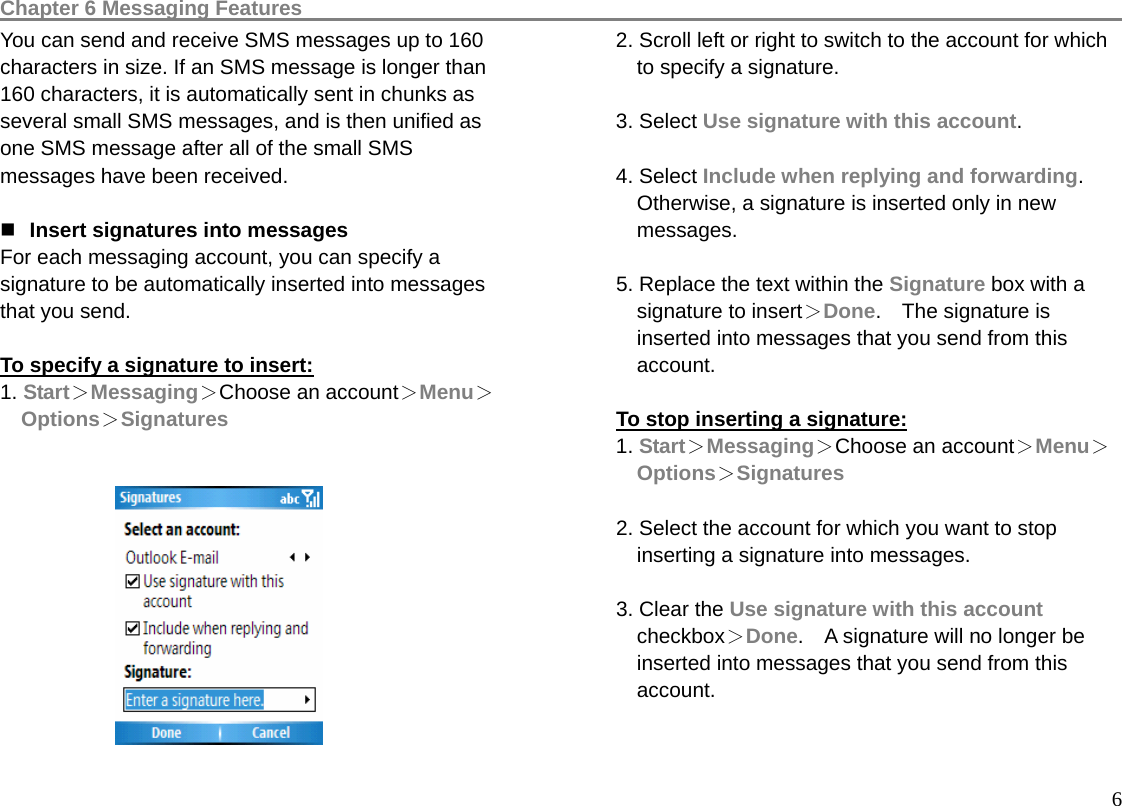
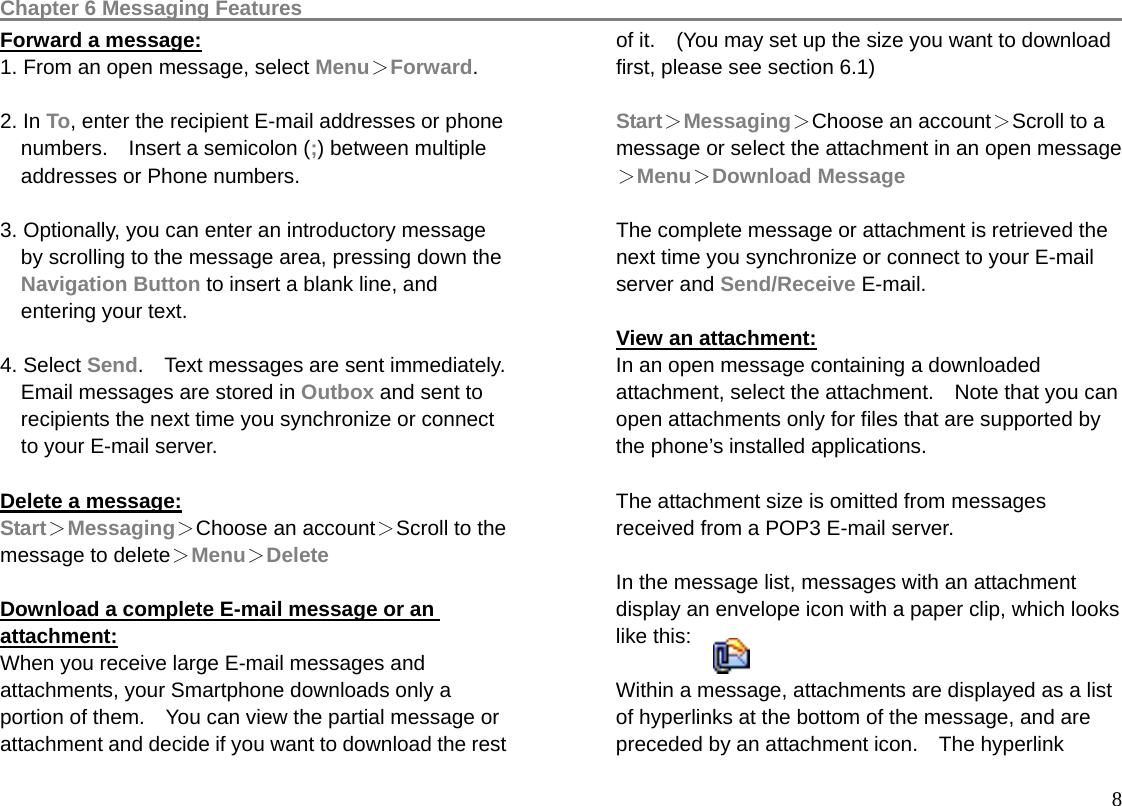
![Chapter 5 Get Connected 7information to it, establish a bond, or use a Bluetooth service. In this mode, other devices can detect your device, whether or not a bond has been created. However, in order to receive a beam from another device, you must accept it on your device. To Beam information via Bluetooth 1. Select the item you want to beam. The item may be a contact, an appointment in the calendar, or work. 2. Select Menu>Beam [an item]>Select the Bluetooth device 3. Select Beam Bonds A bond is a relationship that you create between your Smartphone and another Bluetooth device in order to exchange information more securely. Creating a bond involves entering the same PIN (Personal identification number) on the two devices you want to bond. Once a bond is created, the devices recognize the bond and are able to exchange information without your entering a PIN again. To create a bond: Make sure that the two devices are within 10 meters of each other and that Bluetooth is in discoverable mode on both devices. 1. Home Screen>Start>Settings>Connections> Bluetooth>Menu 2. Select Devices>Menu>New. Your device searches for other Bluetooth devices and displays them on the list. 3. Select the device you wished to connect, then press down the Navigation Button to select it. 4. In the Passkey screen, enter a passkey of between 1 and 17 characters, and select Next. 5. Enter the same passkey on the other device.](https://usermanual.wiki/Tatung/M1/User-Guide-630824-Page-61.png)