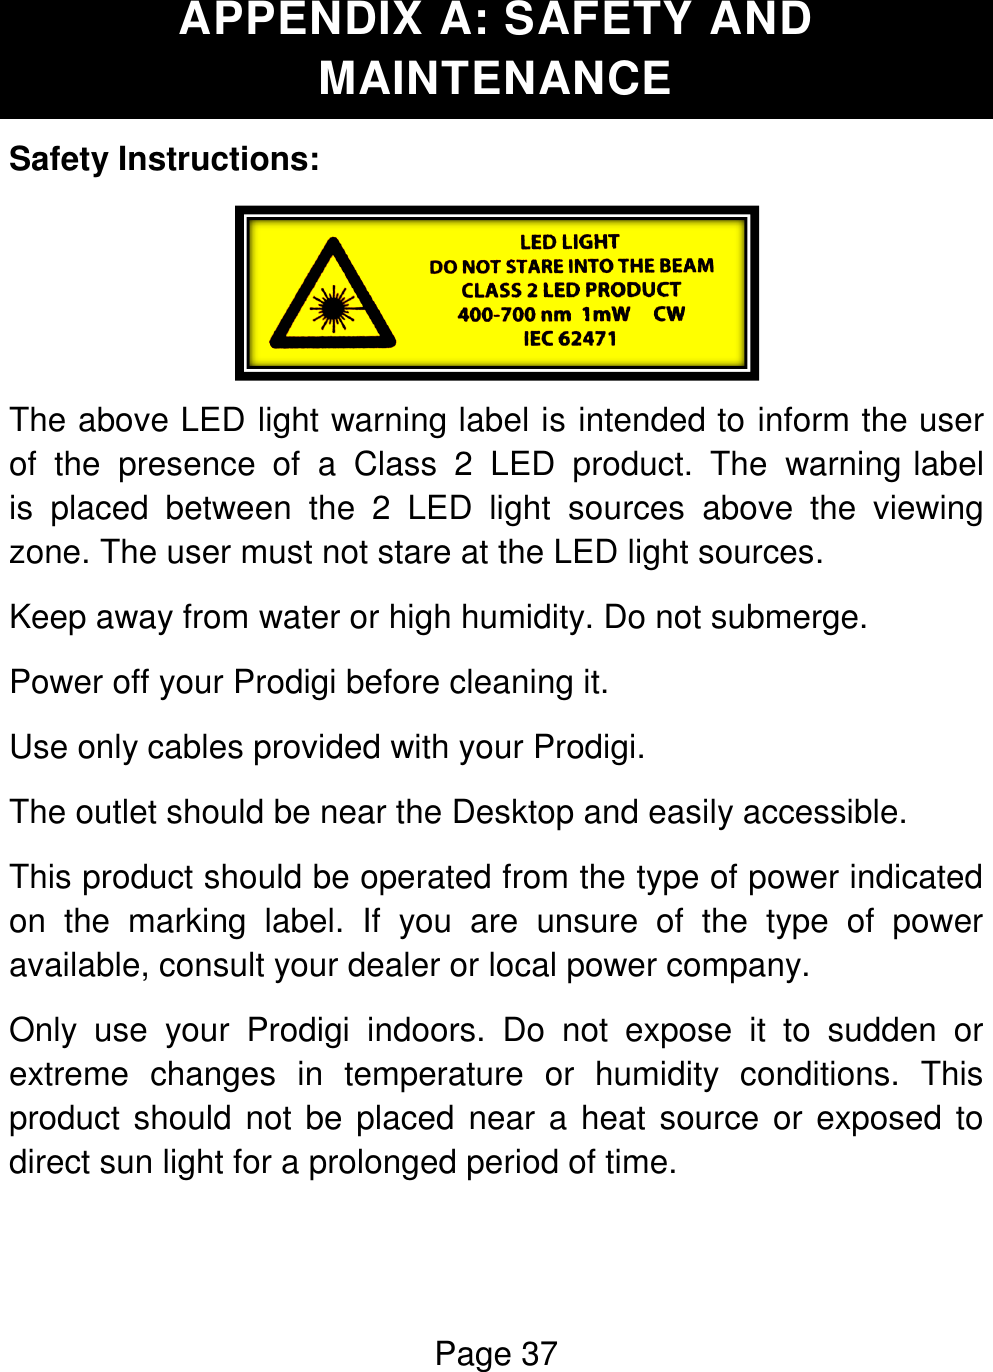
Technologies Humanware PGIDT Desktop Video Magnifier User Manual
Technologies Humanware Inc. Desktop Video Magnifier Users Manual
UserManual.wiki
>
Technologies Humanware
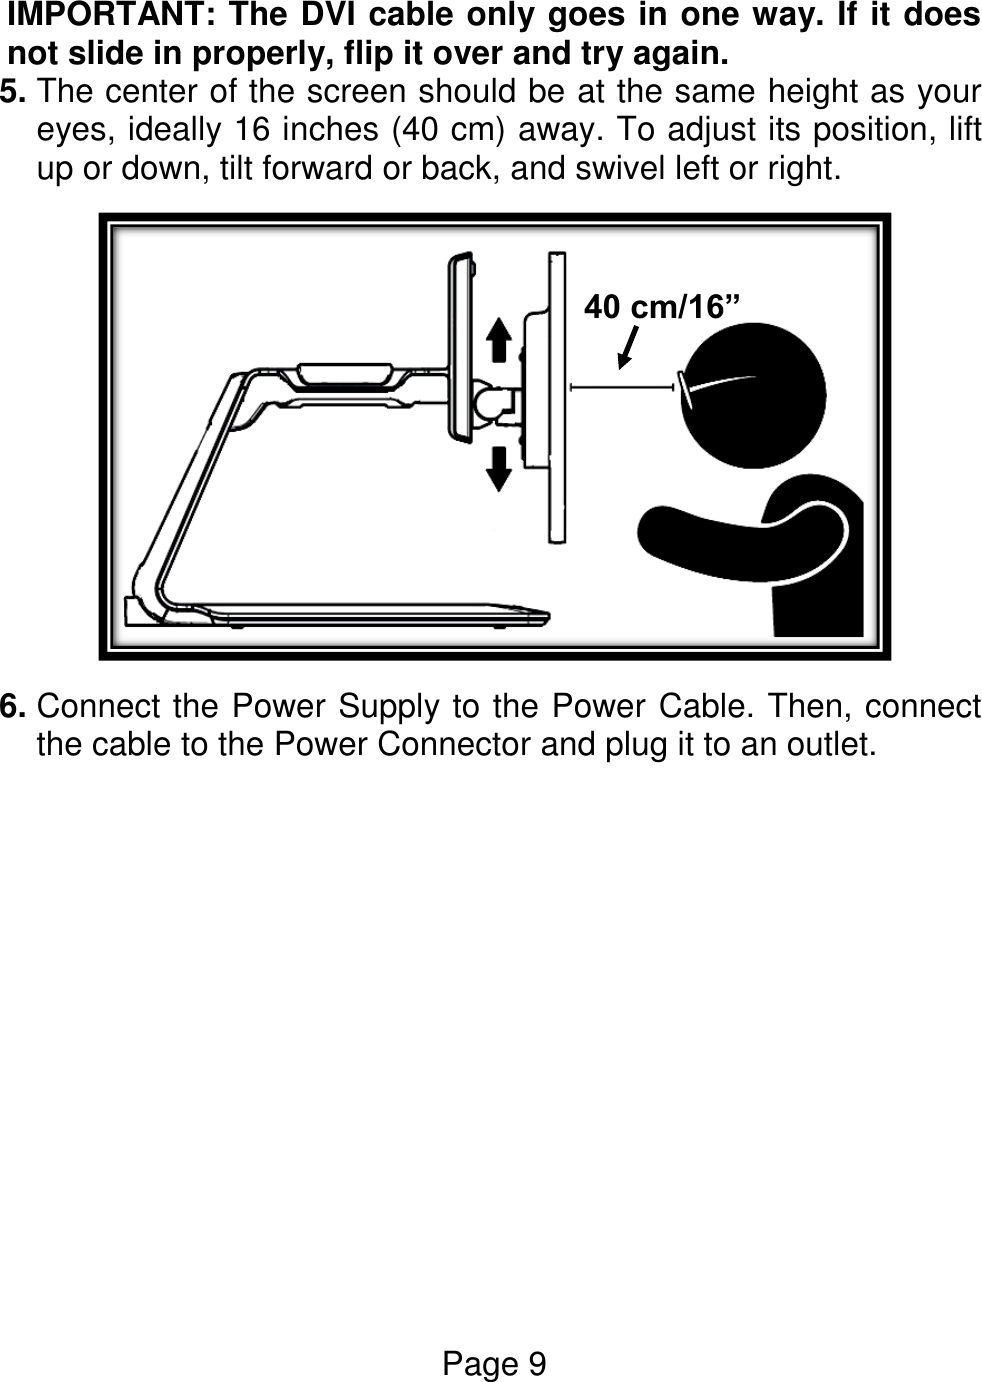
>
PGIDT User Manual
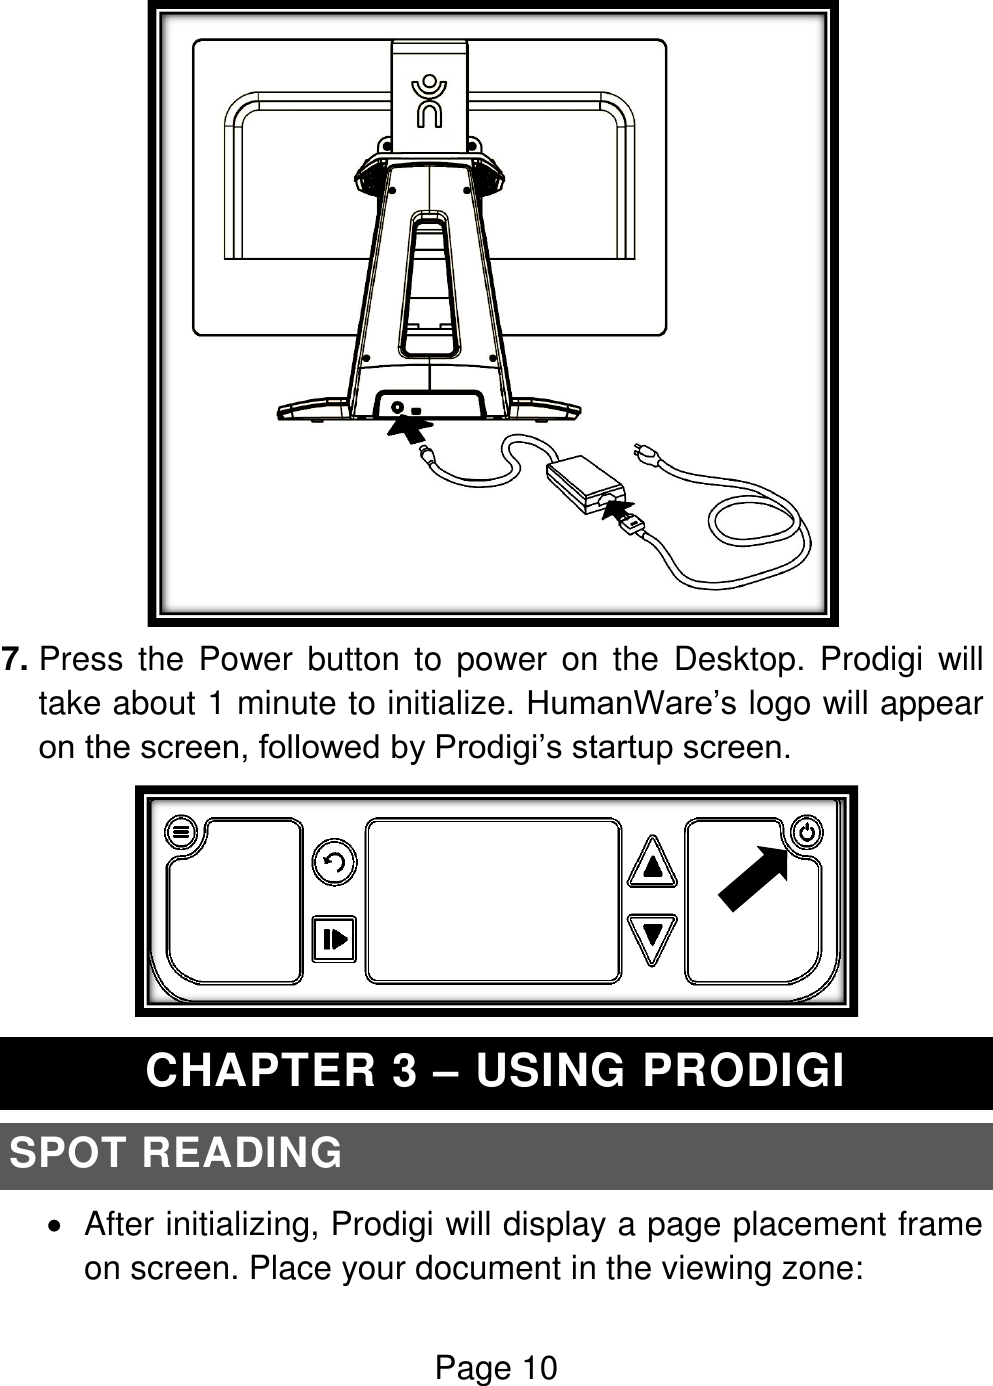
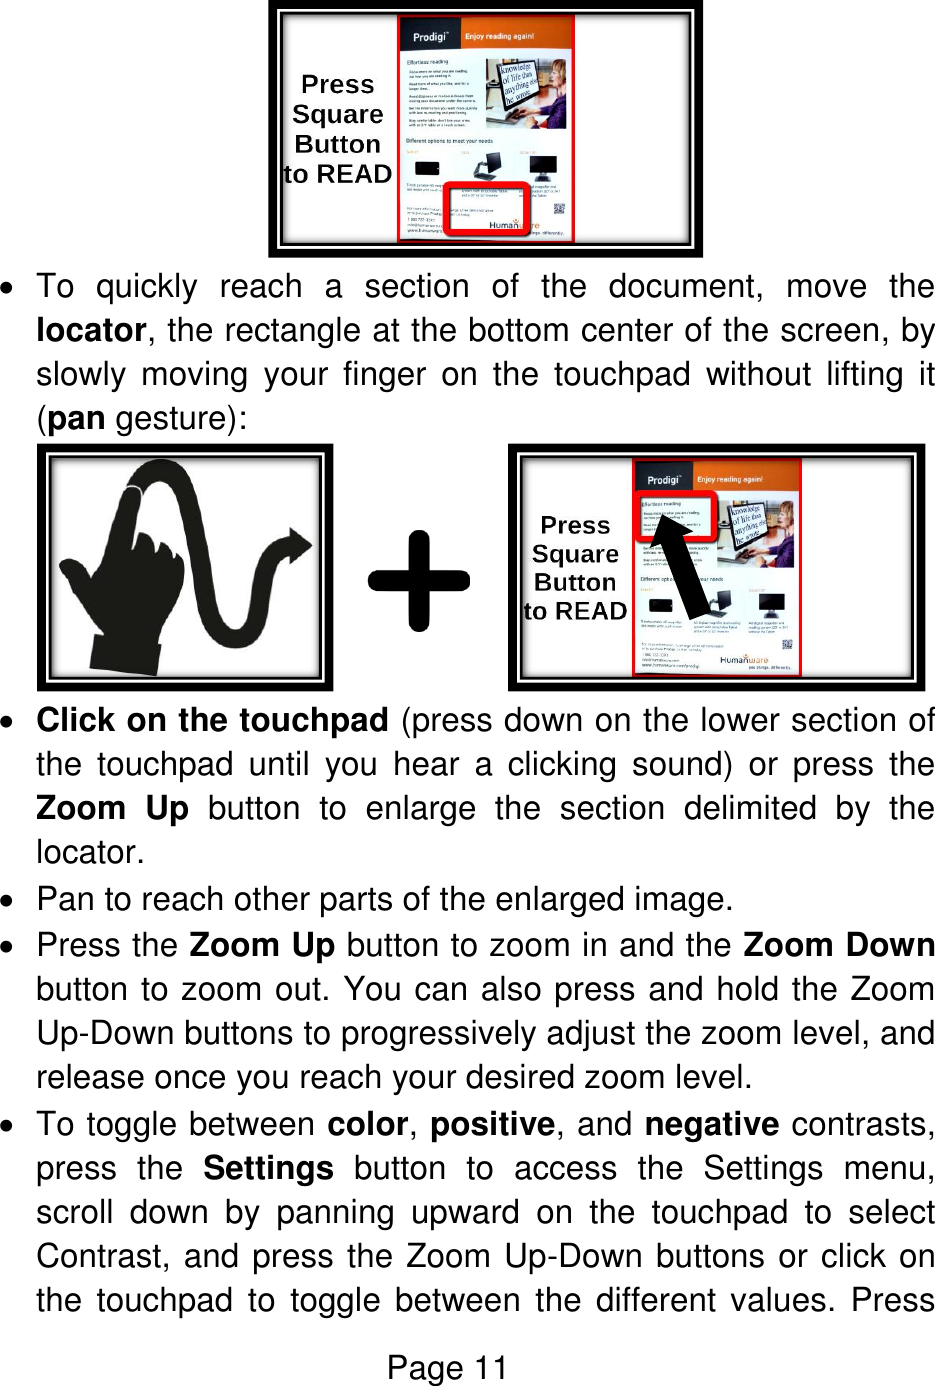
Users Manual
Navigation menu
Upload a User Manual
Namespaces
Wiki Guide
HTML
PDF
Info
Views
User Manual
Discussion / Help
Navigation

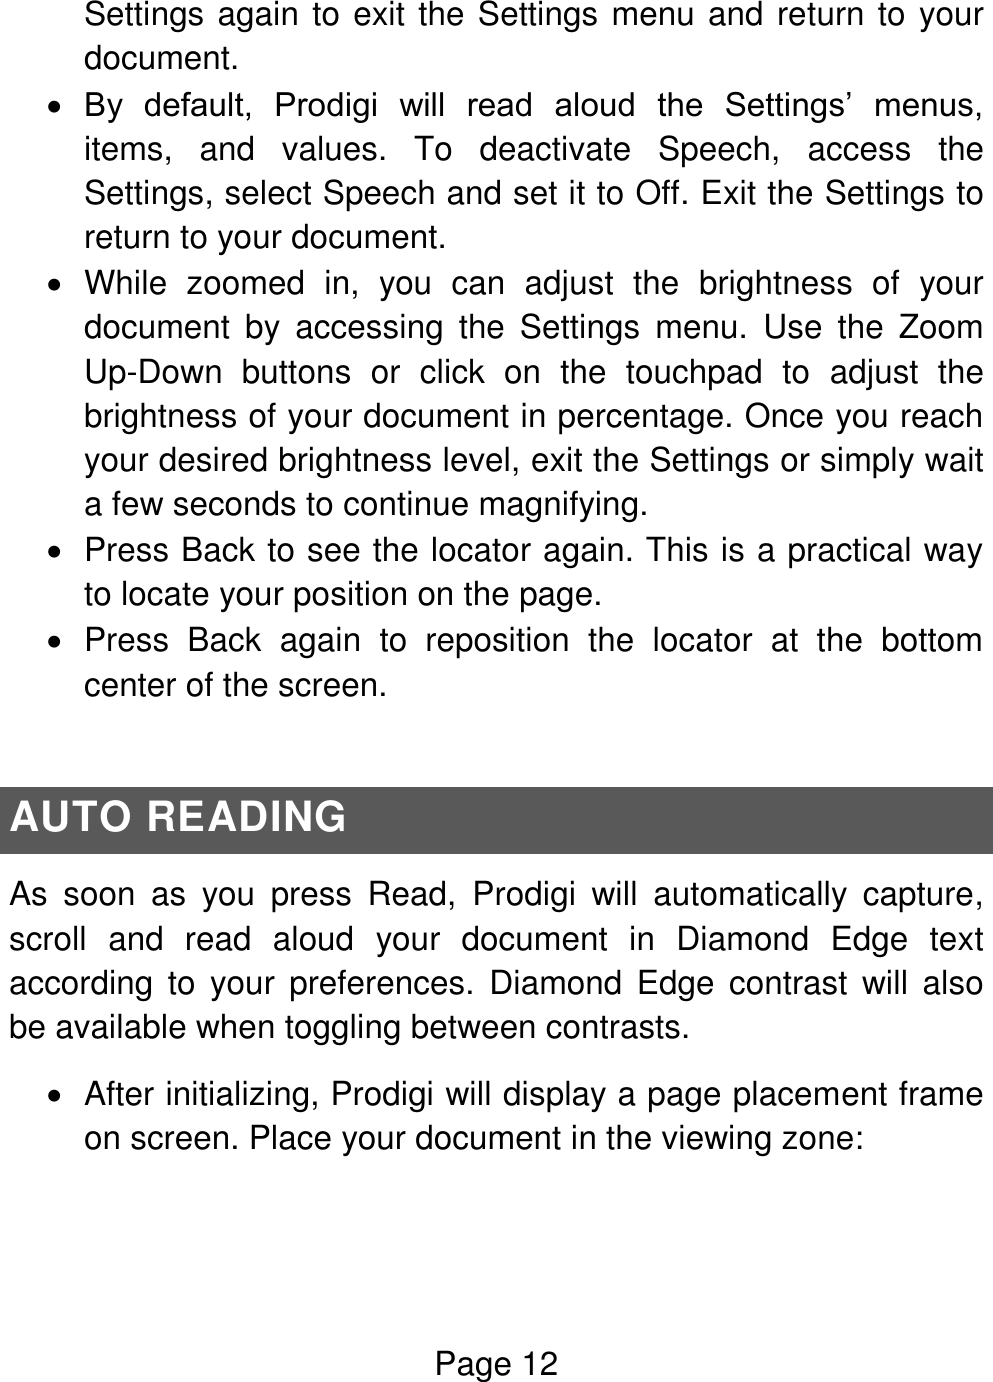

![Page 42 [End of document VER-09-2015-03-23]](https://usermanual.wiki/Technologies-Humanware/PGIDT/User-Guide-2564493-Page-44.png)