Telcare TELCBGM01 Telcheck User Manual
Telcare, Inc. Telcheck
UserManual.wiki
>
Telcare
>
TELCBGM01 User Manual
User Manual
Navigation menu
Upload a User Manual
Namespaces
Wiki Guide
HTML
PDF
Info
Views
User Manual
Discussion / Help
Navigation


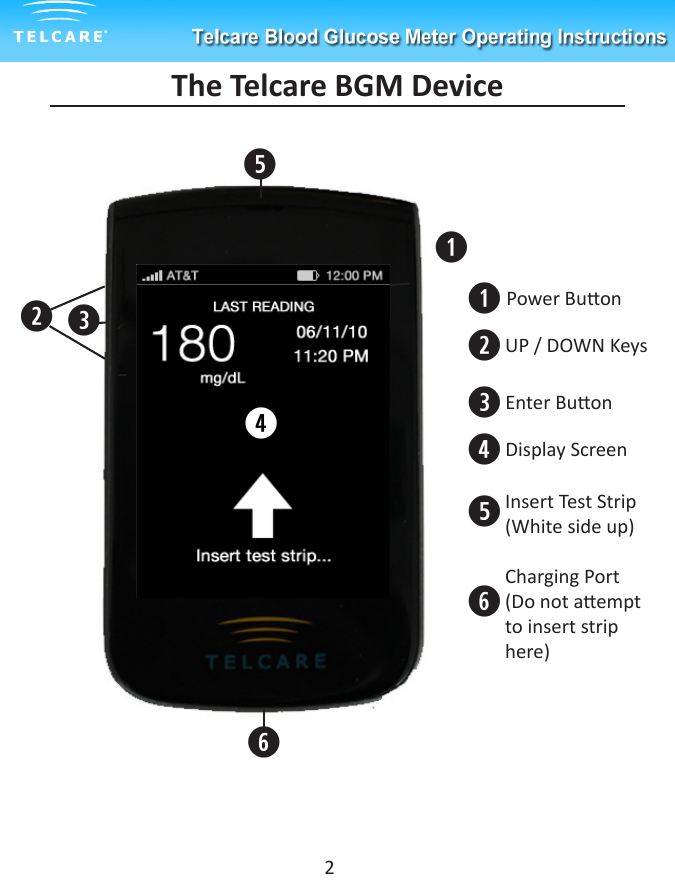

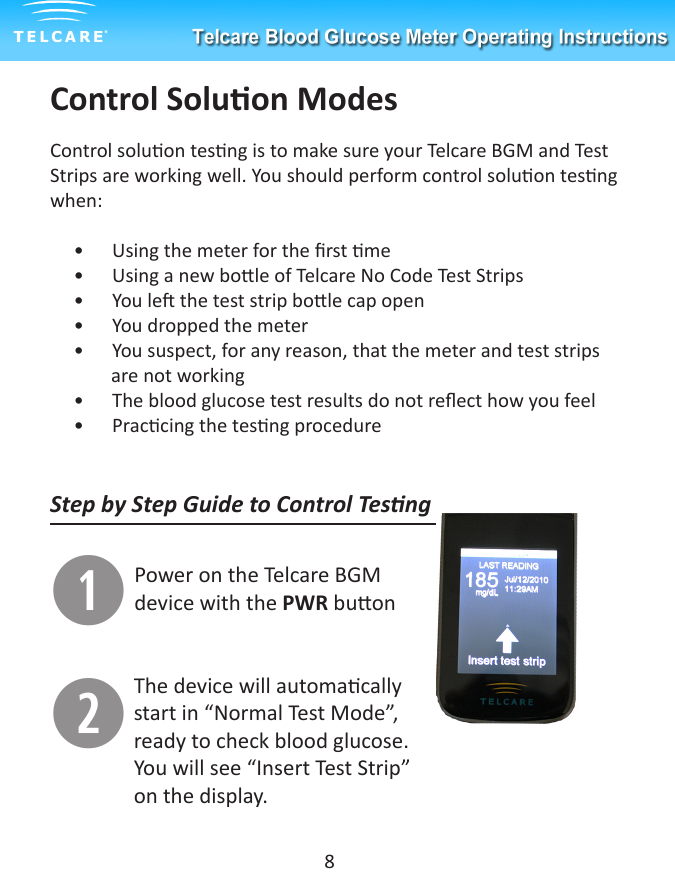
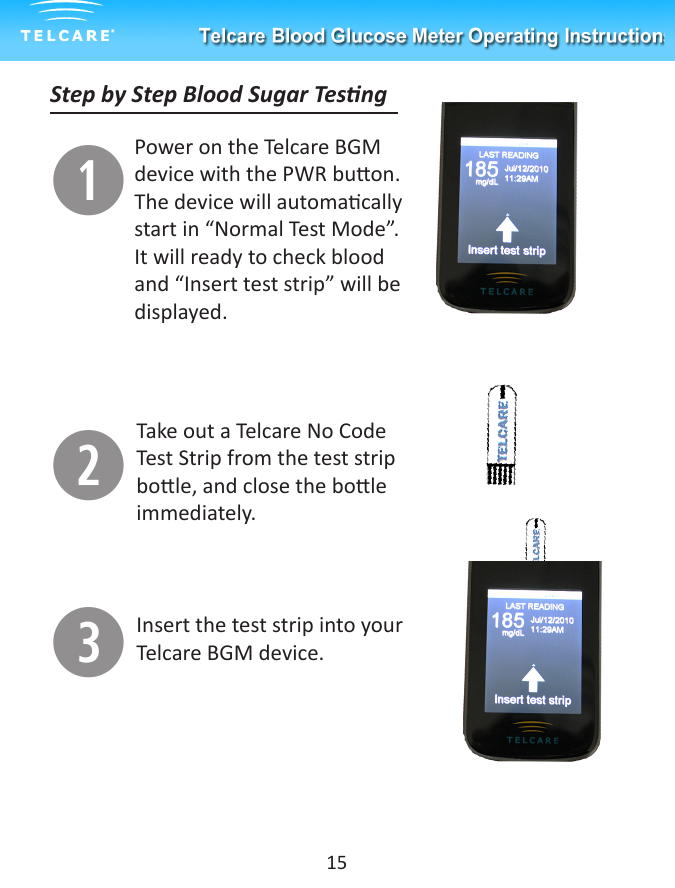
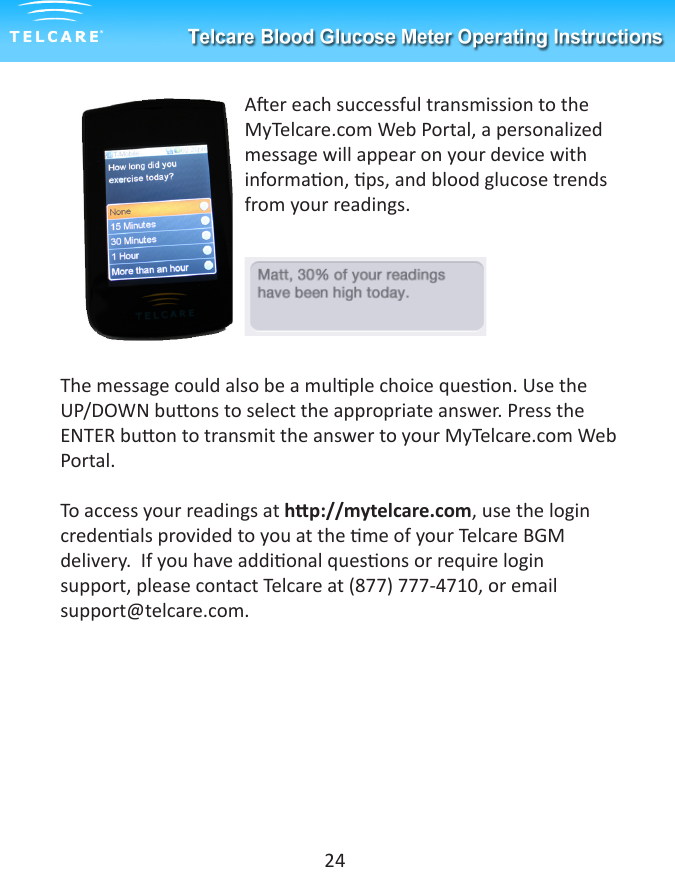
![Viewing Your Meter’s MemoryYour Telcare Blood Glucose Meter stores up to 300 test and control results. Each result is stored with date and me. You will need: - Your Telcare Blood Glucose Meter qPower on the Telcare BGM device by using the PWR buon.wUse the UP/DOWN keys to access “Sengs Mode”.eSelect “Retrieve” from the “Sengs Mode” screen.rUse the UP/DOWN keys to cycle through the stored readings.To exit the Retrieve history menu, you must scroll to the boom of your reading history and select “BACK”. [Shortcut: Press the UP buon when your most recent reading is highlighted. Doing so will display the Back opon.]27](https://usermanual.wiki/Telcare/TELCBGM01/User-Guide-1371233-Page-31.png)