TeleEpoch M560 Mobile Phone User Manual
TeleEpoch Limited Mobile Phone
UserManual.wiki
>
TeleEpoch
>
M560 User Manual
user manual
Navigation menu
Upload a User Manual
Namespaces
Wiki Guide
HTML
PDF
Info
Views
User Manual
Discussion / Help
Navigation

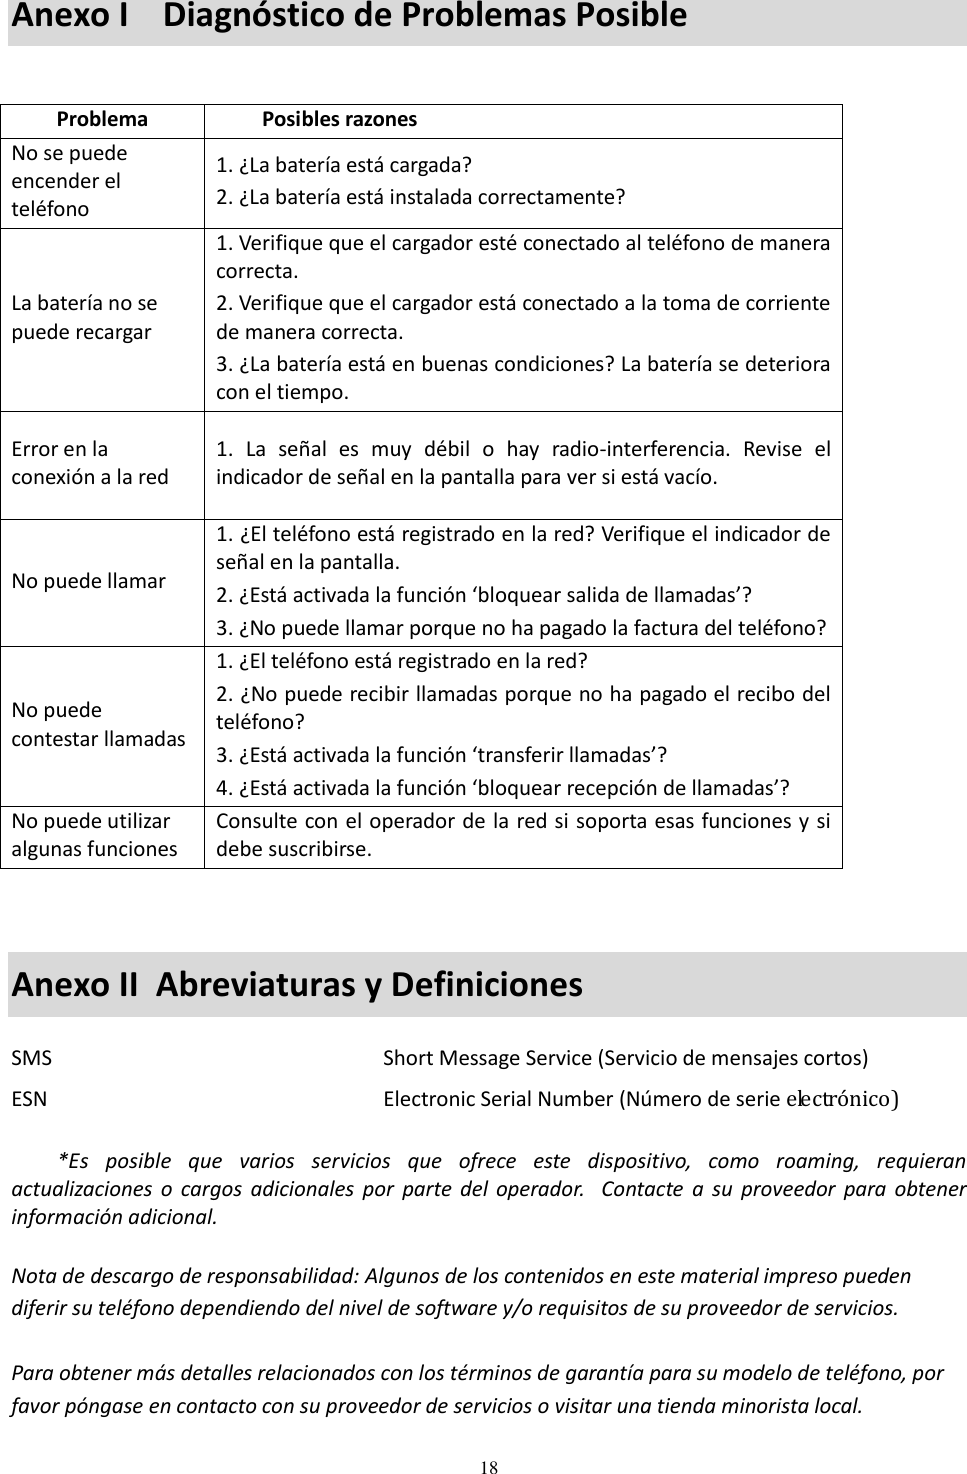
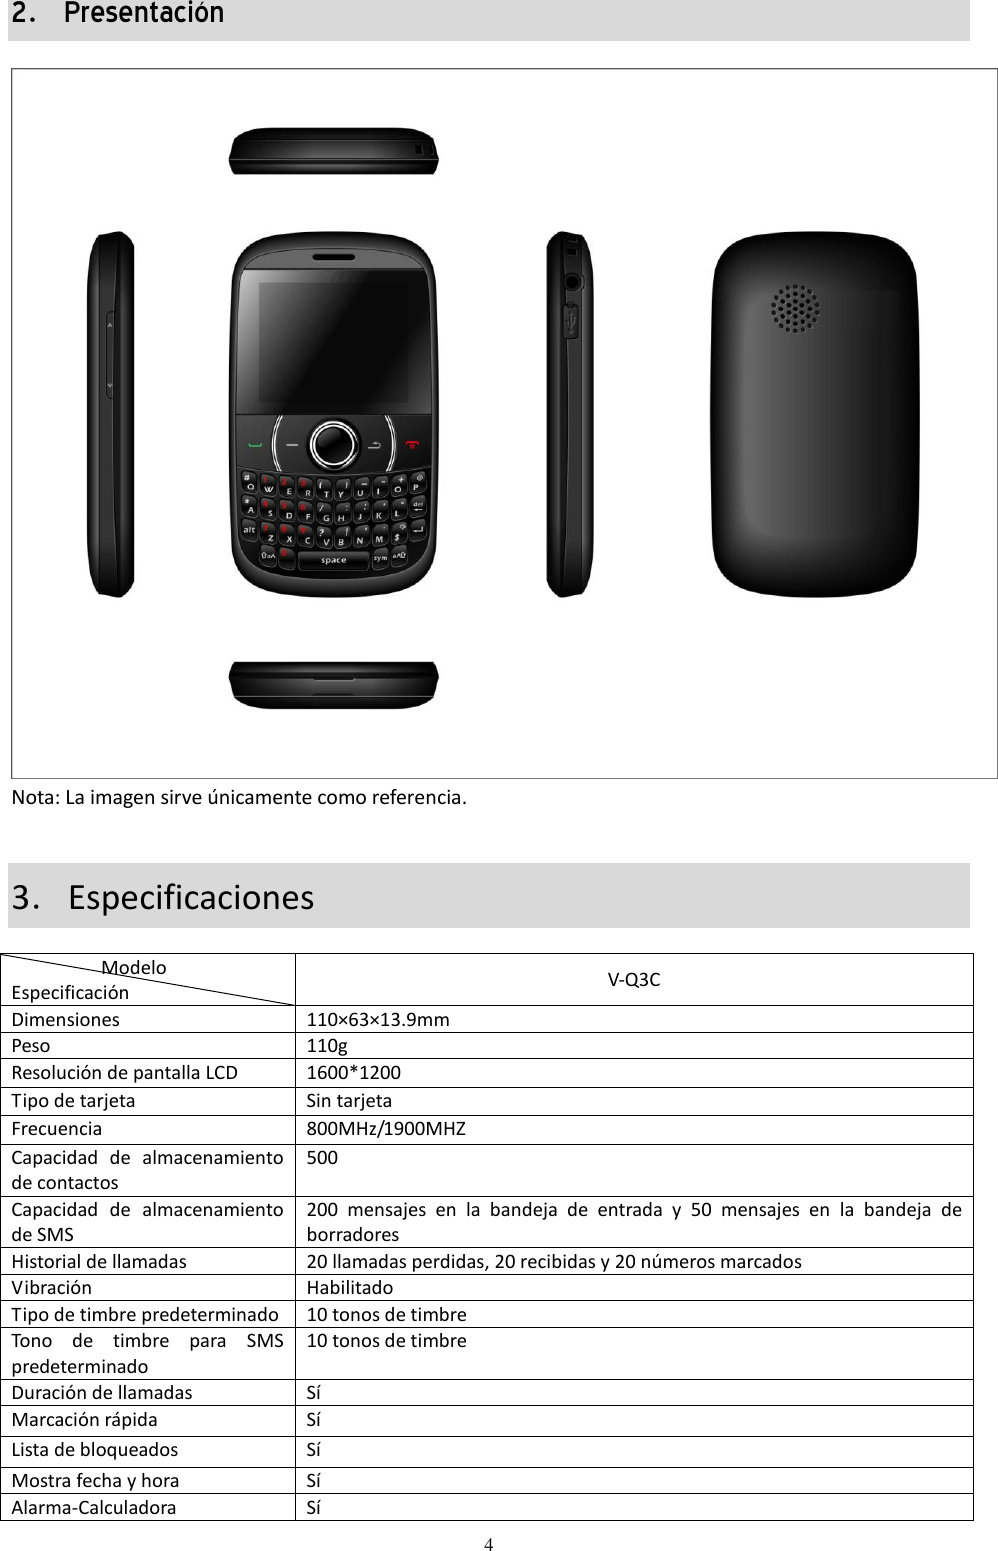
![6 Signal strength received by the antenna Alarm clock There are unread messages Battery level indicator (This icon indicates full battery). Vibrate icon Ring icon Vibrate first then ring Keypad locked Missed call Alert modes There are multiple user-selectable tones available for text message and call notifications. Please follow the paths below for selecting the modes and the specific tones for each type. Text message alerts: For text message alerts, follow the path [Profiles], then choose one alert mode from the list (General, Meeting, Outdoors, Indoors) -[Tone Set up]-[SMS Tone]. Call alerts and ringtones: Follow the [Profiles], then choose one alert mode from the list (General, Meeting, Outdoors, Indoors) -[Caller Ring Tone]-and tone and OK. Find contacts This handset provides a way to search for phone number by first letter of a name. Highlight and select ‘Contacts’ under main, input the first letter of the contact’s name and the screen will display all applicable records. 5.Getting Started Charging your battery A new battery must be fully charged before it is used for the first time. To keep the battery functioning optimally, it is recommended that you occasionally discharge the battery fully by consuming the power until the phone is switched off automatically. During the course of charging, it is normal for the phone and the battery to heat up slightly. The phone will automatically protect itself when battery temperature rises to control temperature variation by extending the charging time. The handset will give off an alert as the battery is running out. When the power has run out the handset will be switched off automatically.](https://usermanual.wiki/TeleEpoch/M560/User-Guide-1347449-Page-6.png)

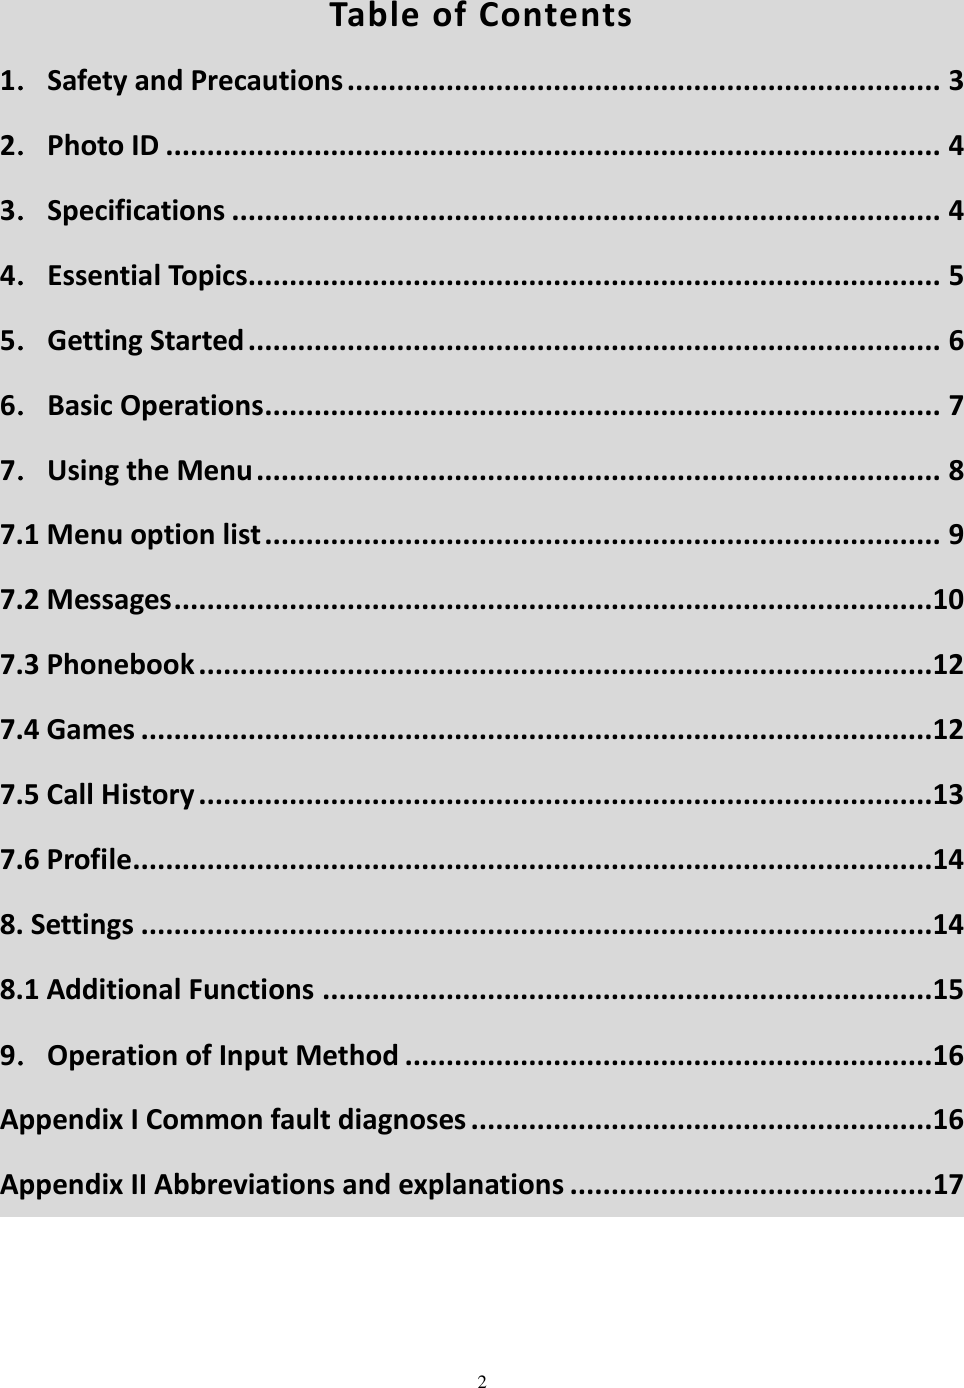
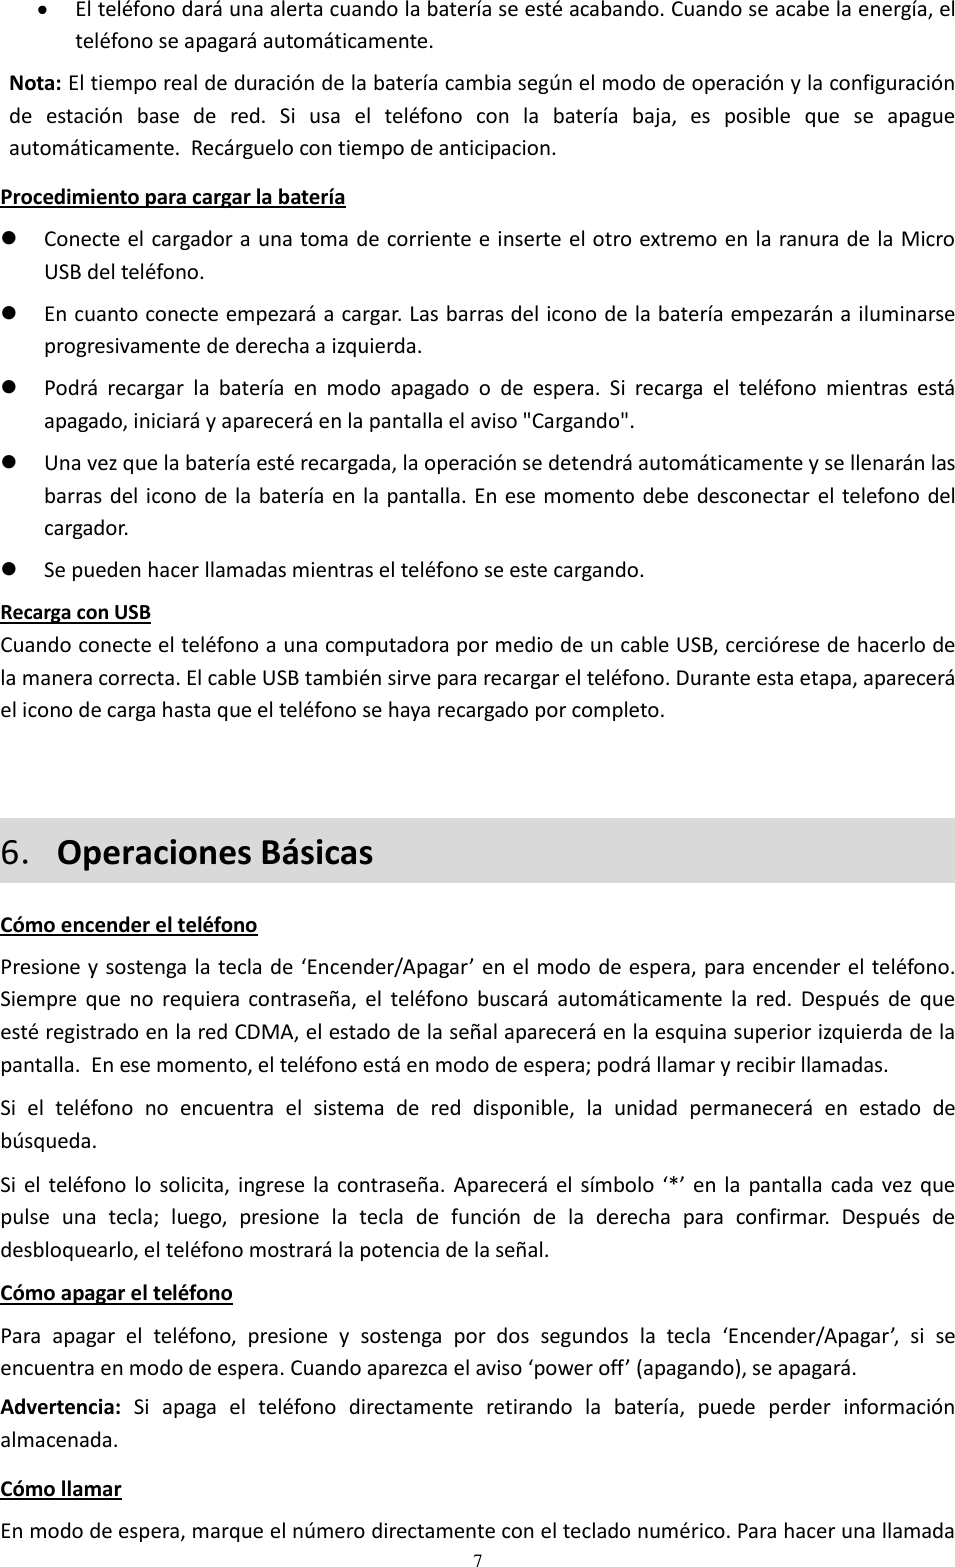
![16 To view the time in different locations of the world, scroll right/left across the map. Calendar Calendar: You can view the current date or scroll the calendar to view other monthly calendars. Schedule: You may schedule an event into the calendar, with date, time and an alarm to notify you of that event. By highlighting an entry, the following options are available o Delete o Add o View and Edit o Delete All 9.Text Input Method This handset supports full English and Spanish. You can set the language under the path [Settings] > [Phone Setup] > [Language]. Keyboard entries can be made to many text input areas such as text messages, inputting names in the phonebook and scheduling events. This QWERTY handset provides the direct input. sym This key brings up a separate screen showing commonly used symbols. This is active for one keystroke only. ^aA Changes the case of letters for one keystroke, reverting back to standard case with the next key pressed. Alt Changes the key from letter to the related number or punctuation, for one keystroke only. Appendix I Common Fault Diagnoses Trouble Possible reasons The phone cannot be switched on 1. Any power in battery? 2. Battery is installed properly? Battery cannot be charged 1. Check if the charger is connected with the phone correctly. 2. Check if the charge is connected with the socket correctly. 3. Is the battery usable? The performance of the battery will degrade over time. Fail to link the network 1. The signal is too weak, or there may be some radio interference. View the signal indicator on the screen to see whether any bars are showing Cannot make a call 1. Is the phone registered in the network? Check whether the screen displays signal indicator. 2. Is the ‘Blacklist outgoing’ function enabled? 3. Calling prohibited due to call charges not paid?](https://usermanual.wiki/TeleEpoch/M560/User-Guide-1347449-Page-16.png)

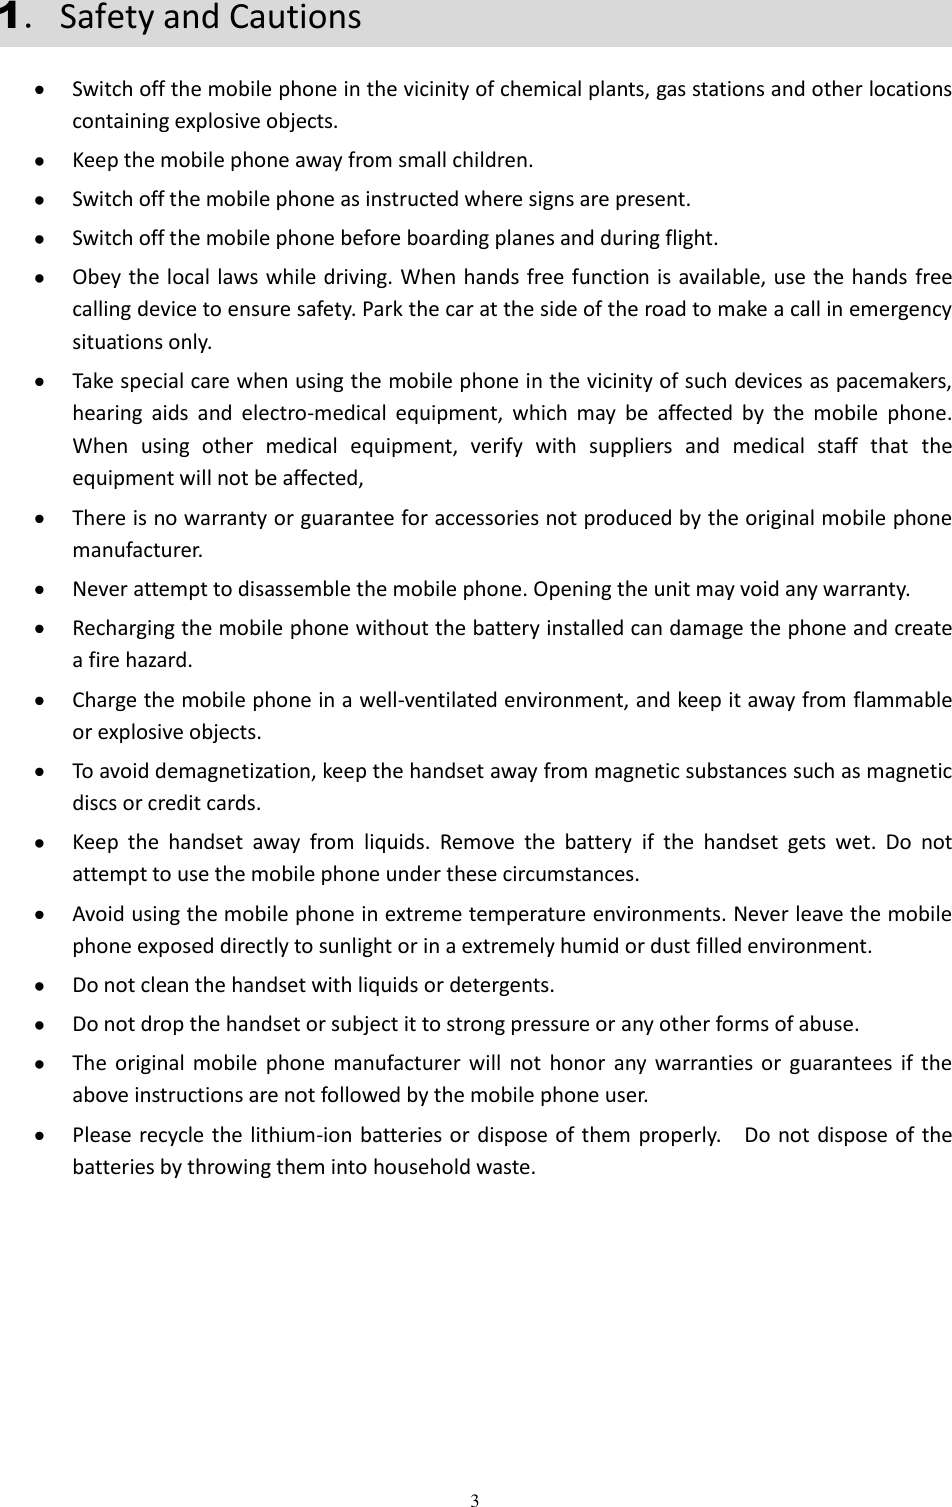
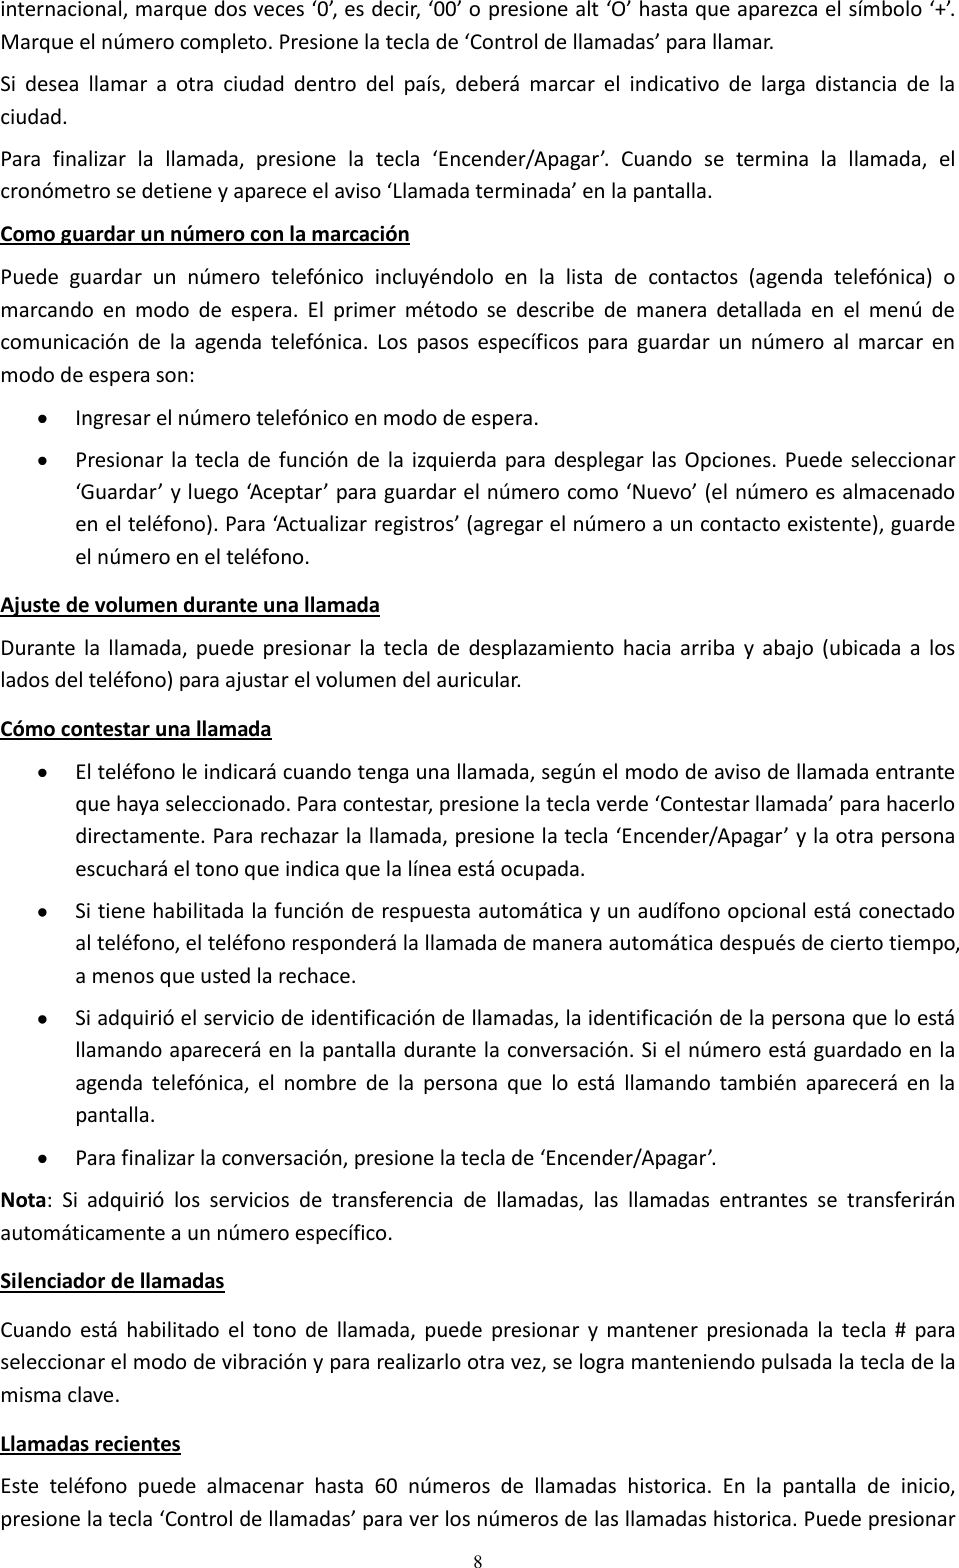
![6 Icono de Mensajes no leídos Indicador del nivel de la batería (Este icono indica que la batería está cargada) Icono del modo de vibración Icono del modo de timbre Icono del modo, vibración y luego timbre Icono del teclado bloqueado Icono de una llamada perdida Alertas Hay varios tonos seleccionable por el usuarios disponibles para las notificaciones de mensajes y llamada de texto. Por favor siga las rutas de acceso a continuación para seleccionar los modos y los tonos específicos para cada tipo. Modos de alerta para mensajes de texto: Existen cuatro modos que puede seleccionar del menú [Perfiles] Luego puede escoger un modo de alerta del menú: (Normal, Vibrar, Fuerte, Modo de Interiores)-[Configuración de tonos]-[Tono para SMS]. Modos de alerta para llamadas: Este teléfono tiene cuatro modos que puede seleccionar del menú [Perfiles]. Luego puede escoger un modo de alerta del menú: (Normal, Vibrar, Fuerte, Modo de Interiores)-[Tono de llamada entrante]-Aceptar. Busqueda de contactos Para buscar un número telefónico, ingrese la primera letra del nombre del contacto. Para usar esta opción, presione la tecla ‘Seleccionar’ en la lista de contactos cuando la opción ‘Contactos’ esté resaltada en el menú principal. Ingrese la primera letra del nombre del contacto y la pantalla le mostrará los registros correspondientes. 5.Pasos Preliminares Recargue de batería La batería del teléfono es recargable. Antes de usar por primera vez la batería, se debe cargar por completo. La batería se puede recargar muchas veces después de la carga inicial. Para que la batería funcione de manera óptima, se recomienda dejar que se descargue por completo una vez al mes, como mínimo; es decir, que consuma toda su energía hasta que el teléfono se apague automáticamente. Durante la carga, es normal que se presente un leve sobrecalentamiento del teléfono y de la batería. Cuando la batería se sobrecalienta, el teléfono activa mecanismos automáticos de protección contra la variación de temperatura al ampliar el tiempo de carga.](https://usermanual.wiki/TeleEpoch/M560/User-Guide-1347449-Page-23.png)

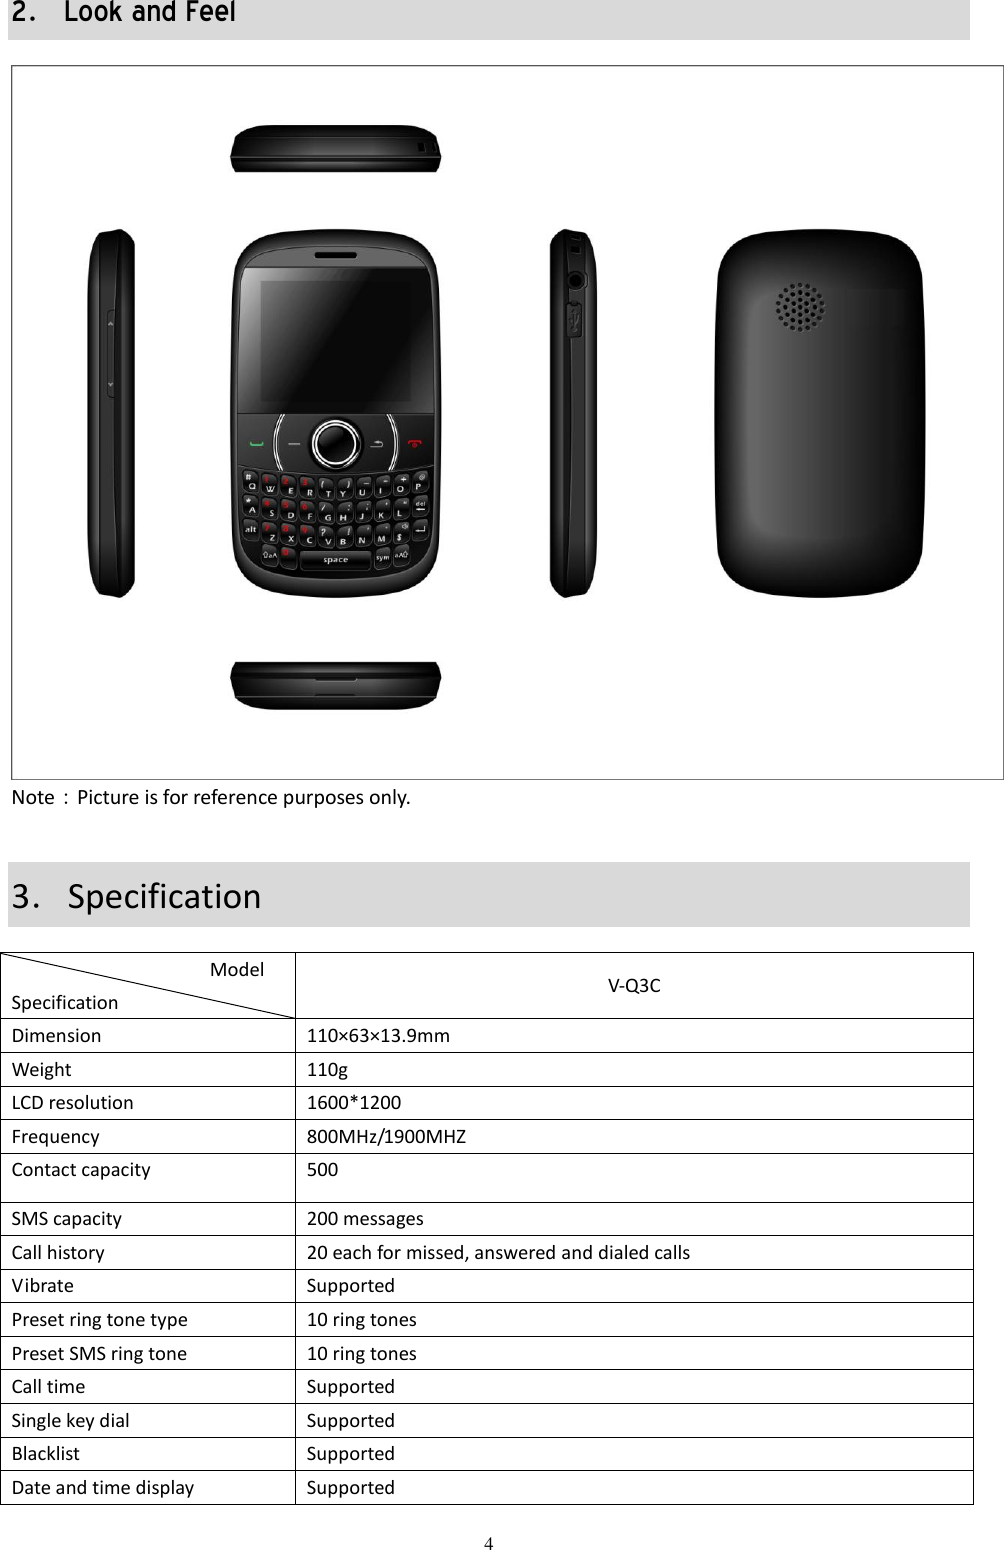
![17 Ofrece una función simple de cronómetro. Presione “Seleccionar” para activarlo y la misma tecla o la tecla de función de la izquierda para detenerlo. Presione la tecla de nuevo para reanudar el cronómetro. Si hay un tiempo registrado, presione la tecla de función de la derecha para borrarlo. Hora en el mundo Para ver la hora en diferentes lugares del mundo, desplácese hacia la derecha/izquierda en el mapa. Calendario Calendario: Puede ver la fecha actual o desplazarse para ver el calendario de otros meses. Calendario: Puede programar un evento en el calendario, con fecha, hora y una alarma que le notifiquen de ese evento. Al destacar una entrada, están disponibles las siguientes opciones o Borrar o Agregar o Ver y editar o Borrar todo 9.Métodos Para Ingresar Texto Este teléfono dispone del idioma inglés y español. Puede configurar el idioma en [Configuraciones] -[Configuración de telefono] -[Idioma]. Los métodos para ingresar texto se utilizan para varios servicios, como mensajes de texto, ingreso de contactos en la agenda telefónica, saludos, etc. El teclado QWERTY del teléfono permite el ingreso directo. sym Esta tecla muestra una pantalla aparte con los símbolos más usados. Cuando se activa, sólo se puede ingresar un símbolo. ^aA Permite ingresar la primera letra en mayúsculas y volver a minúsculas. alt Cambia la tecla de letra al número o puntuación relacionado. Sólo se puede ingresar un número y vuelve al método de ingreso estándar.](https://usermanual.wiki/TeleEpoch/M560/User-Guide-1347449-Page-34.png)