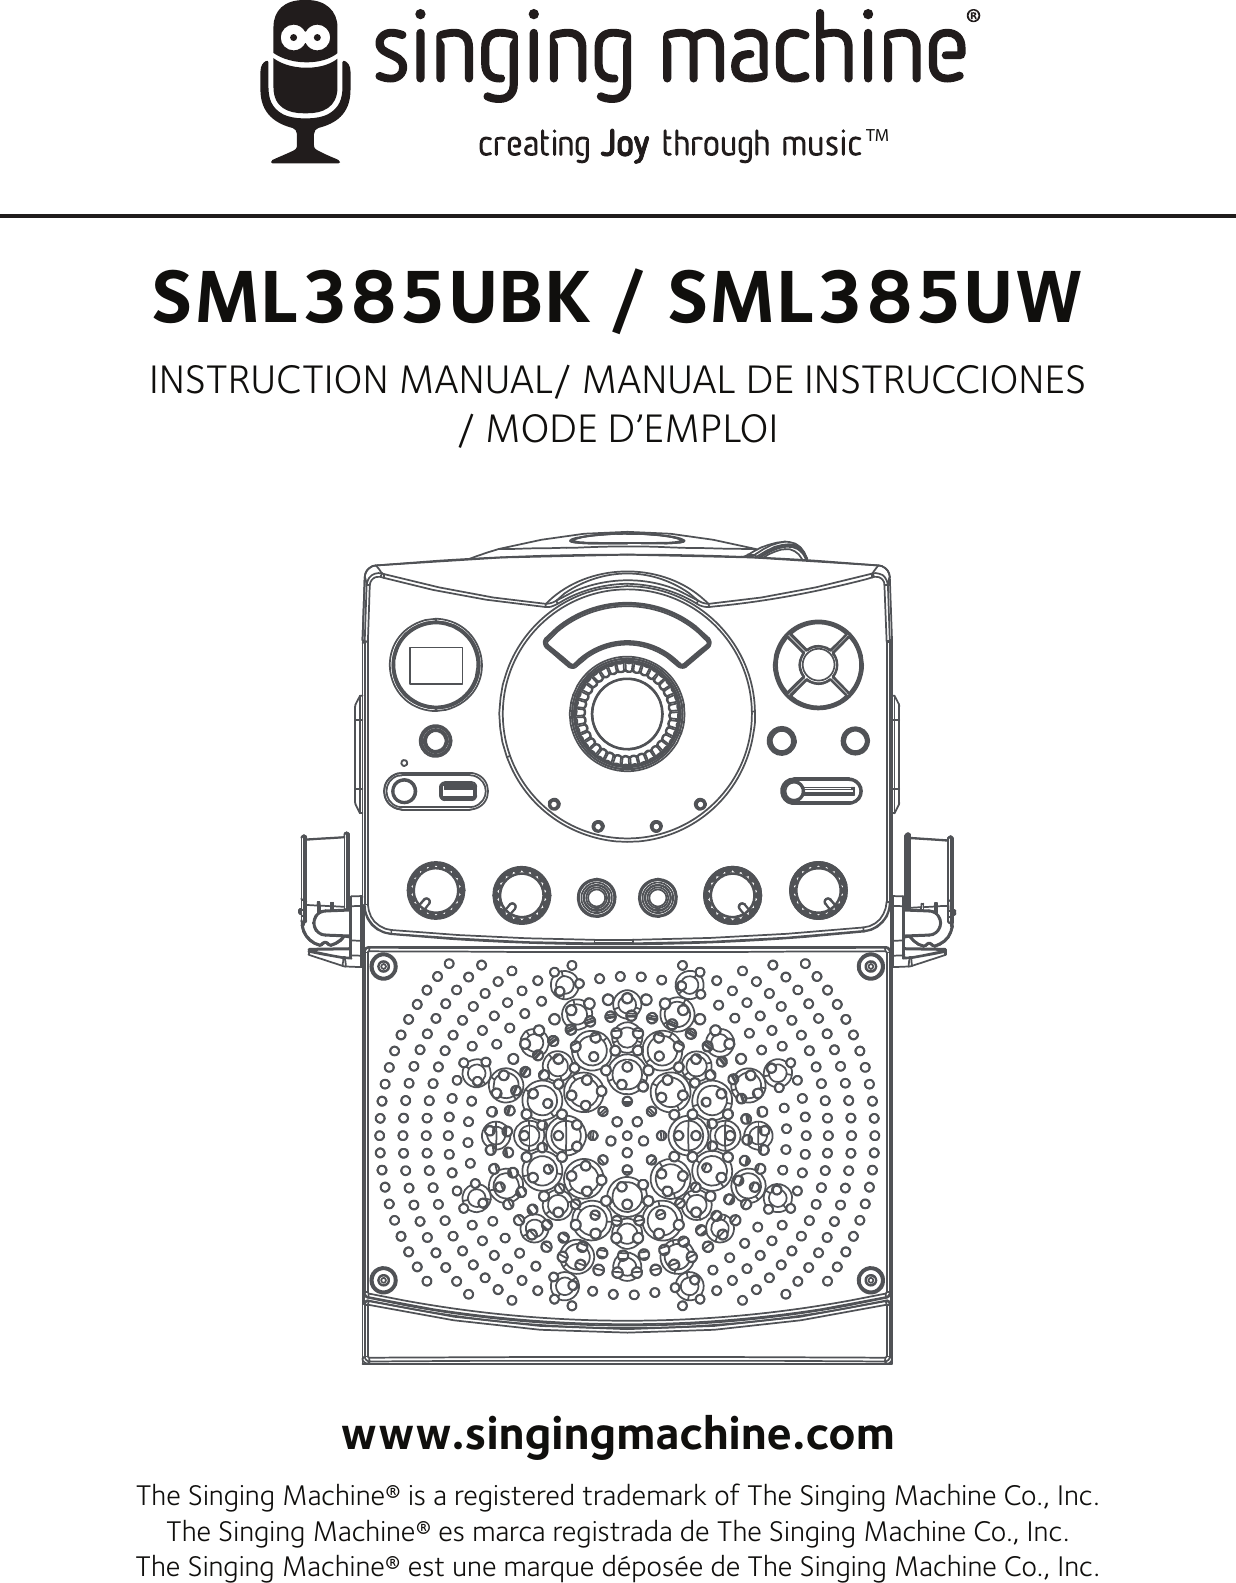
The Singing Machine SML385U CD+G/MP3+G Bluetooth Karaoke Player User Manual SML385U

The Singing Machine Company, Inc. CD+G/MP3+G Bluetooth Karaoke Player SML385U

user manual

TMSML385UBK / SML385UWINSTRUCTION MANUAL/ MANUAL DE INSTRUCCIONES/ MODE D’EMPLOIwww.singingmachine.comThe Singing Machine® is a registered trademark of The Singing Machine Co., Inc.The Singing Machine® es marca registrada de The Singing Machine Co., Inc.The Singing Machine® est une marque déposée de The Singing Machine Co., Inc.
— E1 —WarningsCAUTION: TO REDUCE THE RISK OF ELECTRIC SHOCK, DO NOT REMOVE COVER (OR BACK). NO USER-SERVICEABLE PARTS INSIDE. REFER SERVICING TO QUALIFIED SERVICE PERSONNEL. The Caution marking is located on the bottom panel.DANGEROUS VOLTAGE: The lightning flash with arrowhead symbol within an equilateral triangle is intended to alert the user to the presence of uninsulated dangerous voltage within the product’s enclosure that may be of sufficient magnitude to constitute a risk of electric shock to persons.WARNING: TO PREVENT FIRE OR SHOCK HAZARD, DO NOT EXPOSE THIS UNIT TO RAIN OR MOISTURE.ATTENTION:  The  exclamation  point  within  an  equilateral triangle  is  intended  to  alert  the  user  to  the  presence  of important operating and maintenance (servicing) instructions in the literature accompanying this product.FCC  WARNING: This equipment may generate or use radio frequency energy. Changes or modifications to this equipment may cause harmful interference  unless  the  modifications  are  expressly  approved  in  the instruction  manual.  The  user  could  lose  the  authority  to  operate  this equipment if an unauthorized change or modification is made.This device complies with part 15 of the FCC Rules. Operation is subject to the following two conditions: (1) This device may not cause harmful interference, and (2) this device must accept any interference received, including interference that may cause undesired operation.INDUSTRY CANADA NOTICE:This  device  complies  with  Industry  Canada  Iicense-exempt  RSS standard(s). Operation is subject to the following two conditions: 1.  This device may not cause interference, and 2.  This device must accept any interference, including interference that may cause undesired operation of the device.DRIPPING  WARNING: This  product  shall  not be  exposed to  dripping  or splashing, and no objects filled with liquids, such as vases, shall be placed on the product.VENTILATION WARNING: The normal ventilation of the product shall not be impeded for intended use.THIS  PRODUCT  COMPLIES  WITH  DHHS  RULES  21  CFR  CHAPTER  1, SUBCHAPTER J APPLICABLE AT DATE OF MANUFACTURED.Warnings:•   This CD player employs a laser light beam. Only a qualified service person should  remove  the  cover  or  attempt  to  service  this  device,  due  to possible eye injury.•   The  use  of  controls,  adjustments,  or  procedures  other  than  those specified herein might result in hazardous radiation exposure.•   The apparatus shall be used in an open area.CAUTION!Invisible laser radiation when open and interlocks defeated. Avoid exposure to beam.NOTE: This equipment has been tested and found to comply with the limits for a Class B digital device, pursuant to part 15 of the FCC Rules. These limits are designed to provide reasonable protection against harmful interference in a residential installation. This equipment generates, uses and can radiate radio frequency energy and, if not installed and used in accordance with the instructions, may cause harmful interference to radio communications. However, there is no guarantee that interference will not occur in a particular installation. If this equipment does cause harmful interference to radio or television reception, which can be determined by turning the equipment off and on, the user is encouraged to try to correct the interference by one or more of the following measures:•  Reorient or relocate the receiving antenna.•  Increase the separation between the equipment and receiver.•  Connect the equipment into an outlet on a circuit different from that to which the receiver is connected.•  Consult the dealer or an experienced radio/TV technician for help.•  The rating information is located at the back of the unit.Important Safety InformationCAUTIONRISK OF ELECTRIC SHOCKDO NOT OPEN1.  Read these Instructions.2.   Keep these Instructions.3.   Heed all Warnings.4.   Follow all Instructions.5.   Do not use this apparatus near water.6.   Clean only with a dry cloth.7.   Do not block any of the ventilation openings. Install in accordance with the Manufacturer’s instructions.8.   Do not install near any heat sources such as radiators, heat registers, stoves, or other apparatus (including amplifiers) that produce heat.9.   Do not defeat the safety purpose of the polarized or grounding-type plug. A polarized plug has two blades with one wider than the other. A grounding type plug has two blades and a third grounding prong. The wide blade or the third prong are provided for your safety. When the provided plug does not fit into your outlet, consult an electrician for replacement of the obsolete outlet.10.   Protect the power cord from being walked on or pinched particularly at  plugs, convenience receptacles, and the point where  they exit from the apparatus.11.   Only use attachments/accessories specified by the manufacturer.12.   Use only with a cart, stand, tripod, bracket, or  table  specified  by  the  manufacturer,  or sold with the apparatus. When a cart is used, use caution when moving the cart/apparatus combination to avoid injury from tip-over.13.   Unplug this apparatus during lightning storms or when unused for long periods of time.14.   Refer  all  servicing  to  qualified  service personnel.  Servicing  is  required  when  the  apparatus  has  been damaged in any way, such as power-supply cord or plug is damaged, liquid has been spilled or objects have fallen into the apparatus, the apparatus has been exposed to rain or moisture, does not operate normally, or has been dropped.15.   WARNING: To reduce the risk of fire or electric shock, do not expose this apparatus to rain or moisture. Do not place objects filled with water, such as a vase, on the apparatus.16.   The AC mains plug is used as the power disconnect device and it should remain readily accessible and operable during intended use. In order to completely disconnect the apparatus from power, the mains plug should be completely removed from the AC outlet socket.17.   CAUTION: To  reduce the risk  of  fire or explosion,  do not expose batteries  to  excessive  heat  such  as  sunshine,  fire  or  other  heat sources.Le présent appareil est conforme aux CNR d'Industrie Canada applicables aux appareilsradio exempts de licence. L'exploitation est autorisée aux deux conditions suivantes :(1) l'appareil ne doit pas produire de brouillage, et(2) l'utilisateur de l'appareil doit accepter tout brouillage radioélectrique subi, même si le
— E2 —IncludedPlease make sure that the following items are included.Wired MicrophoneMain UnitAC AdapterAudio/Video CablesManual
— E3 —Location of Controls (Top/Front)1.  LED Display2.  CD Door3.  MASTER VOLUME Control4.  CDG/BT/USB Button5.  Skip  Button6.  Play/Pause   Button7.  Skip  Button8.  Skip +10 Button9.  Stop  /Pair Button10.  REPEAT/PROGRAM Button11.  DISCO LIGHT Slide Switch12.  PROGRAM indicator 13.  Mic Holders14.  MIC Volume Control15.  ECHO Control16.  REPEAT indicator 17.  MIC 2 Jack18.  ON/OFF indicator 19.  Power ON/OFF Button 20.  Record indicator21.  Record Button22. USB slot23.  Auto Voice Control 24.  PLAY/PAUSE indicator22.  BALANCE Control23.  CDG indicator 24.  MIC 1 Jack25.  Balance Button26.  CDG indicator27.  MIC 1 Jack28.  Speaker u w x y U VWXatakamambl alanaoapaqasarbtbkbmbpbnbqbobrv
— E4 —Location of Controls (Rear)26.  VIDEO OUT Jack27.  LINE IN Jack28.  AUDIO OUT Jack (R)29.  DC IN Jack (5.8V)30.  AUDIO OUT Jack (L)bpbrbqbsct
— E5 —ConnectionConnecting the Microphone(s)Microphones:Connect a microphone into Mic jack 1 u  as well as Mic jack 2 v (when desired). Note: Do not drop or tap the Mic as damage to the Mic or speakers may occur. Do not twirl the microphone cord as it will cause damage to the encased wiring.Connecting the Unit to a TVVIDE OINPUTAUDIOINPUTR LRCA cablesVIDEO OUT(yellow)AUDIO OUT(white - Lred - R)REAR VIEW OF TVTo output the video, lyrics and audio to your TV, perform the following steps: Connect the RCA video cable (Yellow) to the VIDEO OUT jack and the audio cables (White and Red) to the AUDIO OUT jacks located on the back of the Singing Machine.Connect the opposite end of the RCA video cable (Yellow) to the VIDEO IN jack and the audio cables (White and Red) to the AUDIO IN on your TV.Notes: •  This unit can be used with or without a TV, but it is highly recommended to use a TV in order to utilize all the features.•  Also refer to the TV’s User Guide. •  To see the lyrics on the screen, you must use a CD+G disc or MP3+G files.uv
— E6 —ConnectionConnecting to AC PowerConnecting to Line In JackInsert the AC power cord into a conveniently located AC outlet having 120V AC, 60Hz. Note: Make all connections before connecting to AC power. Connect an external device by using an appropriate cable (3.5mm audio cable not included) as shown.Note: See page E13 to select and use the Line In function.LINE INTo External UnitAUDIO OUTPUT/ HEADPHONE JACKDisco Lights1  To illuminate the disco light and get your desired lighting effect, slide the Disco Light slide switch from the OFF position to your desired level.u
— E7 —OperationPlaying a CDG1  Connect the unit as described previously; if using a CD+G, it is recommended to connect to a TV. Press the ON/OFF button to turn the unit on.  2   Lift open the CD door and insert a CD or a CD+G by gently pressing it on the center spindle. Then close the CD door. Note: •  What is a CD+G?  A CD+G (CD+Graphics) is the standard format for most karaoke discs that will display the words on the screen.3  Repeatedly press the CDG/BT/USB button to select the CDG/CD mode; “--” will appear when searching the disc and then the total number of tracks will appear. When a CDG disc is inserted, the CDG indicator will light.4 Press the PLAY/PAUSE  button to start playback; if listening to a CD+G file, the image and lyrics will appear on the TV screen (if connected) and the PLAY/PAUSE Indicator will light.uvwx
— E8 —OperationPlaying a CDG (Continued)5 Adjust the volume to a comfortable level using the MASTER VOLUME control.    Notes:•  Never place anything other than a CD in the compartment, as foreign objects can damage the unit.•  If no disc is inserted, “No” will appear on the display.•   If connected to a TV and/or other audio source, adjust the volume of the external unit using its own volume control.6  Connect microphone(s) and slide the ON/OFF switch on the microphone to the ON position.7 Adjust the MIC VOLUME control as desired. Increasing this control will increase the volume of both microphones.8  Rotate the ECHO control to add an echo effect to your voice. Rotate towards MAX to increase the echo effect.9  AUTO VOICE CONTROL can be activated by rotating the AUTO VOICE CONTROL. The higher this control is set to, the more the vocals on the multiplex recording will be muted when the singer starts to sing through the microphone. When the singer stops singing, the recorded vocals on the multiplex recording will resume to normal.UyVXW
— E9 —OperationPlaying a CDG (Continued)10 Rotate the BALANCE control clockwise to hear the music and recorded vocals  from a multiplex recording or counterclockwise to hear the music only from a multiplex recording.Note:   To use the BALANCE control, a CD+G disc must be used, otherwise it will operate as a standard Balance control.11 SKIP: Advance or go back one track by pressing the SKIP Back/SKIP Forward  buttons. 12 REPEAT: During playback, press the REPEAT/PROG button once to repeatedly play the selected song; the Repeat indicator will blink. Press the REPEAT/PROG button a second time to repeatedly play the whole CD; the Repeat indicator will light solid. Press it again to cancel Repeat function, the Repeat indicator turns off.atakal
— E10 —OperationPlaying a CDG (Continued)13 PROGRAM: You can program up to 20 tracks on any disc for playback in any desired order. While in the Stop mode, press the REPEAT/PROG button; the Program indicator will blink and “00” will appear. Select the first track using the SKIP Back/SKIP Forward buttons. Press the REPEAT/PROG button again to confirm the entry. After selecting the desired tracks the display will show 01, 02, etc. recognizing the tracks selected have been programmed and the program indicator will illuminate solid red. Repeat to set up to 20 tracks into memory. When done, press the PLAY/PAUSE  button to start playback.Note: •  Press the STOP /PAIR button TWICE to stop and clear the program.14 PAUSE: During playback, if you wish to pause the disc momentarily, press the PLAY/PAUSE  button; the PLAY/PAUSE indicator will blink. Press again to resume normal playback.15 Press the STOP/PAIR button to stop playback.amamaoan
— E11 —OperationPlaying a CDG (Continued)16 RECORD YOUR SINGING: To record your singing as well as the music, press the RECORD button. Recording will begin and the record indicator will light solid.  When done recording, press the RECORD button again; the record indicator will turn off.Notes:• The recorded audio file will record onto the USB drive.• See section “Playing Songs from the USB” to play back your recorded files. 17  Press the ON/OFF button to turn the unit off.apaq
— E12 —OperationPlaying Songs from the USB1  Connect the unit as described previously. Press the ON/OFF button to turn the unit on. 2   Insert a USB flash drive into the USB port on the unit so it faces upward.  Make sure to download music from the Karaoke store, see “Where to Download MP3+G Files”.3   Repeatedly press the CDG/USB/BT button to select the USB mode; “usb” will appear when searching the drive and then the total number of files will appear.Note:   The USB mode cannot be accessed until a flash drive is inserted.4   Press the PLAY/PAUSE   button to start playback; if listening to an MP3+G file, the image and lyrics will appear on the TV screen (if connected).5  Adjust the volume to a comfortable level using the MASTER VOLUME control.    Note:   If connected to a TV or other audio source, adjust the volume of the TV using its own volume control.uvwxy
— E13 —OperationPlaying Songs from the USB (Continued)6   Connect microphone(s) and slide the ON/OFF switch on the microphone to the ON position.7  Adjust the MIC VOLUME control as desired. Increasing this control will increase the volume of both microphones.8   Rotate the ECHO control to add an echo effect to your voice. Rotate towards MAX to increase the echo effect.9  AUTO VOICE CONTROL can be activated by rotating the AVC control. The higher this control is set to, the more the vocals on the multiplex recording will be muted when the singer starts to sing through the microphone. When the singer stops singing, the recorded vocals on the multiplex recording will resume to normal.10 Rotate the BALANCE control clockwise to hear the music and recorded vocals  from a multiplex recording or counterclockwise to hear the music only from a multiplex recording.UVXatW
— E14 —OperationPlaying Songs from the USB (Continued)11 SKIP: Advance or go back one track by pressing the   or  buttons. You can also skip ahead 10 files/tracks using the Skip10+ button.  SEARCH: When playing any audio from the USB, press and hold the   or buttons. The USB will search at high speed in the forward or backward direction. Normal play will continue when you release the button. During Stop mode you can also select a file using the  or buttons to scroll right/left. 12 REPEAT: During playback, press the REPEAT/PROG button once during playback, the Repeat indicator will blink and the current track will be repeated. Press the REPEAT/PROG button twice, the Repeat indicator will blink, all MP3 tracks inside the current folder will be repeated continuously. Press the REPEAT/PROG button three time, the Repeat indicator will light solid, all MP3 tracks will be repeatedly.  To stop repeat function by press the button again, the Repeat indicator will turns off. akalam
— E15 —OperationPlaying Songs from the USB (Continued)13 PROGRAM: You can program up to 20 tracks for playback in any desired order. While in Stop mode, press the REPEAT/PROG button; Program indicator will blink and “P00”appear. Select the first track using SKIP Back  or SKIP Forward  buttons, then press the REPEAT/PROG button. Repeat to set up to 20 tracks into memory. When done, press the PLAY/PAUSE    button to start playback.Note:   Press the STOP/PAIR button TWICE to  stop and clear the program.14 PAUSE: During playback, if you wish to pause the music momentarily, press the PLAY/PAUSE    /ENTER button. Press again to resume normal playback.15 Press the STOP/PAIR button to stop playback.16 Press the ON/OFF button to turn the unit off.anaoamap
— E16 —OperationUsing a Bluetooth Device1  Connect the unit as described previously. Press the ON/OFF button to turn the unit on.2  Repeatedly press the CDG/BT/USB button to select the Bluetooth; “bt” will blink in the display as the unit automatically searches for and pairs a previously paired Bluetooth device (if previously paired). If no previously paired devices are present, connect as shown in the next step.Note: You can also press the STOP/PAIR button to disconnect any paired devices in order to pair another device.  3 Turn on your device’s Bluetooth option in settings to search for a discoverable device with a Bluetooth signal. Select “Singing Machine” from the device results on the Bluetooth menu. Note: Also refer to the user manual of your Bluetooth device for detailed instructions.  4 “bt” will light solid in the display and a successful pairing sound will be heard..Notes: • If your Bluetooth prompts you for a passcode during the pairing process, please enter “0000” to connect. •  On some Bluetooth devices, once pairing is complete, select your Bluetooth device as “Use as Audio Device” or similar.• If connection is lost after successful pairing, check to make sure the distance between speaker and Bluetooth-enabled device does not exceed 30 feet/10 meters.• Nothing will appear on the connected TV when using the Bluetooth mode.34uv
— E17 —OperationUsing a Bluetooth Device (Continued)5 To control your Bluetooth device from this unit, press the PLAY/PAUSE button to start playback. Press the PLAY/PAUSE   button during playback to pause the song. 6  Adjust the volume to a comfortable level using the MASTER VOLUME control on this unit as well as the volume on your Bluetooth device.  7  Connect microphone(s) and slide the ON/OFF switch on the microphone to the ON position.8  Adjust the MIC VOLUME control as desired. Increasing this control will increase the volume of both microphones.9 Rotate the ECHO control to add an echo effect to your voice. Rotate towards MAX to increase the echo effect.10 Adjust the balance between the speakers using the BALANCE control.11 SKIP: Advance or go back one track by pressing the SKIP /SKIP  buttons.12  RECORD YOUR SINGING: To record your singing as well as the music, press the RECORD button. Recording will begin and the record indicator will light solid. When done recording, press the RECORD button again; the record indicator will turn off.13 Press the ON/OFF button to turn the unit off.VyUWatalXak
— E18 —OperationUsing the LINE IN Jack1  Connect the unit as described previously. Press the ON/OFF button to turn the unit on. 2   Connect the external unit to the LINE IN Jack on the back of this unit. Connecting an external unit will allow the audio to be played through your Singing Machine. LINE IN function is automatically selected once the audio cable is plugged in.Notes:• It is highly recommended to set the volume on the auxiliary unit to 1/3 or lower to avoid distortion.• Skipping files/tracks is not possible on this unit when using an external device.3 Adjust the volume using the MASTER VOLUME control on this unit or your external device’s volume control.4 Connect microphone(s) and slide the ON/OFF switch on the microphone to the ON position.uwvx
— E19 —OperationUsing the LINE IN Jack (Continued)5 Adjust the MIC VOLUME control as desired. Increasing this control will increase the volume of both microphones.6  Rotate the ECHO control to add an echo effect to your voice. Rotate towards MAX to increase the echo effect.7  Adjust the balance between the speakers using the BALANCE control.8 RECORD YOUR SINGING: To record your singing as well as the music, press the RECORD button. Recording will begin and the record indicator will light solid. When done recording, press the RECORD button again; the record indicator will turn off.9 Press the ON/OFF button to turn the unit off.yVXWU
— E20 —OperationWhere to Download MP3+G FilesTo purchase and download karaoke music, please visit http://store.singingmachine.com to access over 13,000+ of your favorite karaoke songs. You will need a USB flash drive (not included) to transfer the downloads to this unit. Follow these easy steps:1  Go to http://store.singingmachine.com using your internet browser, and then register.2  Select and purchase your favorite karaoke music from the Singing Machine Download Store.3  Download your selected purchase(s) from the Singing Machine Digital Locker to your USB flash drive.4  Insert the USB flash drive as shown on page E12 and enjoy!FAQ• Where can I get additional help with the file formats?  Visit http://singingmachine.com/smc-music/ to get additional resources about the right type of FILE FORMAT for your system.Helpful Hints:The .mp3 and .cdg files are delivered for download in a single, compressed MP3+G.zip file. The MP3+G file cannot be played as a .zip file on a USB flash drive. To play karaoke songs using a USB flash drive, the MP3+G .zip file must be unzipped as follows:•  Connect a USB flash drive to your computer.•  Download the MP3+G file from your Digital  Locker and save the .zip* file to a folder on your computer.•  Double click the .zip file to open the .zip (you  will see the .mp3 and .cdg files).•  Drag and drop the .mp3 and .cdg files to the  USB flash drive.•  Remove (eject) the USB flash drive from your  computer.Turn on the Singing Machine and connect the USB flash drive.Note: Your downloaded songs can also be burned to a blank CDR/CDRW.
— E21 —Troubleshooting GuideShould this unit exhibit a problem, check the following before seeking service:No Power•  Power is not on; press the ON/OFF button to turn power on.•  Confirm the AC adapter is connected securely to the back of the unit.•  Connect the unit to a different outlet.No Sound – General•  MASTER VOLUME is set to minimum; raise volume.•  Correct Function was not selected; select using the CDG/BT/USB button.•  If using an external device, raise the volume.•  Check if the LINE IN jack is still connected by a cable..No Sound – If connected to a TV•  Volume on the TV is muted or too low.•  Correct source (usually AV) was not selected on the TV’s menu.Lyrics do not appear on the TV screen•  If connected to a TV, Video plug is not connected properly; see page E5.•  If connected to a TV, select the correct source on the TV (usually AV).•  The file/track being played is not a track recording with lyrics. These are the only files that allow you to view the lyrics on the TV screen.•  Nothing will appear on the TV screen when using Line In or Bluetooth.File(s) on USB Jack not playing• The file is corrupted; replace the file.• The file is not in a format this unit will play.• The connected USB device is not supported by the product.No sound from the microphone•  Make sure the microphone is firmly connected to the MIC 1 or MIC 2 jack.•  Make sure the ON/OFF switch on the Mic is set to the ON position.•  Make sure the mic’s volume is not set too low.•  MASTER VOLUME is set to minimum; raise volume.• Adjust the ECHO control past the mid point on the Singing Machine.The Bluetooth device cannot be paired or connected with the unit•  You have not activated the Bluetooth function of your device; see page E16 or refer to the Bluetooth device user’s manual. •  The system is not in pairing mode; press the STOP/PAIR button to restart pairing.The Music is not available on the unit after successfully connecting the Bluetooth•  Ensure your Bluetooth device can support the A2DP Bluetooth profile.•  The volume on the external Bluetooth device is set to low or muted; raise as desired.
— E22 —SpecificationsAUDIOOUTPUT POWER (MAXIMUM)................................................................................ 3.5 Watts (RMS)OUTPUT IMPEDANCE ..................................................................................................................3 OhmsCD PLAYER SECTIONFREQUENCY RESPONSE .............................................................................................. 100Hz - 20kHzSIGNAL-TO-NOISE RATIO .............................................................................................................. 50dBNUMBER OF PROGRAMS ..................................................20 Step Random Access ProgrammingSAMPLING SYSTEM ........................................................................................8 Times Over SamplingBLUETOOTHBluetooth Version ....................................................................................................................V2.1+EDRWorking Distance ..........................................Up to 30 feet/10 meters measured in open spaceUSBFormat..................................................................................................................................................FAT32Maximum Compatibility...................................................................................................................32GBAUX IN SECTION  .......................................................................... 3.5 mm Stereo Headphone JackMICROPHONE ....................-74db 600 Ohm Impedance with 6.3 mm Dynamic MicrophonePOWER SECTION ............................................................................................................ DC 5.8V 1.5APOWER CONSUMPTION ..............................................................................................................8.7 WDIMENSIONS (HxWxD)  .......................... 13.2 x 10.5 x 9.3 inches / 33.6 x 26.6 x 23.5 cmWEIGHT ...........................................................................................................................7.2 lbs / 3.3 kgsSpecifications are subject to change without notice.The Bluetooth® word mark and logos are registered trademarks owned by Bluetooth SIG, Inc. and any use of such marks and logos by The Singing Machine Company, Inc. is under license. Other trademarks and trade names are those of their respective owners.
Visit Our Website: www.singingmachine.comVisite nuestro sitio web: www.singingmachine.comVisitez notre site Web : www.singingmachine.comCopyright © 2018  All Rights Reserved.Derechos de autor © 2018  Todos los derechos reservados. Droit d’auteur © 2018 Tous Droits Réservés.PRINTED IN CHINA IMPRESO EN CHINA IMPRIMÉ EN CHINE 385U-xxxx-ESF01-USResponsible Party Information as follow:Company NameÿThe Singing Machine Company, Inc.Addressÿ6301 NW 5th Way, Suite 2900, Fort Lauderdale, FL 33309, USAContact nameÿGary AtkinsonTelephoneÿ954-596-1000Websiteÿwww.singingmachine.com

Navigation menu