The Whistler Group SC01 200CH HANDHELD RADIO SCANNER User Manual
The Whistler Group 200CH HANDHELD RADIO SCANNER
UserManual.wiki
>
The Whistler Group
>
SC01 User Manual
User Manual
Navigation menu
Upload a User Manual
Namespaces
Wiki Guide
HTML
PDF
Info
Views
User Manual
Discussion / Help
Navigation

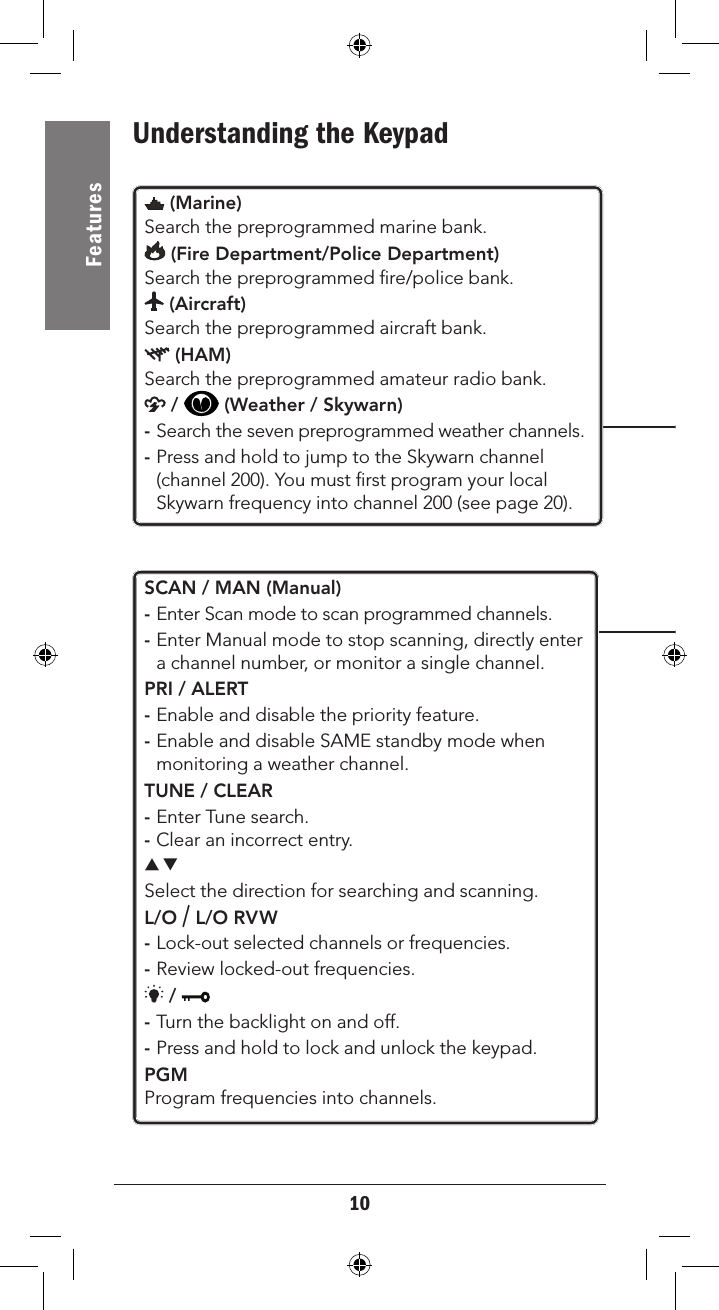
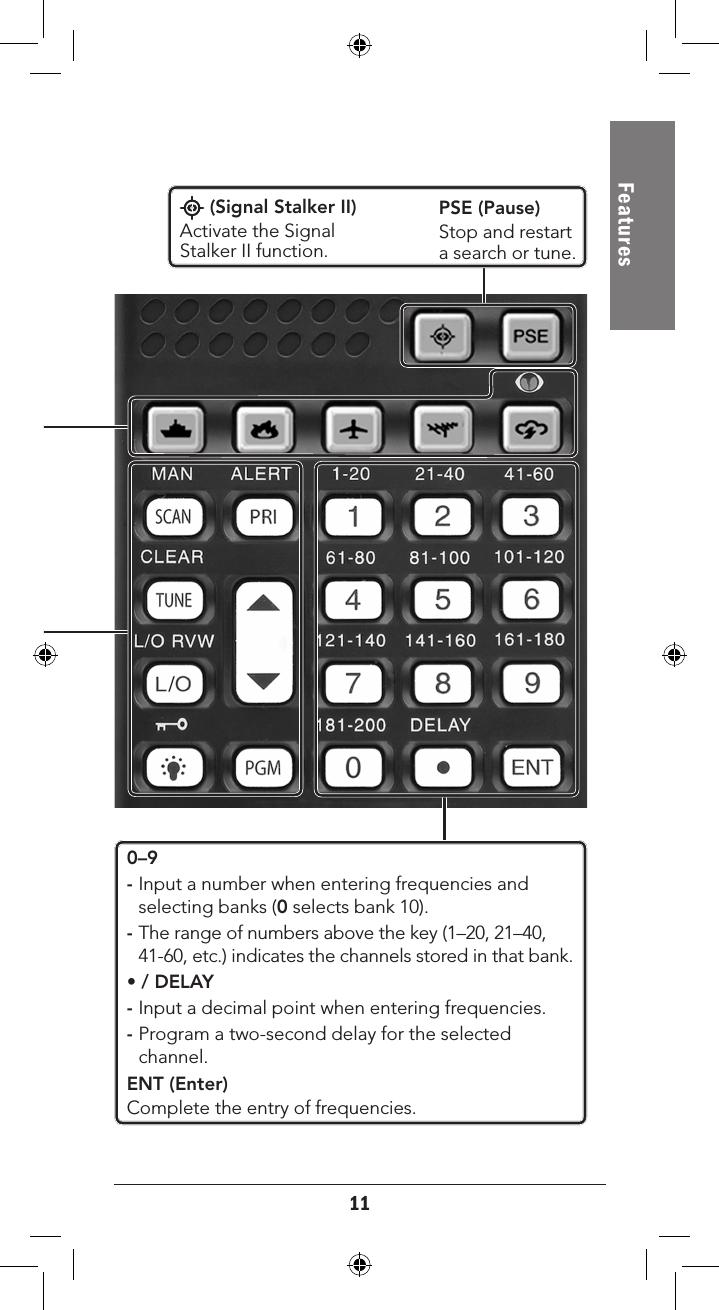
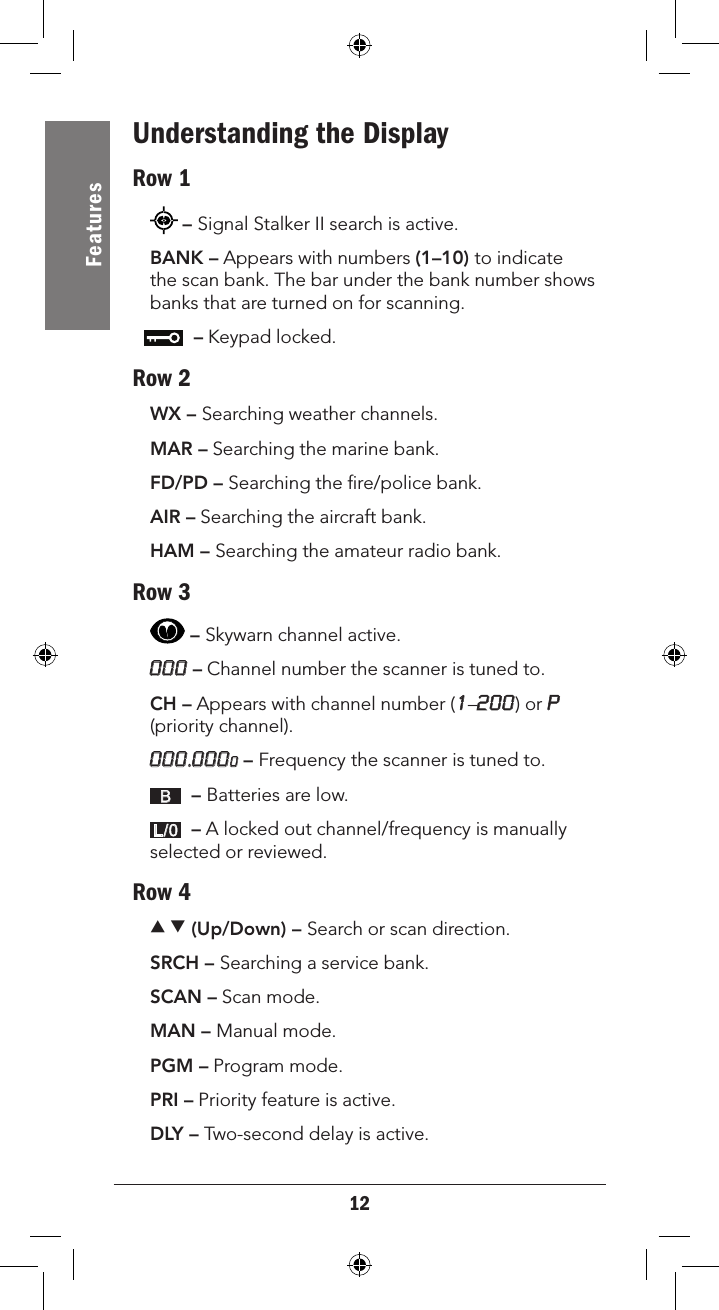
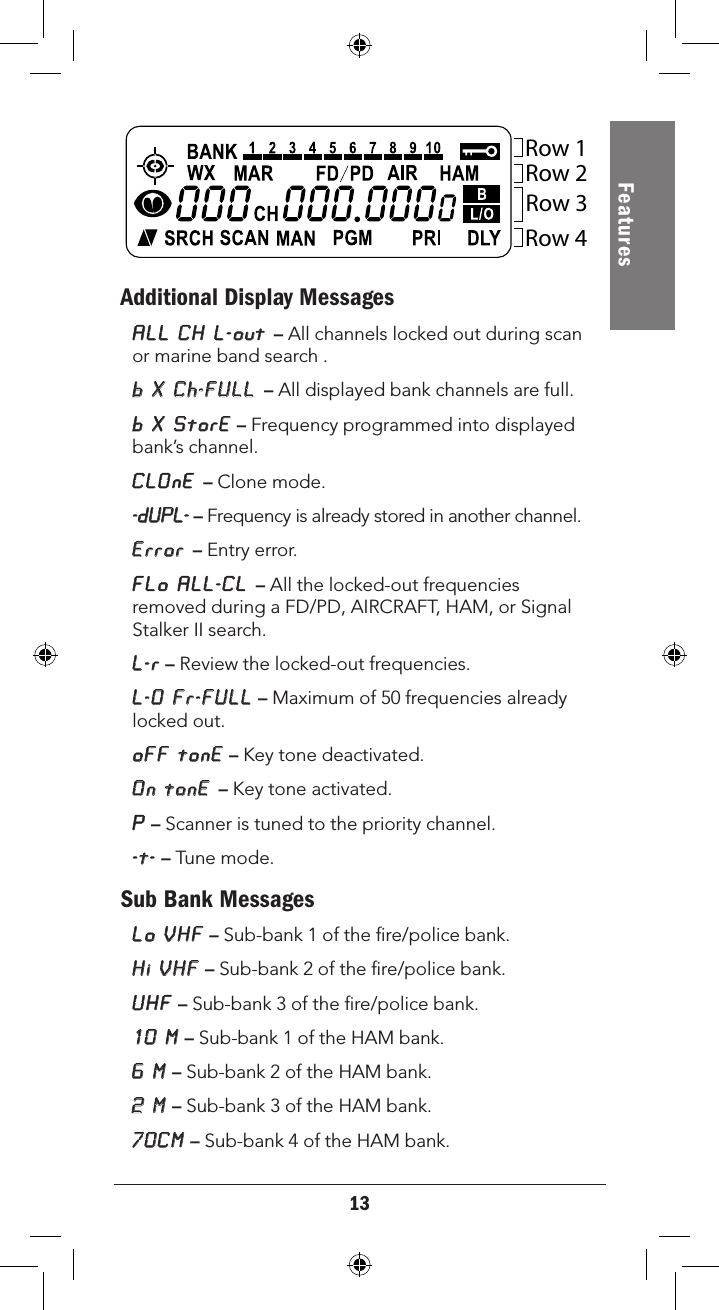


![28Basic Operation5. Repeat steps 3-4 for all the FIPS codes that you wish to store. 6. Press to exit FIPS code entry mode. The scanner displays F showing that FIPS codes are enabled.7. Press PRI/ALERT to initiate SAME Standby mode. The scanner displays F [1-7]CH StAndby. The scanner will monitor weather channels for alerts with matching FIPS codes. To exit SAME Standby mode, press PRI/ALERT again.n Notes:• Press L/O during step 4 to lock-out FIPS entries; L/0 appears in the display. Press L/O again to enable FIPS entries; L/0 disappears.• If you do not enter any FIPS codes, or if your FIPS codes are locked out, when you enter SAME Standby mode the scanner receives alerts and warning messages for all receivable areas.• When a weather channel is set as the priority channel and priority operation is enabled (PRI shows in the display), all alerts are received and FIPS settings are ignored.• The scanner sounds an alert when it receives the SAME code. To stop the alert and ready the scanner to receive a new alert signal, press any key except / .• If you do not stop the alert within five minutes, the alert stops and the scanner beeps every ten seconds. If the scanner receives a new weather alert after five minutes, it sounds the new alert. SkywarnMany areas of the country have amateur radio repeaters that have been designated as “Skywarn” repeaters. During times of severe weather, these repeaters are used to relay reports of severe weather directly to meteorologists at a local National Weather Service forecast office. Using the Skywarn feature in your scanner, you can easily jump to your local Skywarn frequency and monitor these reports, in many cases hearing about severe weather in your area instantly as it occurs.](https://usermanual.wiki/The-Whistler-Group/SC01/User-Guide-2235456-Page-28.png)