Thomson 2-5838A 900MHz SINGLE-LINE CORDLESS TELEPHONE BASE User Manual 25839 DOM IB E 0 00003988
Thomson Inc. 900MHz SINGLE-LINE CORDLESS TELEPHONE BASE 25839 DOM IB E 0 00003988
UserManual.wiki
>
Thomson
>
2-5838A User Manual
>
USERS MANUAL 5 OF 8
Contents
1.
USERS MANUAL
2.
DIGITAL SECURITY CODE STATEMENT
3.
USERS MANUAL 1 OF 8
4.
USERS MANUAL 2 OF 8
5.
USERS MANUAL 3 OF 8
6.
USERS MANUAL 4 OF 8
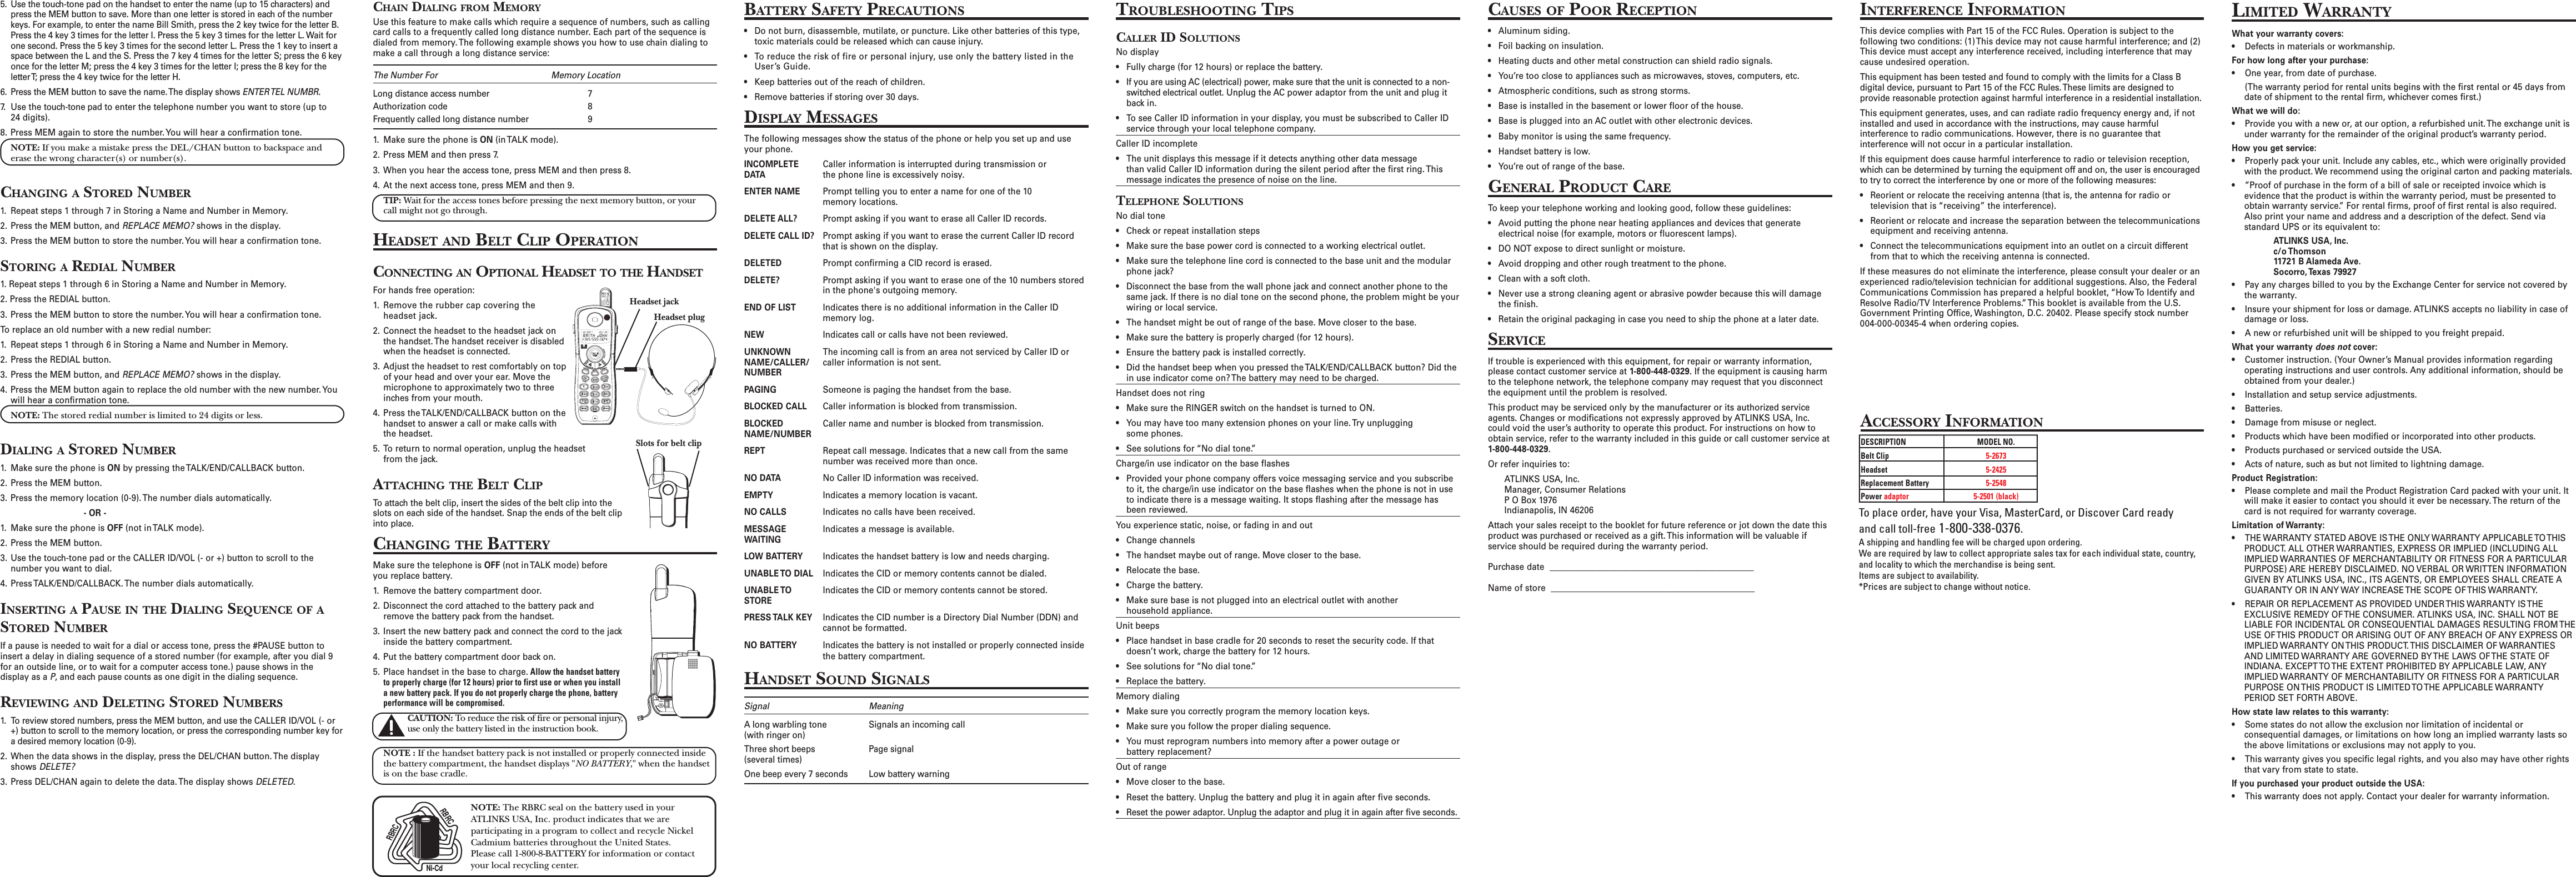
7.
USERS MANUAL 5 OF 8
8.
USERS MANUAL 6 OF 8
9.
USERS MANUAL 7 OF 8
10.
USERS MANUAL 8 OF 8
USERS MANUAL 5 OF 8
Navigation menu
Upload a User Manual
Namespaces
Wiki Guide
HTML
PDF
Info
Views
User Manual
Discussion / Help
Navigation