Thomson FH58R19 5.8GHz Cordless Telephone - Base Unit User Manual 21091 DOM IB E 0
Thomson Inc. 5.8GHz Cordless Telephone - Base Unit 21091 DOM IB E 0
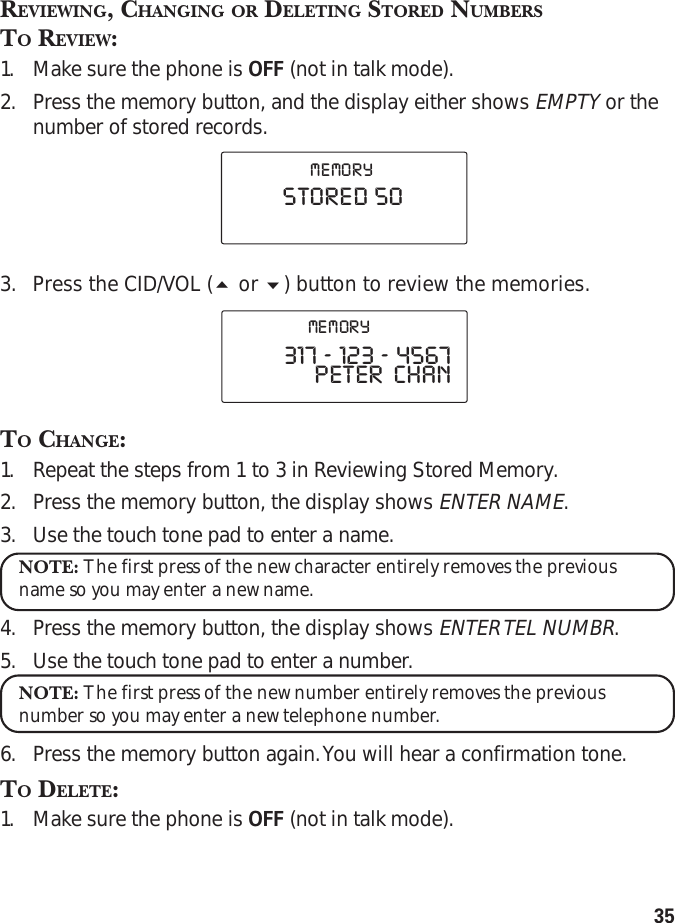
Thomson >
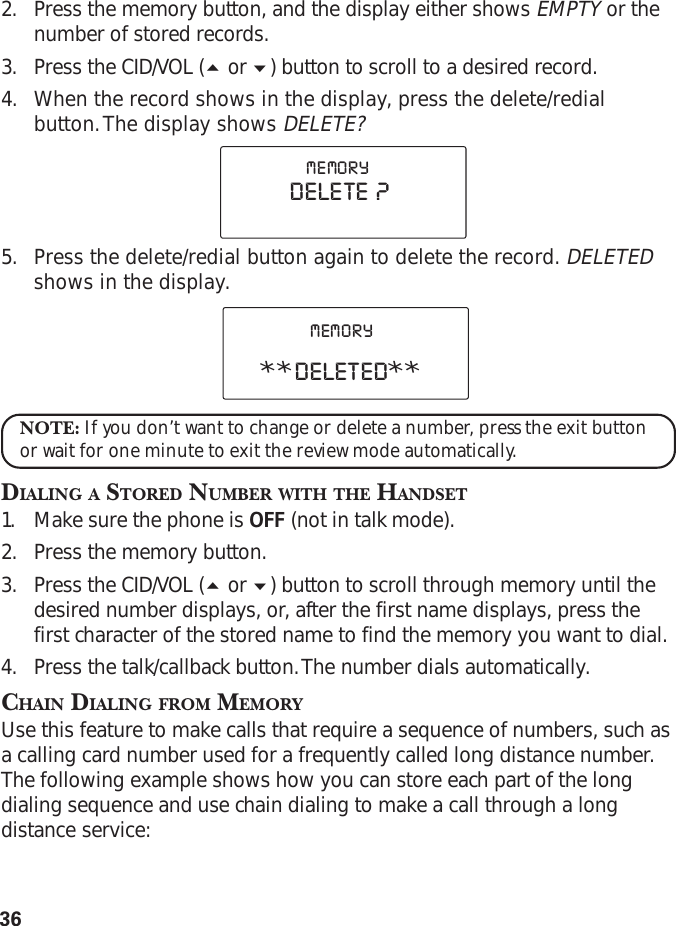
Contents
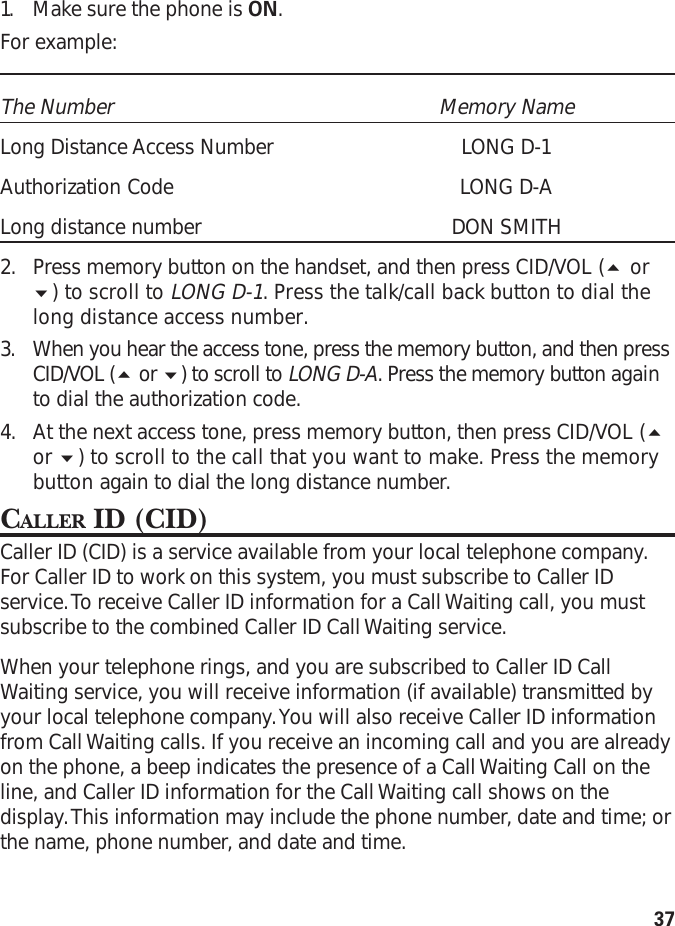
- 1. users manual
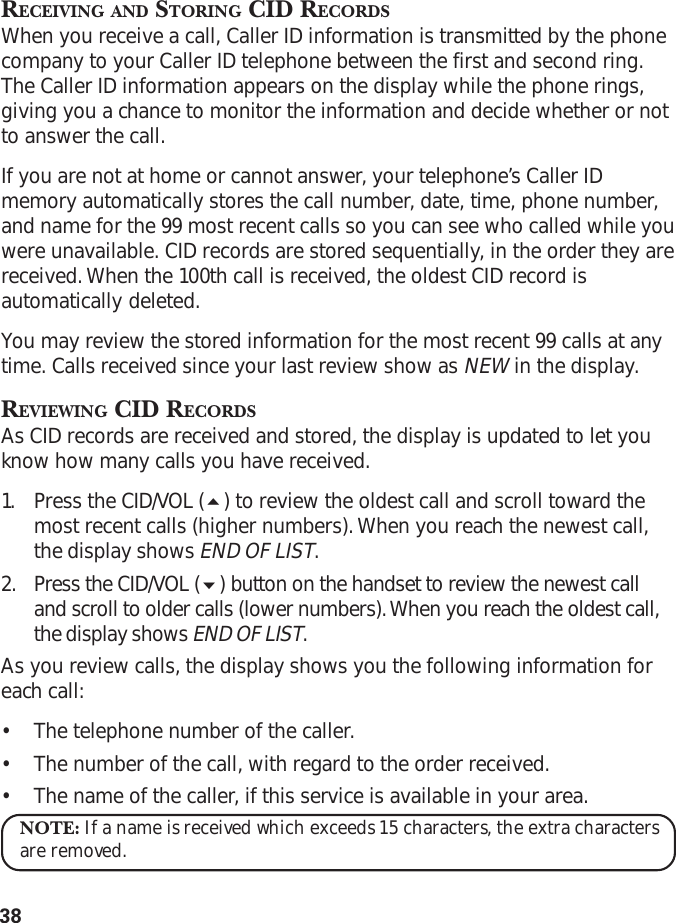
- 2. Users Manual
- 3. Cover Page Users Manual
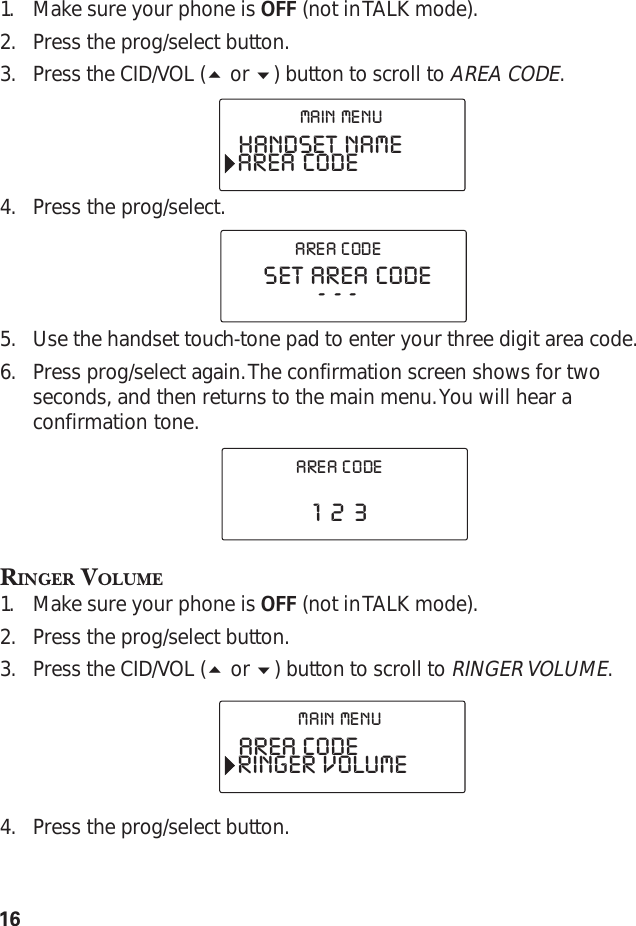
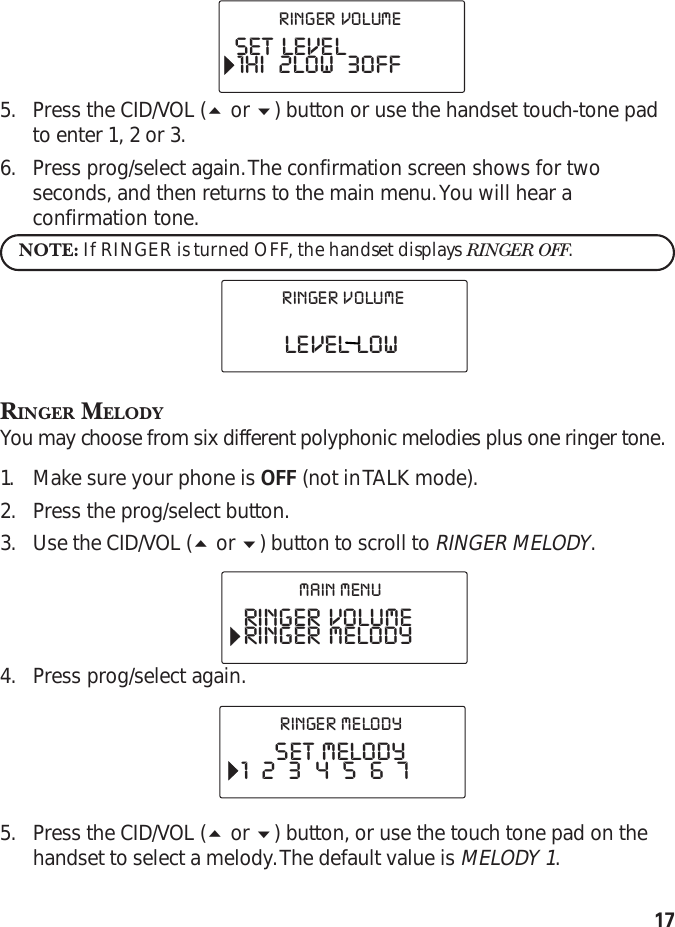
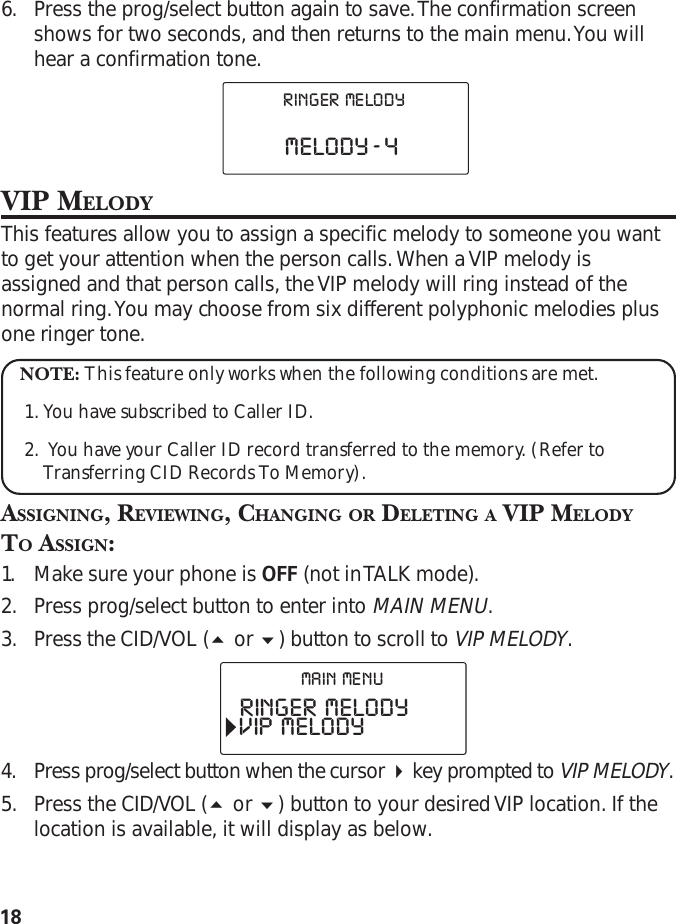
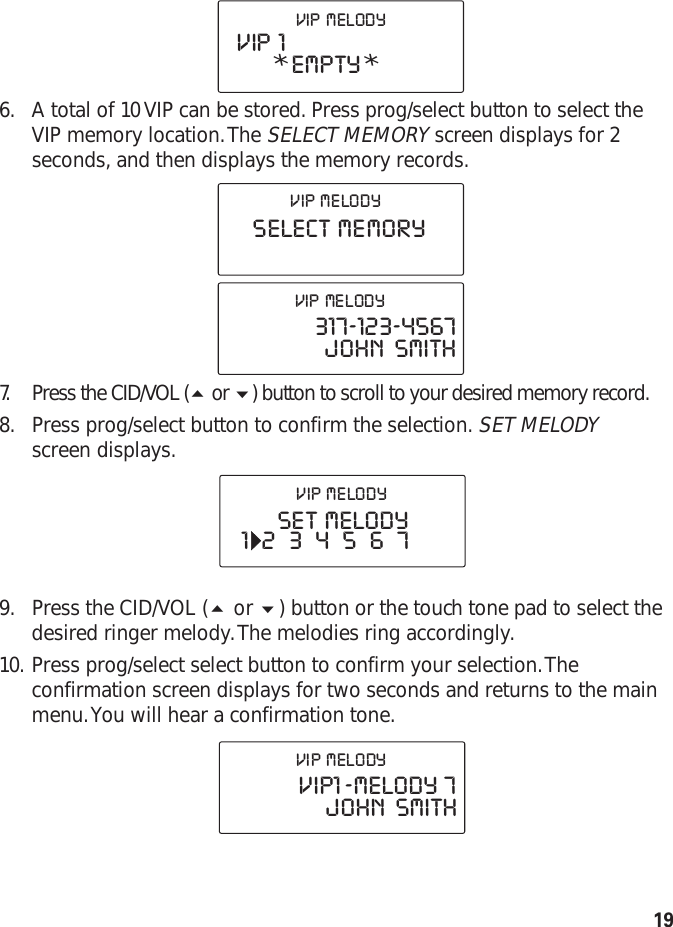
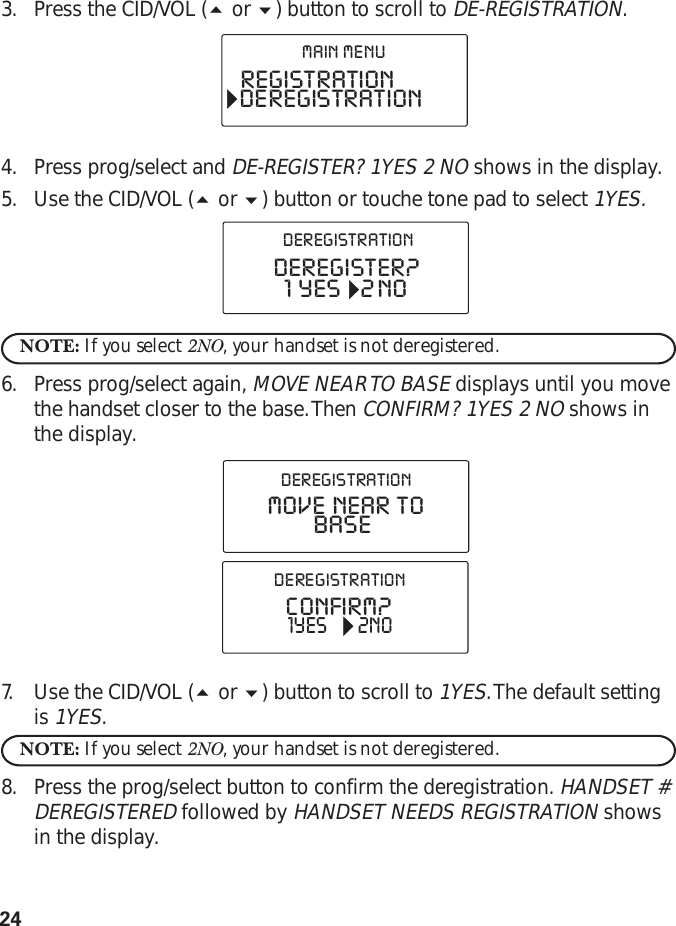
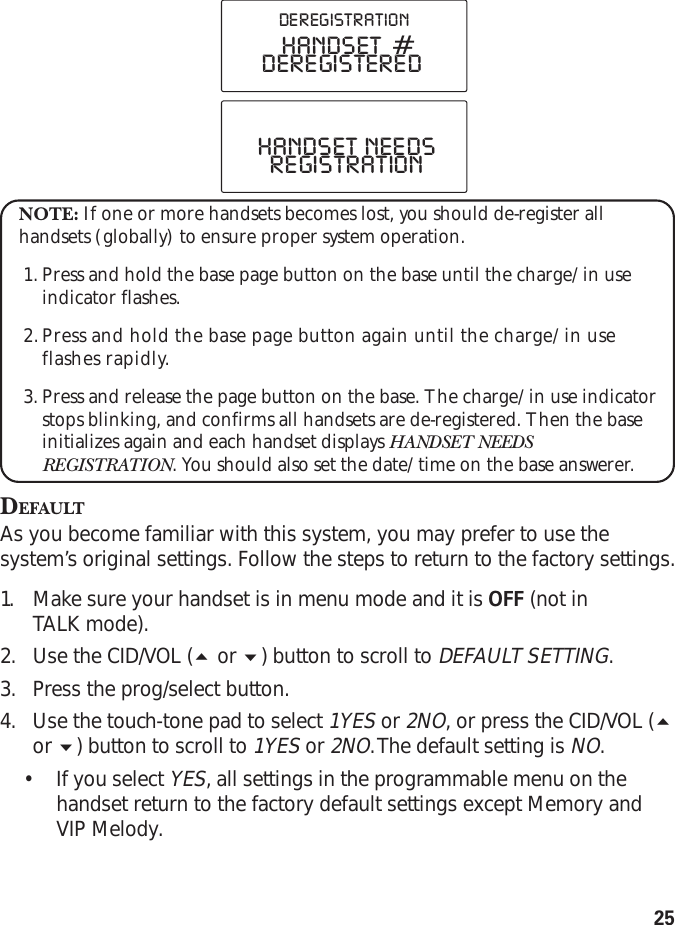
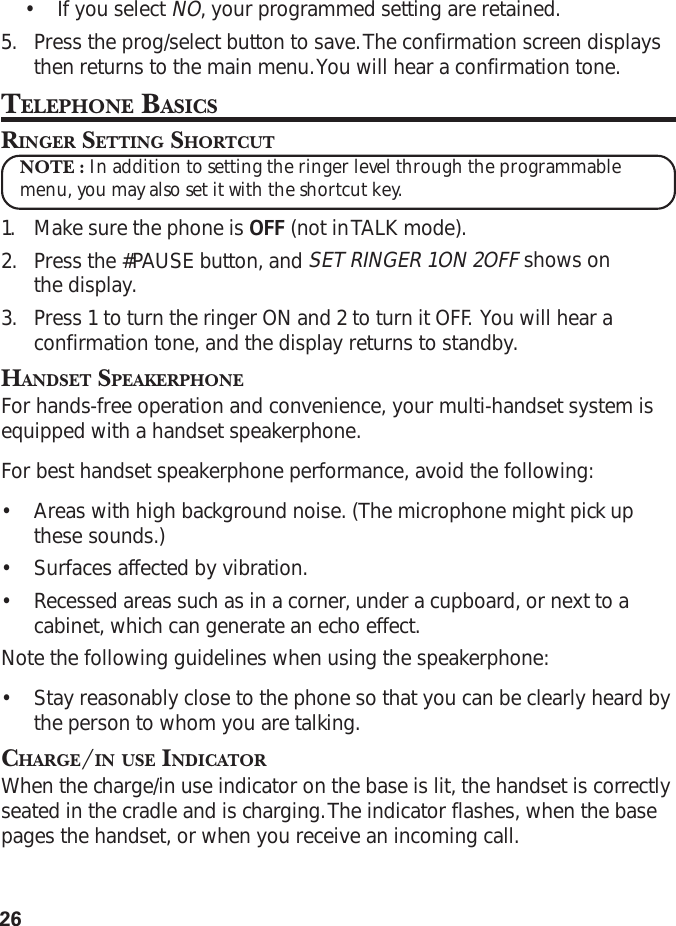
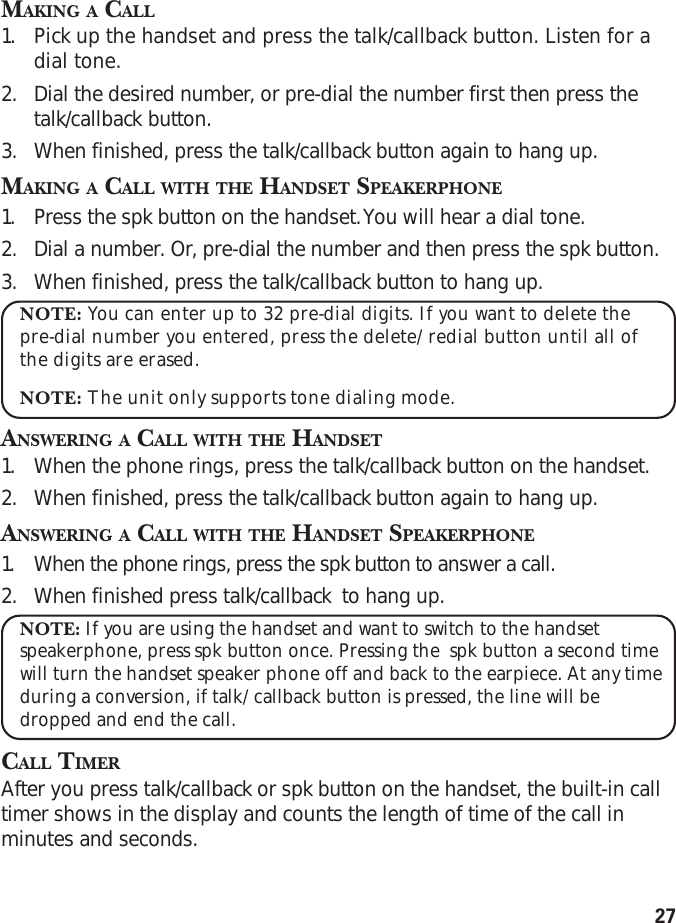
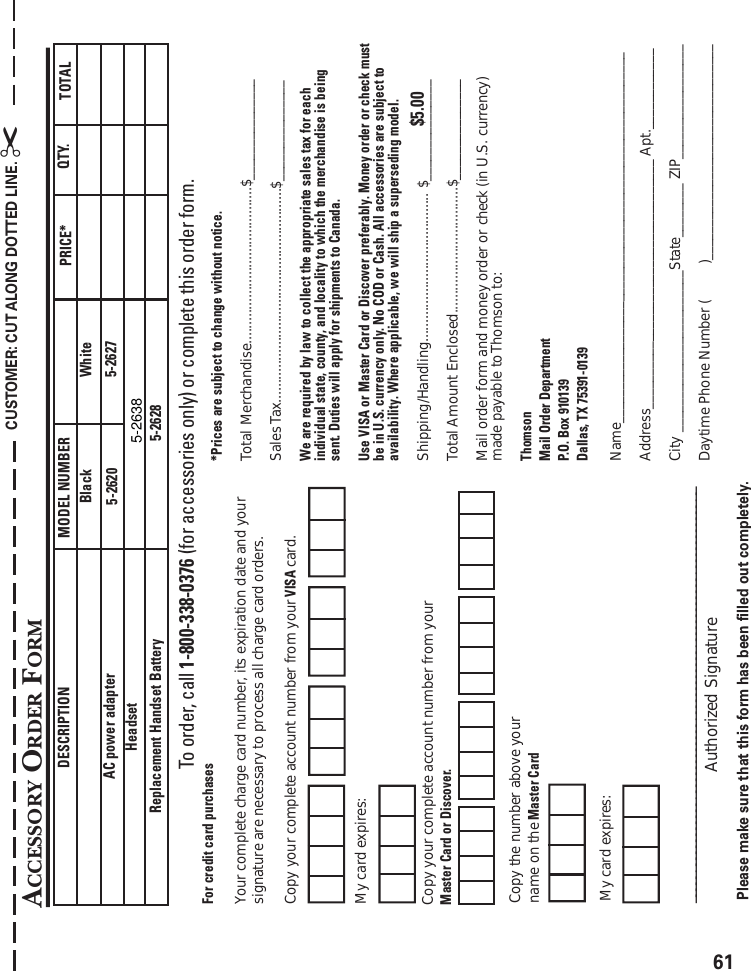
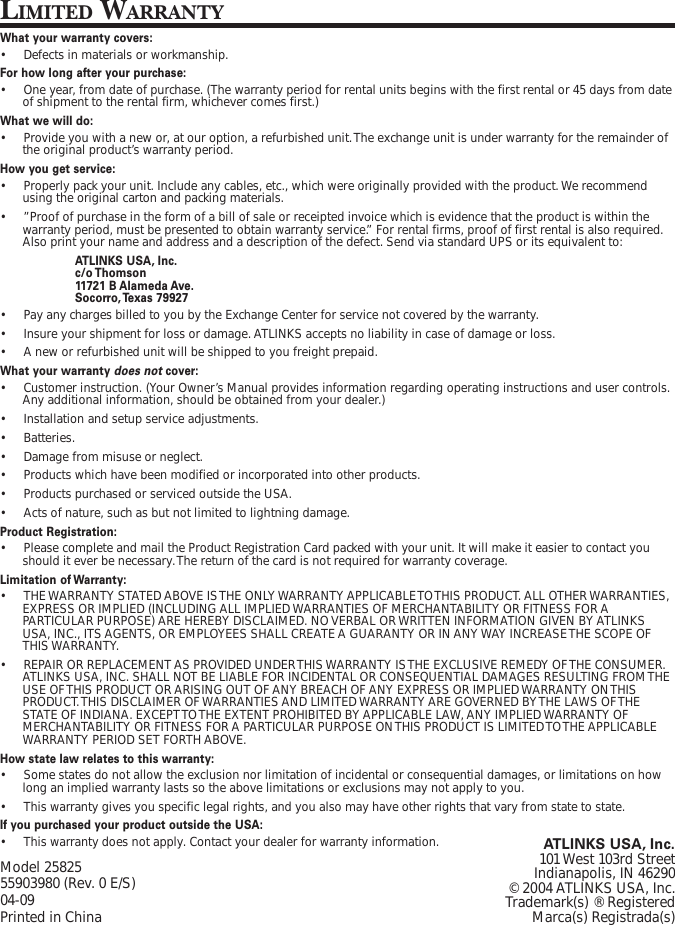
Users Manual