TimeLink Technology TLCIB Cloud-Intelligent-Whiteboard User Manual Instruction of CIB for User
Shenzhen TimeLink Technology Co.,Ltd Cloud-Intelligent-Whiteboard Instruction of CIB for User
UserManual.wiki
>
TimeLink Technology
>
TLCIB User Manual
User Manual
Navigation menu
Upload a User Manual
Namespaces
Wiki Guide
HTML
PDF
Info
Views
User Manual
Discussion / Help
Navigation
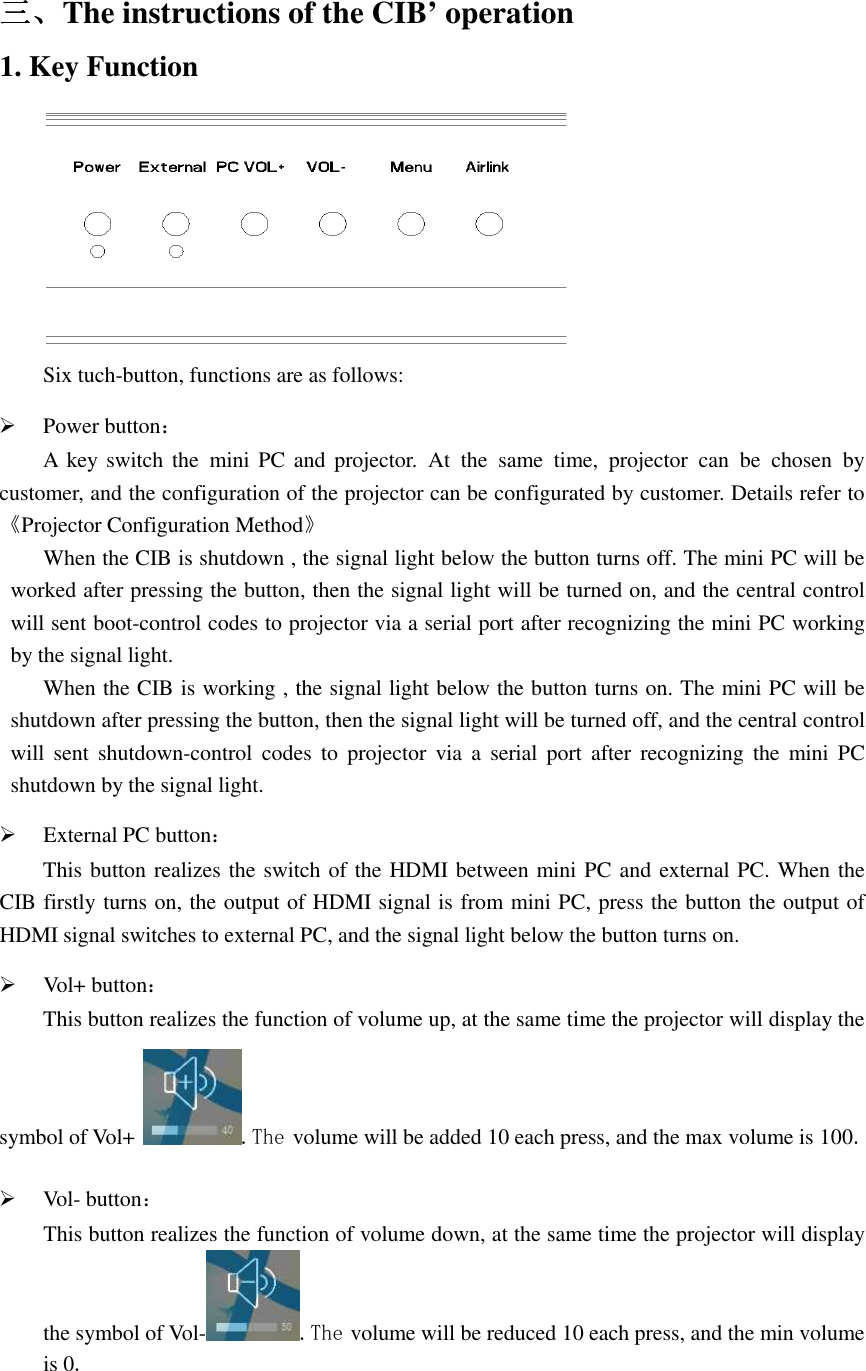
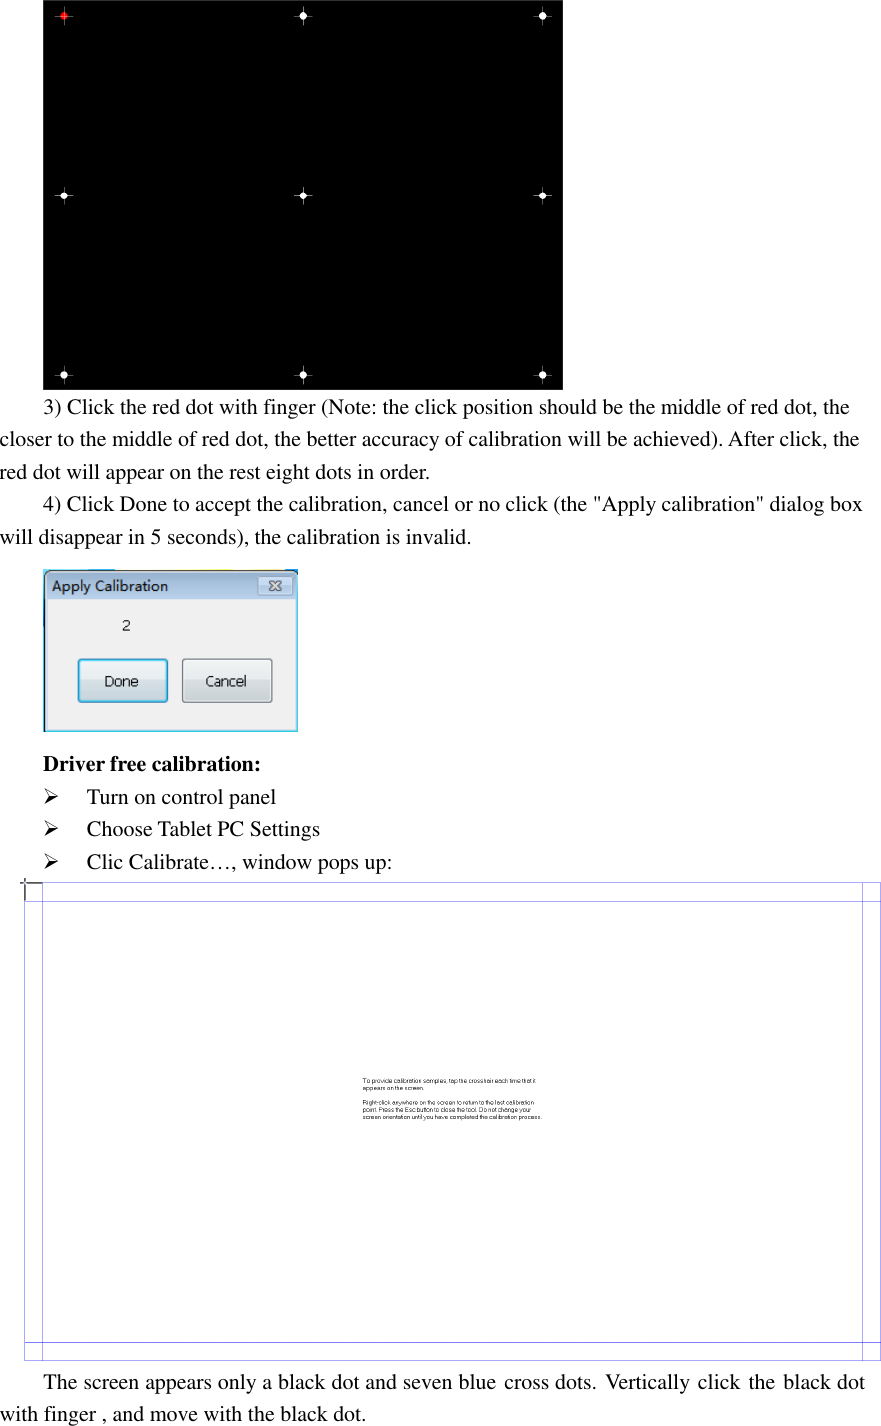
![ Menu button: Pop-up menu, which the information of the CIB ,such as the icon of CloudBoard4, AirLink, temperature and humidity can be saw on the menu, also this menu support the function for switching of HDMI and volume control. Airlink button: This button realizes the fast wireless projection function for customer. 2.The useage of CloudBoard4 Refer to 《CloudBoard4.0 User Guide》. 3.Touch Screen Calibration For better use of touch screen firstly, we recommend calibrating the touch screen. Methods as follows: With driver: Open touch screen configuration,Click "Touch screen configuration" in the Start menu; "Touch screen configuration" window pops up: Calibrate Sometimes due to hardware installation, leading to larger deviation between finger click position and the position of the cursor appears after finger clicking which affect the use of touch. Thus, use this feature to calibrate the location of the cursor after finger clicking. [Note] during calibration, click the nine cross on the screen with finger. Driver available calibration: 1) Click "calibration" button on the basic settings on the panel; 2) It displays a black screen, the screen appears only a red dot and eight white dots;](https://usermanual.wiki/TimeLink-Technology/TLCIB/User-Guide-3070301-Page-6.png)