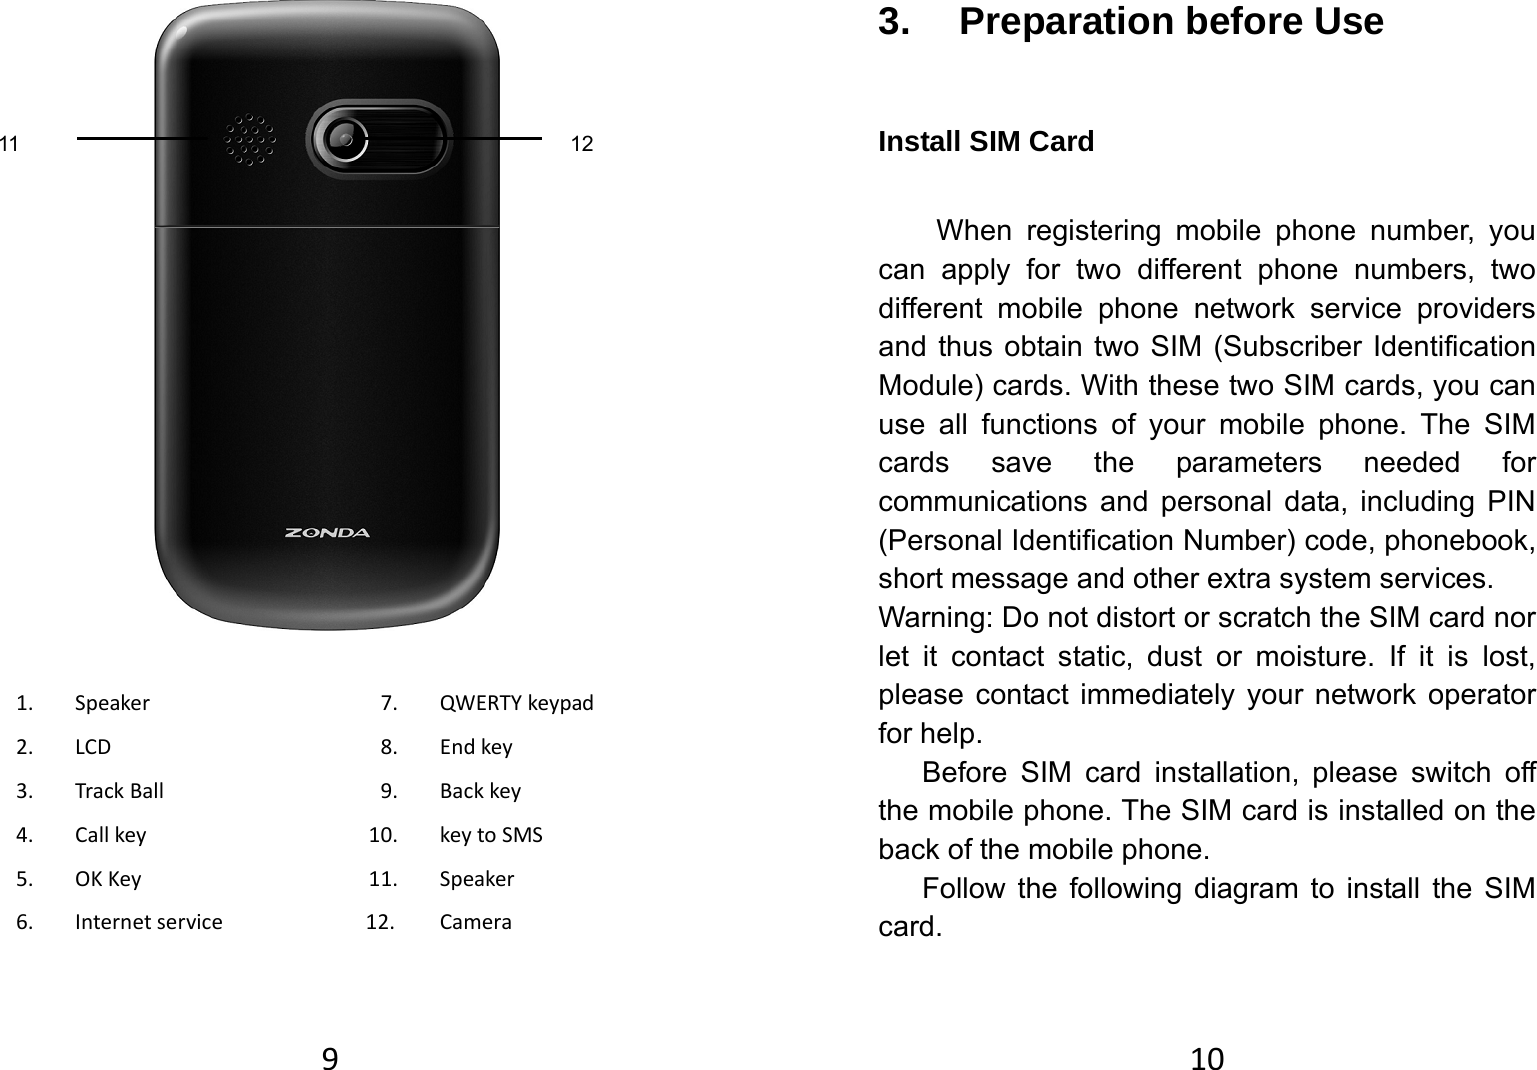
Tinno Mobile Technology T510G MOBILE PHONE User Manual XD6T510G
SHENZHEN TINNO MOBILE TECHNOLOGY CO., LTD. MOBILE PHONE XD6T510G
UserManual.wiki
>
Tinno Mobile Technology
>
T510G User Manual
Users Manual
Navigation menu
Upload a User Manual
Namespaces
Wiki Guide
HTML
PDF
Info
Views
User Manual
Discussion / Help
Navigation
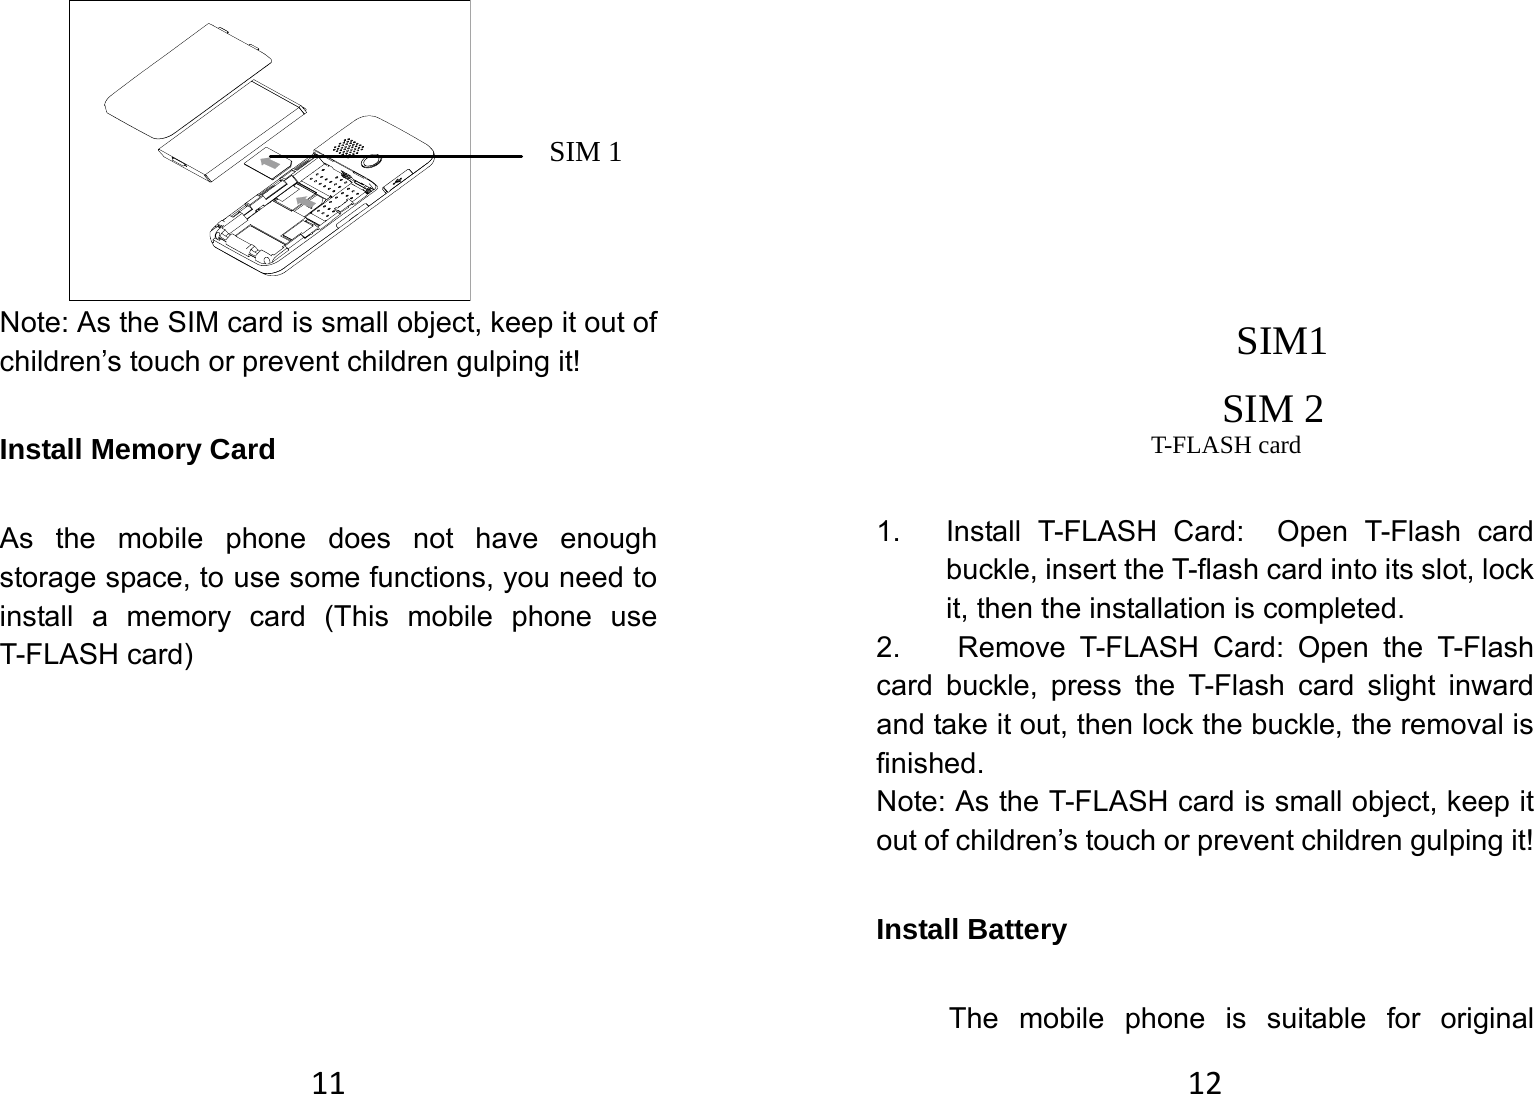
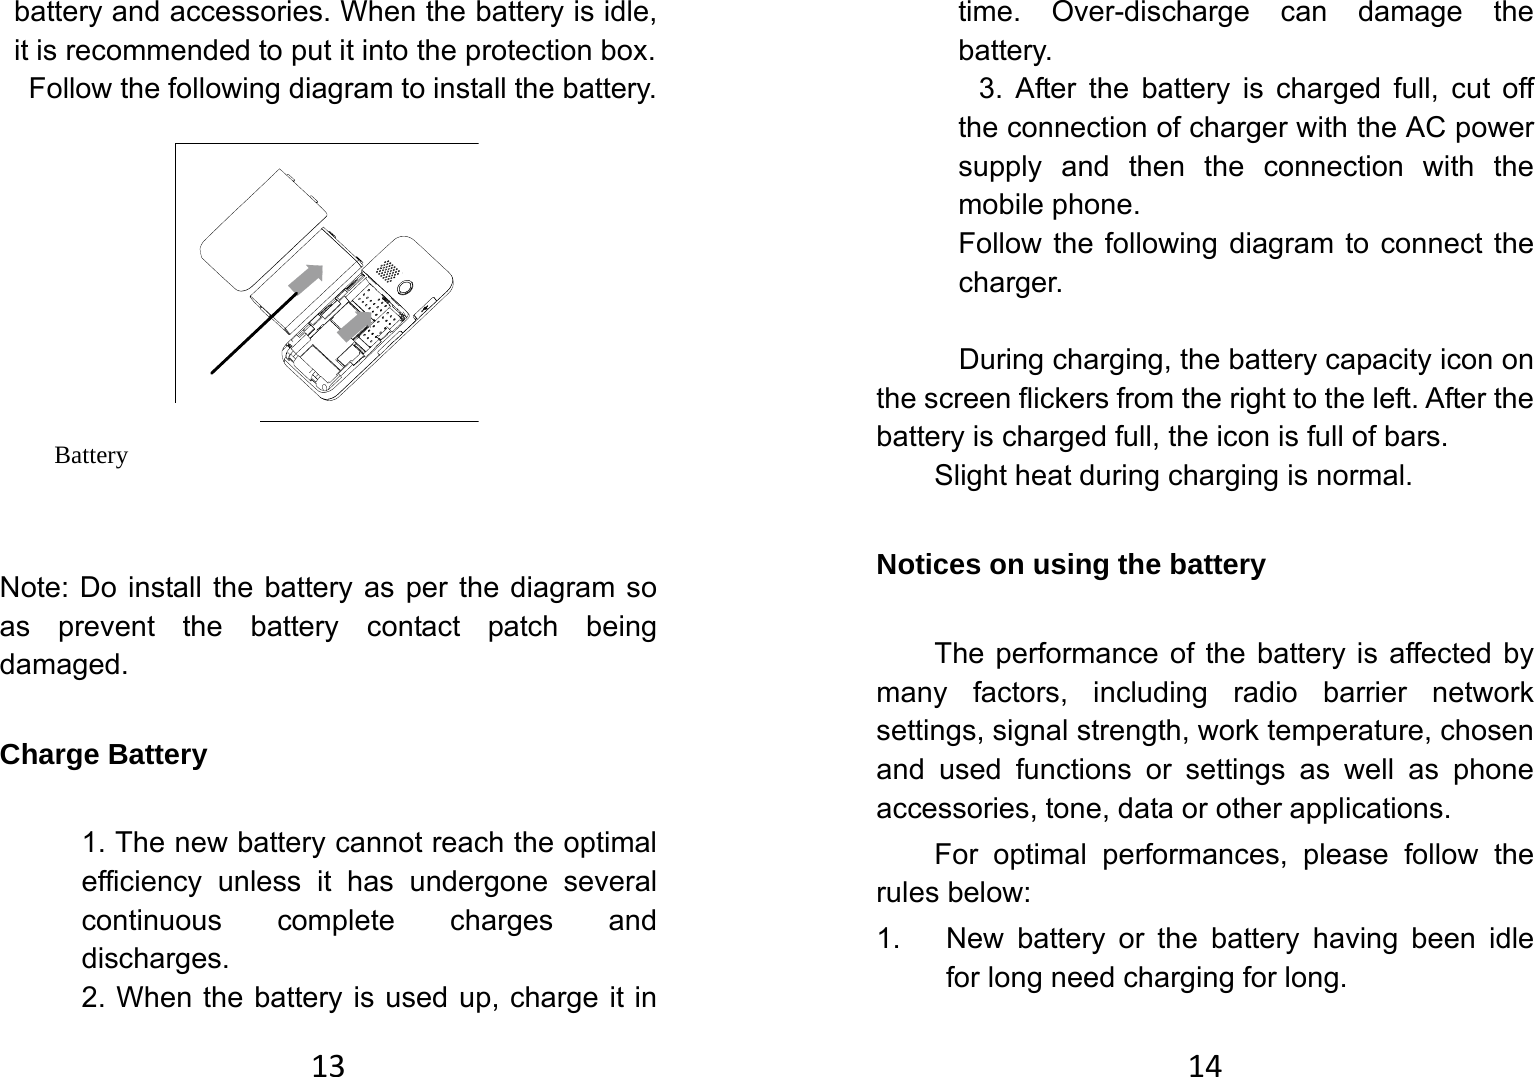


![652. Close FM radio: Press the lower direction key to close FM radio. 3. Adjust volume: In the FM radio play interface, Click “+”or “-” key to adjust volume. 4. Option menu Channel list: Display the channels to be saved; at most, you can save 9 channels. Manual input: You can edit the specified radio frequency band. The frequency of the radio is between 87.5mHz and 108.0mHz. Preset Auto Search: You can have automatic search and save the searched channels into the list. Schedule FM record YoucanscheduletorecordcertainFMRadiochannelatanytime,sothatyouwillnotmisstheprogram.66File Manager YoucanmanageAudio,ImagesandEBook.[Phone]‐‐Thestoragebodyisphone.[Open]:YoucanopenAudio,ImagesandEBookReceivedAudio—ImagesFolder Open:Youcanseethecurrentimage. Newfolder:Youcansetthecurrentfiletoanewfolder. Rename:Youcanrenamethefiles Delete:Youcandeletethecurrentrecord. Sortby:Youcanrankfilesaspername,type,timeandsizeorchoose“None”.Images—ImagesFolder Open:Youcanseethecurrentimage. Newfolder:Youcansetthecurrentfiletoanewfolder. Rename:Youcanrenamethefiles Delete:Youcandeletethecurrentrecord. Sortby:Youcanrankfilesaspername,type,timeandsizeorchoose“None”.EBook—ImagesFolder Open:Youcanseethecurrentimage.](https://usermanual.wiki/Tinno-Mobile-Technology/T510G/User-Guide-1343790-Page-33.png)