Toshiba Mobile Communications Quality Management Division CN10-J03 CDMA TS003 Cellphone User Manual T001 Basic indb
Toshiba Corporation, Mobile Communications Co., Quality Management Division CDMA TS003 Cellphone T001 Basic indb
UserManual.wiki
>
Toshiba Mobile Communications Quality Management Division
>
CN10 J03 User Manual
Manual
Navigation menu
Upload a User Manual
Namespaces
Wiki Guide
HTML
PDF
Info
Views
User Manual
Discussion / Help
Navigation

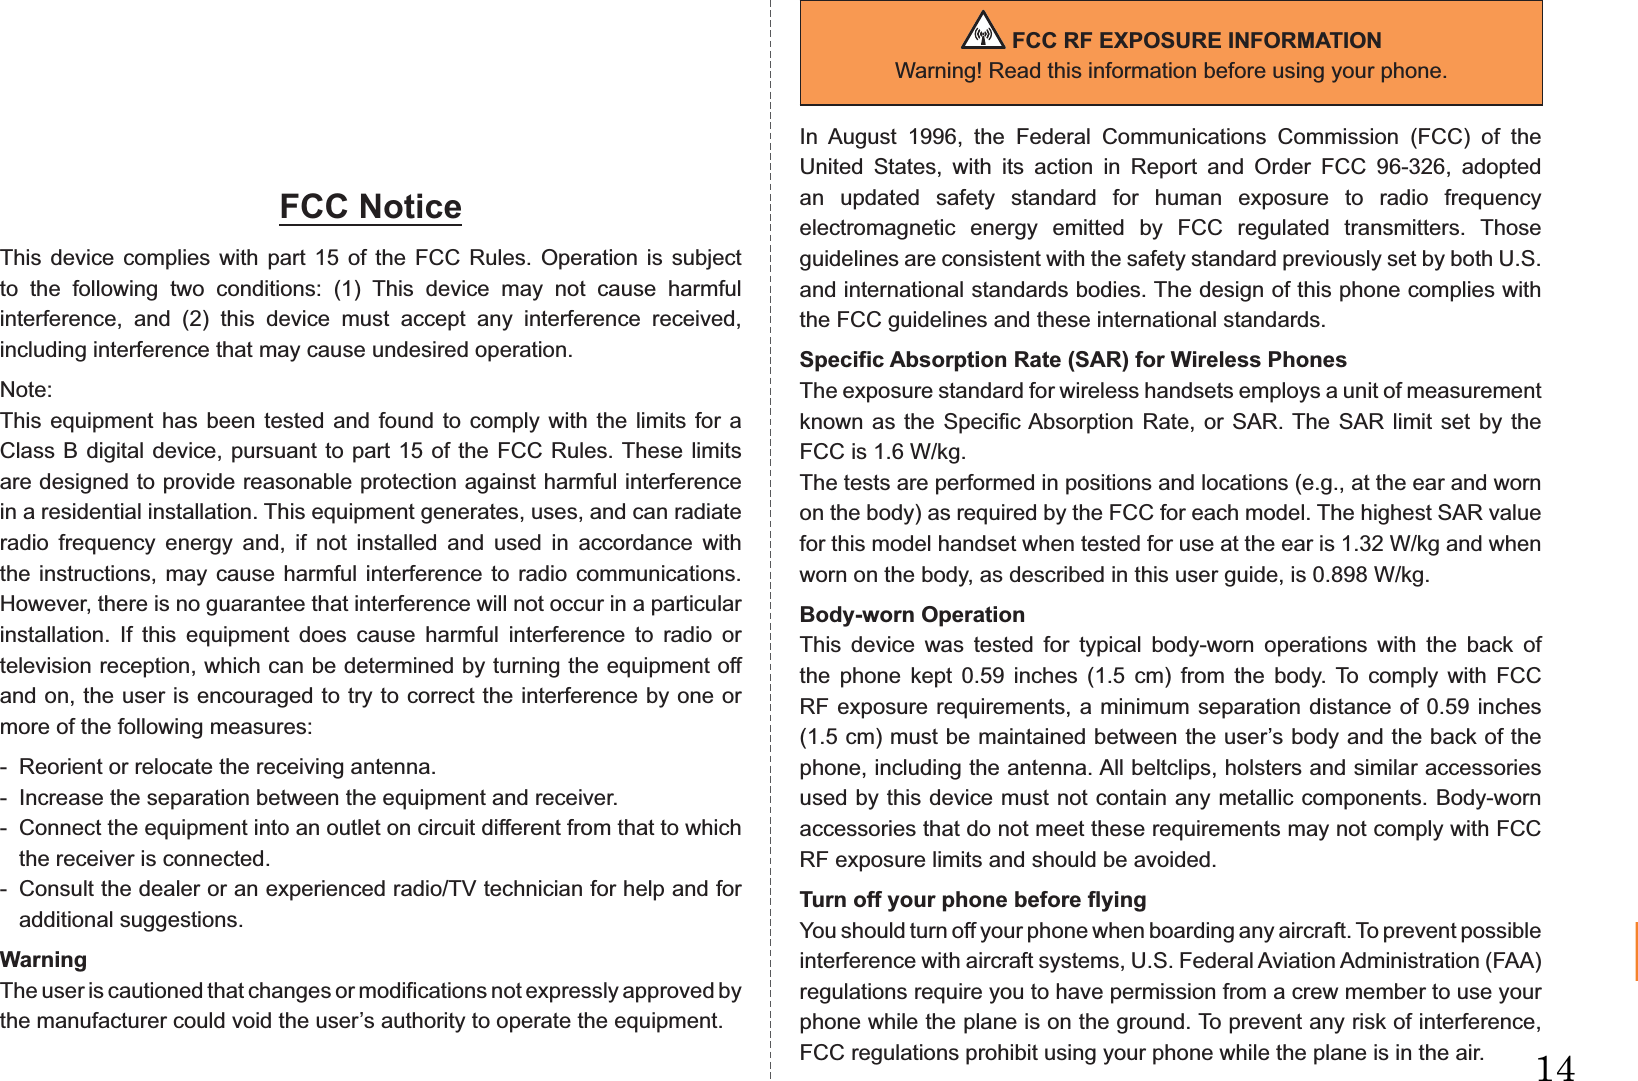
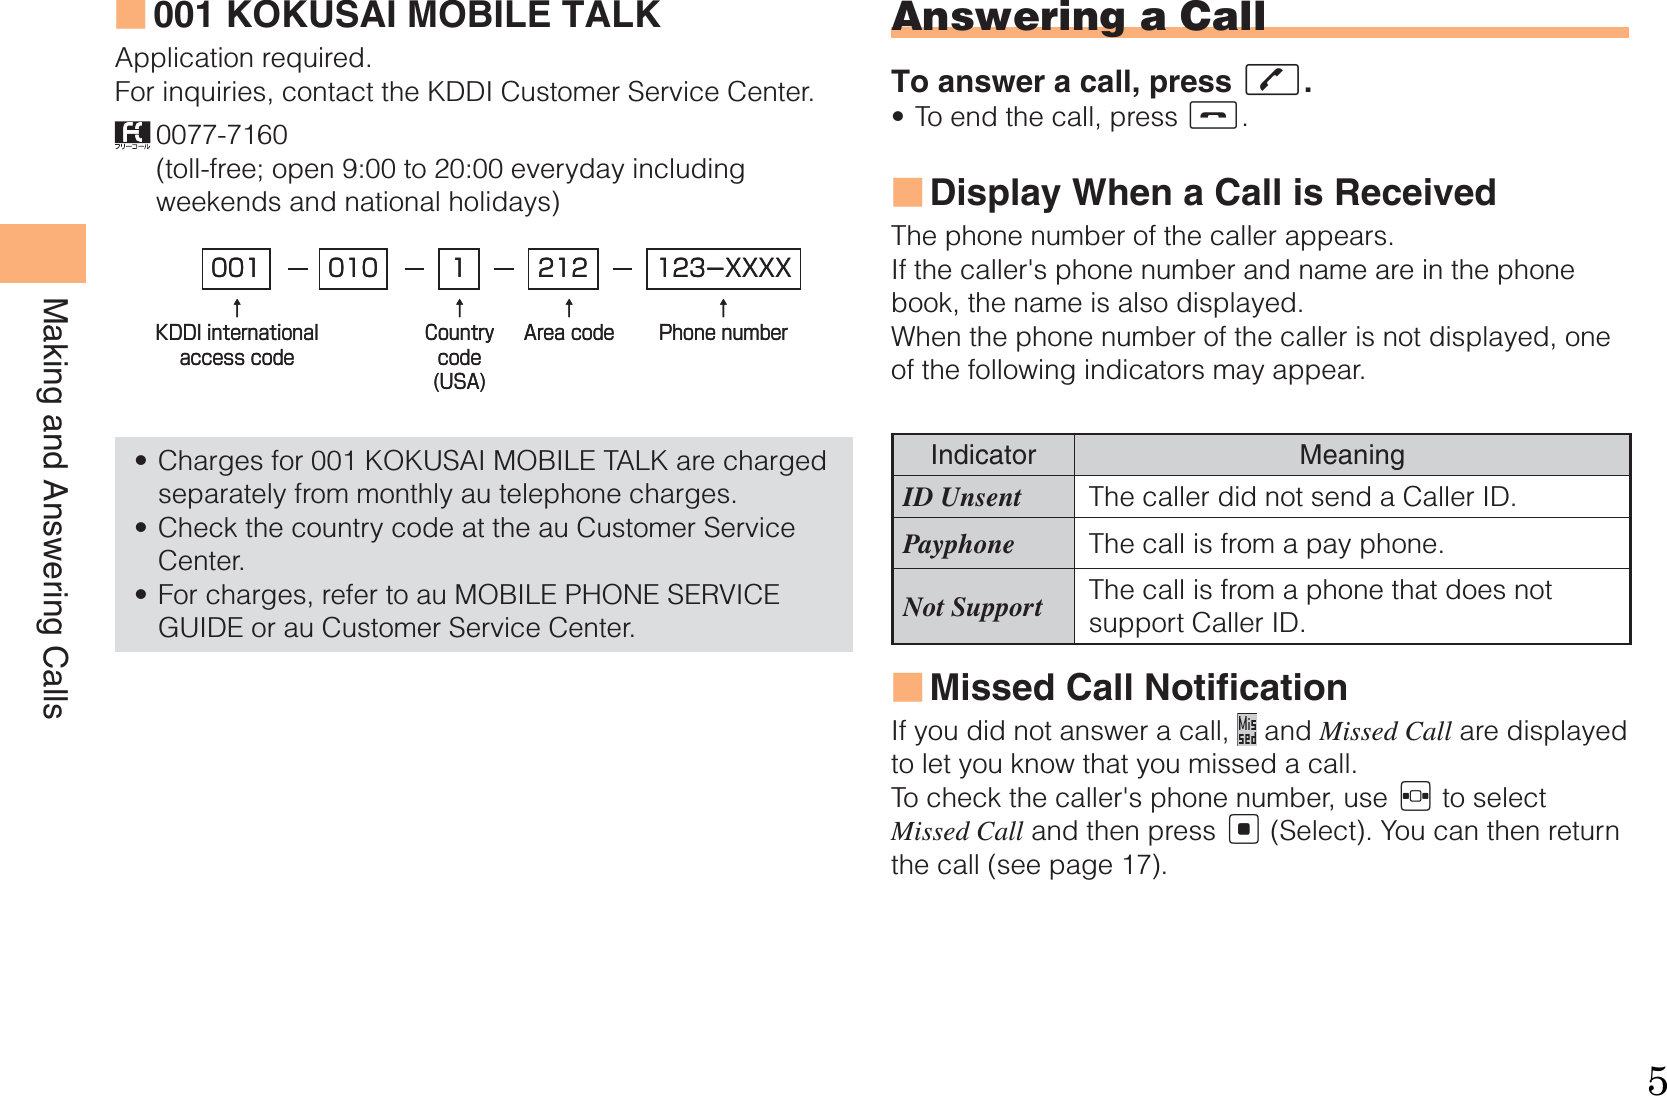
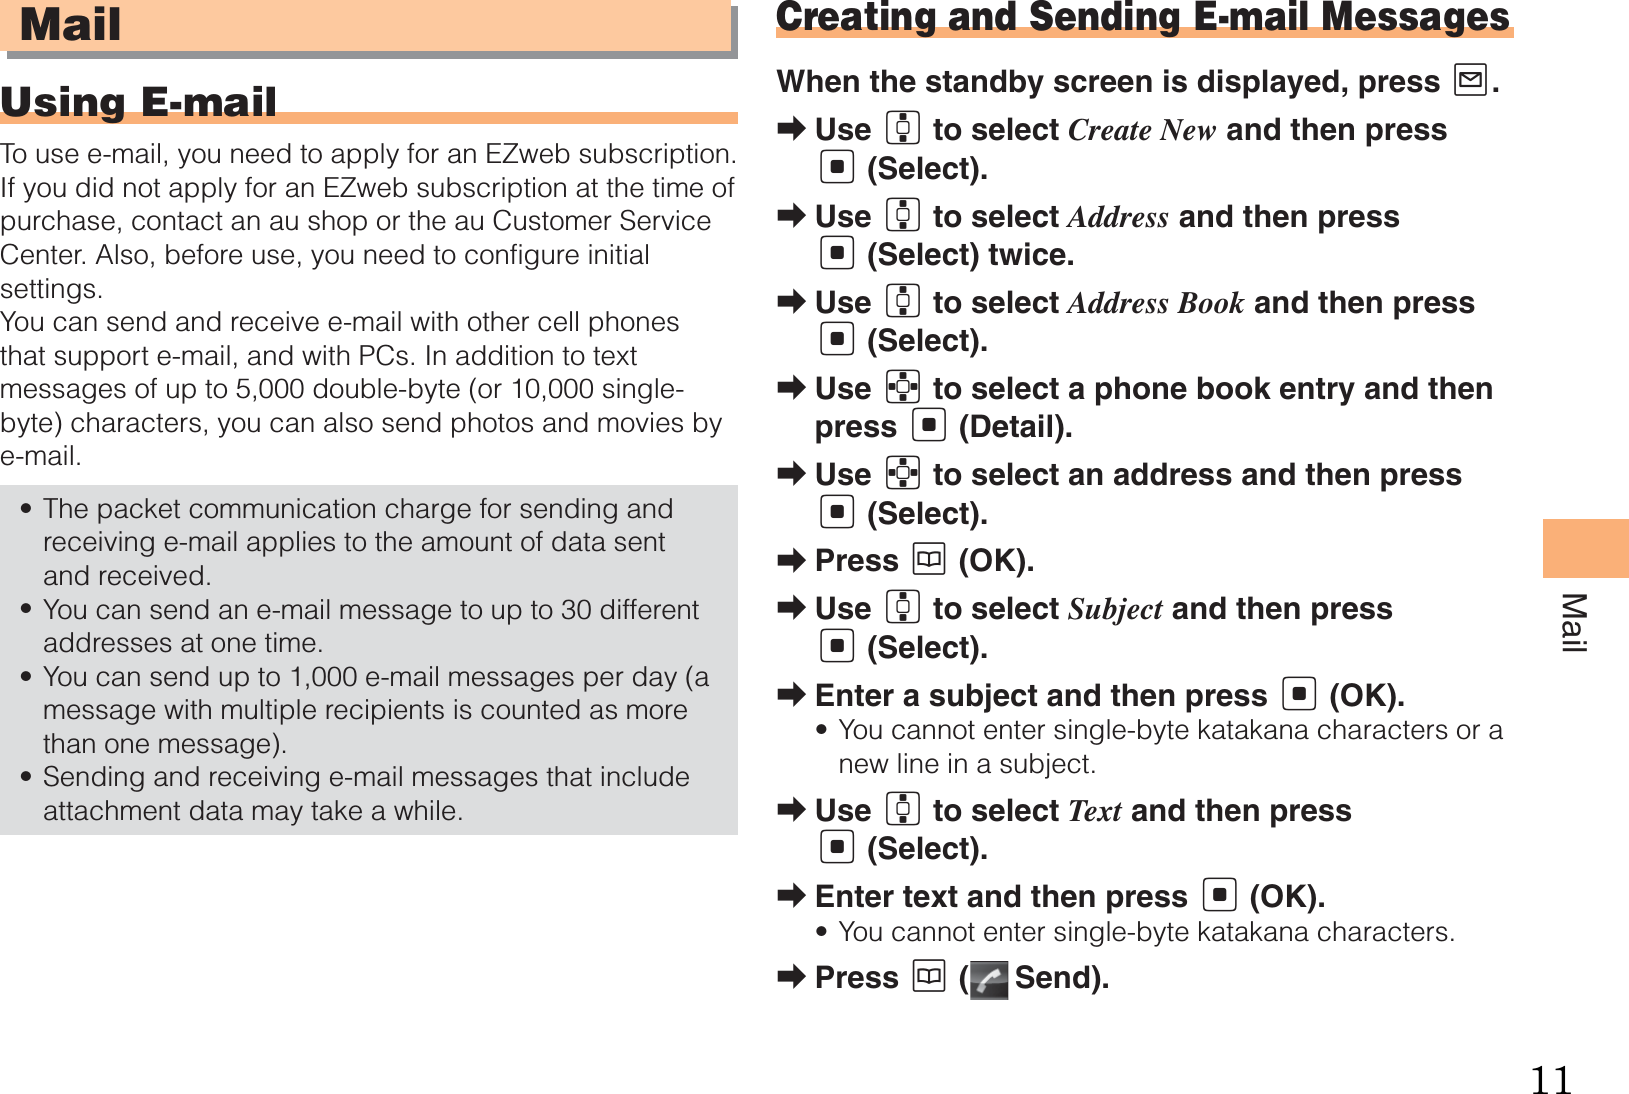
![10Getting ReadyHiding/Redisplaying the Alert WindowWhen the alert window is displayed on the standby screen, you can temporarily hide it by pressing K (Back) and then display the Main menu by pressing [.To redisplay the hidden alert window, press B when the standby screen is displayed.Turning On PowerHold down S for at least one second.You cannot receive or make calls if (out of range indicator) is displayed.Turning Off PowerWhen the standby screen is displayed, hold down S for at least one second.Switching the Display Language to EnglishYou can switch the display language for function names and other items to English.When the standby screen is displayed, press [.Use E to select 機能 (Function) and then press [ (選択 [Select]).Use G to select 画面表示 (Screen Display) and then press [ (選択 [Select]).■•■➡➡Use G to select Set Language and then press [ (選択 [Select]).Use G to select English and then press [ (Set).Initial Setup of E-mail and EZwebTo use e-mail and EZweb, you need to apply for an EZweb subscription. If you did not apply for an EZweb subscription at the time of purchase, contact an au shop or the au Customer Service Center.Also, before use, you need to configure initial settings. Your e-mail address is assigned automatically in the initial setup.When the standby screen is displayed, press L.Press [ (OK).After a short while, your e-mail address is displayed.Press [ (OK).The initial settings are complete.You can also configure initial settings by pressing mM or jJ.Checking Your Phone Number and E-mail AddressWhen the standby screen is displayed, press [ and then 0.➡➡➡➡•Alert windowAlert window3](https://usermanual.wiki/Toshiba-Mobile-Communications-Quality-Management-Division/CN10-J03/User-Guide-1164884-Page-4.png)
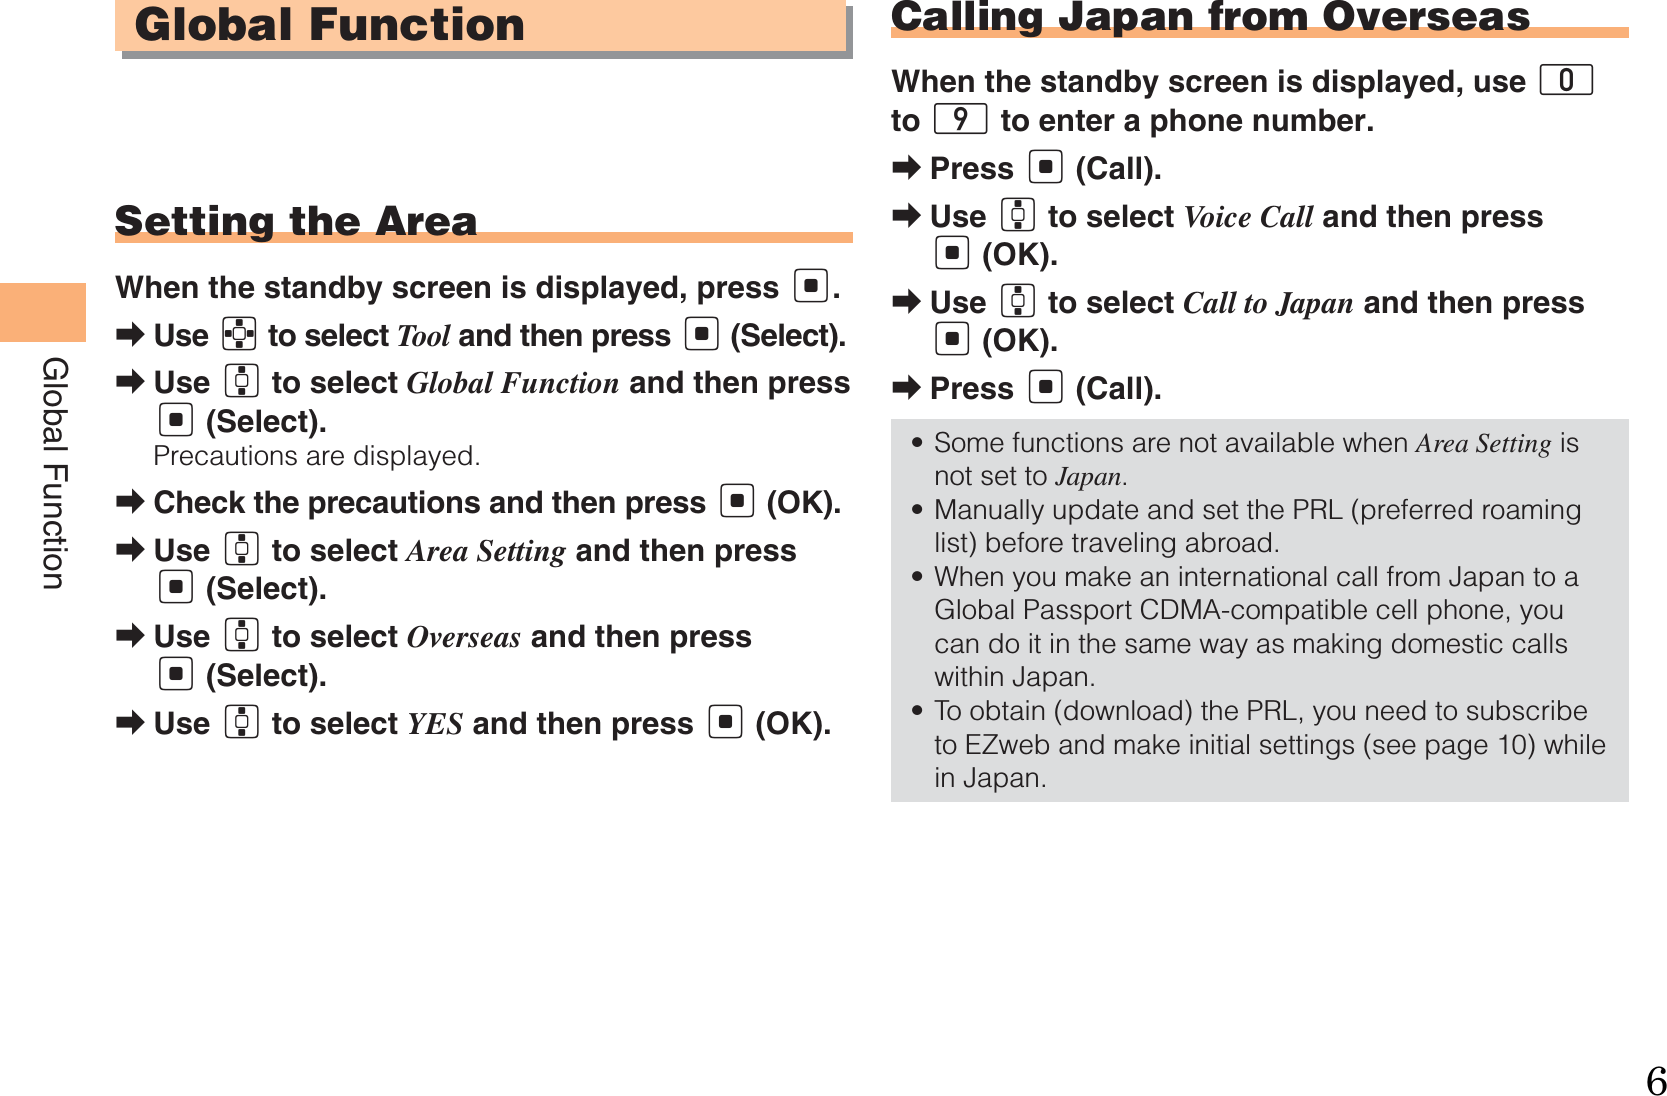

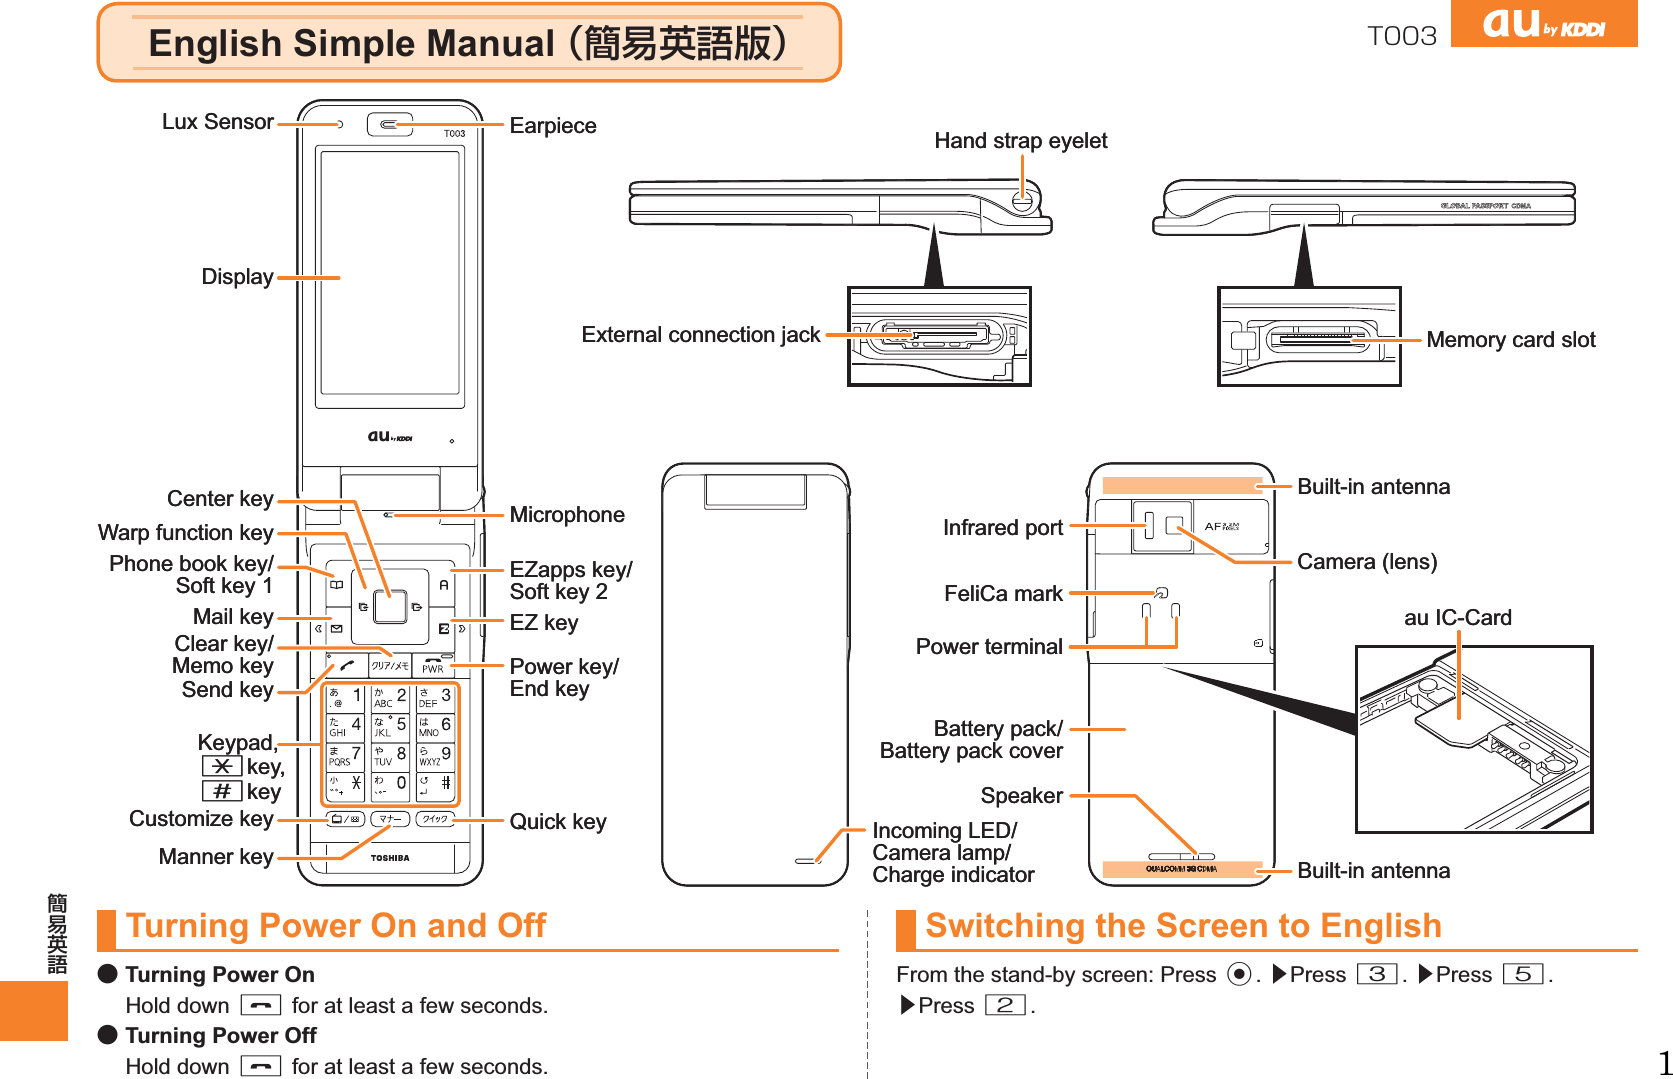
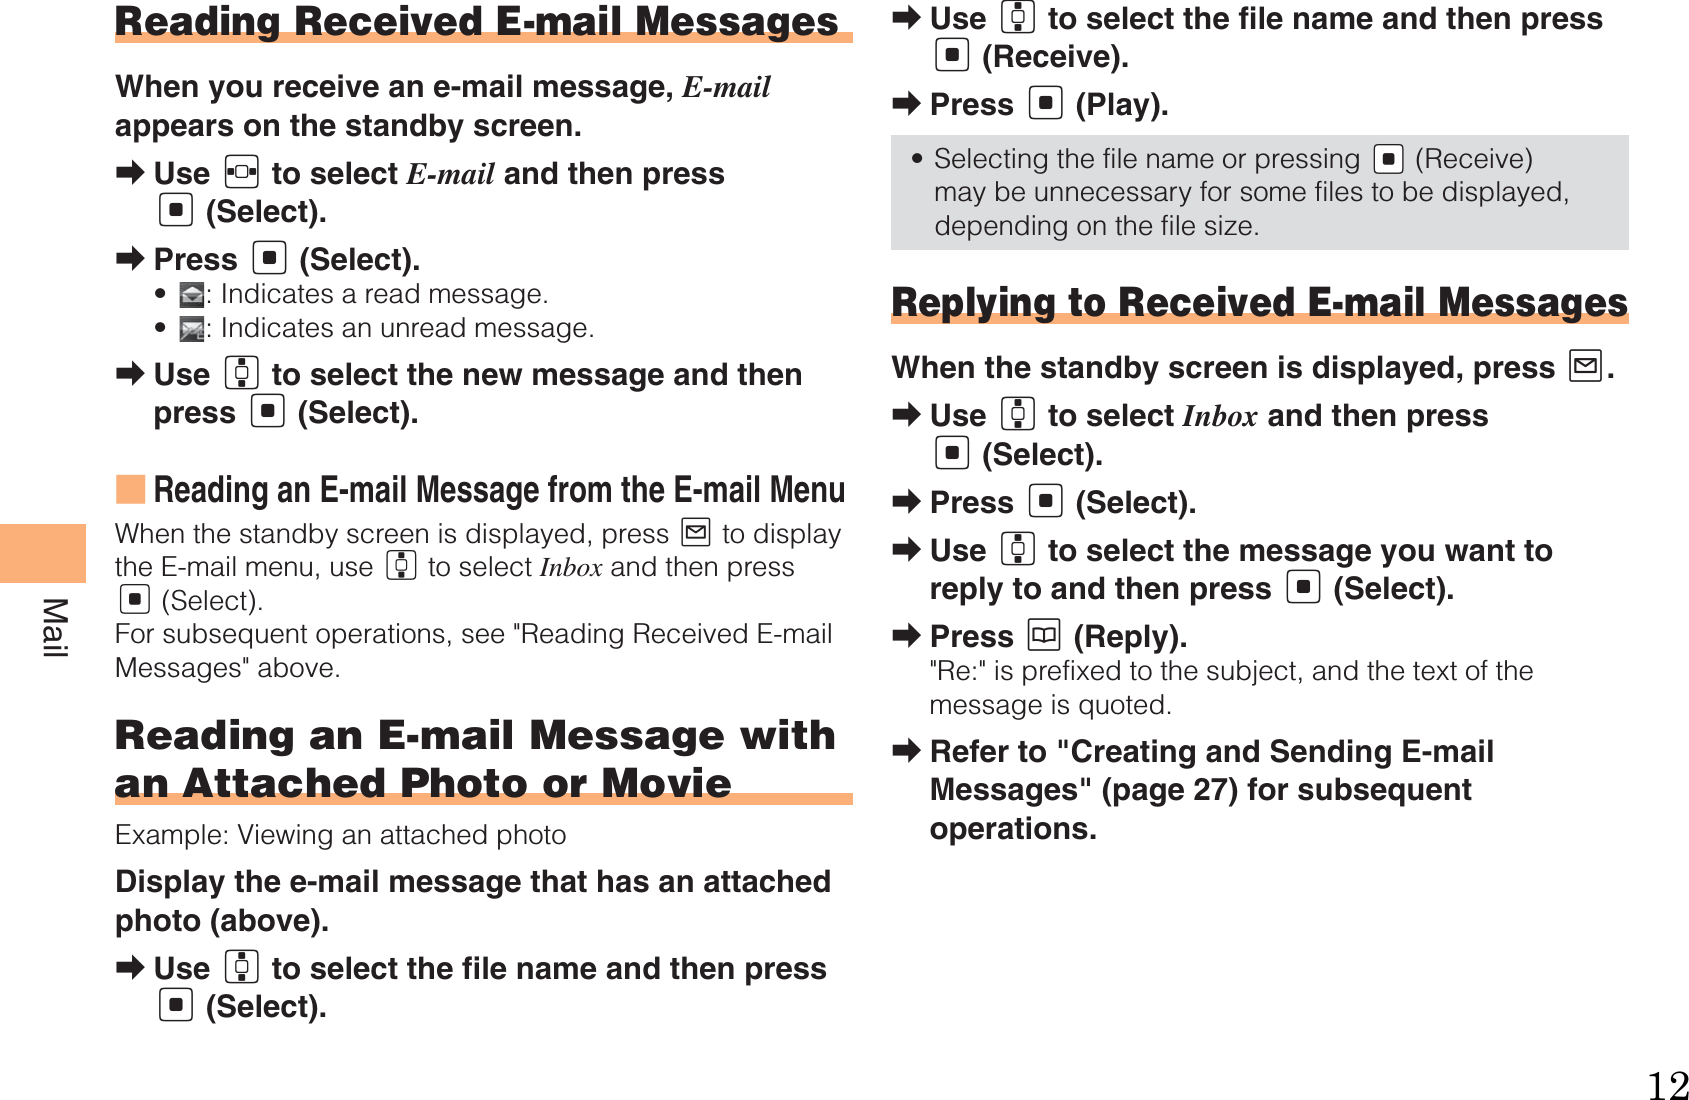
![24Phone BookPhone BookSaving a Phone Book EntryWhen the standby screen is displayed, hold down K for at least one second.Use G to select [Name] and then press [ (Select).Enter a name and then press [ (OK).The [Reading] for the name is entered automatically.Use G to select [Phone No.1] and then press [ (Select).Enter a phone number and then press [ (OK).If the phone number is for a fixed-line phone, enter the phone number starting with the area code.Use G to select a phone number type and then press [ (Select).Follow the next step to enter an e-mail address. If you do not want to enter an e-mail address, press J (Reg).Use G to select [E-mail Address1] and then press [ (Select).Enter an e-mail address and then press [ (OK).Use G to select an e-mail address type and then press [ (Select).Press J (Reg).➡➡➡➡•➡•➡➡➡➡The phone book can store up to 1,000 entries. The cell phone automatically saves an entry to the lowest available memory number from 000 to 999.You can save five phone numbers and five e-mail addresses for each phone book entry.You can also assign a group No., and enter birthday, address, and other information. Dialing from the Phone BookWhen the standby screen is displayed, press K.Use E to select the entry containing the phone number you want to dial and then press [ (Detail).Use G to select the phone number and then press [ (Select).Use G to select Voice Call and then press [ (OK).Editing Phone Book EntriesWhen the standby screen is displayed, press K.Select an entry and press [ (Detail).Press K (Edit).Edit the contents and then press J (Reg).Use G to select Overwrite and then press [ (OK).••••➡➡➡➡➡➡➡9](https://usermanual.wiki/Toshiba-Mobile-Communications-Quality-Management-Division/CN10-J03/User-Guide-1164884-Page-10.png)
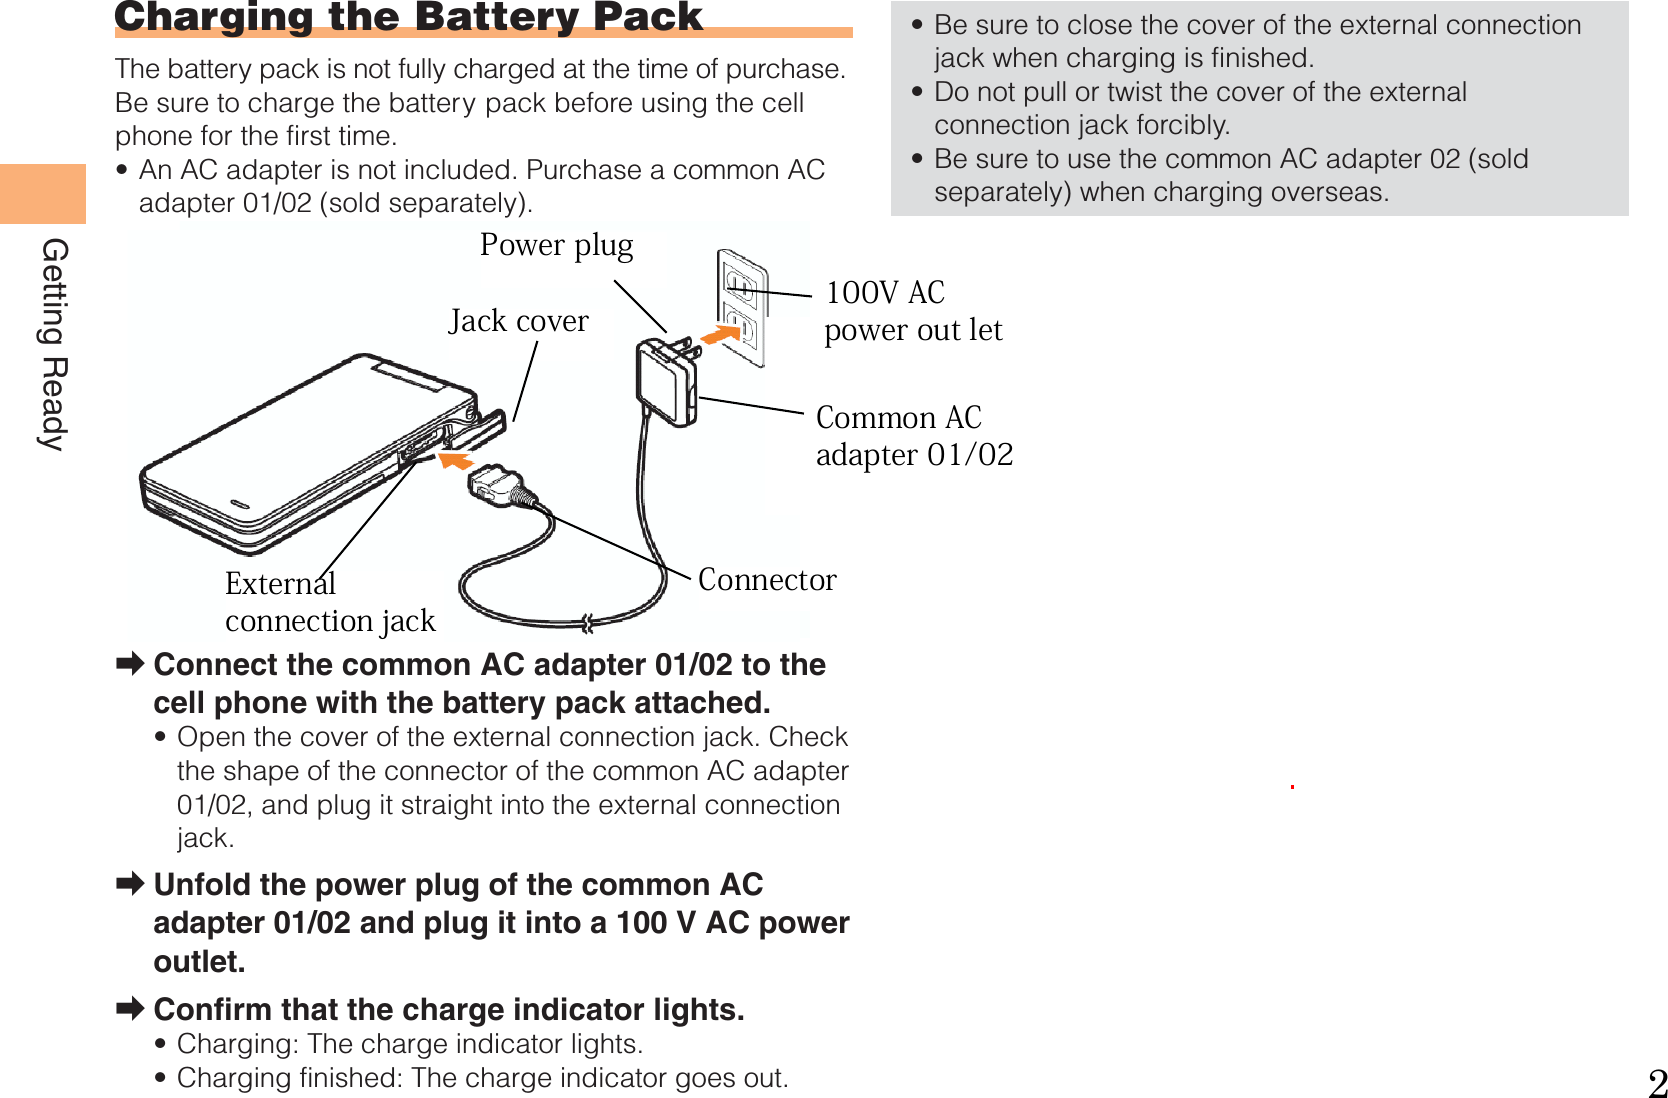
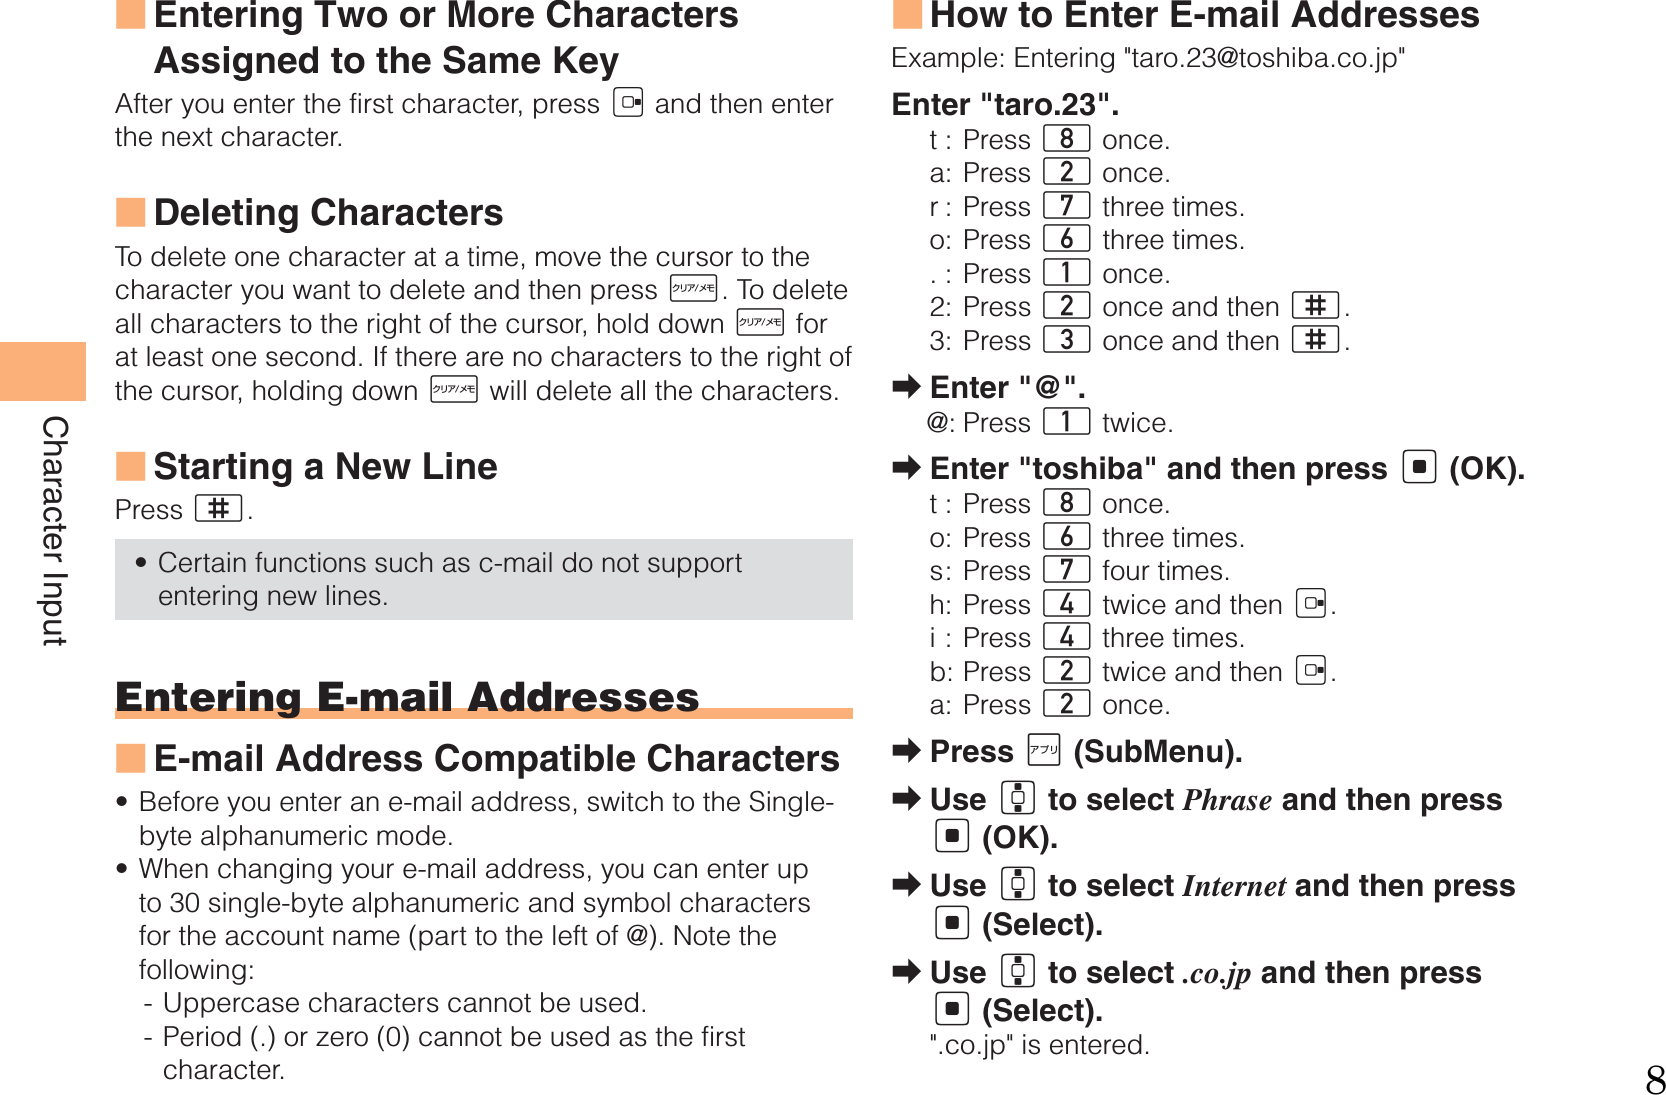
![30MailUsing C-mailC-mail is a service that uses phone numbers as addresses to exchange messages between au cell phones that support c-mail. A c-mail message can contain up to 50 double-byte (or 100 single-byte) characters.The c-mail send charge applies when sending c-mail.C-mail Safety BlockC-mail safety block is a function that allows you to reject c-mails that include URLs (http://△△△, https://△△△) or phone numbers in the c-mail message text.C-mail safety block is valid by default. Cancel the setting if you want to receive c-mails that include URLs and phone numbers in the message text.Creating and Sending C-mail MessagesWhen the standby screen is displayed, hold down L for at least one second.Use G to select Create New and then press [ (Select).Enter text and then press [ (OK).Use G to select [Address] and then press [ (Edit).Use G to select Quote Adrs Book and then press [ (OK).•■➡➡➡➡Use E to select a phone book entry and then press [ (Detail).Use E to select an address and then press [ (Select).Press K (Send).Reading Received C-mail MessagesWhen you receive a c-mail message, C-mail appears on the standby screen.Use F to select C-mail and then press [ (Select).Press [ (Select). : Indicates a read message. : Indicates an unread message.Use G to select the new message and then press [ (View).Reading a C-mail Message from the C-mail MenuWhen the standby screen is displayed, hold down L for at least one second to display the C-mail menu, use G to select Inbox and then press [ (Select). For subsequent operations, see "Reading Received C-mail Messages" above.➡➡➡➡➡••➡■13](https://usermanual.wiki/Toshiba-Mobile-Communications-Quality-Management-Division/CN10-J03/User-Guide-1164884-Page-14.png)