TriGem Computer N3400NILE NOTEBOOK P.C. User Manual AV N3400 User s Guide USc00
TriGem Computer, Inc NOTEBOOK P.C. AV N3400 User s Guide USc00
UserManual.wiki
>
TriGem Computer
>
N3400NILE User Manual
Users Manual
Navigation menu
Upload a User Manual
Namespaces
Wiki Guide
HTML
PDF
Info
Views
User Manual
Discussion / Help
Navigation

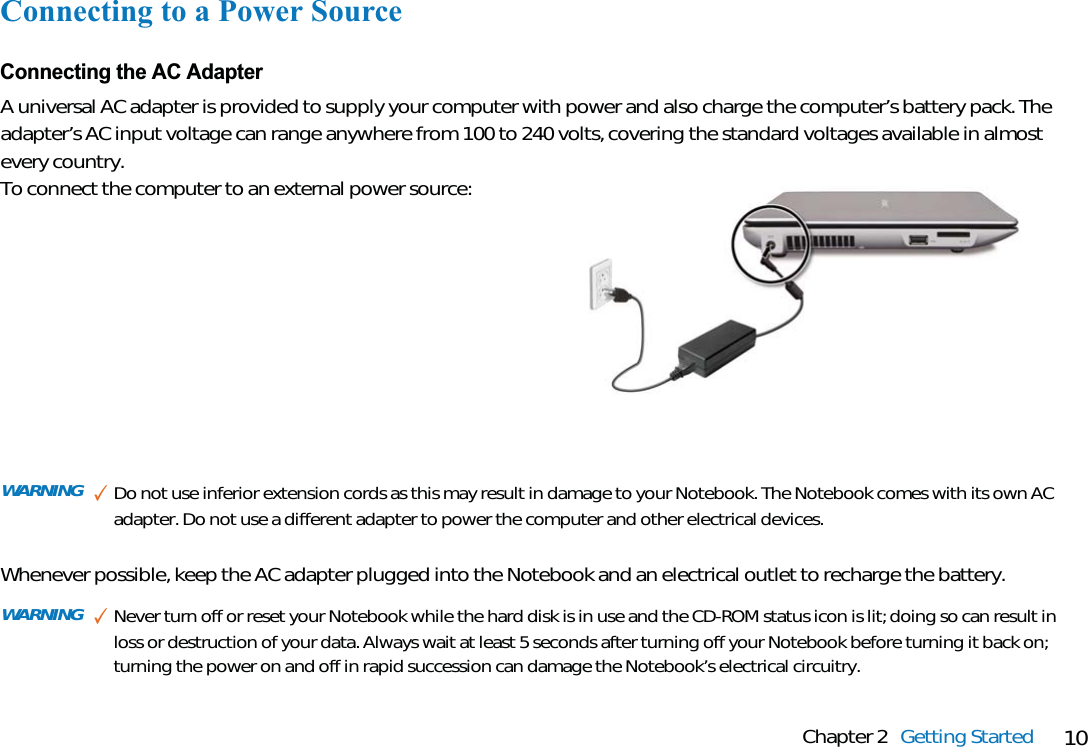


![17Chapter 3 Using the Notebook ComputerExternal CRT DisplayYou can hook up an external monitor through the 15-pin CRT connector. Three configurations are available:• LCD only• CRT only• Simultaneous display of the LCD screen and CRT monitorYou can switch between these display configurations by pressing the key combination [Fn] + [F6].](https://usermanual.wiki/TriGem-Computer/N3400NILE/User-Guide-1066435-Page-28.png)
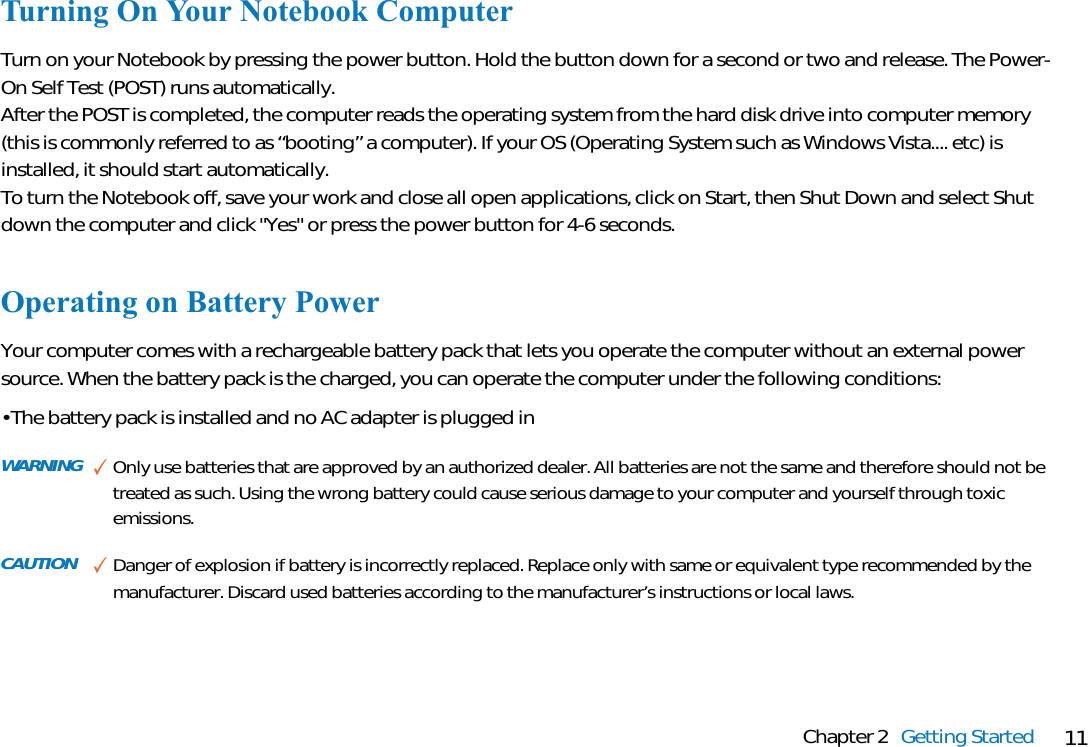
![26Chapter 3 Using the Notebook ComputerWARNING ✓Danger of explosion if battery is incorrectly replaced. Replace only with the same or equivalent type recommended by themanufacturer. Dispose of used batteries according to the manufacturer's instructions. Never remove the battery packwhile the power is on as this may result in data loss when the system loses power.Adjusting the BrightnessTo adjust the brightness on the LCD screen, press and hold down the [Fn] key in the lower left hand corner of the keyboardand press the [F8] key to reduce the brightness or [F7] to increase the brightness.](https://usermanual.wiki/TriGem-Computer/N3400NILE/User-Guide-1066435-Page-37.png)

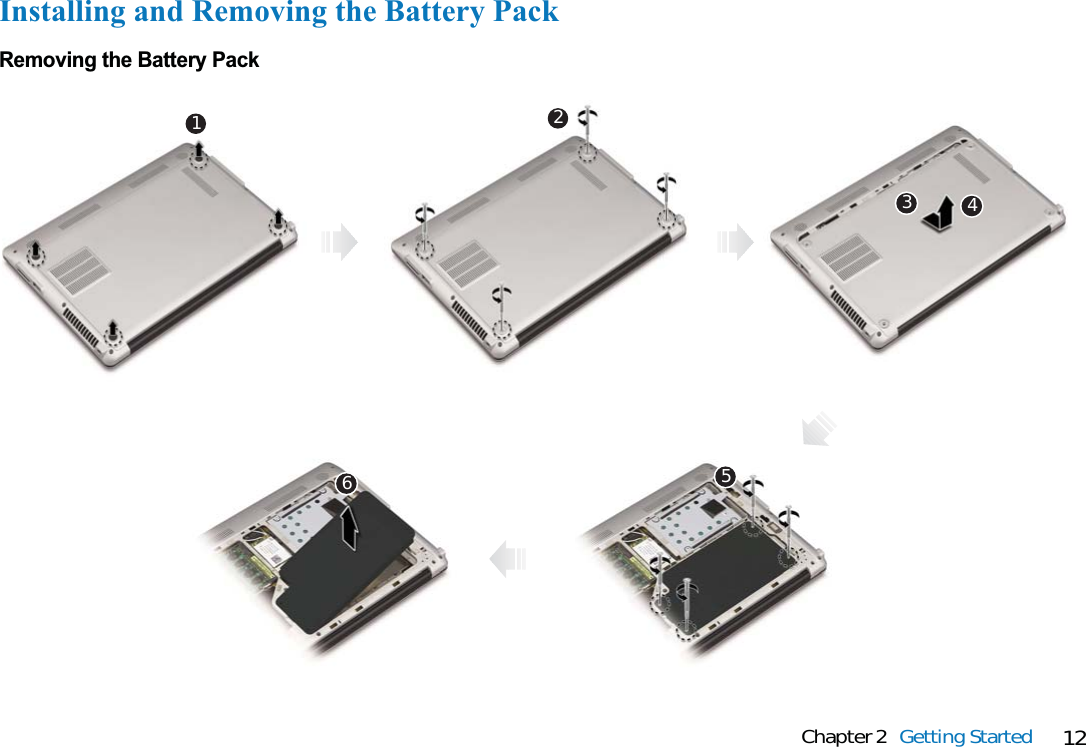
![33Chapter 4 Desktop OperationAudio Volume ControlThe Notebook is equipped with hot-key volume controls: Pressing the [Fn]+[F11] hot-key combination decreases theaudio output volume, press the [Fn]+[F10] hot-key combination increases the audio output volume.Audio SoftwareYour notebook comes equipped with an integrated sound system capable of providing you with quality audio soundthrough the builtin speakers or through external speakers connected via the system ports.Sound RecordingYour system allows you to record sounds and store them as files using the microphone via the microphone jack on theright side of the notebook computer. Check the Windows Help and Support Center in Windows for information on usingthe various elements in sound recording.Playing Sound FilesYour notebook can play audio files stored in MIDI, WAVE or MP3 file format. Check the Help and Support Center inWindows for information on the functions of the Media Player.External Speakers and MicrophoneThe sound system is capable in providing high-quality sound to external speakers and receiving and processing soundsfrom an external microphone or external sound source.Connecting Peripheral DevicesTo expand your computing capabilities, you can add a variety of external devices to your computer.Note ✓For a high-quality sound, click on the "Volume Control" at the lower right end of your screen. From the Volume Controlwindows, click on the "Advanced" tab, click and select the "Microphone Boost" item.](https://usermanual.wiki/TriGem-Computer/N3400NILE/User-Guide-1066435-Page-44.png)


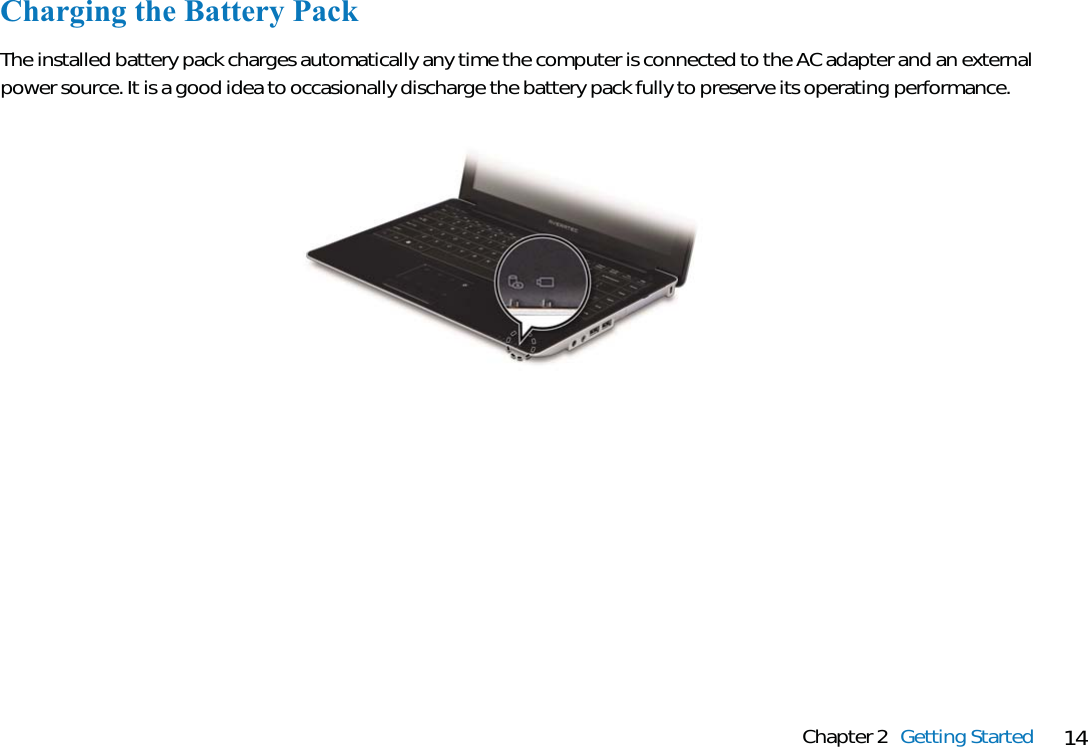
![50Chapter 8 TroubleshootingAudio ProblemsNo speaker output• Software volume control is turned down in Microsoft Sound System or is muted. Double-click the speaker icon on thelower right corner of the taskbar to see if the speaker has been muted or turned down all the way.• Most audio problems are software-related. If your computer worked before, chances are software may have been setincorrectly.• Go to [Start > Settings > Control Panel] and double-click the Sounds and Audio Devices icon. In the Audio page, makesure that the audio codec mentioned in the spec is the default playback device.Sound cannot be recorded• You will need to plug-in an external microphone to the microphone connector to record sound.• Double-click the speaker icon on the lower right corner of the taskbar to see if the microphone has been muted.- Click Options and select Properties.- Select Recording and click the OK button.- After Click OK button, the recording volume control panel will appear.• Go to [Start > Settings > Control Panel] and double-click the Multimedia icon (or Sounds and Audio Devices icon). In theVolume or Audio page, make sure that the audio codec mentioned in the spec is the default recording device.](https://usermanual.wiki/TriGem-Computer/N3400NILE/User-Guide-1066435-Page-61.png)
![51Chapter 8 TroubleshootingHard Disk ProblemsThe hard disk drive does not work or is not recognizable• If you had just performed a hard disk upgrade, make sure the hard drive connector is not loose and the hard disk drive isalso correctly seated. Remove it and reinsert it firmly, and restart your PC.• The new HDD may need to be partitioned and reformatted. O/S and drivers will need to be re-installed as well.• Check the hard disk indicator LED. When you access a file, the LED lamp should light up momentarily.• The new HDD may be defective or is not compatible.• If your computer has been subjected to static electricity or physical shock, you may have damaged the disk drive.The hard drive is making abnormal whining noises• should back up your files as soon as possible.• Make sure the source of noise is indeed from the hard drive and not the fan or other devices.The hard disk drive has reached its capacity• Run Disk Cleanup utility in Windows. [Start > All Programs > Accessories > System Tools > Disk Cleanup] The system willprompt you for what to do.• Many browsers store files in the hard drive as a cache to speed up the performance. Check the program’s Online Help forinstructions on decreasing the cache size or on removing temporary Internet files.• Empty the Recycle Bin to create more disk space. When you delete files, Windows saves them to the Recycle Bin.](https://usermanual.wiki/TriGem-Computer/N3400NILE/User-Guide-1066435-Page-62.png)
![52Chapter 8 TroubleshootingThe hard disk takes longer to read a file• If you have been using the drive for a period, the files may be fragmented. Go to [Start > Programs > Accessories > SystemTools > Disk Defragmenter] to perform a disk defragmentation. This operation may take a while.• Interrupt requests or problems with other hardware devices may have occupied the CPU and therefore slows down thesystem performance.The files are corrupted• Run the Error-checking utility in Windows to check the HDD. Double-click My Computer. Right-click C: and selectProperties. Click Check Now in Error-checking in Tools.Display ProblemsThe display panel is blank when the system is turned on• Make sure the computer is not in the Standby or Hibernate suspend modes. The display is turned off to conserve energyin these modes.The screen is difficult to read• The display resolution should at least be set to at least 1280x800 for optimal viewing.- Go to [Start > Settings > Control Panel] and double-click the Display icon.- Under the Settings page, set screen resolution to at least 1280x800 and choose at least high(65536) colors.The screen flickers• It is normal if the display flickers a few times during shutting down or powering up.](https://usermanual.wiki/TriGem-Computer/N3400NILE/User-Guide-1066435-Page-63.png)
![53Chapter 8 TroubleshootingKeyboard and Mouse ProblemsThe built-in touch pad performs erratically• Make sure there is no excess perspiration or humidity on your hand when using the touch pad. Keep the surface of thetouch pad clean and dry.• Do not rest your palm or wrist on the surface of the touch pad while typing or using the touch pad.The built-in keyboard accepts no input• Please try to make sure the system doesn’t hang up and is still working.The characters on the screen repeat while I type.• You may be holding the keys down too long while you’re typing.• Keep the keyboard clean. Dust and dirt under the keys could cause them to stick.• Configure the keyboard to wait longer before the auto repeat feature starts. To adjust this feature, Go to [Start > Settings> Control Panel], and double-click the Keyboard icon. A dialogue box shows up with the adjustable settings for the keyboard.](https://usermanual.wiki/TriGem-Computer/N3400NILE/User-Guide-1066435-Page-64.png)