Tsuen Shing BM242A 2.4GHz Baby Monitor User Manual BM 242
Tsuen Shing Enterprises Limited 2.4GHz Baby Monitor BM 242
UserManual.wiki
>
Tsuen Shing
>
BM242A User Manual
User Manual
Navigation menu
Upload a User Manual
Namespaces
Wiki Guide
HTML
PDF
Info
Views
User Manual
Discussion / Help
Navigation

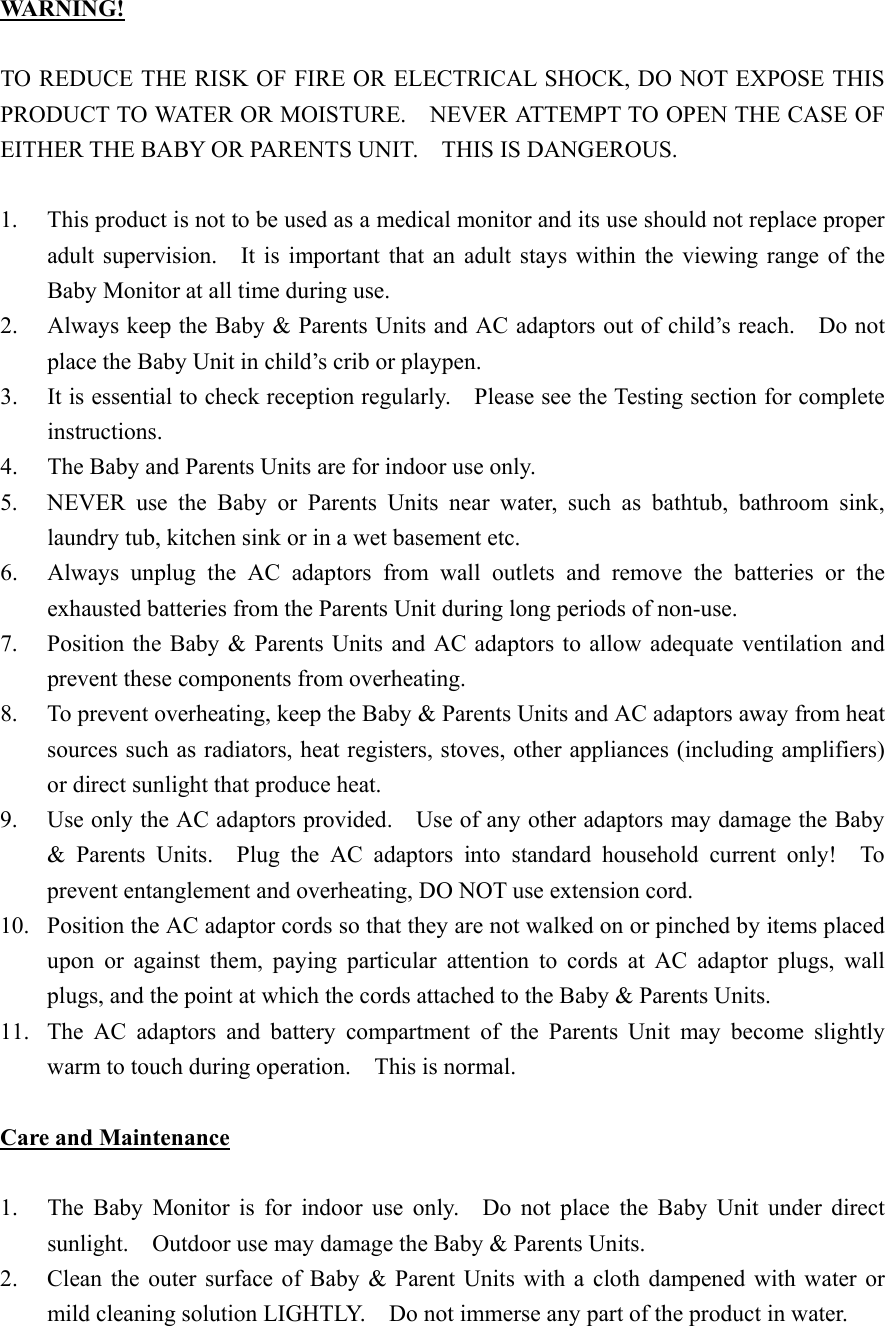
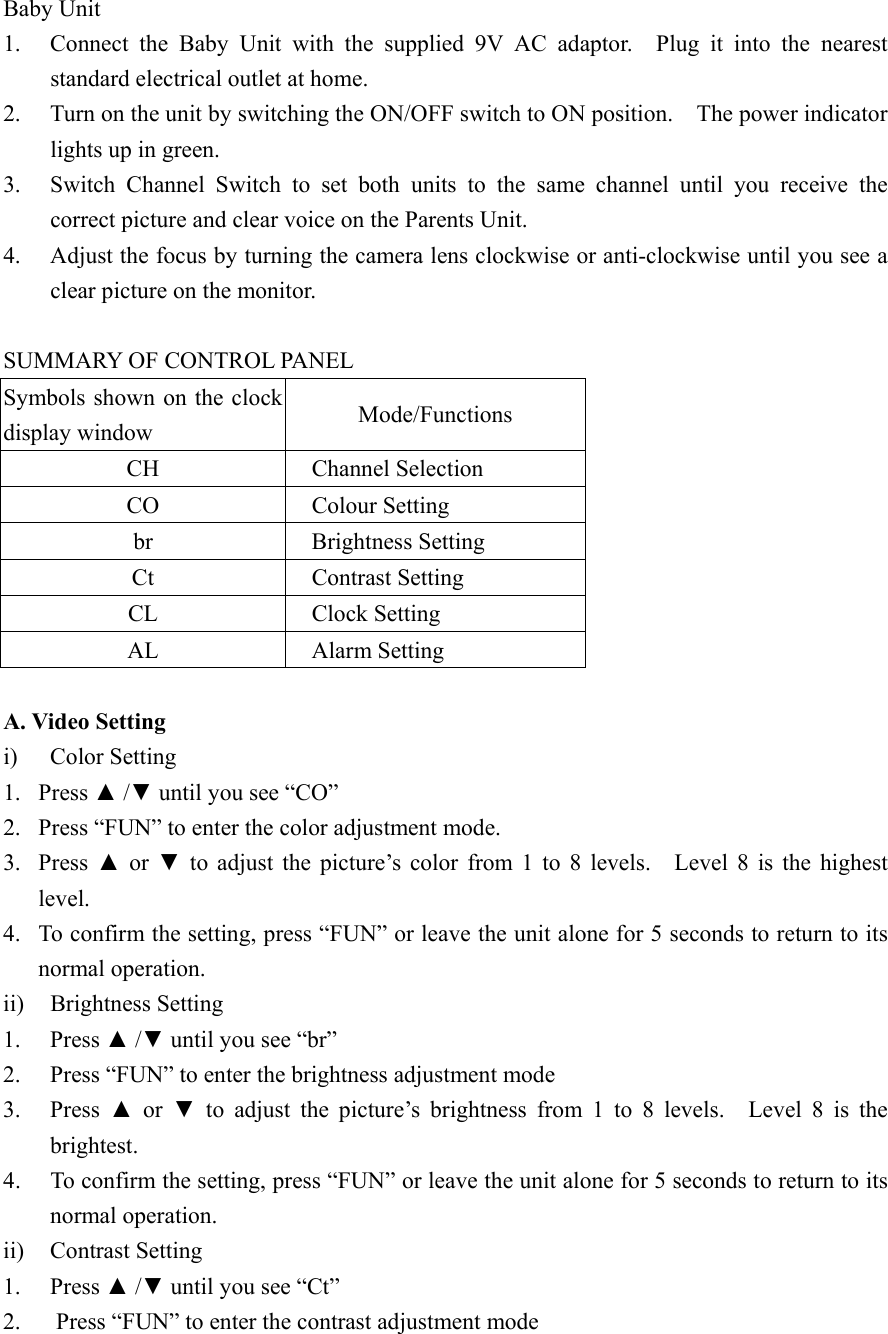
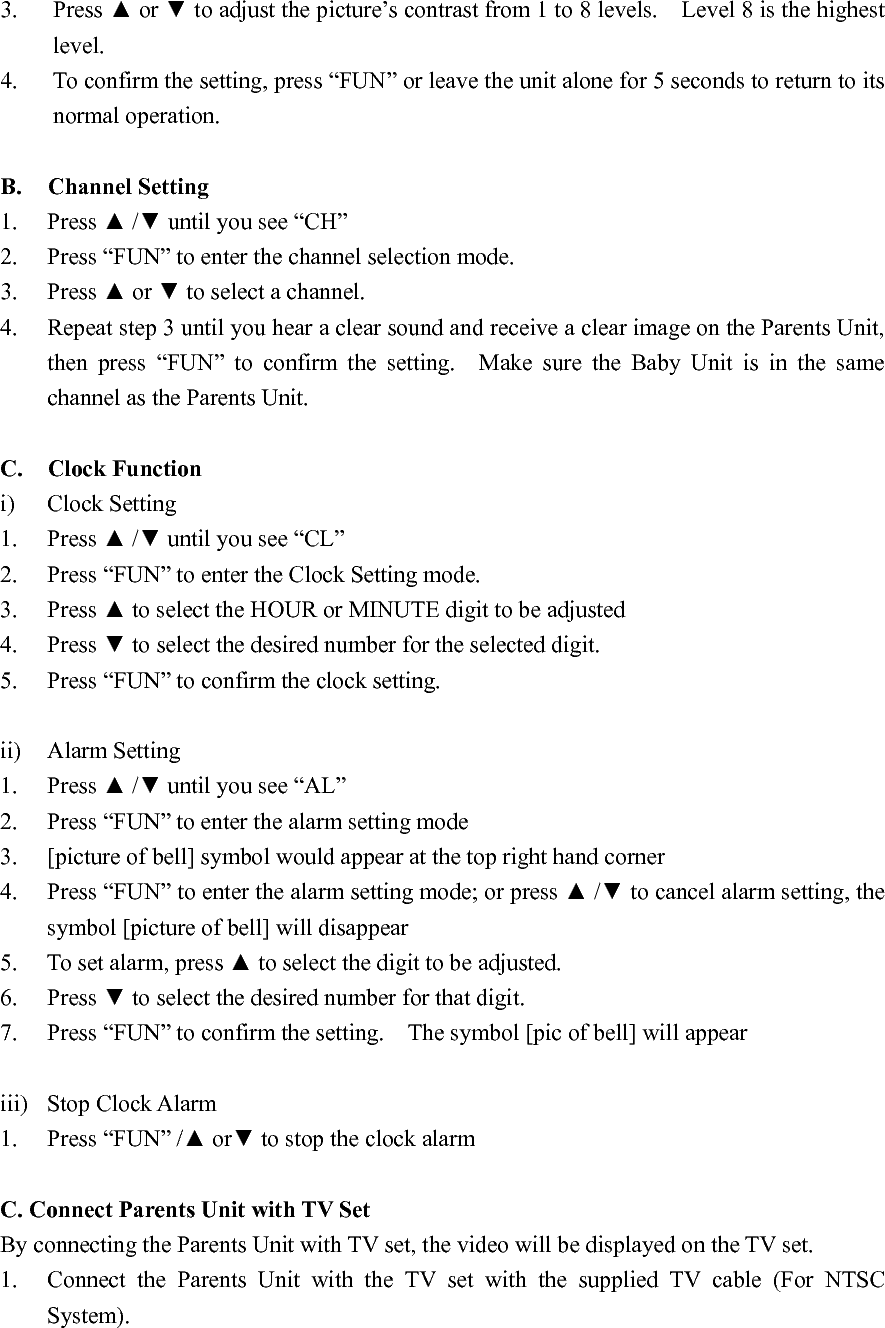
![3. Press ▲ or ▼ to adjust the picture’s contrast from 1 to 8 levels. Level 8 is the highest level. 4. To confirm the setting, press “FUN” or leave the unit alone for 5 seconds to return to its normal operation. B. Channel Setting 1. Press ▲ /▼ until you see “CH” 2. Press “FUN” to enter the channel selection mode. 3. Press ▲ or ▼ to select a channel. 4. Repeat step 3 until you hear a clear sound and receive a clear image on the Parents Unit, then press “FUN” to confirm the setting. Make sure the Baby Unit is in the same channel as the Parents Unit. C. Clock Function i) Clock Setting 1. Press ▲ /▼ until you see “CL” 2. Press “FUN” to enter the Clock Setting mode. 3. Press ▲ to select the HOUR or MINUTE digit to be adjusted 4. Press ▼ to select the desired number for the selected digit. 5. Press “FUN” to confirm the clock setting. ii) Alarm Setting 1. Press ▲ /▼ until you see “AL” 2. Press “FUN” to enter the alarm setting mode 3. [picture of bell] symbol would appear at the top right hand corner 4. Press “FUN” to enter the alarm setting mode; or press ▲ /▼ to cancel alarm setting, the symbol [picture of bell] will disappear 5. To set alarm, press ▲ to select the digit to be adjusted. 6. Press ▼ to select the desired number for that digit. 7. Press “FUN” to confirm the setting. The symbol [pic of bell] will appear iii) Stop Clock Alarm 1. Press “FUN” /▲ or▼ to stop the clock alarm C. Connect Parents Unit with TV Set By connecting the Parents Unit with TV set, the video will be displayed on the TV set. 1. Connect the Parents Unit with the TV set with the supplied TV cable (For NTSC System).](https://usermanual.wiki/Tsuen-Shing/BM242A/User-Guide-346804-Page-7.png)