Twinhead TA10I Tablet PC User Manual TA10i UserMan 2012 12 05
Twinhead International Corporation Tablet PC TA10i UserMan 2012 12 05
UserManual.wiki
>
Twinhead
>
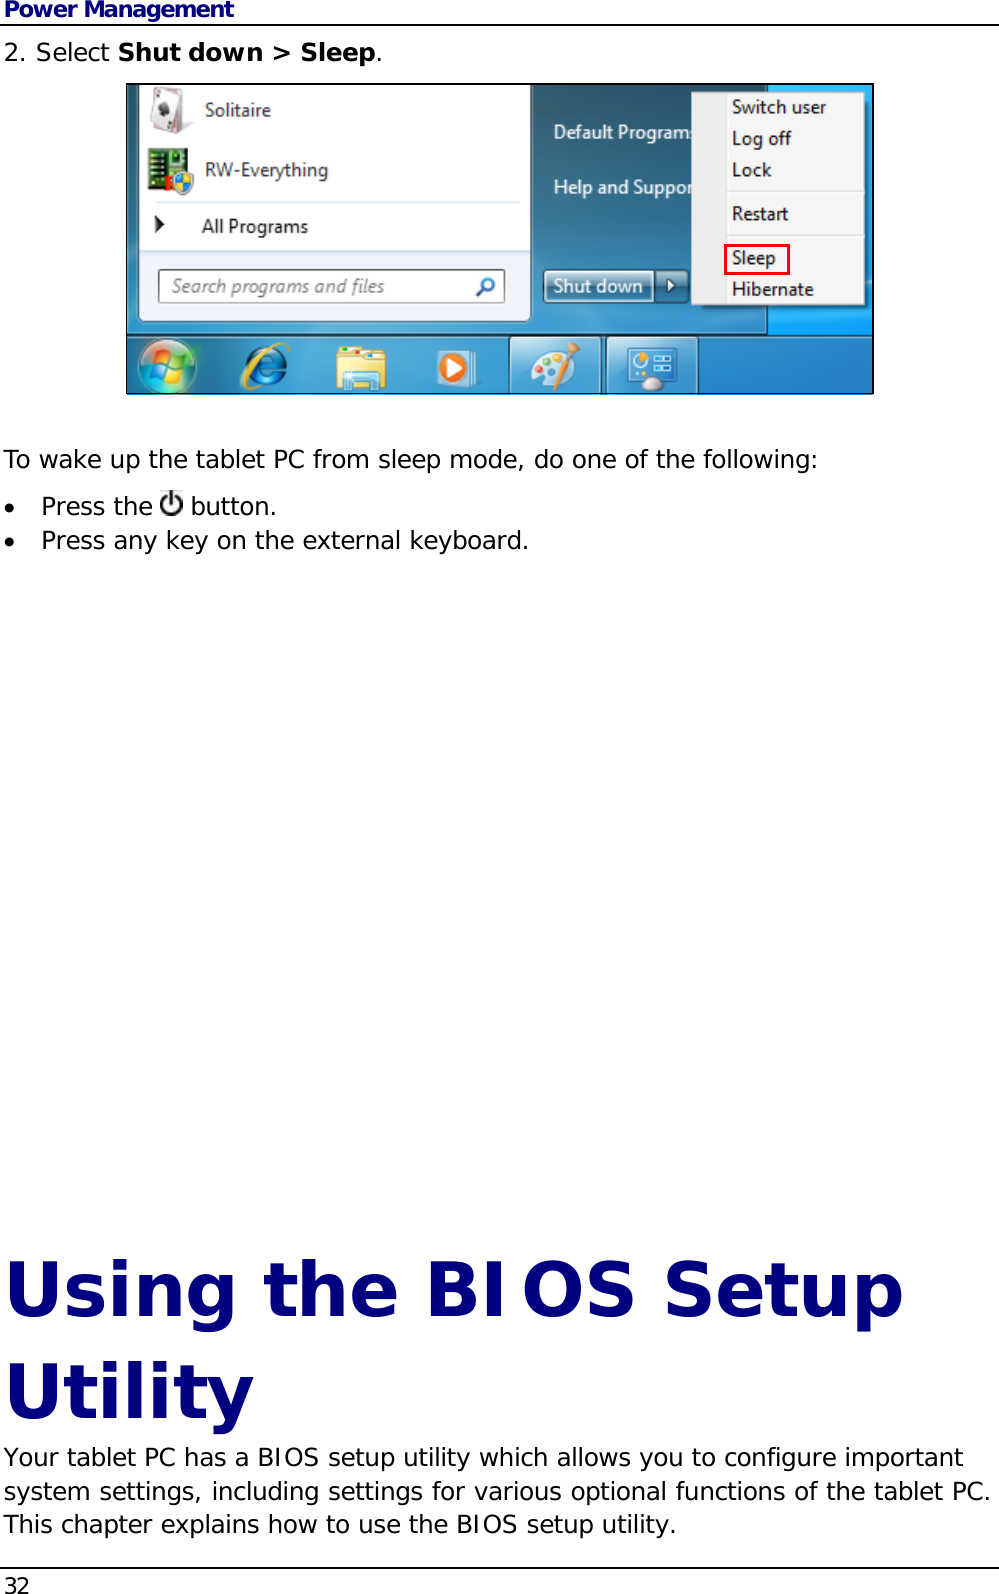
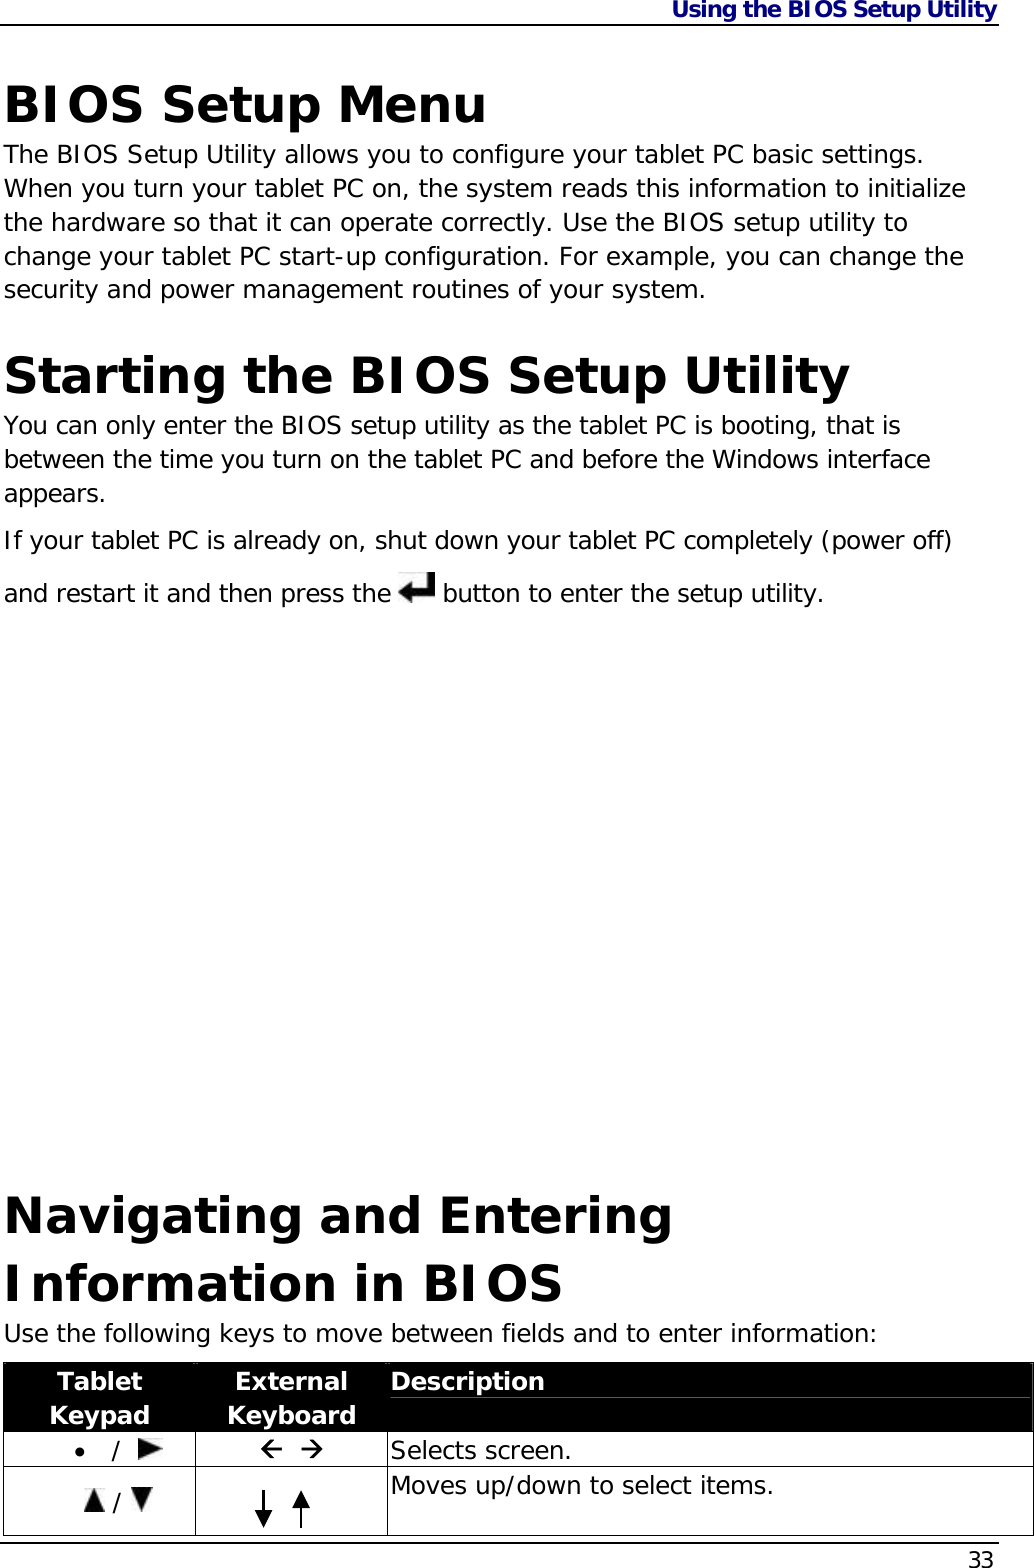
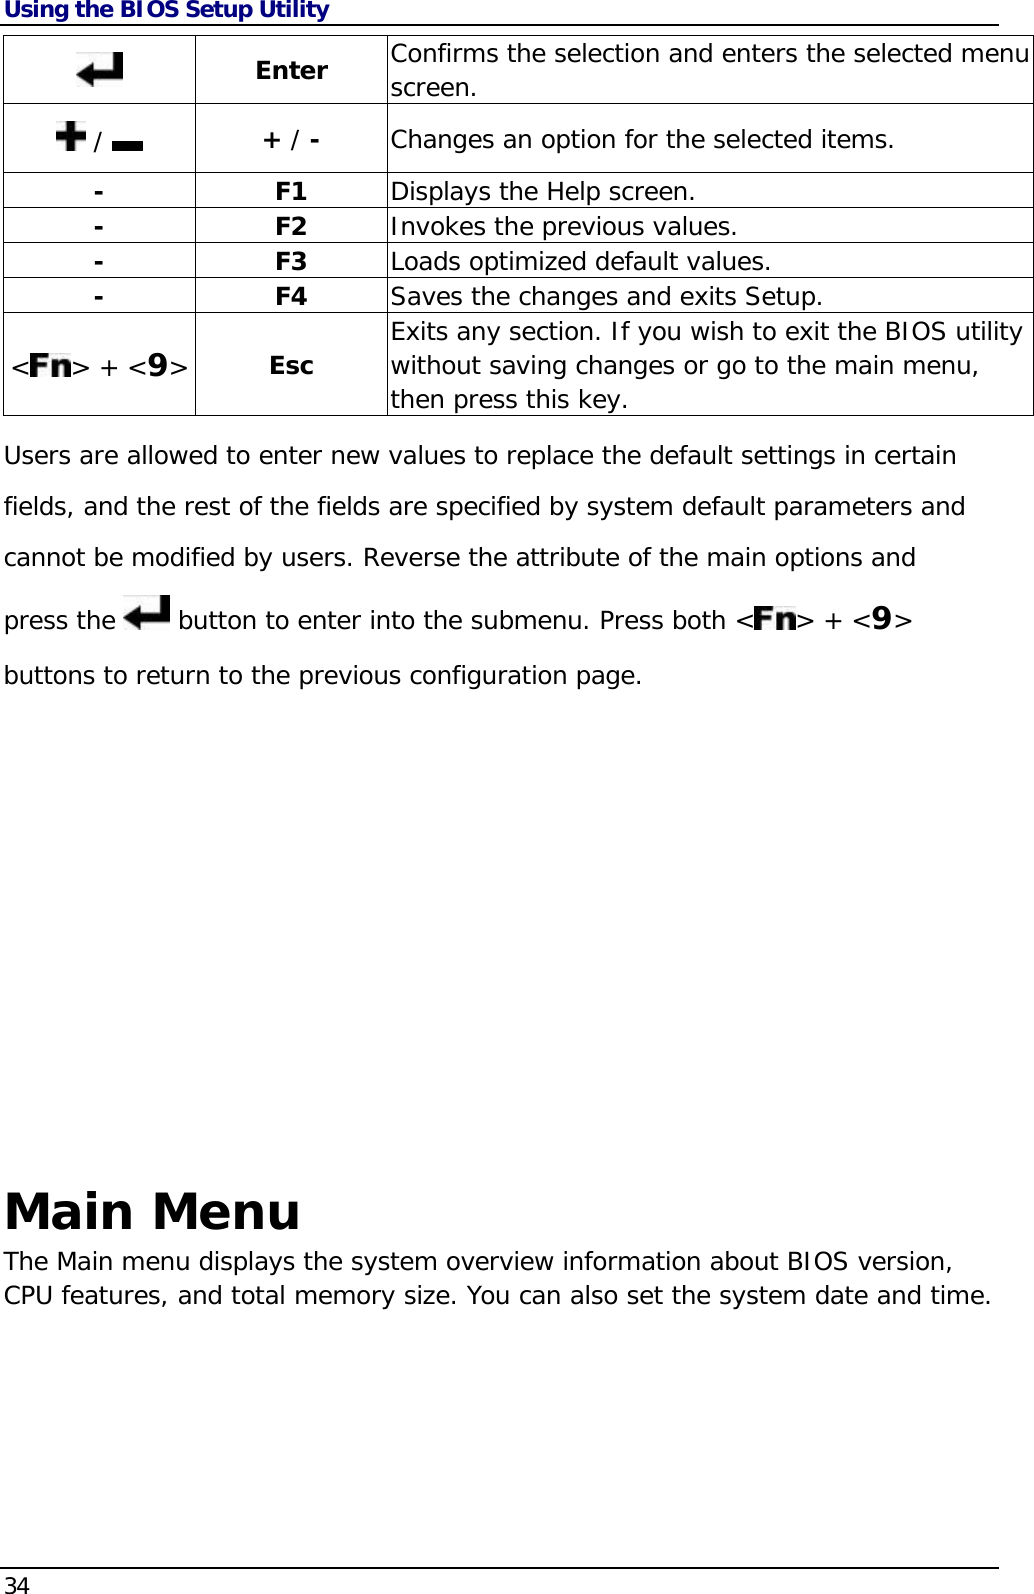
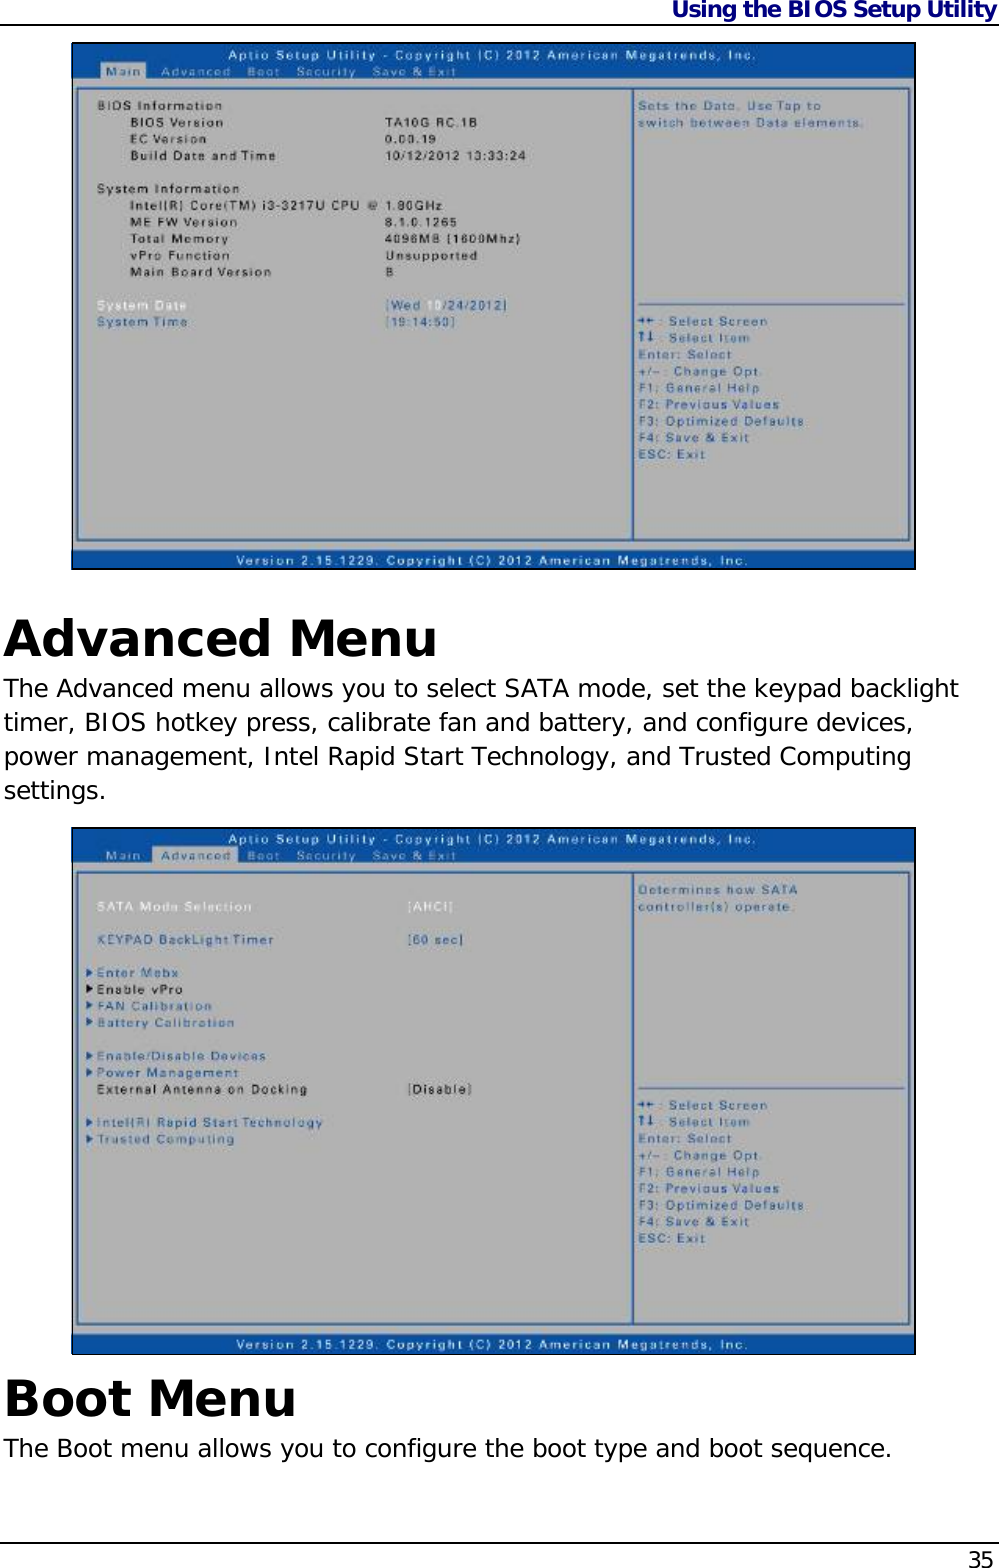
TA10I User Manual
( TA10i) UserMan_2012.12.05
Navigation menu
Upload a User Manual
Namespaces
Wiki Guide
HTML
PDF
Info
Views
User Manual
Discussion / Help
Navigation