UNION COMMUNITY T2 Fingerprint Access Controller User Manual AC7000 UserGuide 1 0
UNION COMMUNITY Fingerprint Access Controller AC7000 UserGuide 1 0
UserManual.wiki
>
UNION COMMUNITY
>
T2 User Manual
User Manual
Navigation menu
Upload a User Manual
Namespaces
Wiki Guide
HTML
PDF
Info
Views
User Manual
Discussion / Help
Navigation


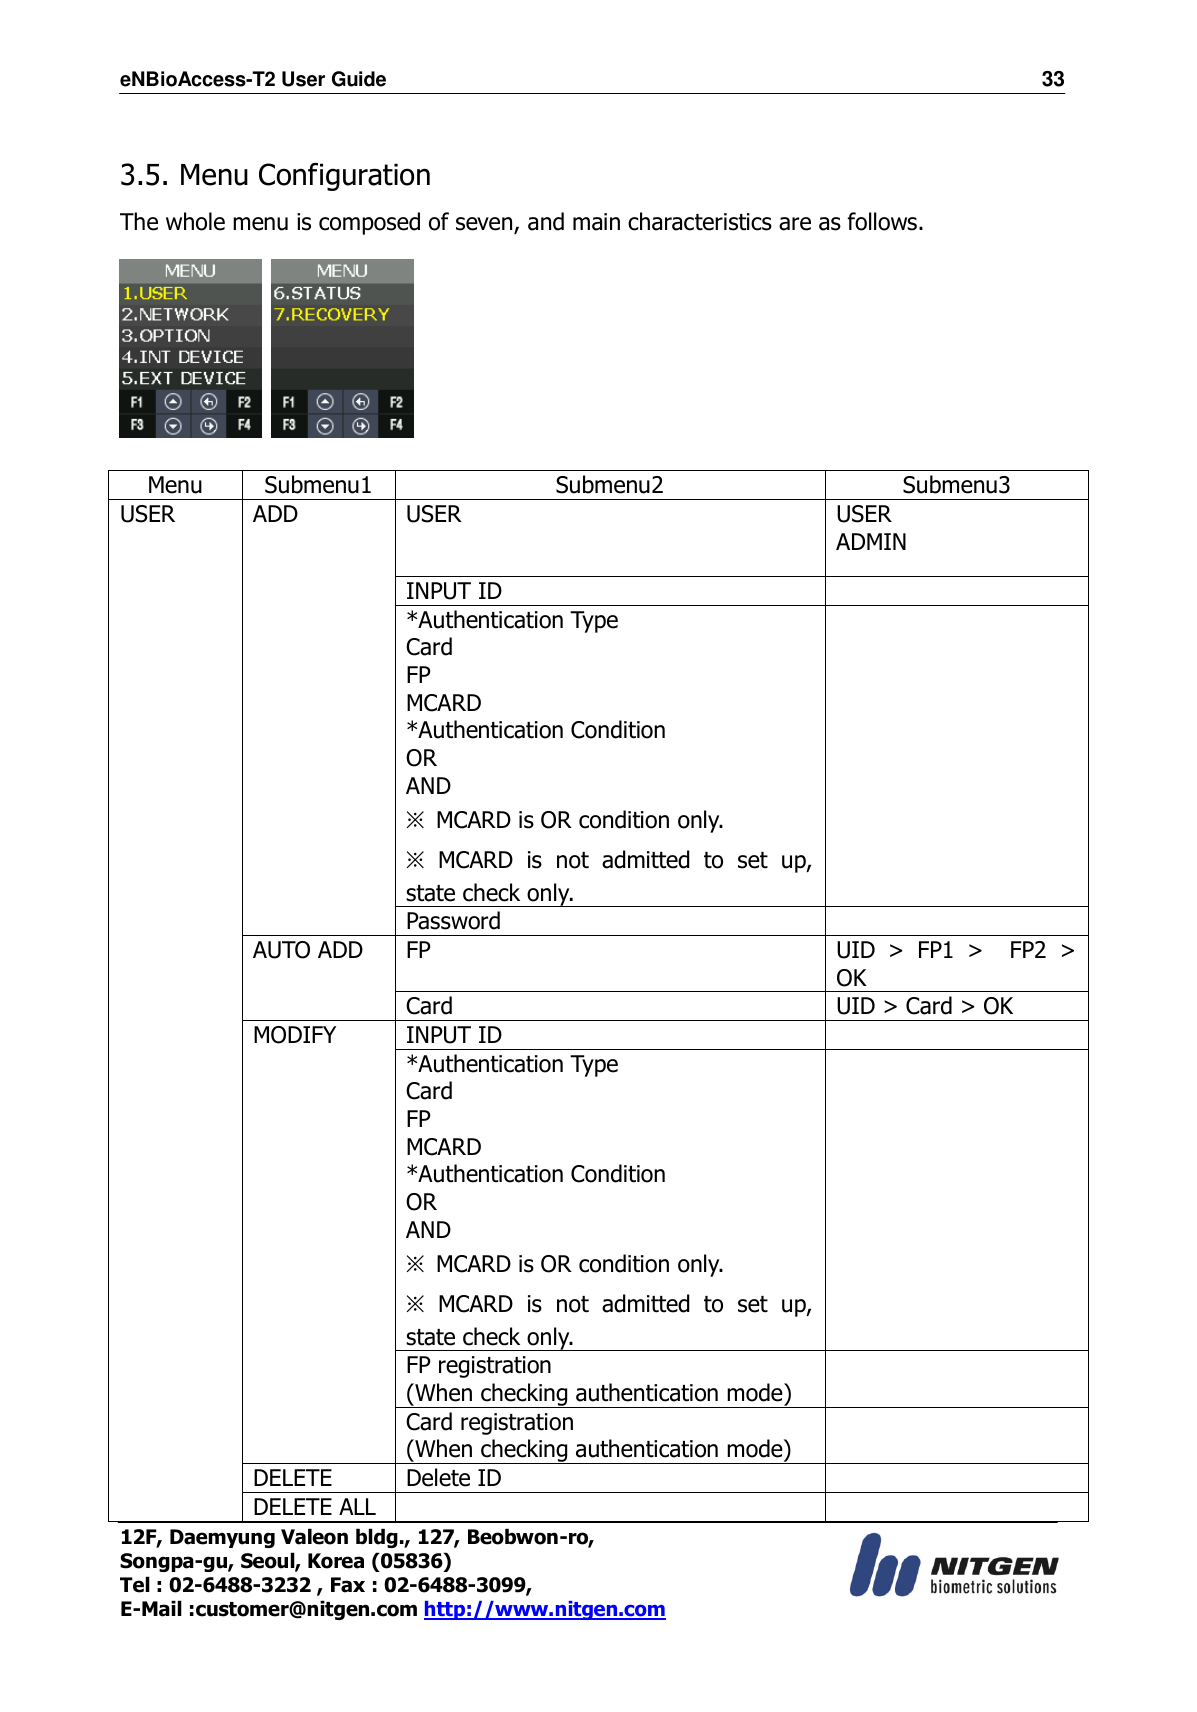
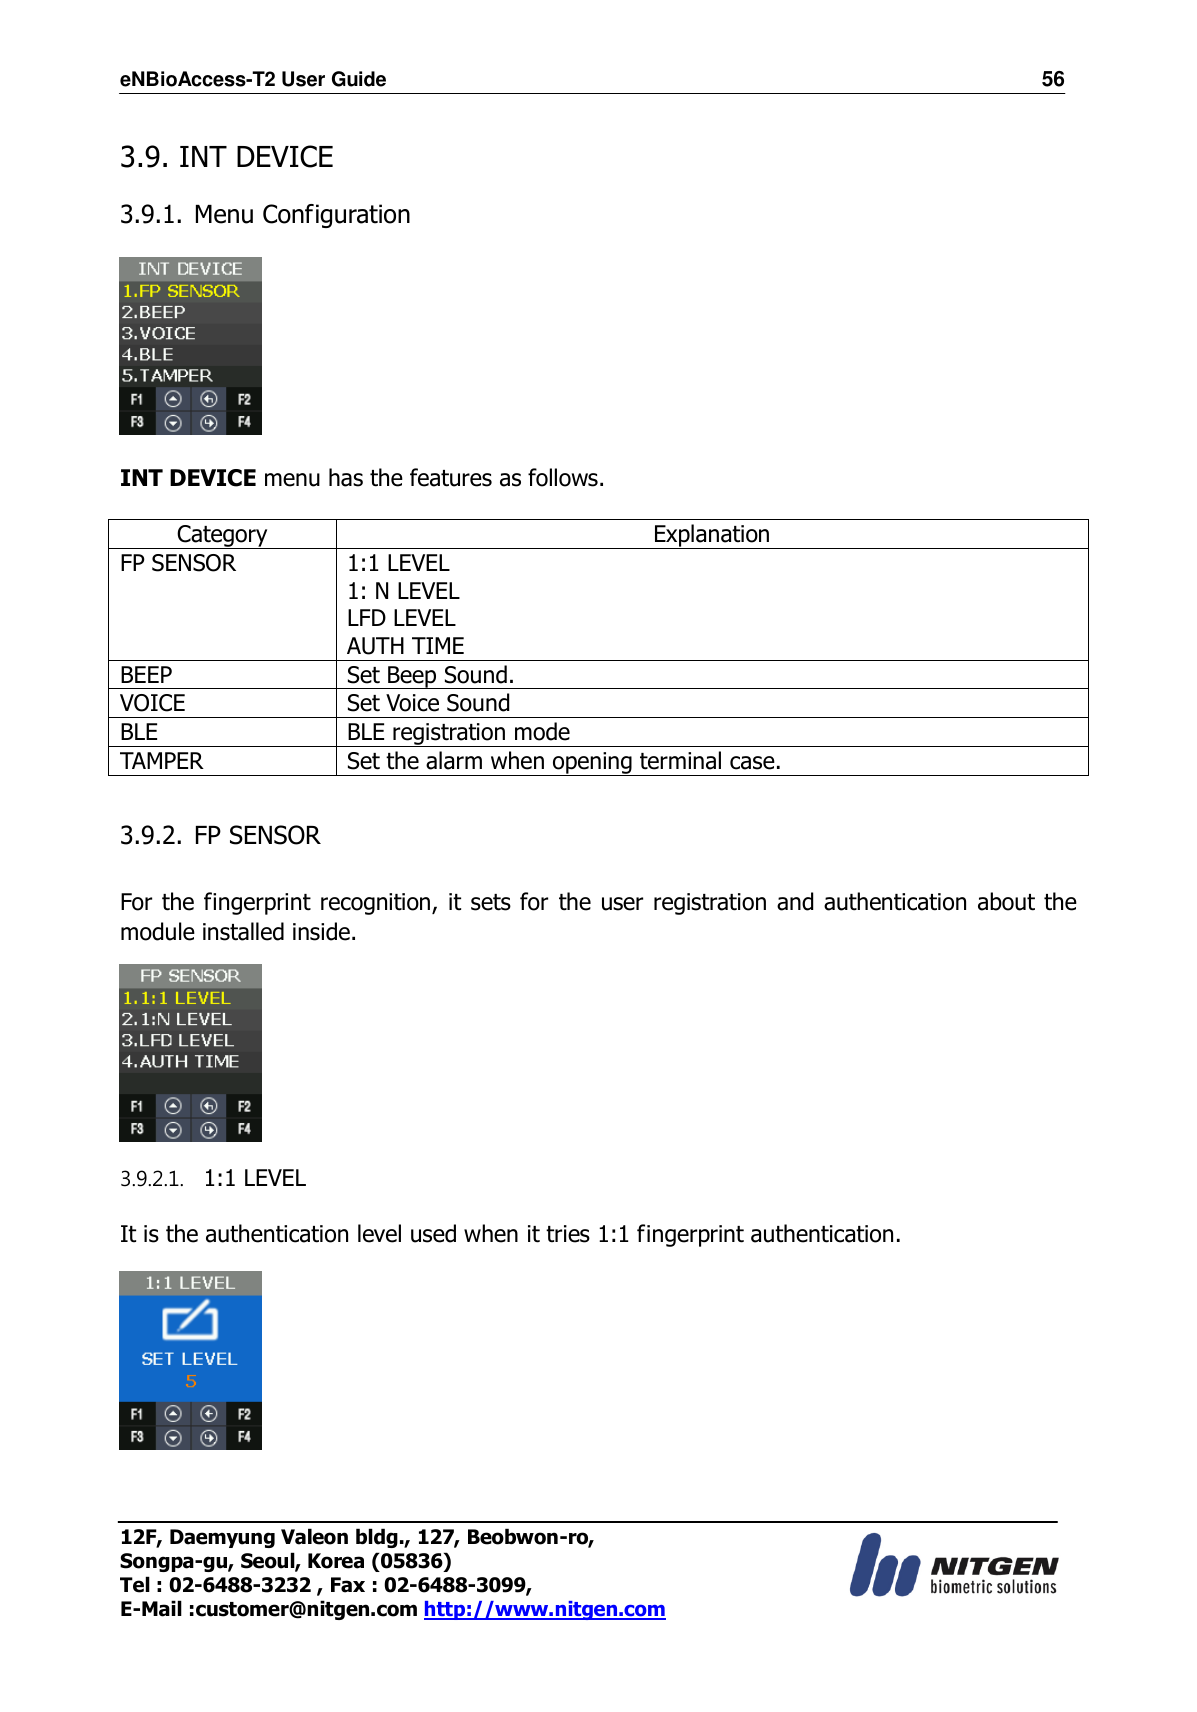
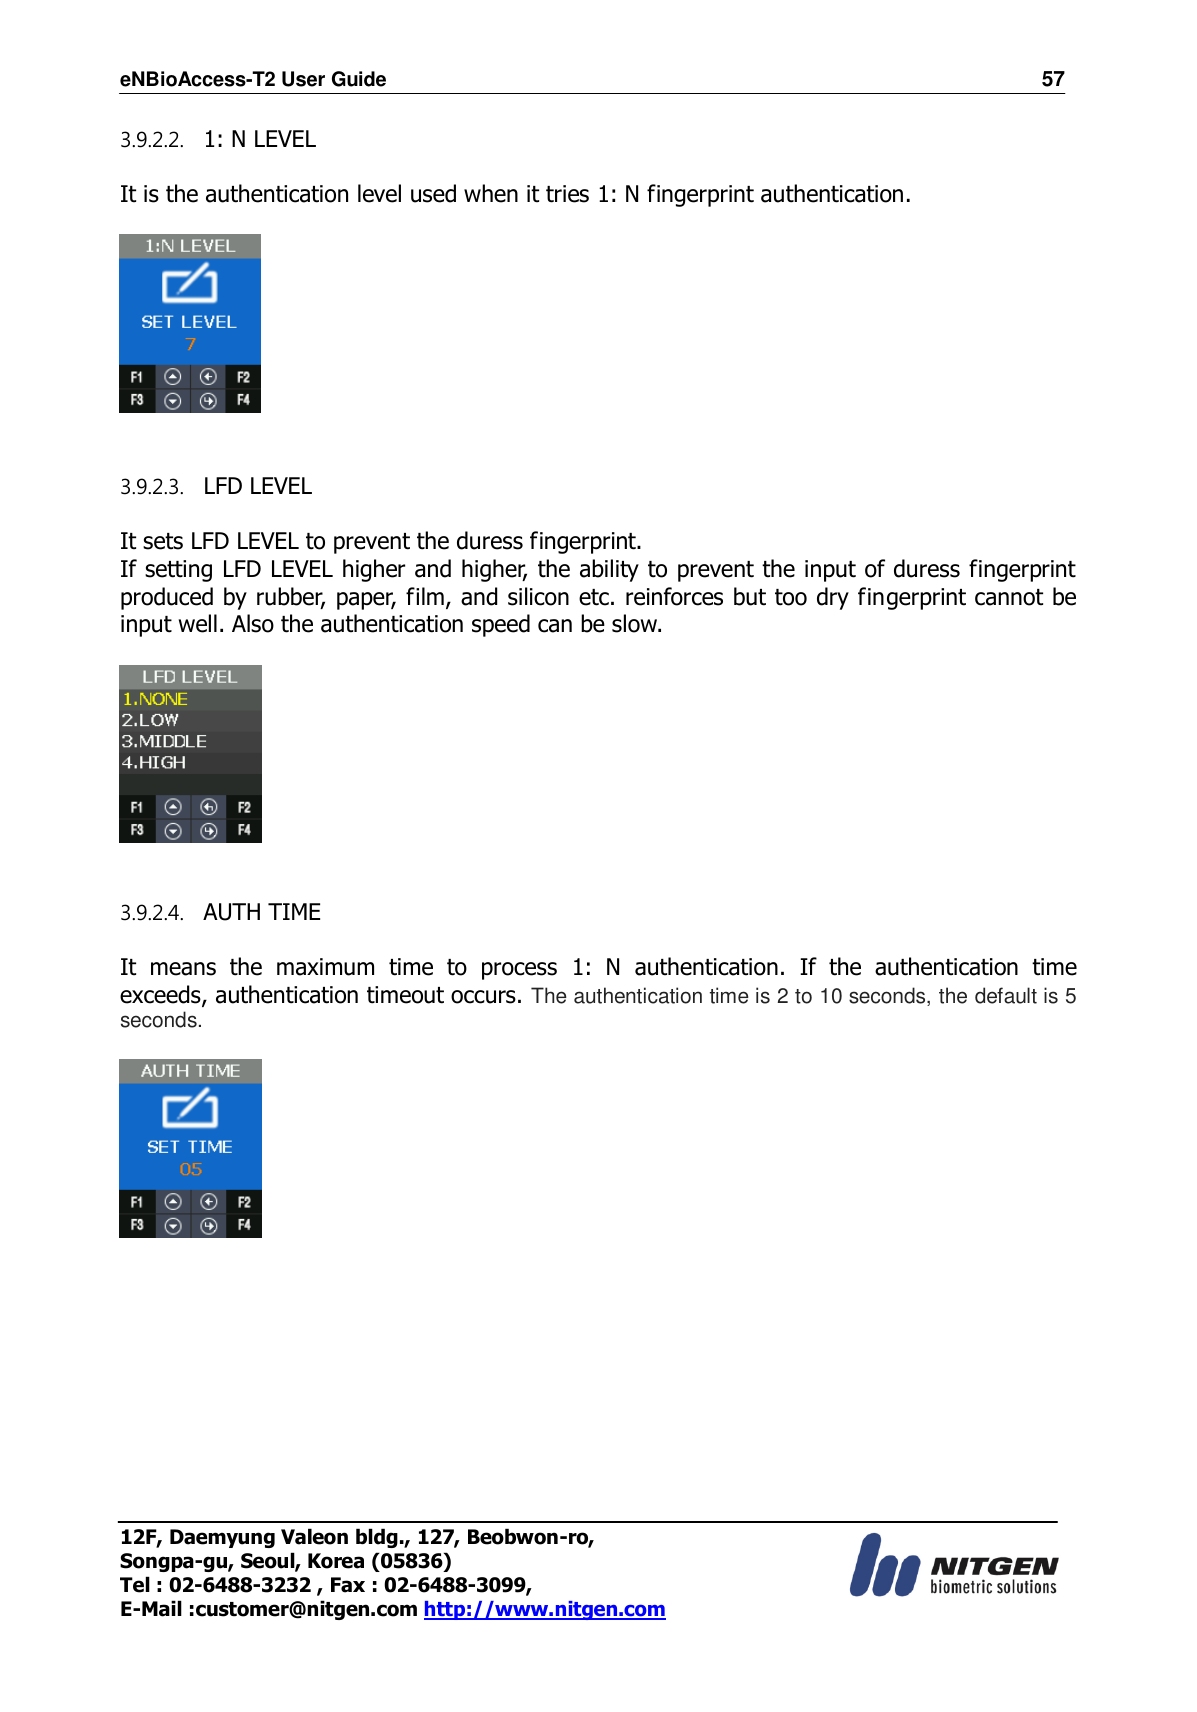
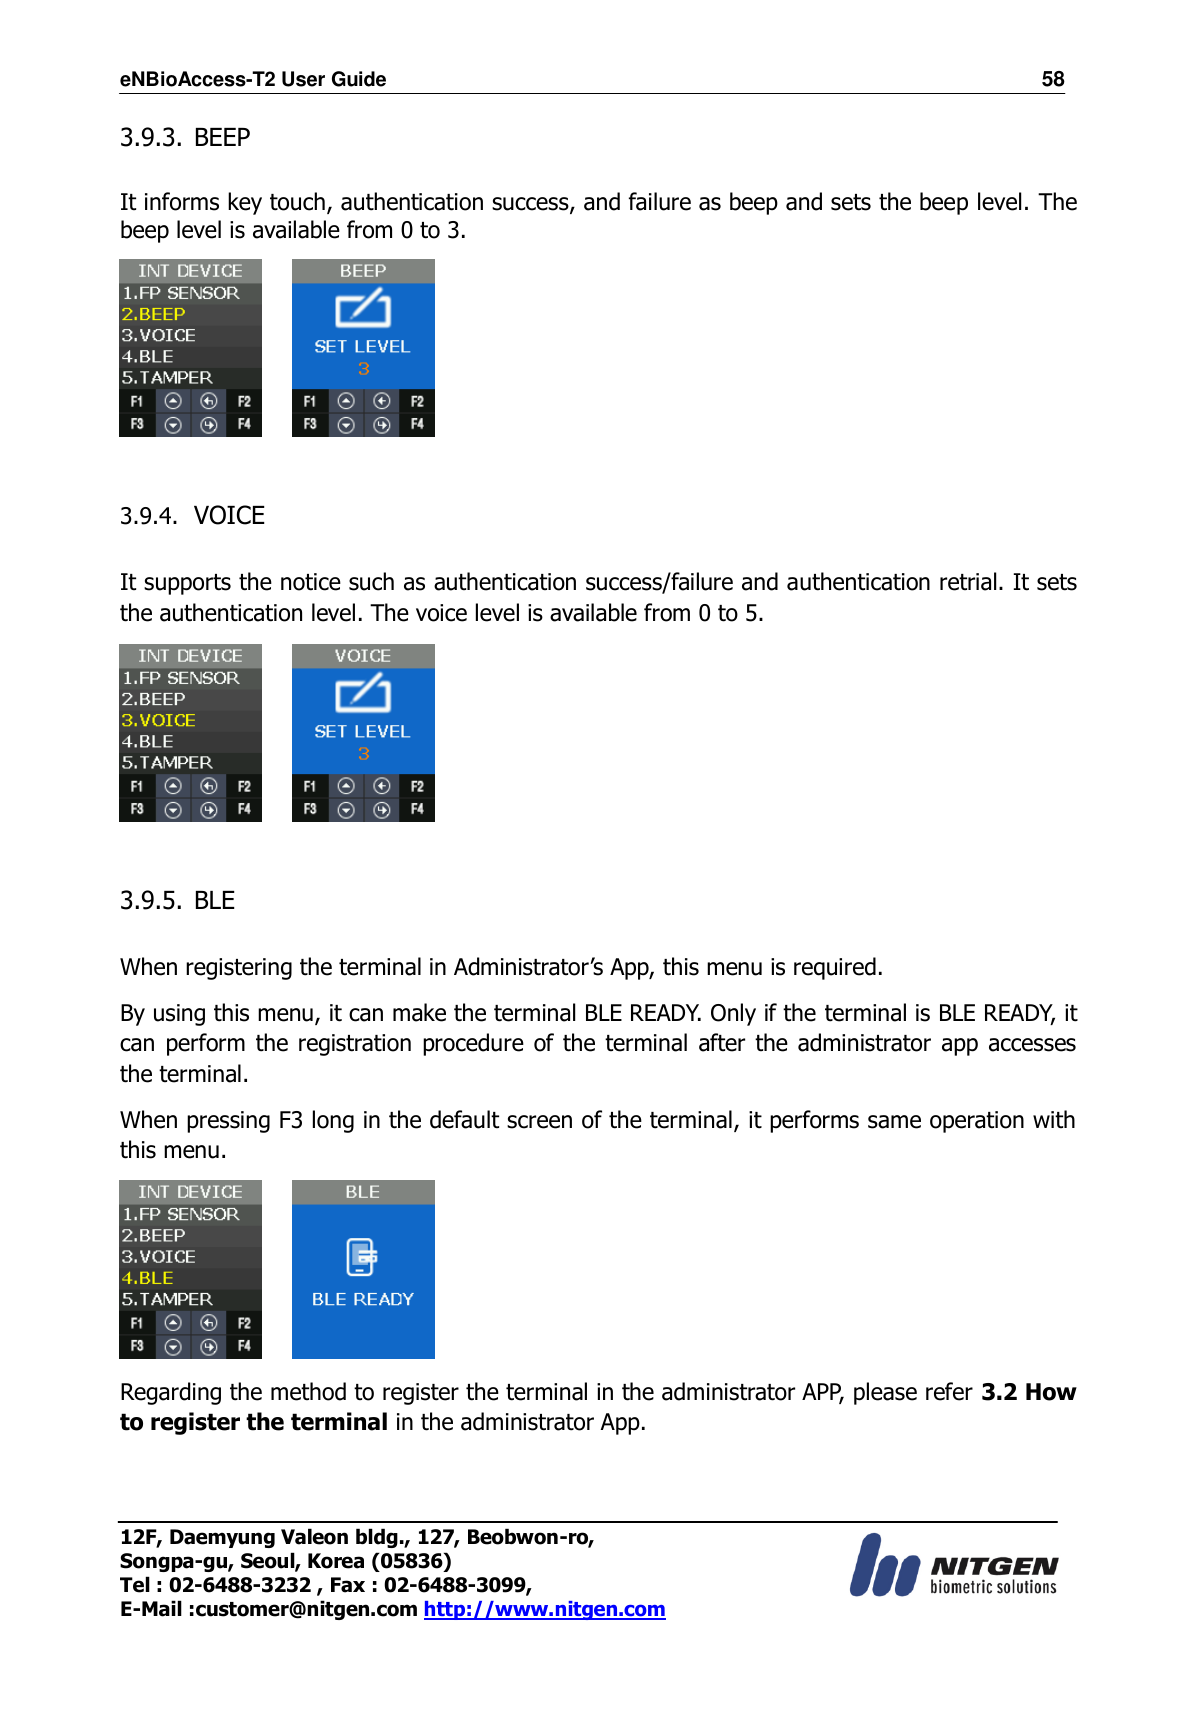
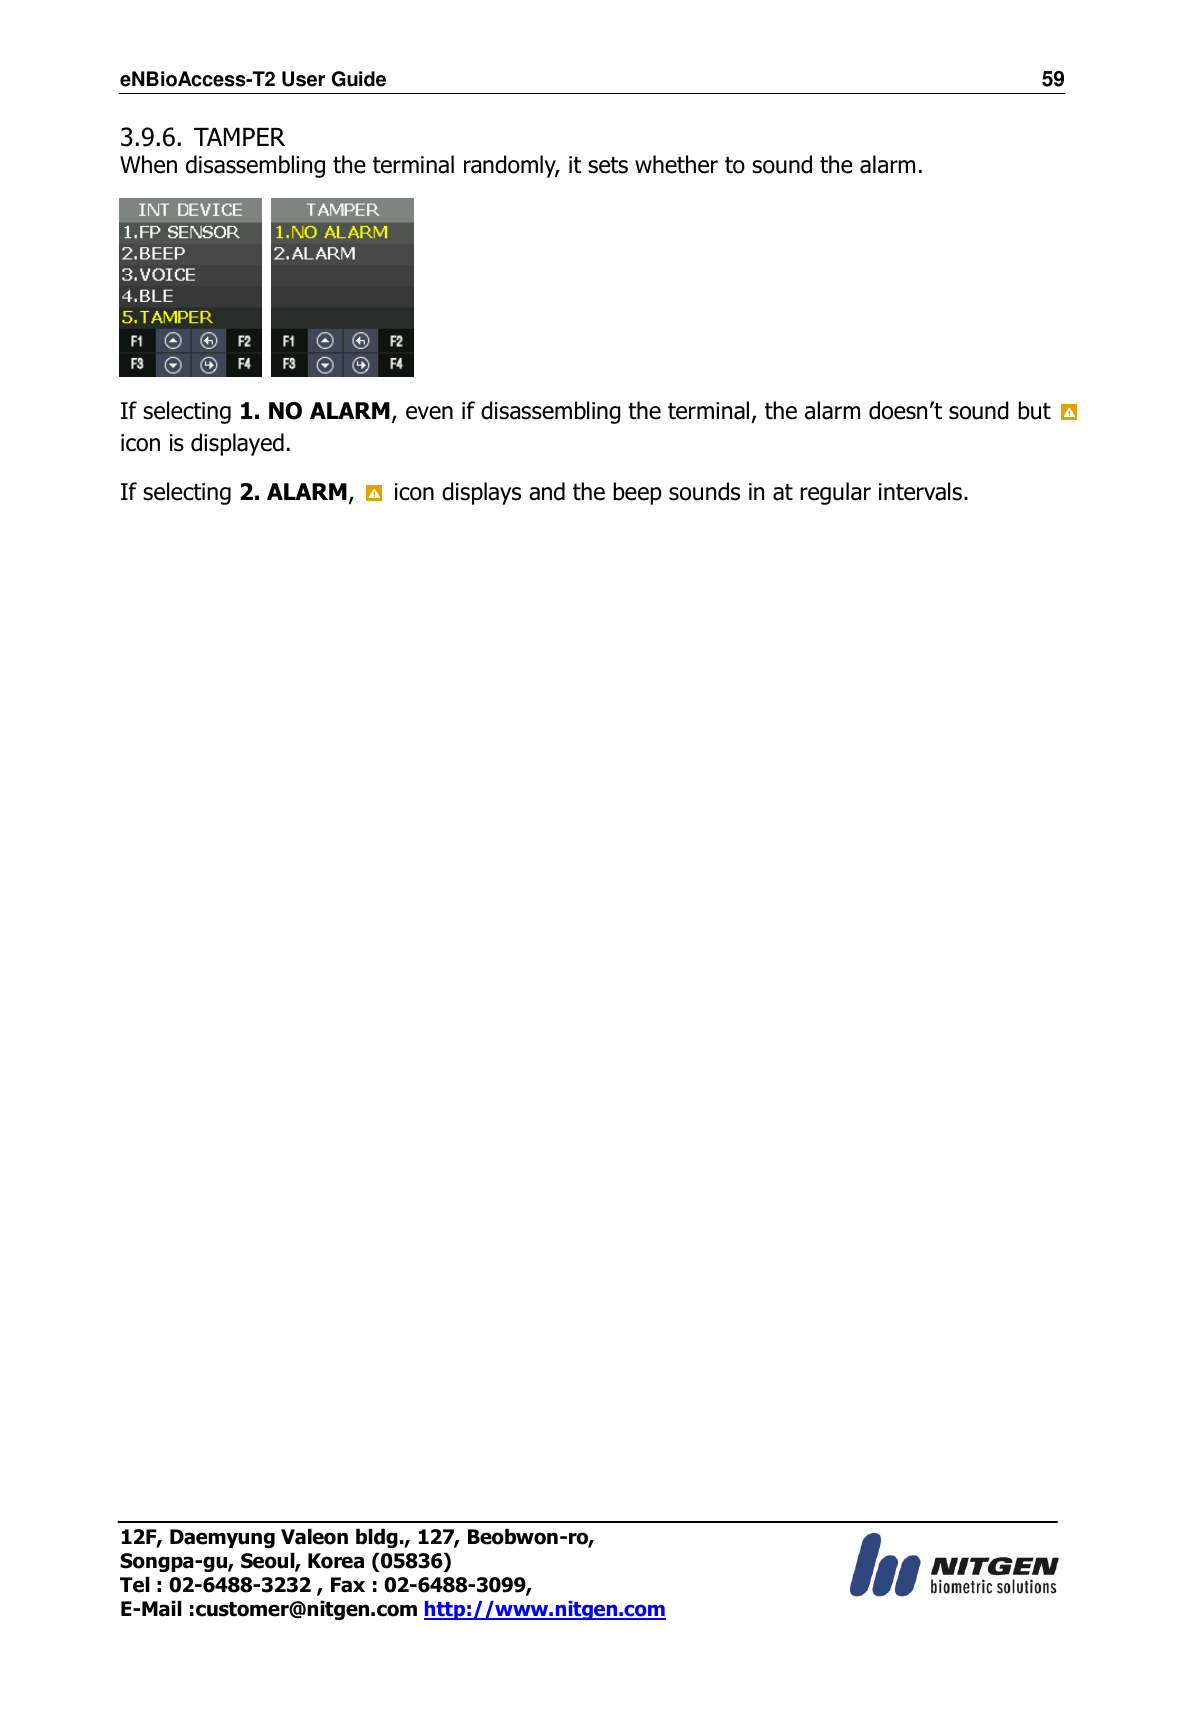
![eNBioAccess-T2 User Guide 35 12F, Daemyung Valeon bldg., 127, Beobwon-ro, Songpa-gu, Seoul, Korea (05836) Tel : 02-6488-3232 , Fax : 02-6488-3099, E-Mail :customer@nitgen.com http://www.nitgen.com SETTING YYYYMMDD-hhmmss INT DEVICE FP SENSOR 1:1 LEVEL (1~9) 1:N LEVEL (5~9) LFD LEVEL NONE LOW MIDDLE HIGH AUTH TIME BEEP 0~3 VOICE 0~5 BLE BLE READY TAMPER NO ALARM ALARM EXT DEVICE DOOR LOCK LOCK1 *TYPE Not Use Strike/OK Indication Motor1 Schedule alarm *OPEN TIME 3[1~20sec] LOCK2 * TYPE NONE Fail Indication Motor2 Schedule alarm * OPEN TIME 3[1~20sec] OPEN ALARM TIME 5[0~20sec] 0: No Alarm 1~20: Alarm DM0 NONE Lock Normal Open Lock Normal Close DM1 NONE Lock Normal Open Lock Normal Close DM2 Not use Normal Open Normal Close Fire Normal Open Fire Normal Close Panic Normal Open Panic Normal Close Urgent Norm Open Urgent Normal Close](https://usermanual.wiki/UNION-COMMUNITY/T2/User-Guide-4187869-Page-35.png)
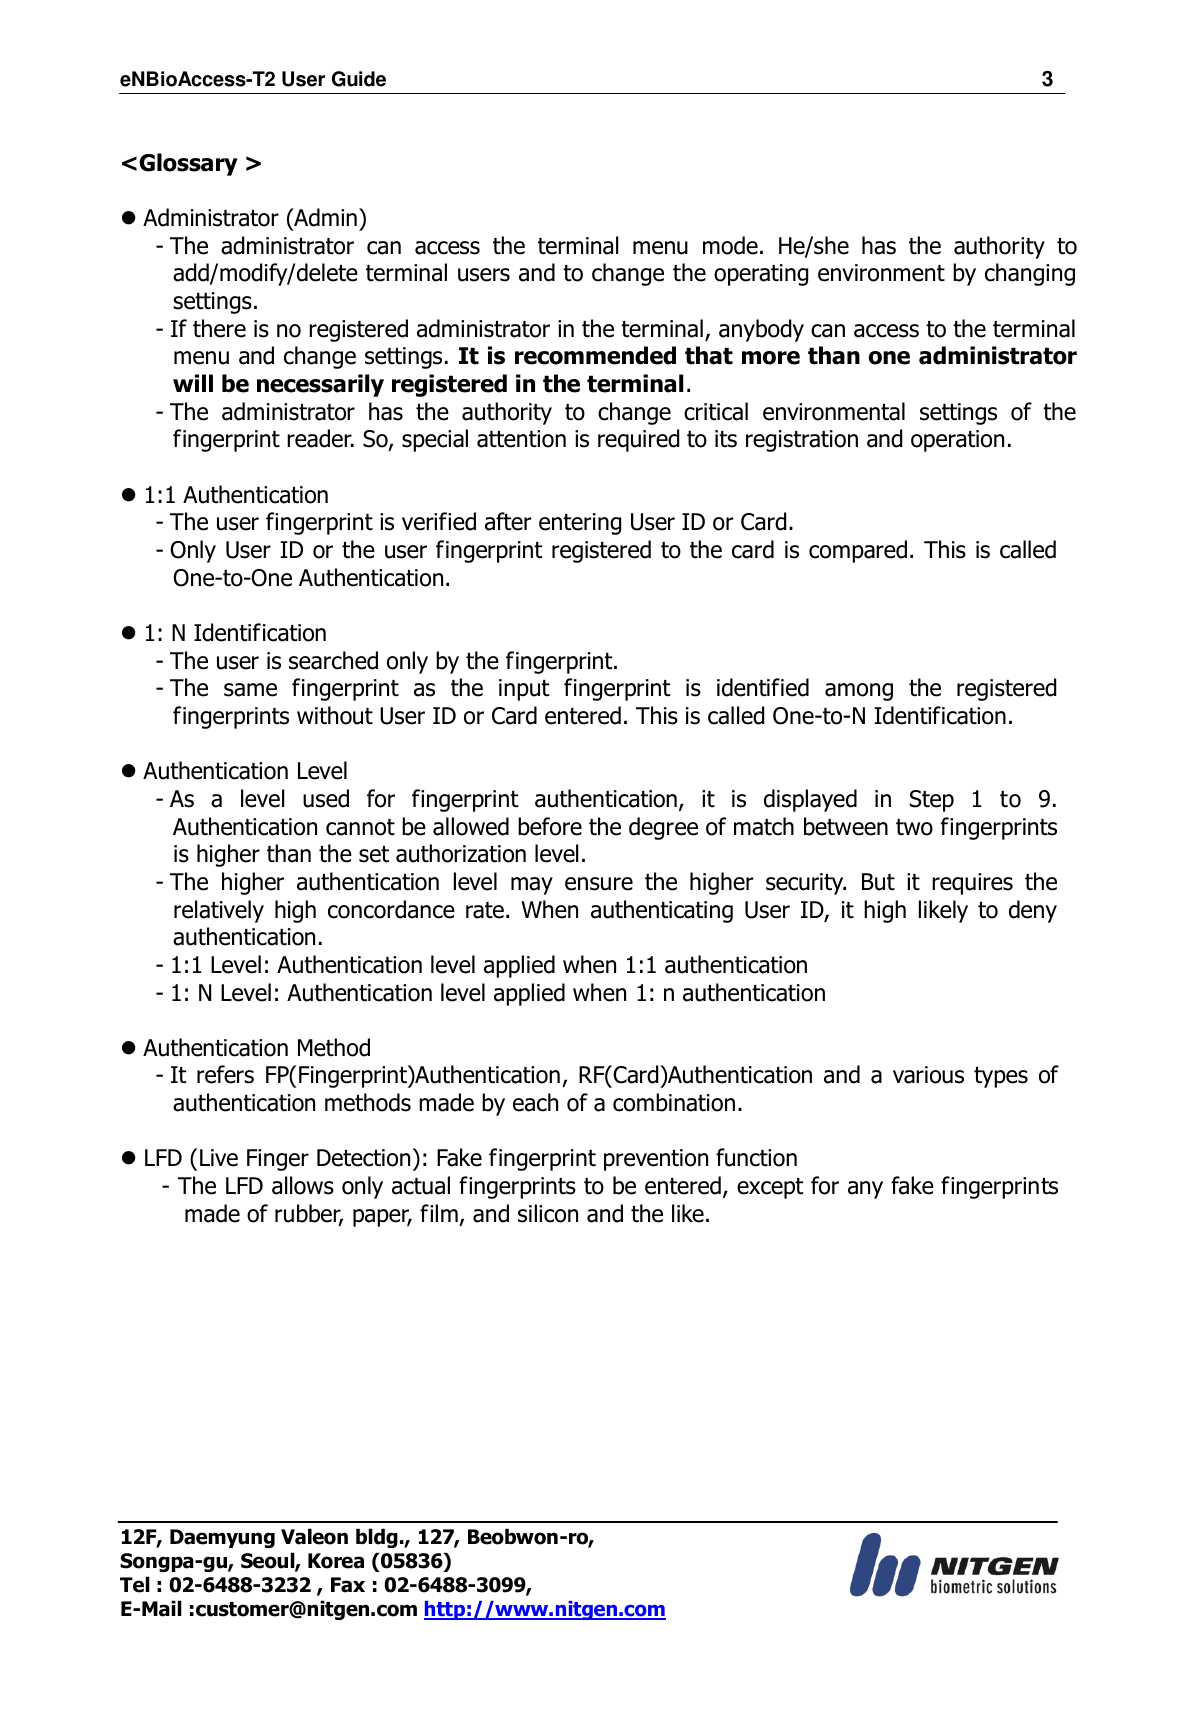
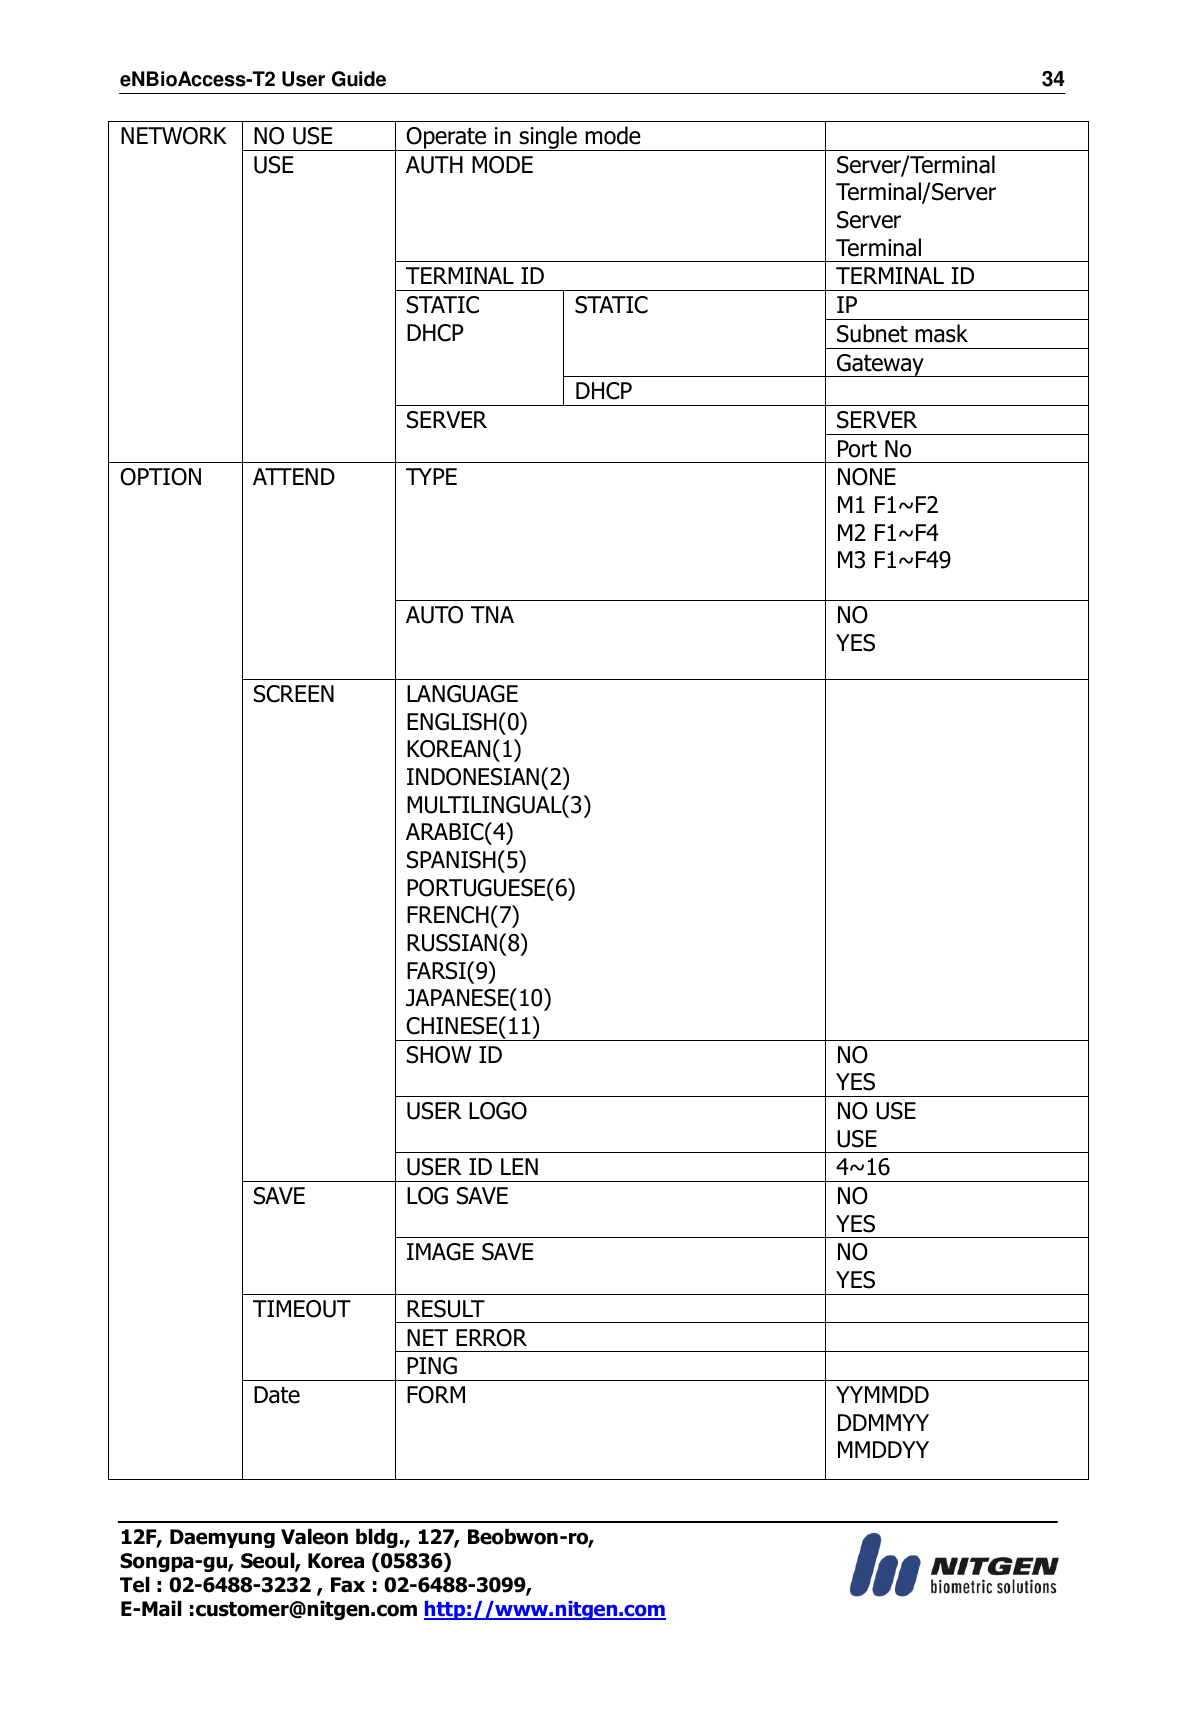
![eNBioAccess-T2 User Guide 40 12F, Daemyung Valeon bldg., 127, Beobwon-ro, Songpa-gu, Seoul, Korea (05836) Tel : 02-6488-3232 , Fax : 02-6488-3099, E-Mail :customer@nitgen.com http://www.nitgen.com ADMIN Available to add and delete user. Available to access menu and modify it. When selecting the administrator, the screen is displayed as follows. 3.6.2.2. AUTH TYPE There are FP(Fingerprint), Card, and MCARD (Mobile card) in the menu. But MCARD can only provide the check state, and do not provide checking or unchecking. For checking or unchecking with MCARD, it is only available via Server and Admin App. There are AND and OR in authentication conditions. In AND, all authentication conditions should be satisfactory and then authentication succeeds. In OR, one of authentication conditions should be satisfactory and authentication succeeds. FP:0 ➔ FP is abbreviation of Finger Print. 0 means the registered FP number. (1FP means 2 fingerprints) CD:0➔ CD is abbreviation of CARD. 0 means the registered CARD number. Maximum card number is 1. (U) ➔ Means your Registration Authority is general user(USER). (A) ➔ Means your Registration Authority is administrator (ADMIN). [FR Authentication] [Card Authentication] [FP or Card Authentication] [FP and Card Authentication]](https://usermanual.wiki/UNION-COMMUNITY/T2/User-Guide-4187869-Page-40.png)
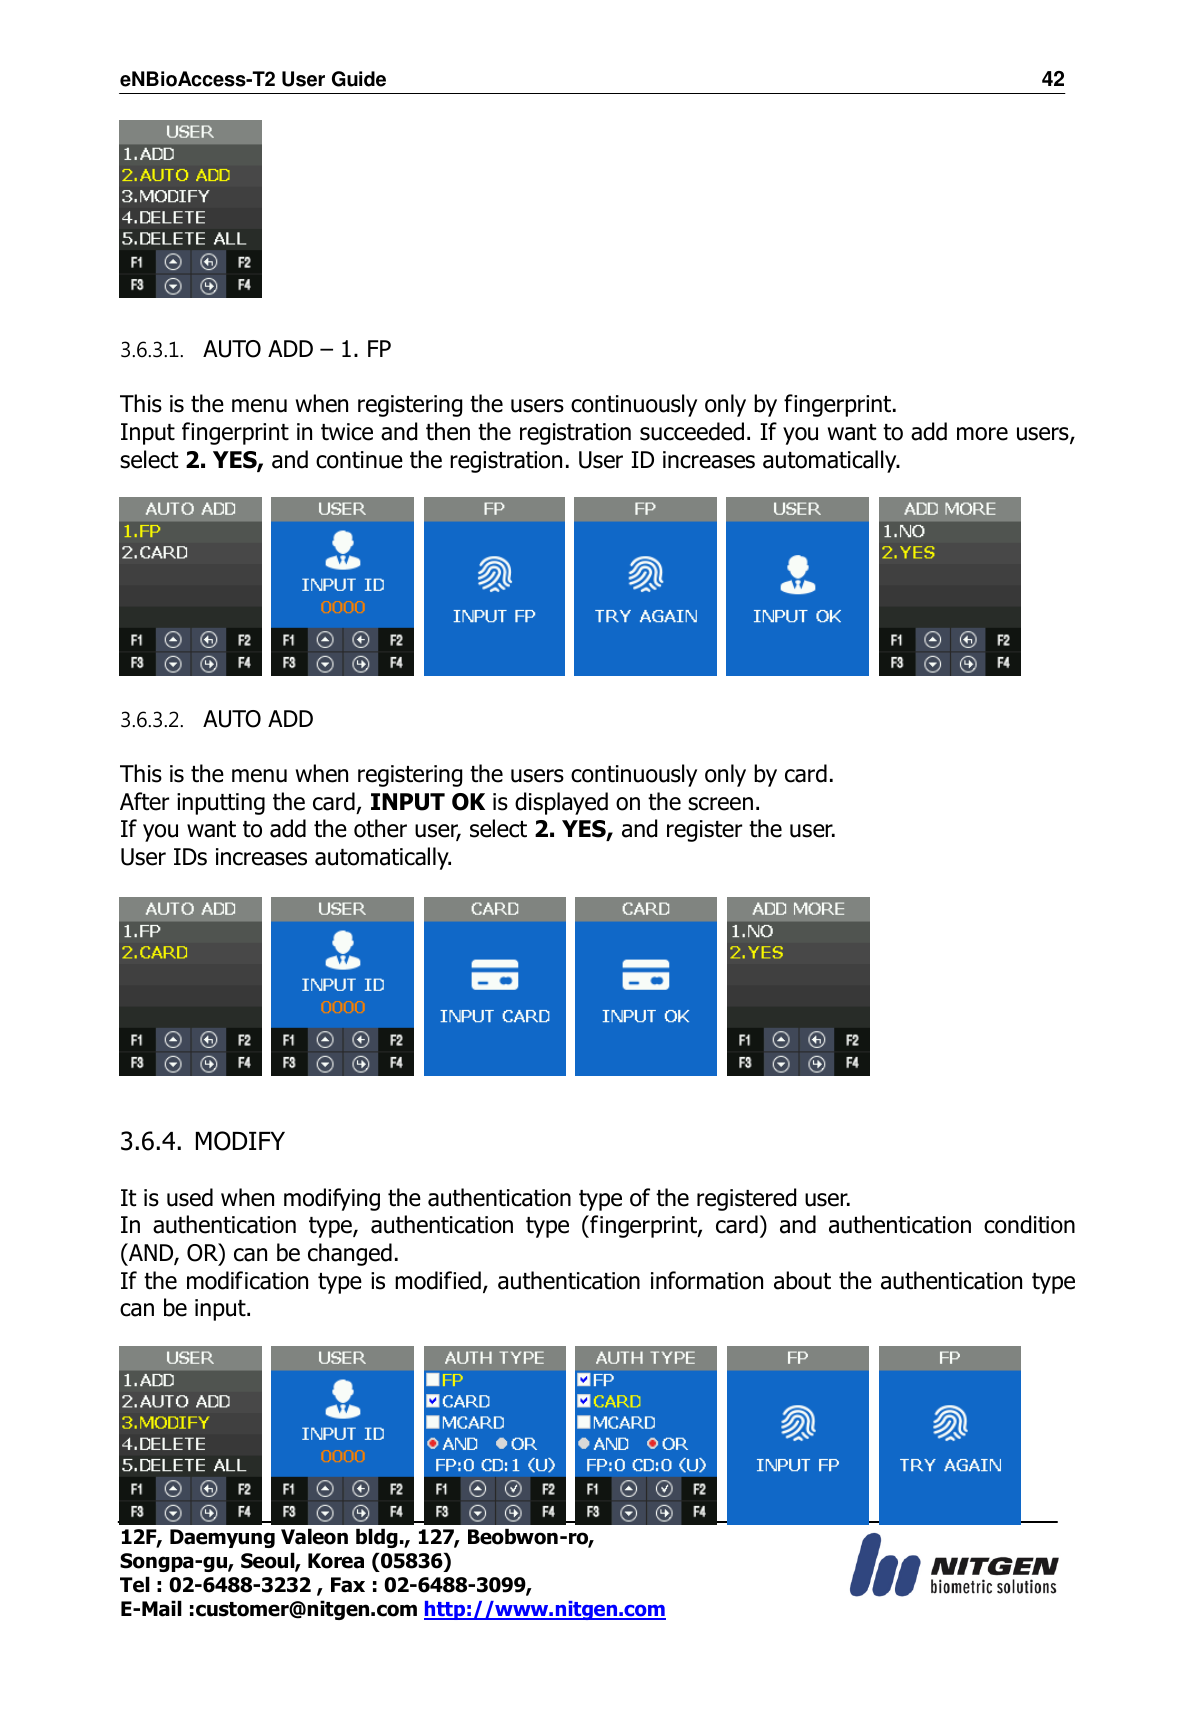
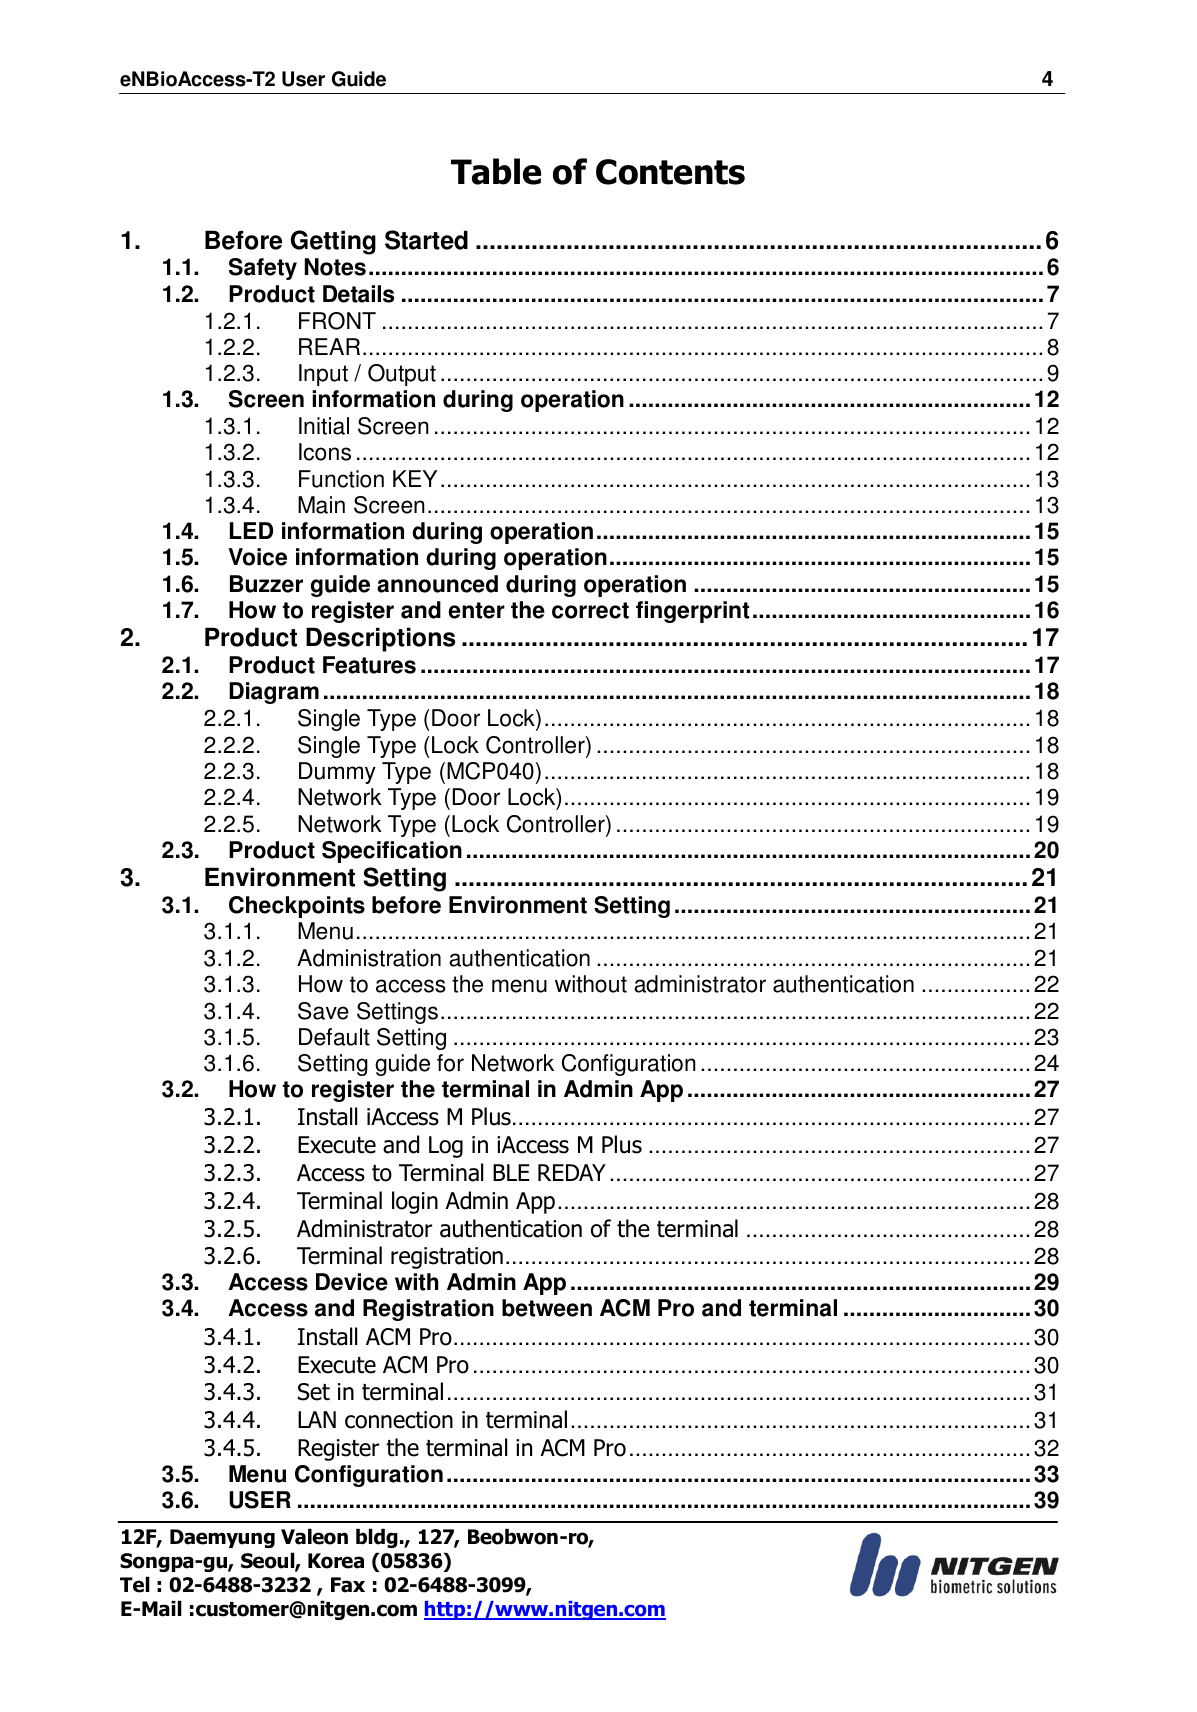
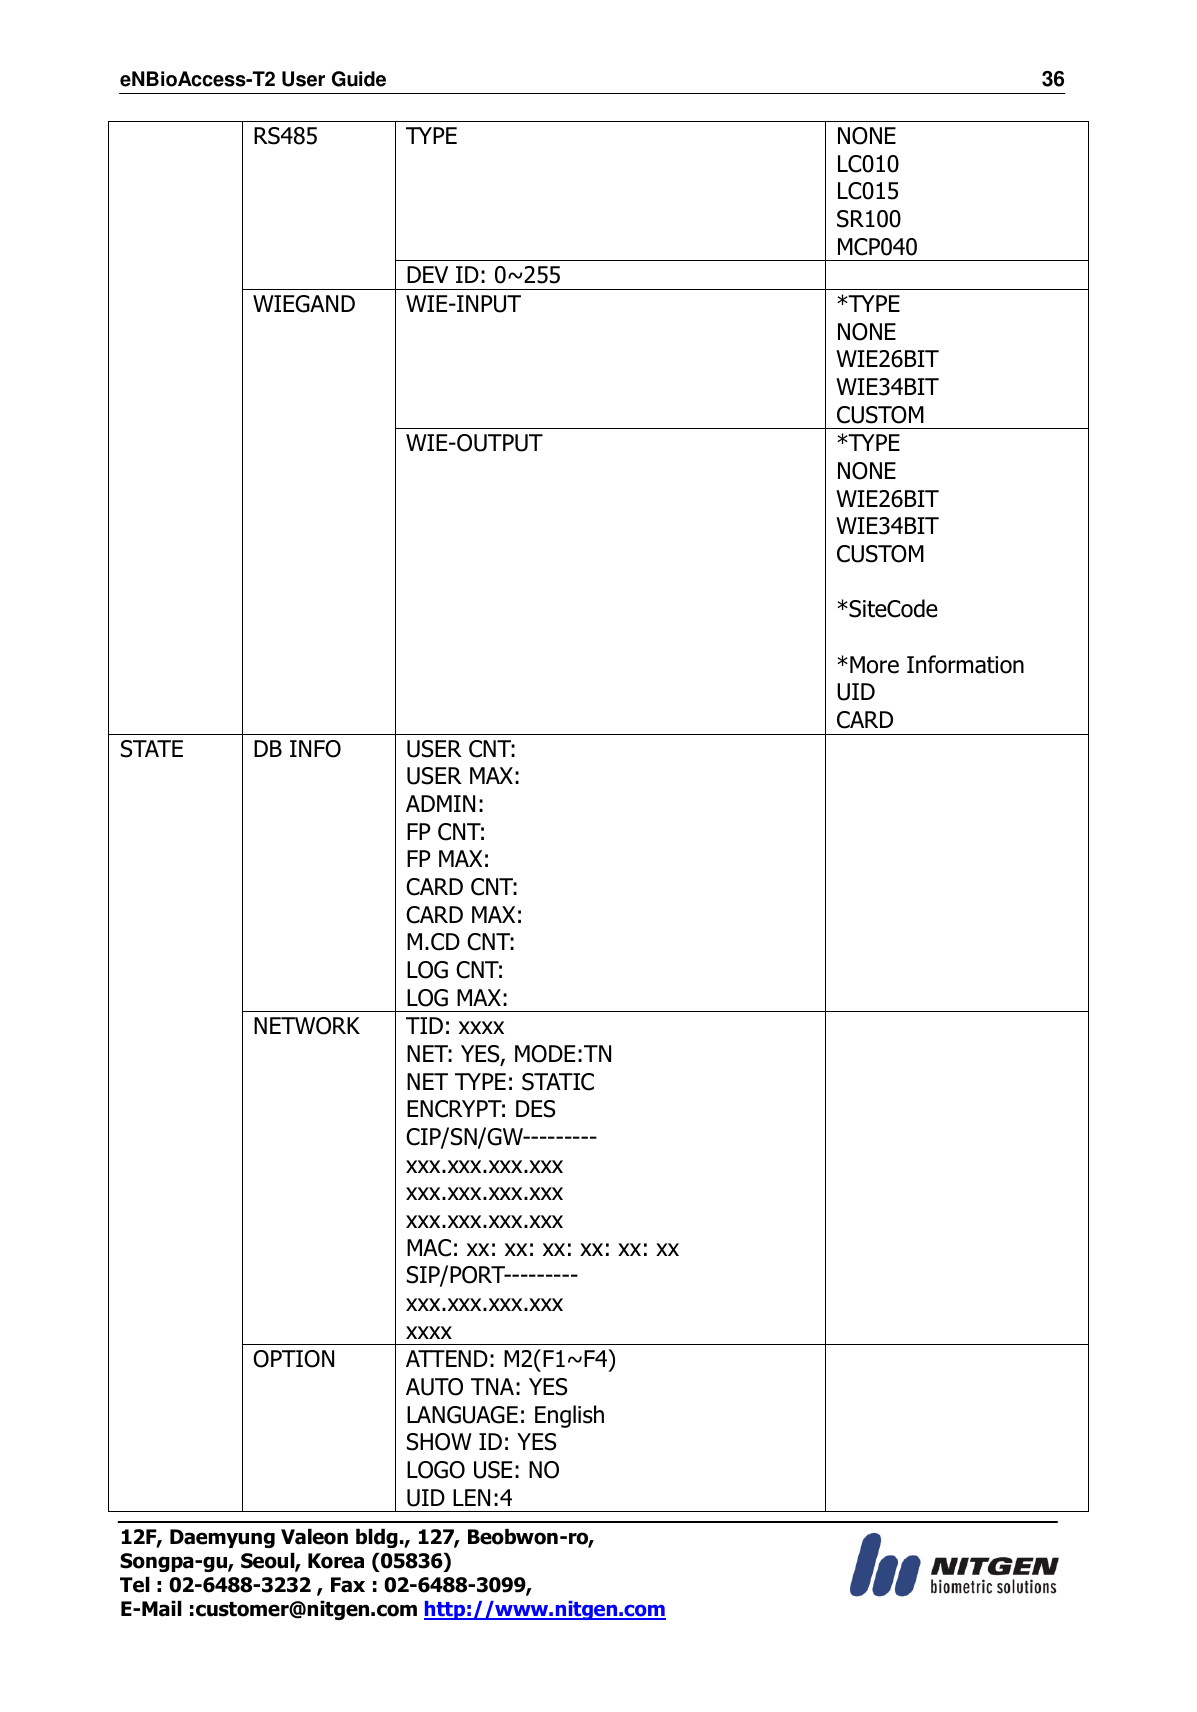
![eNBioAccess-T2 User Guide 41 12F, Daemyung Valeon bldg., 127, Beobwon-ro, Songpa-gu, Seoul, Korea (05836) Tel : 02-6488-3232 , Fax : 02-6488-3099, E-Mail :customer@nitgen.com http://www.nitgen.com 3.6.2.3. INPUT FP Input the same fingerprint twice when you check the Fingerprint as authentication type. If you want to add only one fingerprint, select 1. NO. If you input the fingerprint second times and they are normal, INPUT OK is displayed. If you want to add more fingerprints, select 2. YES. One user can register 20 people for maximum. 3.6.2.4. INPUT CARD When you check Card as AUTH TYPE, you will follow steps as below. If you input CARD on Waiting state, registration completes and INPUT OK screen is displayed. EM CARD ex) Card No.(5byte): 08h 01h 16h 1Dh D6h Card Format Card No. Display Method Standard 02207638 (16001DD6) (3+5)digits Decimal [022(16h)+07638(1DD6h)] SC CARD ex) Card No.(4byte): 52h 9Dh 06h E3h Card Format Card No. Display Method Standard 529D06E3 8digits Hex 3.6.3. AUTO ADD AUTO ADD is used when you want to register general users (not admin user) consecutively with card or fingerprint. If you select FP, it adds users by increasing ID consecutively only with fingerprint. If you select CARD, it adds users by increasing ID consecutively only with card.](https://usermanual.wiki/UNION-COMMUNITY/T2/User-Guide-4187869-Page-41.png)