UTC Fire and Security Americas 798A-THERM Wireless Thermostat User Manual
UTC Fire & Security Americas Corporation, Inc. Wireless Thermostat
User Manual

1
'LDORJ5)(OHFWURQLF
7KHUPRVWDW
ITI Part No. 60-XXX 43-EUR
Installation Instructions
Document Number: 466-1931 Rev. A PRELIMINARY
December 2001
P
re
li
m
i
nary
12/19/01
Product Summary
The Dialog RF Electronic Thermostat provides a money-
saving and convenient way to monitor and control tempera-
tures. The Thermostat uses low and high temperature limits
to save energy by overriding the existing HVAC thermostat.
When the Thermosatat is on, temperature limits determine
when the heat or air conditioning turns on. when the Ther-
mostat is off, the HVAC thermostat controls heat and air
conditioning.
For example, if the HVAC thermostat is set for 68° F and
the RF Thermostat has a high limit of 80° F, the RF Ther-
mostat prevents the air conditioner from turning on until the
temperature reaches 80° F.
A temperature sensor within the RF Thermostat monitors
the temperature and reports a freeze alarm to the panel if the
temperature drops below the set freeze temperature (default
= 42° F).
Note
Depending on where the RF Thermostat is located,
additional freeze sensors may need to be placed
throughout the residence to provide adequate freeze
protection
The Dialog RF Electronic Thermostat is compatible with
Simon 3 panels.
Installation Guidelines
❑Use 22-gauge or larger stranded wire from the RF
Thermostat to the HVAC thermostat.
❑Install the RF Thermostat on an inside wall next to, or
as close as possible, to the existing HVAC thermostat.
This keeps the temperature difference between the two
thermostats to a minimum.
❑Programmable thermostats that use a battery to keep
time and other programmed settings may lose time and/
or programmed settings when the RF Thermostat is
turned on. This happens when the RF Thermostat relay
is interrupted by the HVAC thermostats main power,
forcing it to rely on battery power to save time and pro-
grammed settings. As a result, the HVAC thermostat
battery may need to be replaced more often, depending
on how often and how long the RF Thermostat is
turned on.
❑Test the RF Thermostat from a desired location before
mounting it to the wall. This will verify that RF com-
munication can be established with the panel.
❑Whenever possible, keep all sensors within 100 feet of
the panel.
❑Avoid installing your RF Thermostat on plaster walls
with wire mesh (metal lath) embedded in them. This
can interfere with the wireless range/communication
between the RF Thermostat and the panel.
Tools and Supplies
❑Screwdrivers (Phillips and Flathead)
❑Screws and anchors (included)
❑Digital voltmeter
❑Drill with bits
❑Wire cutters/snippers
❑22-gauge or larger stranded wire
❑Pen or pencil
Installation
Installation consists of mounting the RF Electronic Ther-
mostat to the wall (as close as possible to the existing ther-
mostat) and wiring it to the existing HVAC thermostat.
Mounting the RF Thermostat to the wall:
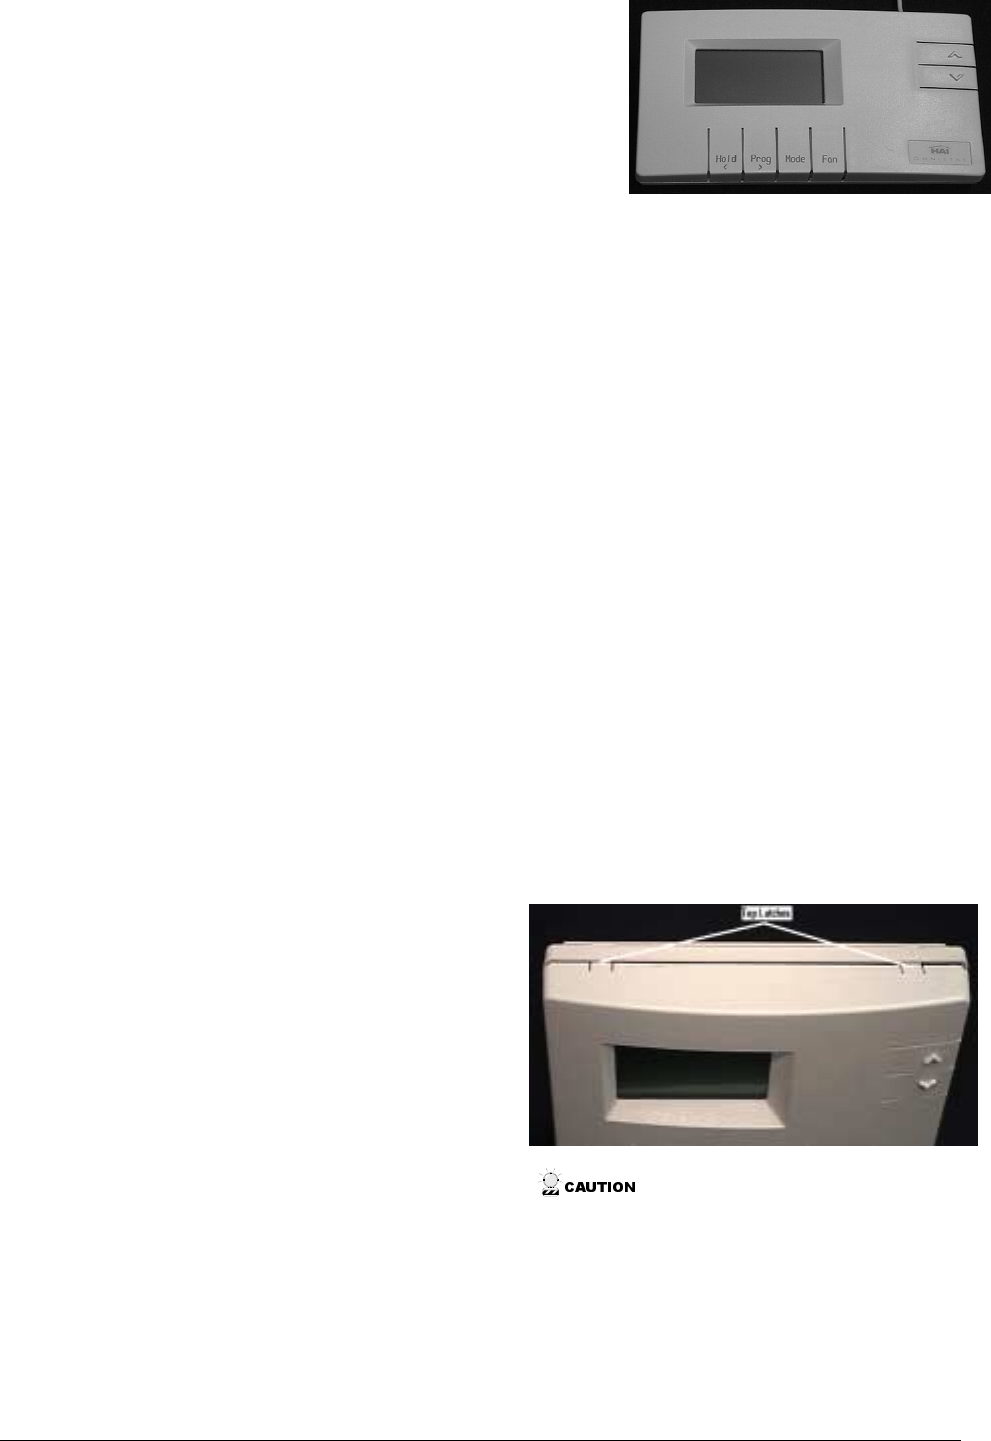
1. Press down on the top two latches of the RF Thermo-
stat and pull the front away from the base (see figure
x). Set the front part aside.
You must be free of all static electricity when handling
electronic components. Touch a grounded bare metal surface
or wear a grounding strap before touching the circuit board.
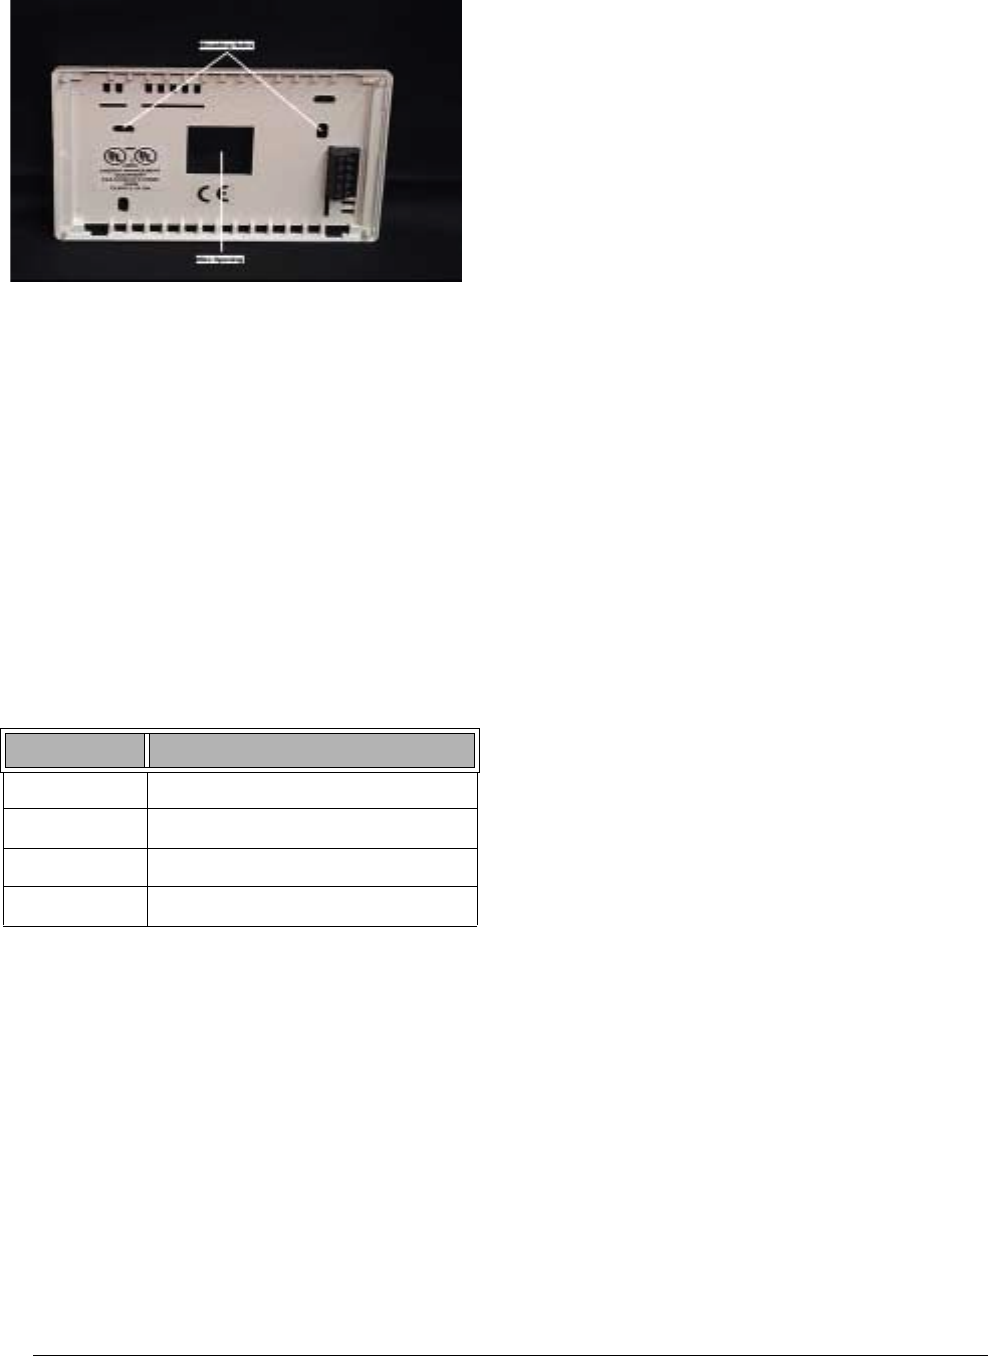
2. Place the RF Thermostat on the wall (with the word
“TOP” upright and facing you) at the desired mounting
location and mark the two upper mounting holes and
the base opening (see figure x).

Preliminary 12/19/01
2
3. Drill a hole using a 3/16” bit at each mounting hole
location. Make a hole at the base opening location to
run the wires from the HVAC thermostat to the RF
Thermostat.
4. Install the two wall anchors supplied.
5. Mount the base to the wall using the two #6 x 1/2” self-
tapping screws supplied.
6. Create a hole in the wall in the Wire Opening to run the
wiring from the existing HVAC thermostat to the RF
Thermostat.
Wiring the RF Thermostat to the HVAC thermostat:
Some thermostats control heating and cooling, others con-
trol only heating. A heating/cooling thermostat uses four
wires and a heating-only thermostat usually has two.
Note
If the thermostat wire colors are different than those
described above, contact a qualified HVAC service
person for wiring information about your specific ther-
mostat. Be sure to give the service person the manu-
facturer name and model number of the thermostat.
To connect a four-wire thermostat:
1. Remove the red wire (power feed) from the thermostat
and connect it to the RF Thermostat terminal 1.
2. Connect a 22-gauge or larger wire from the RF Ther-
mostat terminal 2, to the thermostat terminal where the
red wire (power feed) was previously connected.
To connect a two-wire thermostat:
1. Remove one of the wires from the thermostat and con-
nect it ot the RF Thermostat terminal 1.
2. Connect a wire from the RF Thermostat terminal 2, to
the thermostat terminal where the original wire had
been connected.
Programming
For information on operating, programming, testing, and
deleting an RF Thermostat from panel memory, please refer
to your Simon 3 Installation Instructions or User’s Manual.
Note
The RF Thermostat must be installed and powered up
for a minimum of 15 minutes before adjusting its tem-
perature to ensure consistent readings between it and
the house thermostat. For best results, wait an hour
before adjusting the RF Thermostat temperature.
Testing
Specifications
Compatibility: ............ Simon 3
Power Requirements: ?
Storage Temperature: -30° to 140°F (-34° to 60°C)
Operating Temperature: 32° to 140°F (0° to 60° C)
Color: .......................... Belgian Gray
Case Material:............. ABS Plastic
Dimensions: ................ 3.75” x 5.5” x 1.2” (L x W x D)
Installation: ................ Wall mounting
UL Listings: ................
FCC Notice
This device complies with FCC Rules Part 15. Operation is subject to the
following two conditions:
1. This device may not cause harmful interference.
2. This device must accept any interference that may be received,
including interference that may cause undesired operation.
Changes or modifications not expressly approved by Interlogix, Inc. can
void the user’s authority to operate the equipment.
FCC ID: B4Z-798A-THERM
Notices
Four-Wire Thermostat Color Code
Wire Function
Red Power feed to thermostat
Green Fan control
Yellow Cooling
White Heating