UTStarcom Korea Technologies FSUC800 CDMA Fixed Wireless Desk Phone User Manual 2004232 FCC Test Report R0 01 no IC
UTStarcom Korea Technologies Ltd. CDMA Fixed Wireless Desk Phone 2004232 FCC Test Report R0 01 no IC
UserManual.wiki
>
UTStarcom Korea Technologies
>
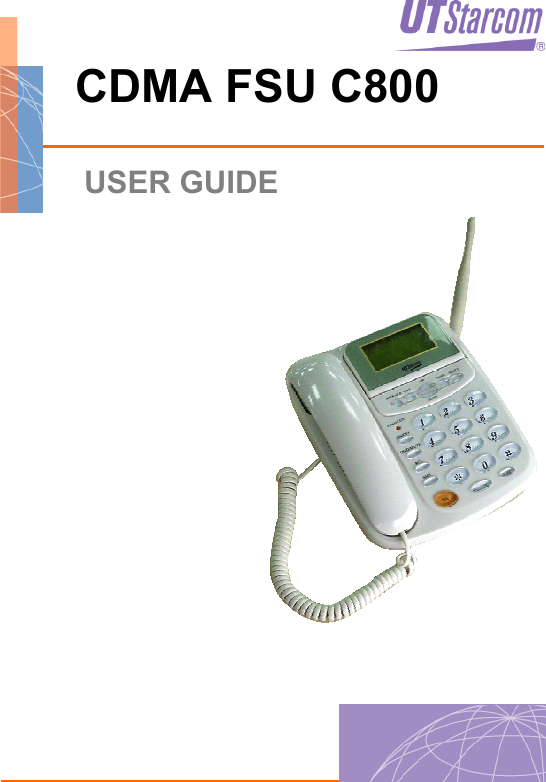
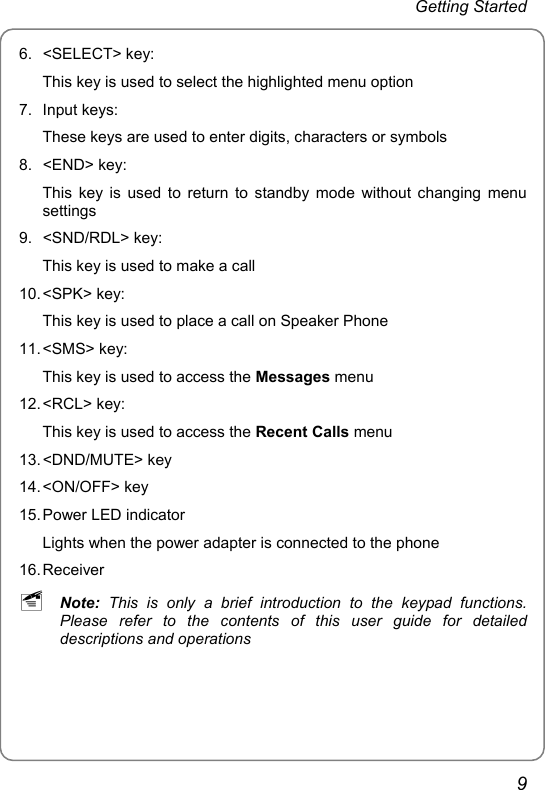
FSUC800 User Manual
Manual
Navigation menu
Upload a User Manual
Namespaces
Wiki Guide
HTML
PDF
Info
Views
User Manual
Discussion / Help
Navigation
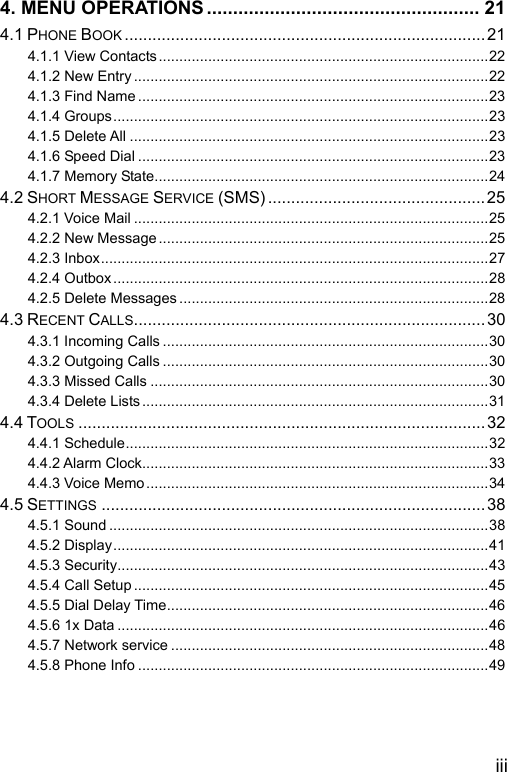

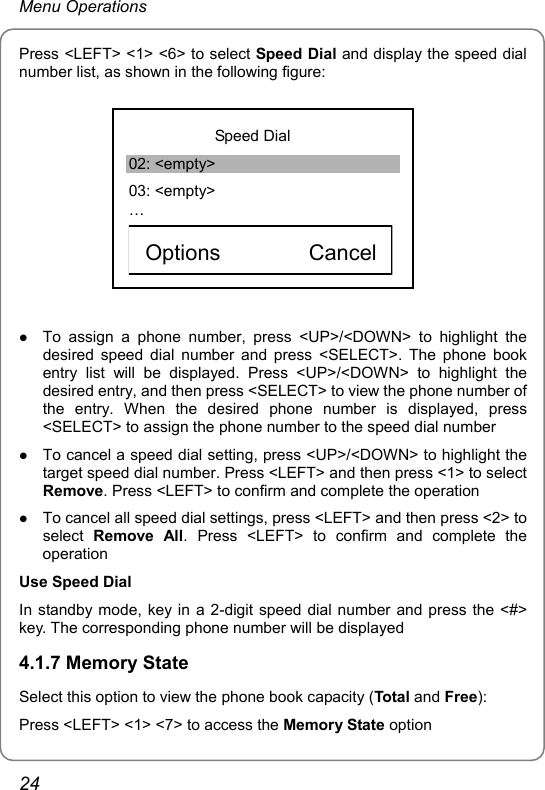
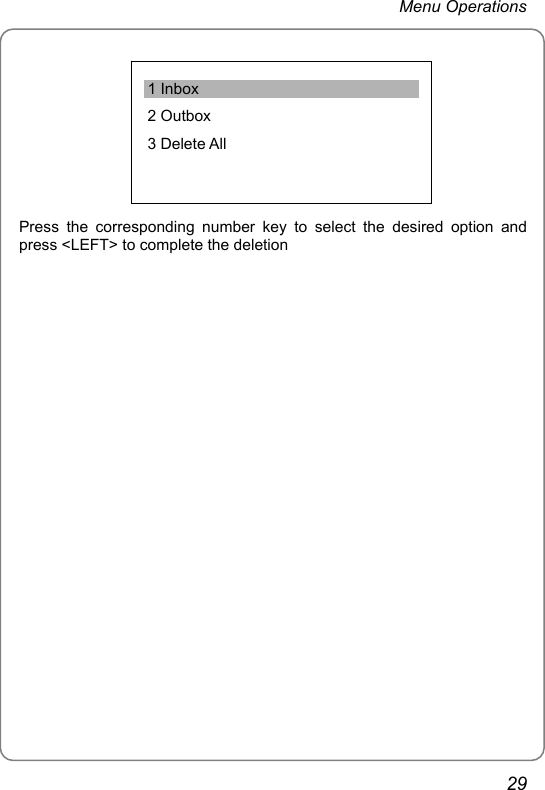
![Menu Operations 1 [New Address] 2 [Message] Send Option Press <1> to select New Address. Key in the receiver’s phone number and press <LEFT>. Press <2> to select Message. Enter the message contents and press <LEFT>. Press <LEFT> to send the message To perform other operations, press <RIGHT> and select from Contact, Priority, Callback and Save, as shown in the following figure: 1 [New Address] 2 [Message] Close 1 Contact 2 Priority 3 Callback 4 Save z Contact: Select this option to access the phone book entry list and select the message receiver z Priority: Select this option to set the message priority z Callback: Select this option to set the Callback function z Save: Select this option to save the message 26](https://usermanual.wiki/UTStarcom-Korea-Technologies/FSUC800/User-Guide-512929-Page-33.png)

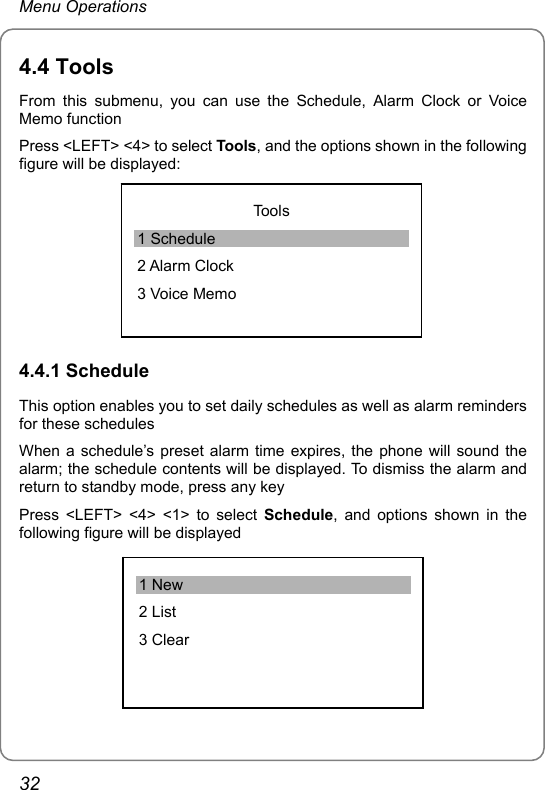
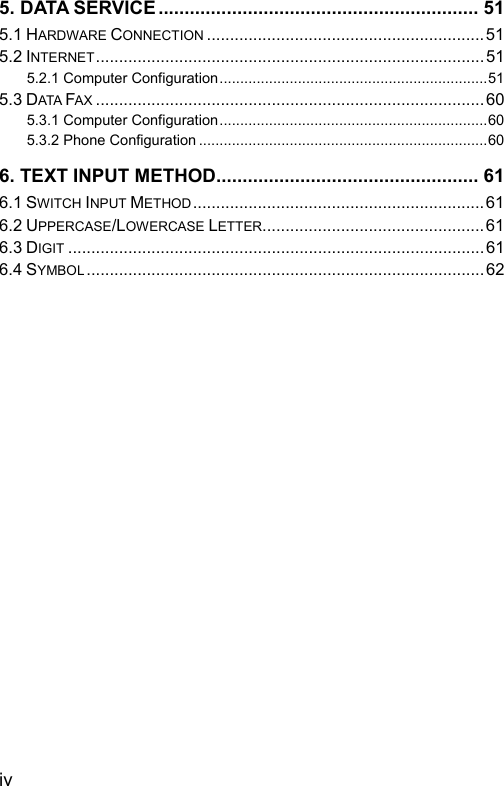
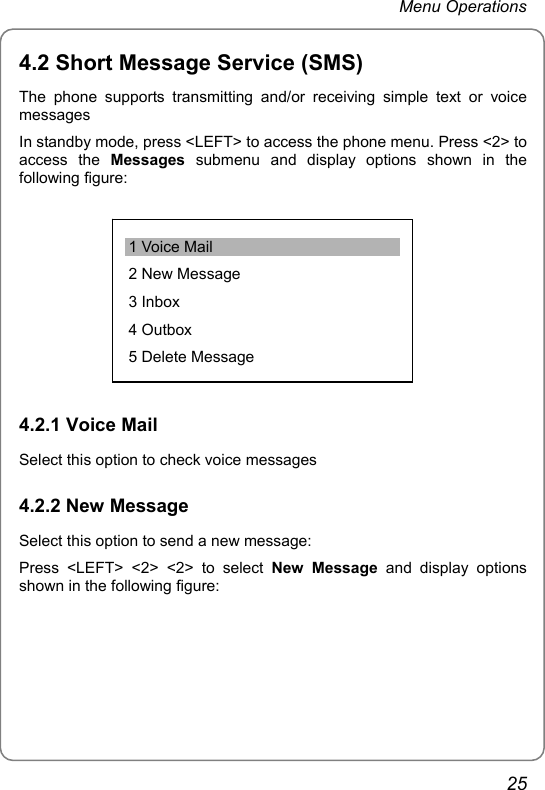
![Menu Operations 1 [New Address] 2 XXXXXXXXX… 3 13332885955 Send Option 4.2.4 Outbox Sent messages are stored in the phone Inbox Press <LEFT> <2> <4> to select Outbox; the sent message list will be displayed. There is an icon in front of each message: indicates the message sending succeeded; indicates the message sending failed. Messages are listed chronologically, with the most recently sent message highlighted at the top of the list Press <UP>/<DOWN> to reach the desired message and press <SELECT>. The message contents and details will be displayed z To save the receiver’s phone number, call the receiver or erase the message, press <RIGHT> and then select Save address, Call him/her or Erase z To forward or reply to the message, press <LEFT> 4.2.5 Delete Messages Select this option to delete all received messages, sent messages, or to delete all Press <LEFT> <2> <5> to select Delete Messages and the options shown in the following figure will be displayed: 28](https://usermanual.wiki/UTStarcom-Korea-Technologies/FSUC800/User-Guide-512929-Page-35.png)