UTStarcom Korea Technologies GF210 GSM 850/1900MHz MOBILE PHONE User Manual GF210 060922
UTStarcom Korea Technologies Ltd. GSM 850/1900MHz MOBILE PHONE GF210 060922
UserManual.wiki
>
UTStarcom Korea Technologies
>
GF210 User Manual
Manual
Navigation menu
Upload a User Manual
Namespaces
Wiki Guide
HTML
PDF
Info
Views
User Manual
Discussion / Help
Navigation
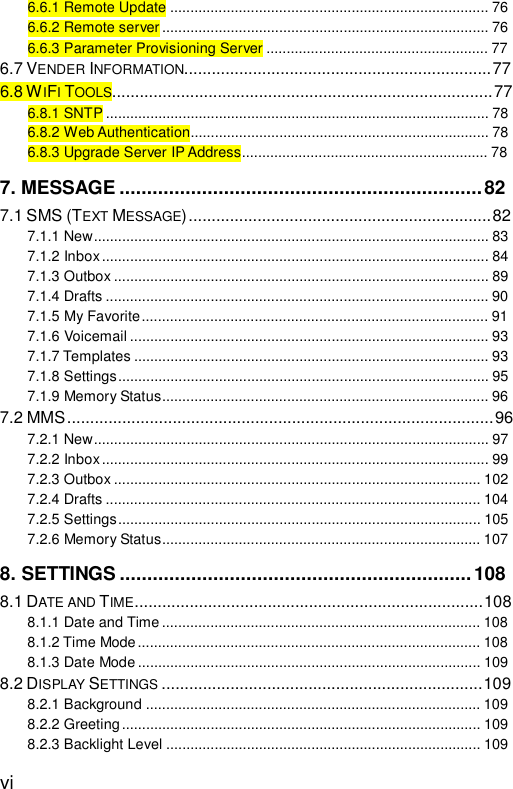


![WiFi Settings -> WiFi Tools 81 [Hint]NextServer IP Add.:***.***.***.***Prev BackSearchPrevNextPrevNextBackAP Search:1.*****2.*****3.*****Press “Search” to search available APsOKGF210 Firmware UpgradeTFTP Server Add.:***.***.***.***OPEN AP SSID:********NextGF210 Firmware Upgrade GF210 Firmware UpgradePrevOPEN AP SSID:********GF210 Firmware UpgradingGF210 Firmware UpgradingTFTP Server Add.:***.***.***.***OPEN AP SSID:********[Hint]AP link upDownload CompletedWait to restartOKGF210 Firmware UpgradingTFTP Server Add.:***.***.***.***Erasing FlashGF210 Firmware UpgradeTFTP Server Add.:***.***.***.***[Hint]OPEN AP SSID:********35%GF210 Firmware UpgradingTFTP Server Add.:***.***.***.***Dwnlding File8280K bytesOPEN AP SSID:********AP link upTFTP Server Add.:***.***.***.***OPEN AP SSID:********](https://usermanual.wiki/UTStarcom-Korea-Technologies/GF210/User-Guide-717030-Page-89.png)


![Settings -> Phone Settings 112 8.4.2 Input method This option enables you to select the input method when editing text. After accessing this option, press the key to highlight Predictive English, Letter, Pin Yin or Stroke, then press the key to select/cancel the highlighted input method, and then press the left soft key (Change) to complete the operation. 8.4.3 Shortcut This option enables you to select some shortcuts for the Go To menu list. 1. After accessing this option, press the key to highlight a blank shortcut location. 2. Press the left soft key (Add) or the key to enter the Select list, press the [up-down] key to highlight an option. 3. Press the left soft key (Ok) or the key to enter the selected menu list, press the key to highlight an option. 4. Then press the left soft key (Ok) or the key to complete the operation. After accessing this option, press the key to highlight an existing shortcut, and then press the left soft key (Options) to select from the following options: Select](https://usermanual.wiki/UTStarcom-Korea-Technologies/GF210/User-Guide-717030-Page-120.png)