UTStarcom Korea Technologies UTS-618 Portable PCS Phone User Manual CERTIFICATE OF COMPLIANCE
UTStarcom Korea Technologies Ltd. Portable PCS Phone CERTIFICATE OF COMPLIANCE
UserManual.wiki
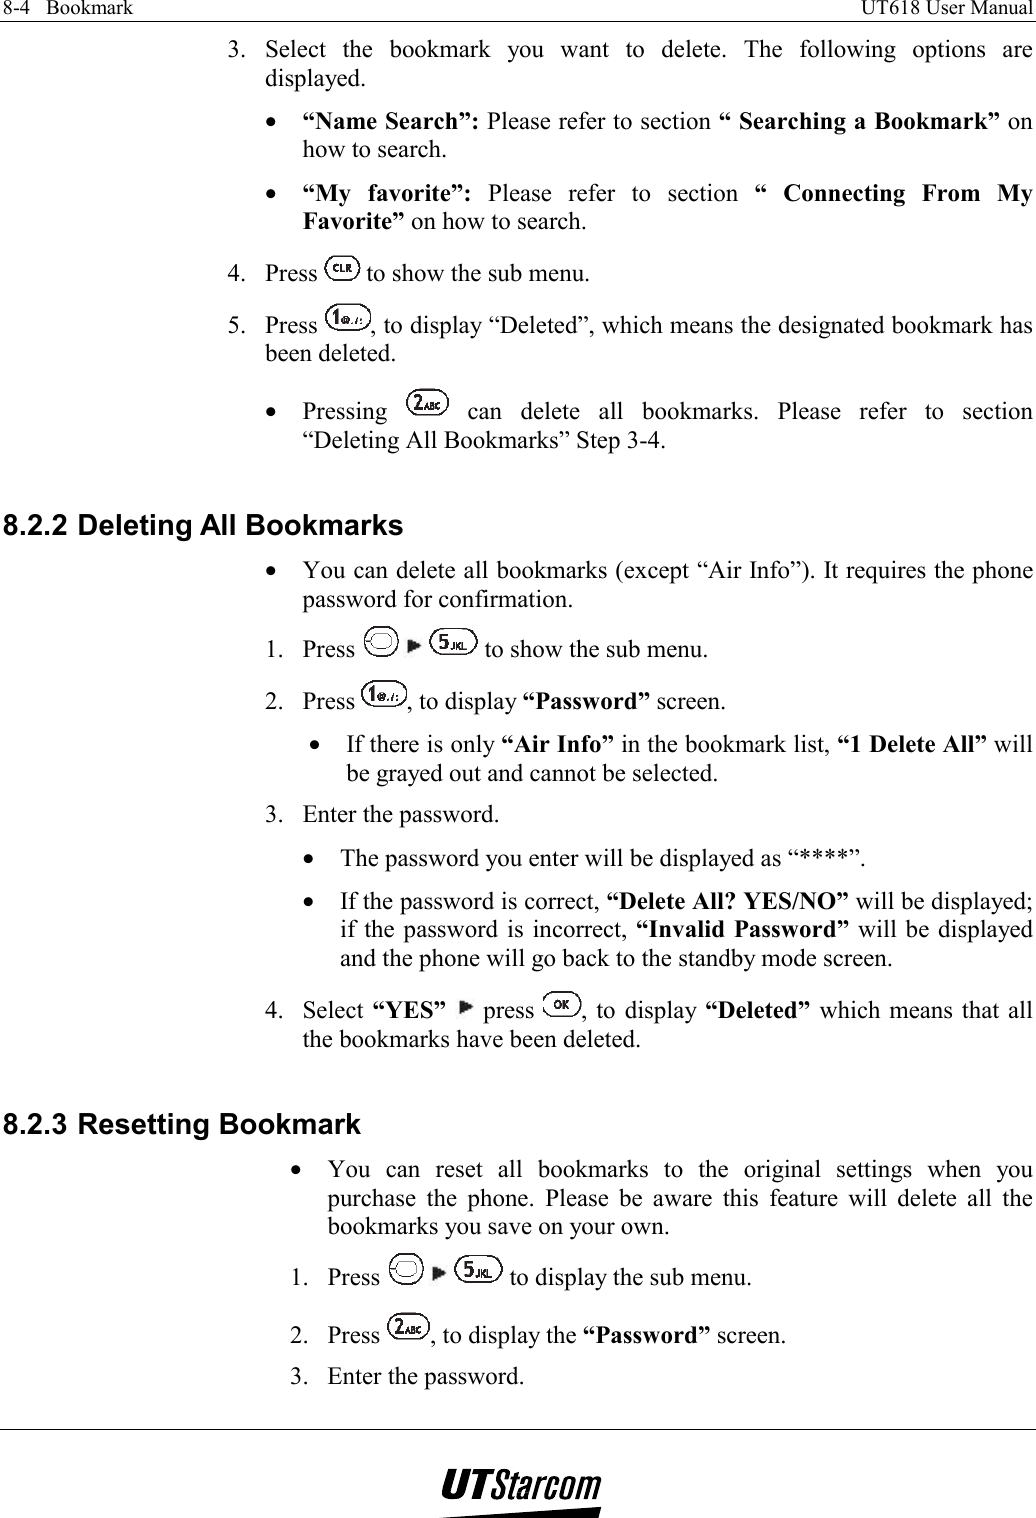
>
UTStarcom Korea Technologies
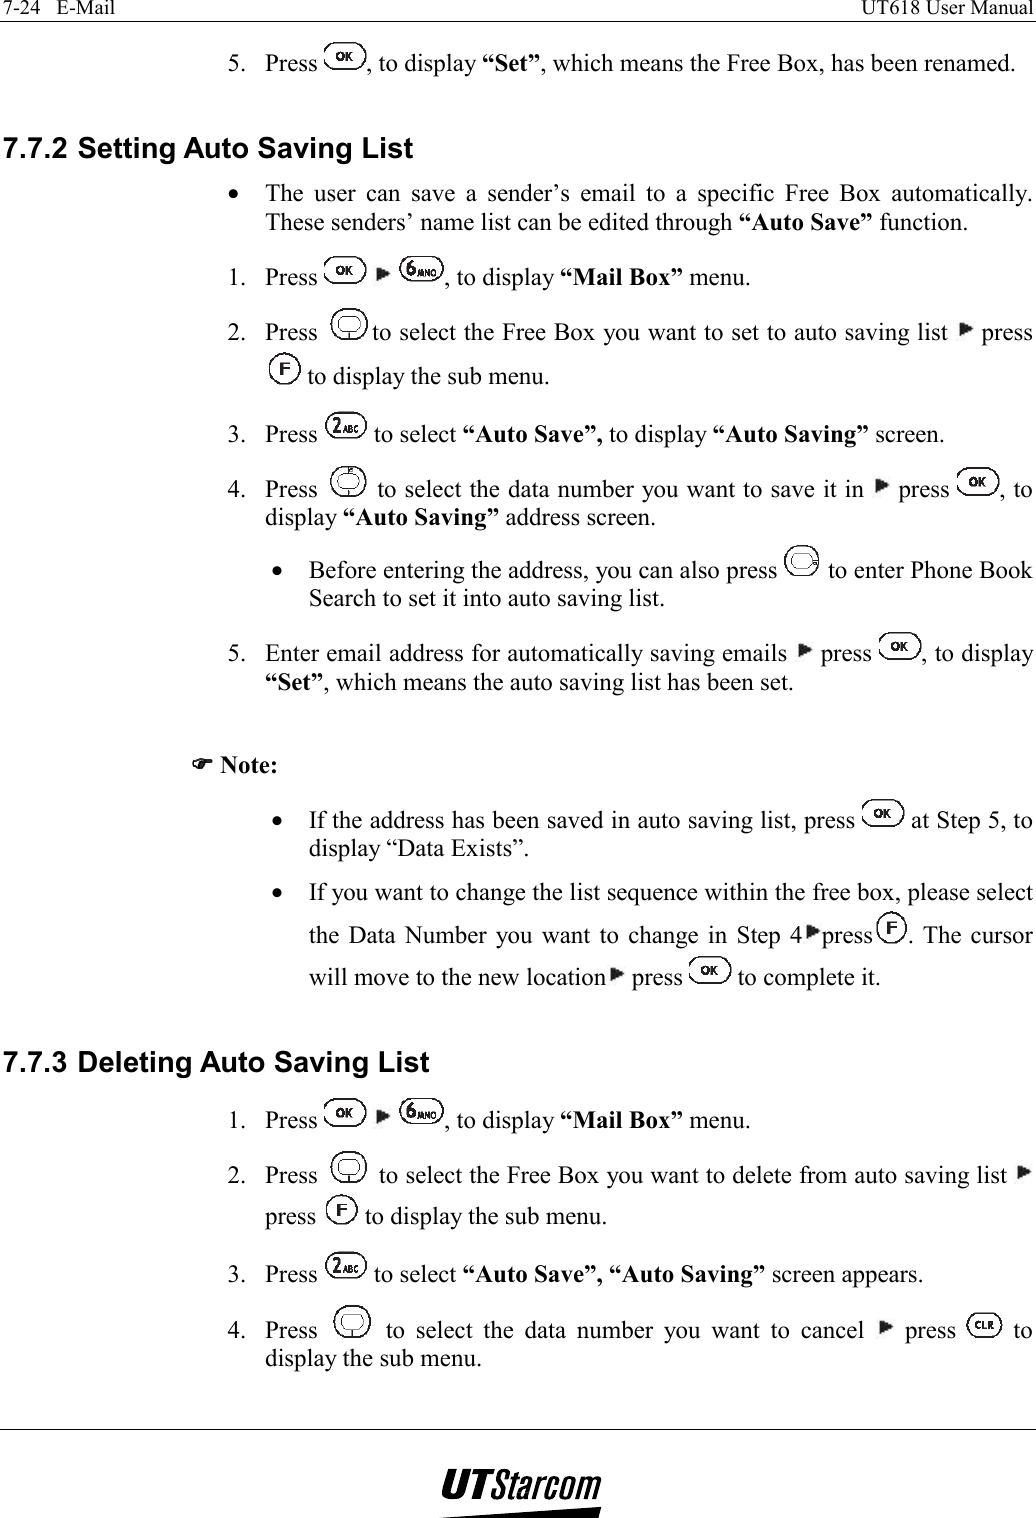
>
UTS 618 User Manual
Manual
Navigation menu
Upload a User Manual
Namespaces
Wiki Guide
HTML
PDF
Info
Views
User Manual
Discussion / Help
Navigation
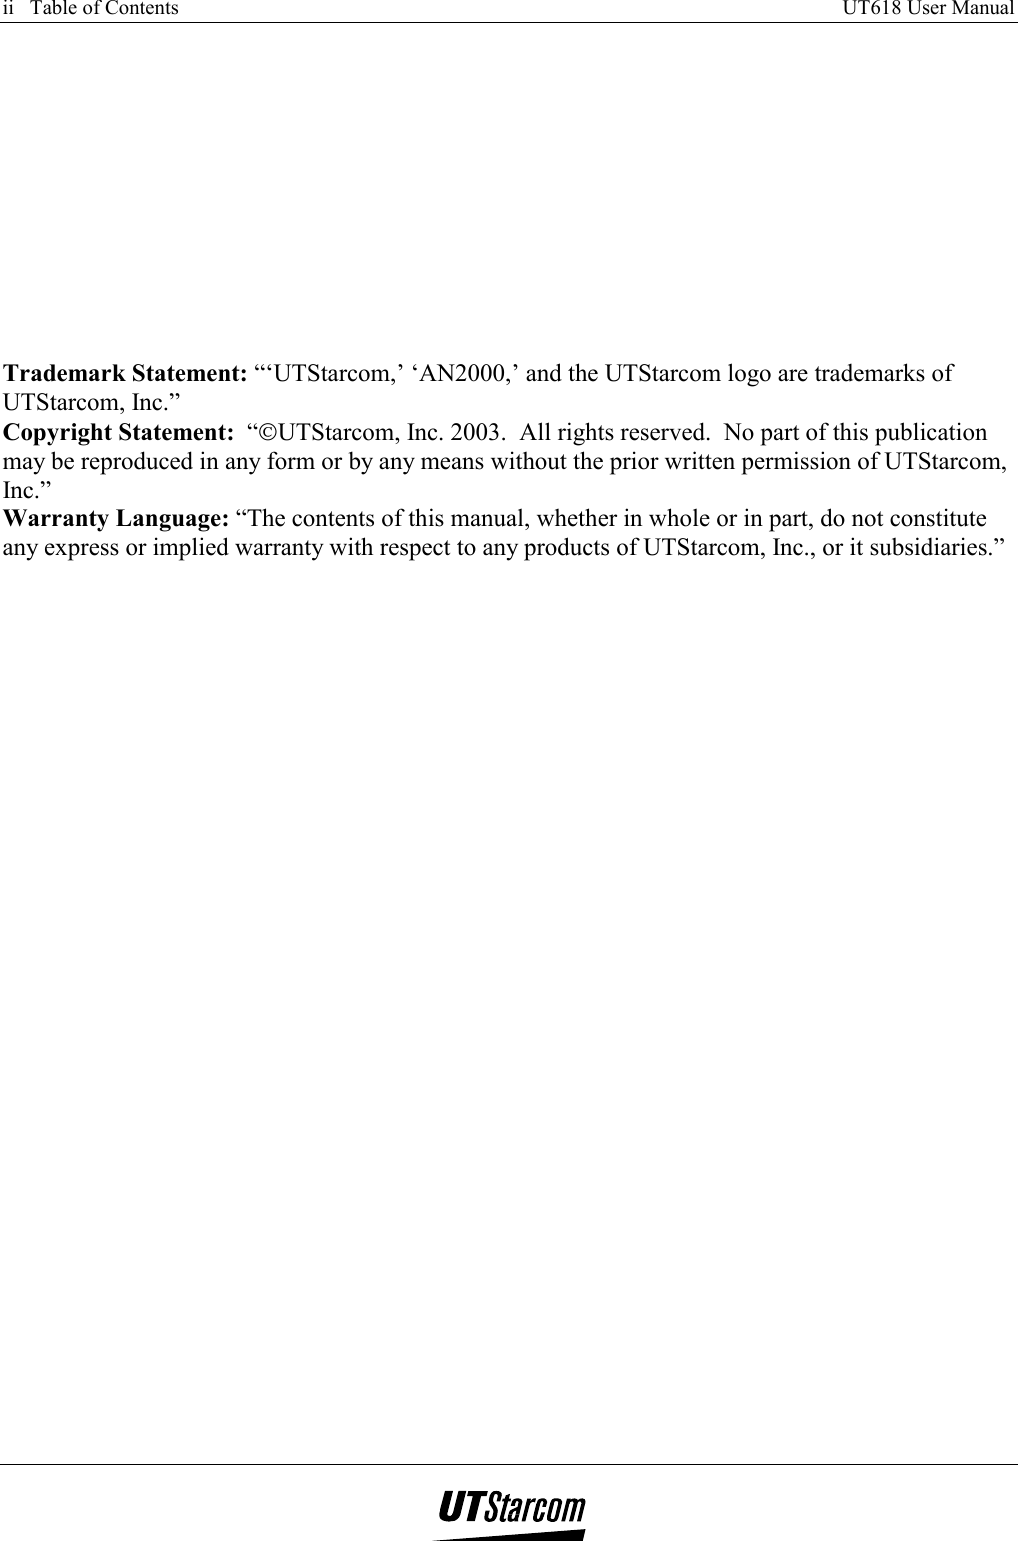
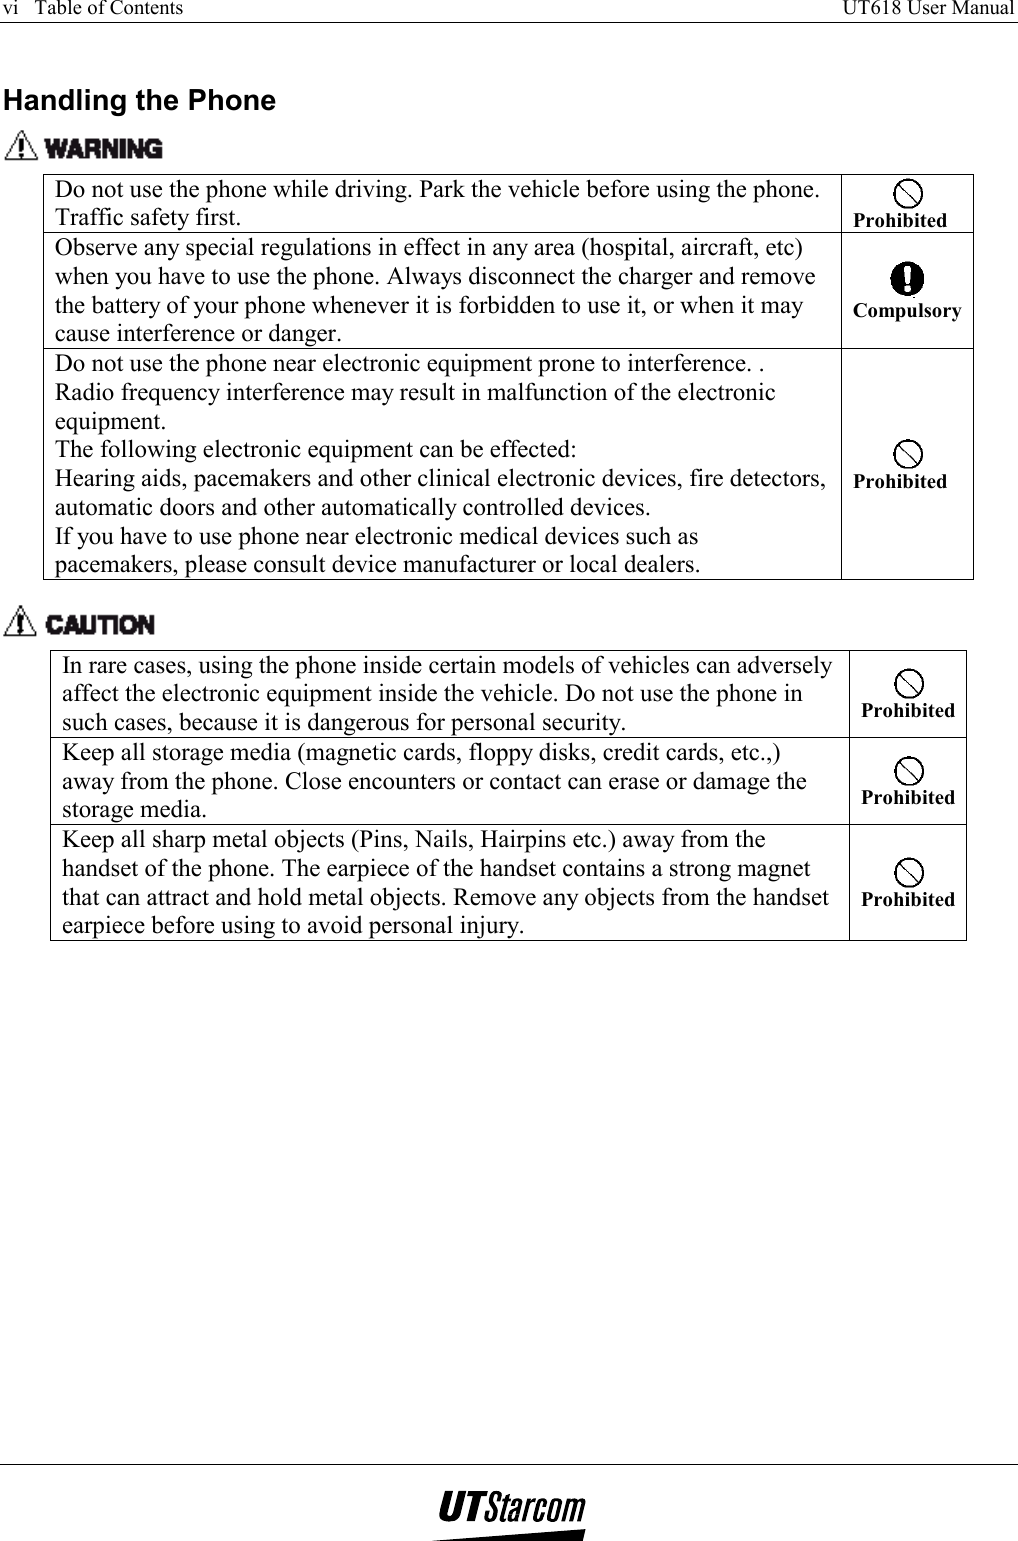


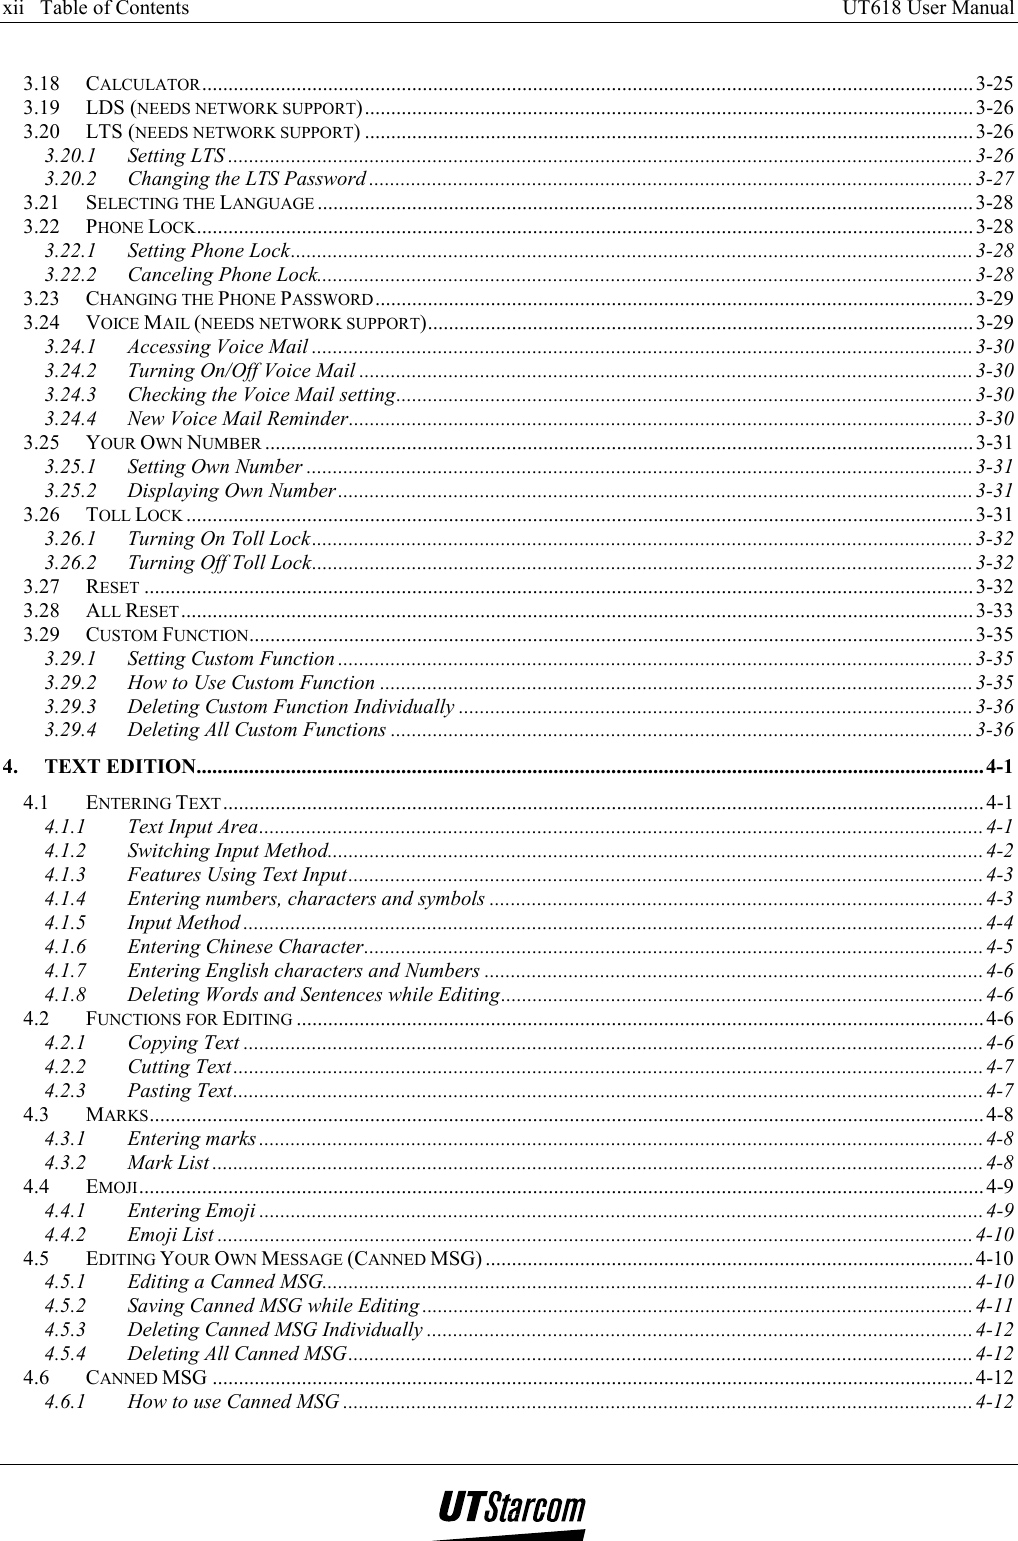

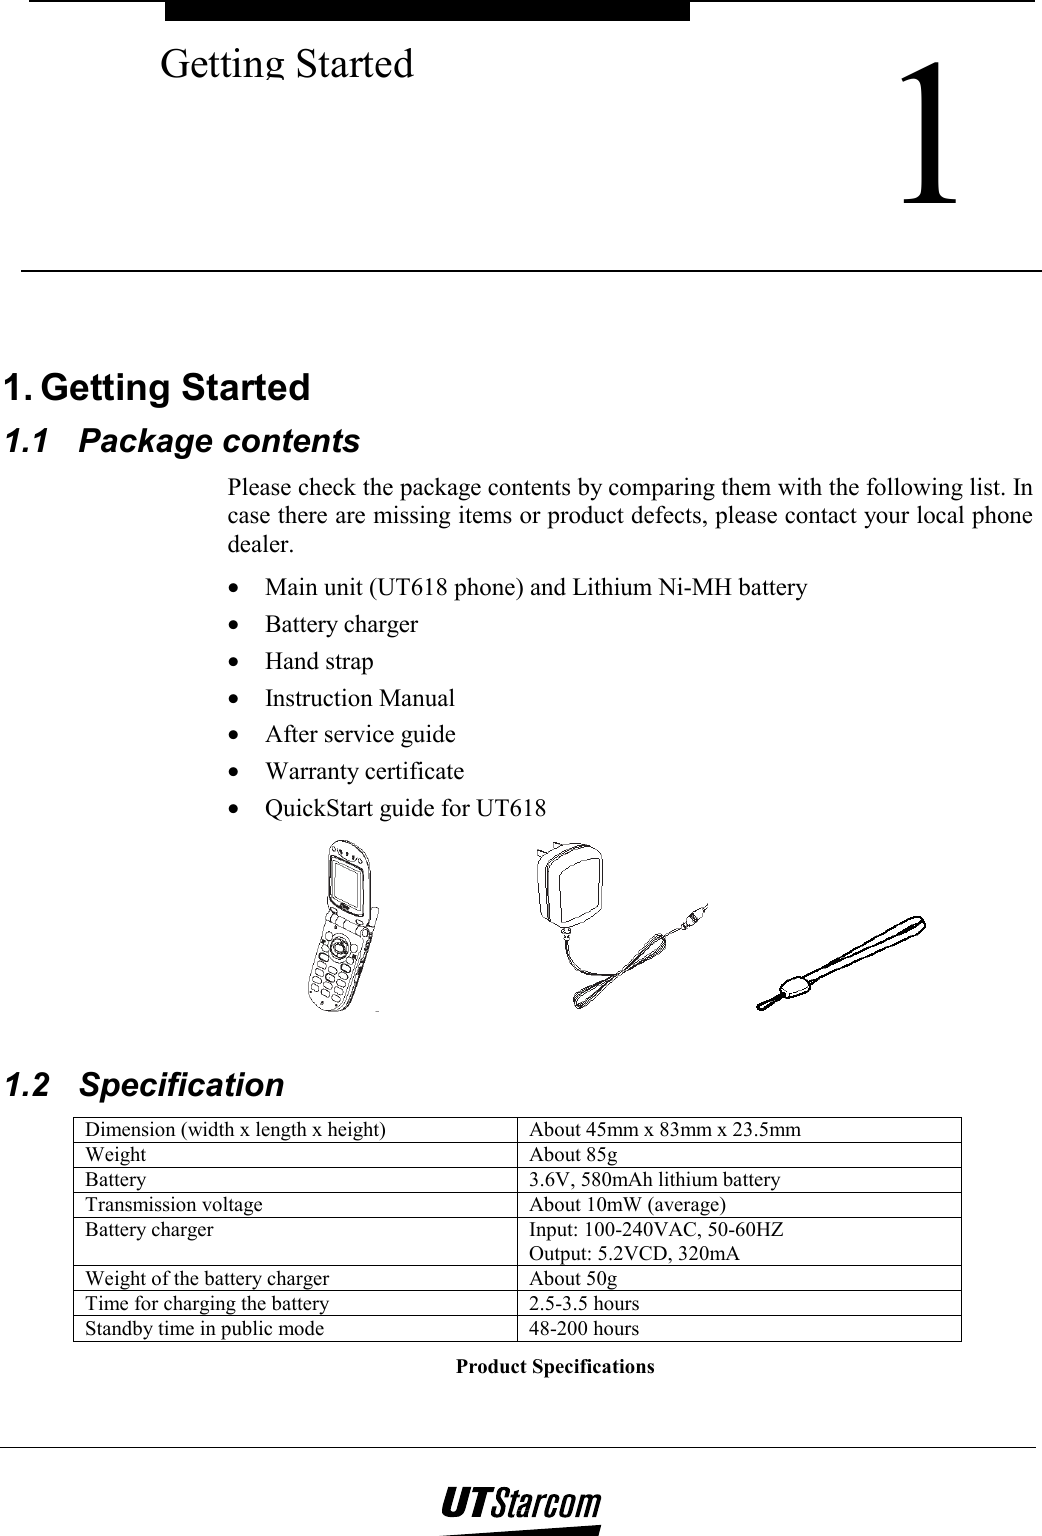

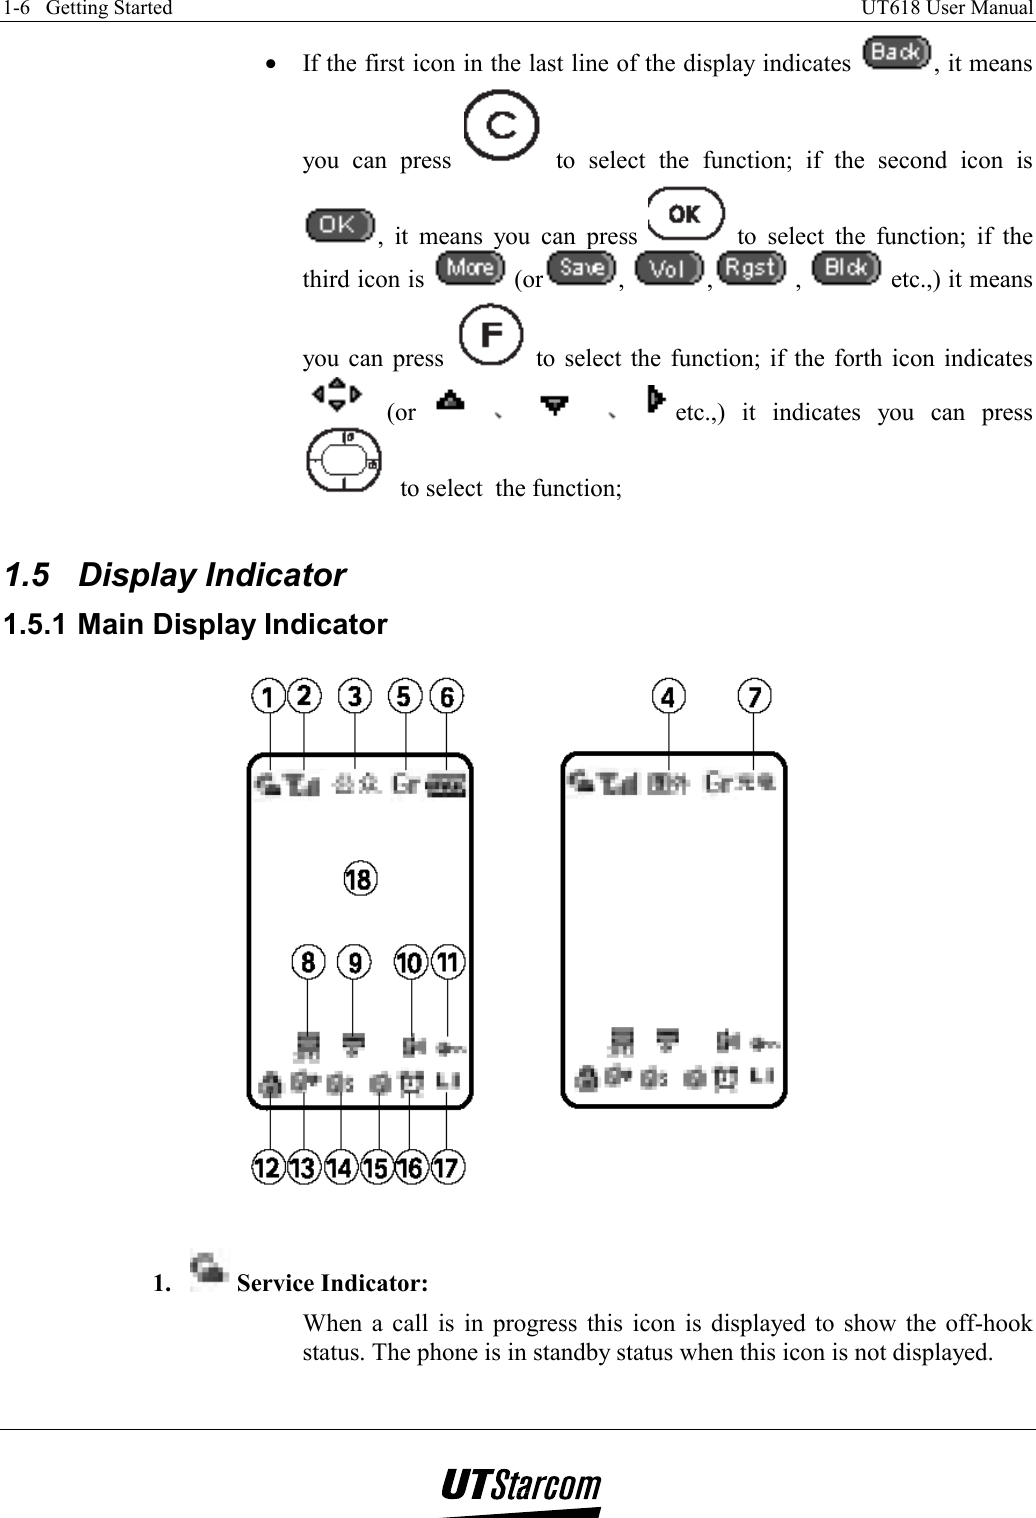

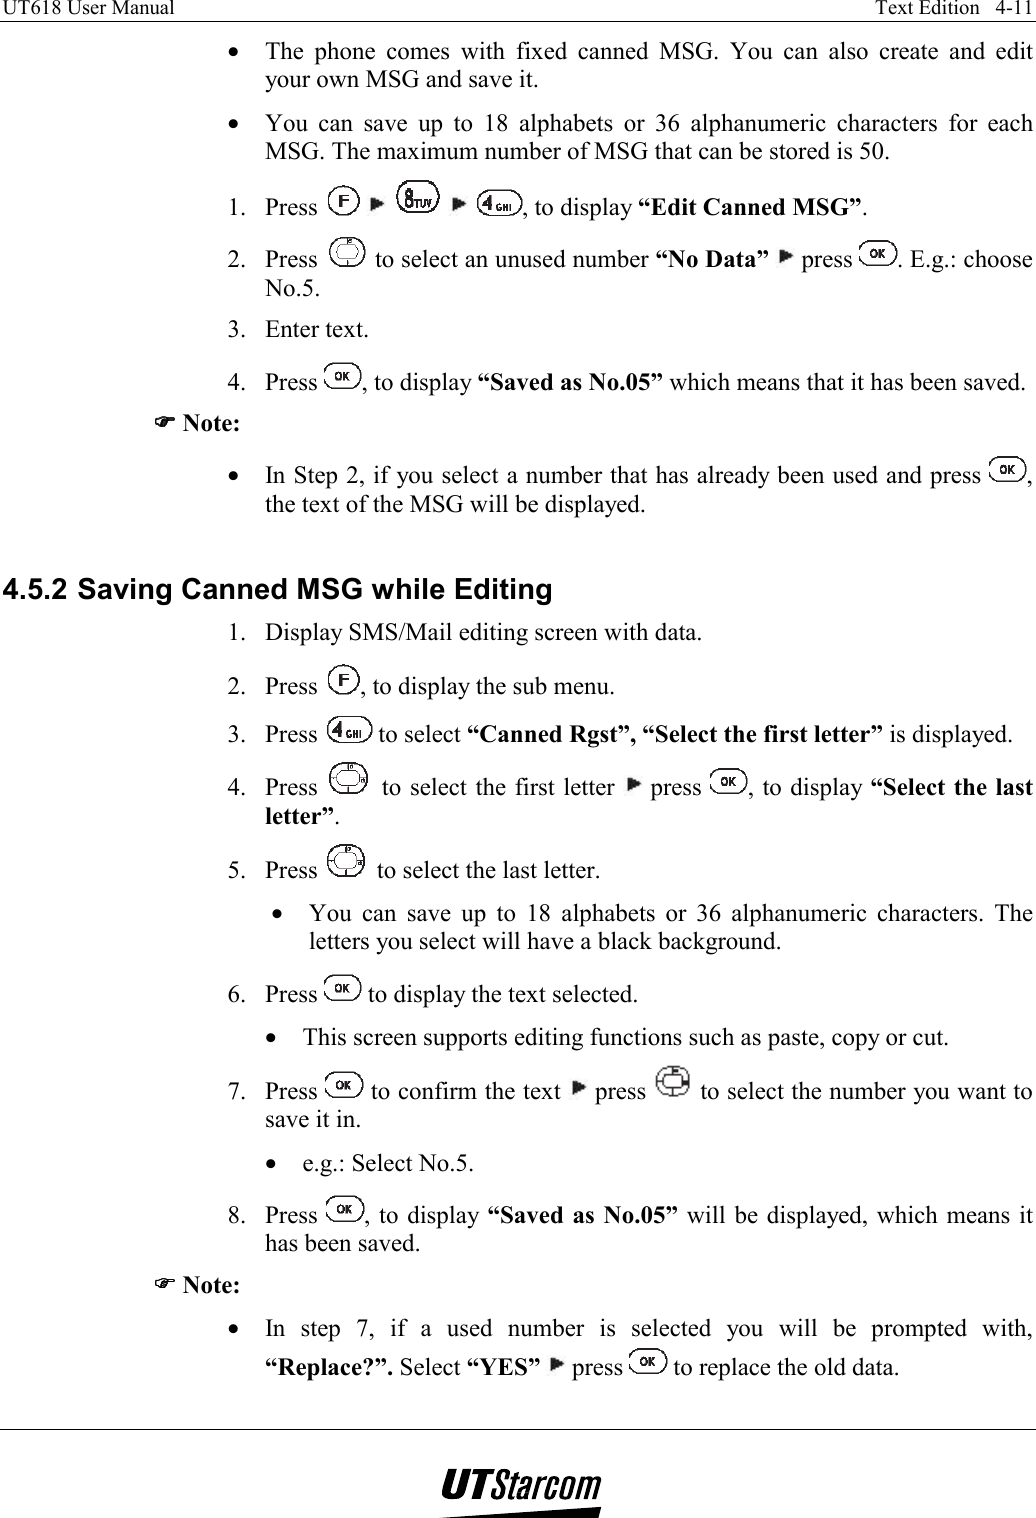
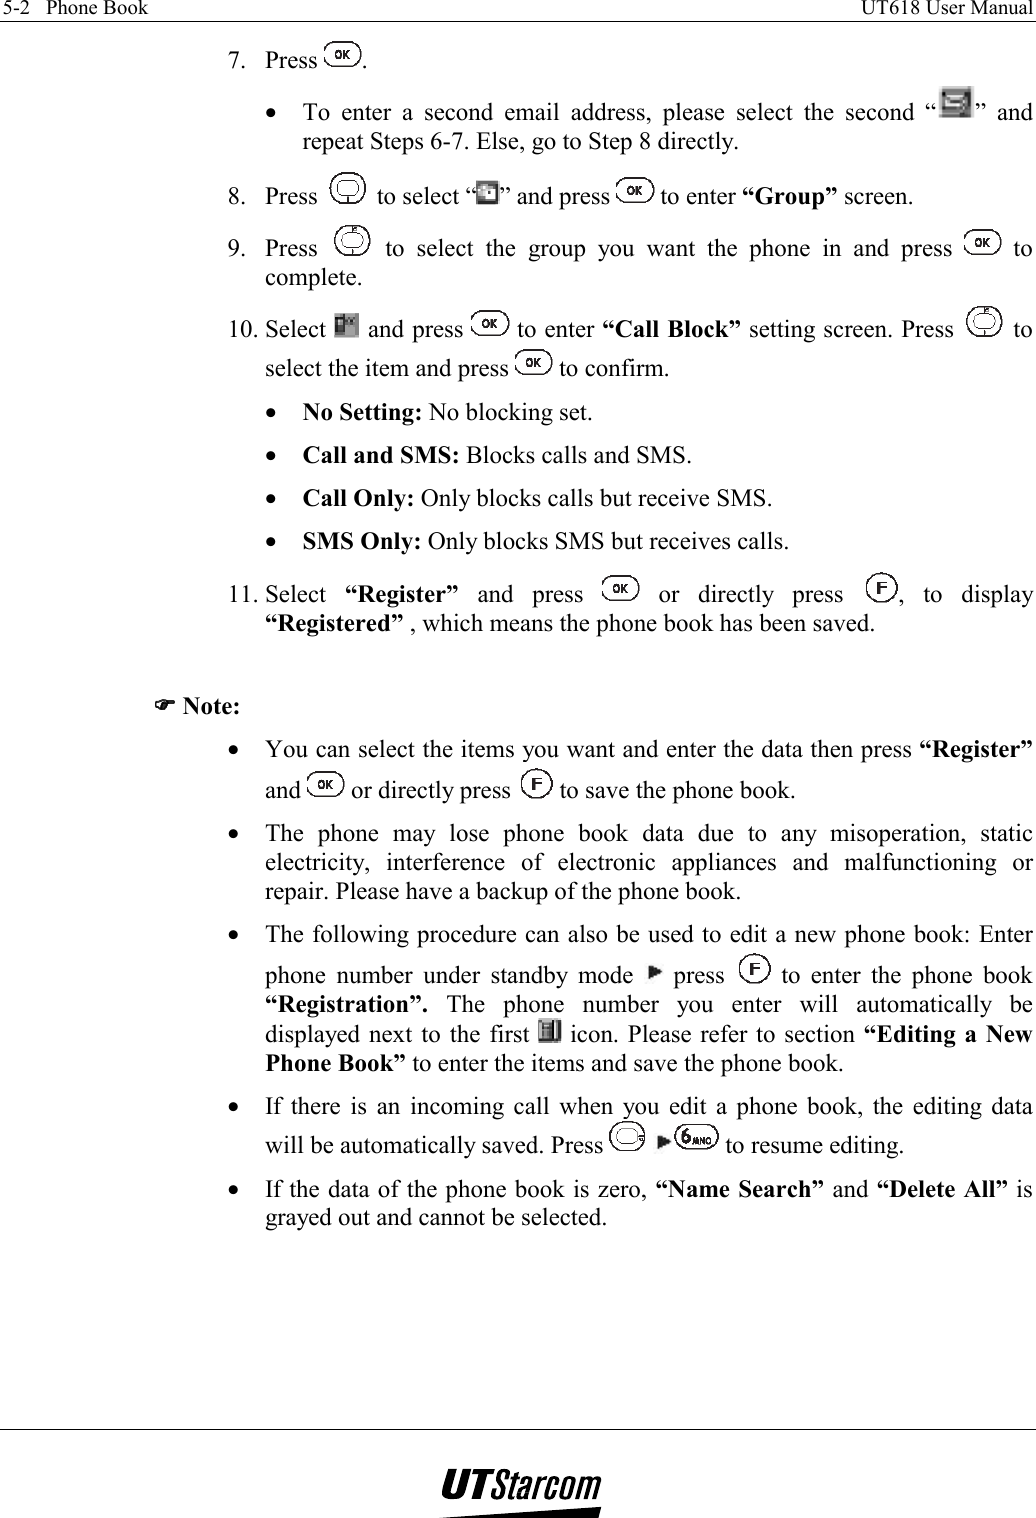
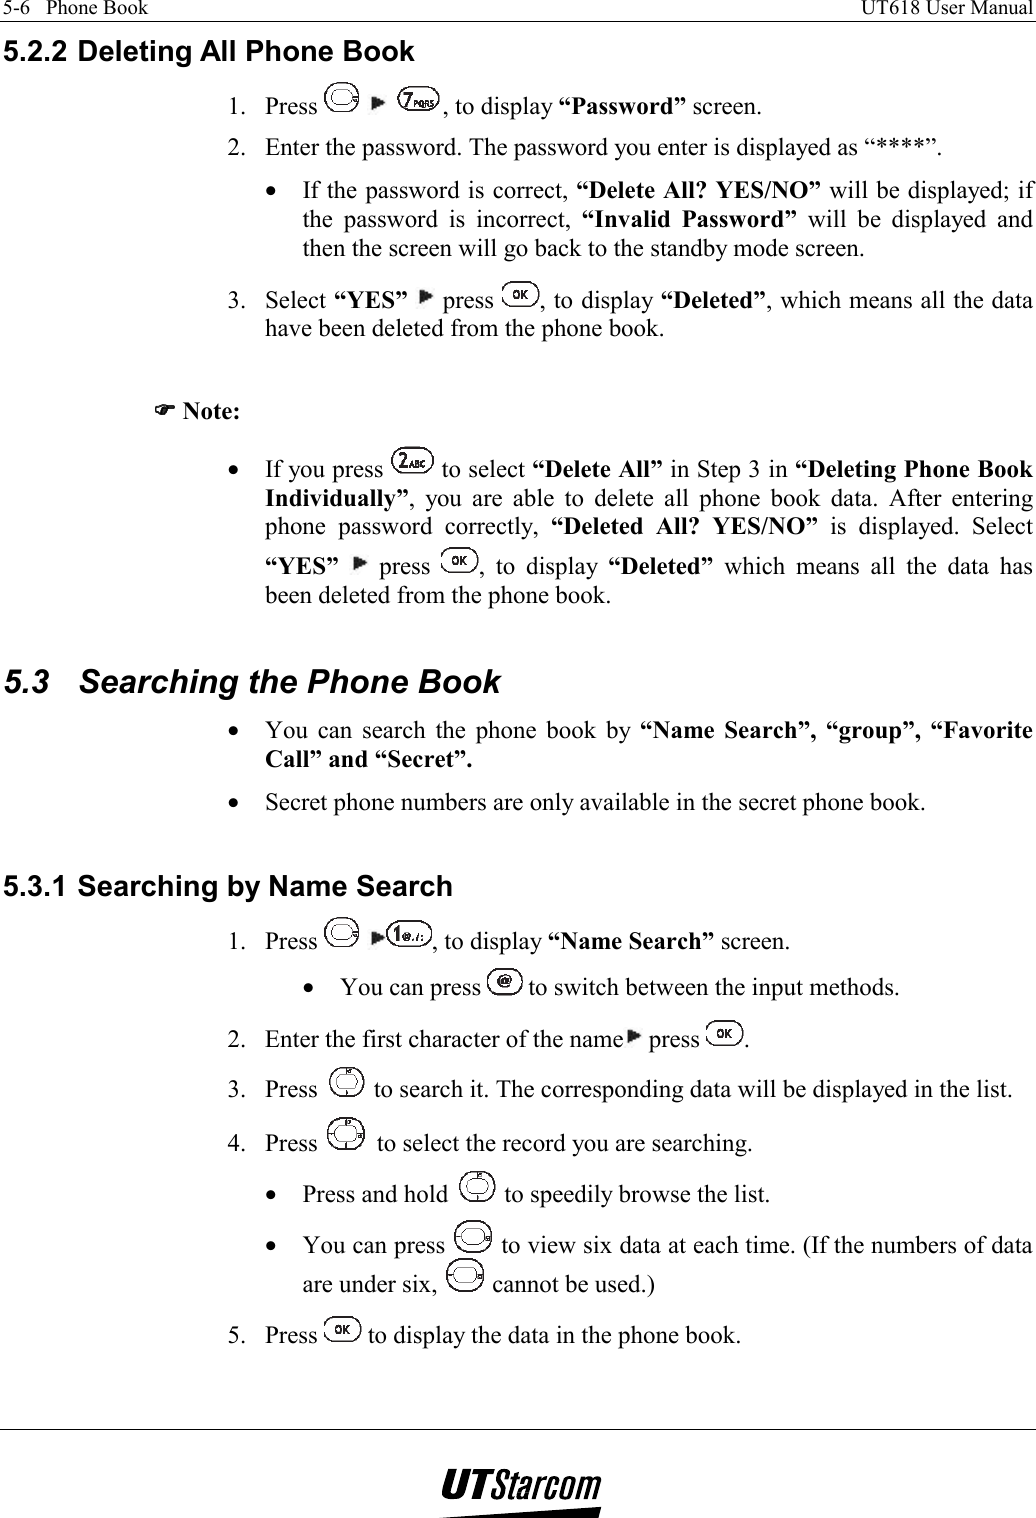
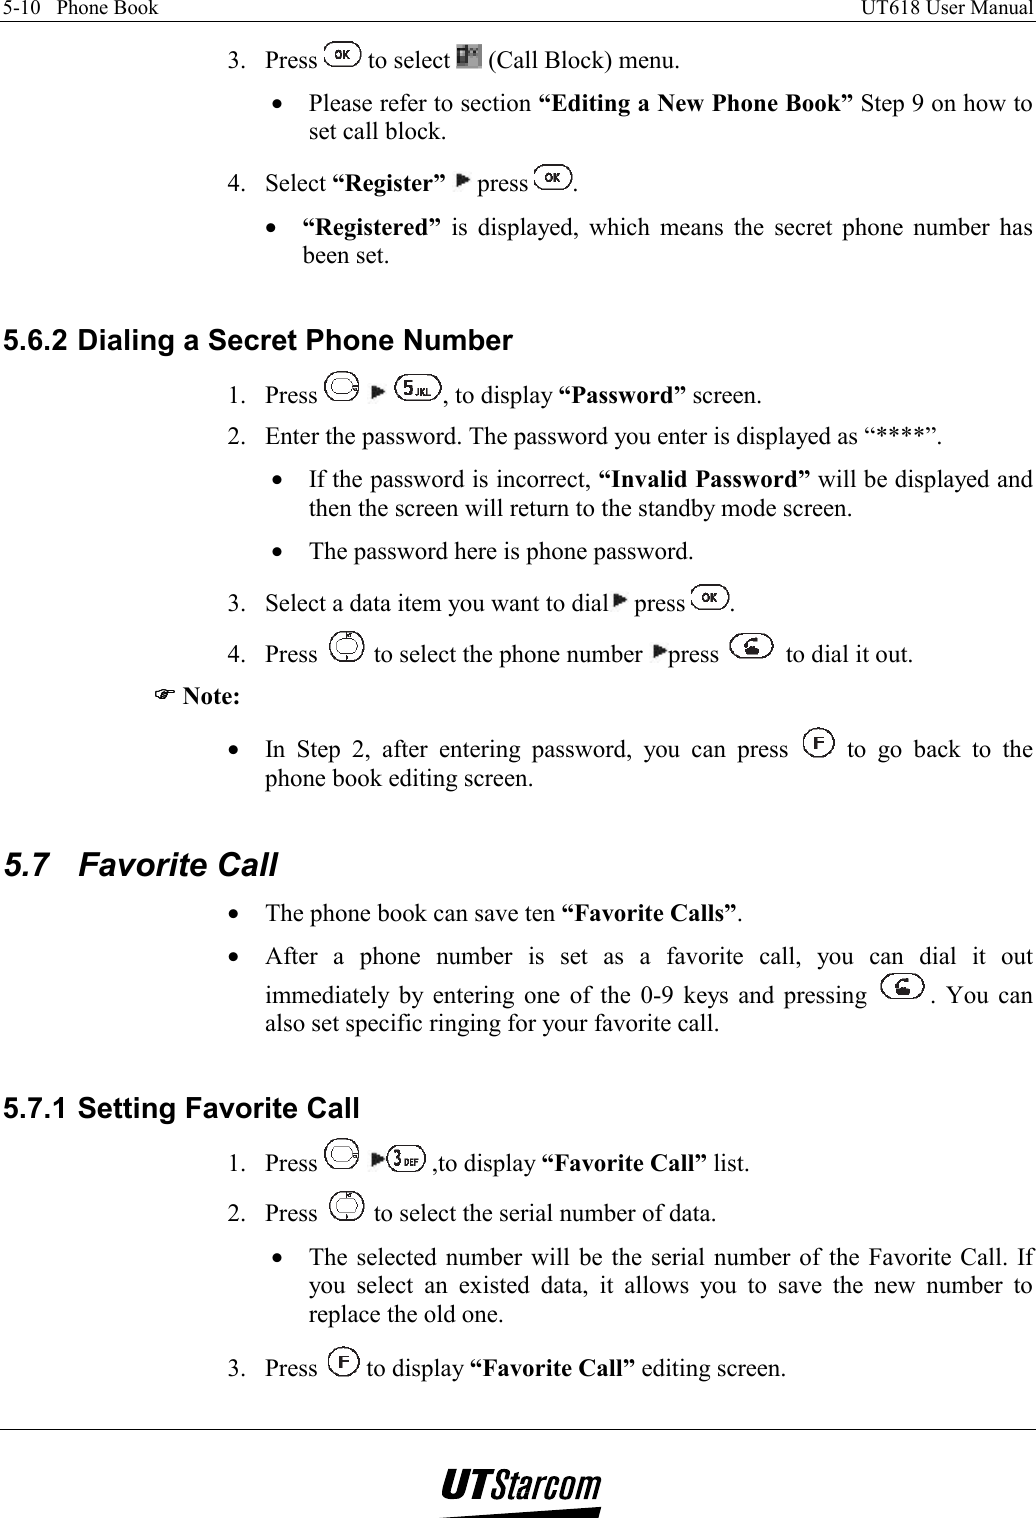
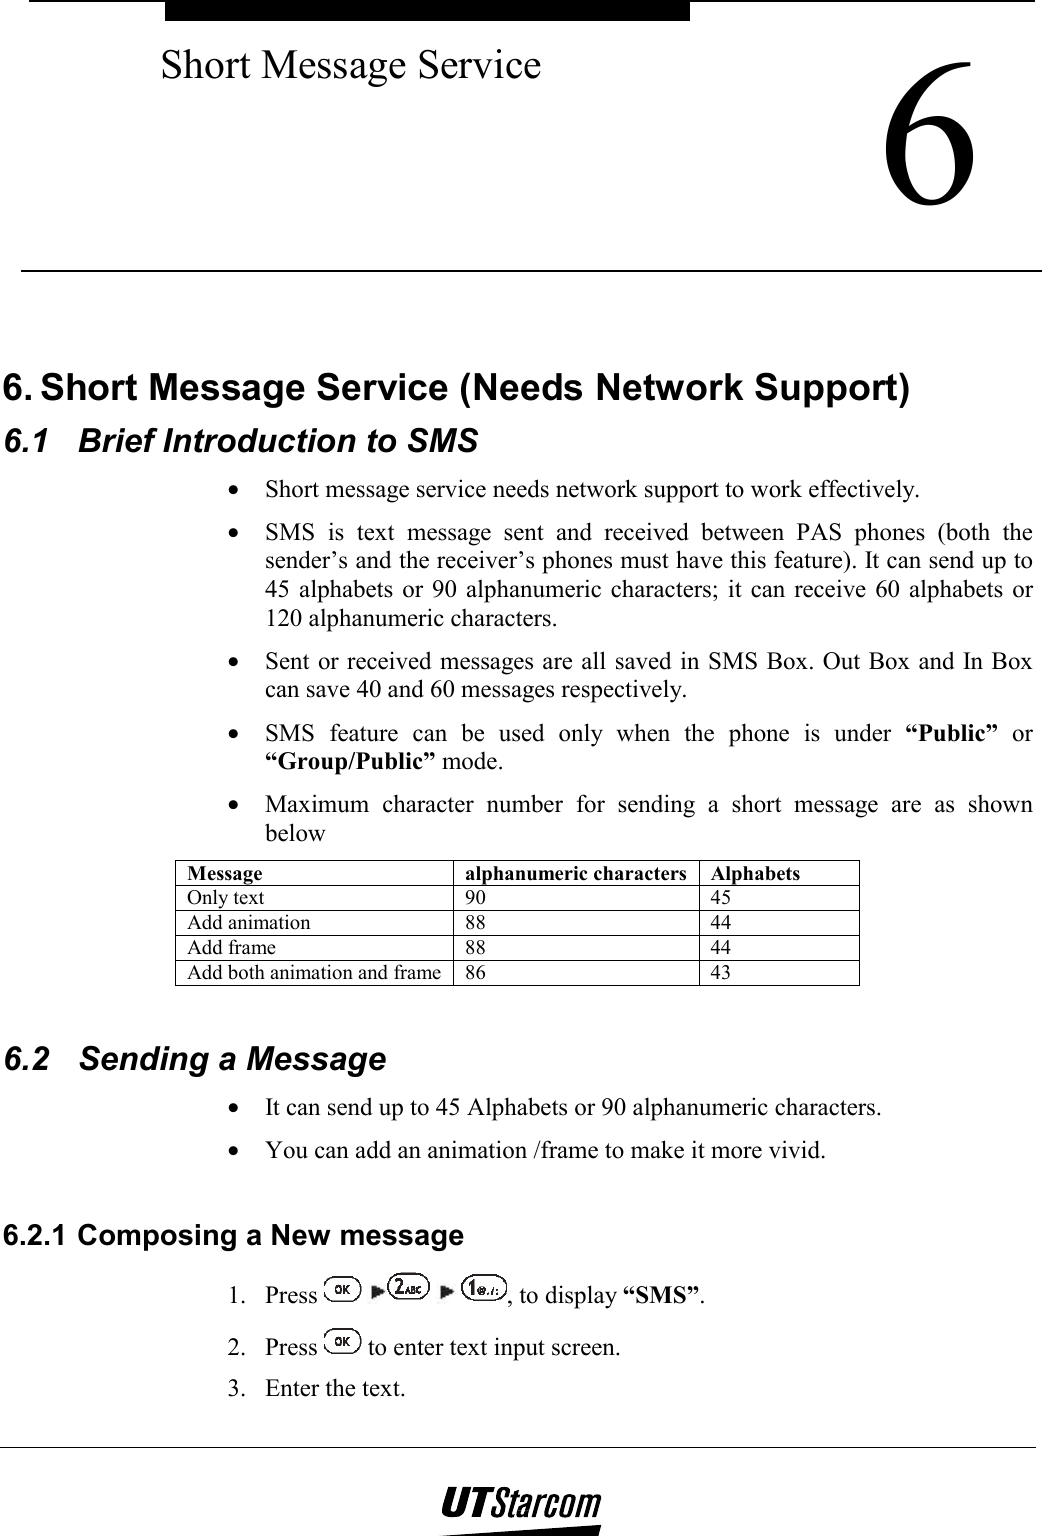
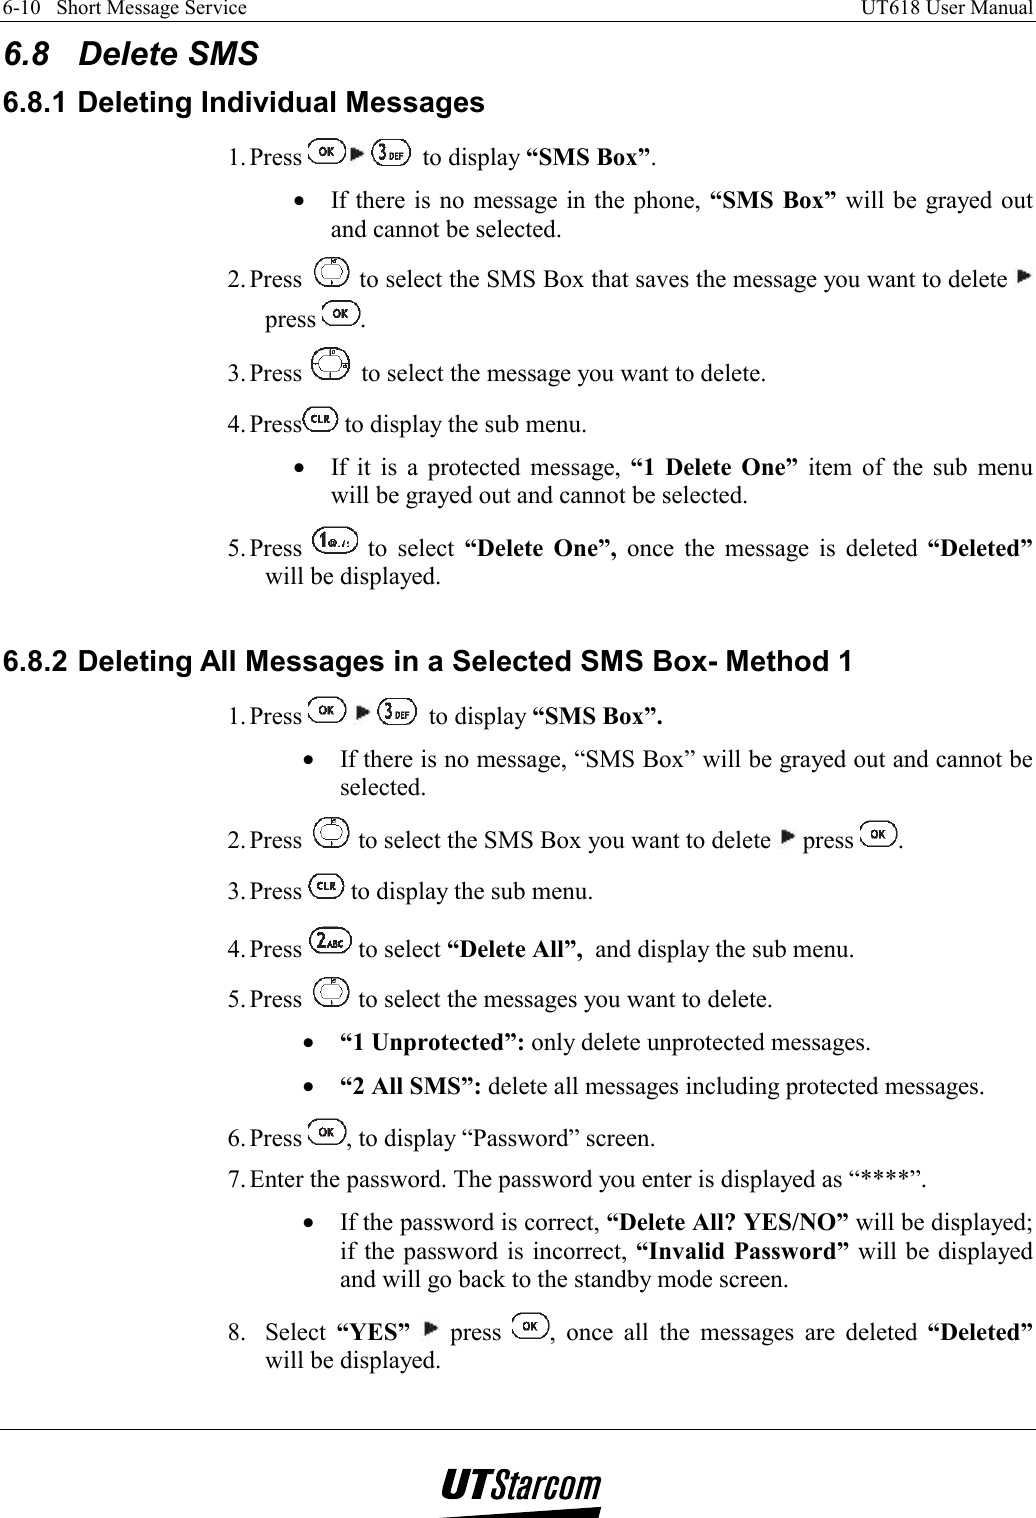
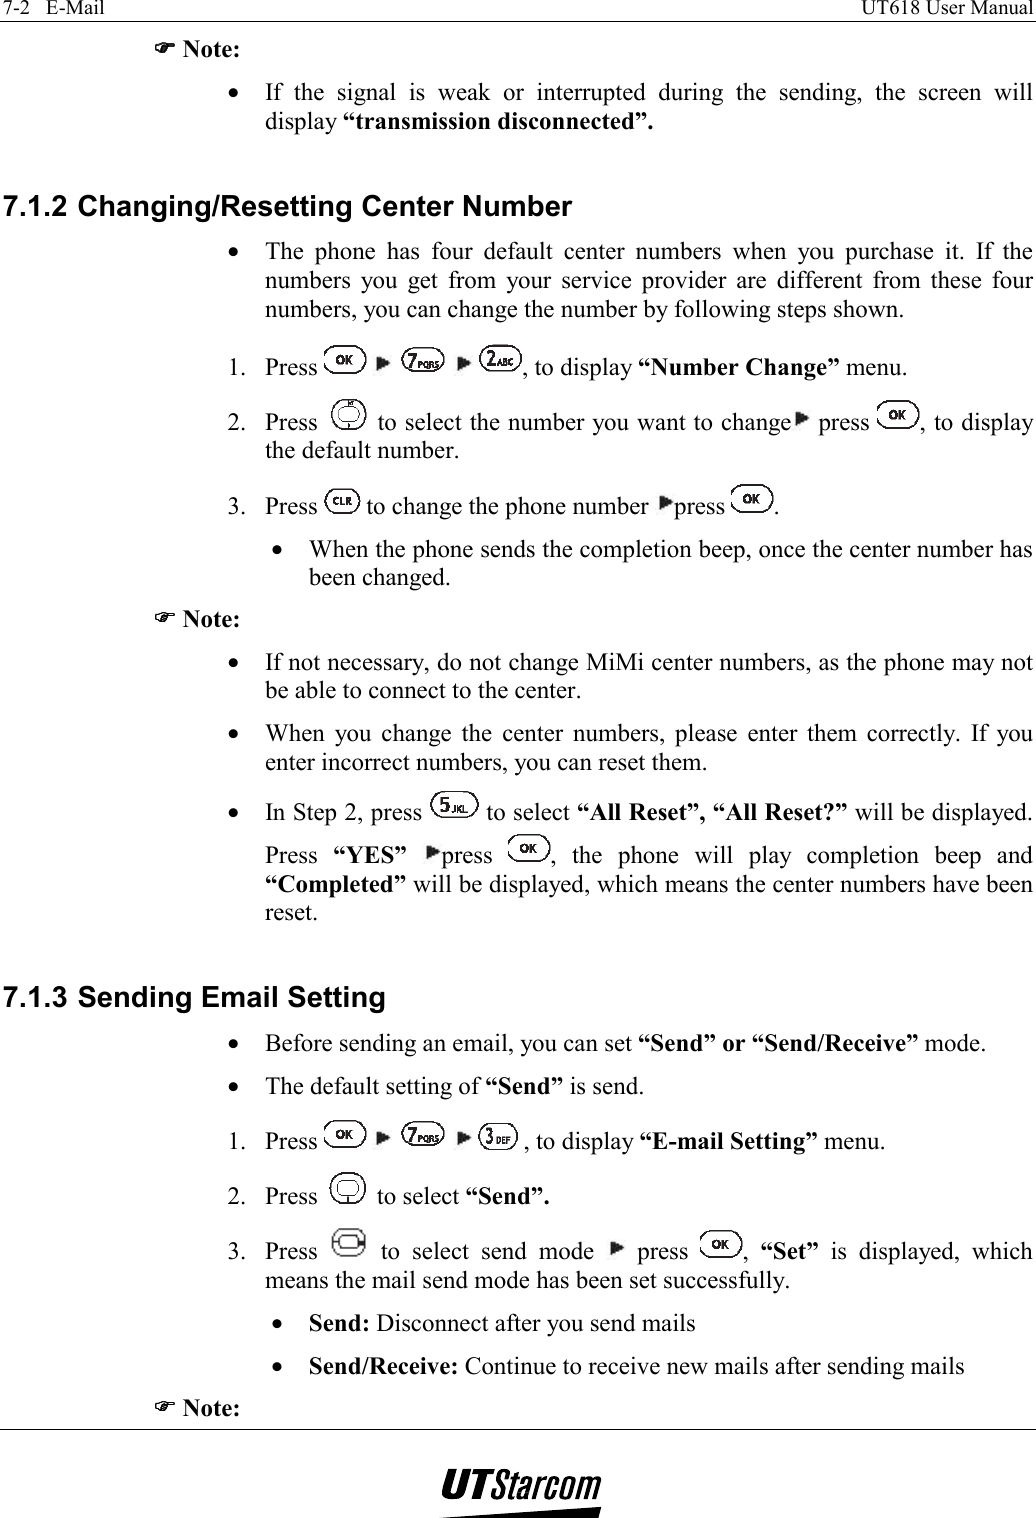
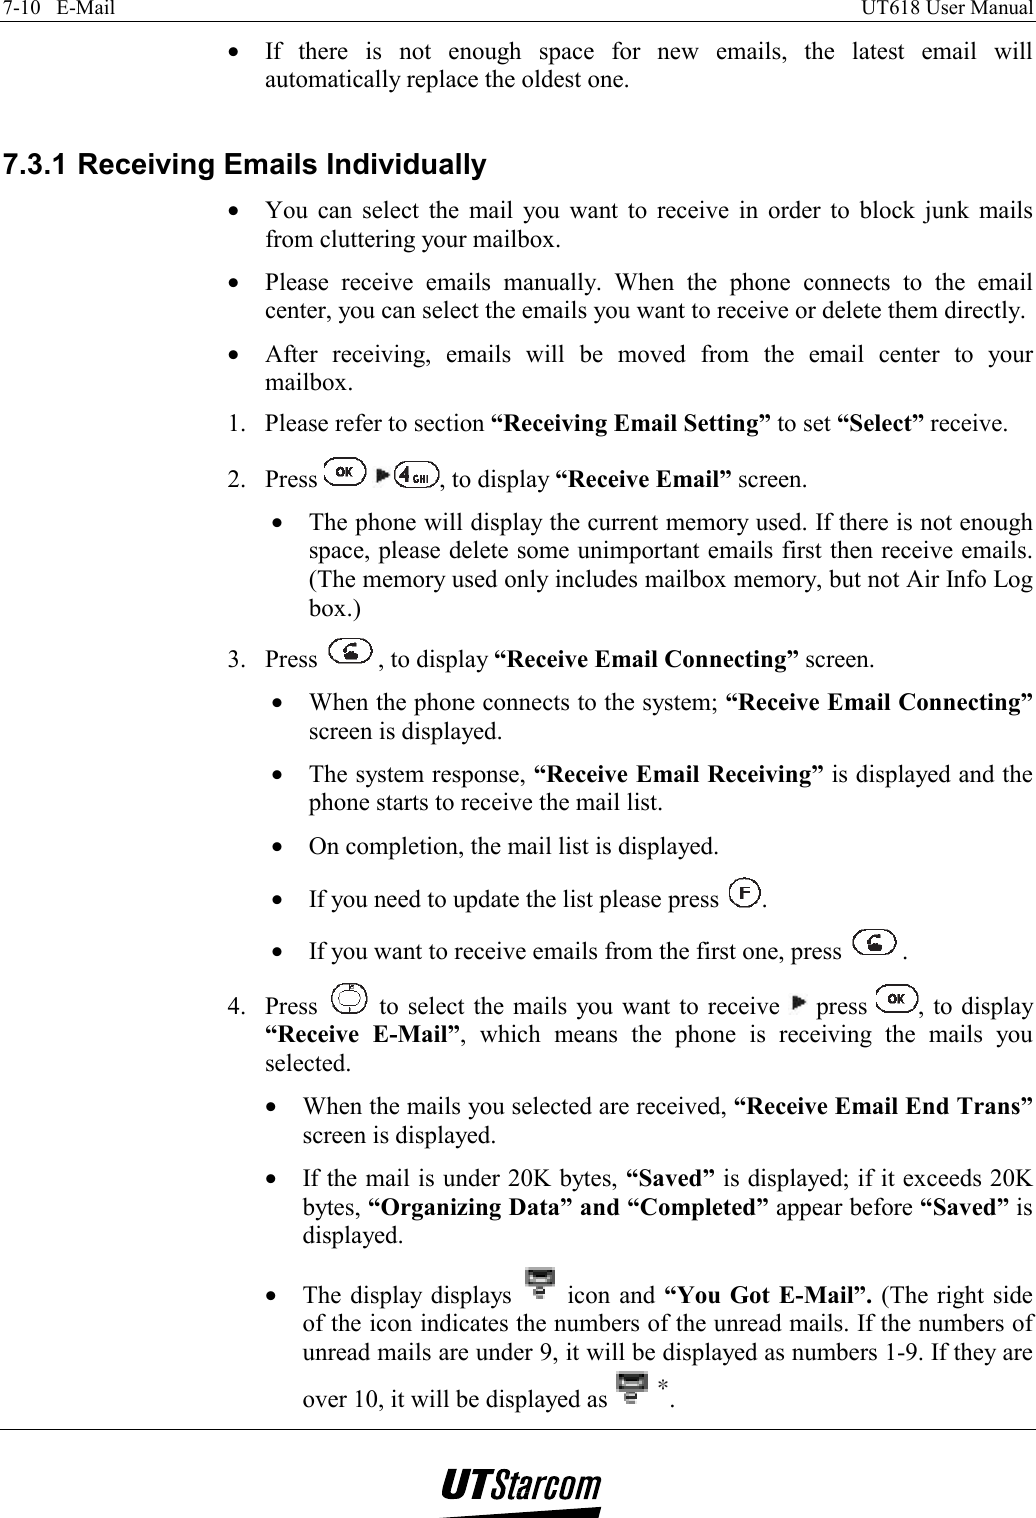
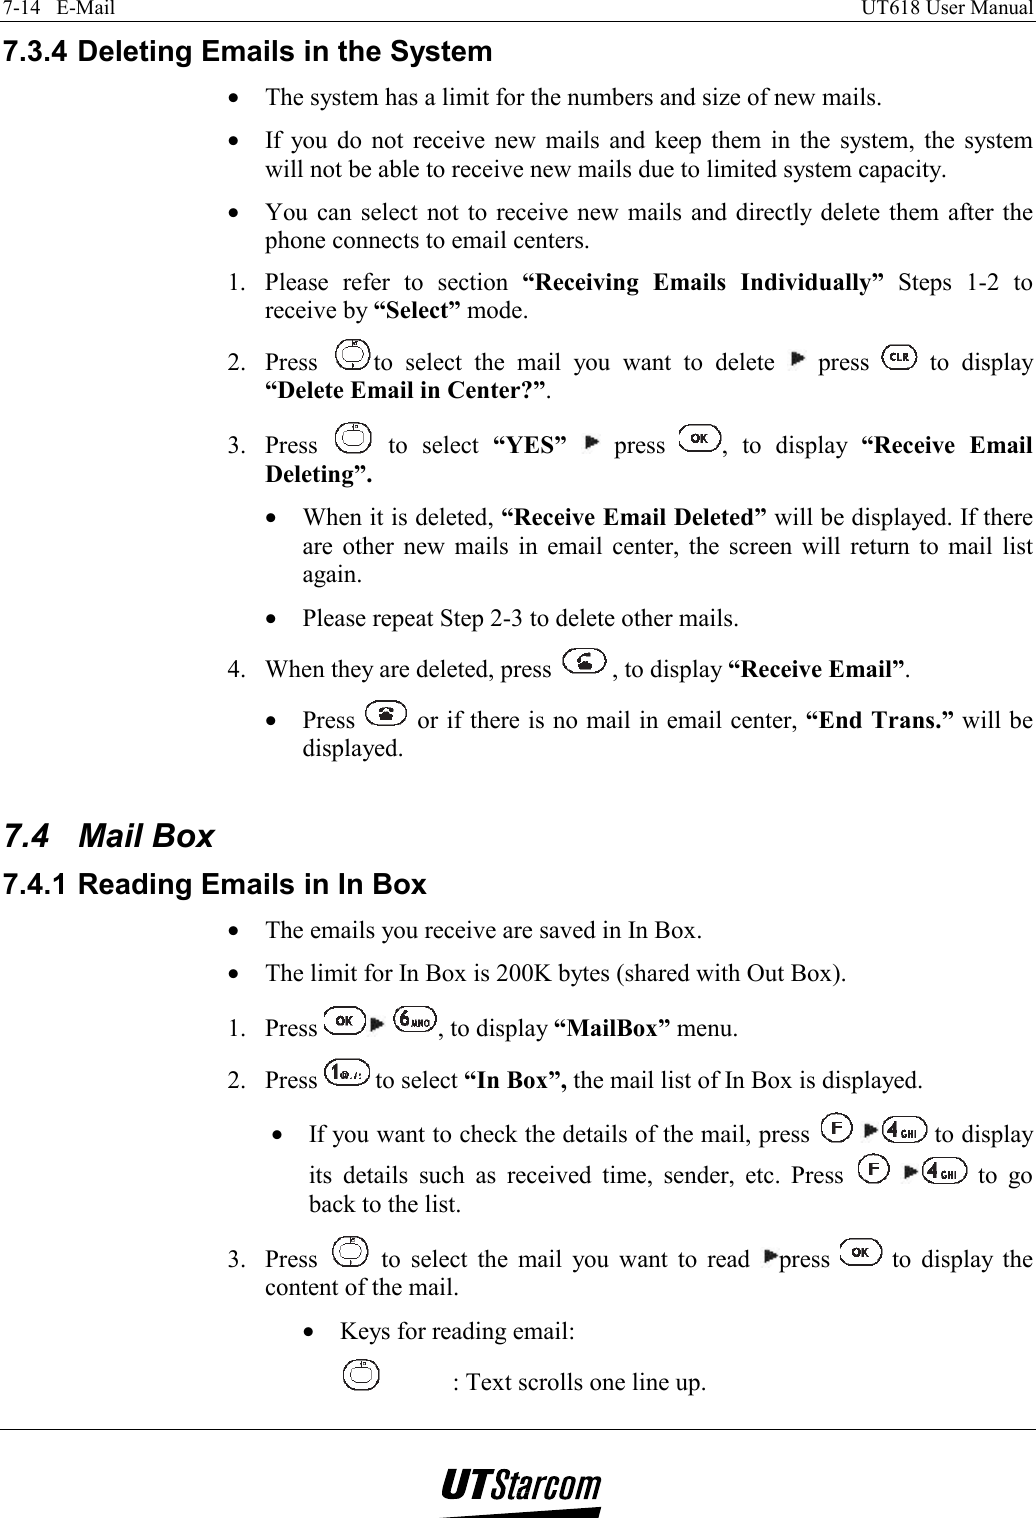
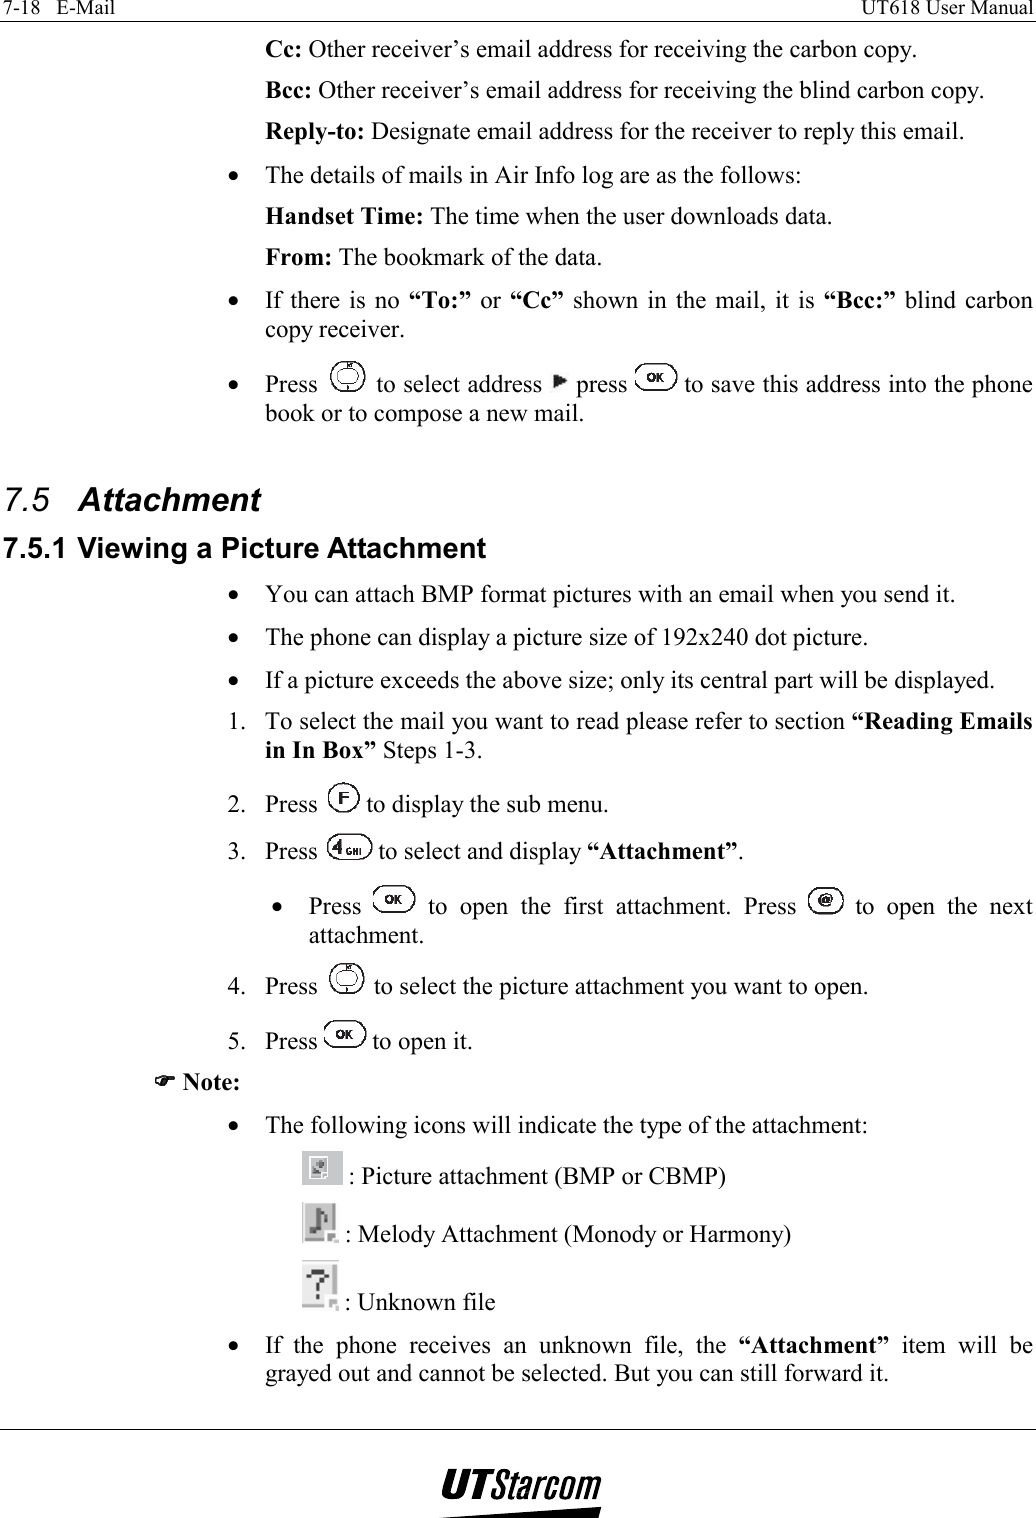
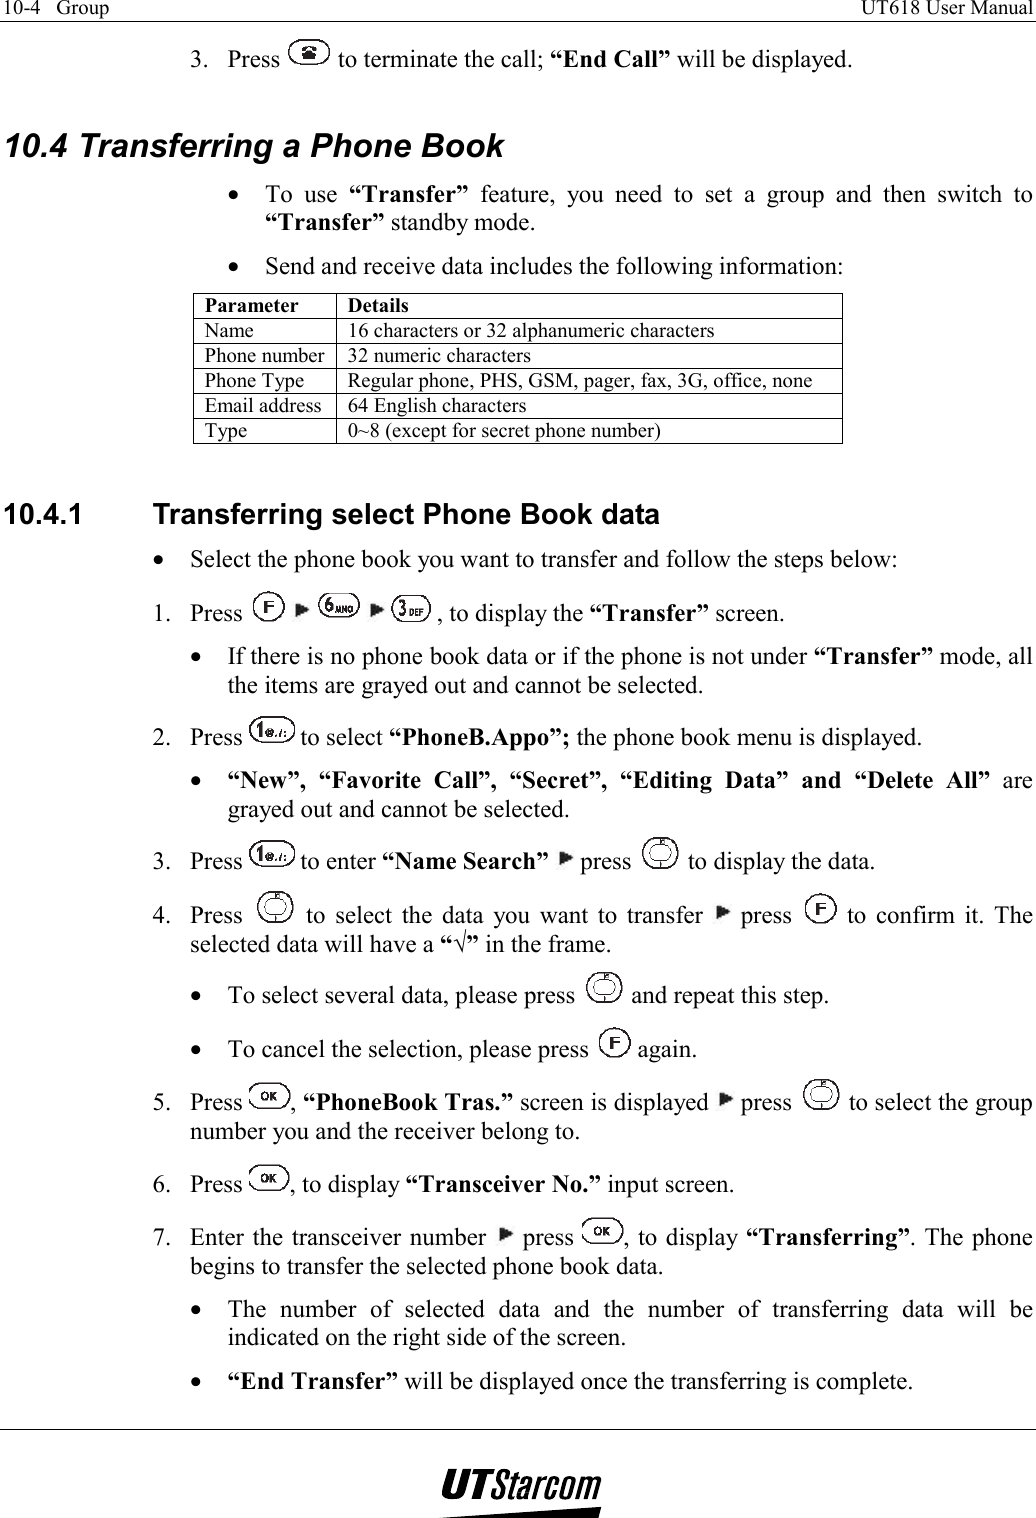
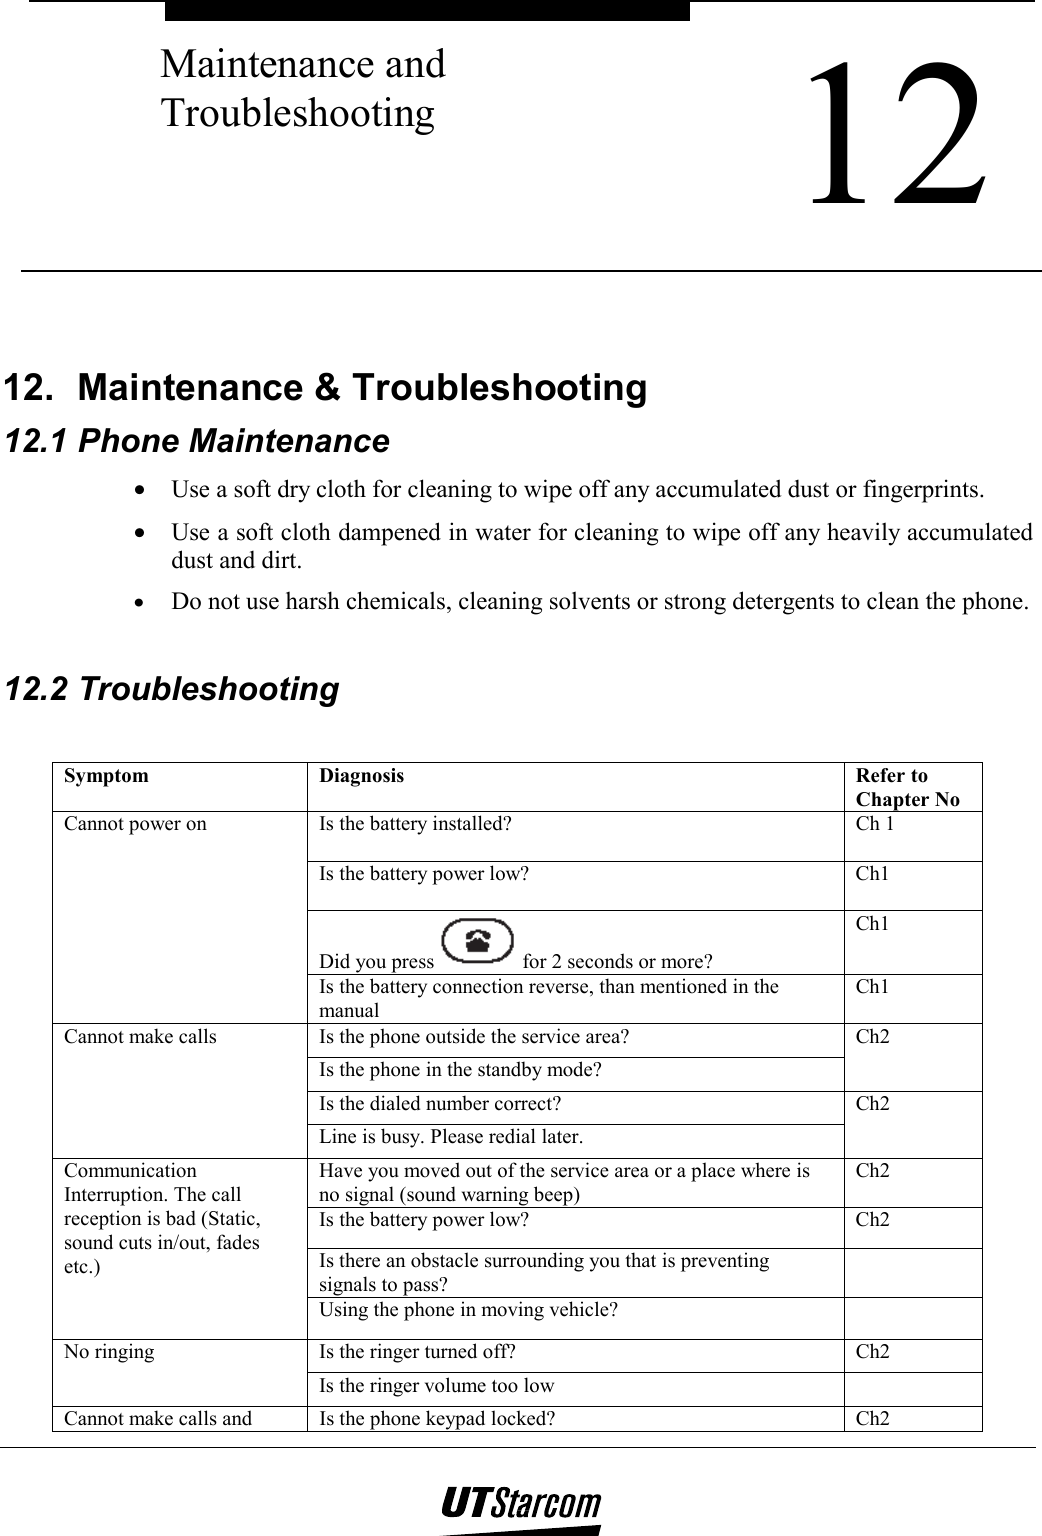
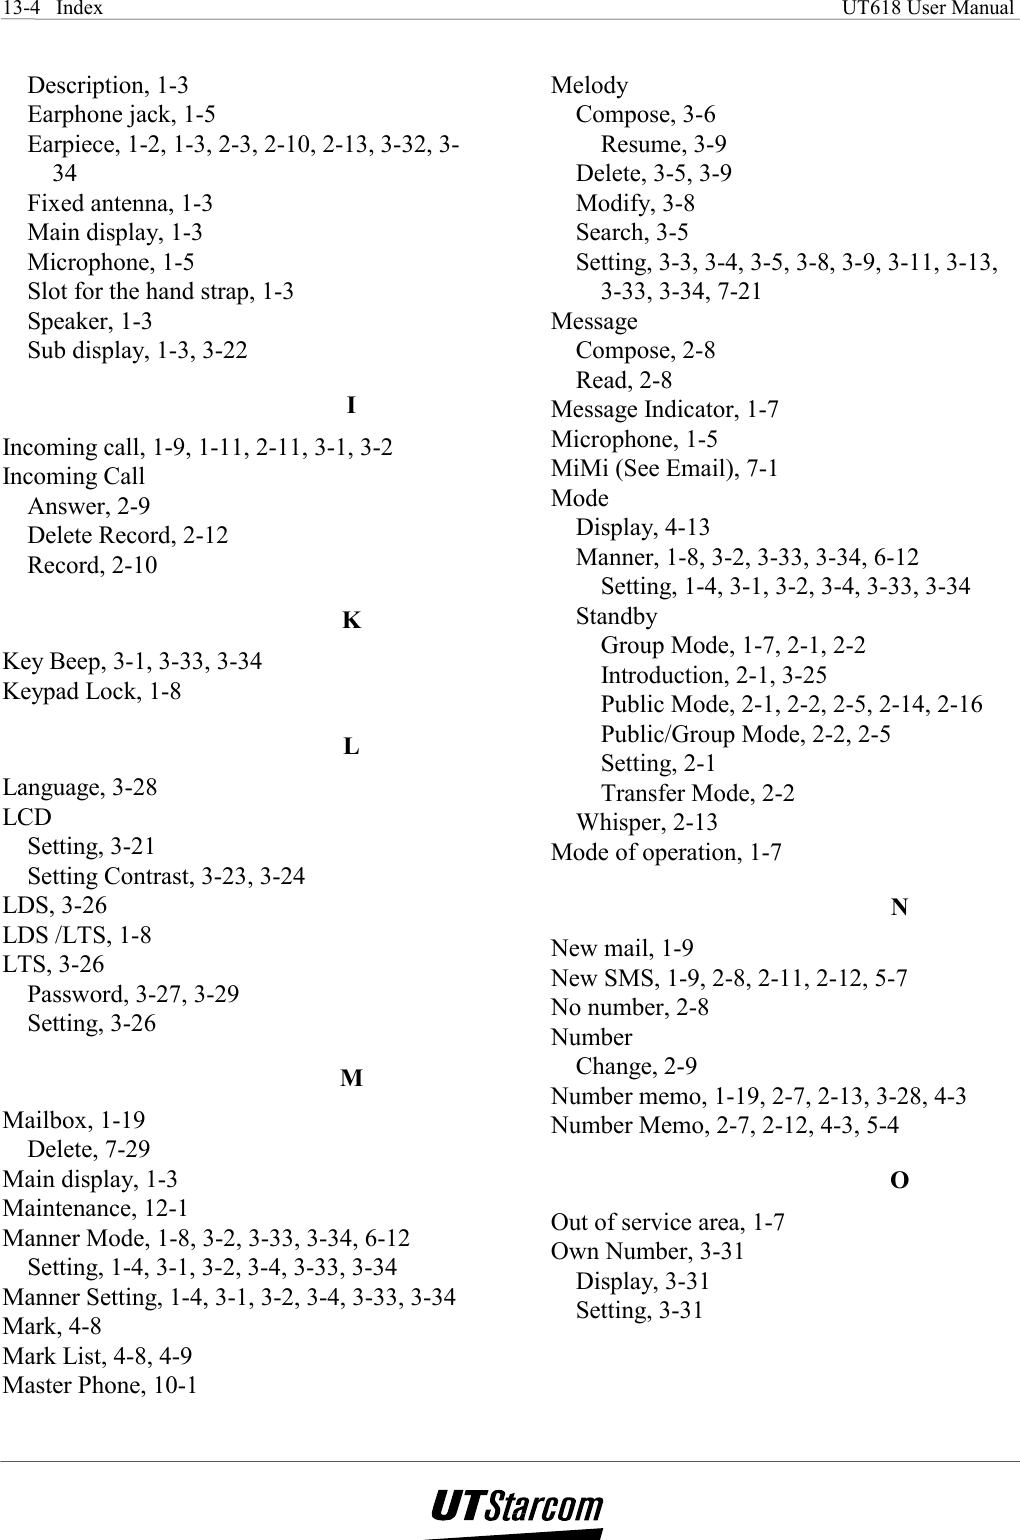
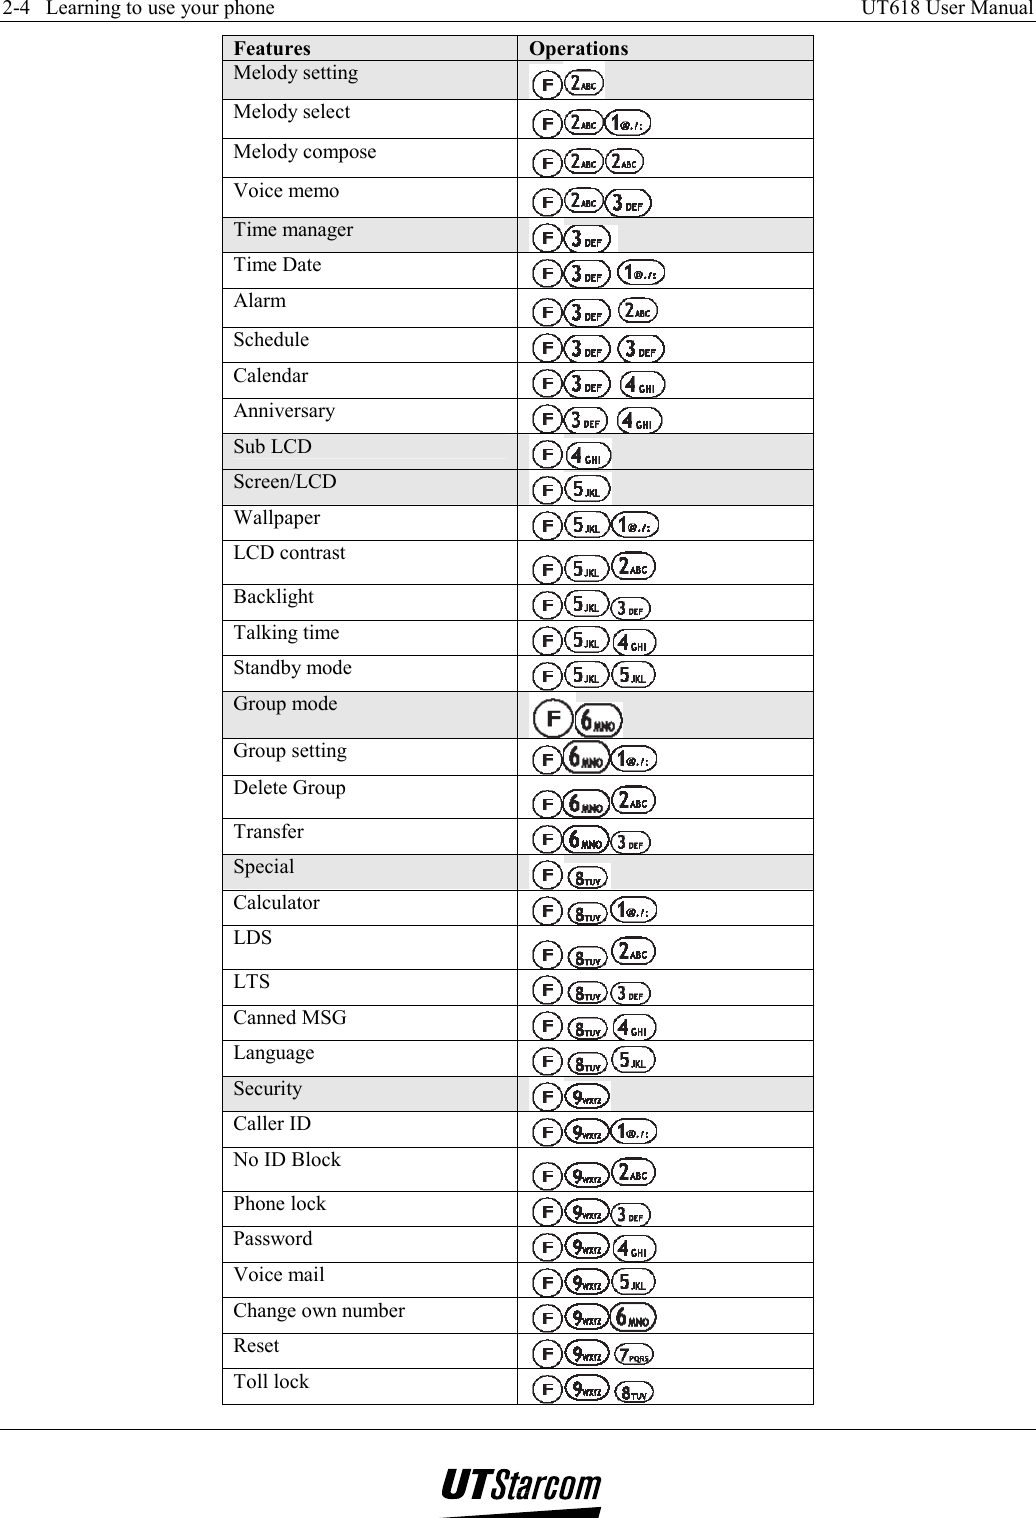
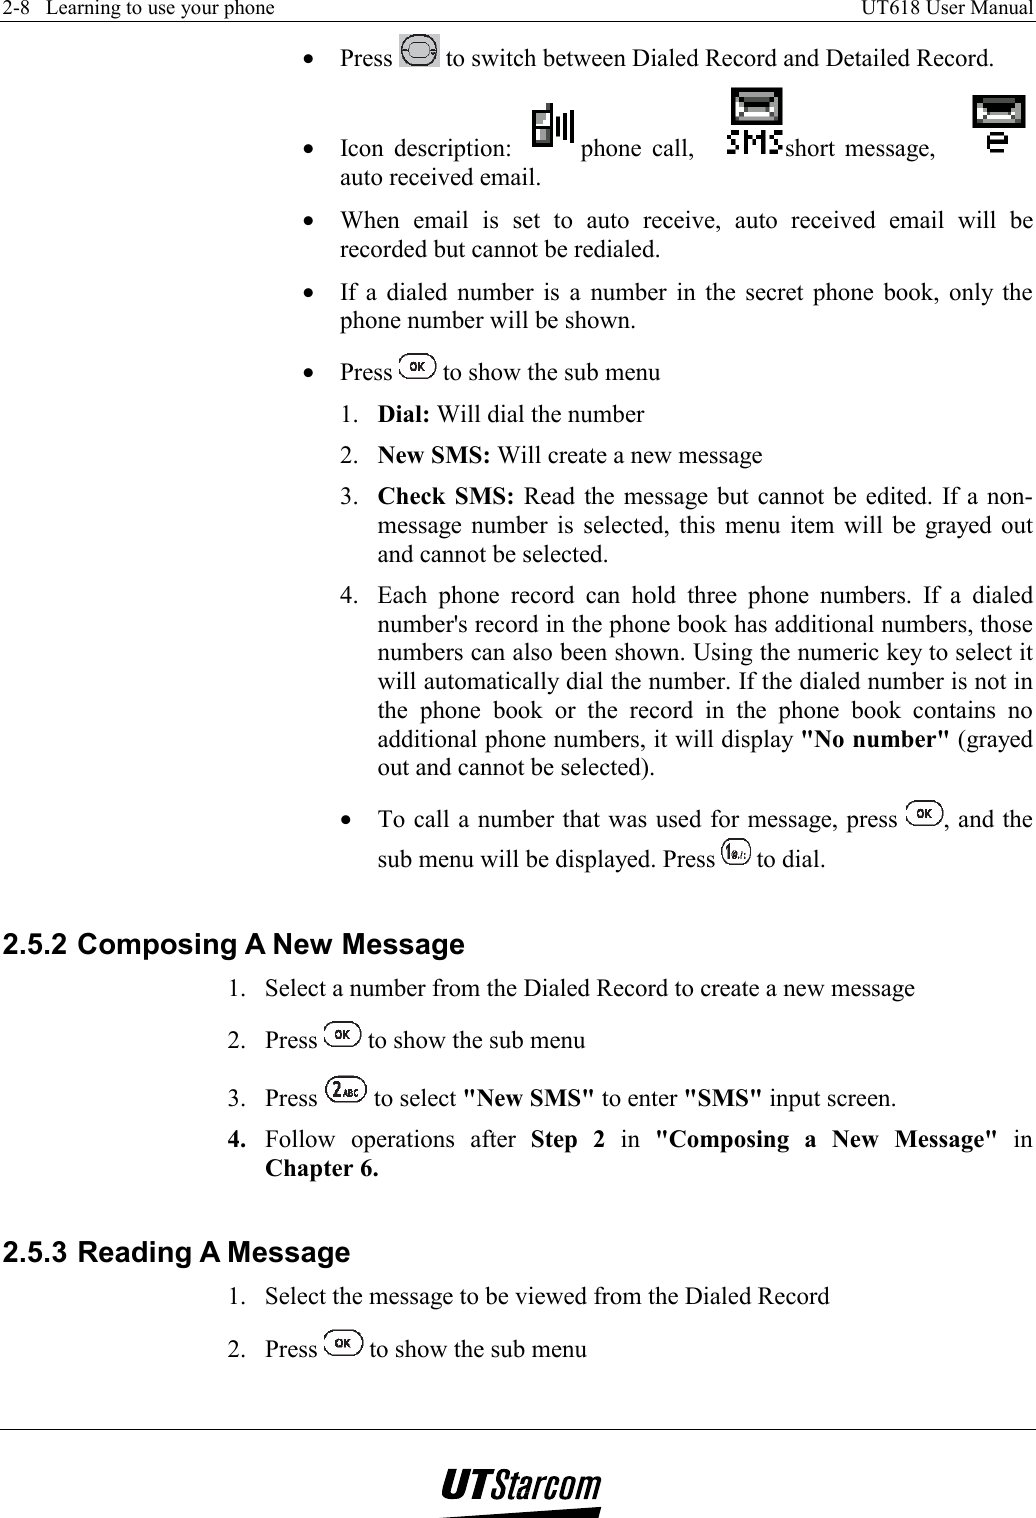
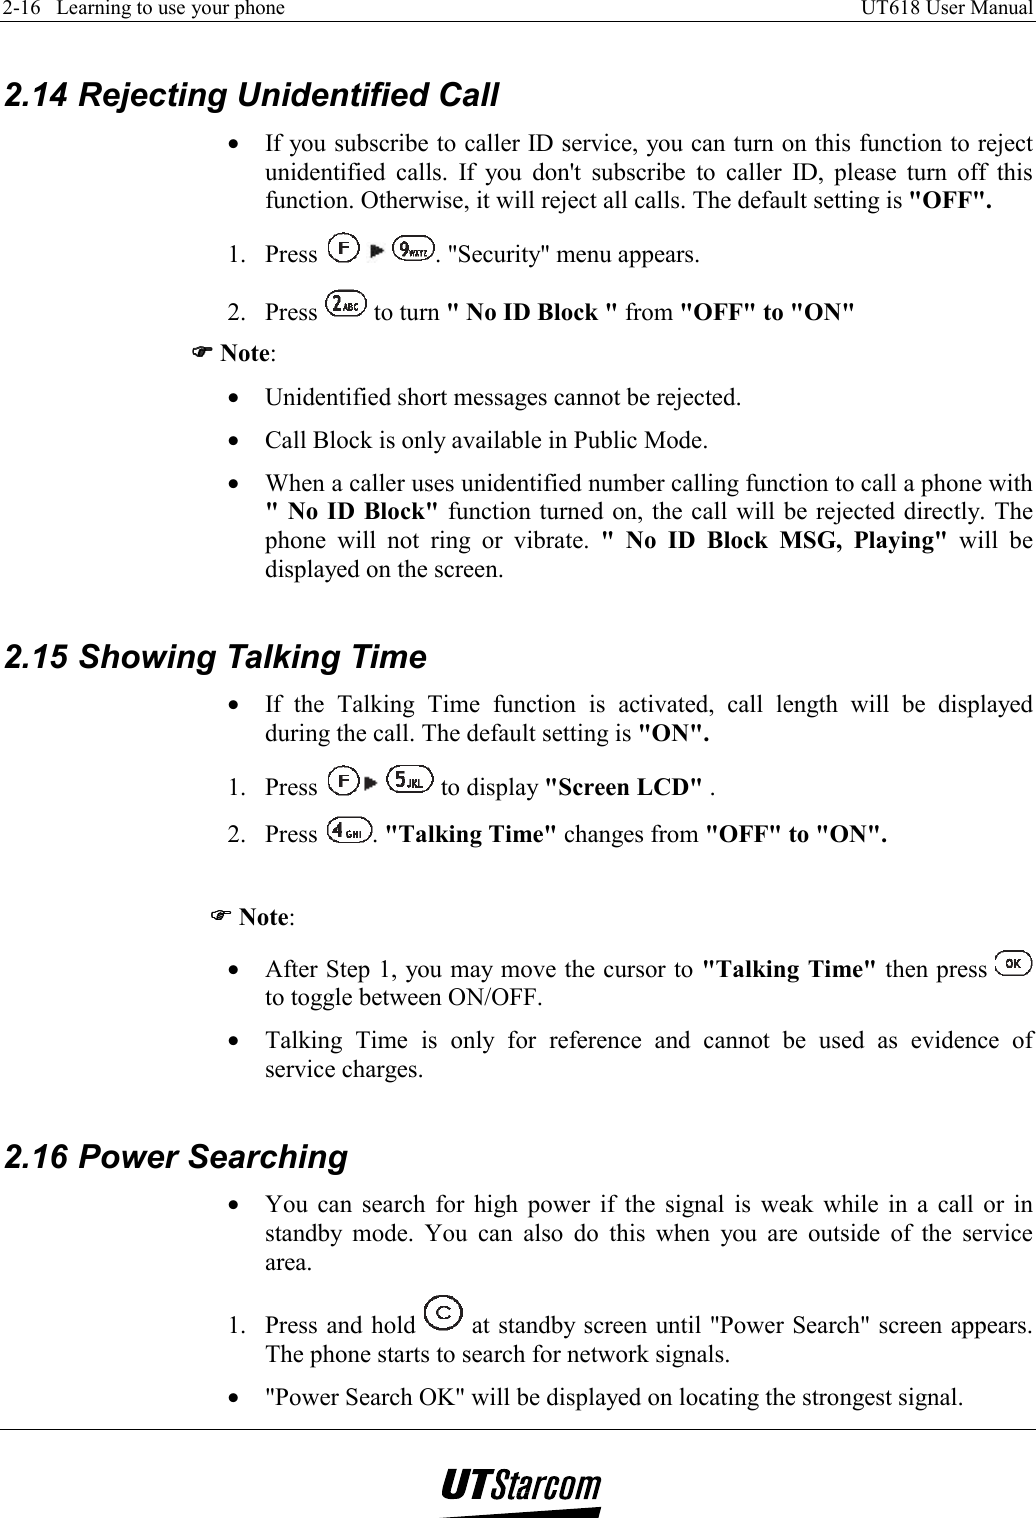
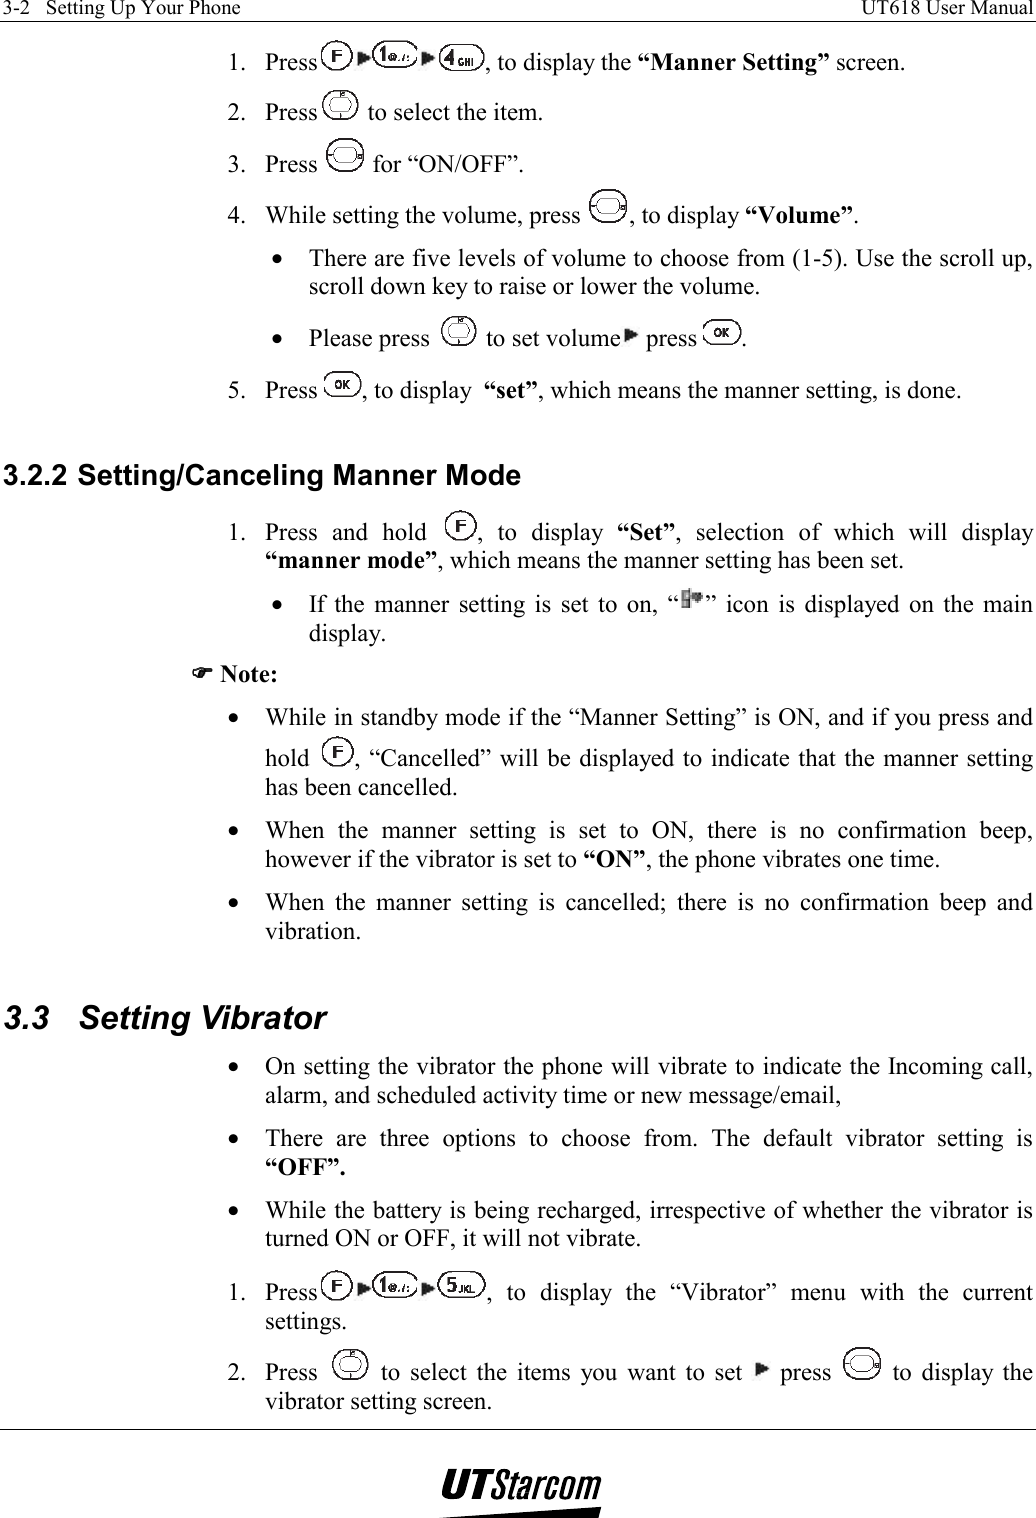
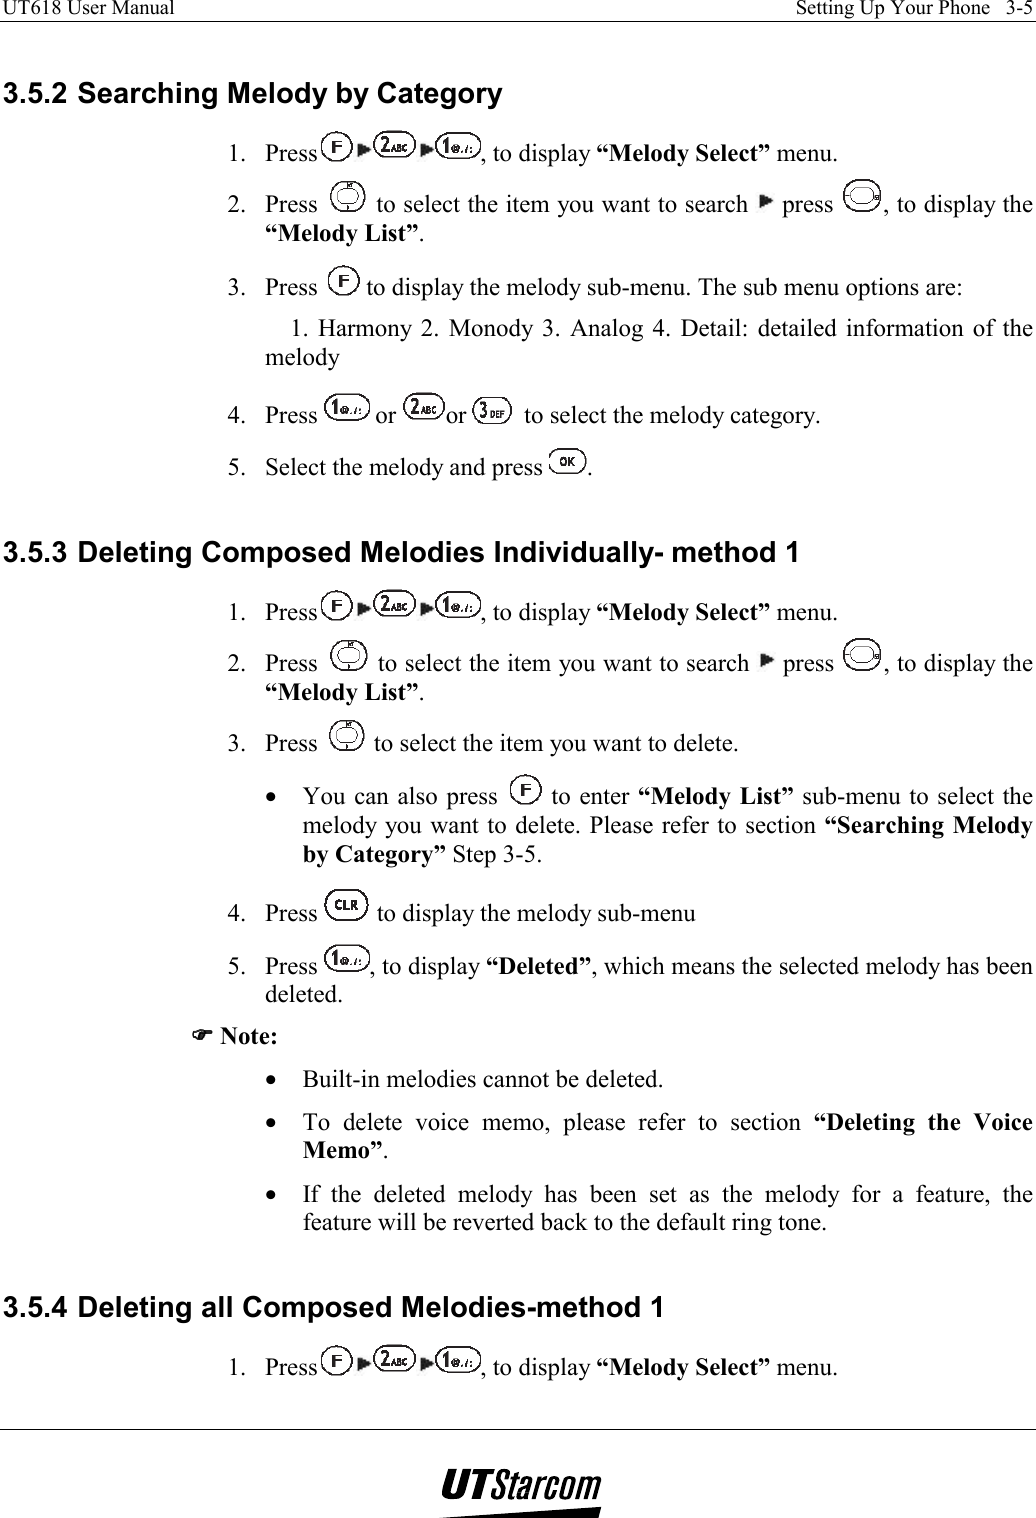
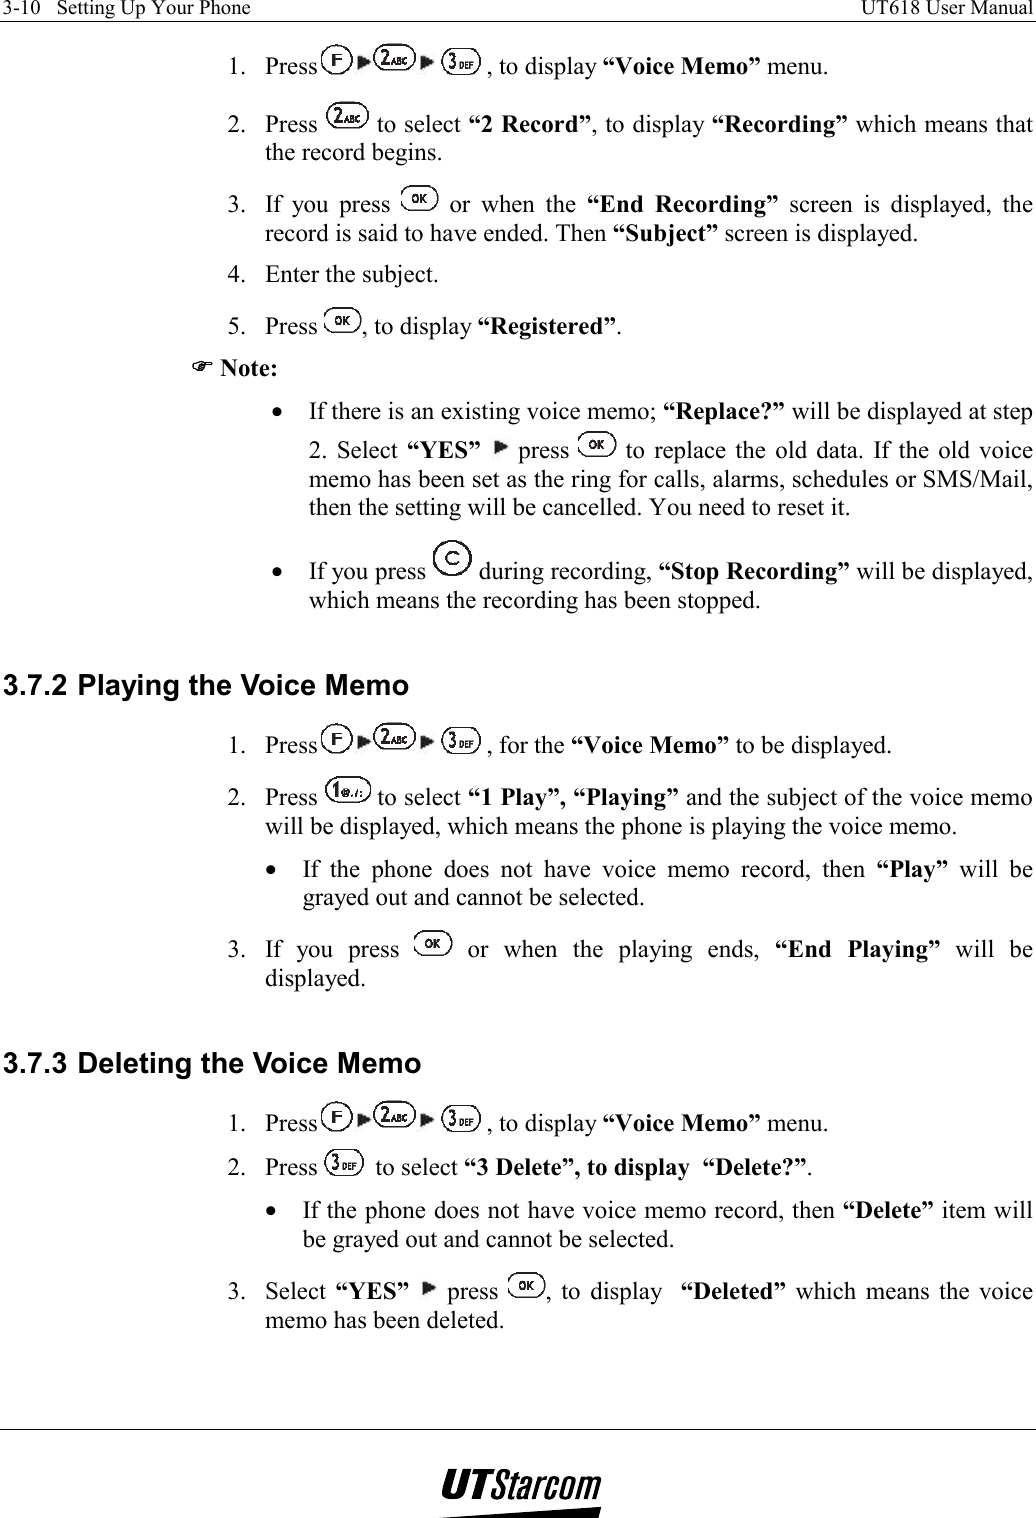
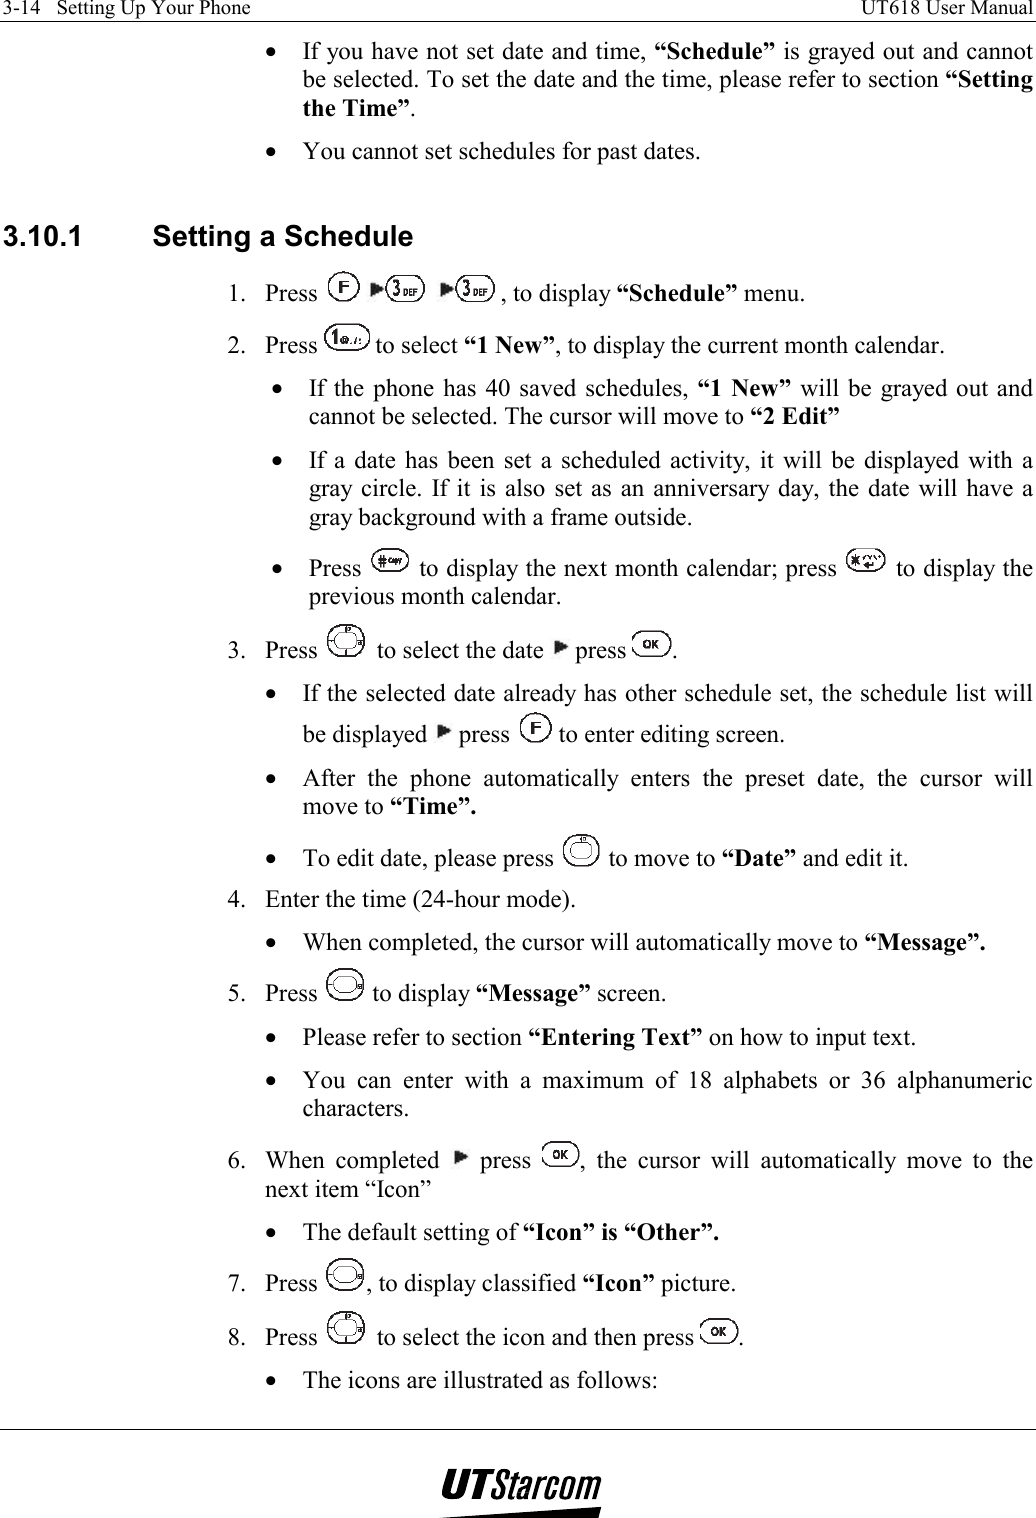
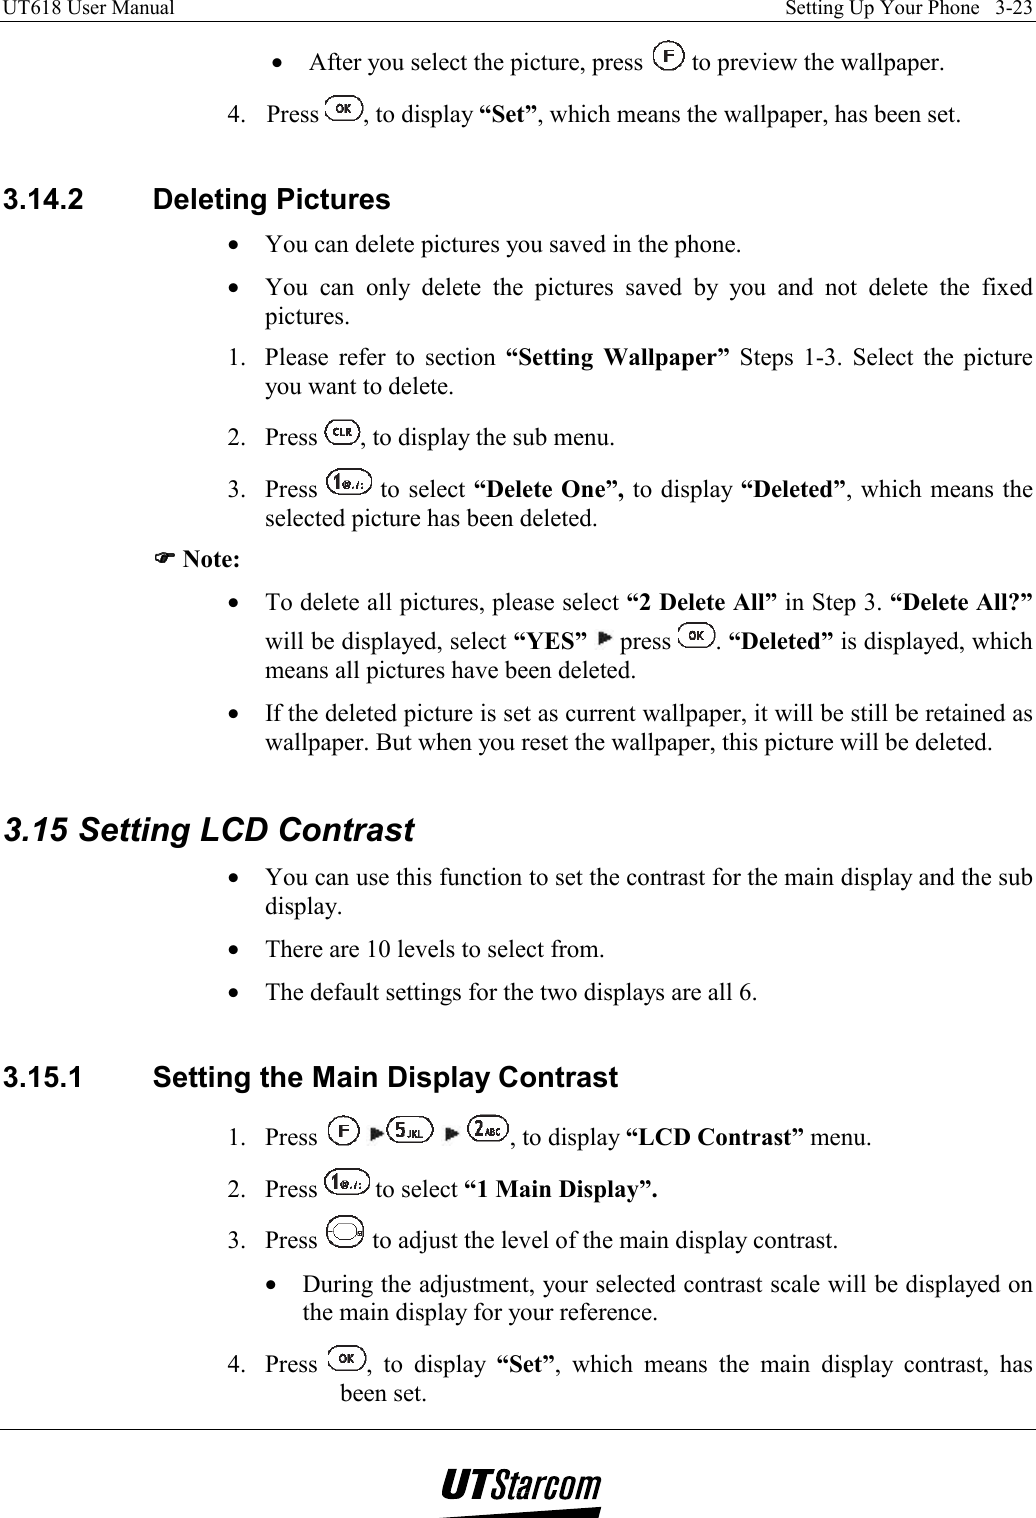
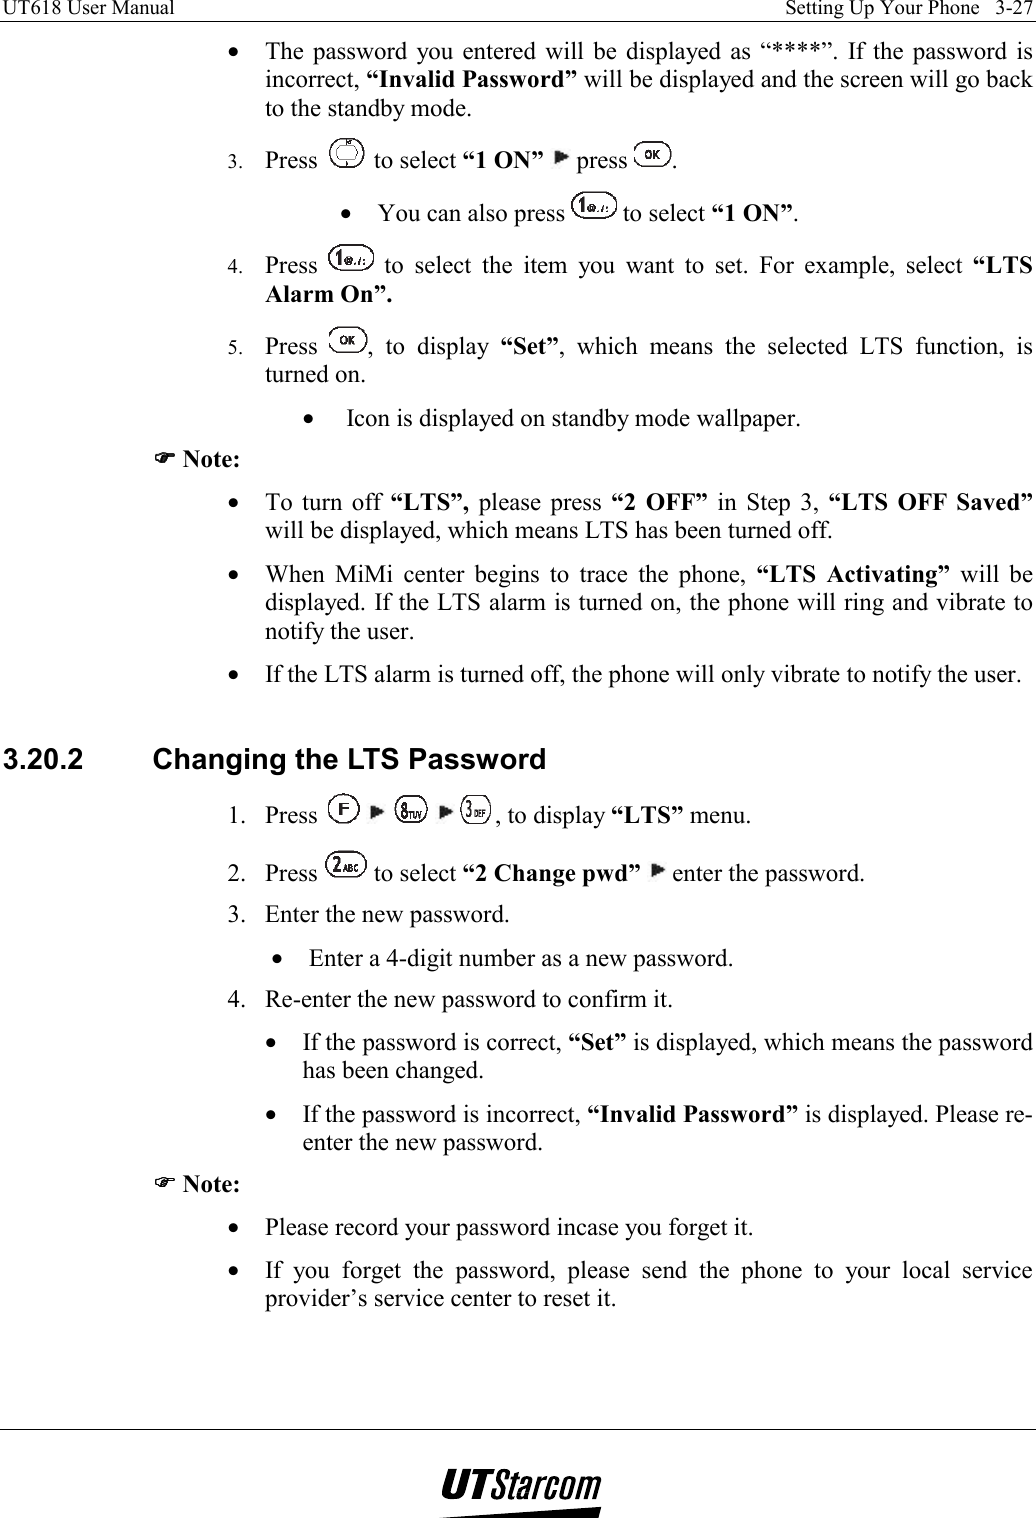
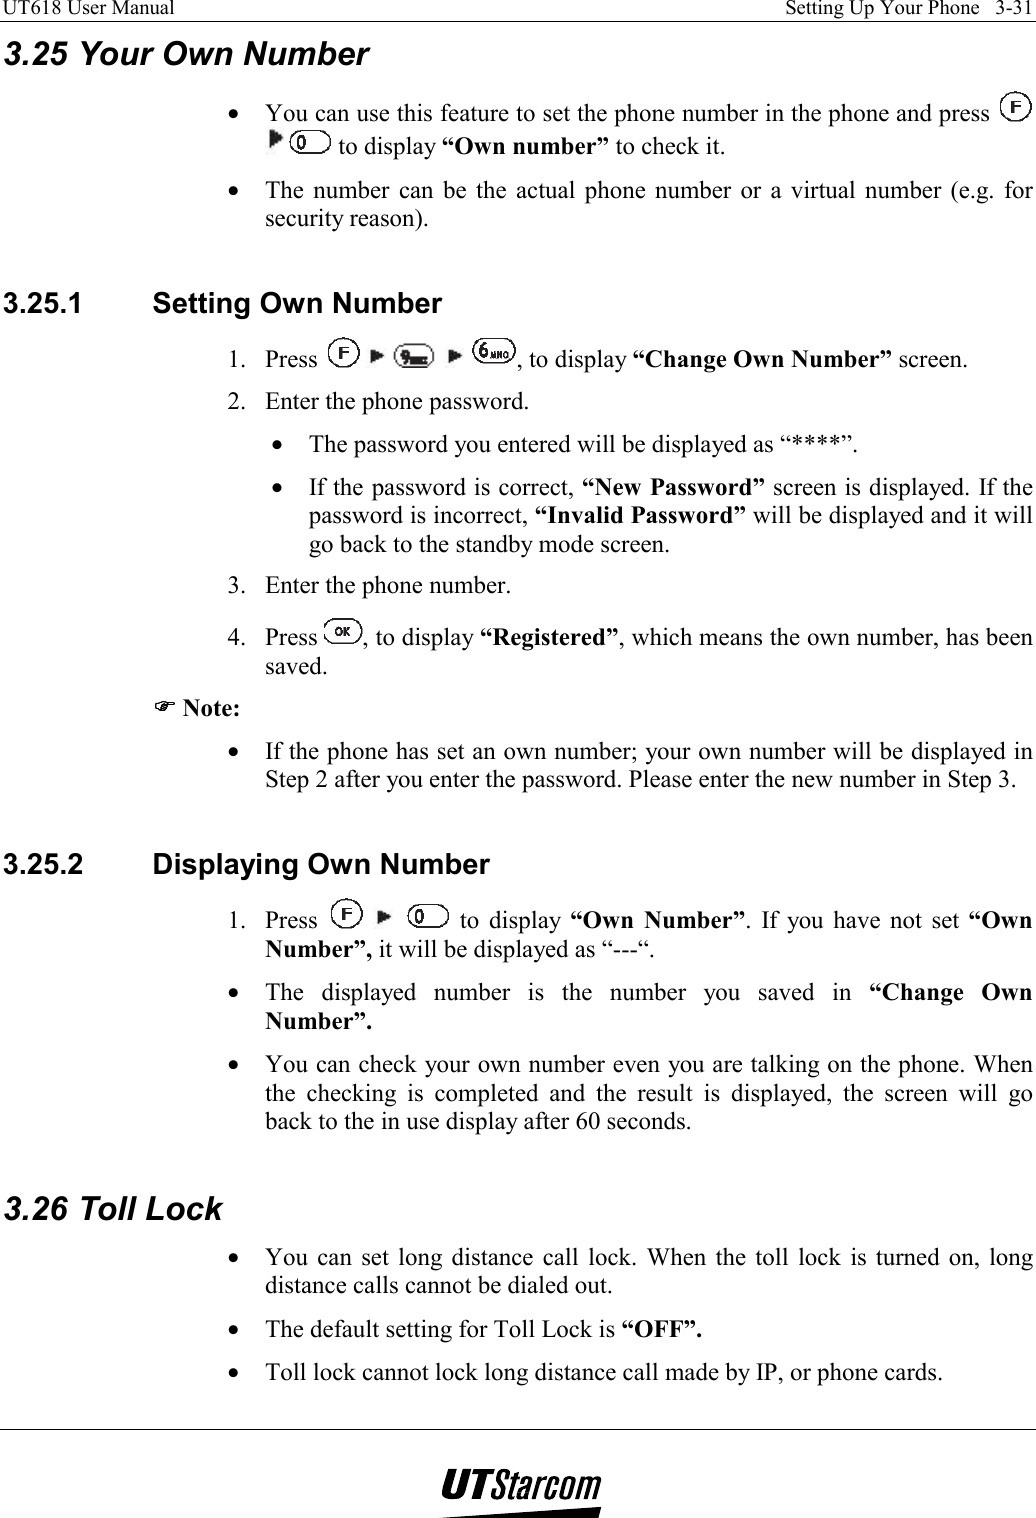
![1-10 Getting Started UT618 User Manual • Receive mail You got E-mail • Alarm 10/10 Fri.10:00Alarm • Schedule (the second line indicates the first 16 bytes of the information) 08/09 Fri. 19:00[Max 16bytes] • Group incoming call Group 1No.0001 • Data Communication Data Comm. 1.6 How to Use the User’s Manual 1.6.1 Functional Key Instructions Press functional keys “Up”, “Down”, “Left”, “Right” to select “search, select, adjust, setting” etc. The directions of the functional keys are as following: Up Down Up or Down Right Left Right or Left 1.6.2 Conventions in the manual In this manual, “Press * key” means pressing * key and releasing it immediately. “Press and hold * key” or “hold * key” mean pressing * key for more than 2 seconds before releasing it.](https://usermanual.wiki/UTStarcom-Korea-Technologies/UTS-618/User-Guide-332559-Page-27.png)
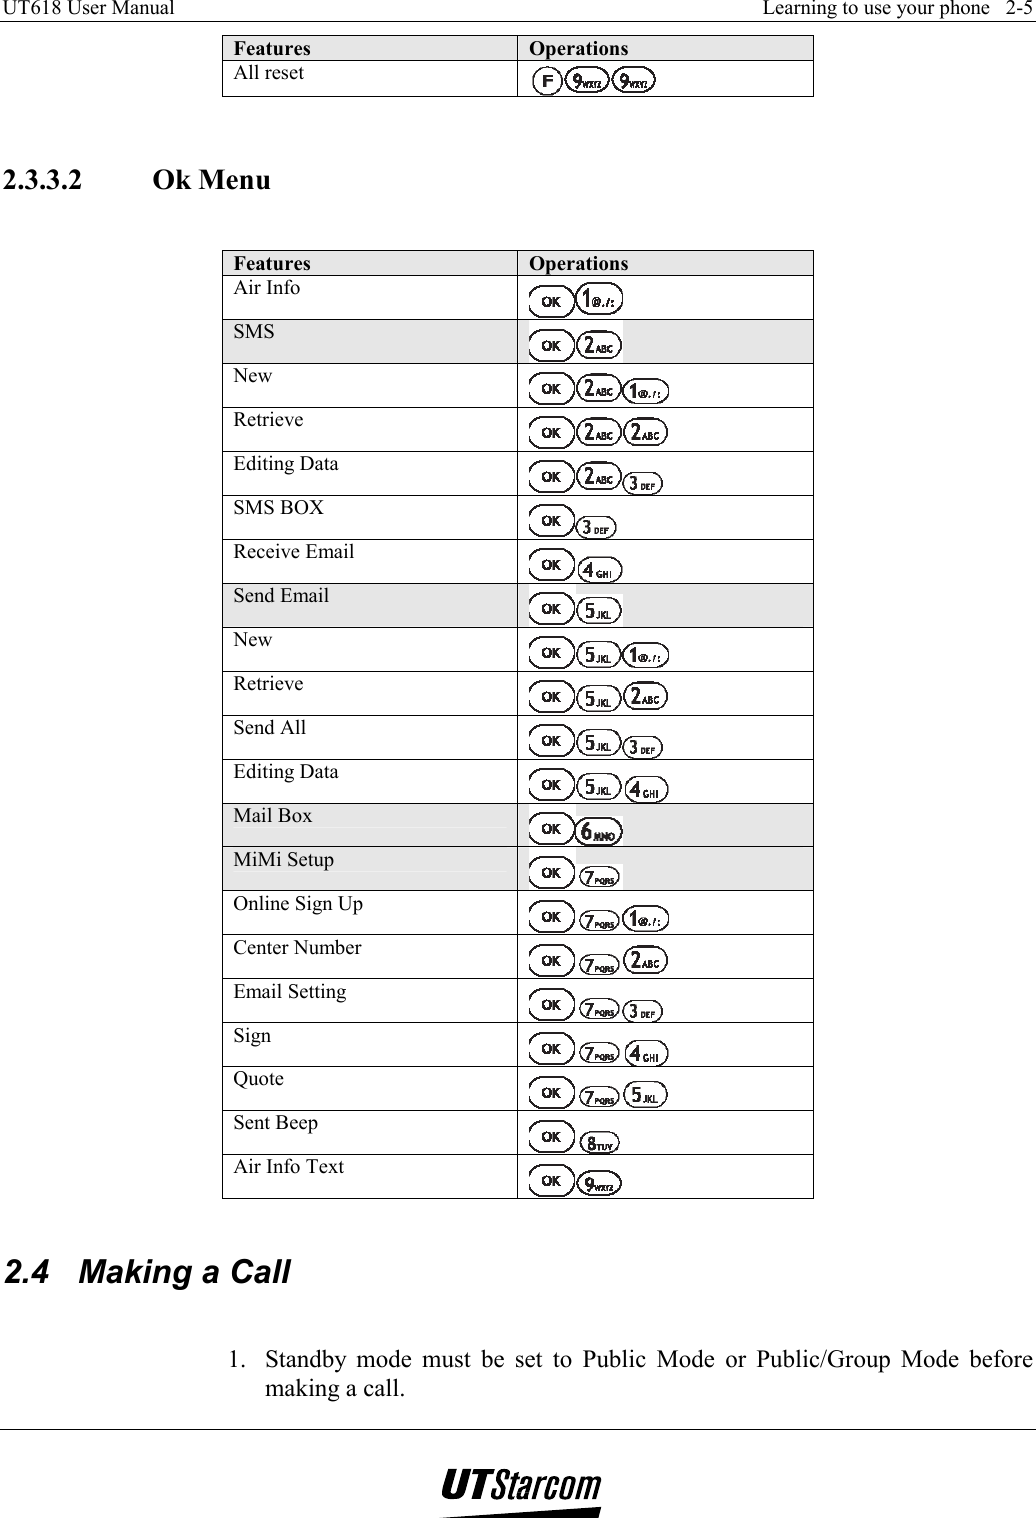
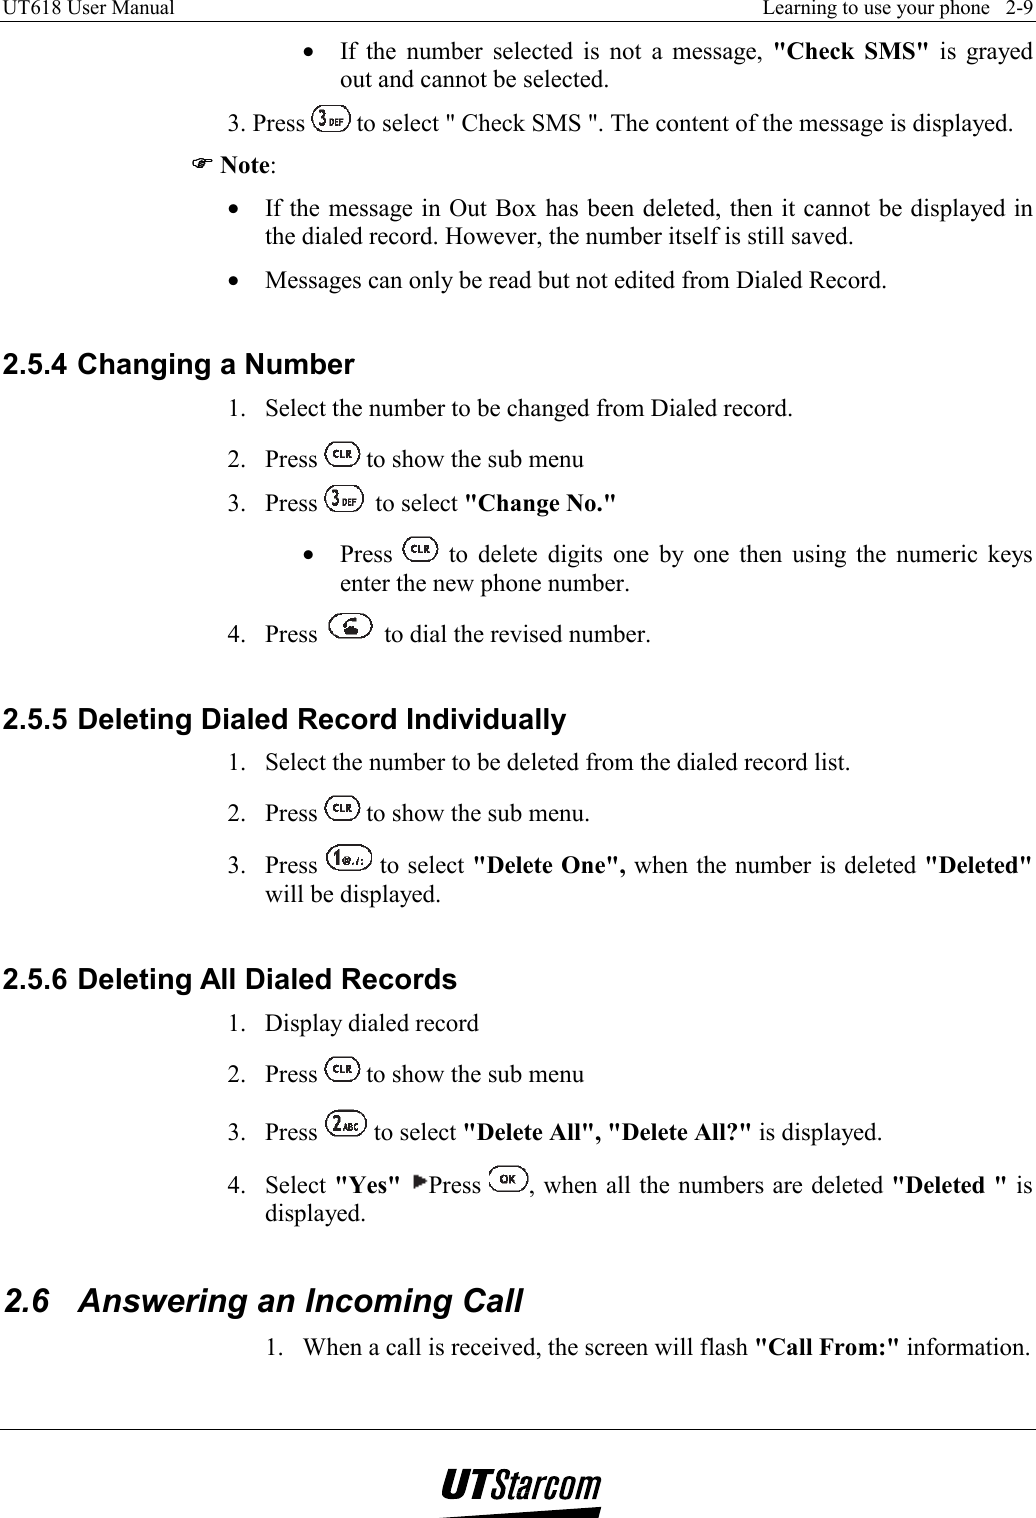
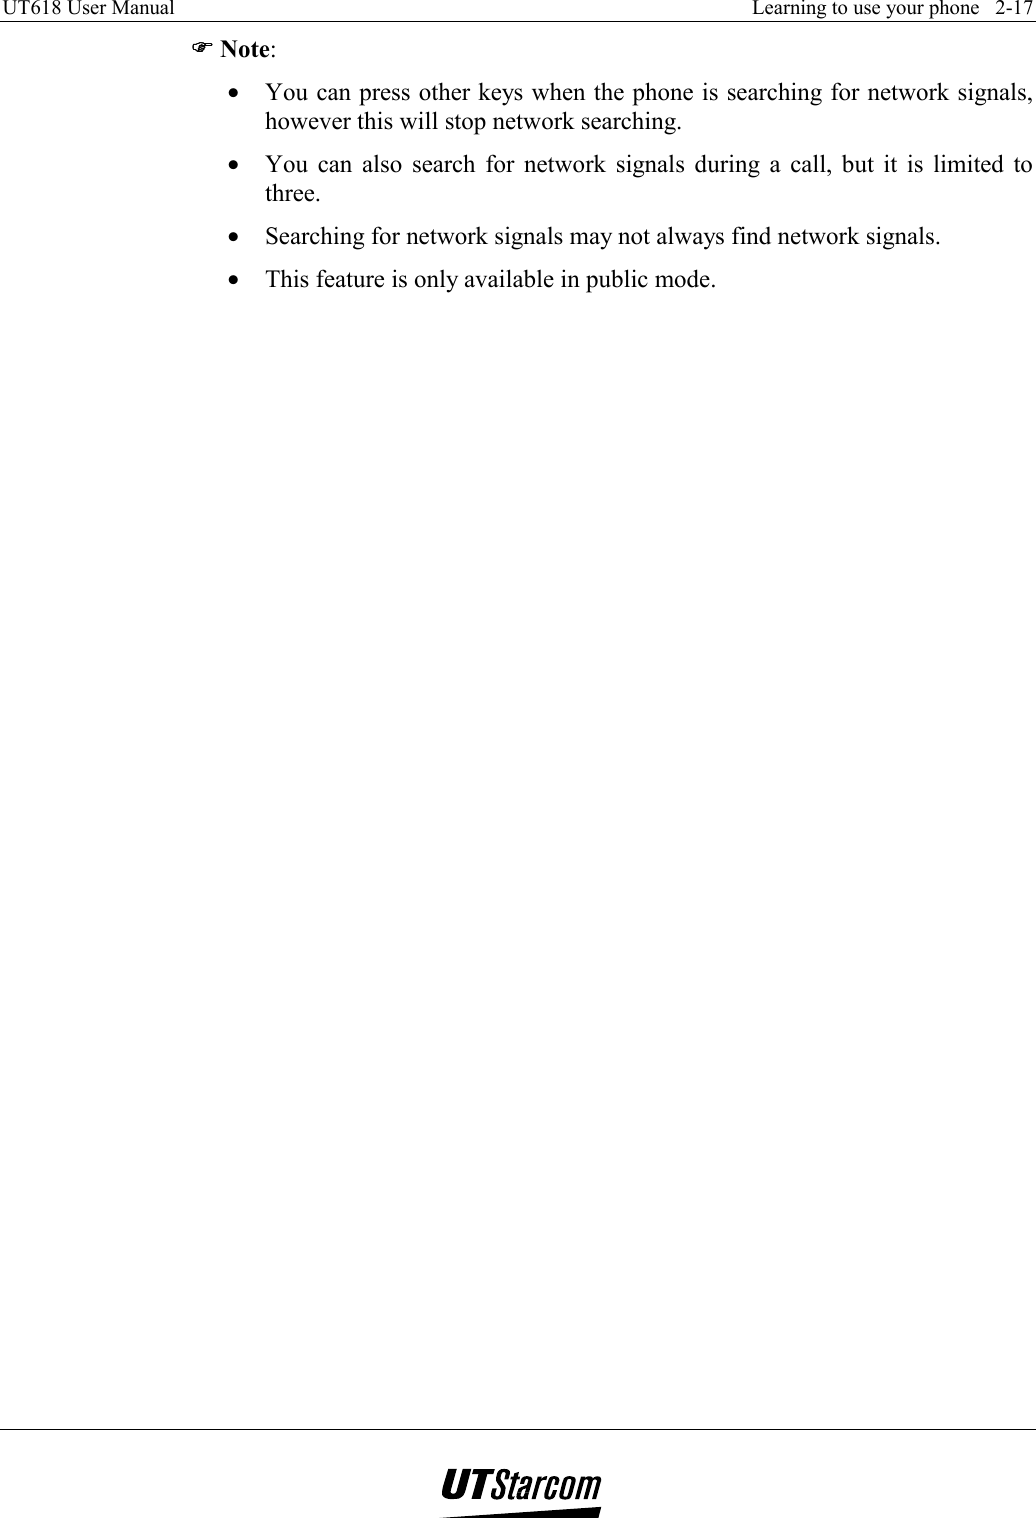
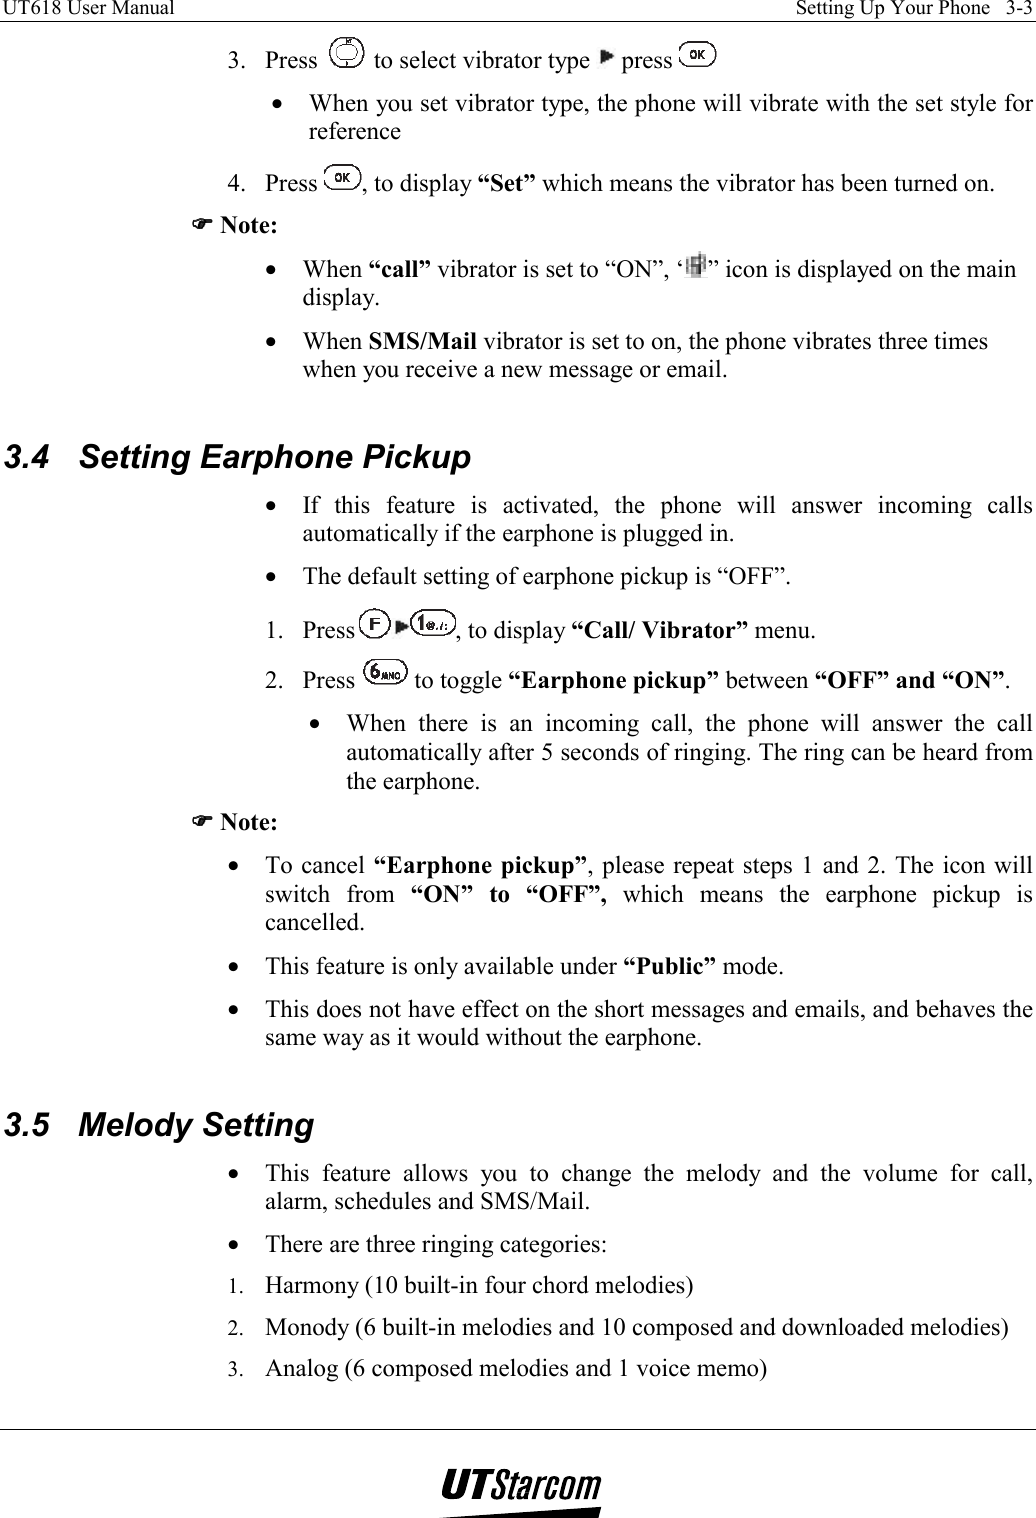
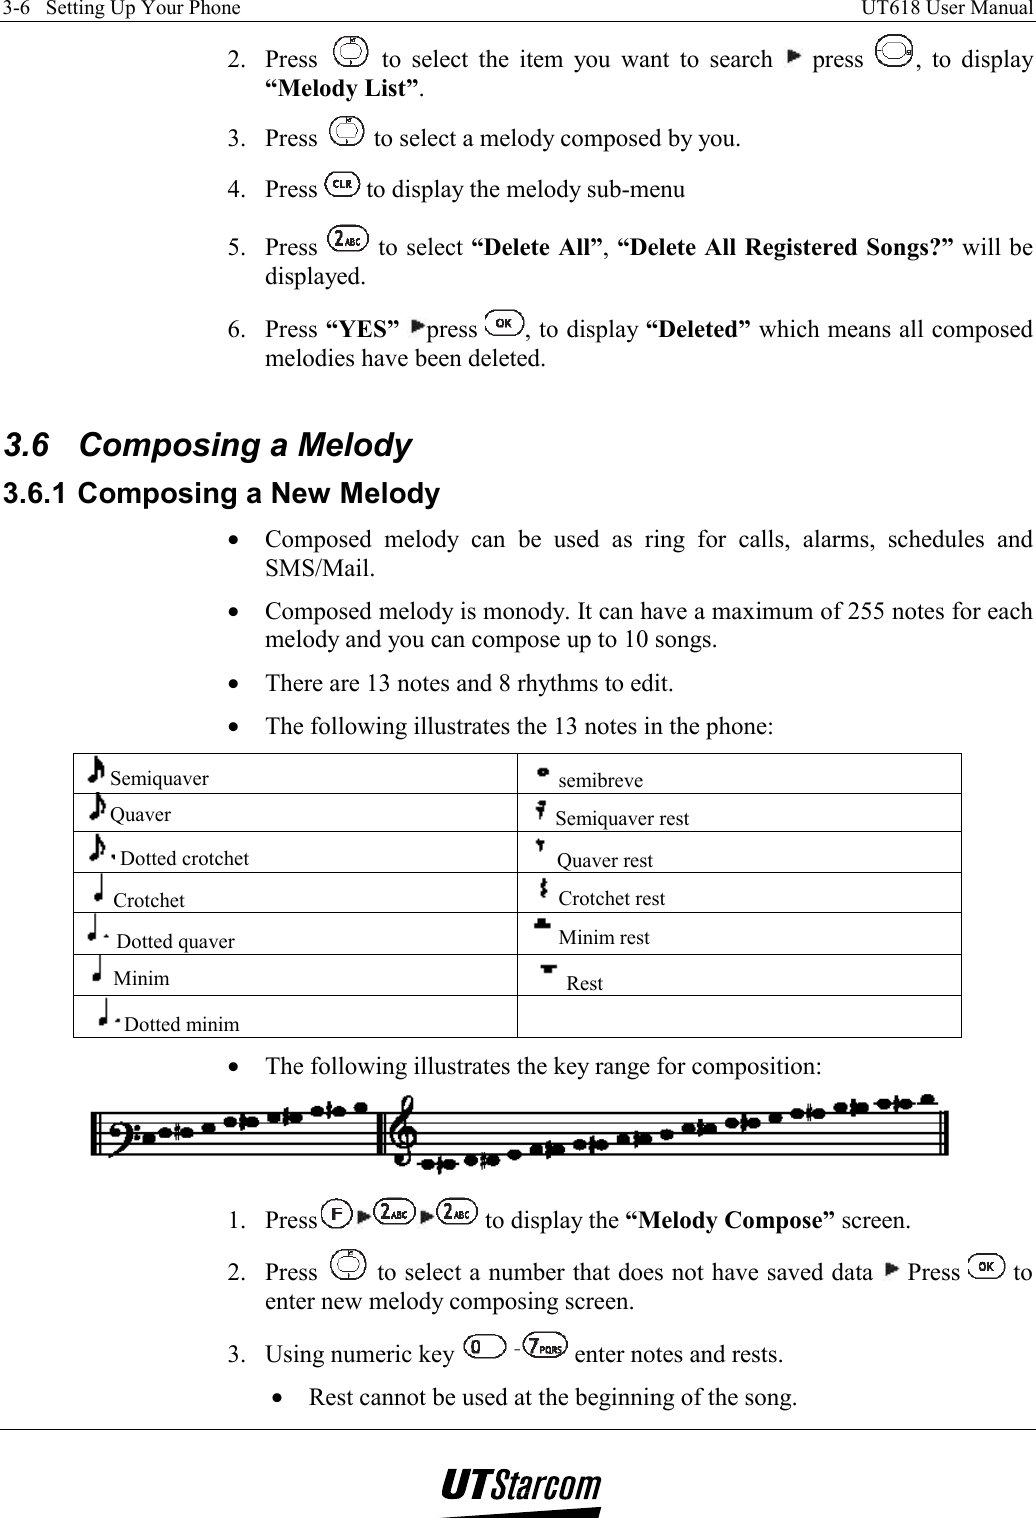
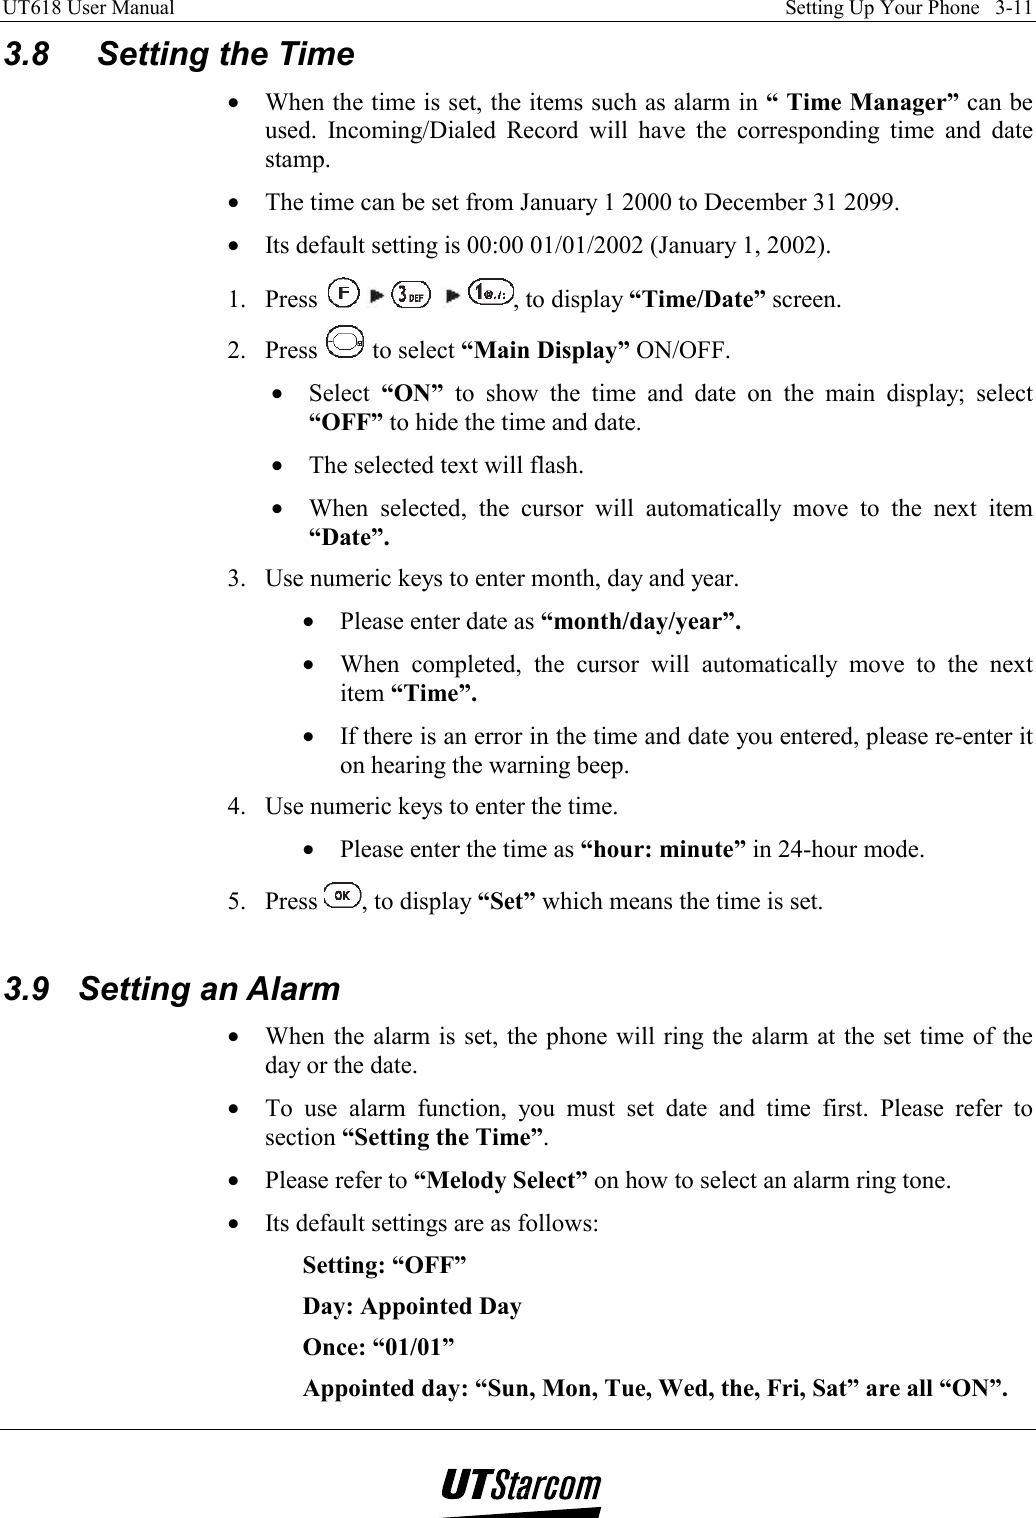
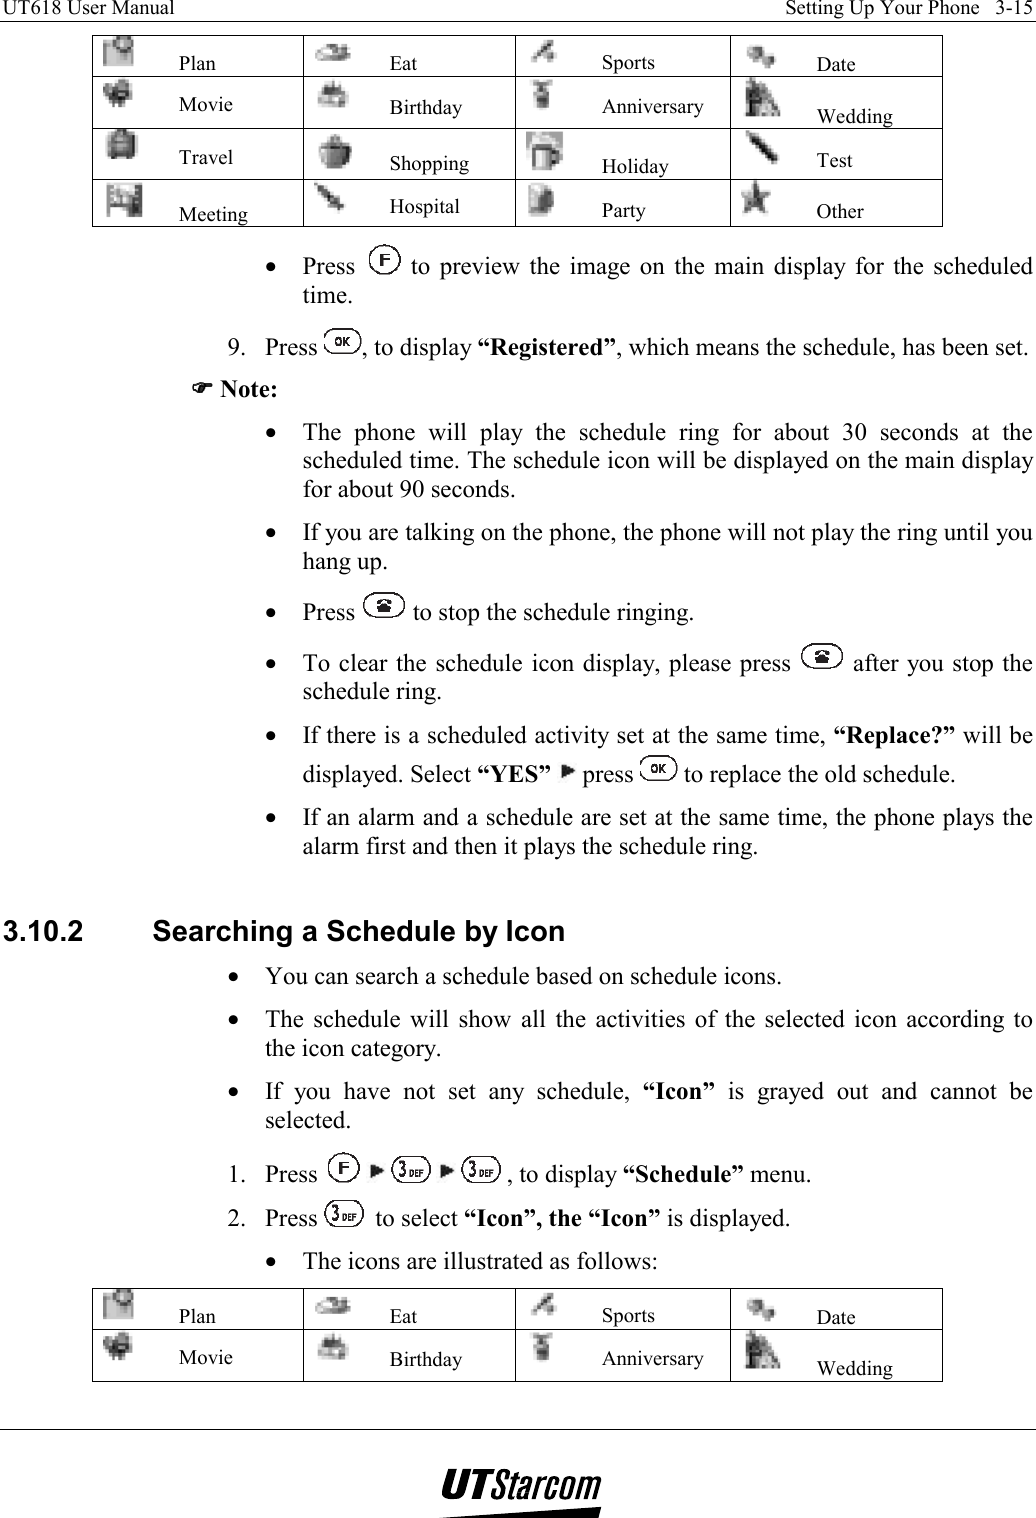

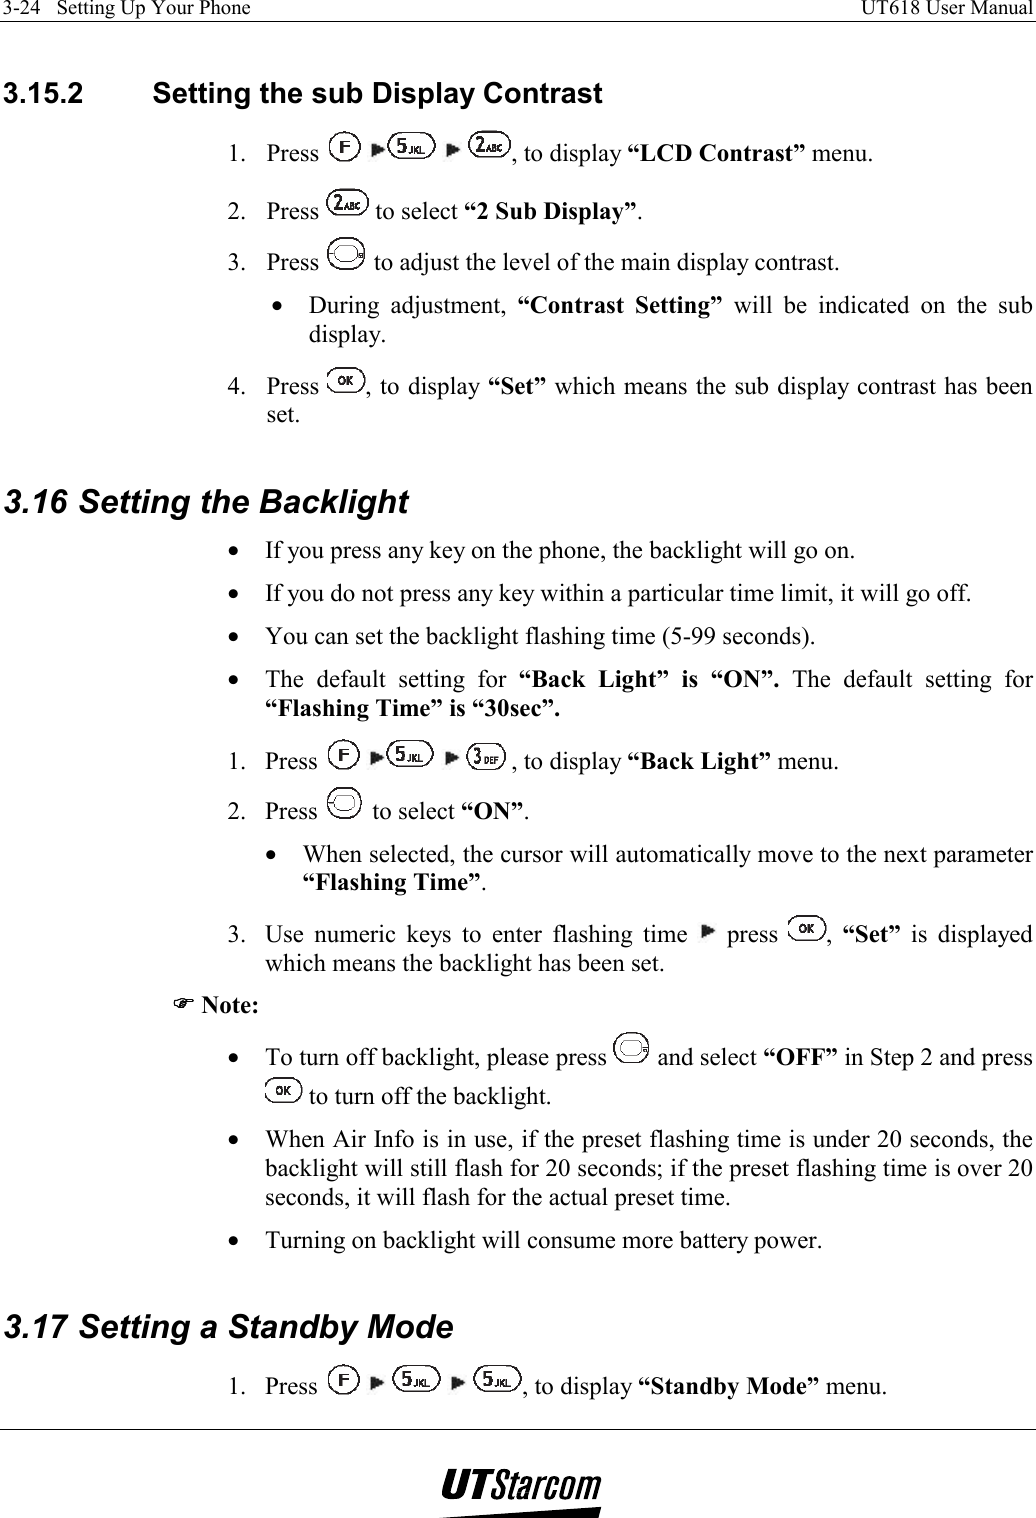
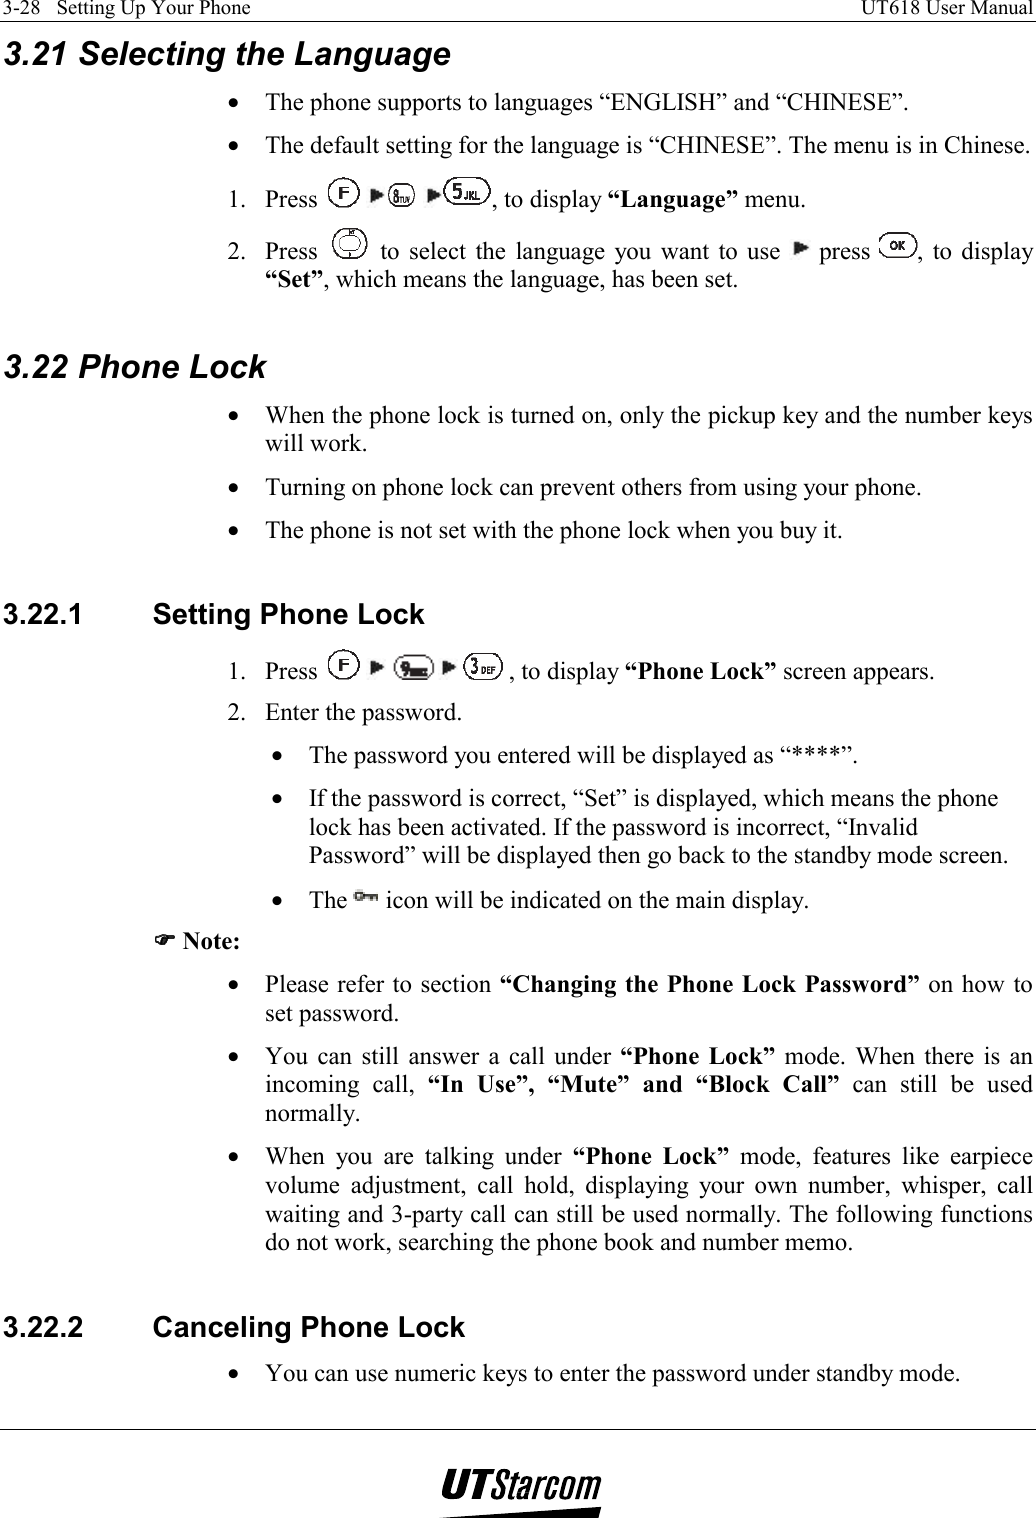
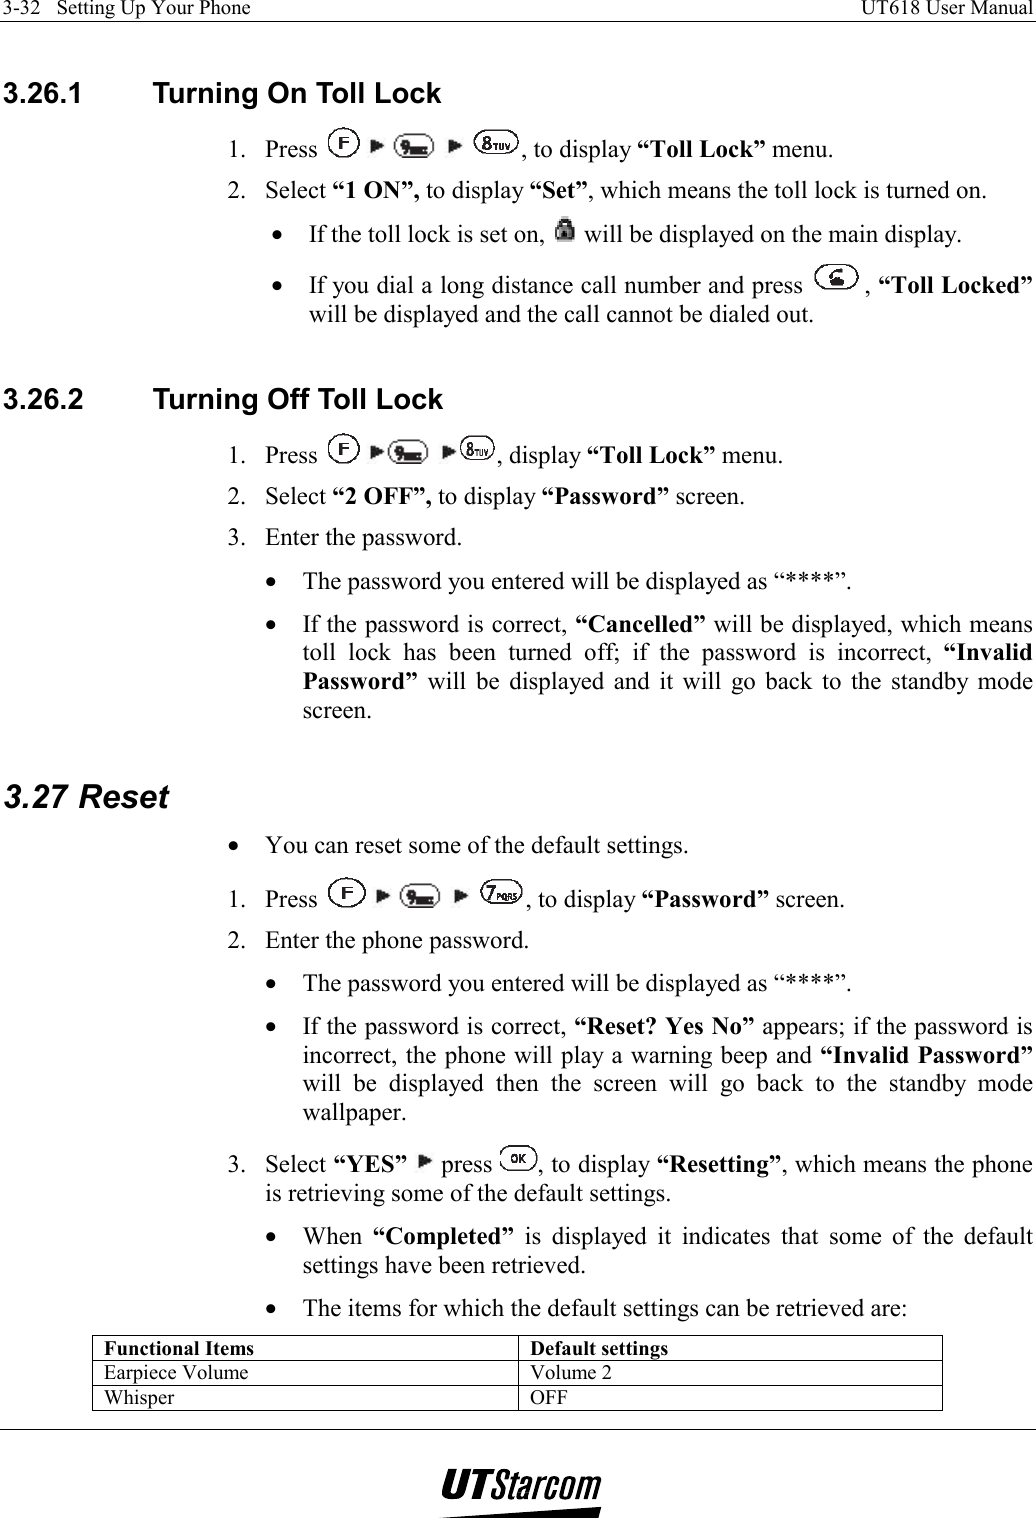


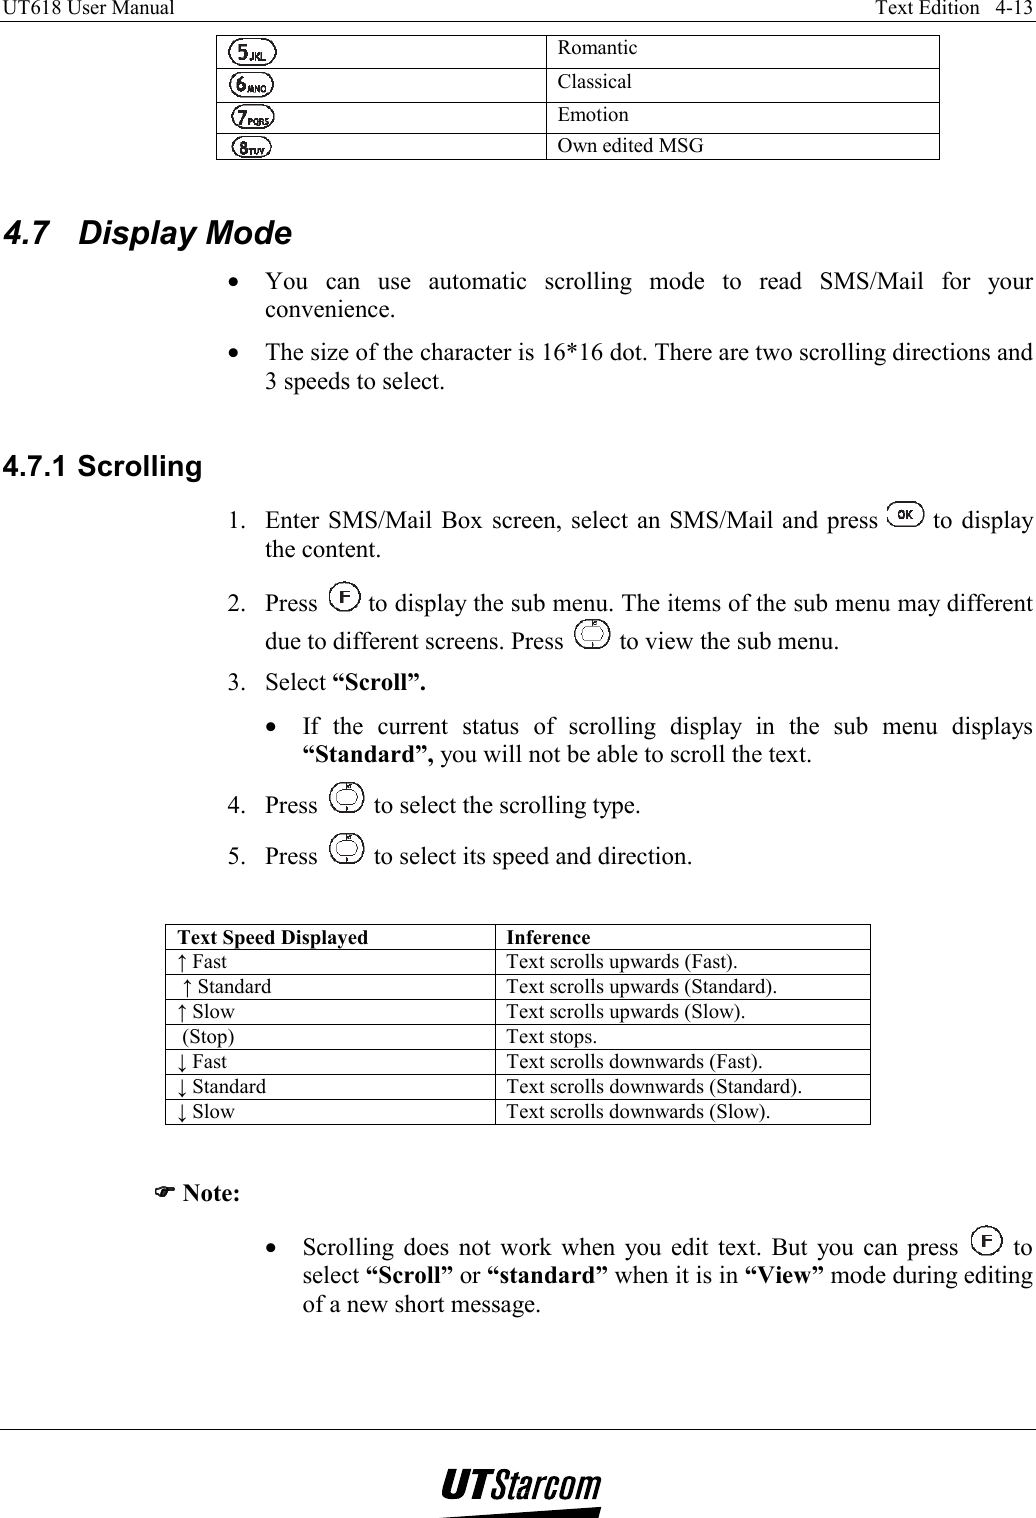
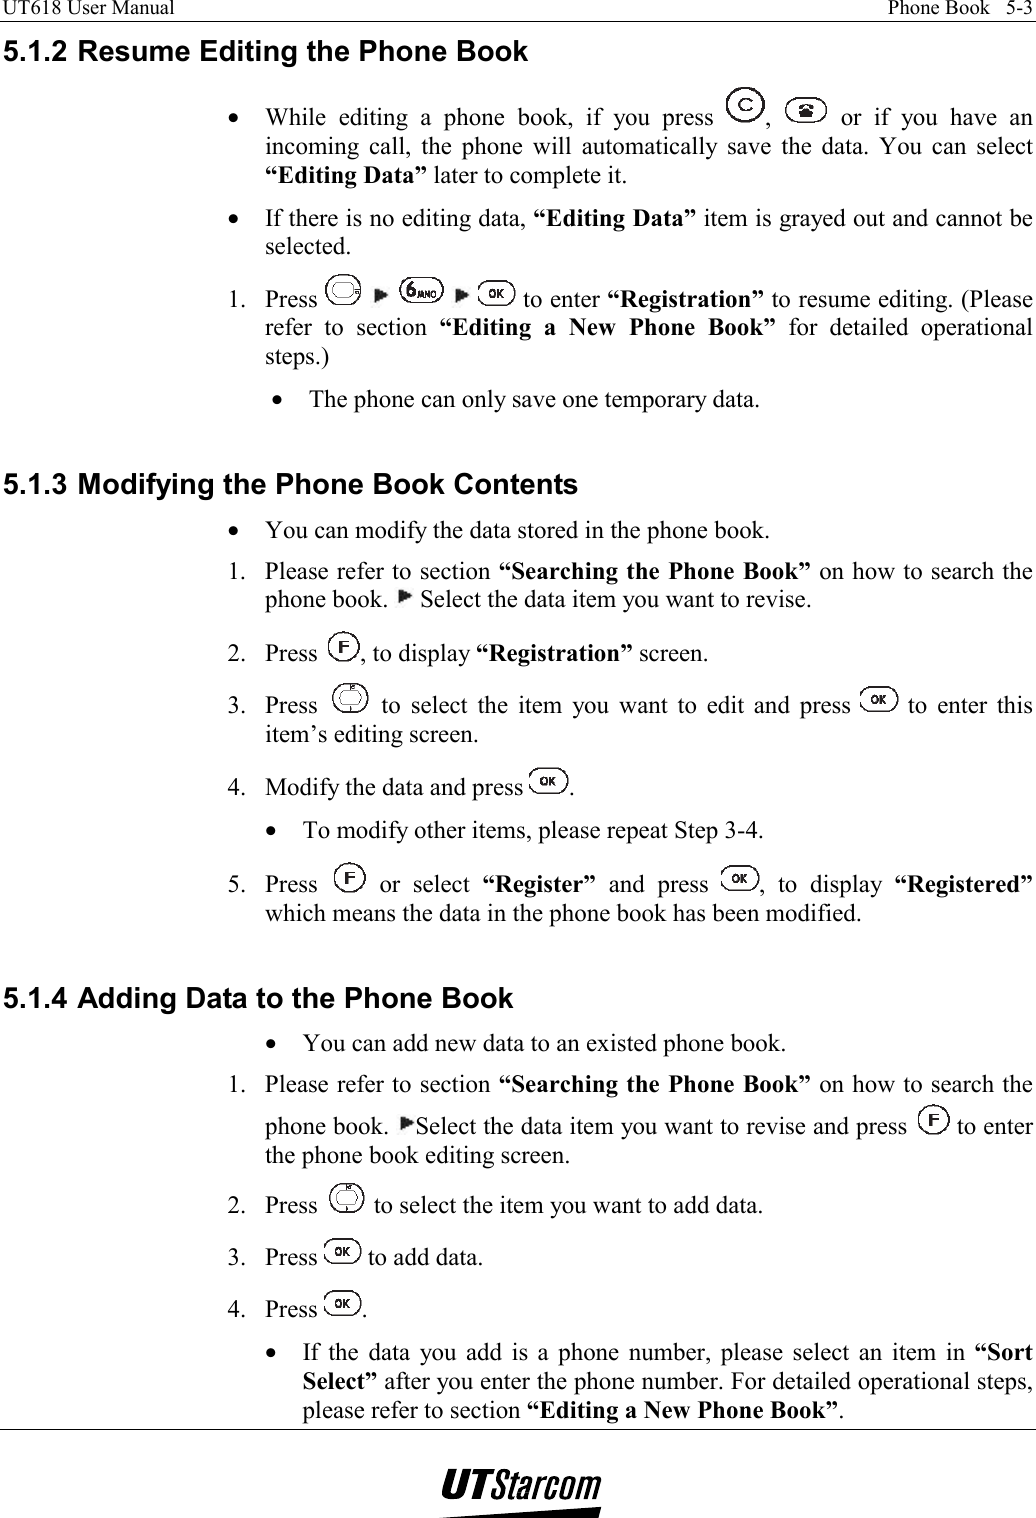
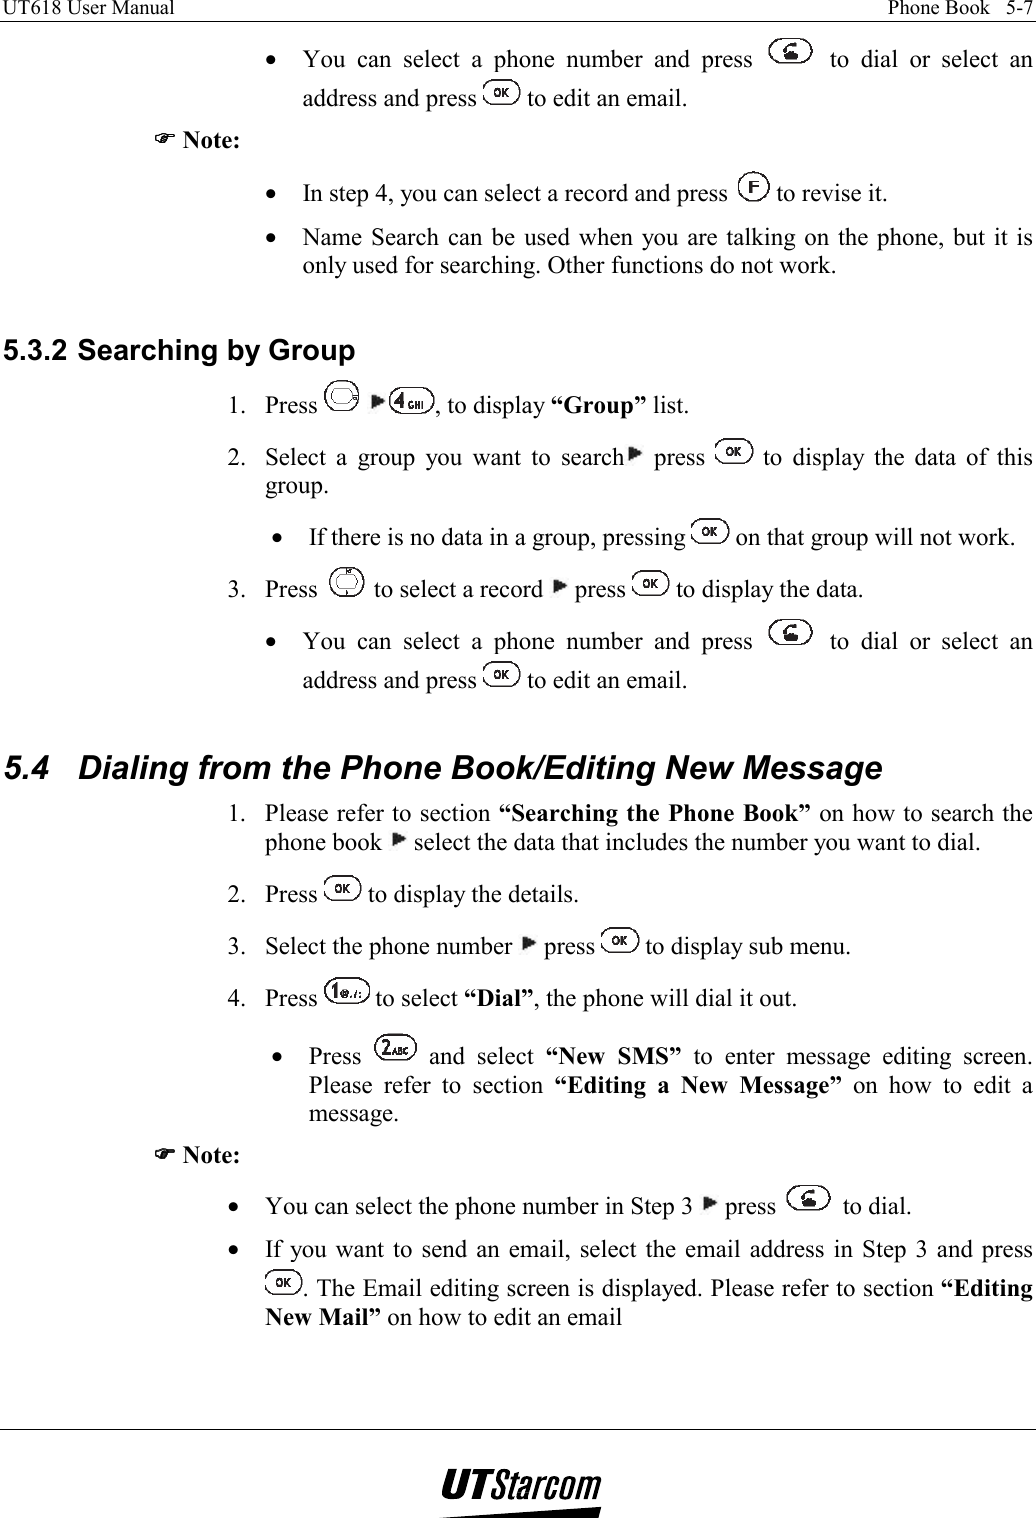
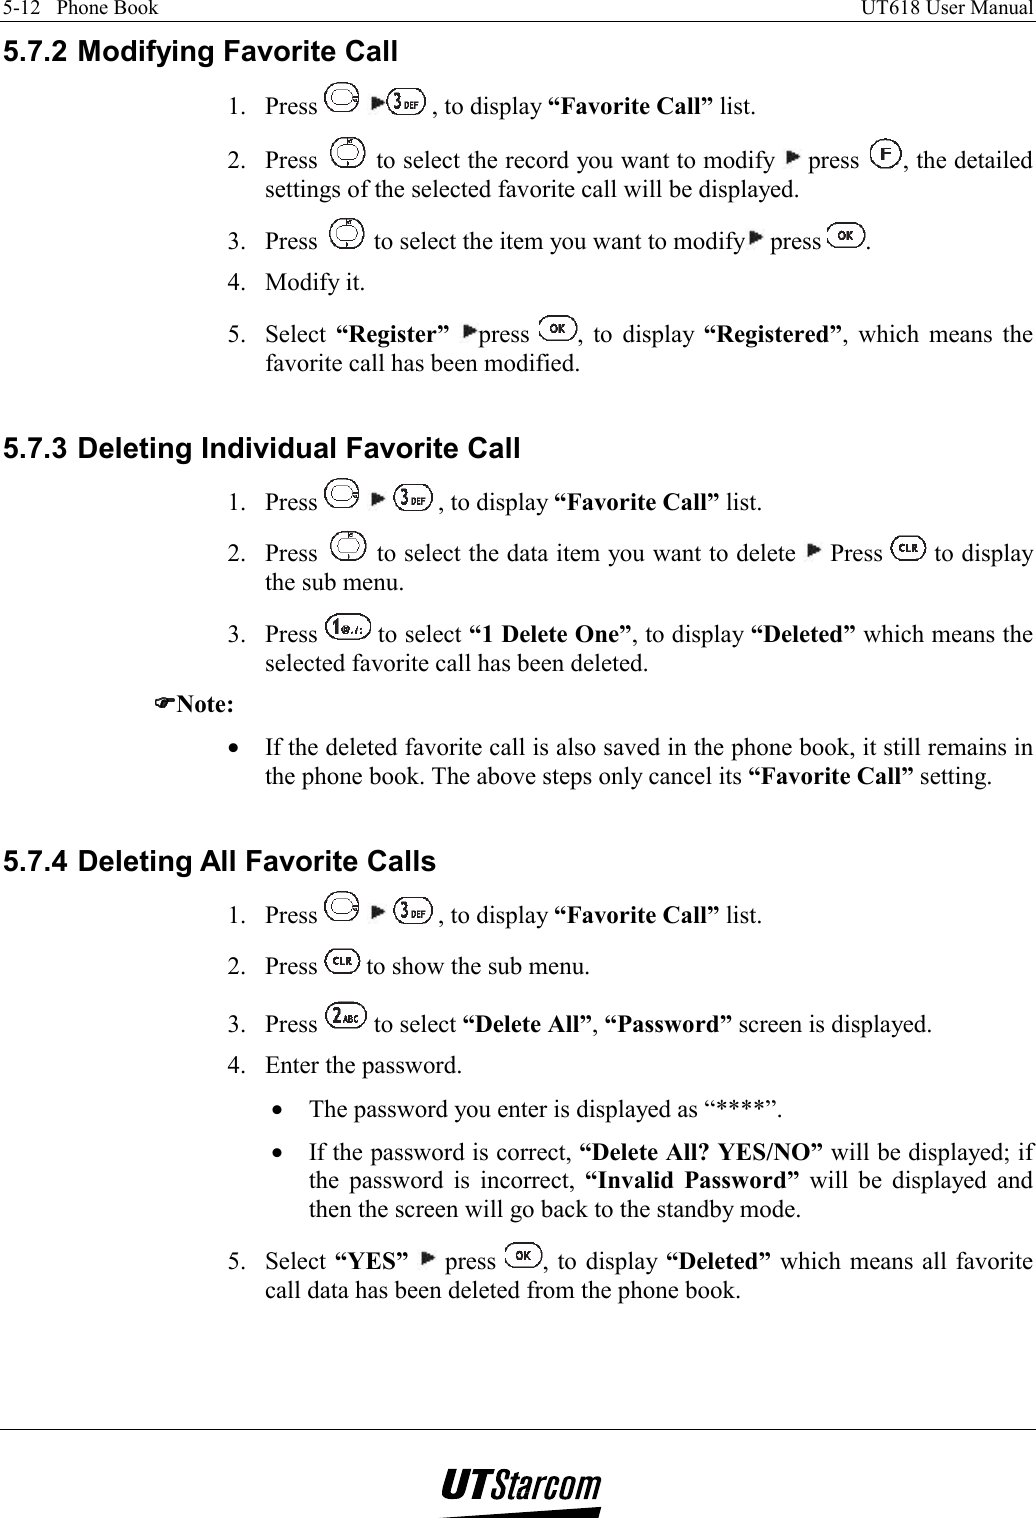
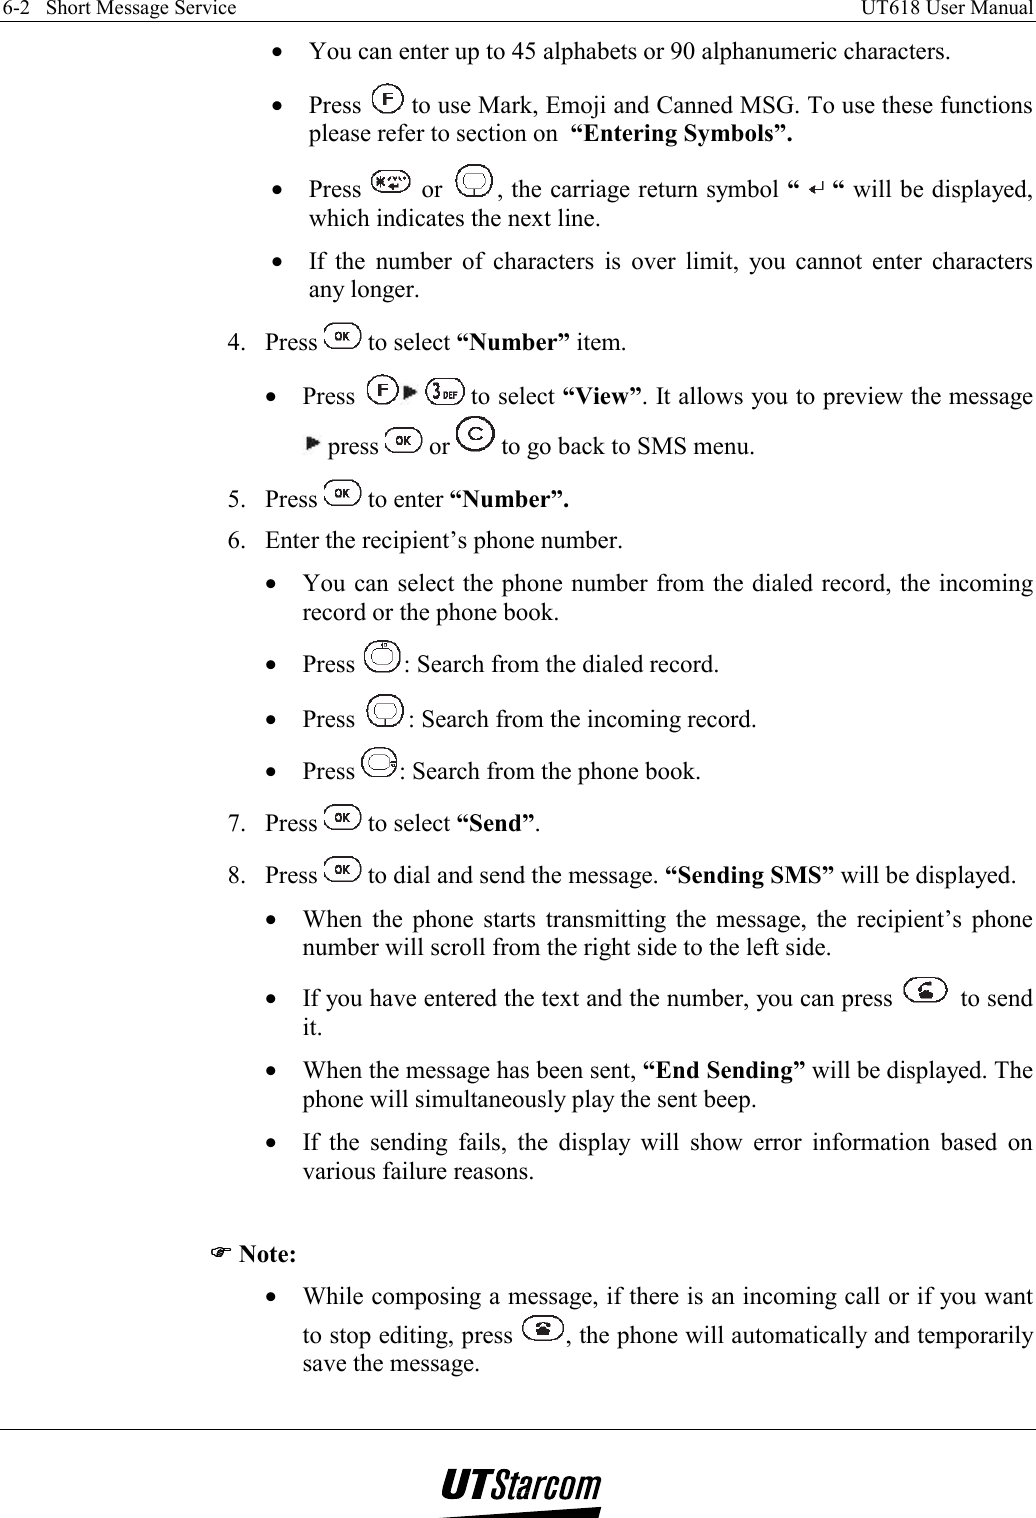
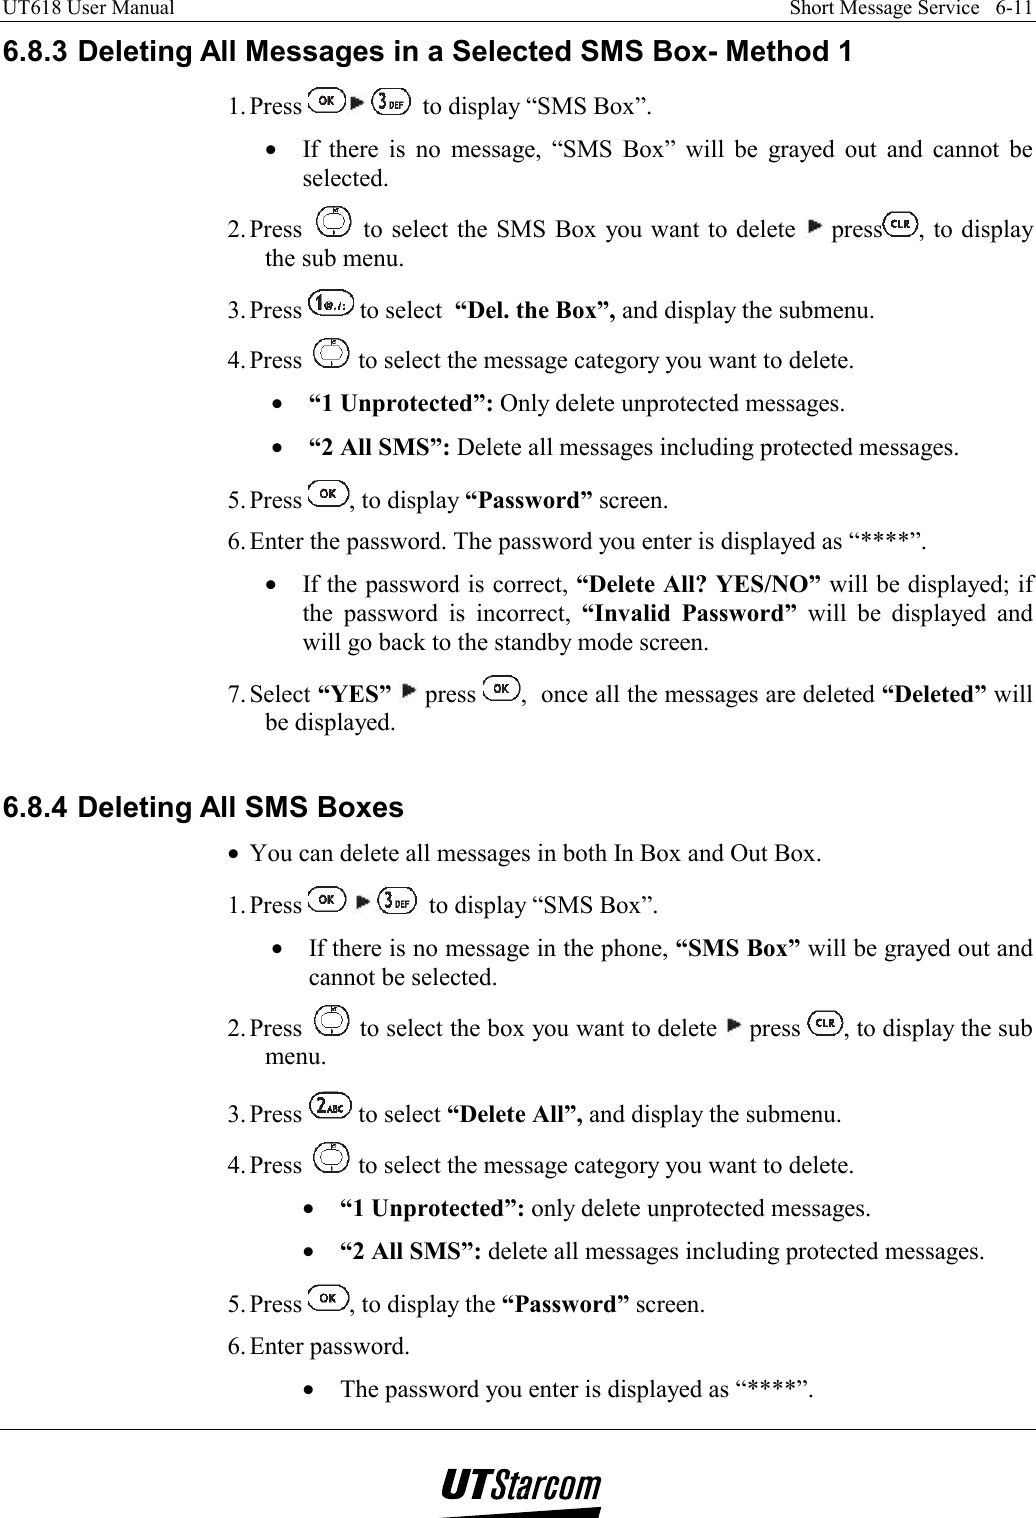
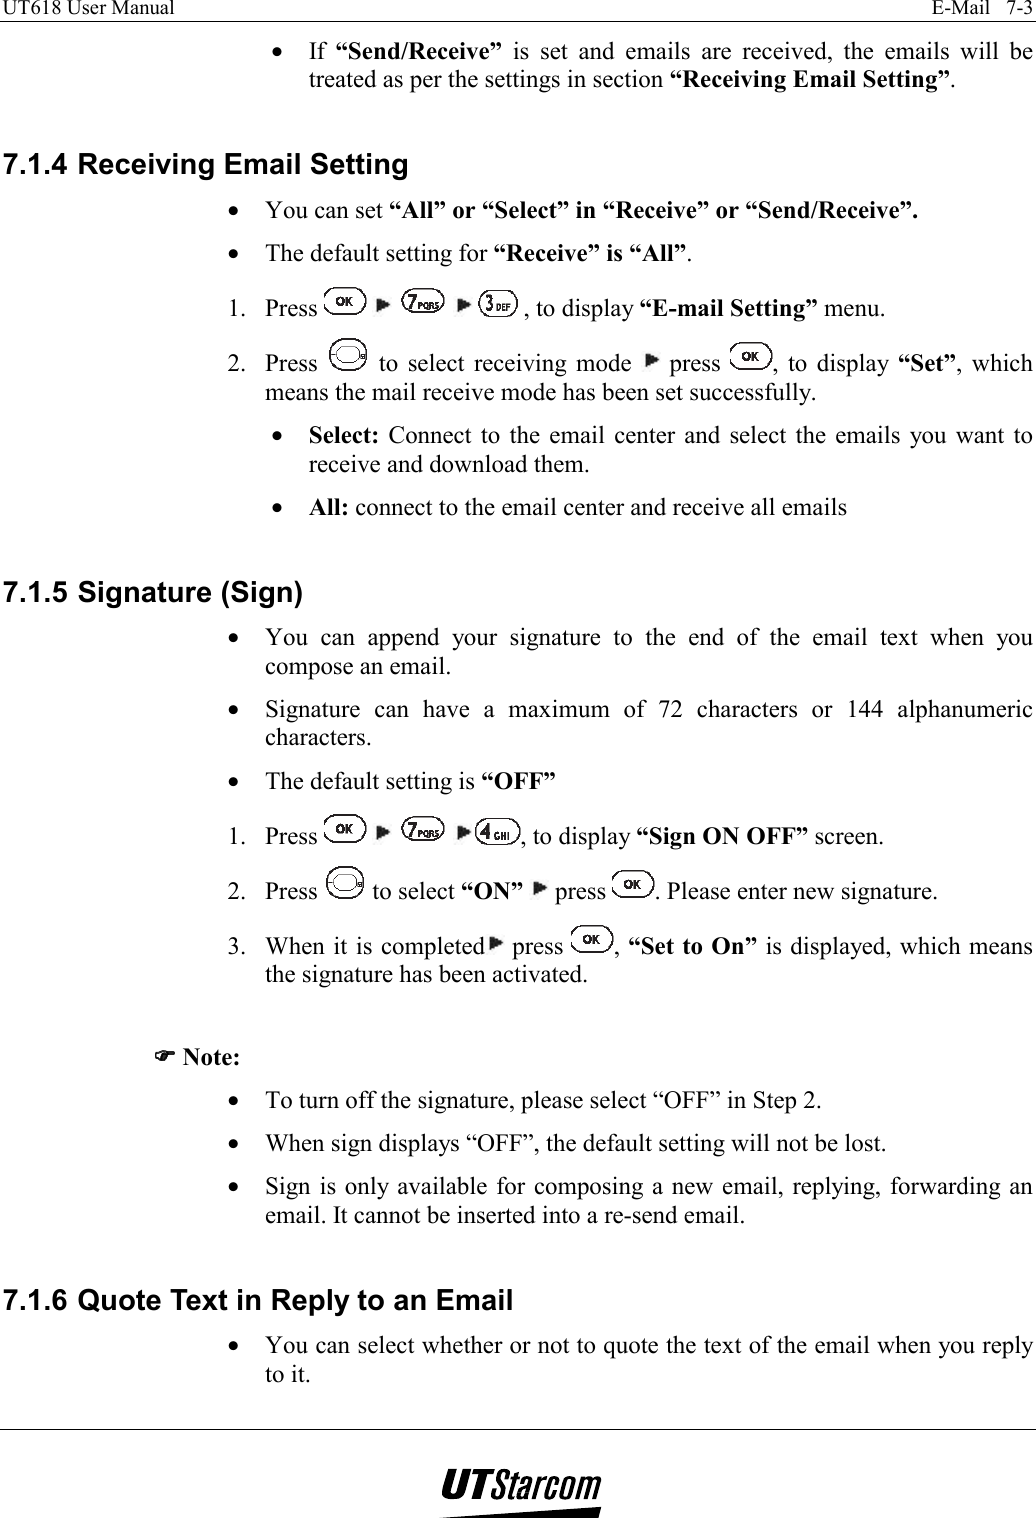
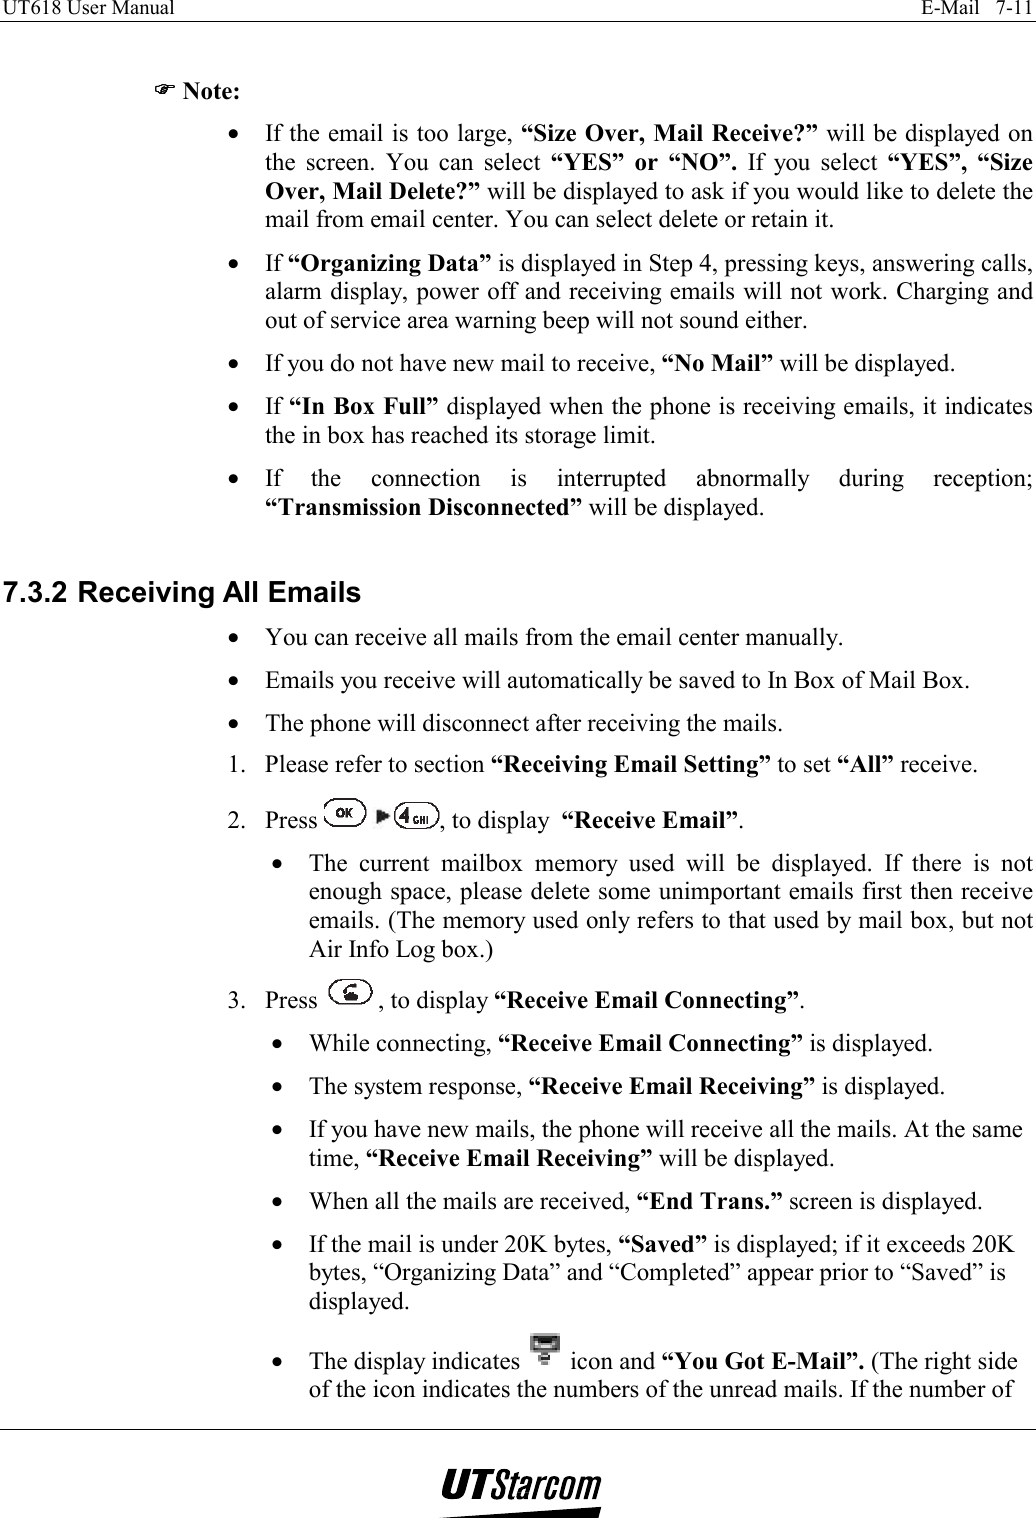
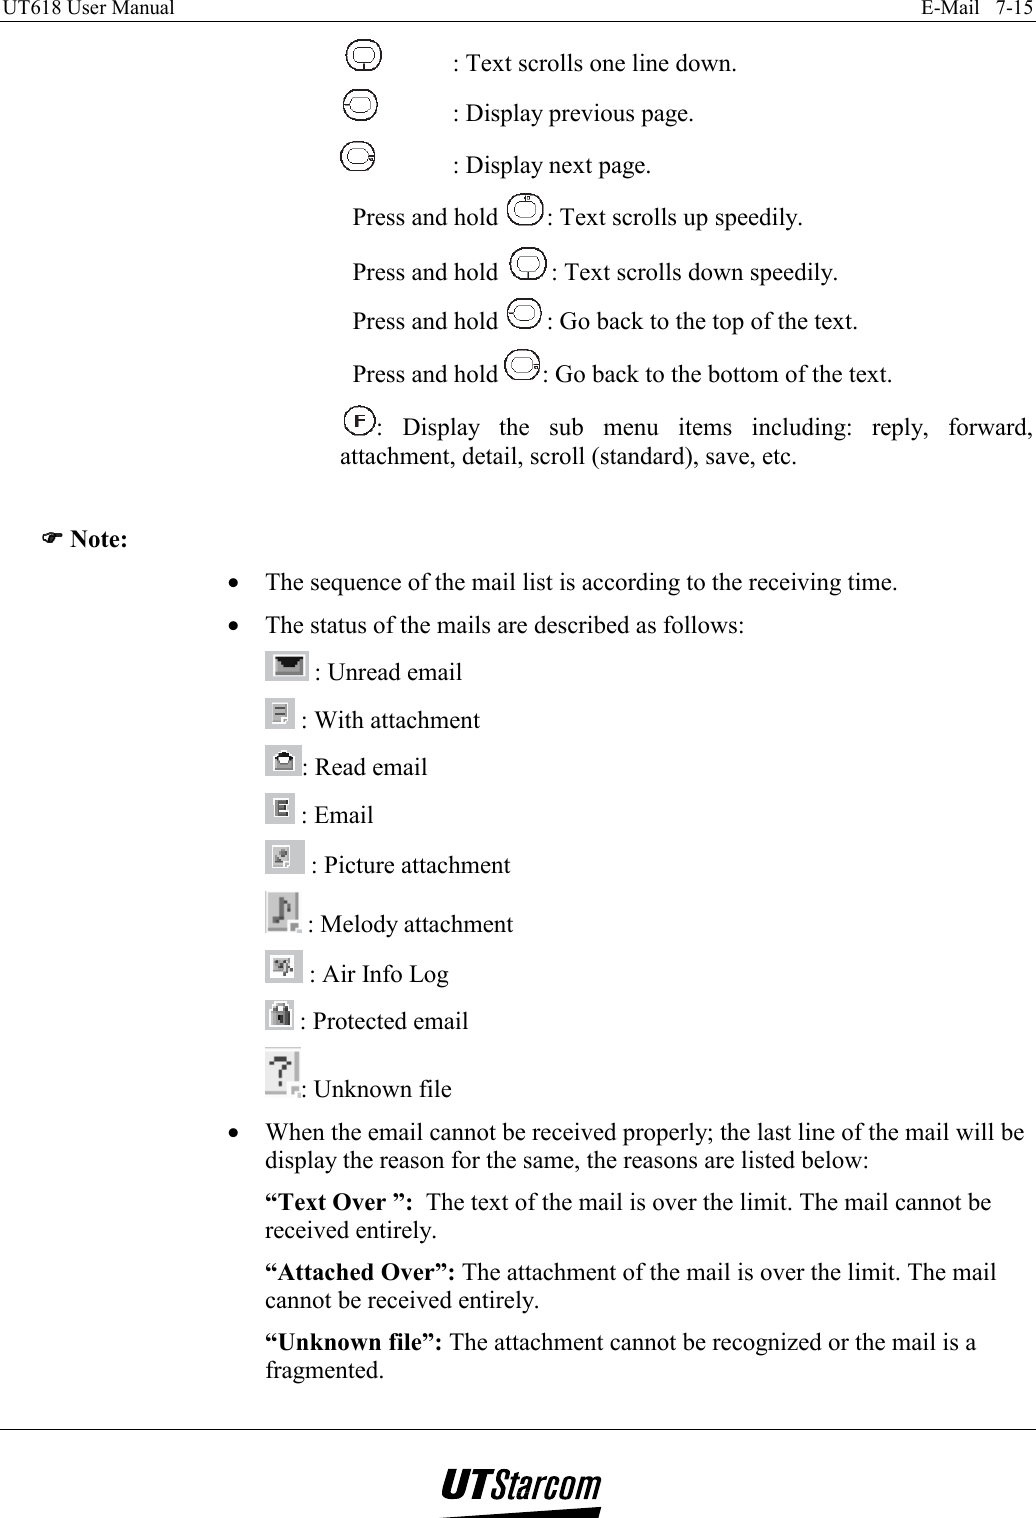
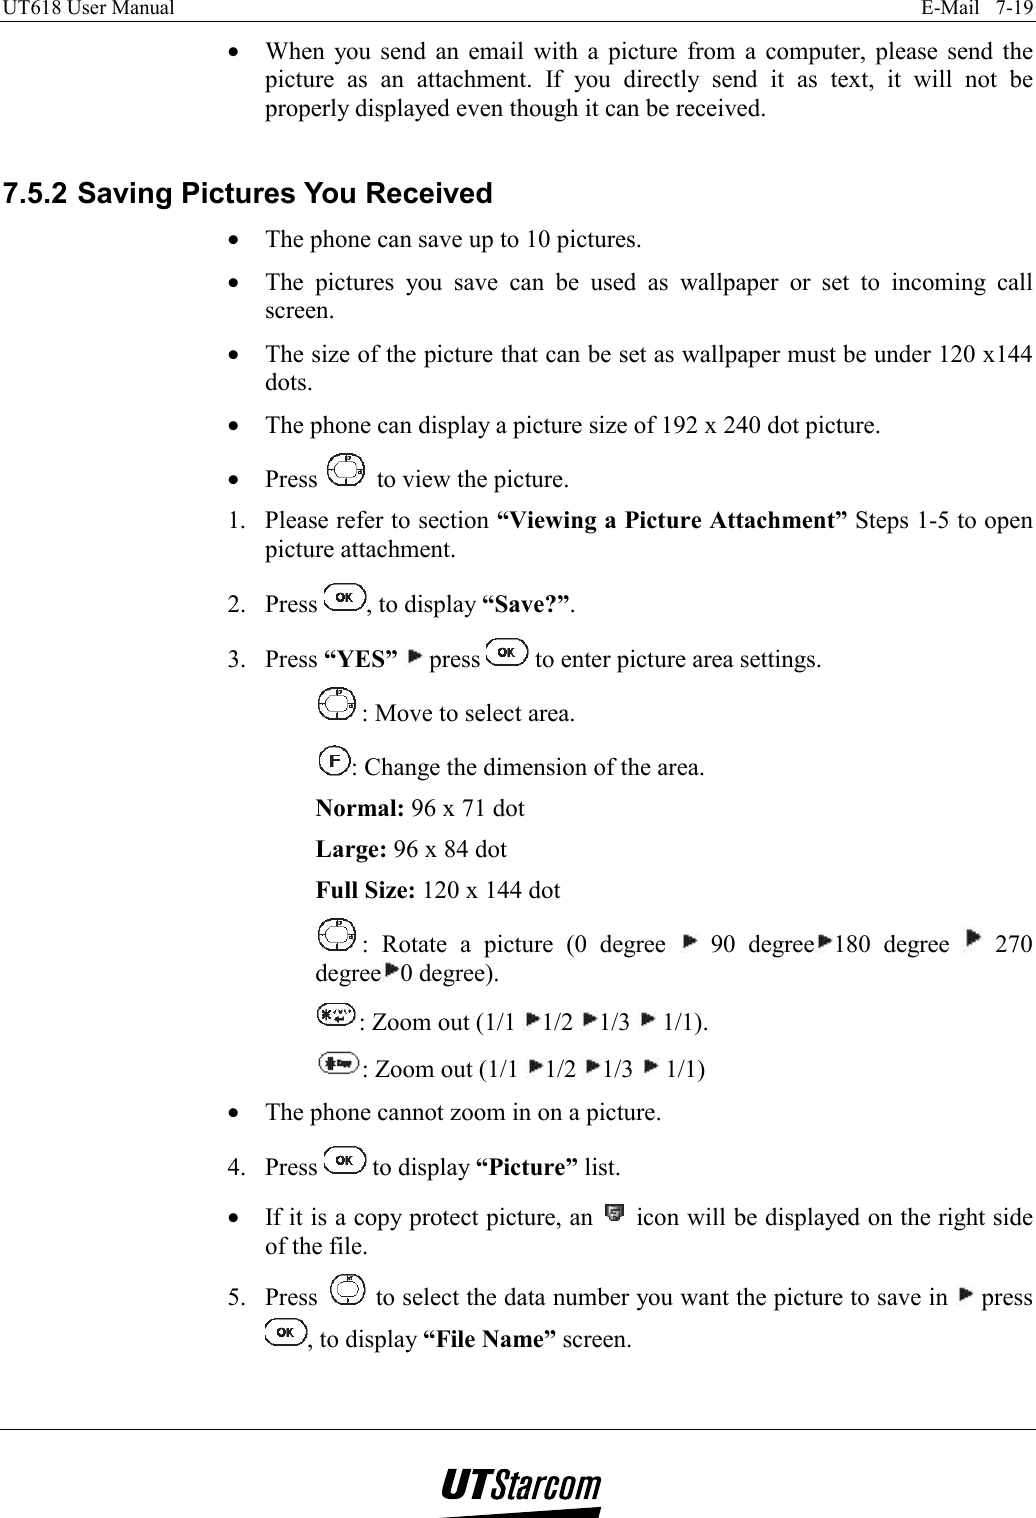
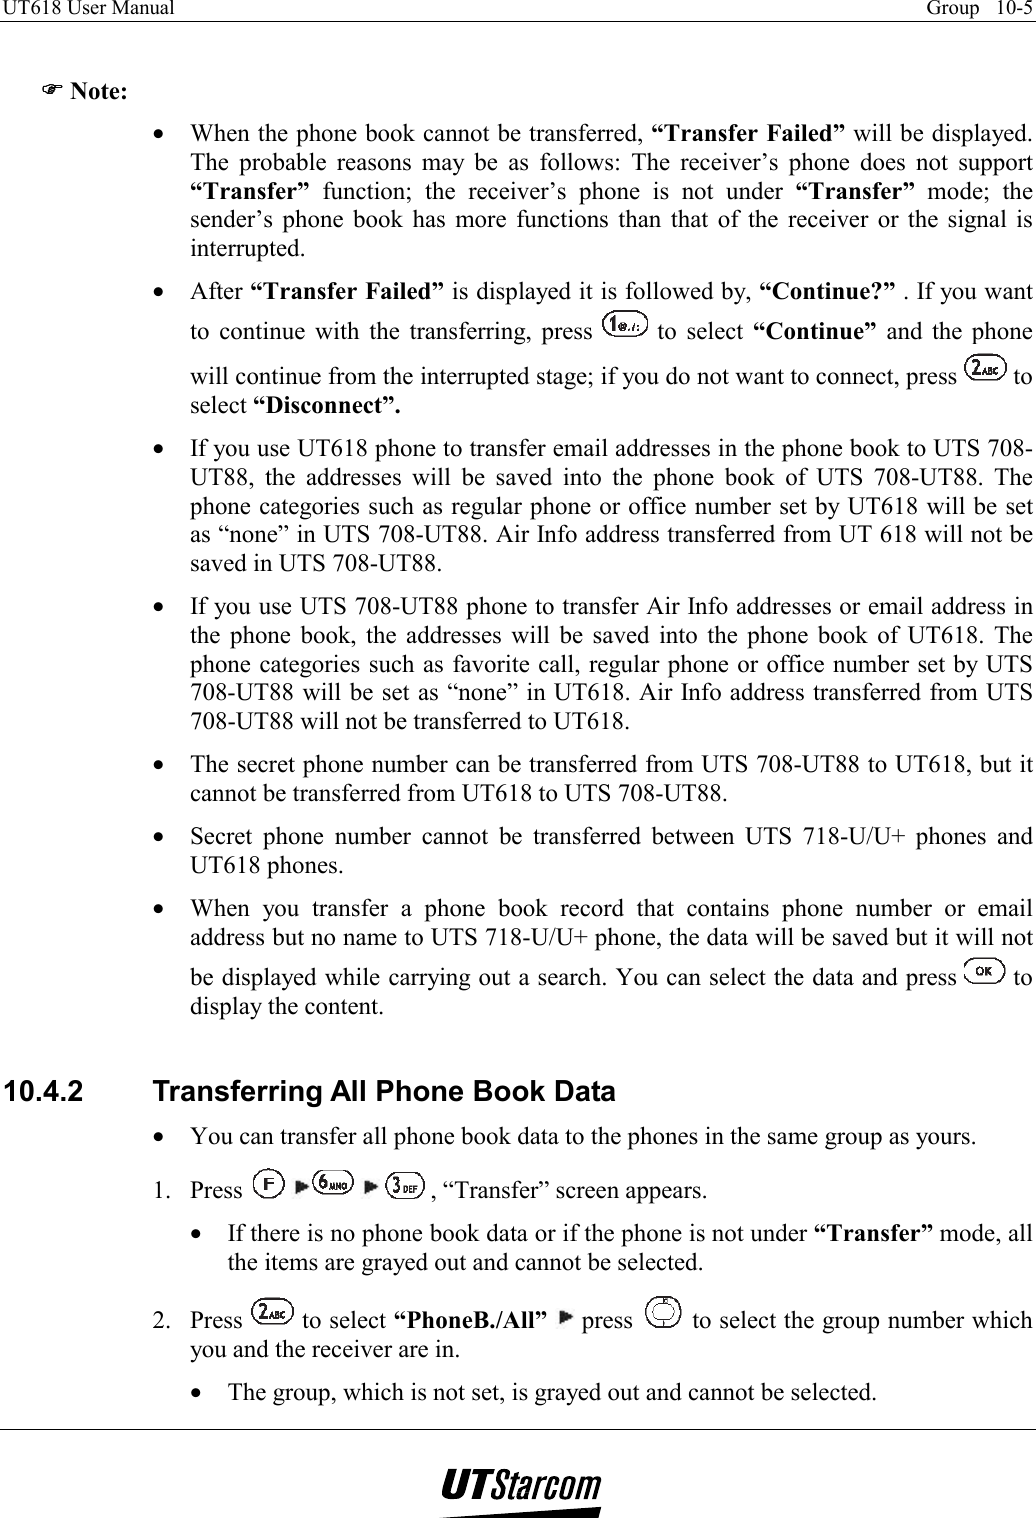
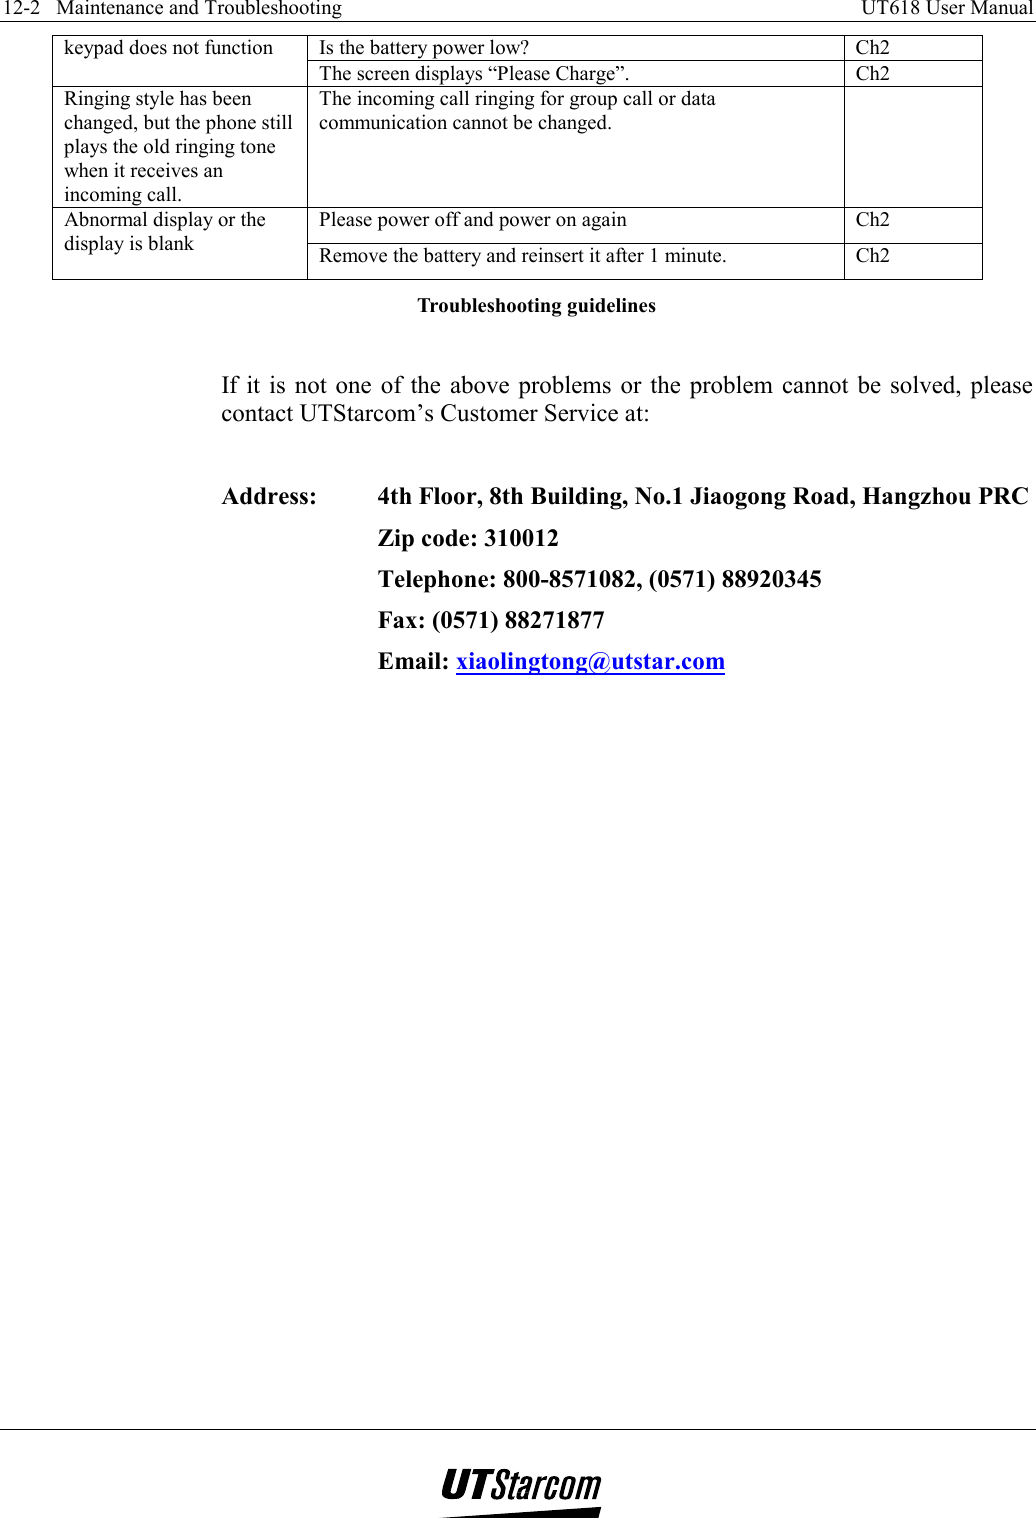
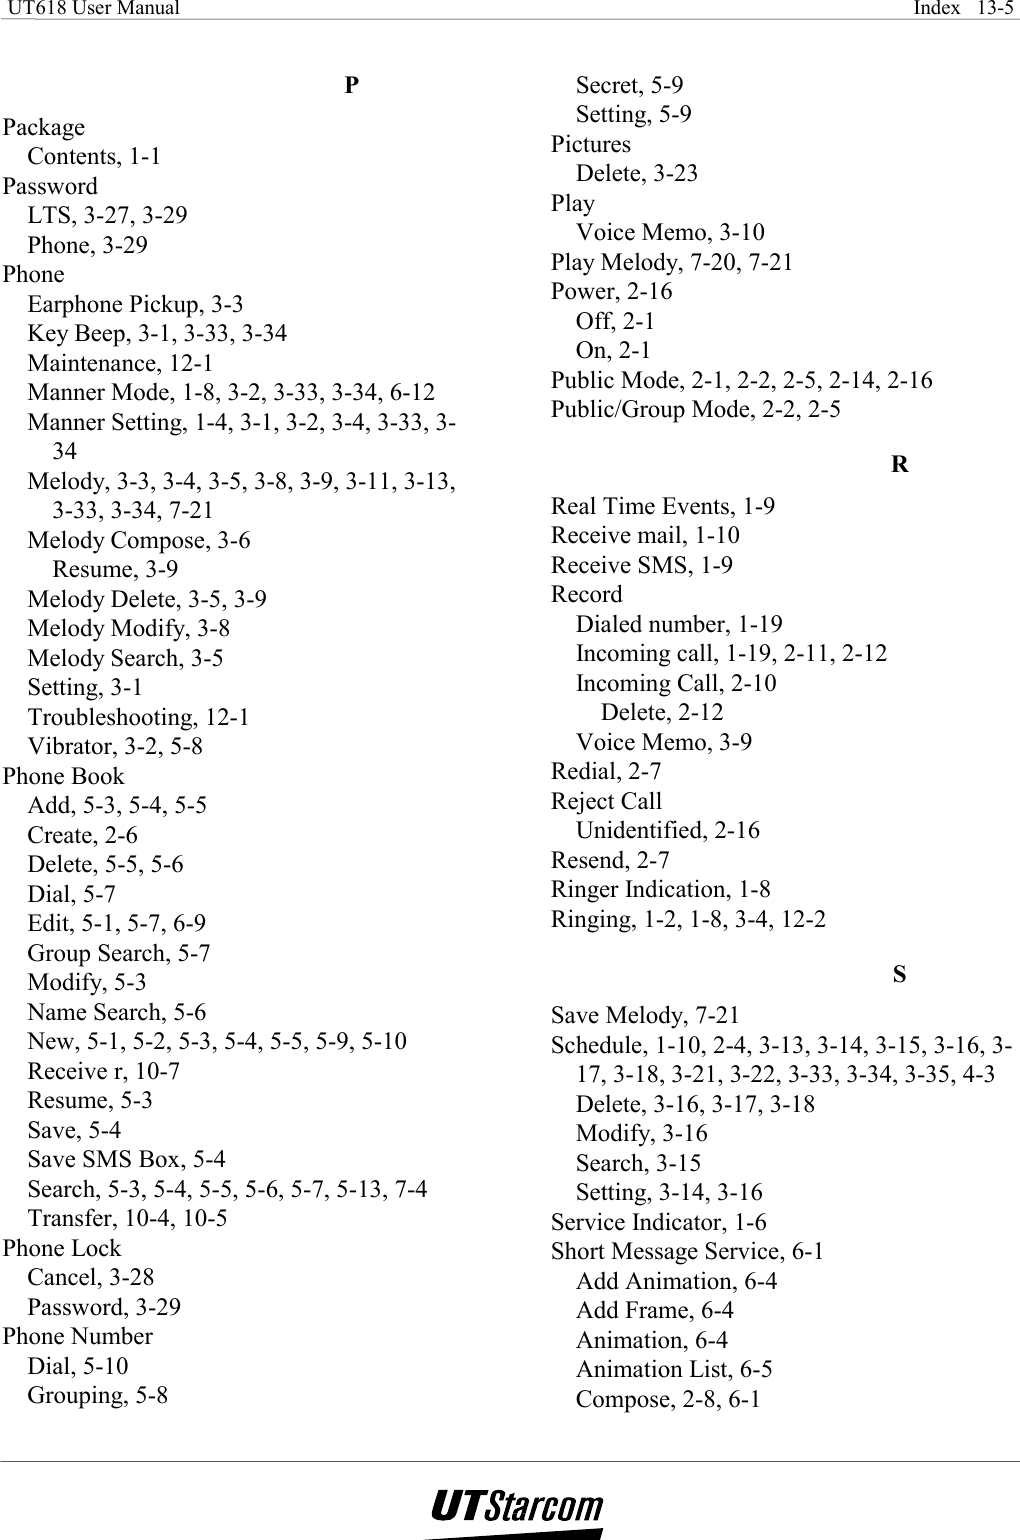
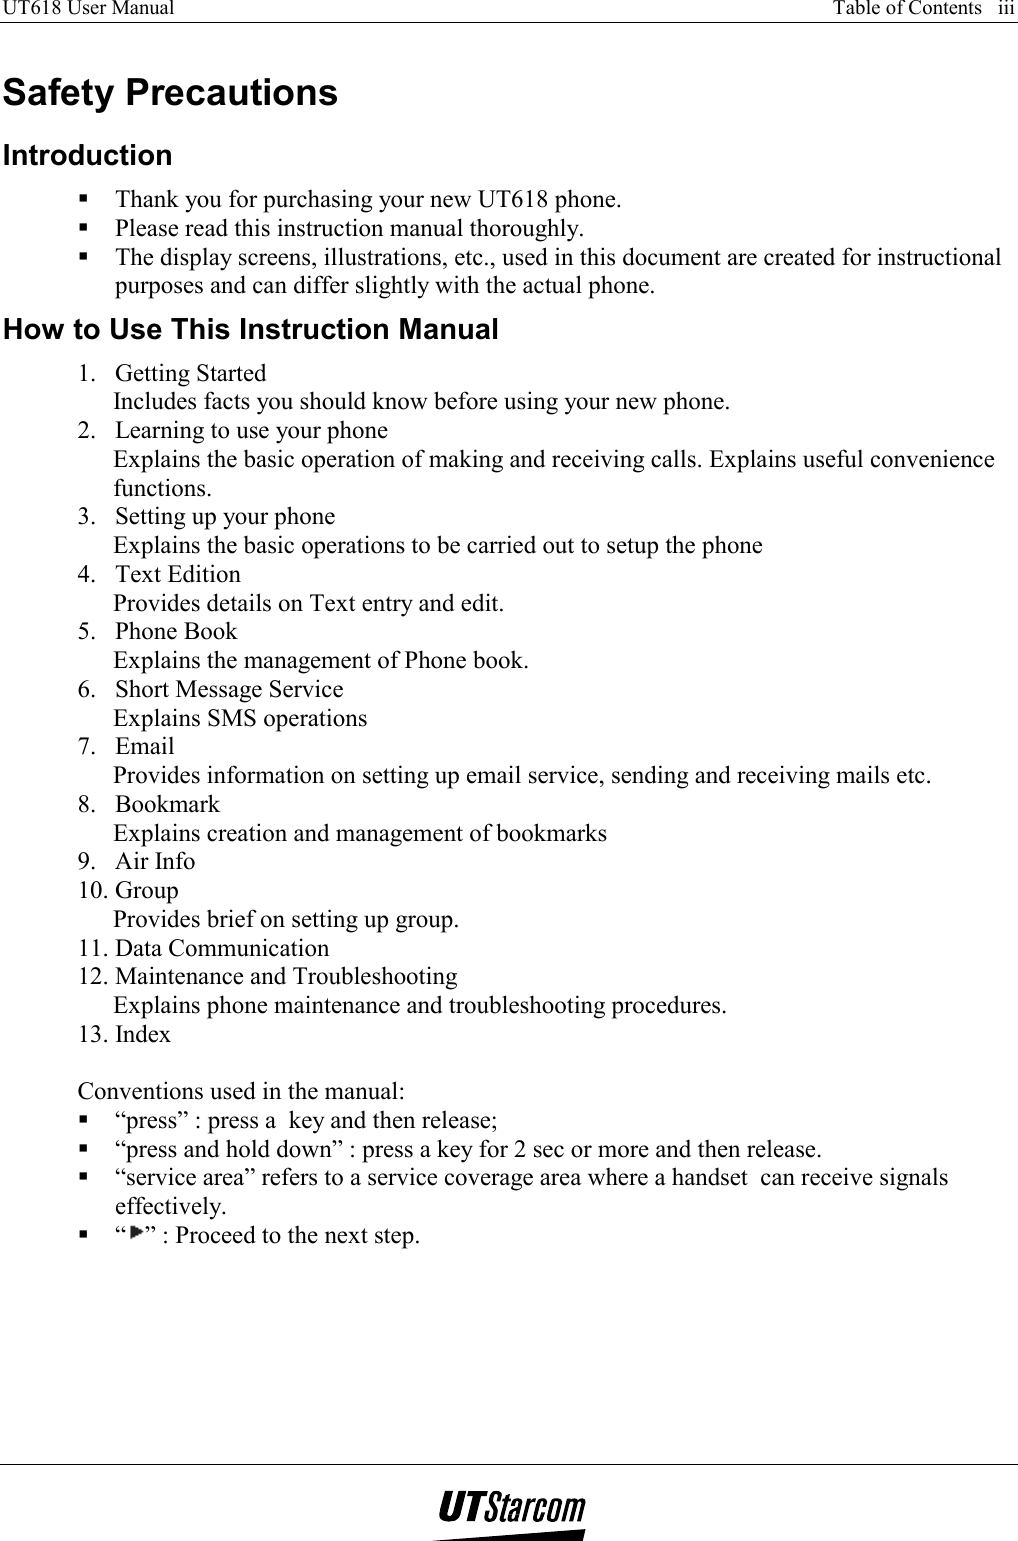
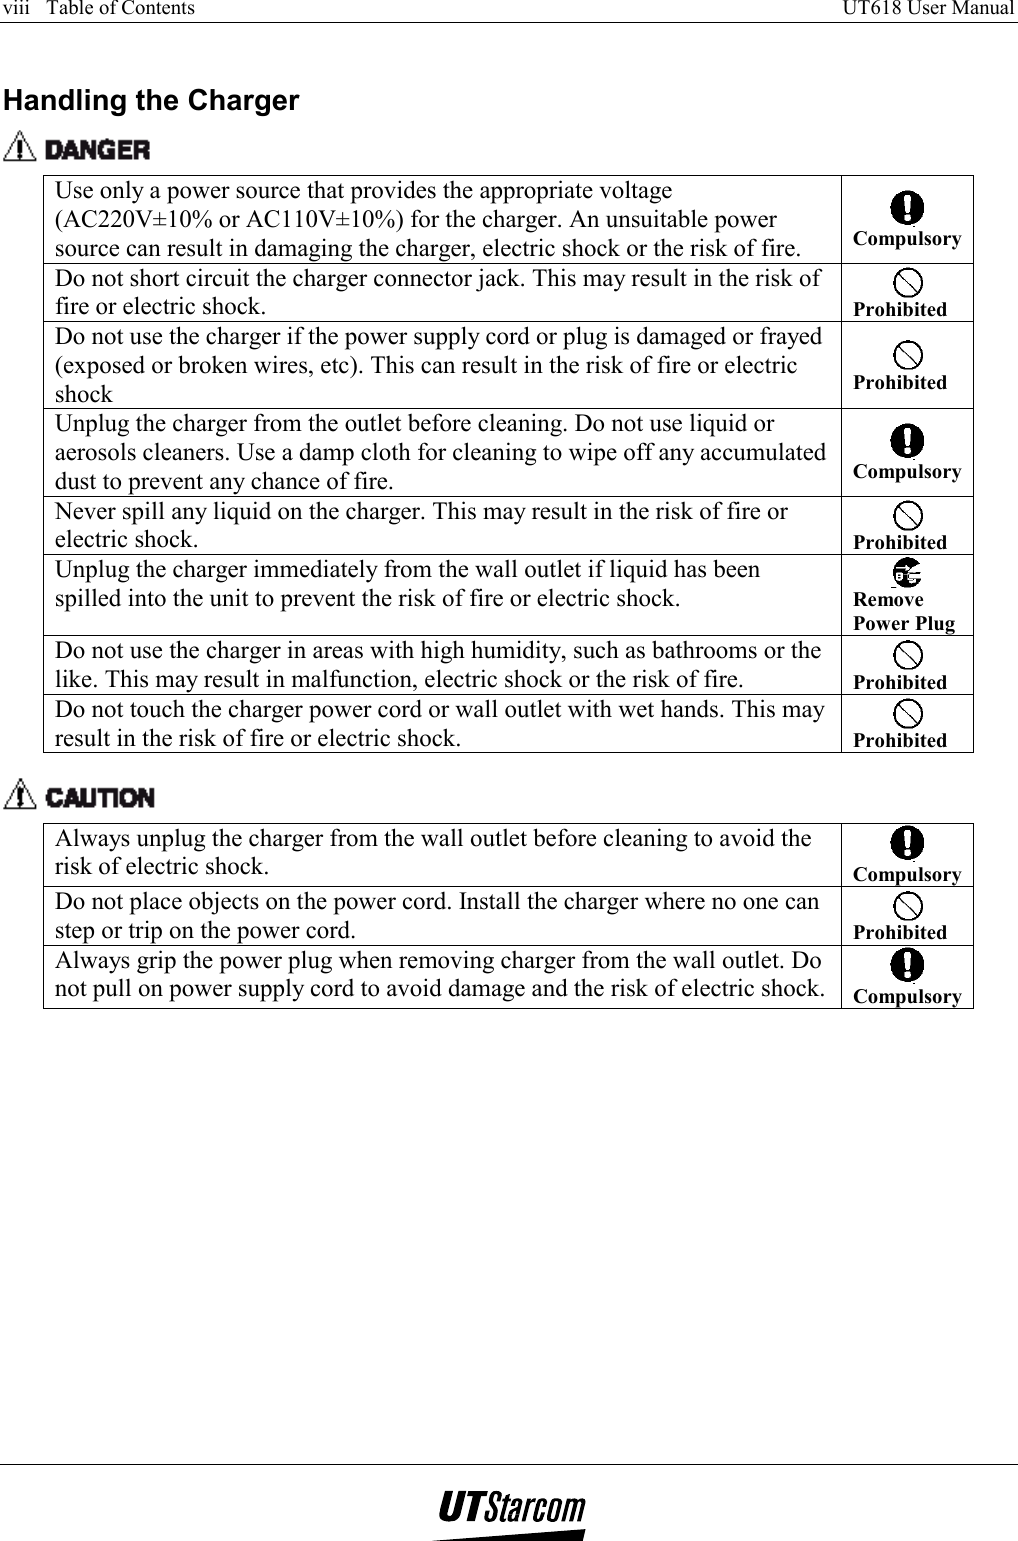
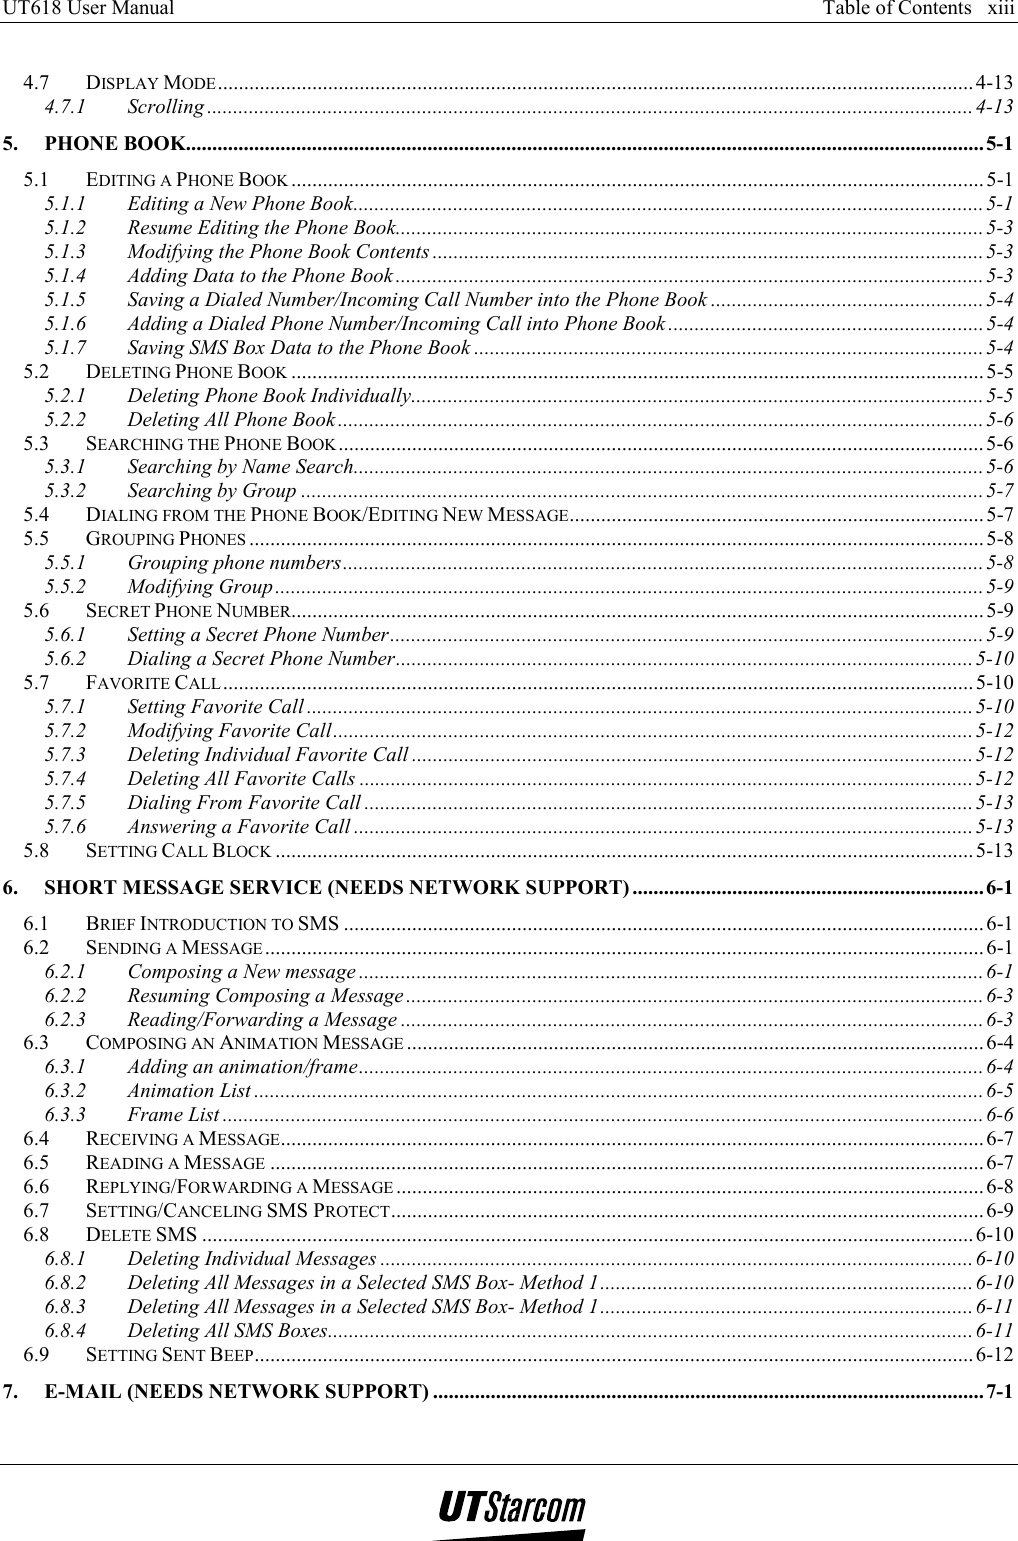
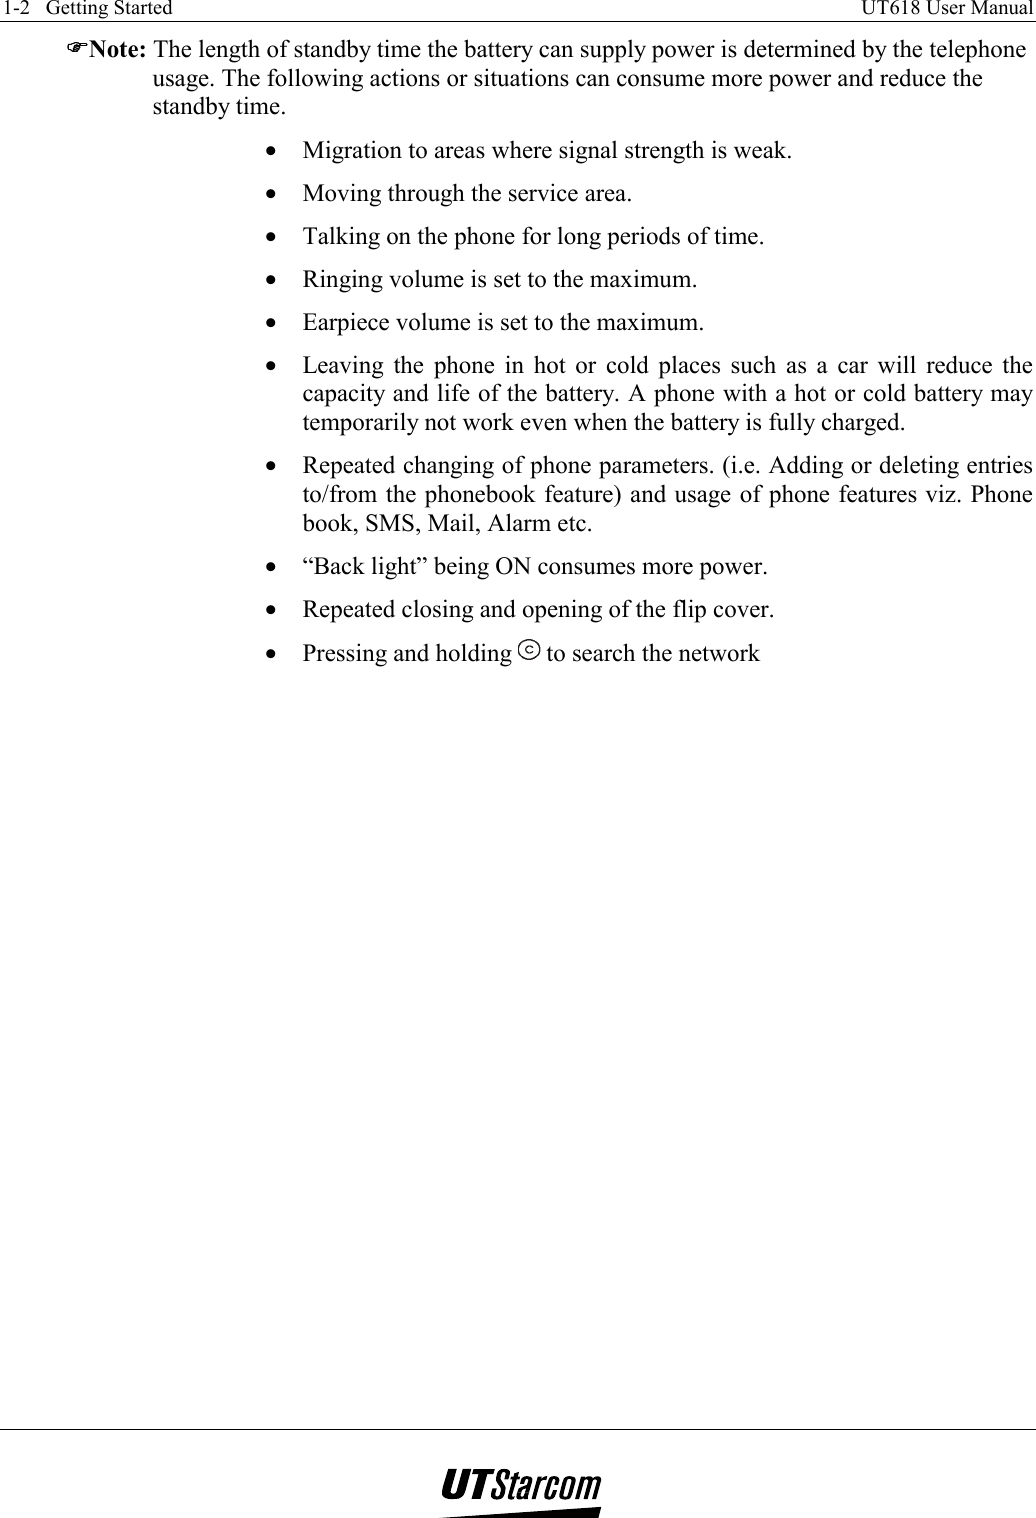
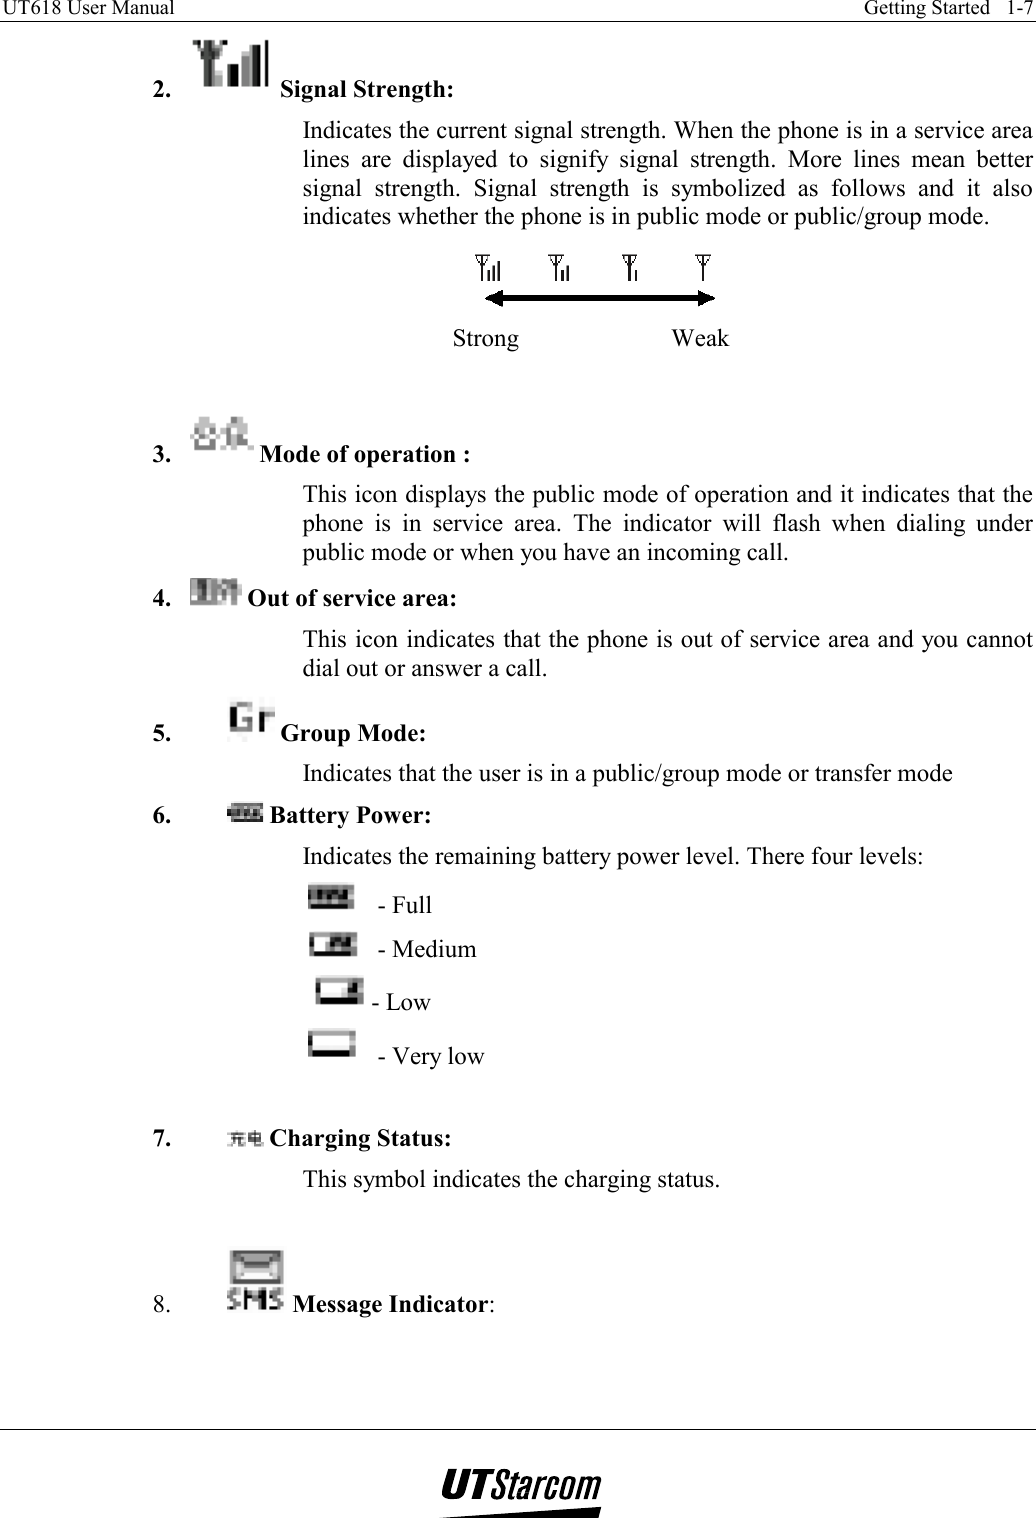
![4-4 Text Edition UT618 User Manual Keys Input Methods Input Characters English def DEF number 3 Pinyin ghi English Abc ABC number 4 Pinyin jkl English jkl JKL number 5 Pinyin mno English mno MNO number 6 Pinyin pqrs English pqrs PQRS number 7 Pinyin tu English tuv TUV number 8 Pinyin wxyz English wxyz WXYZ number 9 Pinyin English + - = ? ! < > ( ) { } [ ] number 0 Pinyin / v \ · next line English pqrs PQRS number 7 Pinyin Edit (copy, cut, paste) English Edit (copy, cut, paste) number Edit (copy, cut, paste) 4.1.5 Input Method • When you press the keys the display will depend based on the input method selected. • Please refer to section “ Entering numbers, characters and symbols”. Example: Pressing multiple number of times with different input modes selected. 123](https://usermanual.wiki/UTStarcom-Korea-Technologies/UTS-618/User-Guide-332559-Page-95.png)