UTStarcom Korea Technologies UTS-708J UTS-708J User Manual Manual
UTStarcom Korea Technologies Ltd. UTS-708J Manual
UserManual.wiki
>
UTStarcom Korea Technologies
>
UTS 708J User Manual
Manual
Navigation menu
Upload a User Manual
Namespaces
Wiki Guide
HTML
PDF
Info
Views
User Manual
Discussion / Help
Navigation


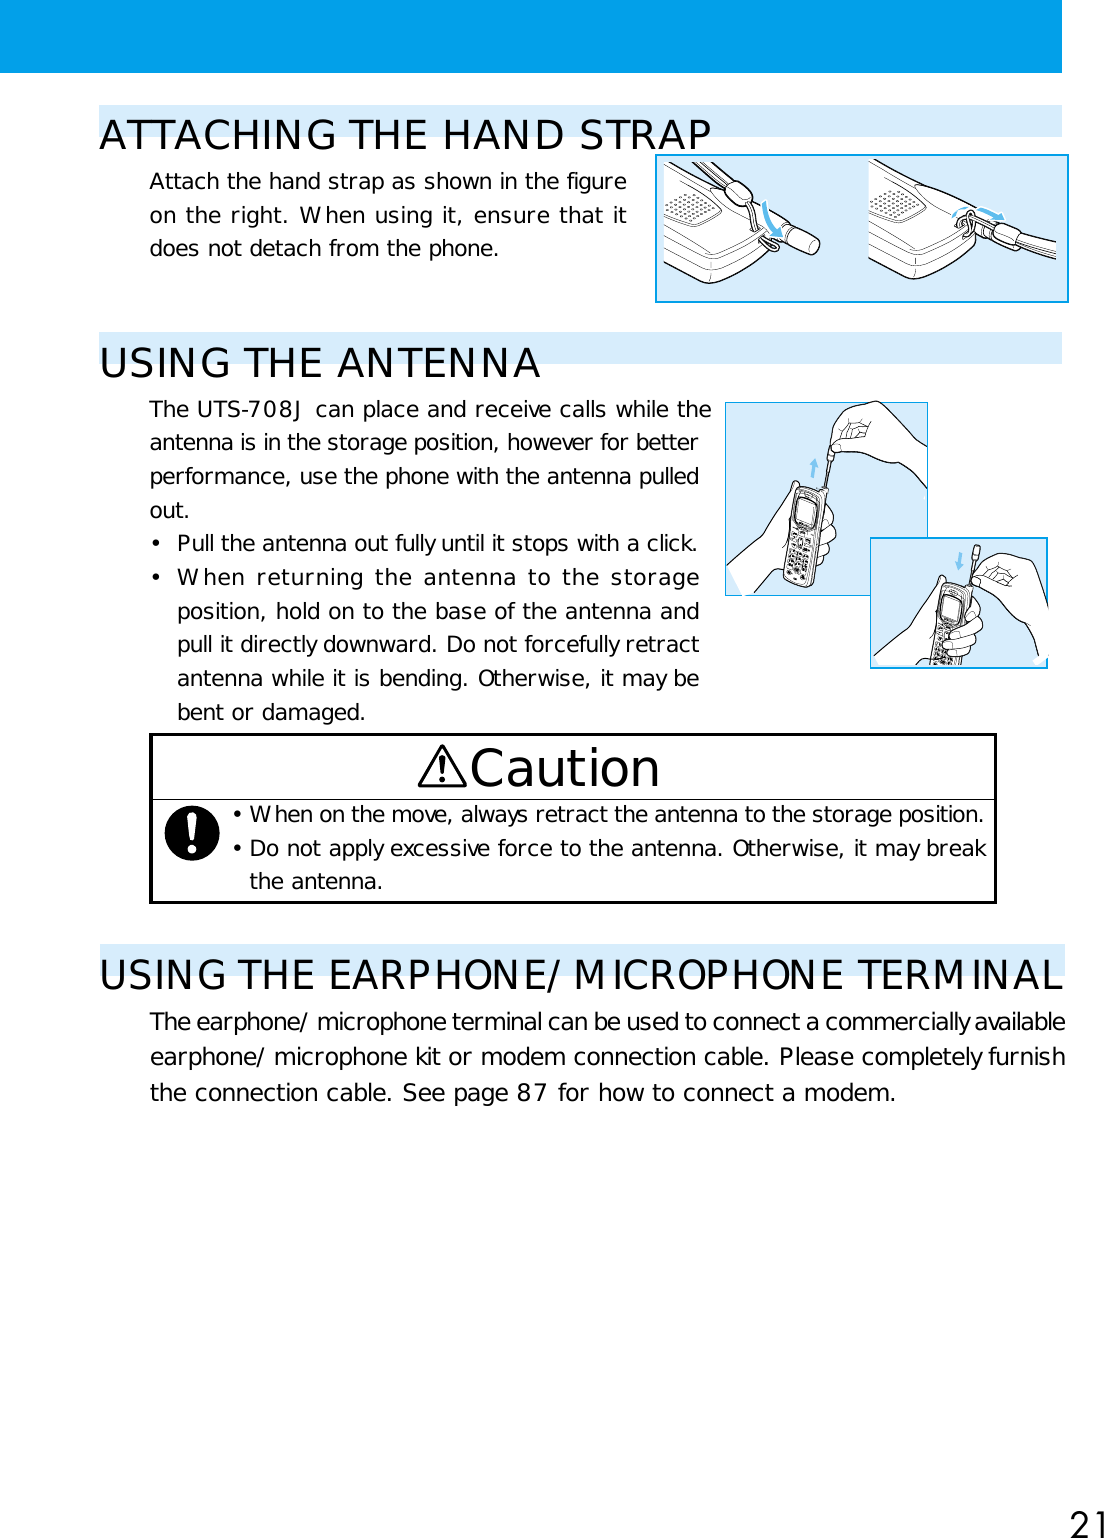


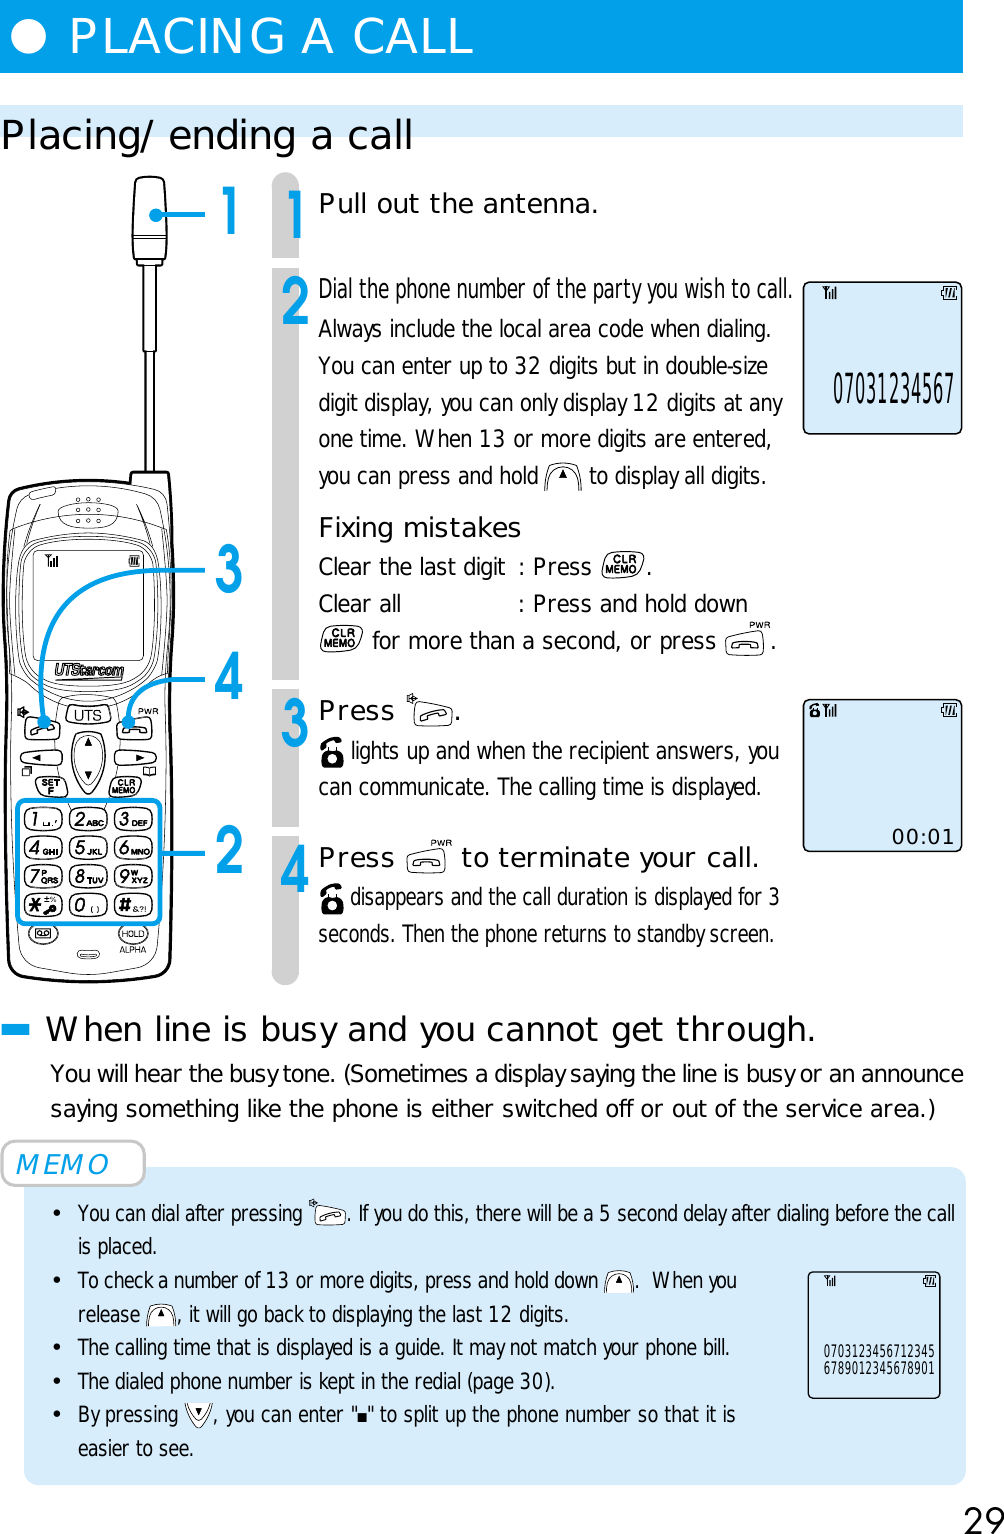


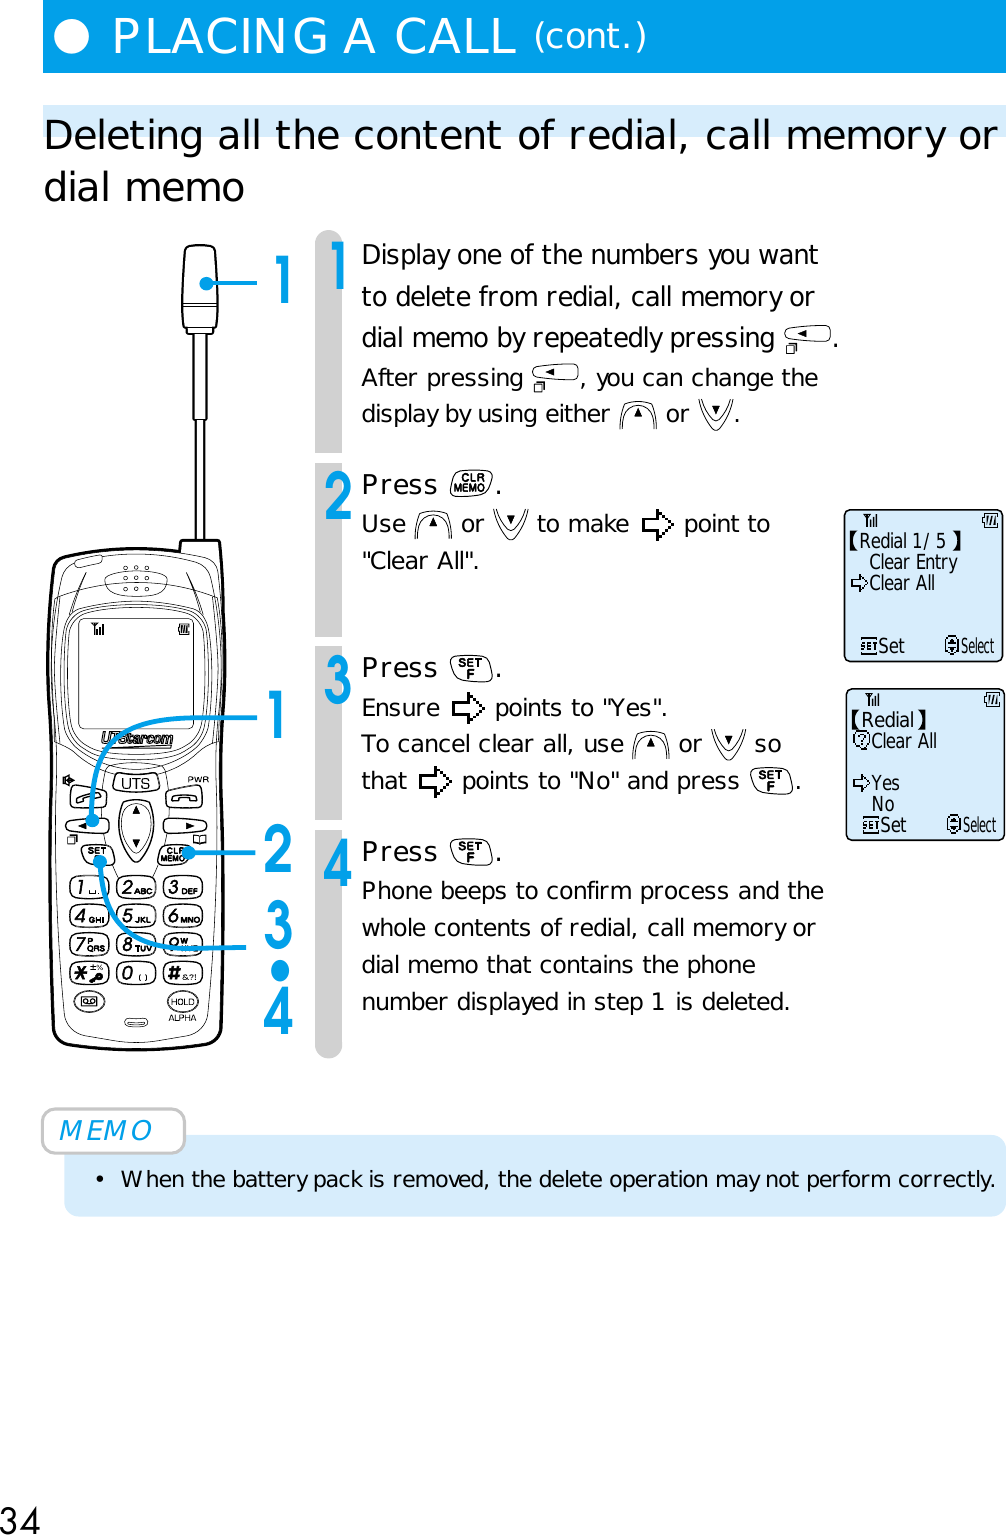
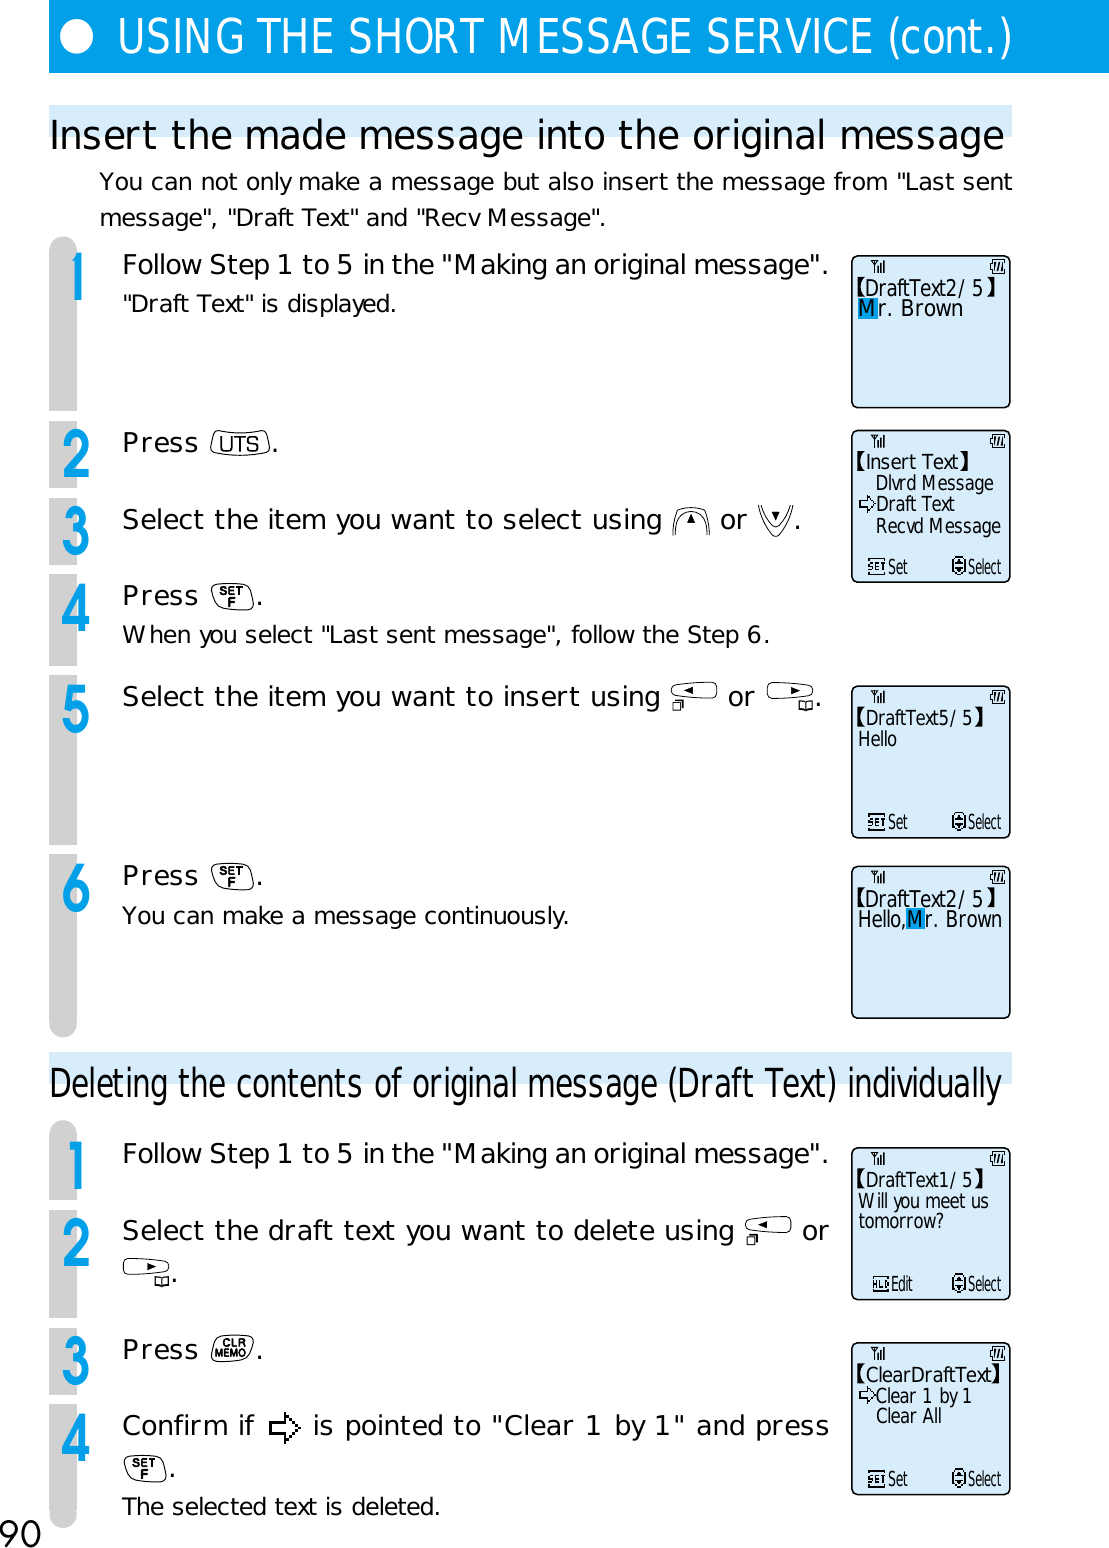
![37●OPERATIONS DURING CALLSPlacing a call on holdPlace a call on hold when you want to temporarily stop the call. While the otherparty is placed on hold, they cannot hear you. You can select the hold melody from11 preset melodies (page 70).1Press during a call.The set hold melody is played to thecaller. [hold icon] blinks.2Press or to cancel thehold.You will now go back to the call.Adjusting the receiver volumeYou can adjust the volume of the caller's voice while talking. Volume has 4 levels. When receiver volume is "Maximum", volumewill not change when is pressed. When receiver volume is "Small", volume will not change when is pressed.1Press or during a call.The current setting is displayed.2By pressing or , the receivervolume level switches.MEMO•At the time of purchase, the receiver volume is set to "Large".•Even when the call terminates, the set volume does not change until when it is changed again.Holding...Small Medium Large Maximum121•2](https://usermanual.wiki/UTStarcom-Korea-Technologies/UTS-708J/User-Guide-138263-Page-42.png)
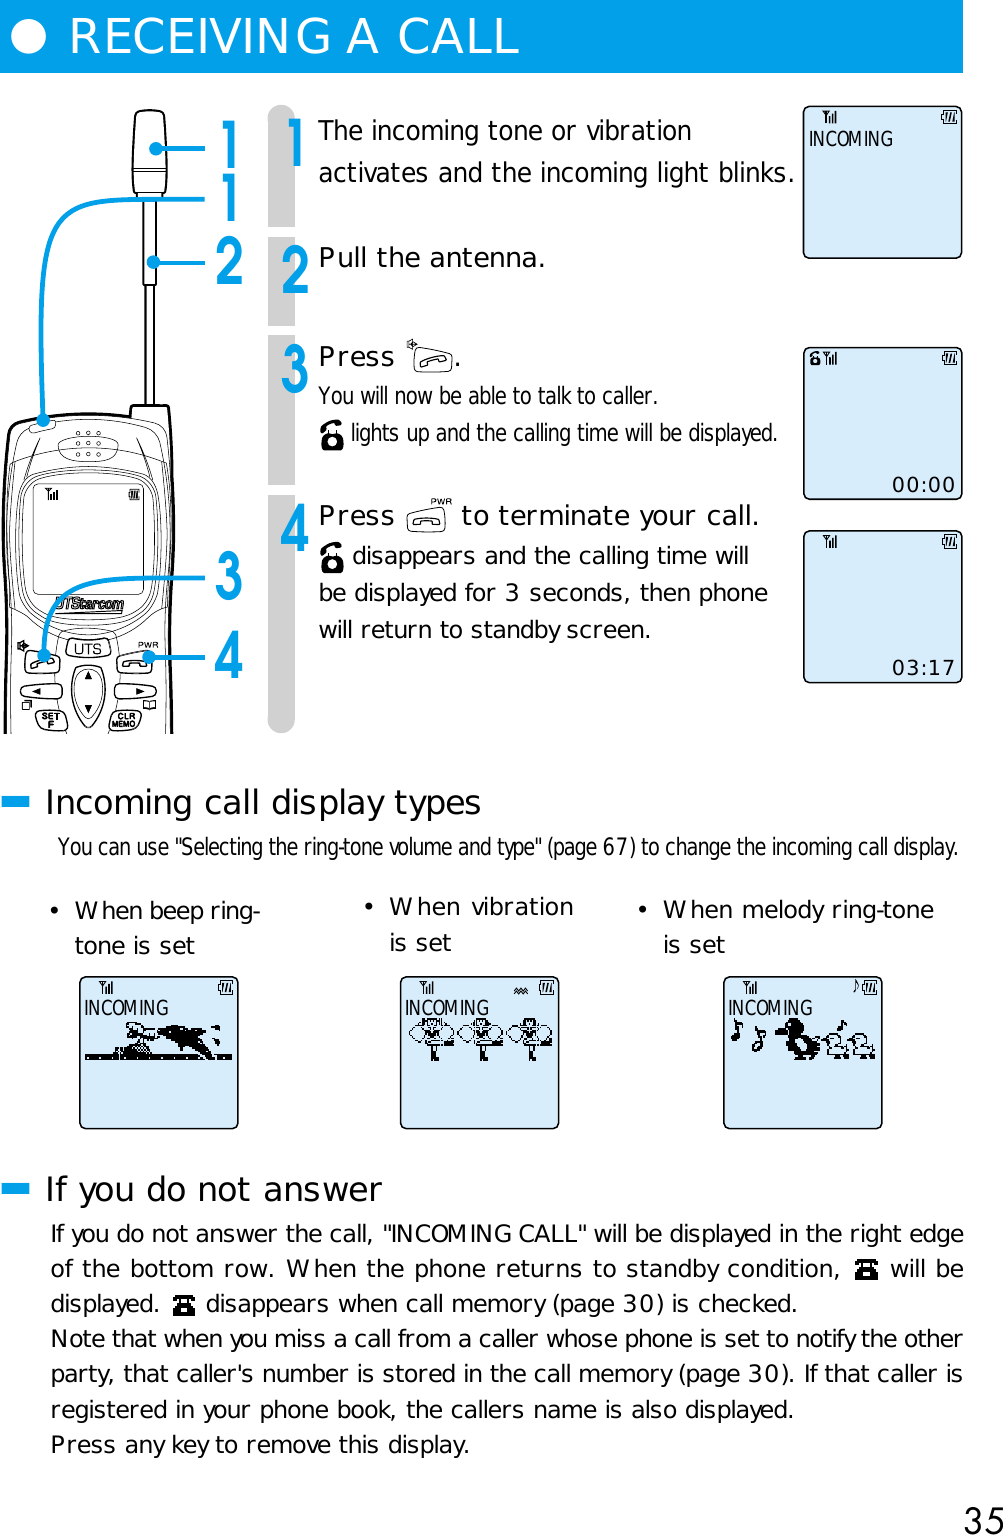
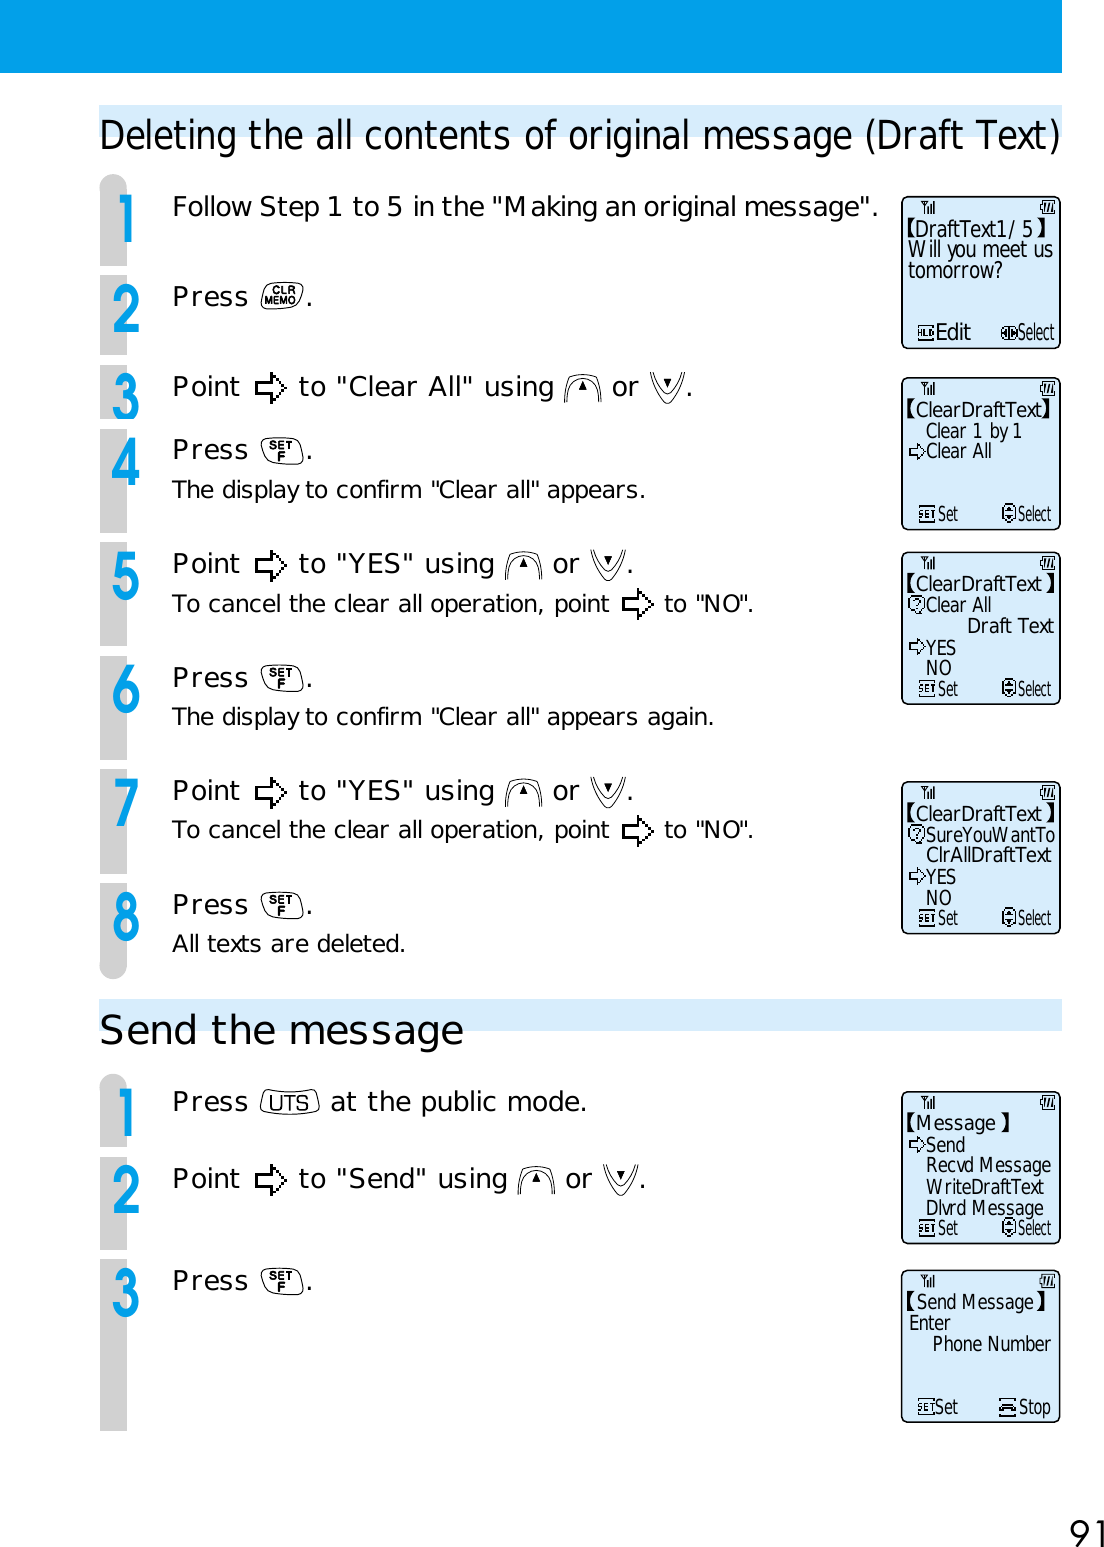
![39MEMO•When recording your original answering message (page 56) , there can be two recordings.•Even when the phone is off and the battery is removed, the content of voice memo is saved.■Clearing all stored conversation memos1Press .The "Playback Menu" is displayed.2Press .Press or to point to "Yes".3Press .All stored conversation memos will be deleted.Using the hands-free/speaker functionWhen you use the hands-free function, you can talk on the phone without holding it.When you use the speaker function, you can listen to the person you are talking to from a speaker.Press and hold down [off-hook icon] for more than 2 seconds during a call to activate hands-free mode.After that, you can switch back and forth between hands-free mode and speaker mode by pressing .To return to normal phone mode, press and hold down for more than 2seconds while in hands-free or speaker mode.MEMO•When you switch to hands-free/speaker function, the volume of the person you arespeaking to can suddenly increase. When setting, keep the receiver away from your ear.•When using the hands-free/speaker function, the battery duration for continualcommunication time will be shorter than stated in "Guide for battery duration" (page 20).Clear AllSetSelectYesNoMessage Memory00:21Hands-free00:21Speaker mode](https://usermanual.wiki/UTStarcom-Korea-Technologies/UTS-708J/User-Guide-138263-Page-44.png)
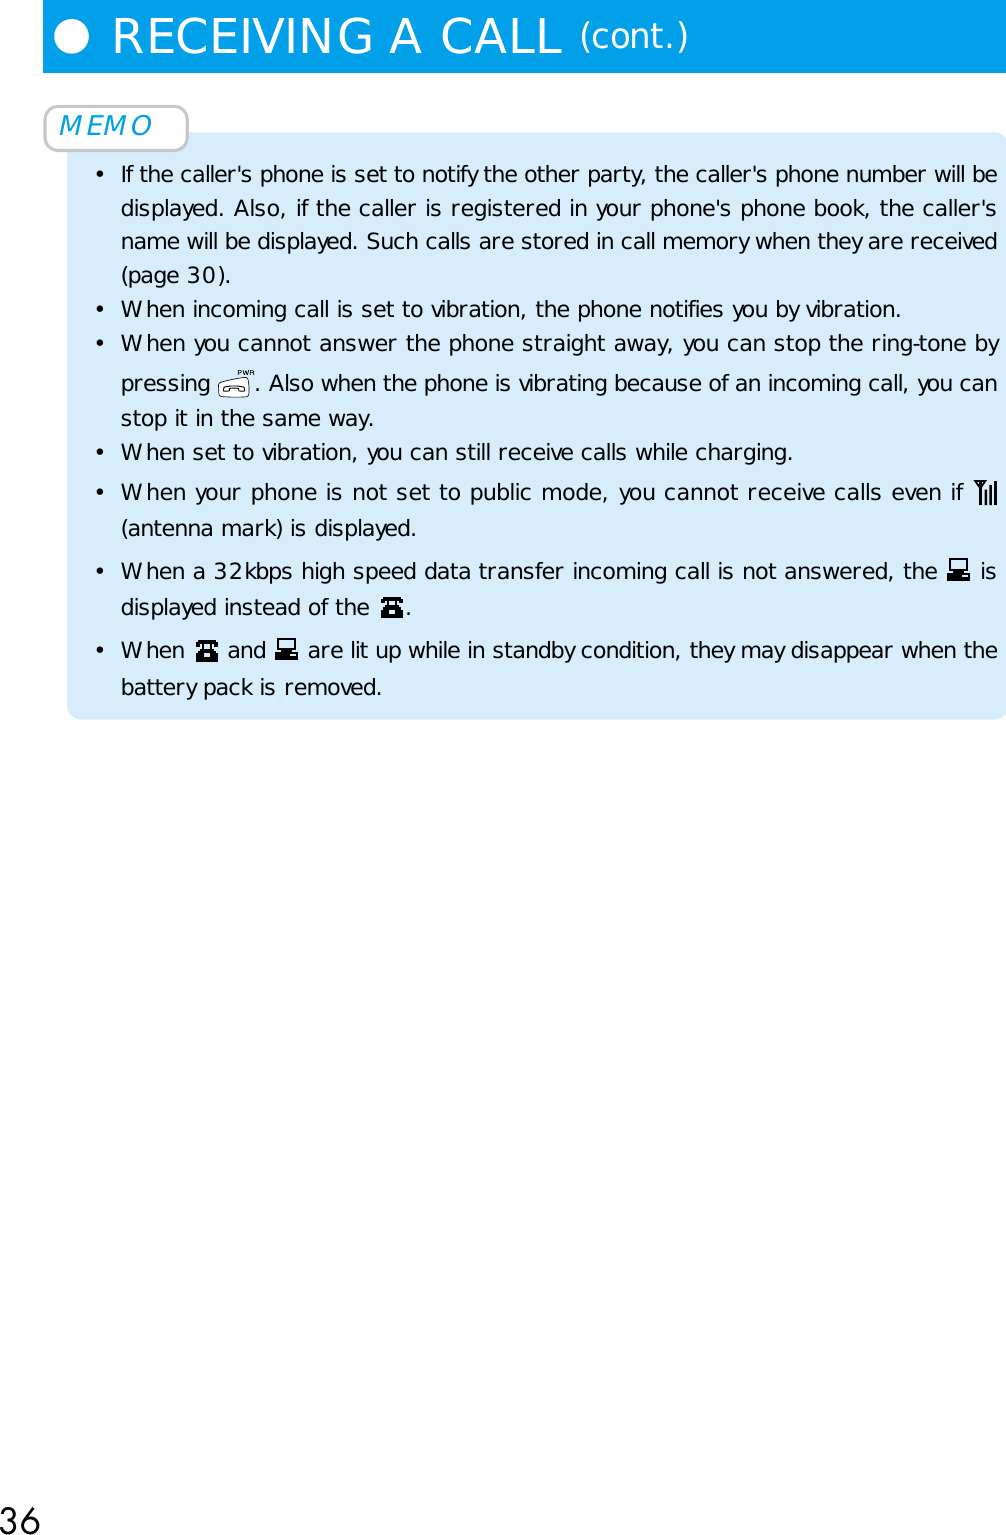
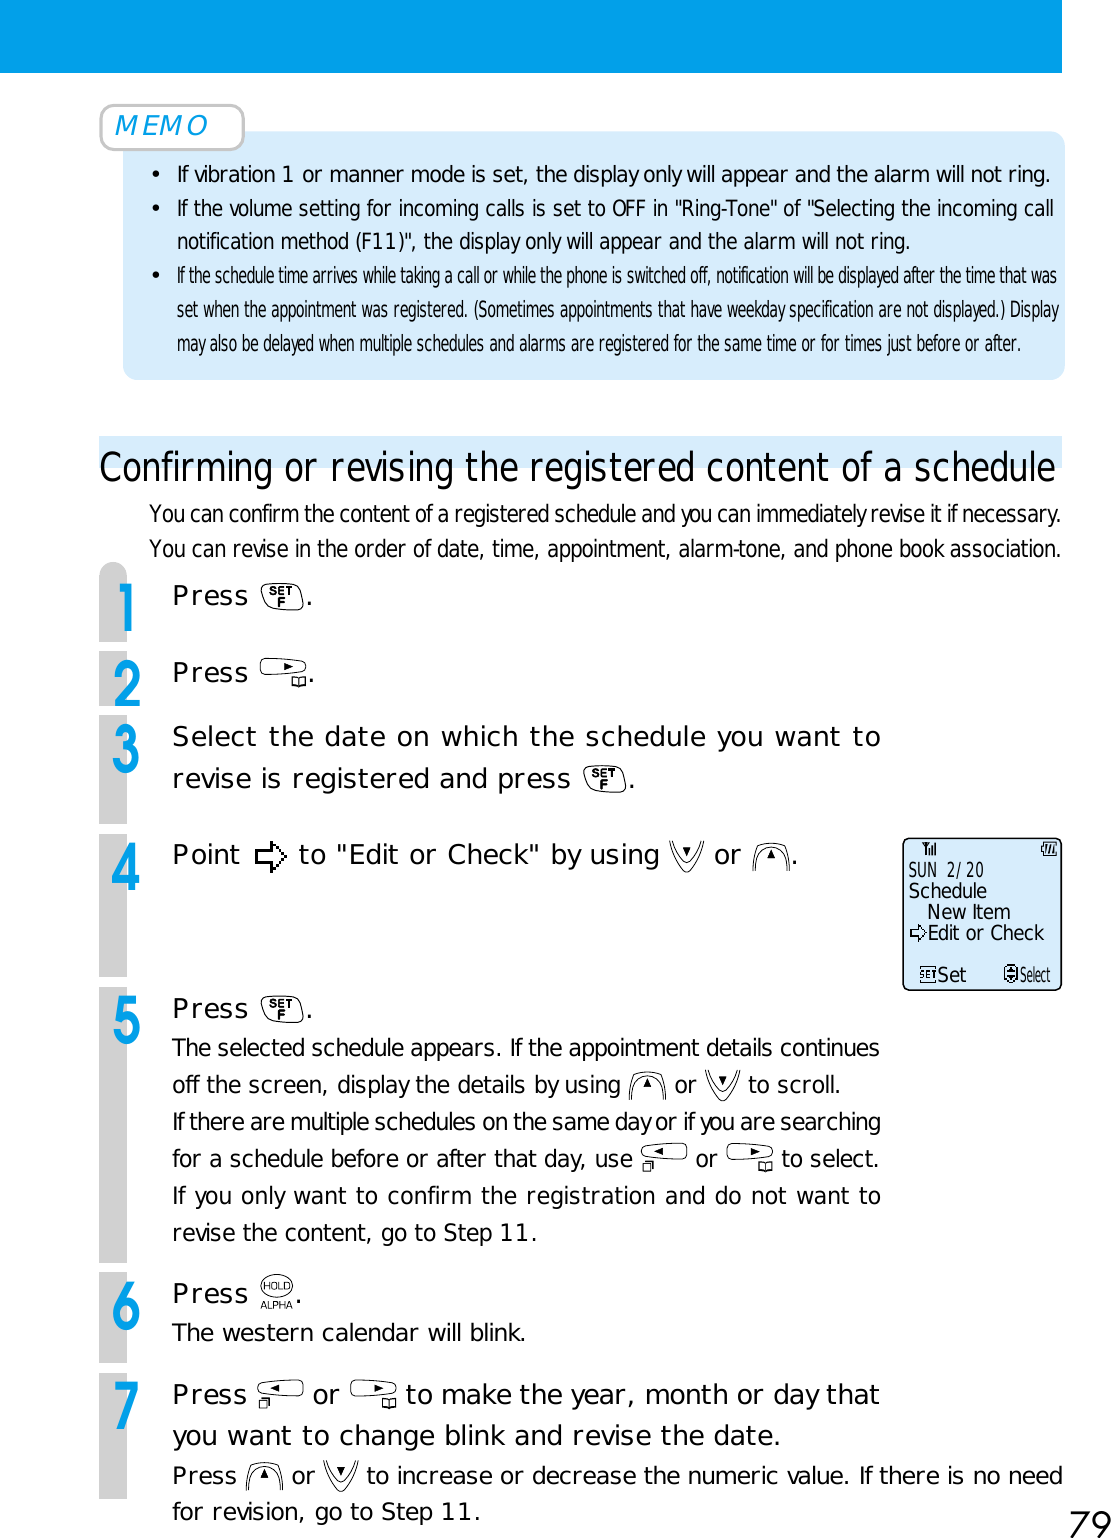
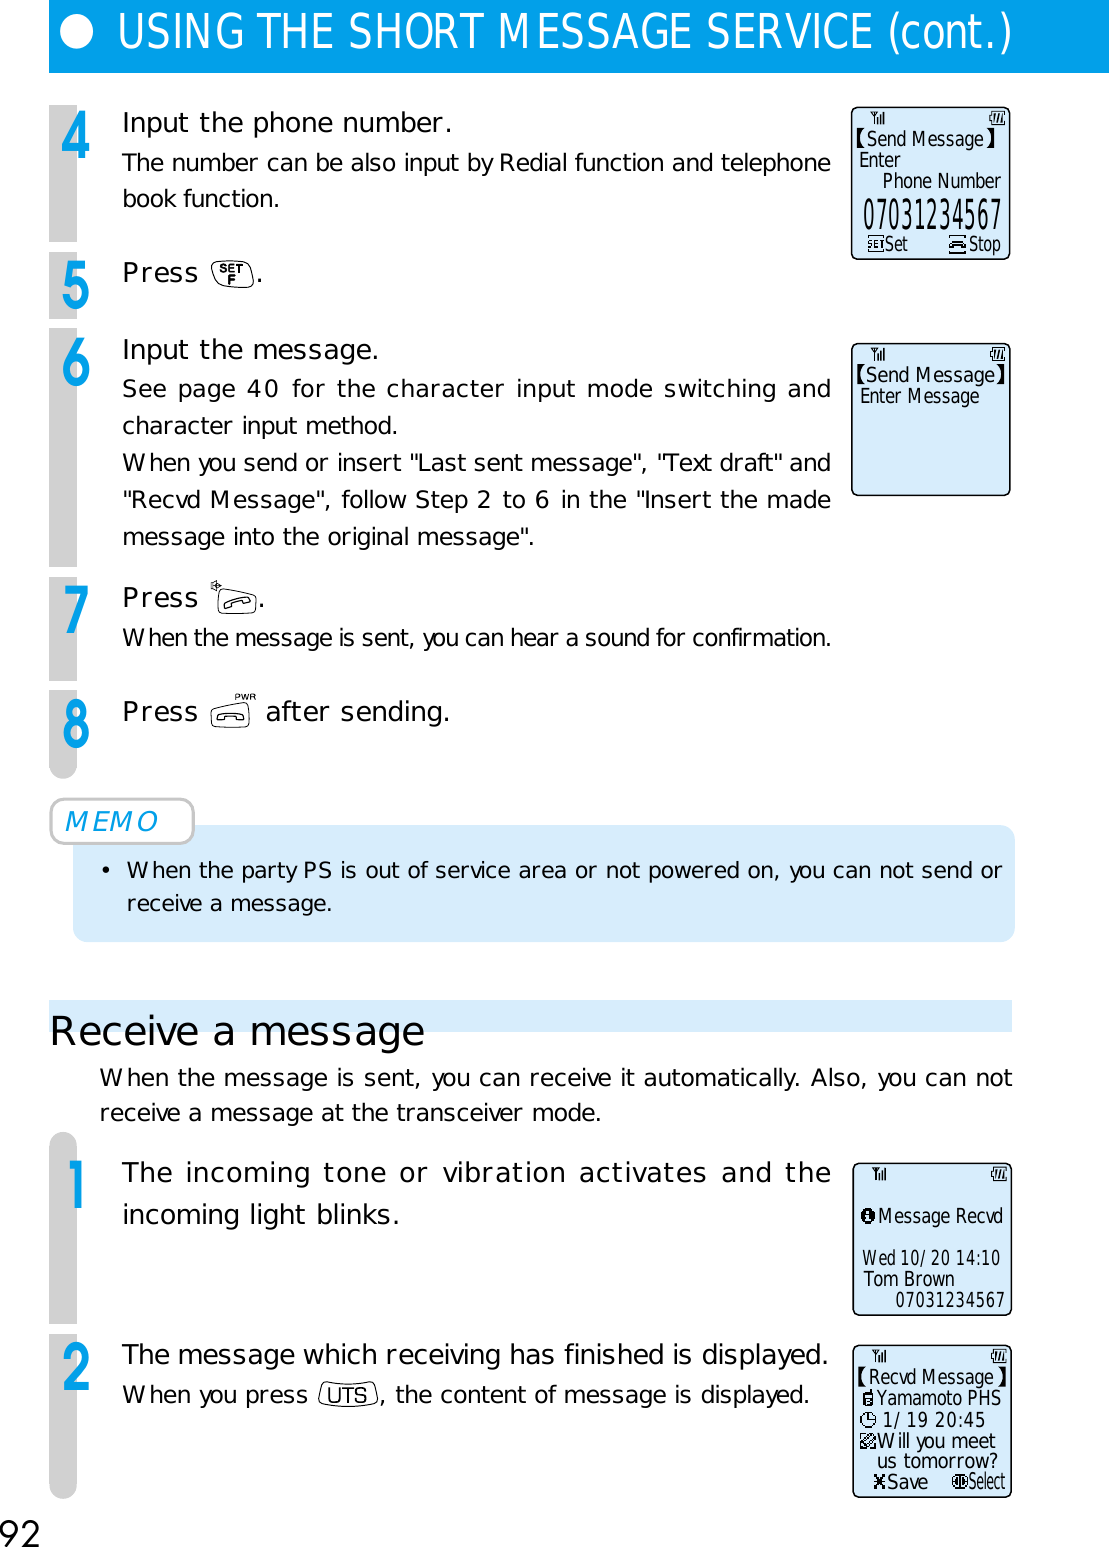
![42●CHARACTER INPUT METHOD (cont.)■Inputting characters• Each time you press a key, the displayed character switches. (A is displayed) -> (B is displayed) -> (C is displayed)• Display the letter you want to input, then press the key that has the next letteryou want. If the letter you want to input next is assigned on the same key, press to move the cursor, then input the letter.Correcting mistakesPress :Only the letter on the cursor is deleted.If there are no letters behind the cursor, the letter in front of thecursor is erased.Press and hold for more than 1 second : All characters on that line areerased.Character tableYou input characters by using the dial keys. As shown in the following table,multiple characters are assigned to 1 button.Key Alphabet Numeral, . _ sp ' " ^ ` ~1ABC abc 2DEF def 3GHI ghi 4JKL jkl 5MNO mno 6PQRS pqrs 7TUV tuv 8WXYZ wxyz 9( ) < > [ ] { } 0- + / = % | @? ! # $ ¥ & : ; # Switch between alphabet and numeralDelete characterMove cursor upMove cursor downMove cursor leftMove cursor right](https://usermanual.wiki/UTStarcom-Korea-Technologies/UTS-708J/User-Guide-138263-Page-47.png)

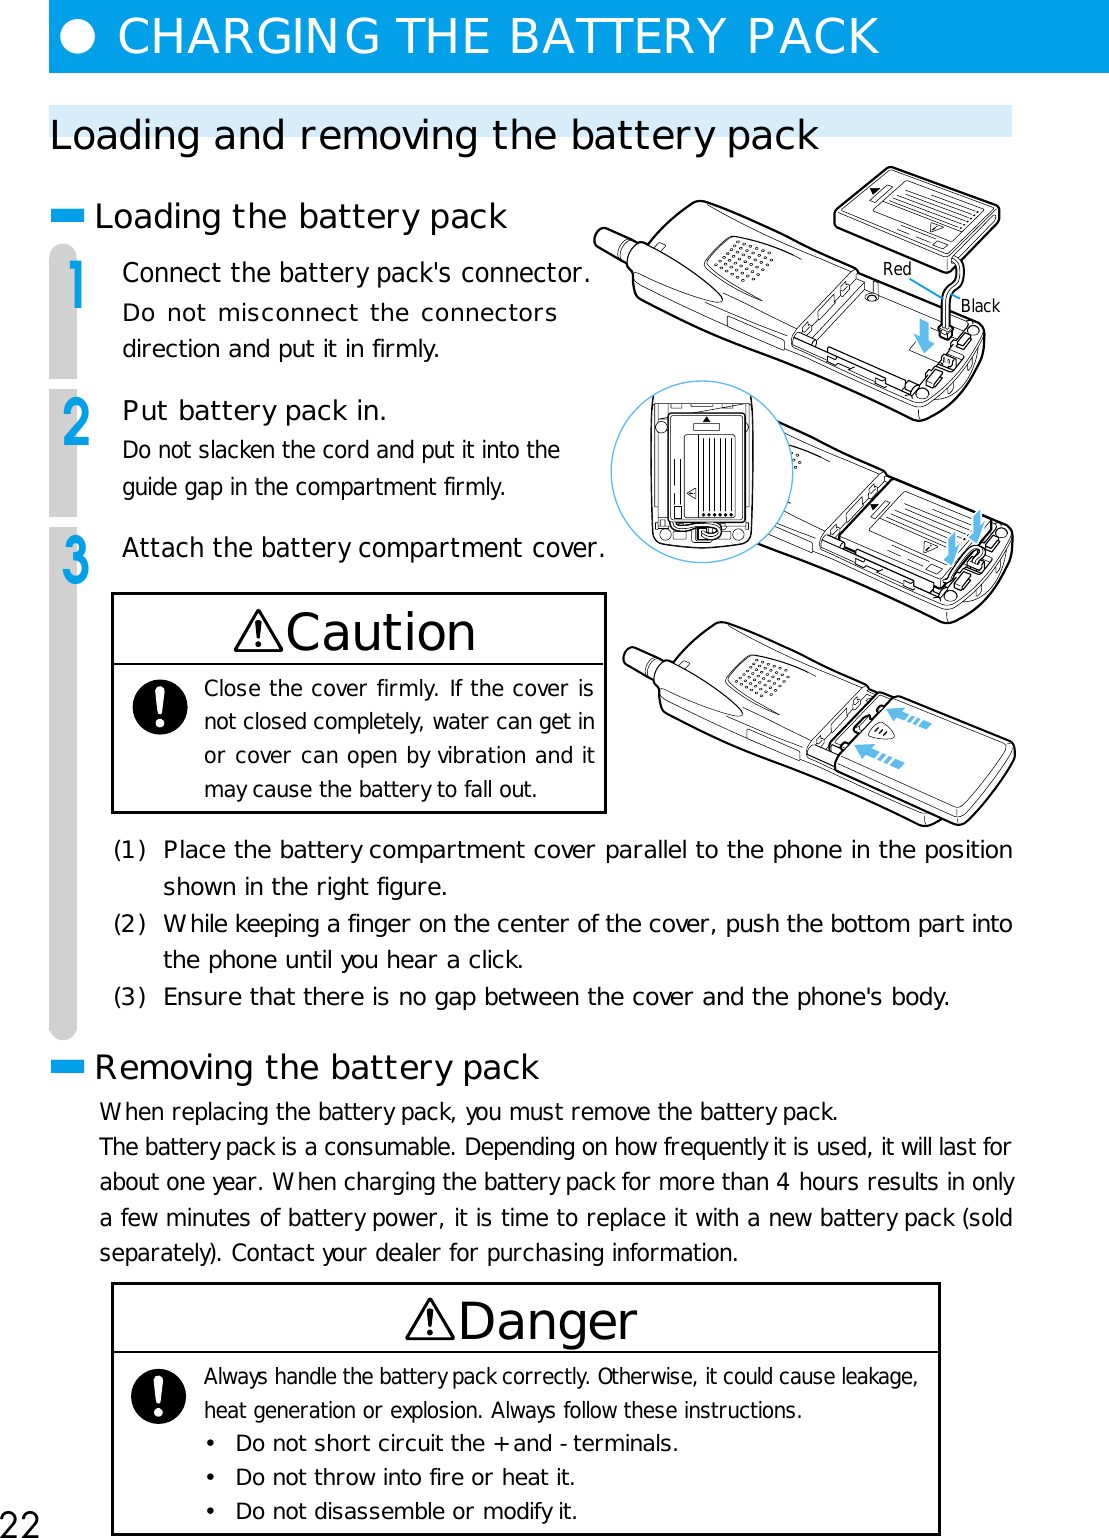
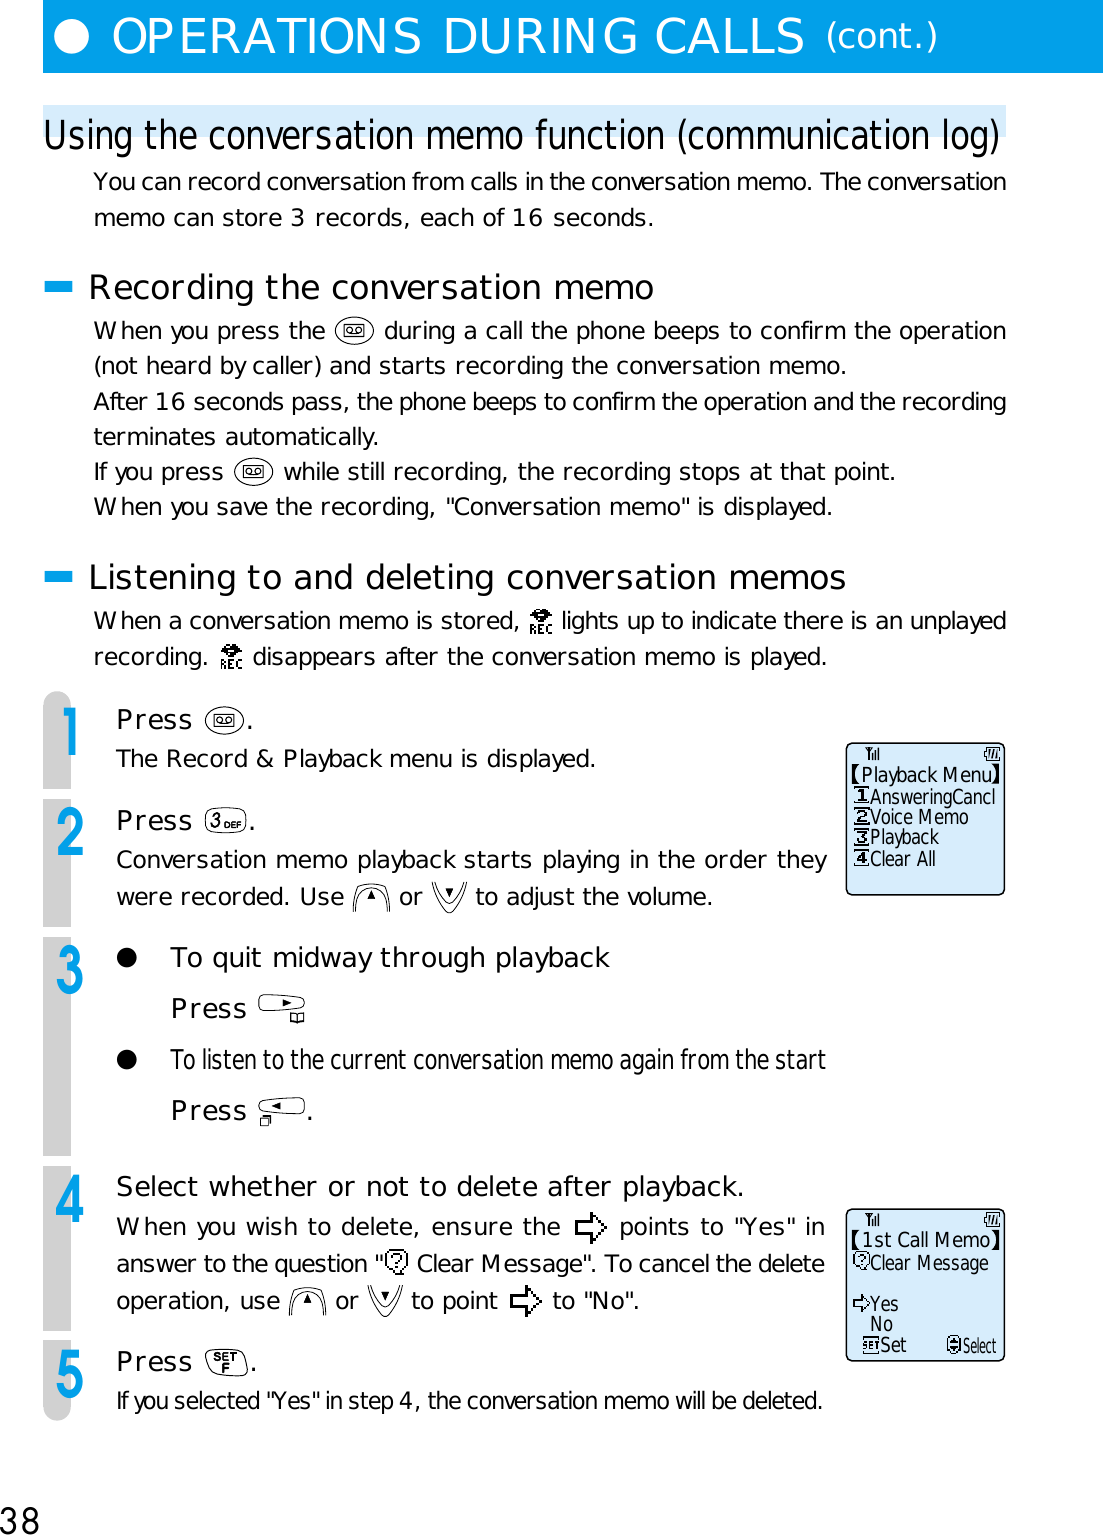
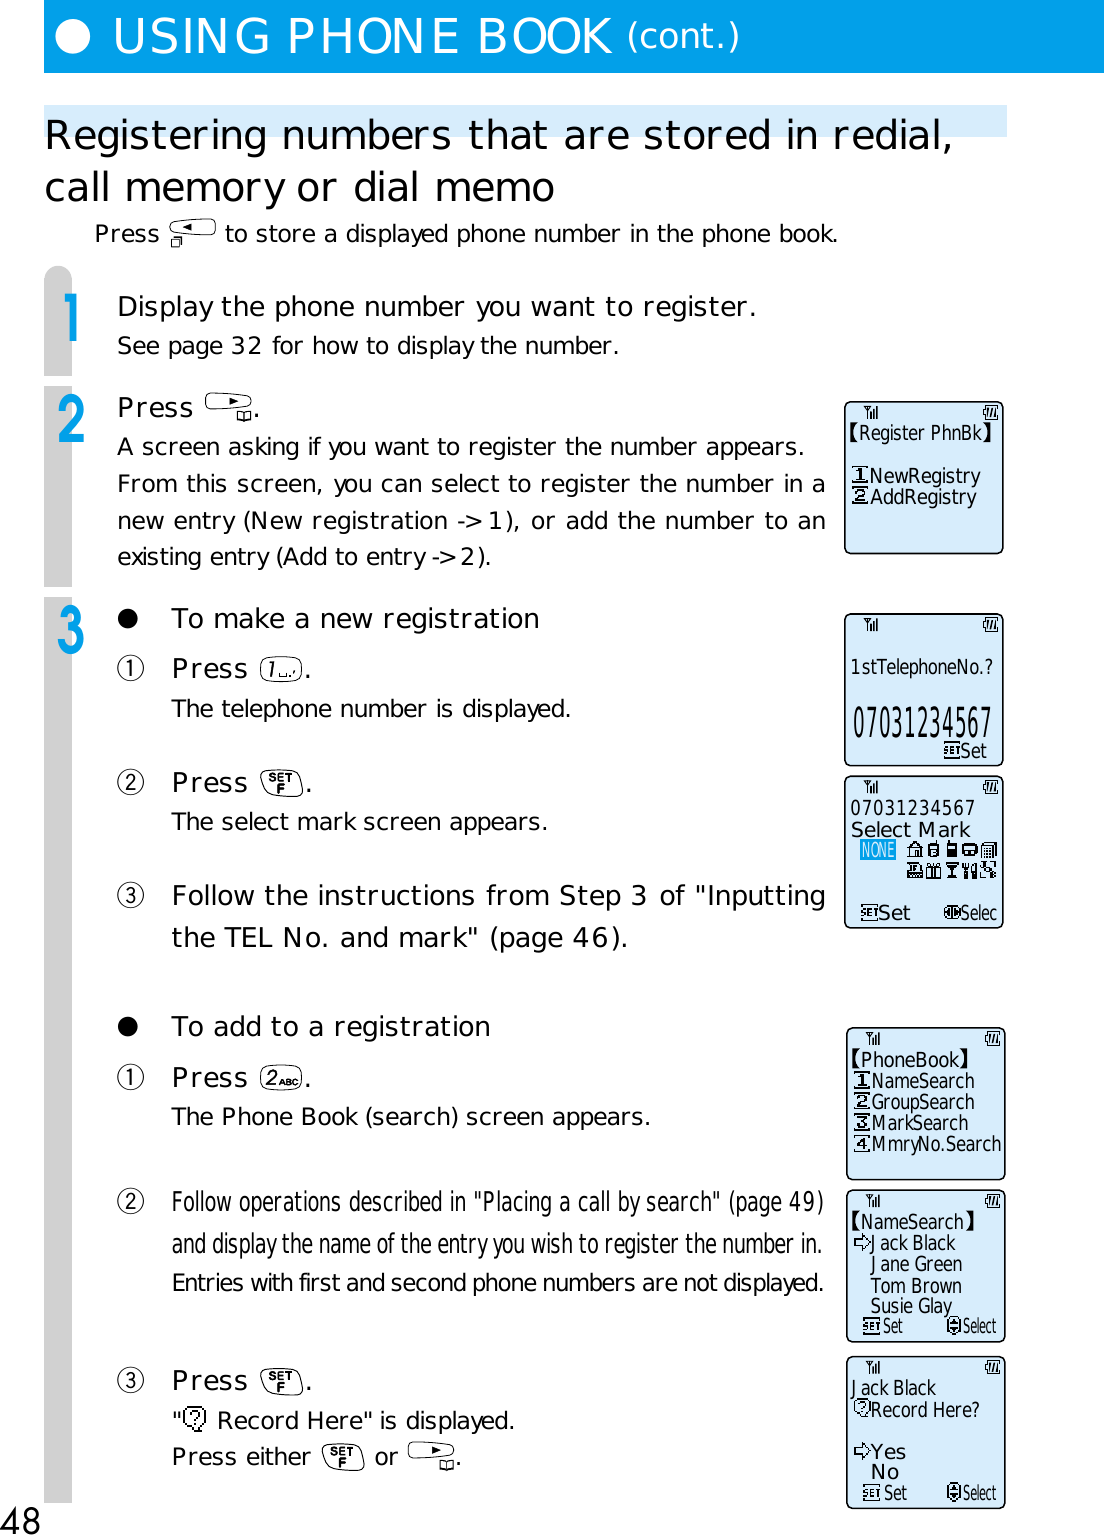
![46●USING PHONE BOOK (cont.)■Inputting "TEL No. & mark"1Input the phone number.Phone numbers up to 22 digits can be input.If you wish to confirm phone numbers of more than 13 digitswhile you are inputting, press and hold . By pressing ,you can input hyphens.When you press , the cursor appears and you can correctnumbers you have already entered.2Press .Mark selection prompt appears.3Press or to select the mark you wish to use.When you do not wish a mark, select [none].4Press .5Ensure that "TEL2? is selected and press .6Perform steps 1 ~ 3 again and set the second phonenumber and mark.7Press .Phone returns to Step 3 of "Registering a phone book entry"(page 44).Set1st TelephoneNo.?SetSelec07031234567Select MarkNONEEditSelect2ndTEL & Mark?Jack Black 1070-3123-4567TEL??](https://usermanual.wiki/UTStarcom-Korea-Technologies/UTS-708J/User-Guide-138263-Page-51.png)
![47■Inputting a "Specific incoming ring-tone"1Press or and select the melody you want touse.When a call is received from a caller whose phone is set tonotify other party, the ring-tone (or vibration) set here is activated(page 43).When you do not wish to register such a ring-tone, select [none]. 1 ~ 11: Melody 1 ~ 11VIB 1 ~ 3: Vibration 1 ~ 32 Press .The registration complete screen appears.Set Ring?ToySoldierMrchNone 1 VB1SetSelect](https://usermanual.wiki/UTStarcom-Korea-Technologies/UTS-708J/User-Guide-138263-Page-52.png)


![76You can use the phone's "Schedule" function to register your already decidedappointments such as dates and meetings. By registering your appointments in aschedule, these appointments will appear in the display at a time you specify andyou will be notified by an alarm-tone (ring-tone, melody or vibration). Moreover,the schedule function allows you to associate phone book data to scheduledappointments so that phone numbers can also be displayed.A single scheduled appointment can be a maximum of 48 characters. The schedulecan hold a maximum of 100 appointments.Registering a scheduleYou can display a calendar and register a schedule on a day and time of your choice. You can alsoregister routine weekly appointments by specifying a day of the week rather than a specific date.Before schedule registration, ensure that "Set Clock" (F62) is set.1Press .2Press .A three-week calendar showing the current week, next weekand the week after that is displayed.3Select a date or weekday to input the scheduleSelect a weekday by using or or select a date by using or .● Inputting by date specificationSelect the date you want to input by pressing .You can select from the range 6 weeks prior to current ~ 12/31, 2098.● Inputting by weekday specificationSelect the weekday or schedule you want to input by pressing 7 or more times.A weekday pattern is displayed to enable you to select the weekday. You can select from thefollowing 11 patterns."Every Monday" ~ "Every Sunday", "Mon to Sat", "Mon to Fri", "Sat and Sun" and "Past Schedule"When you press in the "Every Monday" condition, the screen will change to a calendardisplay.●USING THE SCHEDULE FUNCTIONSchedule 2/00 5 6 7 8 9 10 11EditSelectSu Mo Tu We Th Fr Sa20 21 22 23 24 25 26[ ]27 28 29 1 2 3 4ScheduleEditEvery ThursdayEvery WednesdayEvery TuesdayEvery MondaySelect](https://usermanual.wiki/UTStarcom-Korea-Technologies/UTS-708J/User-Guide-138263-Page-81.png)


![108If you think something is wrong with this product, before you request support orrepairs, have a look at this trouble shooting guide.Phone will not turn on.• Did you press for more than 2 seconds?Press and hold for more than 2 seconds (page 24).• Is the battery pack correctly attached?Attach battery pack correctly (page 22).• Is battery power sufficient?Charge battery (page 24).Cannot use the phone.•Is not showing?Move to a place where lights up (page 19).• Is the communication mode correctly set?Set the communication mode that you want to use (page 25).• [Transceiver mode] Was the registration procedure performed?Register the transceiver group (page 104).Cannot place calls.• Is the dial lock set?Cancel dial lock (page 95).• Is the key lock set?Cancel the key lock (page 96).• [Public mode] Did you include the area code?Redial including the area code (page 29).• [Transceiver mode] Was the transceiver number correct?Check the number and redial (page 105).●BEFORE ASSUMING IT'S BROKEN](https://usermanual.wiki/UTStarcom-Korea-Technologies/UTS-708J/User-Guide-138263-Page-113.png)