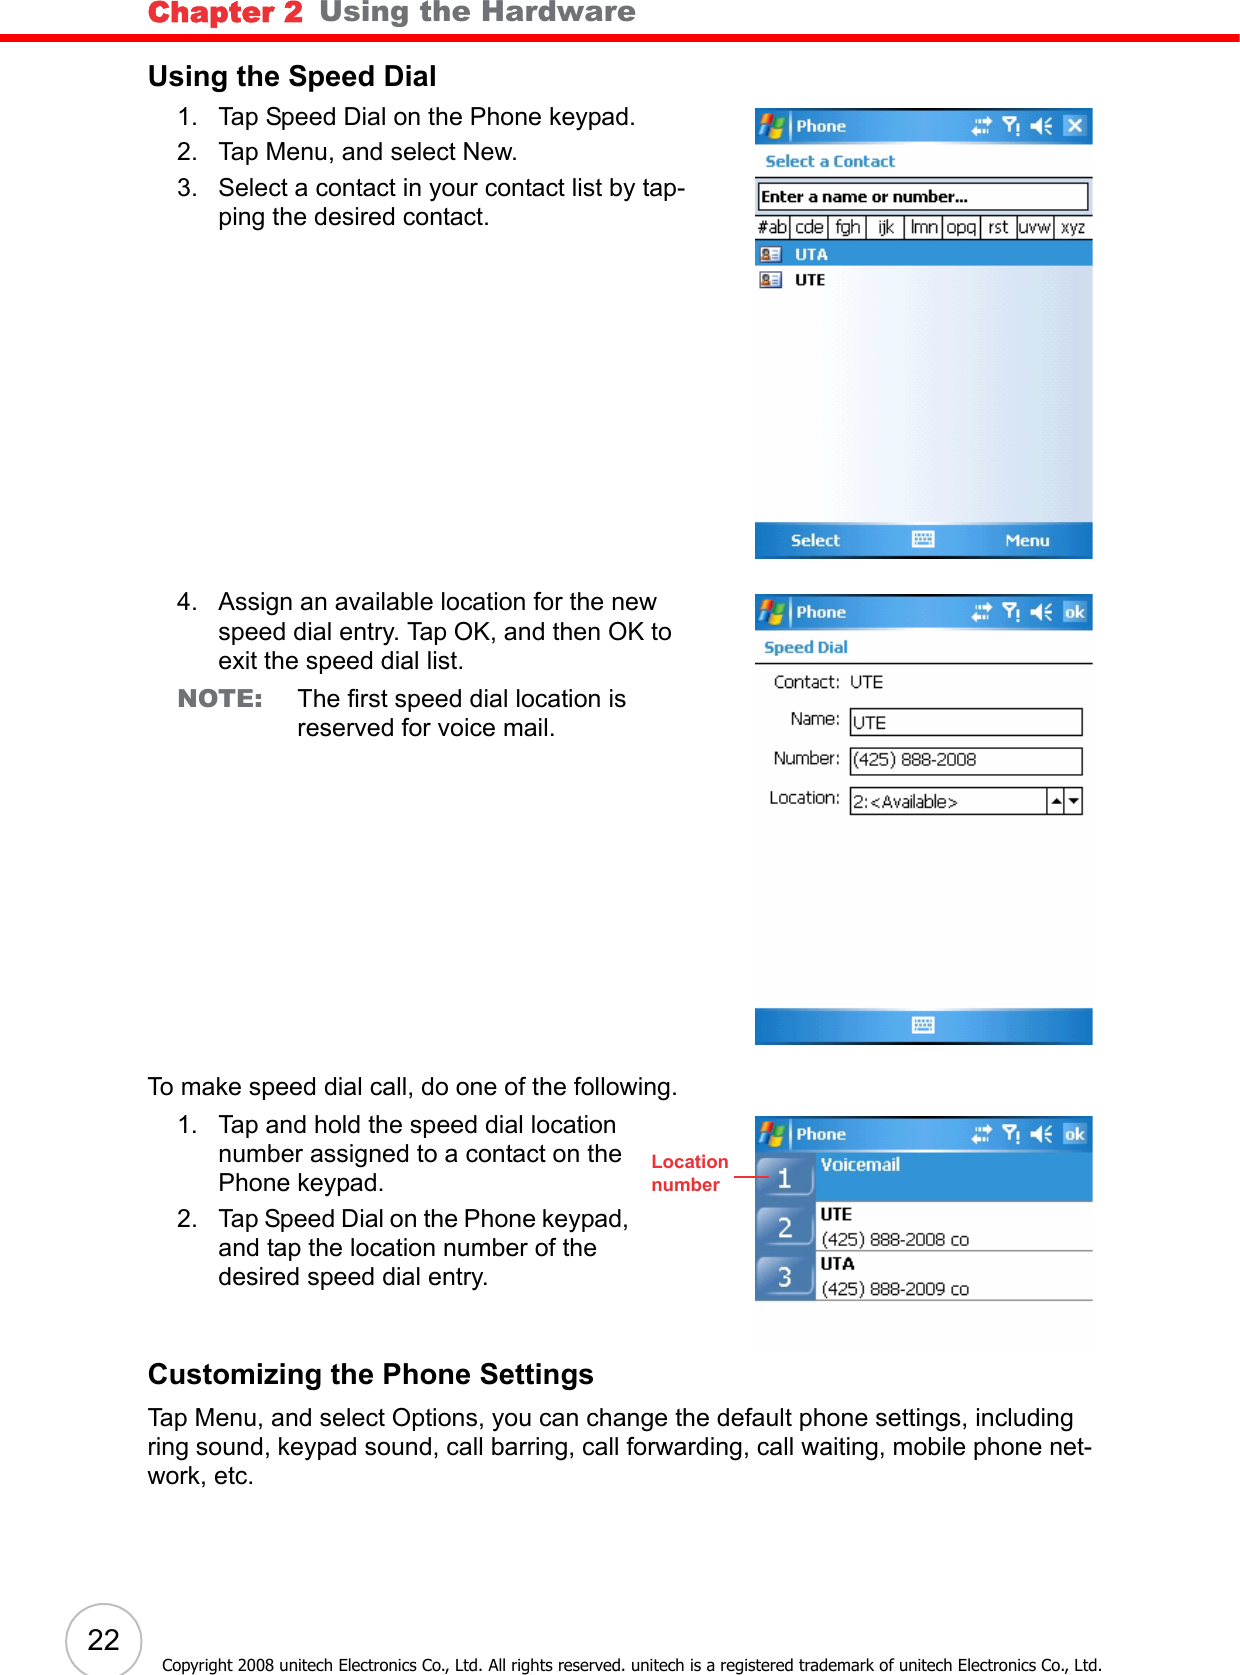
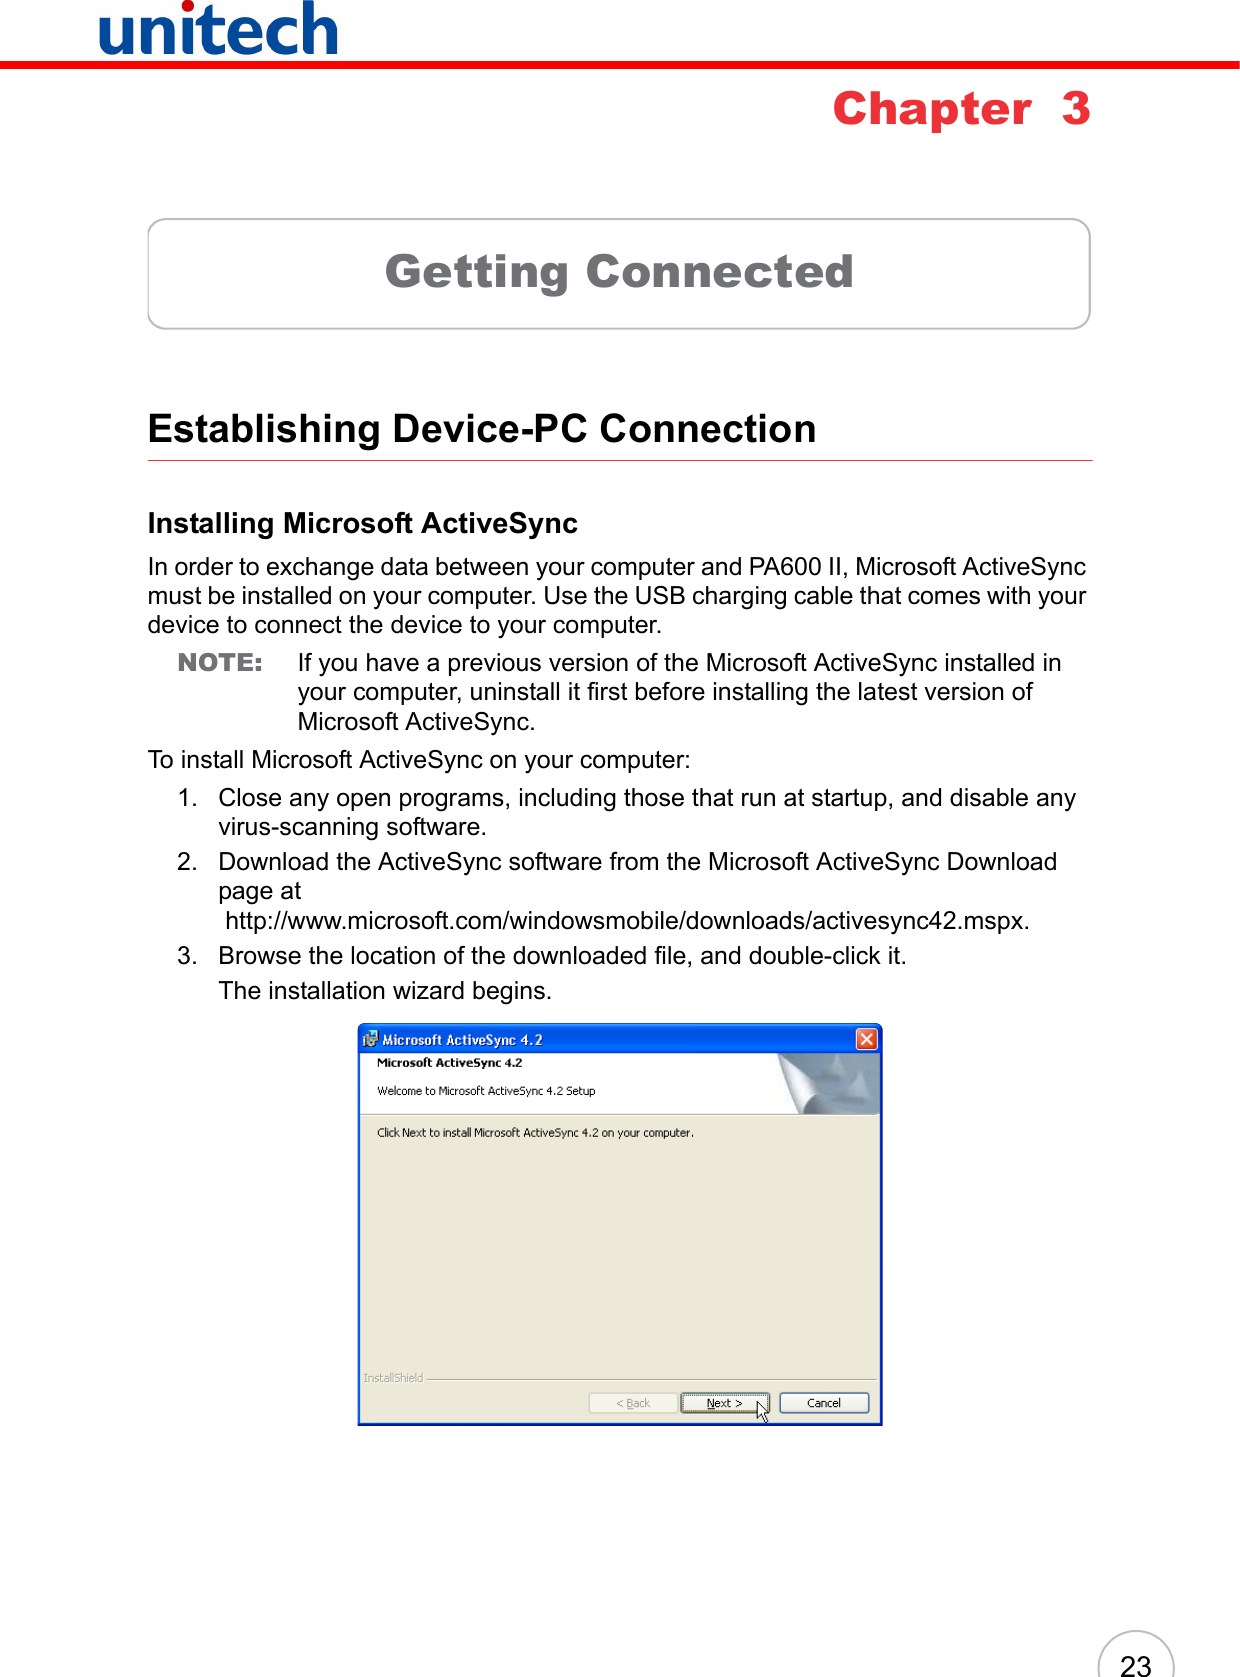
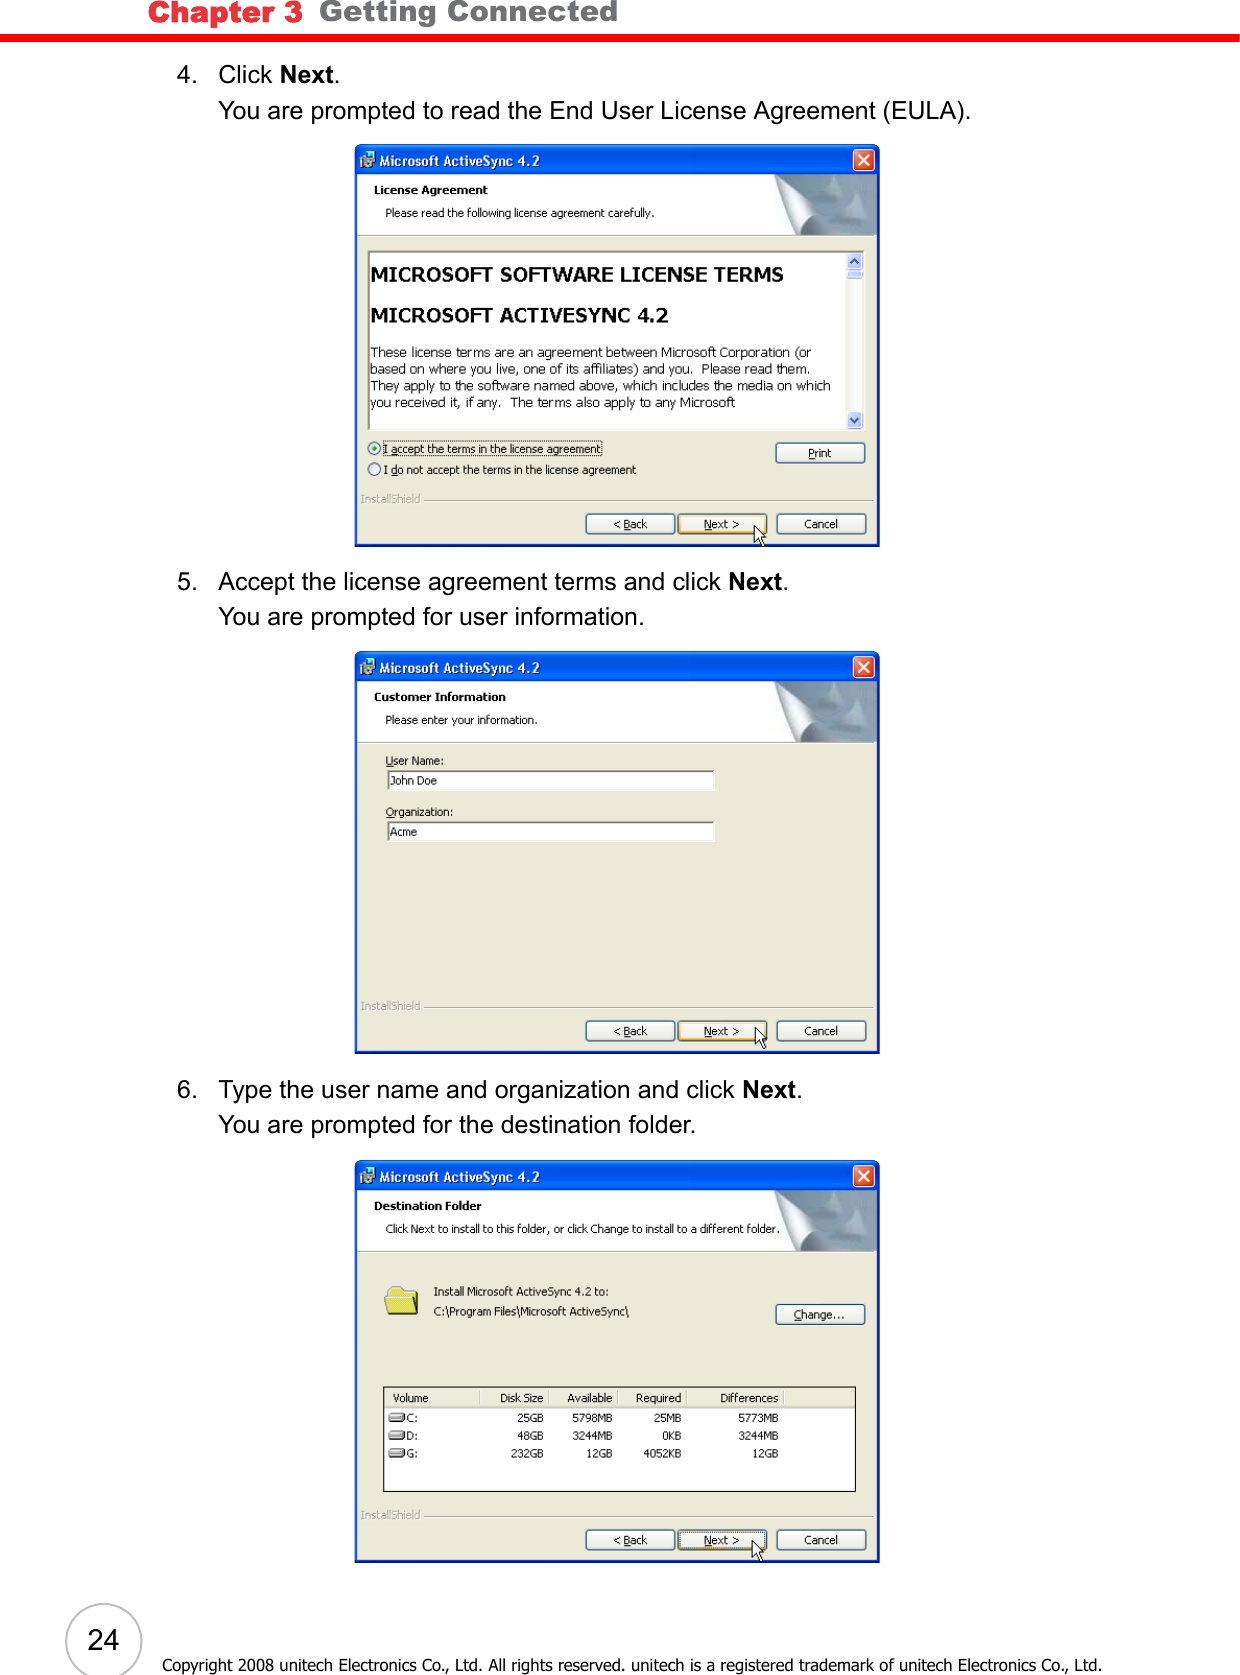
Unitech Electronics PA600BTGP Wireless Data Collection Terminal User Manual PDA PA600 II UM EN

Unitech Electronics Co., Ltd. Wireless Data Collection Terminal PDA PA600 II UM EN

User manual part 1 revise

unitech           PA600 Phone EditionUser’s Manual400646G Version 1.0
iPrefaceAbout This ManualThis manual explains how to install, operate and maintain the PA600 II Rugged Mobile Computer.No part of this publication may be reproduced or used in any form, or by any electrical or mechanical means, without permission in writing from the manufacturer. This includes electronic or mechanical means, such as photocopying, recording, or infor-mation storage and retrieval systems. The material in this manual is subject to change without notice. © Copyright 2008 unitech Electronics Co., Ltd. All rights reserved.unitech global website address: http:\\www.unitech-adc.comBluetooth is a registered trademark of Bluetooth SIG.Microsoft, Windows and ActiveSync are either registered trademarks or trademarks of Microsoft Corporation. Other product names mentioned in this manual may be trademarks or registered trademarks of their respective companies and are hereby acknowledged.unitech is a member of Oracle Embedded Software Licensing Program.Regulatory Compliance StatementsFCC Warning StatementThis equipment has been tested and found to comply with the limits for a Class B dig-ital device, pursuant to part 15 of the FCC rules. These limits are designed to provide reasonable protection against harmful interference in a residential installation. This equipment generates, uses and can radiate radio frequency energy and, if not installed and used in accordance with the instructions, may cause harmful interfer-ence to radio communications. However, there is no guarantee that interference will not occur in a particular installation. If this equipment does cause harmful interference to radio or television reception, which can be determined by turning the equipment off and on, the user is encouraged to try to correct the interference by one or more of the following measures:• Reorient or relocate the receiving antenna.• Increase the separation between the equipment and receiver.
ii• Connect the equipment into an outlet on a circuit different from that to which the receiver is connected.• Consult the dealer or an experienced radio/TV technician for help.1.   This equipment complies with FCC RF radiation exposure limits set forth for an uncontrolled environment. 2. Any changes or modifications (including the antennas) made to this device that are not expressly approved by the manufacturer may void the user’s authority to operate the equipment.FCC Label StatementThis device complies with part 15 of the FCC rules. Operation is subject to the follow-ing two conditions:1. This device may not cause harmful interference, and 2. This device must accept any interference received, including interference that may cause undesired operation.Canadian Compliance StatementThis Class B Digital apparatus meets all requirements of the Canadian Interference-Causing Equipment Regulations.Cet appareil numerique de la classe B respecte les exigences du Reglement sur le material broilleur du Canada.European Conformity StatementDeclaration of Conformity with Regard to the R&TTE 1999/5/EC and EMC 89/336/ EEC directives.Taiwan NCC Warning Statement國家通訊傳播委員會 (NCC) 低功率電波輻射性電機管理辦法 (930322)根據 NCC 低功率管理辦法 規定:第十二條 經型式認證合格之低功率射頻電機,非經許可,公司、商號或使用者均不得擅自變更頻率、加大功率或變更原設計之特性及功能。第十四條 低功率射頻電機之使用不得影響飛航安全及干擾合法通信;經發現有干擾現象時,應立即停用,並改善至無干擾時方得繼續使用。前項合法通信,指依電信法規定作業之無線電通信。低功率射頻電機須忍受合法通信或工業、科學及醫療用電波輻射性電機設備之干擾。為減少電磁波影響,請妥適使用!
   About This ManualiiiLaser InformationThe unitech PA600 II series is certified in the U.S. to conform to the requirements of DHHS/CDRH 21CFR Subchapter J and to the requirements of IEC 825-1. Class II and Class 2 products are not considered to be hazardous. The PA600 II series contains internally a Visible Laser Diode (VLD) whose emissions do not exceed the maximum limits as set forth in the above regulations. The scanner is designed so that there is no human access to harmful laser light during normal operation, user maintenance or during prescribed service operations.The laser safety warning label required by the DHHS/IEC for the PA600 II series's optional laser scanner module is located on the memory compartment cover, on the back of the unit.CAUTION! Use of controls or adjustments or performance of procedures other than those specified herein may result in hazardous laser light. Use of optical instruments with the scanner will increase eye hazard. Optical instruments include binoculars, microscopes, and magnifying glasses. This does not include eye glasses worn by the user.Battery NoticesThis unit is equipped with a battery pack and backup battery. Both batteries will dis-charge after an extended period of not being used.When both batteries are discharged, recharge the unit for 16 hours in order to fully charge the main battery and backup battery.  There are two ways to recharge PA600 II:1. Plug the USB charging cable to the PA600 II and plug the 5V/3A AC-DC adapter to the power jack of the USB charging cable.2. Place the PA600 II into the docking station and plug the 5V/3A AC-DC adapter to the power jack of the docking station.For more details, refer to page 8, Charging the Battery.If the main battery is removed, the backup battery ensures the data on SDRAM is safe for up to 2 hours.  To prevent data loss, do not leave the PA600 II uncharged with the main battery removed for an extended period.Battery charge noticeIt is important to consider the environment temperature whenever you are charging the Lithium-Ion battery pack. The process is most efficient at normal room tempera-ture or slightly cooler. It is essential that you charge batteries within the stated range of 10°C to 45°C. Charging batteries outside of the specified range could damage the bat-teries and shorten their charging life cycle.
ivStorage and safety noticeAlthough charged Lithium-Ion batteries may be left unused for several months, their capacity may be depleted due to build up of internal resistance. If this happens they will require recharging prior to use. Lithium-Ion batteries may be stored at tempera-tures between -20°C to 60°C, however they may be depleted more rapidly at the high end of this range. It is recommended to store batteries within normal room tempera-ture.
vTable of ContentsPrefaceAbout This Manual  iRegulatory Compliance Statements .............................................................................  iFCC Warning Statement..........................................................................................................  iFCC Label Statement .............................................................................................................. iiCanadian Compliance Statement ............................................................................................ iiEuropean Conformity Statement ............................................................................................. iiLaser Information ................................................................................................................ iiiBattery Notices ..................................................................................................................... iiiBattery charge notice.............................................................................................................. iiiStorage and safety notice ....................................................................................................... ivChapter 1Getting Started  1Introducing the PA600 II ...................................................................................................  1Features...................................................................................................................................  2Package Contents ...............................................................................................................  3A Tour of the PA600 II........................................................................................................  3Front Left View........................................................................................................................  4Back View ...............................................................................................................................  5Getting Started......................................................................................................................  6Installing the Battery ...............................................................................................................  6Charging the Battery...............................................................................................................  8Charging the Battery using the USB Cable .......................................................................  8Charging the Battery with the Docking Station ..................................................................  9Checking the Battery Status ..............................................................................................  9Connecting the PA600 II to a PC..........................................................................................  10Turning the PA600 II on for the First Time............................................................................  11Powering On....................................................................................................................  11Calibrating the PA600 II Screen ......................................................................................  12Chapter 2Using the Hardware  14Keypads and Function Buttons ...................................................................................  14Adjusting the Screen Brightness................................................................................  16Using the Stylus.................................................................................................................  16Using the SD/MMC memory card ................................................................................  17Inserting a Storage Card .................................................................................................  17Removing a Storage Card ...............................................................................................  17Using the Laser Scanner ................................................................................................  18Using the SIM Card ...........................................................................................................  19Inserting the SIM Card.....................................................................................................  19
viUsing the Phone.................................................................................................................  20Making a Call Using the Phone Keypad ...............................................................................  21Using the Contact List...........................................................................................................  21Using the Speed Dial ............................................................................................................ 22Customizing the Phone Settings...........................................................................................  22Chapter 3Getting Connected  23Establishing Device-PC Connection..........................................................................  23Installing Microsoft ActiveSync .............................................................................................  23Connecting the Device to Your Computer ............................................................................  26Synchronizing with Your Computer...........................................................................  27Connection options ...............................................................................................................  27USB Connection ..............................................................................................................  27Bluetooth Connection ......................................................................................................  27GPRS Connection ...........................................................................................................  30WiFi Connection ..............................................................................................................  31Synchronizing Information ............................................................................................  35Synchronization Options.......................................................................................................  35Using ActiveSync to Exchange Files ........................................................................  35Chapter 4Barcode Scanner Programs  37Scanner Setting..................................................................................................................  37Scan2Key ..............................................................................................................................  37Barcode Symbologies...........................................................................................................  38Chapter 5Advanced Settings  39Adjusting Settings.............................................................................................................  39Checking the Main and Backup Battery Status.....................................................  40Extending Battery Life.....................................................................................................  41Changing the Automatic Power Settings ..............................................................................  41Adjusting Backlight Setting ...................................................................................................  42Viewing Flash Memory Files .........................................................................................  43Performing a hardware reset ........................................................................................  44Performing a Warm Boot ......................................................................................................  44Performing a Cold Boot ........................................................................................................  45Performing a Clean Boot ......................................................................................................  46AppendixSystem Specifications  47
1Chapter  1Getting StartedIntroducing the PA600 IIThank you for purchasing the PA600 II Rugged Mobile Computer.Your PA600 II was designed for users who need a compact and durable PDA for data collection and real time transactions.The PA600 II is a rugged, compact and lightweight palm-size com-puter using the Windows Mobile 5.0 operating system, and incorpo-rating an integral bar code scanning laser device, cell phone function, color LCD with touchscreen, keypad, and wireless com-munication capability. It provides users with a standard Windows-based environment for customizing and operating the device.To reduce TCO, the PA600 II is sealed to meet IP64 standards and has undergone multiple drop tests to prevent downtime.
Chapter 1   Getting Started2Copyright 2008 unitech Electronics Co., Ltd. All rights reserved. unitech is a registered trademark of unitech Electronics Co., Ltd.FeaturesPowerful system• Microsoft Windows MobileTM 5.0 operating system• Intel PXA270 processor with speed of up to 624 MHzSystem memory• 128 MB SDRAM• 320 MB Flash ROMDisplay• 3.5-inch QVGA TFT-LCD with touch screen and backlight• 240 x 320 resolutionBarcode scanner• Built-in laser scan engine• Built-in vibrator for scanning indi-cation• Symbol SE950 support• Unitech Hamster barcode decoderCommunication• USB Host & Client• Bluetooth 2.0 + EDR(supports Bluetooth Printer, Bluetooth Modem, Bluetooth ActiveSync)• eGPRS Siemens MC75 Radio Module, quad-band GSM 850/900/1800/1900 MHz– EDGE Multislot Class 10– GPRS Multislot Class 12– GSM Release 99Audio•MIC• Speaker• Headset Connector• ReceiverWireless connectivity• 802.11b/g with diversity antenna• Bluetooth wireless technologyExpansion slot• Secure Digital (SD) card slot (sup-ports SDHC up to 4G)Battery life• Operation time: typical 5 hours (with Wifi), average 9 hours (w/o Wifi)• Charging time: under 5 hours• Embedded backup battery cellUser-friendly interface• Quick launch hot keys for enabling backlight, calibration, phone calls, software keyboard, and other device management tasks• Trigger keys for barcode scanning
Chapter 1   Getting Started3Package ContentsAfter opening the box, ensure the following accessories for the PA600 II are present:If anything is missing or appear damaged in any way, contact your dealer.A Tour of the PA600 IIThe following sections describe the main components and features of the PA600 II.PA600 II Terminal AC Adapter with universal plugsBattery Pack Stylus    USB Charging Cables CD-ROM Quick Reference Guide
Chapter 1   Getting Started4Copyright 2008 unitech Electronics Co., Ltd. All rights reserved. unitech is a registered trademark of unitech Electronics Co., Ltd.Front Left ViewNo. Component Description1. Status indicator Indicates the battery charging and barcode scanning status.Green - Battery is fully charged, or barcode scanning process is completed without error.Red - Battery is charging, barcode scanner is fired/activated.Yellow - GPRS is onBlue - Bluetooth is on2. Left scanner trigger buttonPress to activate the barcode laser scanner.3. Power button If the device is off, press this button to turn it on.Alternatively, when the unit is on, this key must be pressed and held down for about three seconds in order to turn the device off.4. Microphone Enables you to record voice audio.5. Universal connectorConnects your device to a USB charging/ communication cable. This USB cable connects to the computer’s USB port and accepts the 5V AC adapter to provide power to the PA600 II.This unit can simultaneously recharge and perform an ActiveSync operation. You can also use it to connect peripheral hardware, such as a docking station, to your device. This port can also support USB and RS232 hosting for devices such as a USB or RS232 scanner, keyboard, or USB memory key.6. Keypad Keypad interface for controlling the PA600 II. See Keypads and Function Buttons on page 14 for more information.7. LCD touch screen Displays the applications and data stored on your device. It is touch-sensitive and responds to the stylus or finger.8. Speaker Enables you to hear audio from the PA600 II.18765243
Chapter 1   Getting Started5Back ViewNo. Component Description9. Battery compartment Houses the removable and rechargeable 3.7 V, 2200 mAH battery pack10. Battery compartment release latchOpens the battery compartment.11. Reset button Press the end of the stylus into the button to reset your device.12. Handstrap Enables you to securely hold the PA600 II while using it.13. Speaker Enables you to hear audio from the PA600 II.14. Stylus Enables you to interact with the operating system. To use the stylus, remove it from its holder and hold it the same way as you hold a pen or pencil.15. Strap holder Attachment location for holding hand strap, carrying strap, and stylus.16. Memory card slot Accommodates Secure Digital (SD) memory cards and can serve as an SDIO port.17. Barcode scanner window Scan barcodes window where the laser pass through.91011131514121617
Chapter 1   Getting Started6Copyright 2008 unitech Electronics Co., Ltd. All rights reserved. unitech is a registered trademark of unitech Electronics Co., Ltd.Getting StartedThis section explains how to install and charge the battery, how to check battery sta-tus, how to turn on the PA600 II, and how to calibrate the screen.Installing the BatteryWARNING! There is a risk of fire and burns if the battery pack is handled improp-erly. DO NOT disassemble, crush, puncture, short external contacts, or dispose the battery pack in fire or water. DO NOT attempt to open or service the battery pack. Dispose of used batteries according to local recycling guidelines in your area.A backup battery cell is embedded into your device to prevent data loss in instances when the removable battery pack is removed or completely discharged. This backup battery cell will keep the data and system setting for up to 6 hours if the main battery is removed.NOTE: To enable the internal battery cell to provide backup power supply, charge your device with the main battery pack for at least 16 hours.1. Open the battery compartment by pushing the latch in the direction of the arrow and lifting up.The battery compartment is displayed:NOTE: The plastic battery tab makes it easy to remove the battery.Compartment contactsPlastic battery tabBattery hook
Chapter 1   Getting Started72. Locate the backup battery switch and turn it on.3. Position the battery pack, making sure the battery contacts are aligned with the contacts in the compartment and the battery is placed on top of the plastic tab, as shown in the following illustration.4. Slide the battery pack into the battery bay while simultaneously pulling the bat-tery hook until the battery clicks into place.5. Replace the battery compartment cover.Backup battery switchContactsPlastic tabBattery hook
Chapter 1   Getting Started8Copyright 2008 unitech Electronics Co., Ltd. All rights reserved. unitech is a registered trademark of unitech Electronics Co., Ltd.Charging the BatteryBefore using the PA600 II for the first time, you need to charge it for about 16 hours. After that, you can charge the PA600 II 4 hours to recharge the battery to full capacity. Charge the PA600 II using the USB charging cable or the docking station.CAUTION! Operating the PA600 II for the first time without the AC adapter, and without fully charging the backup battery may result in loss of data stored in RAM memory. When the main battery is removed, the backup battery retains RAM data in memory for 2 hours, please charge the battery for the period to avoid the data loss in RAM mem-ory.NOTE: Turn the backup battery switch on before charging the battery. Data you entered may not be properly stored until the built-in backup battery has been adequately charged.Charging the Battery using the USB Cable1. Press and hold the connector button on the USB charging cable and connect it to the PA600 II (1).2. Plug the AC adapter cable into the power jack on the USB charging cable (2).3. Connect the AC adapter into an electrical outlet (3). 3 2 1
Chapter 1   Getting Started9Charging the Battery with the Docking Station1. Plug the AC adapter cable into the power jack on the docking station, then con-nect the AC adapter into an electrical outlet.2. Slide the device into the docking station until it clicks into place. 3. The connection is secure when the bottom edge of the device is aligned with the docking station, and the LED indicator on the device lights up red.Checking the Battery StatusIf the battery level becomes low in the course of normal use, a status icon appears on the device screen indicating low or very low battery status. In both cases, perform an Active-Sync operation to back up your data, then recharge your device as soon as possible.If the battery level reaches low status, the device will enter a sleep mode and cannot be powered up until the battery is charged. Windows Mobile 5.0 devices will retain installed applications and data when the main battery is completely drained for extended periods of time.eLED StatusLED MeaningPA600 II Solid Red ChargingSolid Green Charging completeDocking StationPower LED  Power is onCharging LED: Charging (For spare battery only)Sync LED Synchronization is taking place
Chapter 1   Getting Started10Copyright 2008 unitech Electronics Co., Ltd. All rights reserved. unitech is a registered trademark of unitech Electronics Co., Ltd.Connecting the PA600 II to a PCUse the USB cable to connect the PA600 II to a PC, in order to use with ActiveSync.1. Press and hold the connector button on the USB charging cable and connect it to the PA600 II (1).2. Plug the USB connector into the USB port on the PC and connect the AC adapter into the USB connector (2).3. Connect the AC adapter into an electrical outlet (3).3 2 1
Chapter 1   Getting Started11Turning the PA600 II on for the First TimeAfter you have initially charged your device for about 16 hours, the device is ready to be used. You can now start up your device where you’ll calibrate the display, learn some basic stylus usage, and set up the system time zone, date and time.Powering On1. Turn on your device by pressing the power button on the front panel.NOTE: The PA600 II screen ships with a protective plastic film. You may remove this if desired by peeling from one corner. The screen will be more susceptible to scratch-ing without the film, but will be more readable.2. The unitech PA600 II welcome screen appears for a moment fol-lowed by the Windows Mobile screen. FUNCLsESC ghi jkl mnowxyzENTERTABtuvpqrskeyOKabc Rs defALPHA1472580369.Power Button
Chapter 1   Getting Started12Copyright 2008 unitech Electronics Co., Ltd. All rights reserved. unitech is a registered trademark of unitech Electronics Co., Ltd.Calibrating the PA600 II ScreenThe calibrate screen automatically appears when the unit is powered-on for the first time or after the system is reset. To calibrate the screen at any time, follow these instructions. 1. Tap Start → Settings, and then switch to System tab.2. Tap the Screen icon. OrPress Func key and ESC key simultaneously.The Screen Settings window appears.This Window enables you to customize the screen settings.3. Tap Align Screen to calibrate the screen. The align screen window appears.4. Tap the cross hair firmly and accurately.
Chapter 1   Getting Started13The cross hair moves to the next location.5. Continue tapping the cross hairs until the screen has been calibrated.
14Copyright 2008 unitech Electronics Co., Ltd. All rights reserved. unitech is a registered trademark of unitech Electronics Co., Ltd.Chapter  2Using the HardwareKeypads and Function ButtonsThe keypad enables you to both enter information and interact with the PDA operating system and also operate secondary functions using the function button. When the green function button is pressed, the green icon functions on the keypad become available. When the Function button  is pressed, an icon appears in the operating system:The following table describes the keypad keys.Key Main Function Secondary FunctionTalk/Send Opens Phone screen to make a call or send a message—Enables/ disables secondary function keysAlpha —End Exits Phone screen or ends a callTurns the PA600 II on and off. —Function activated icon
Chapter 2   Using the Hardware15Number 1 Left soft key - activates function above in LCD screen.Alphanumeric 2, a, b, c Up navigation keyAlphanumeric 3, d, e, f Right soft key - activates function above in LCD screen.Tab Windows key opens Start menuBack space Escape keyAlphanumeric 4, g, h, i Left navigation keyAlphanumeric 5, j, k, l —Alphanumeric 6, m, n, o Right navigation keyAlphanumeric 7, p, q, r, s Decreases screen brightnessAlphanumeric 8, t, u, v Down navigation keyAlphanumeric 9, w, x, y, z Increases screen brightnessAsterisk Illuminates keypadNumber 0, space —Period PoundEnter key OKKey Main Function Secondary Function
Chapter 2   Using the Hardware16Copyright 2008 unitech Electronics Co., Ltd. All rights reserved. unitech is a registered trademark of unitech Electronics Co., Ltd.Adjusting the Screen BrightnessAdjust the screen brightness by pressing the Function button to enable the soft keys and pressing the 7 (decrease bright-ness) or 9 (increase brightness) buttons.Using the StylusCAUTION! Never use anything other than the PA600 II stylus on the screen. Oth-erwise this could cause a permanent damage.1. Remove the stylus from its holder.2. Hold the stylus as you hold a pencil.3. To make a choice from a menu, lightly tap the tip of the stylus on that choice.4. To write data into a field on a form, use the stylus to print the letters or numbers. Use very light pressure.FUNCLsESC ghi jkl mnowxyzENTERTABtuvpqrskeyOKabc Rs defALPHA1472580369.FunctionButtonIncreaseBrightnessDecreaseBrightness
Chapter 2   Using the Hardware17Using the SD/MMC memory cardYour device has an expansion slot compatible with a range of SD and MMC storage cards, which are primarily used to back up or transfer files and data. The slot also sup-ports SDIO cards for added connectivity options.Inserting a Storage Card1. Remove the four screws from the SD compartment cover and remove the cover.2. Insert the SD card with the notched corner as shown by the icon on the case.3. Replace the SD compartment cover and the four compartment screws.Removing a Storage Card1. Remove the four screws from the SD compartment cover and remove the cover.2. Press the card in and release.The card pops out.3. Remove the card from the slot.
Chapter 2   Using the Hardware18Copyright 2008 unitech Electronics Co., Ltd. All rights reserved. unitech is a registered trademark of unitech Electronics Co., Ltd.Using the Laser ScannerThe PA600 II has an integrated laser scanner which reads all major bar code labels with excellent performance.NOTE: Scanning software must be enabled in order to operate the scanner. This can be a user-loaded application or a pre-loaded utility such as Scanner Setting and Scan2Key.Activate the laser scanner by pressing either one of the trigger keys located on the left and right side of the unit.The PA600 II has a built-in Scanner Setting utility that allows you to test the device’s barcode scan function.1. To launch Scanner Settings, tap Start → Settings, and then switch to System tab.Tab the Scanner icon.2. The Scanner Control Panel opens.From here you can configure barcode scanner parameters such as enabling or disabling barcode symbologies, setting data transmission options, configuring magnetic and proximity reading options, and setting power management options. Scan button
Chapter 2   Using the Hardware193. To test the barcode scanner, tap the Test tab.4. Tap Tools5. Tap Enable Scan6. To perform auto scan, Tap Tools → Auto Scan → Start Auto- Scan7. Choose Interval: 3 secs8. Tap: Start9. Laser scans every 3 seconds and barcode is scanned automatically.10. Tap Tools → Auto-Scan → Stop Auto-Scan.Using the SIM CardThe PA600 II has a slot for GPRS SIM card. It is placed inside the battery compart-ment.Inserting the SIM Card1. Take out the battery cover and the main battery. Insert the SIM card with the notched corner as shown in the picture below.NOTE:  The chip of the SIM card should face upwards.2. Push the SIM card to the end until you hear a click. Push the lock to the right to lock the card by stylus.
Chapter 2   Using the Hardware20Copyright 2008 unitech Electronics Co., Ltd. All rights reserved. unitech is a registered trademark of unitech Electronics Co., Ltd.Using the PhoneThe PA600 II has an integrated phone keypad, which allows you to make, receive, and send messages via the built-in module.NOTE: Make sure you insert the SIM card properly.To open the Phone screen, do one of the following.1. Tap Phone on the bottom left corner of the screen.2. Press Talk/Send button.Press End button when you want to exit the Phone screen.The Phone screen opens. From here you can manage the contact list, create speed dials, messages, notes, and customize phone settings.NOTE: If you SIM card is protected by a PIN code, input the password before you can use the phone.Tap the antenna signal icon on the upper right corner of the screen. Tap Wireless Manager and turn on phone function.Signal DescriptionPhone service searchingNo signal is available.Strongest signal strengthMore bars you have, the stronger signal you have.No phone service provided.Phone function is turned off.Tap the antenna signal icon and turn on phone function in the Wireless Manager.FUNCLsESC ghi jkl mnowxyzENTERTABtuvpqrskeyOKabc Rs defALPHA1472580369.Talk/SendbuttonEndbuttonPhone keypadAntenna signal icon
Chapter 2   Using the Hardware21Tap the speaker icon on the upper right corner of the screen. You can adjust the device/ phone vol-ume by moving the sliders and change the ring volume by tapping On, Vibrate, or Off.Making a Call Using the Phone Keypad1. Tap Phone or press Talk/Send button.2. Enter the desired phone numbers.3. Tap the Talk button on the Phone screen.4. When the call connects, you can tap Hold to place the first number on hold.5. Enter the second phone numbers and tap Talk again.6. Tap Swap to switch between calls.7. Tap End or press End button to stop dialing or end the call.Using the Contact List1. Tap Contacts on the bottom left corner of the Phone screen.2. Tap New on the bottom left corner of the contact list, you can add a new contact.3. Tap a contact, you can edit the contact info.4. Tap and hold on a contact, a menu appears. You can send e-mail/ text mes-sage to the contact, add this contact to speed dial list, and so on.Speaker icon
Chapter 2   Using the Hardware22Copyright 2008 unitech Electronics Co., Ltd. All rights reserved. unitech is a registered trademark of unitech Electronics Co., Ltd.Using the Speed Dial1. Tap Speed Dial on the Phone keypad.2. Tap Menu, and select New.3. Select a contact in your contact list by tap-ping the desired contact.4. Assign an available location for the new speed dial entry. Tap OK, and then OK to exit the speed dial list.NOTE: The first speed dial location is reserved for voice mail.To make speed dial call, do one of the following.1. Tap and hold the speed dial location number assigned to a contact on the Phone keypad.2. Tap Speed Dial on the Phone keypad, and tap the location number of the desired speed dial entry.Customizing the Phone SettingsTap Menu, and select Options, you can change the default phone settings, including ring sound, keypad sound, call barring, call forwarding, call waiting, mobile phone net-work, etc.Locationnumber
23Chapter  3Getting ConnectedEstablishing Device-PC ConnectionInstalling Microsoft ActiveSyncIn order to exchange data between your computer and PA600 II, Microsoft ActiveSync must be installed on your computer. Use the USB charging cable that comes with your device to connect the device to your computer.NOTE: If you have a previous version of the Microsoft ActiveSync installed in your computer, uninstall it first before installing the latest version of Microsoft ActiveSync.To install Microsoft ActiveSync on your computer:1. Close any open programs, including those that run at startup, and disable any virus-scanning software.2. Download the ActiveSync software from the Microsoft ActiveSync Download page at http://www.microsoft.com/windowsmobile/downloads/activesync42.mspx.3. Browse the location of the downloaded file, and double-click it. The installation wizard begins.
Chapter 3   Getting Connected24Copyright 2008 unitech Electronics Co., Ltd. All rights reserved. unitech is a registered trademark of unitech Electronics Co., Ltd.4. Click Next.You are prompted to read the End User License Agreement (EULA).5. Accept the license agreement terms and click Next.You are prompted for user information.6. Type the user name and organization and click Next.You are prompted for the destination folder.
Chapter 3   Getting Connected257. Select a drive to install the program and click Next.The installation wizard has gathered the information it needs to install Active-Sync and prompts you to begin the installation.8. Click Install. The program begin the installationAfter the program has finished installing you see the following screen.

Navigation menu