Usafe UBBNH1 BLUETOOTH STEREO HEADSET User Manual
Usafe Co.,Ltd BLUETOOTH STEREO HEADSET Users Manual
Usafe >
Users Manual
Neckband Headset Manual
Power On/Off and Pairing
Press and hold ‘Talk’ button for 3 seconds to switch the headset on or off.
While the headset is off, press and hold ‘Talk’ for 6 seconds to start pairing mode.
Once the headset is in pairing mode, select ‘LUBIX NE1’ among discovered Bluetooth devices
on the phone and enter the password ‘0000’ to pair the headset.
Connecting the Headset
Connecting from the phone: Among registered Bluetooth devices on the phone,
select ‘LUBIX NE1’
Connecting from the headset: Through auto-connect function, the headset automatically connects
to the last device it was connected to when powered on.
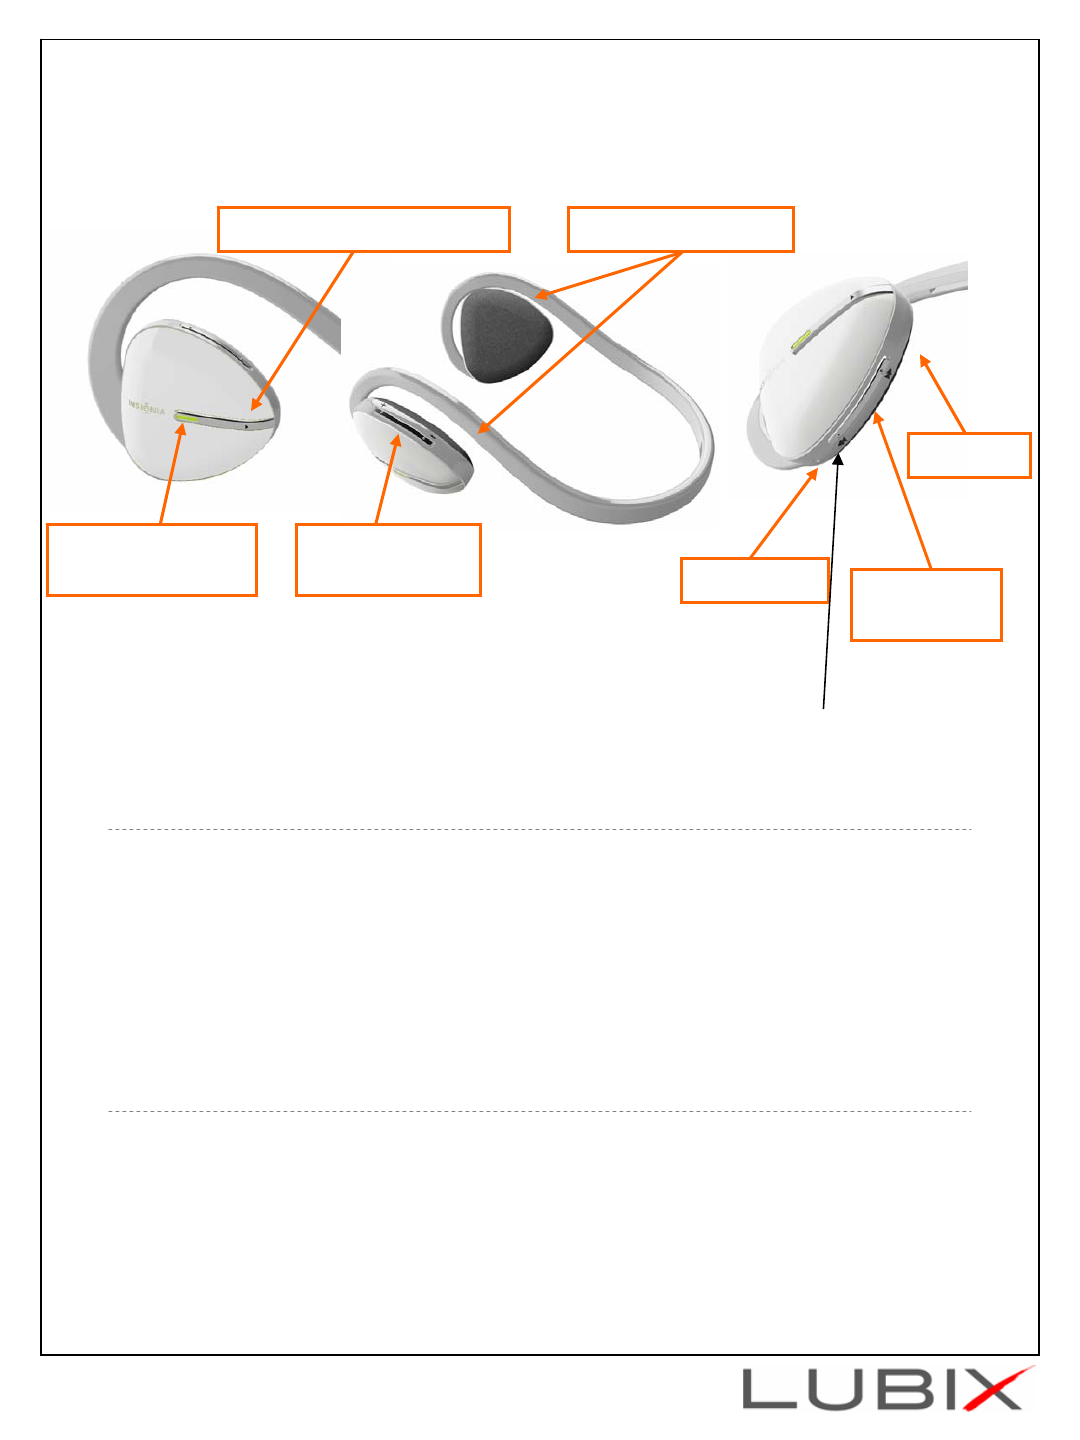
Microphone
Power & Talk
Button (with LED) |◀◀ / ▶▶|
buttons
Play/Pause/3D effect button Left/Right Receivers
Volume Control
buttons
USB Port
FF

Multi Pairing
Multi Pairing Method
1. All Bluetooth devices to be used in multi pairing must be first paired individually using
appropriate profiles. (HSP or HFP for phone conversation, and A2DP for high quality audio)
※Each profile cannot be used to connect more than one device simultaneously. See ‘Notice’ below for more details.
※The auto connect function of the headset will connect each profile to the last connected device.
2. Once the host devices are paired, connections can be made by:
a. Turning the headset off and on (Auto connect function will take effect).
b. Or connecting from host devices.
Notice
1. In multi pairing, one profile cannot be used to connect more than one device. For example, it is
NOT possible to use the phone’s MP3 player and the computer’s MP3 player at the same time,
because both devices try to connect through the A2DP profile. On the other hand, it is possible
to connect the phone using HSP, while the computer is connected using A2DP. This way, you
can listen to the music from the computer and answer phone calls at the same time.
2. In multi pairing mode, the use of some functions maybe restricted depending on host devices and
the environment in which it is used.
3. Ubixon does not guarantee the compatibility of all combination of devices and functions for multi
pairing.

Listening to Music
Play/Pause
1. Press ‘▶II’ button to launch the phone’s MP3 player and to start listening to music.
2. While MP3 player is in use, press ‘▶II’ button to pause or to resume play.
3. Press and hold ‘▶II’ button to end music playback.
Song Selection
While MP3 player is in use, press ‘◀◀’or ‘▶▶’ buttons to select songs.
Rewind/Forward
While music is playing, press and hold ‘◀◀’or ‘▶▶’ buttons to rewind or forward the song
* Some phones may not support this function
Answering Call While Listening to Music
1. When receiving a call, press ‘Talk’ button to answer the call.
2. Press ‘Talk’ button while on the phone to end the call
3. When receiving a call, press ▶II button to reject the call.
- Music will resume playing when the call is rejected.
Volume Control
Use ‘+’ / ’-’ buttons to adjust the volume level.
Making Phone Calls
Voice dial: Press the ‘Talk’ button once to activate voice dial.
※ Some phones might not support this function.
Last Number Redial: Double click ‘Talk’ button to redial last number.
Answer a call: When receiving a call, press ‘Talk’ button to answer the call.
Ending a call: While talking on the phone, press ‘Talk’ button to end the call.
Call Refuse: While receiving a call, press ‘Play/Pause’ button to refuse the call.
Volume Control: Use ‘+’ / ’-’ buttons to adjust the volume level.
Call transfer: During a phone conversation, press ‘Play/Pause’ button to switch the call between
the headset and the phone.
Using 3D Sound
5 types of 3D sound effect are programmed in the order below.
While in Play/Pause mode, double click the ‘▶II’ button to select the 3D sound effect of
your choice.
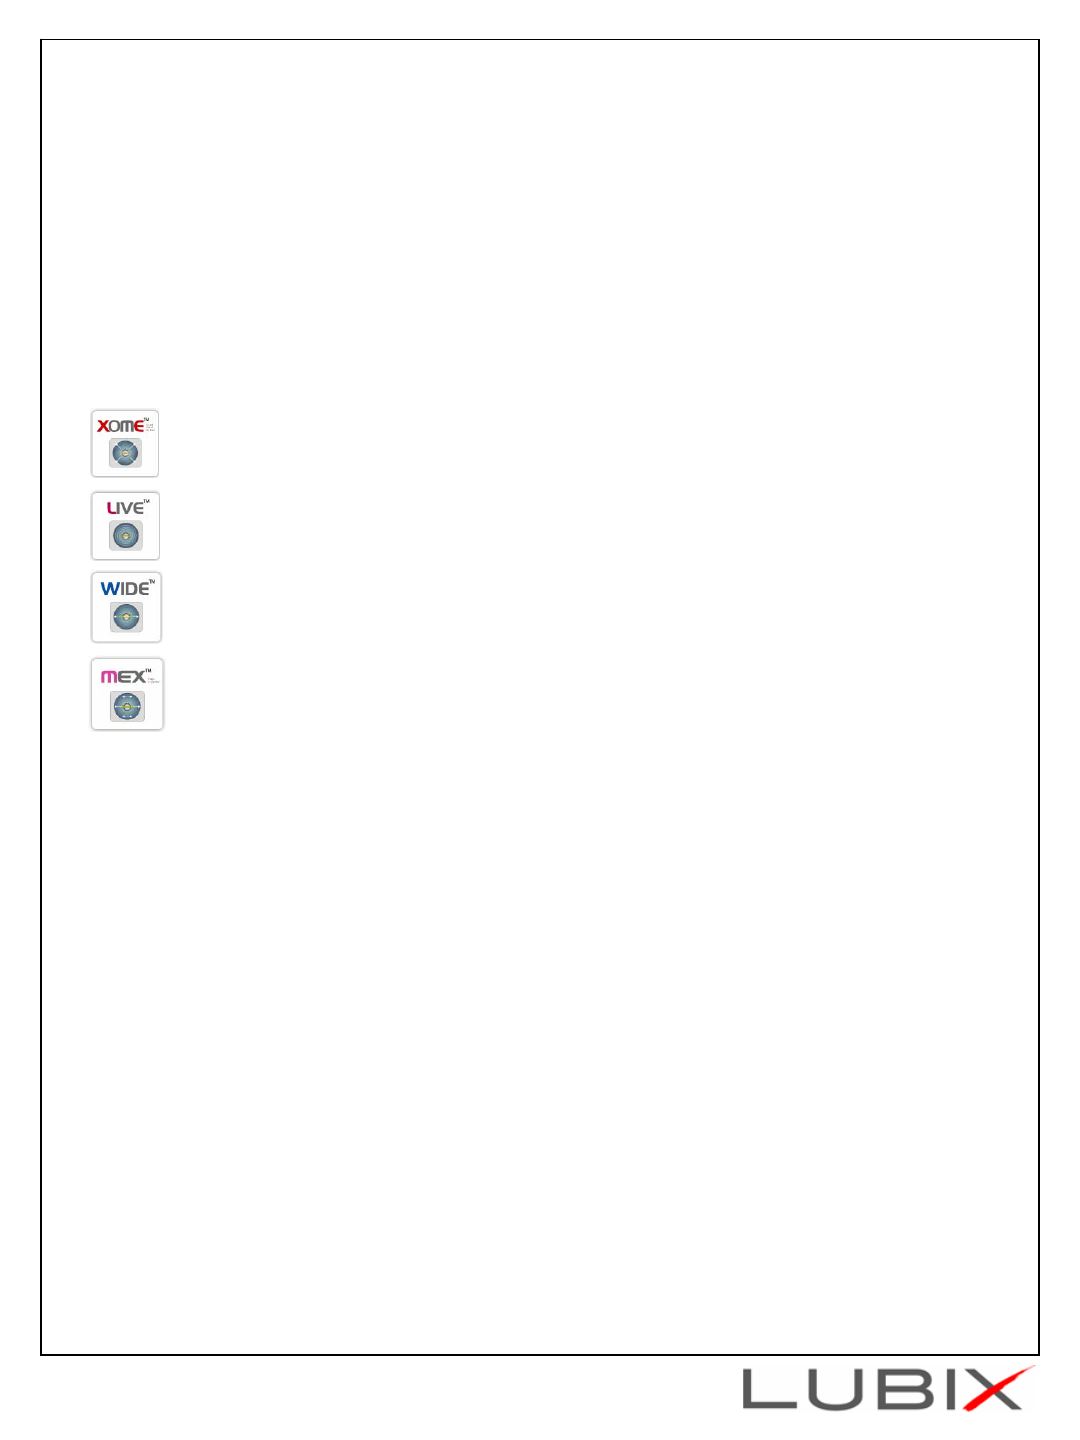
Types of 3D Sound Effect
1. Normal: No 3D sound effect is applied.
※Two beeping sound will indicate that the headset is in Normal mode.
2. Provides comfortable and persistent listening environment by taking distractible sound
away from ears and head when using earphones.
3. Delivers natural and soft 3D sound field effect simulating that of a live performance.
4. Widely spread main vocal and center-placed instruments by providing a panoramic
3D audio image.
5. Not only delivers wide stereo sound image, but also enhances low-frequency sound to
provide rich and deep bass tones.
3D Sound
In case the headset needs to be reset, press ‘Play’, ‘Talk’ and ‘Volume up’ buttons together
simultaneously.
Resetting the Headset
LED Light Messages
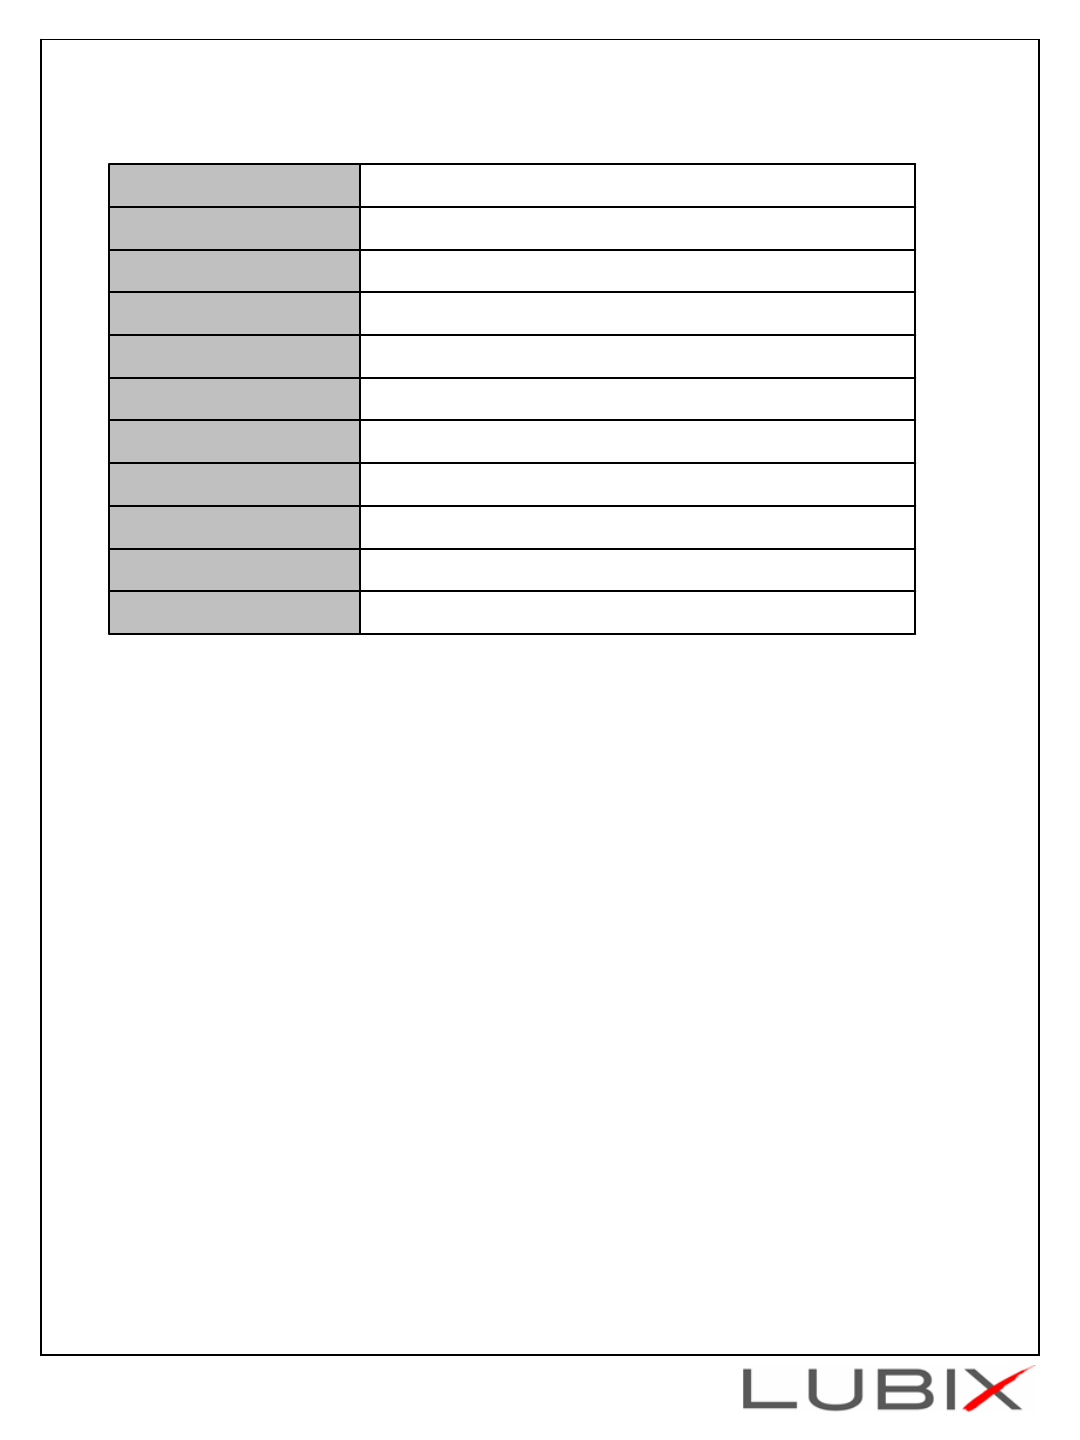
Headset Specification
Bluetooth Version: Version 2.1
Supported Profiles: A2DP, AVRCP, HFP, HSP
Frequency Spectrum: 2.4~2.4835GHz
Working Distance: 10m
Operating Temperature: -10 ~ 60°C
Operating Time: Talk 14 hours / Music 12 hours
Standby Time: 340 hours
Product Size: 153(L) x 138(W) x 60(H) mm
Product weight: 57g
Average charging time: 2 hours
※Note: The headset specification is subject to change in the production version.
Blue LED light repeatedly brightens and dimsPlaying music
Blue LED light repeatedly brightens and dims
Talking on the phone
Blue LED light flashes rapidly
Receiving a call
Blue LED light blinks every two seconds
Connection complete
Blue and Red LED lights flash rapidly
Pairing Mode
Blue LED lights stays on
Recharging complete
Red LED light stays on
Recharging
Red LED light continues to blink
Low battery
Red LED light dims and disappears
Powering off
Blue LED light is on
Powering on
LED Status
Headset Status

- Additional Page -
G
Caution
Modifications not expressly approved by the party responsible for compliance could void the user’s authority to operate the
equipment.
FCC Compliance Information
This device complies with Part 15 of FCC Rules.
Operation is subject to the following two conditions:
(1) This device may not cause harmful interference, and
(2) This device must accept any interference received.
Including interference that may cause undesired operation.
Information to User
This equipment has been tested and found to comply with the limits for a Class B digital device, pursuant to part 15 of the
FCC Rules. These limits are designed to provide reasonable protection against harmful interference in a residential
installation. This equipment generates, uses and can radiate radio frequency energy and, if not installed and used in
accordance with the instructions, may cause harmful interference to radio communications. However, there is no guarantee
that interference will not occur in a particular installation. If this equipment does cause harmful interference to radio or
television reception, which can be determined by turning the equipment off and on, the user is encouraged to try to correct
the interference by one or more of the following measures:
- Reorient or relocate the receiving antenna.- Increase the separation between the equipment and receiver.
- Connect the equipment into an outlet on a circuit different from that to which the receiver is connected.
- Consult the dealer or an experienced radio/ tv technician for help.
G