VTech Telecommunications 80-6879-01 DECT6.0 Corded/Cordless Telephone/Answering System User Manual TL86109 CIB i13 0 20160902
VTech Telecommunications Ltd DECT6.0 Corded/Cordless Telephone/Answering System TL86109 CIB i13 0 20160902
UserManual.wiki
>
VTech Telecommunications
>
80 6879 01 User Manual
User Manual
Navigation menu
Upload a User Manual
Namespaces
Wiki Guide
HTML
PDF
Info
Views
User Manual
Discussion / Help
Navigation
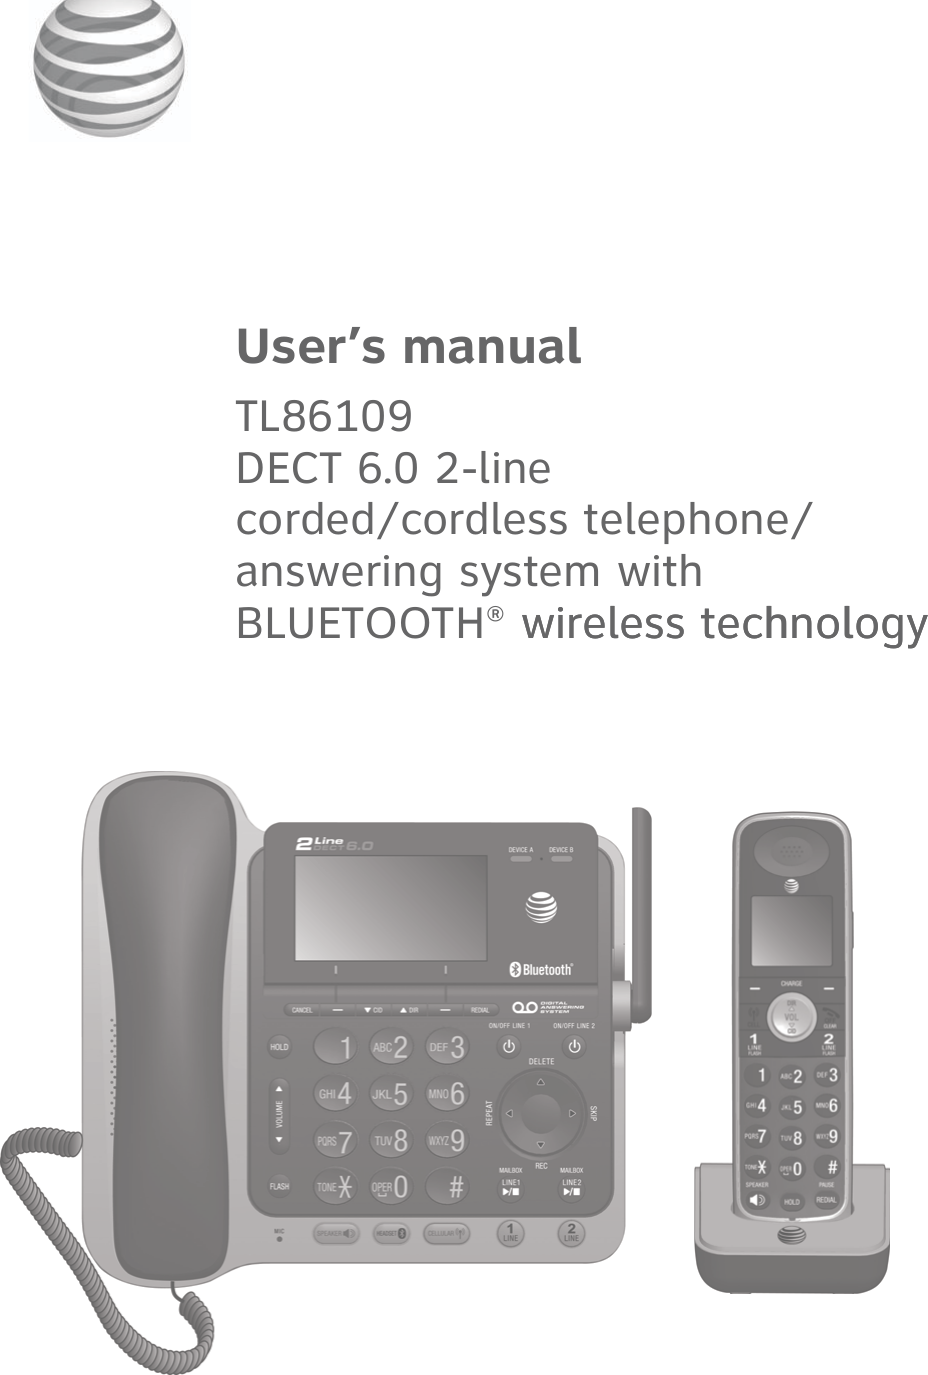

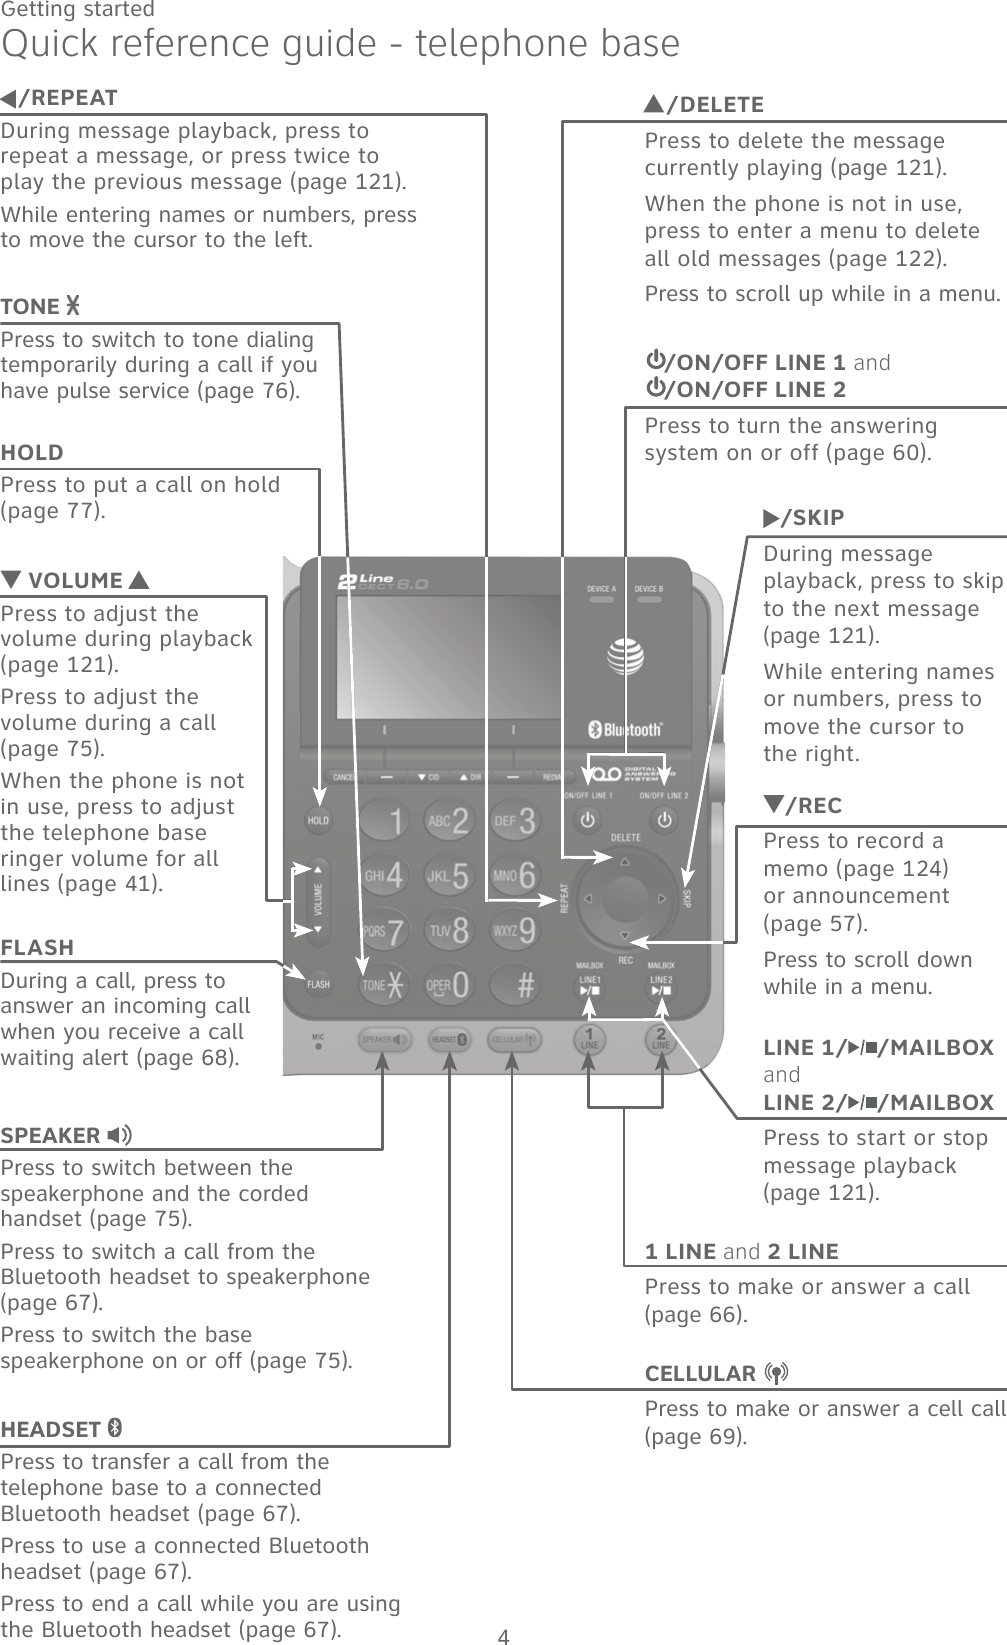
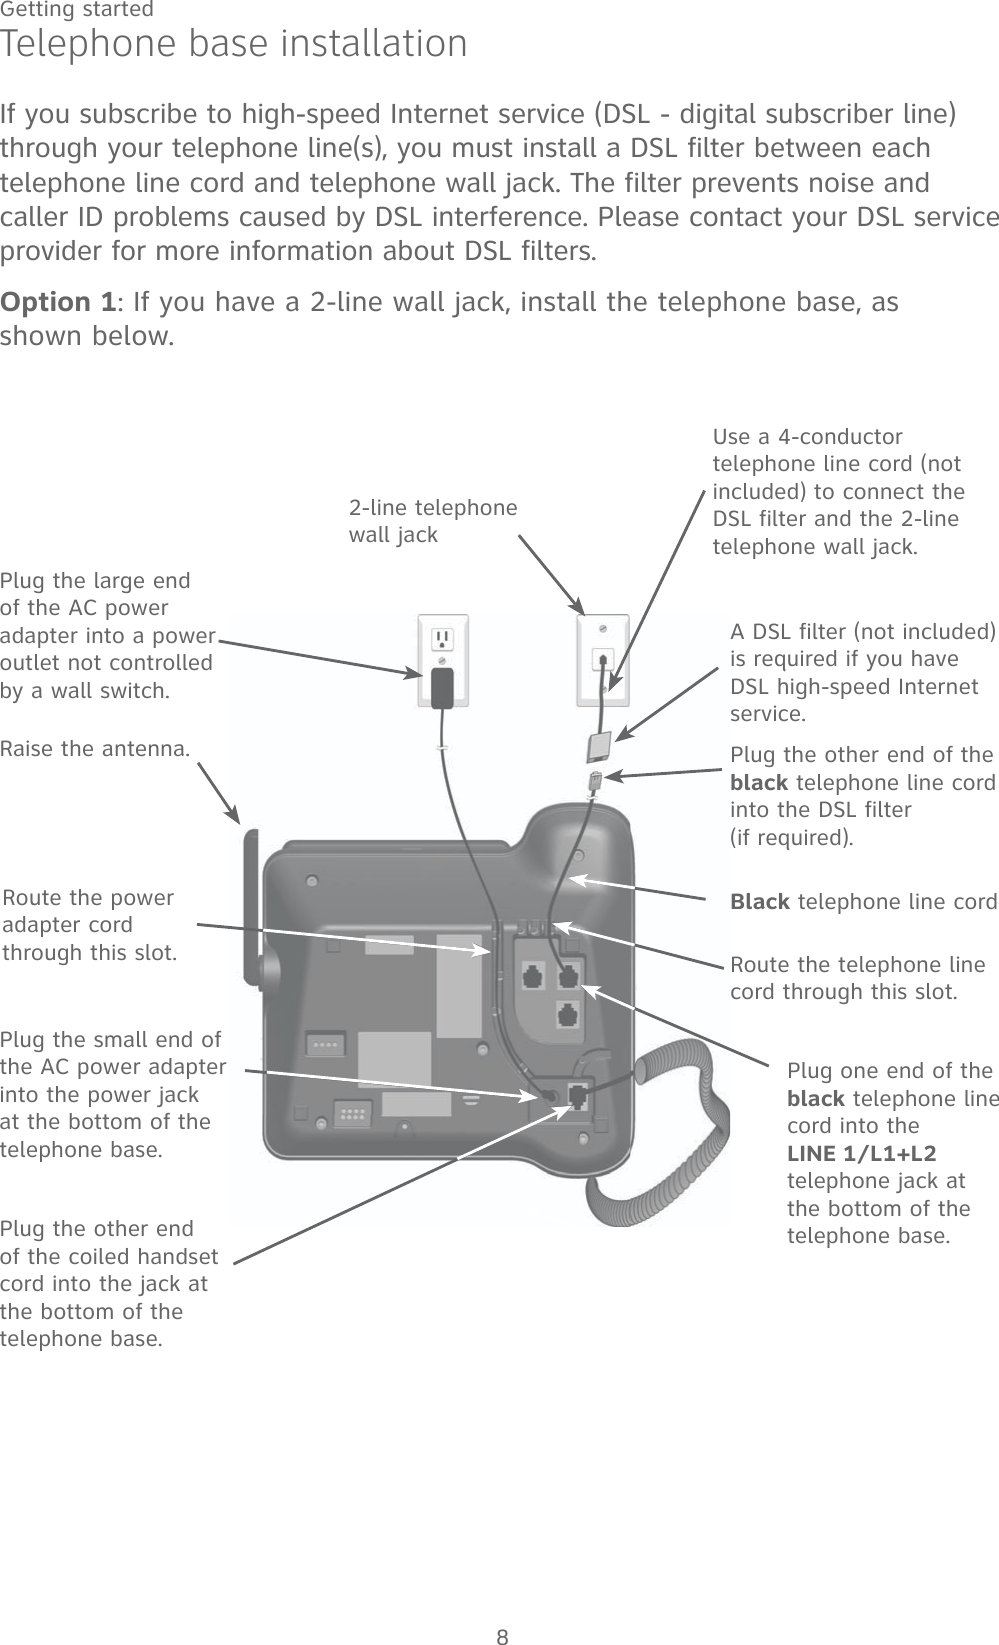
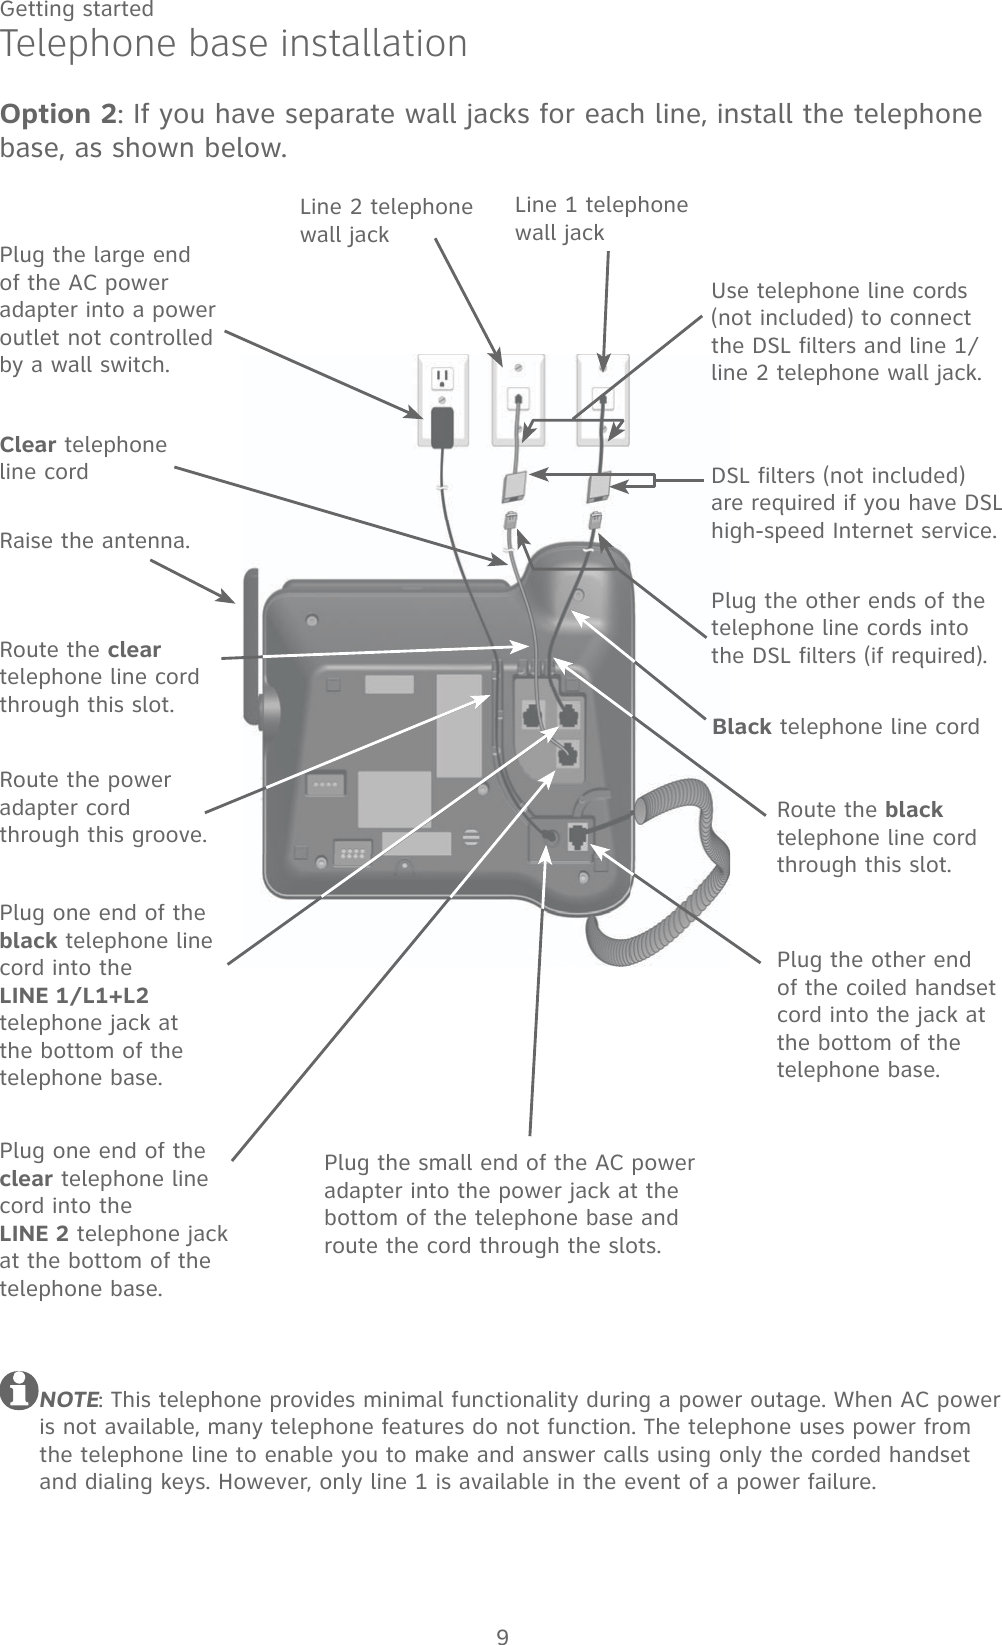
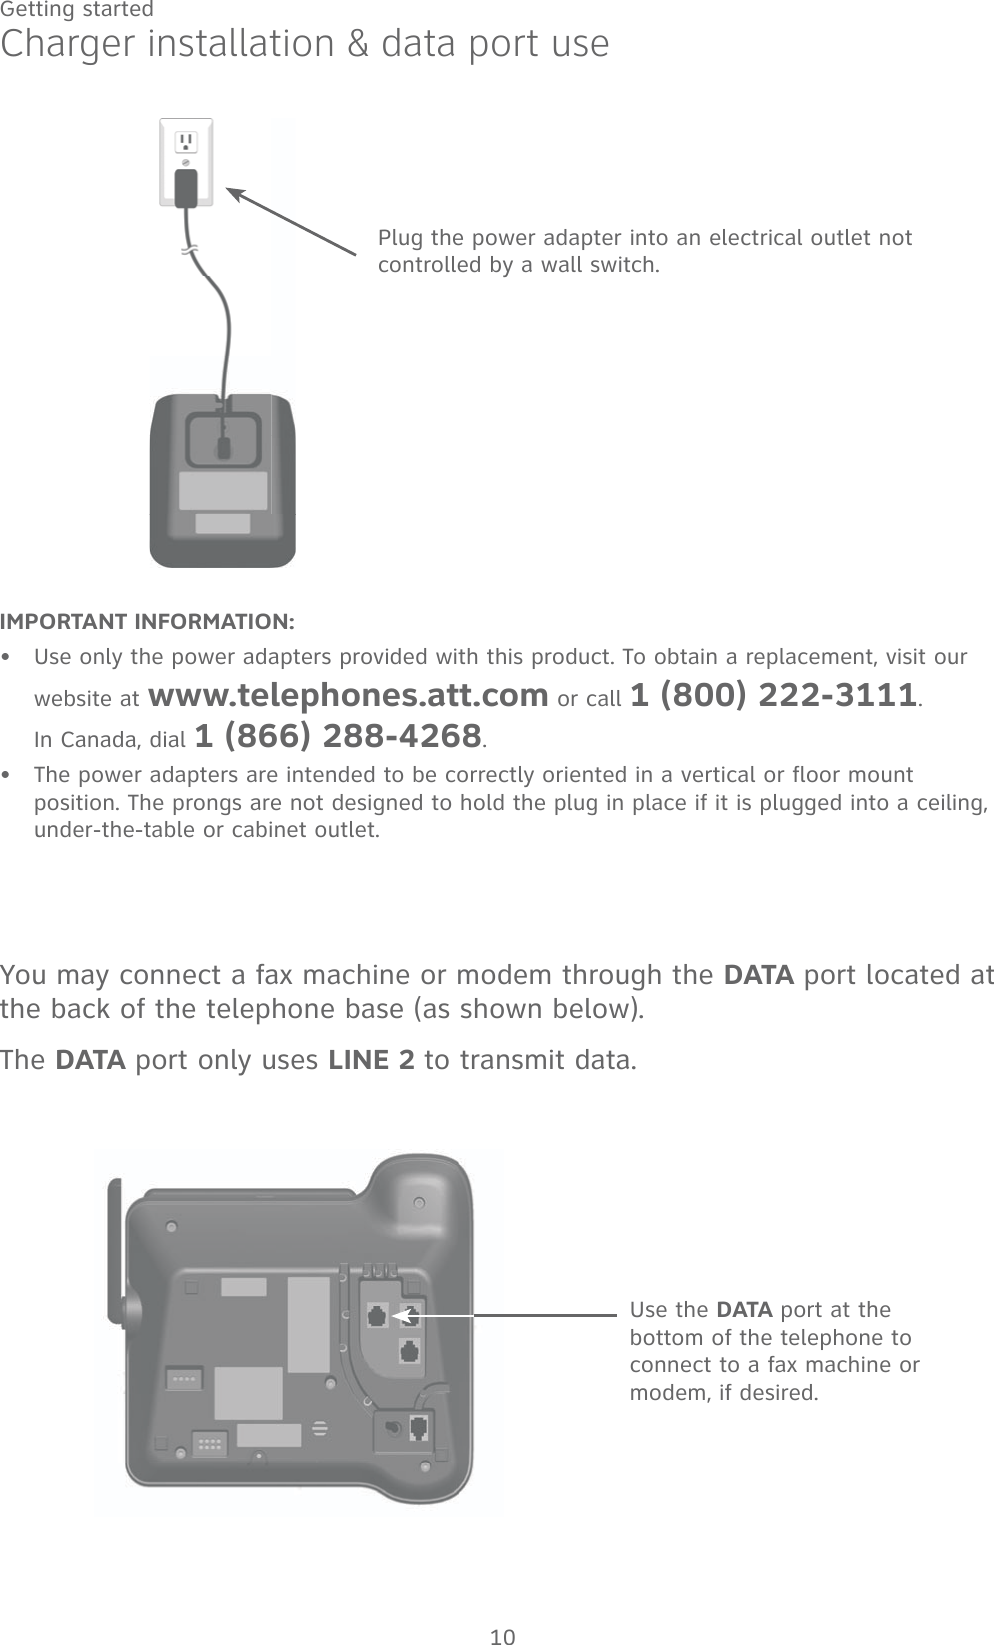
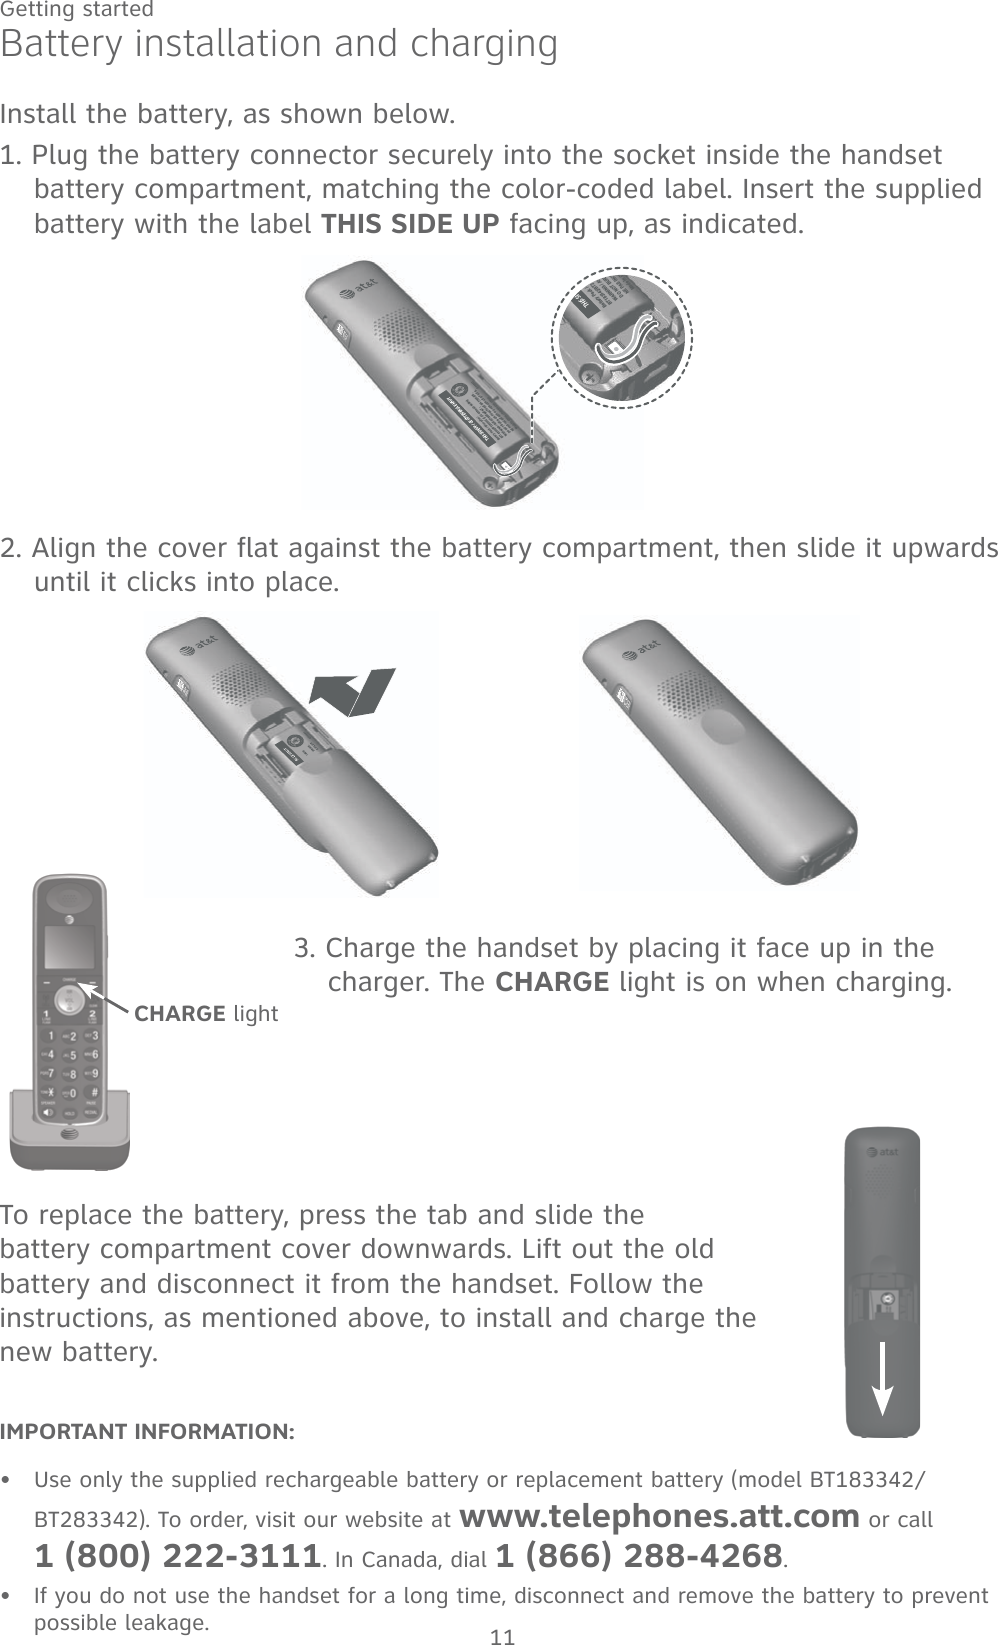

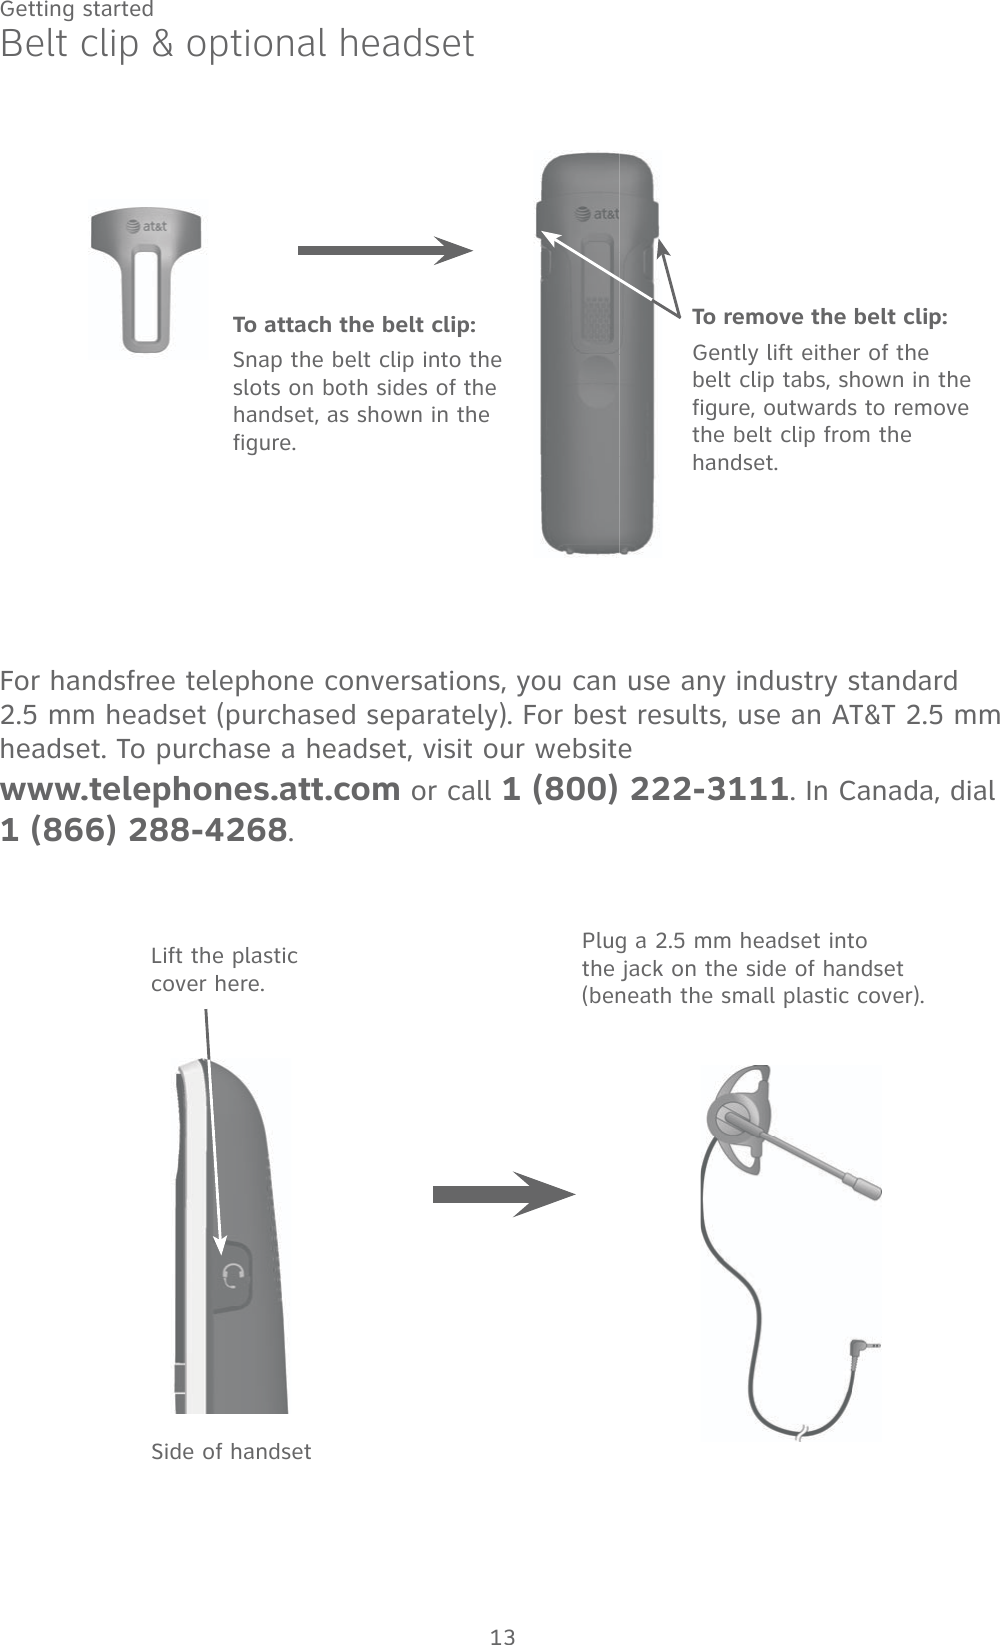
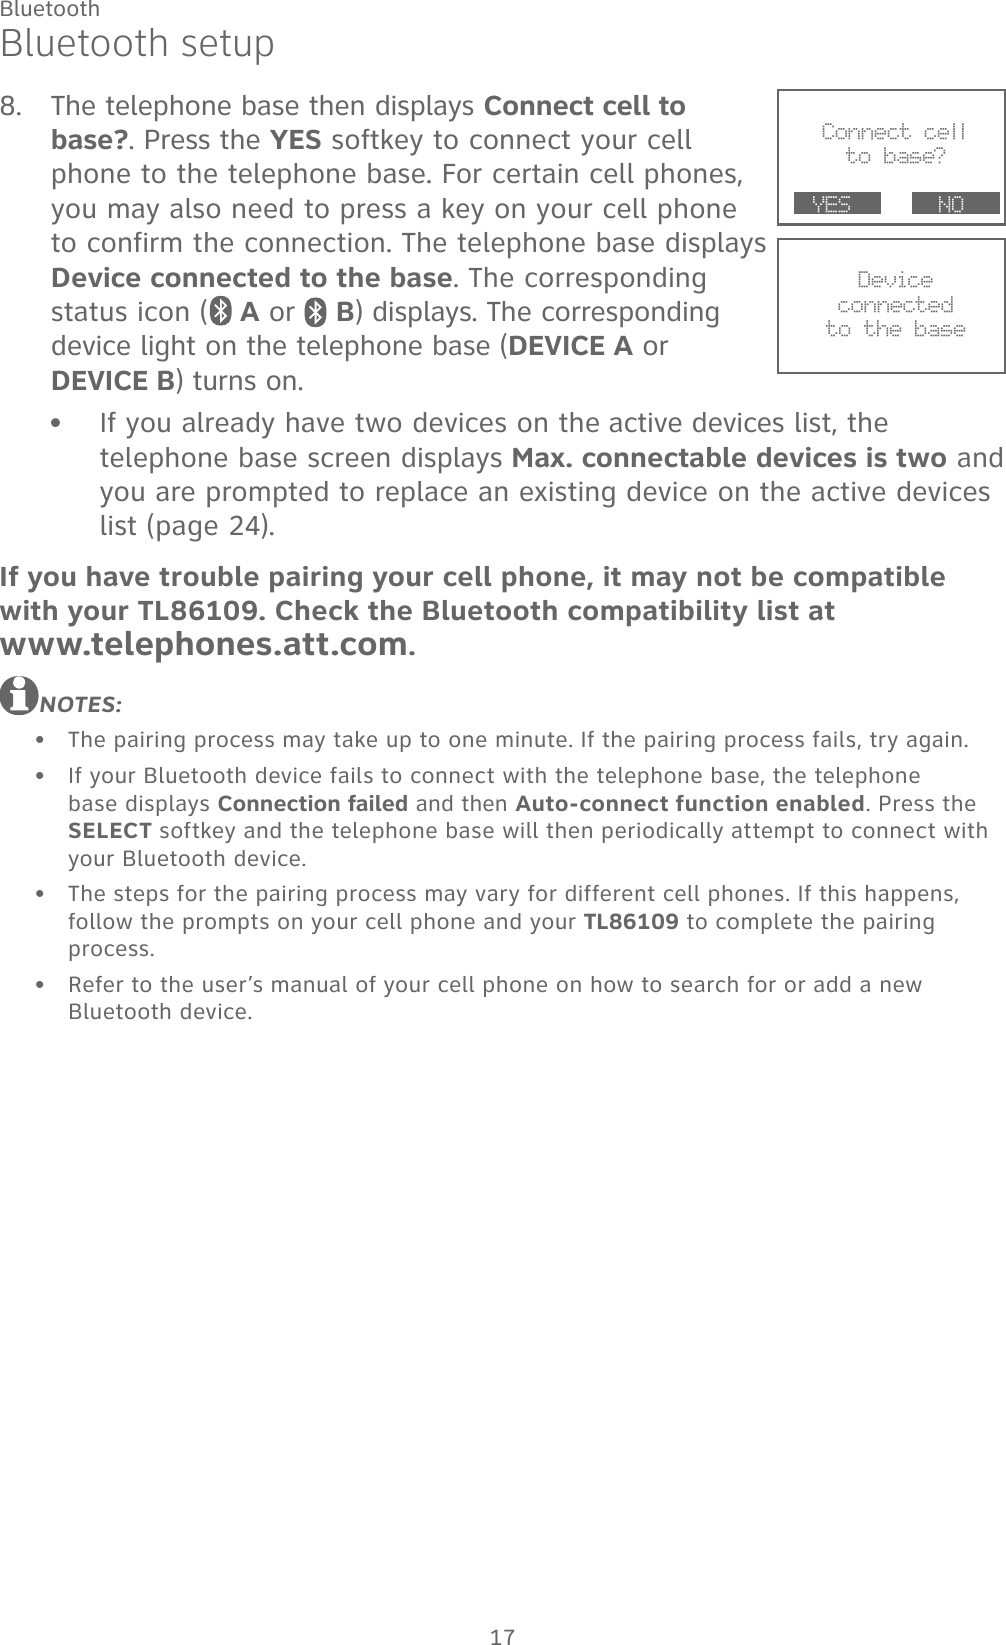


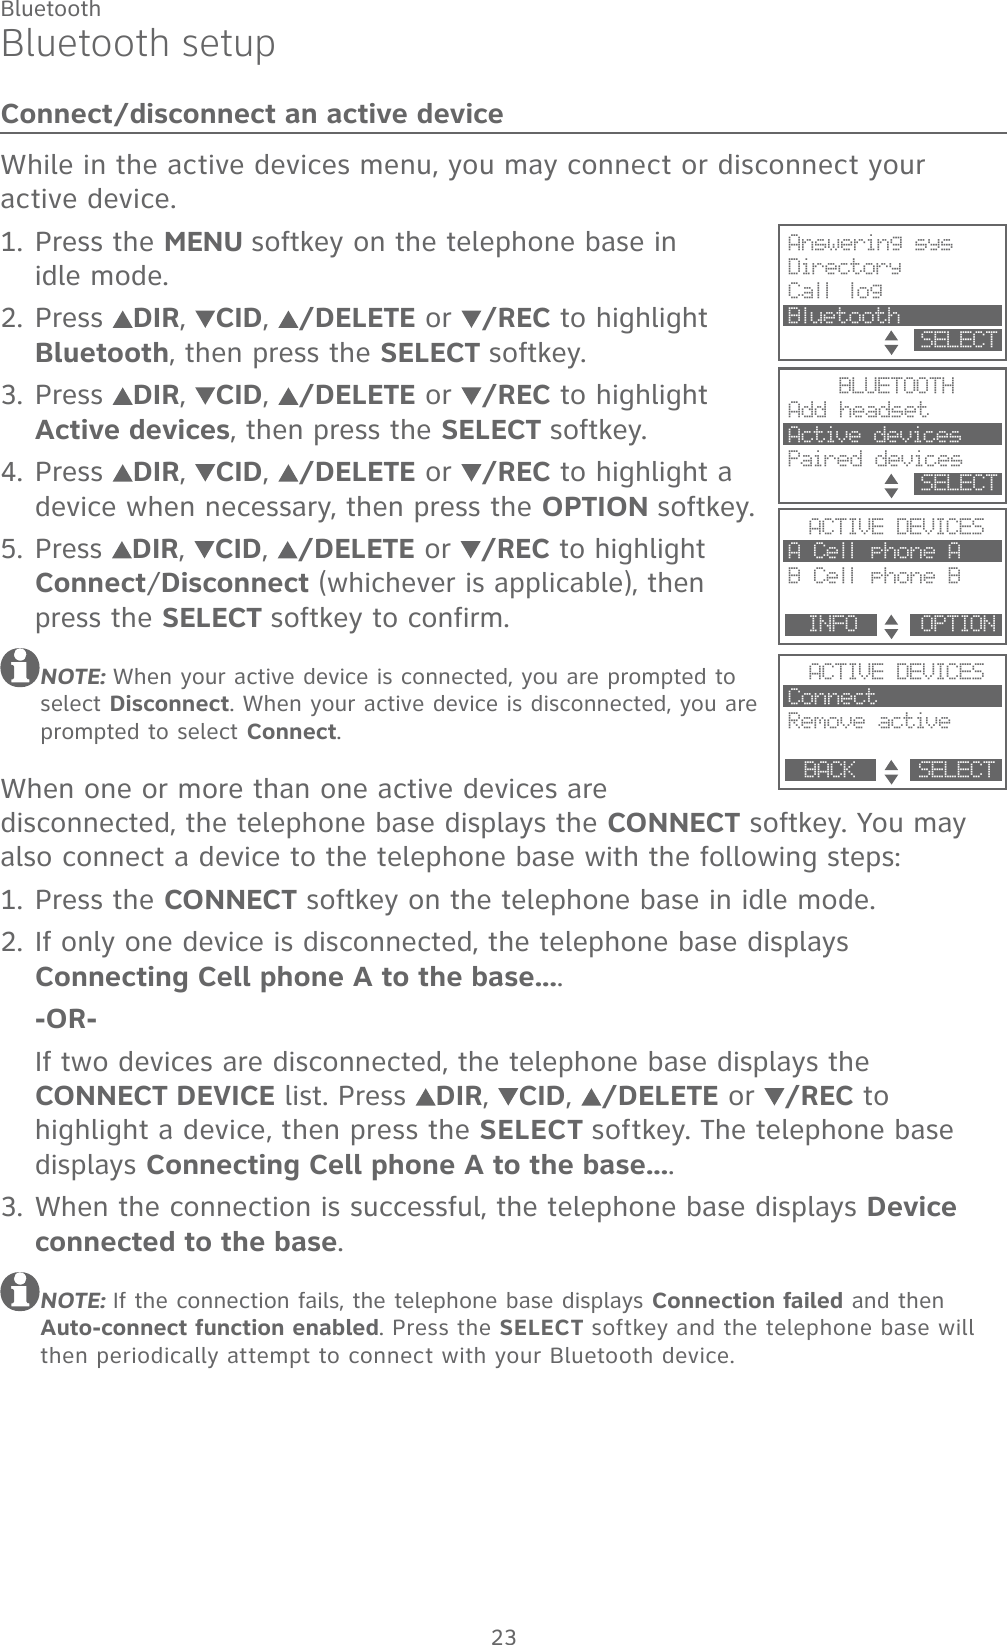
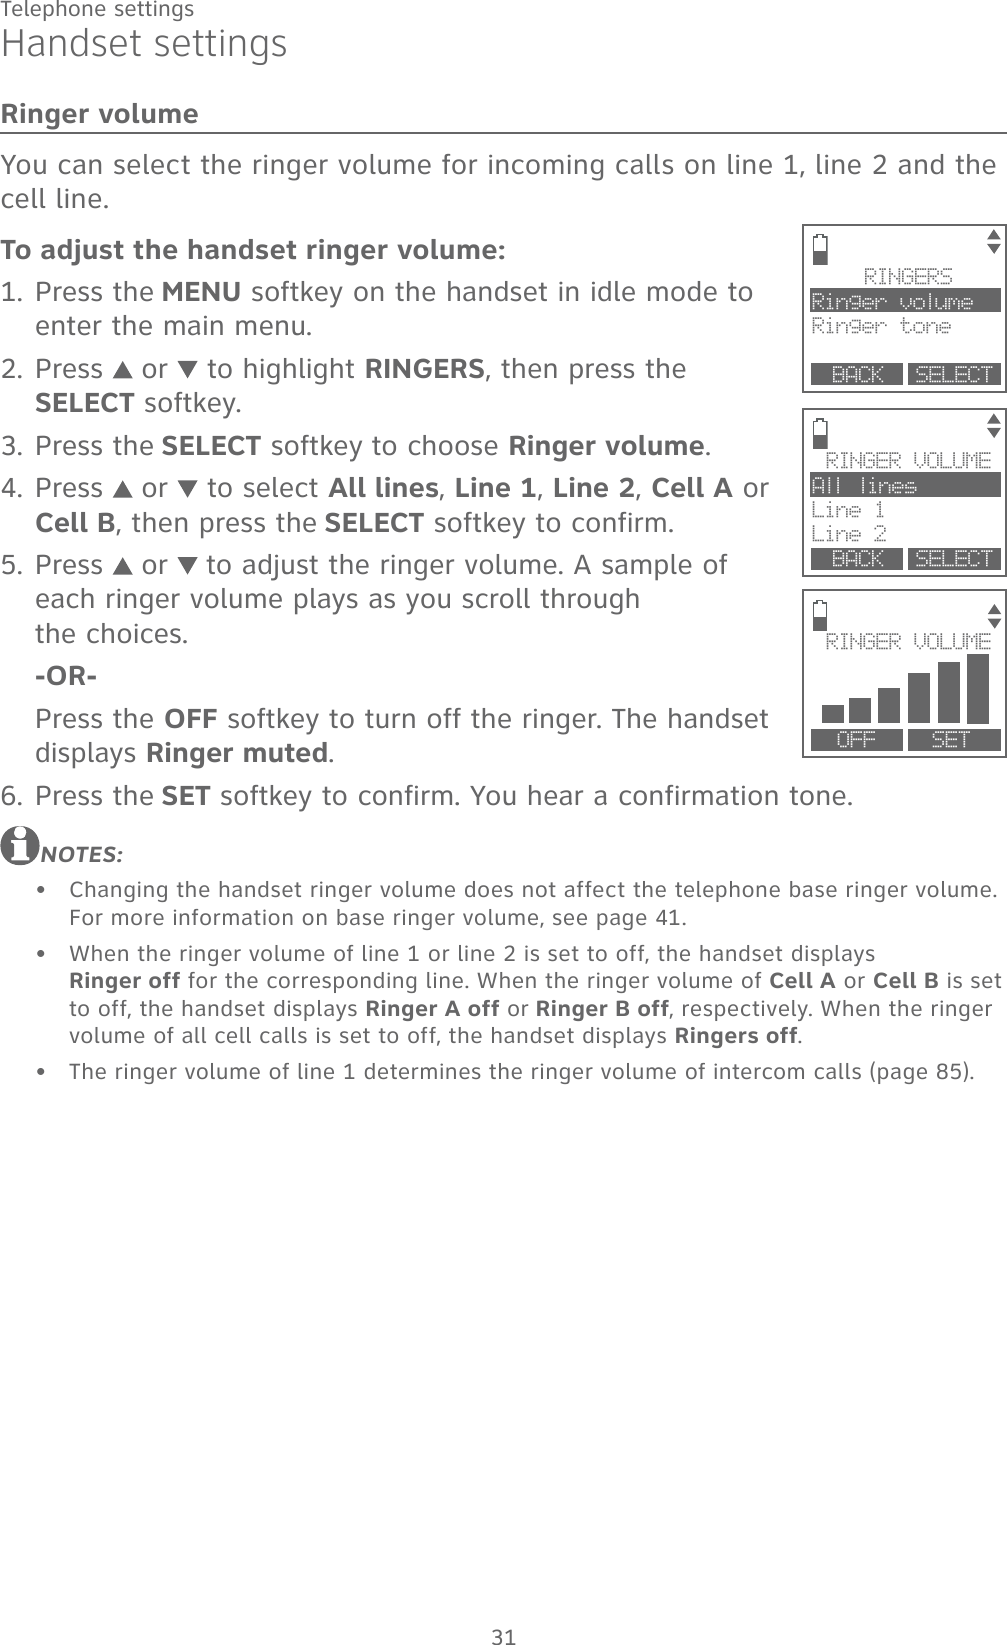

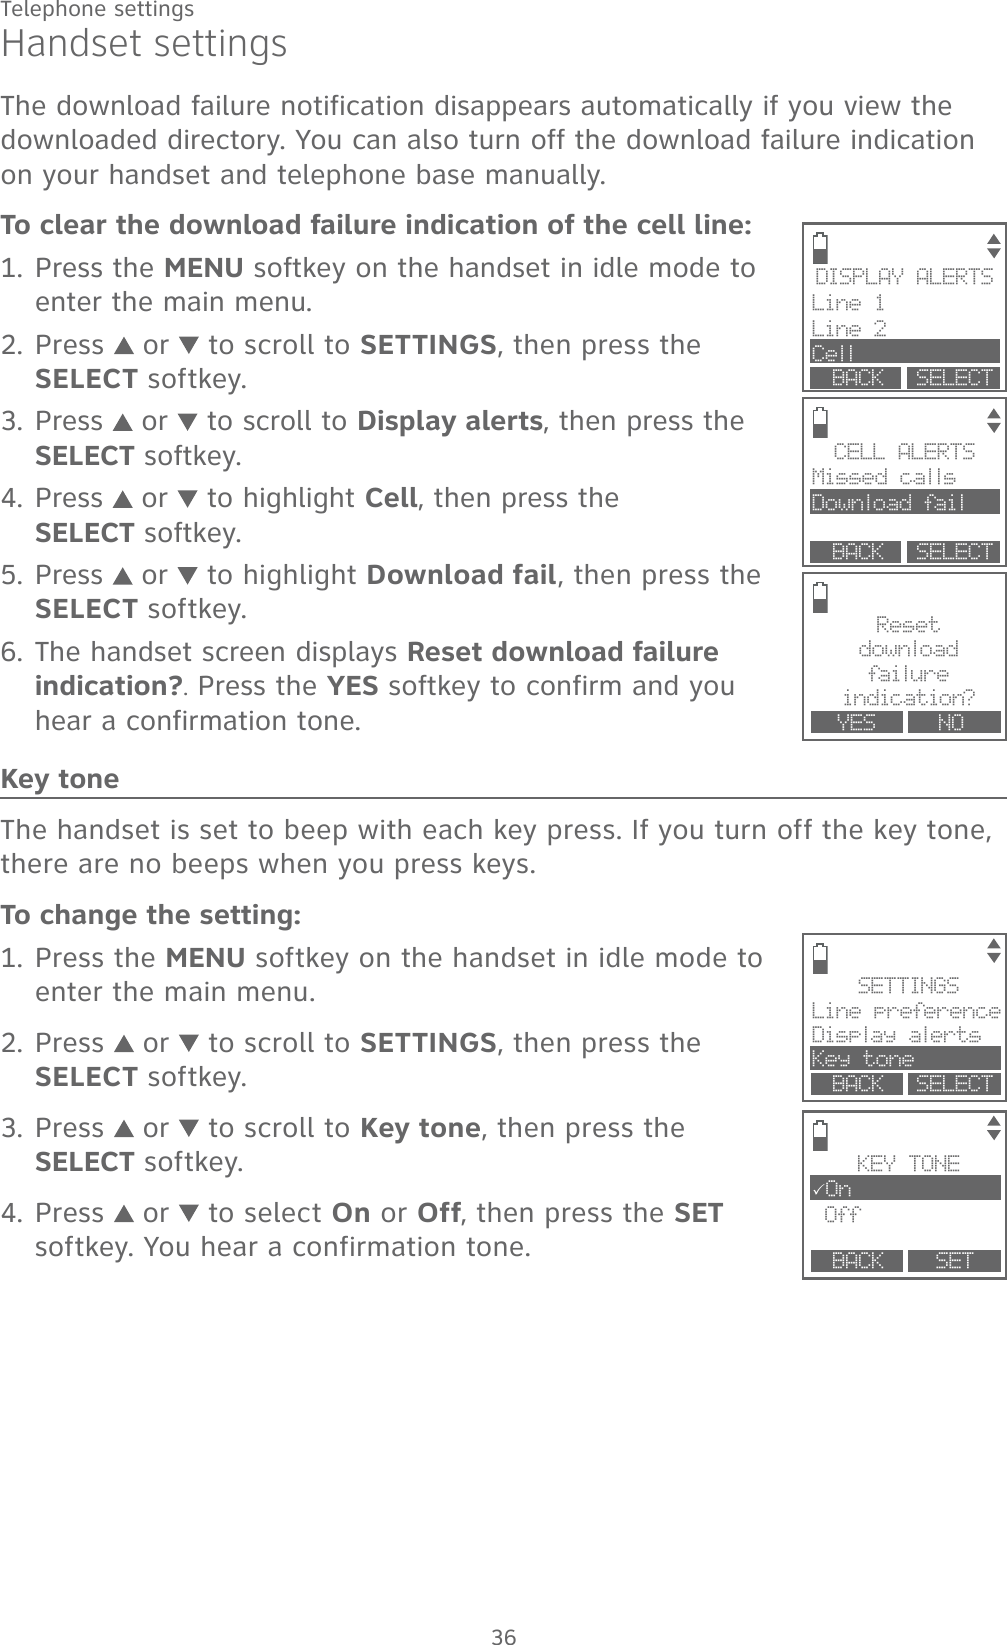

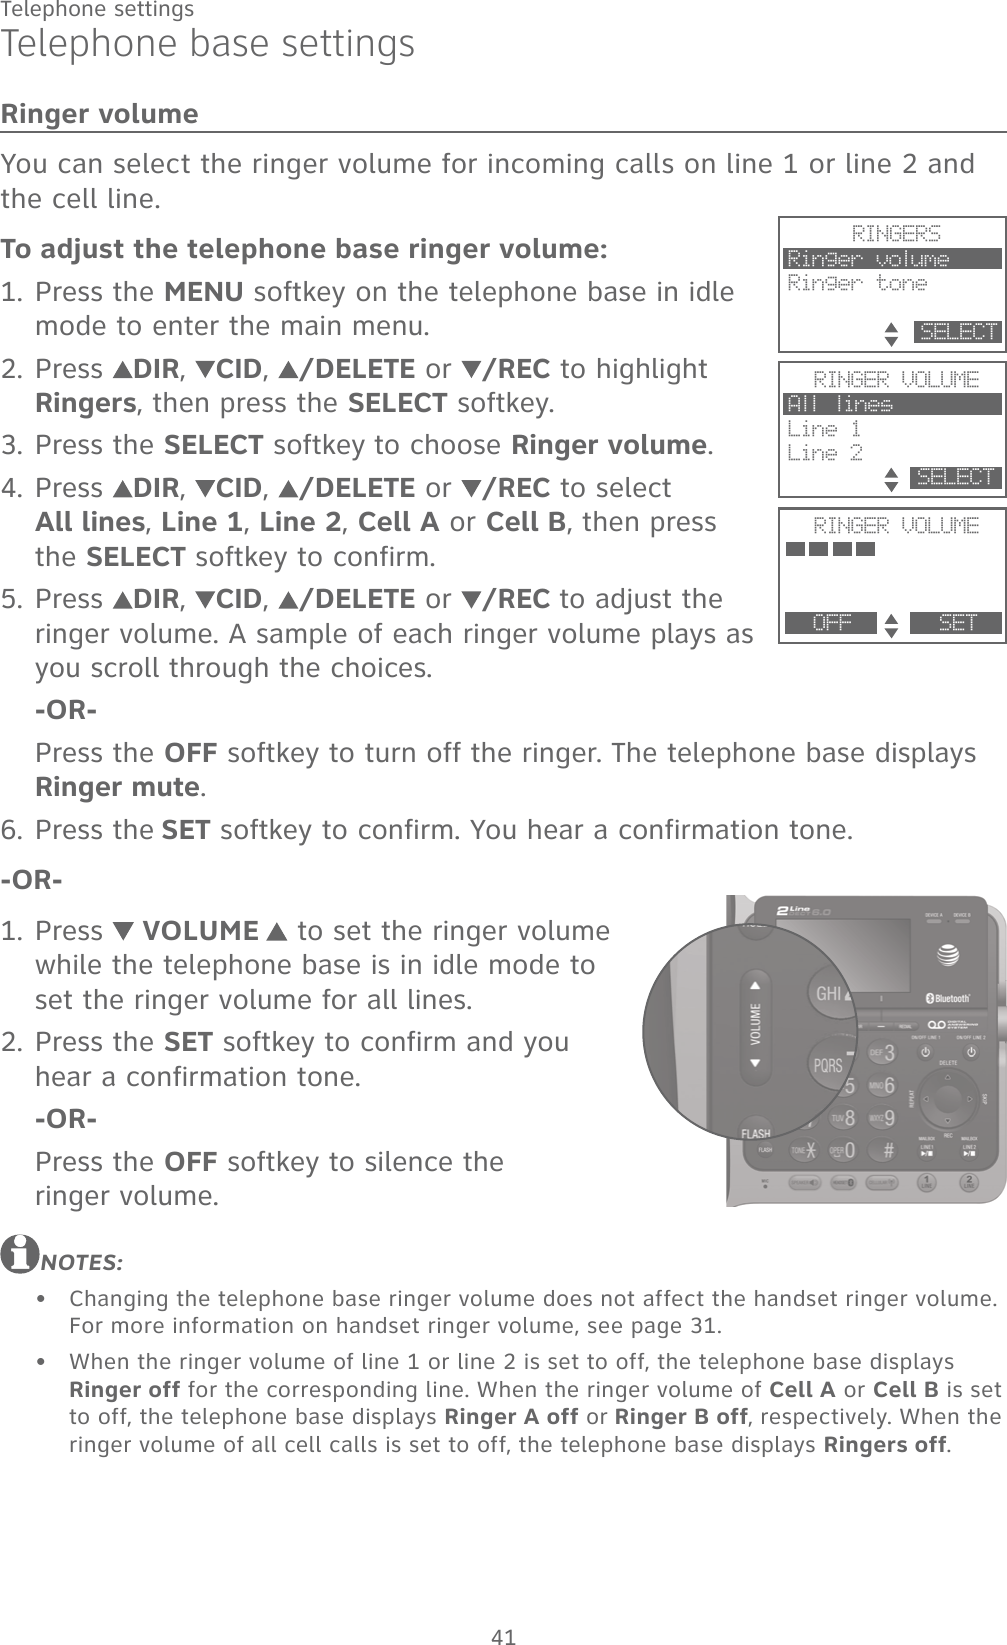
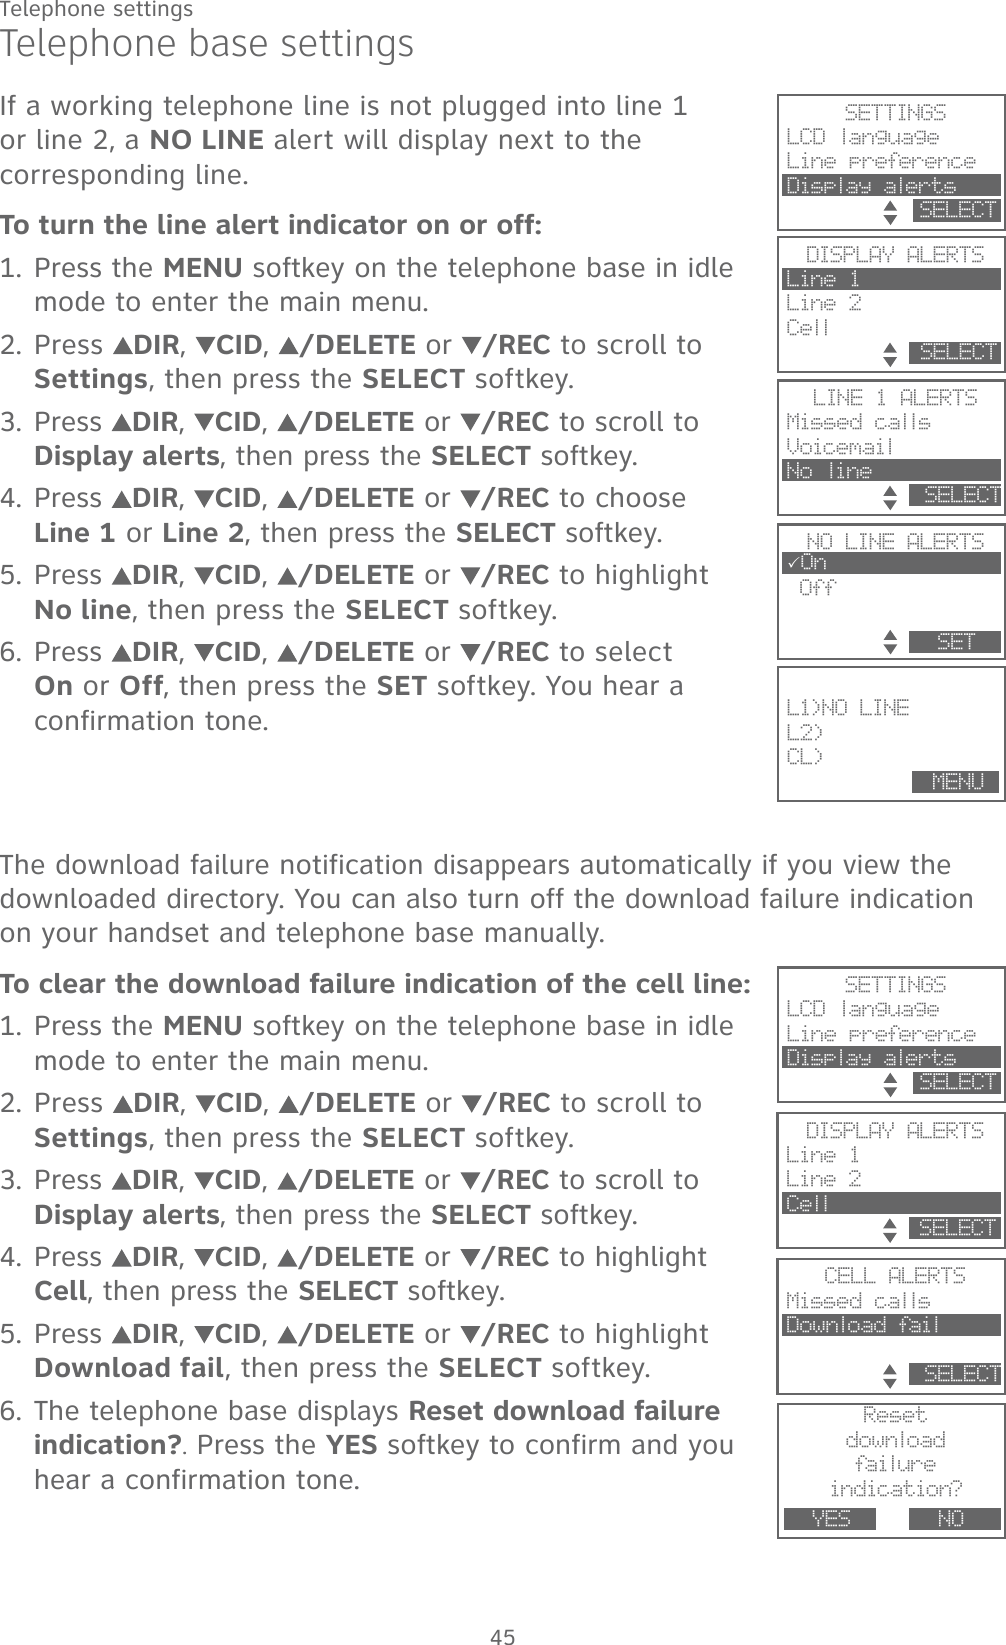
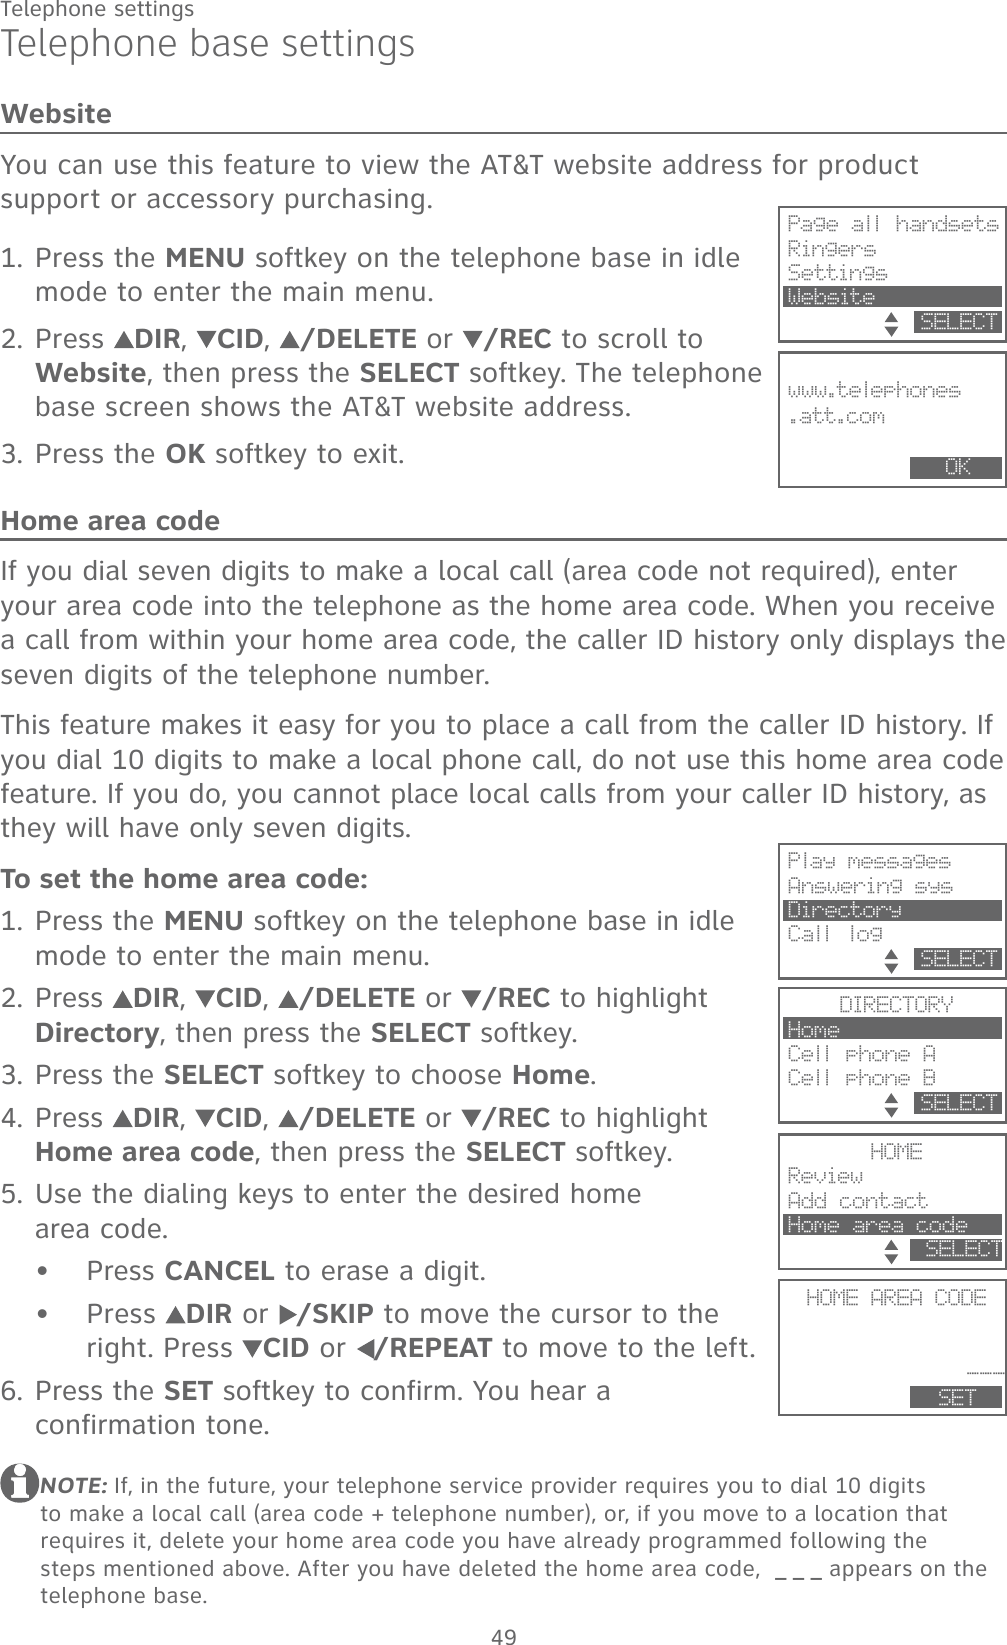
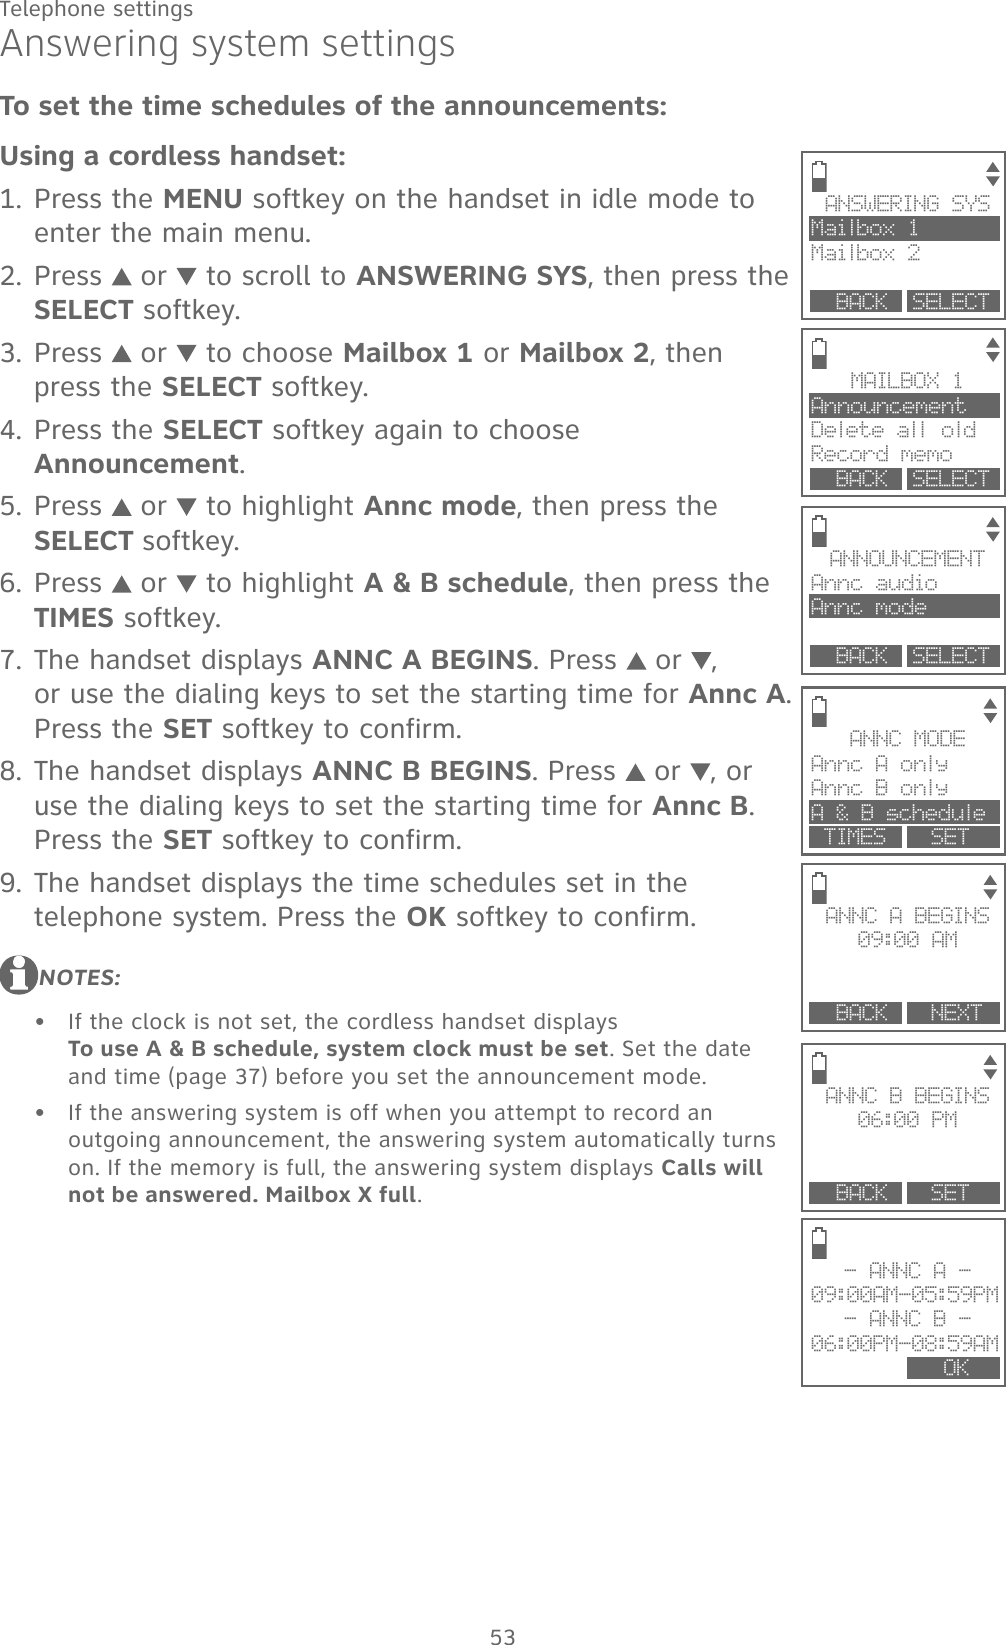
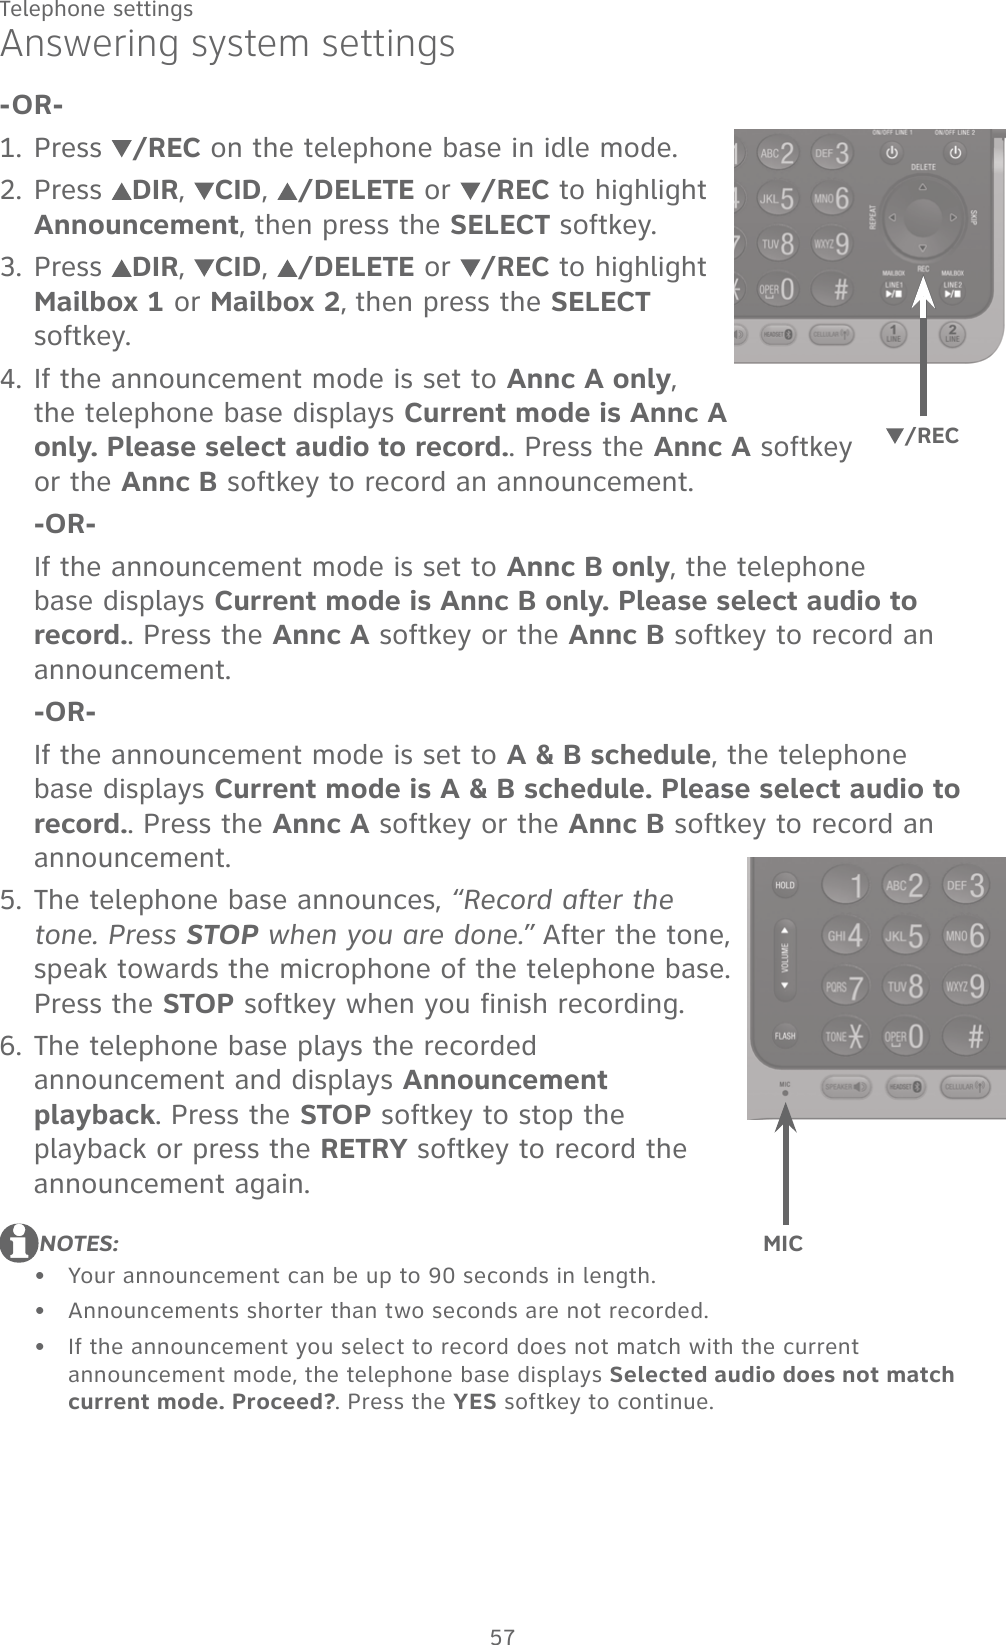

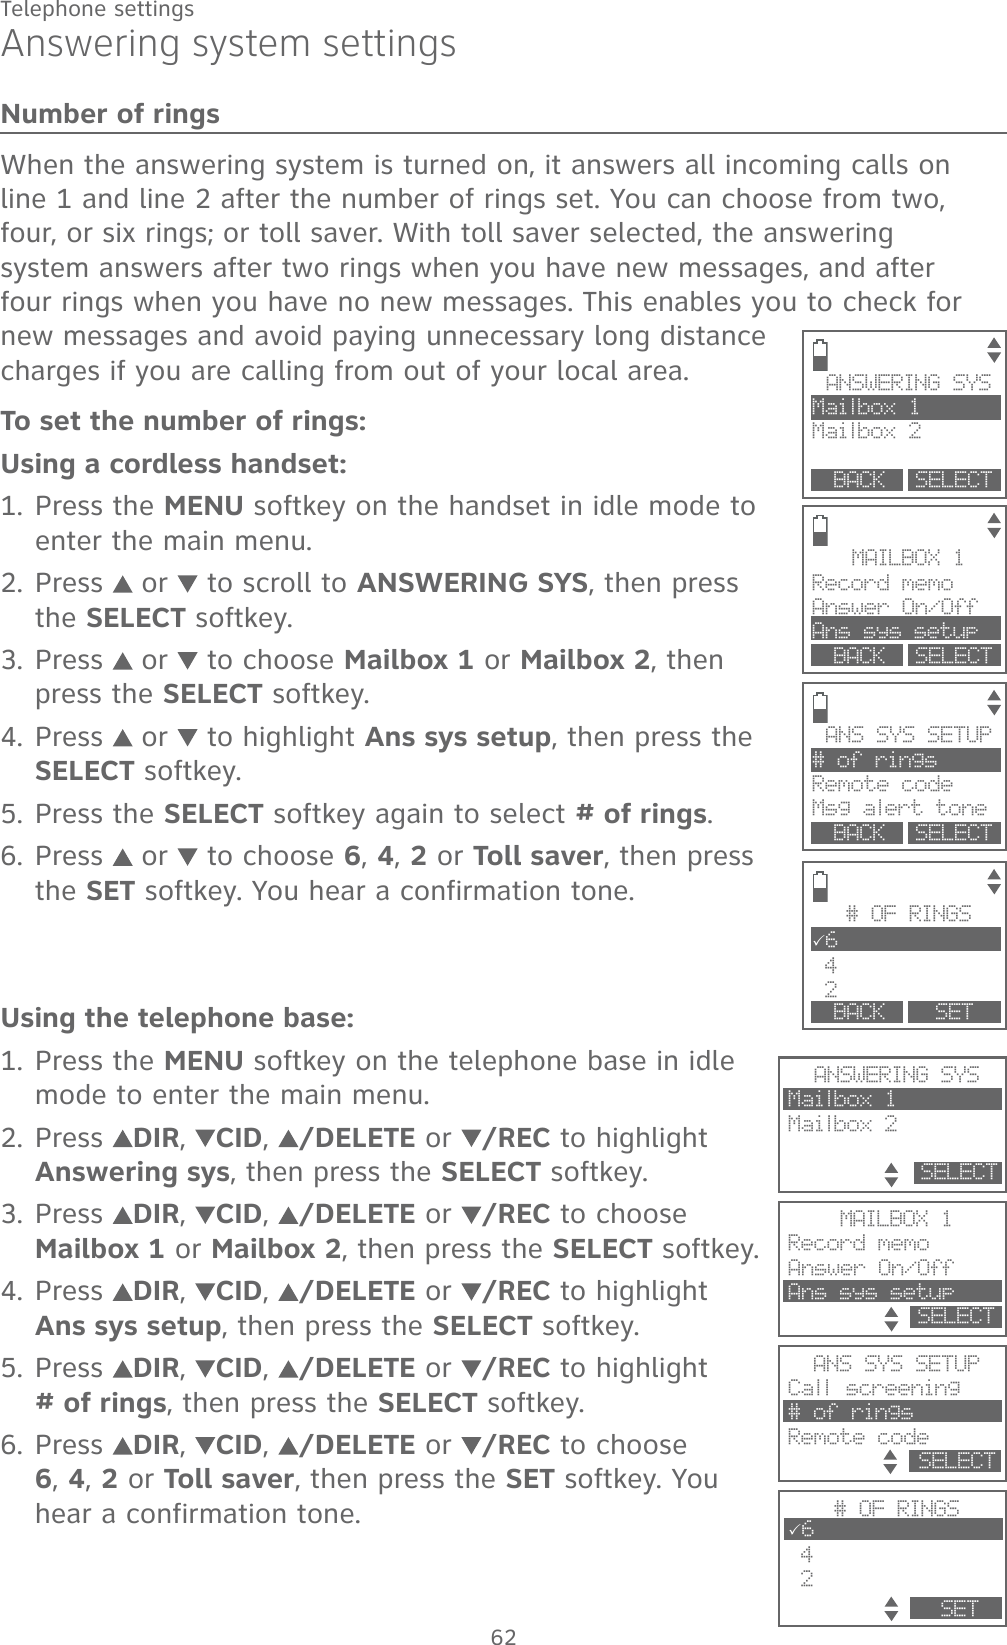

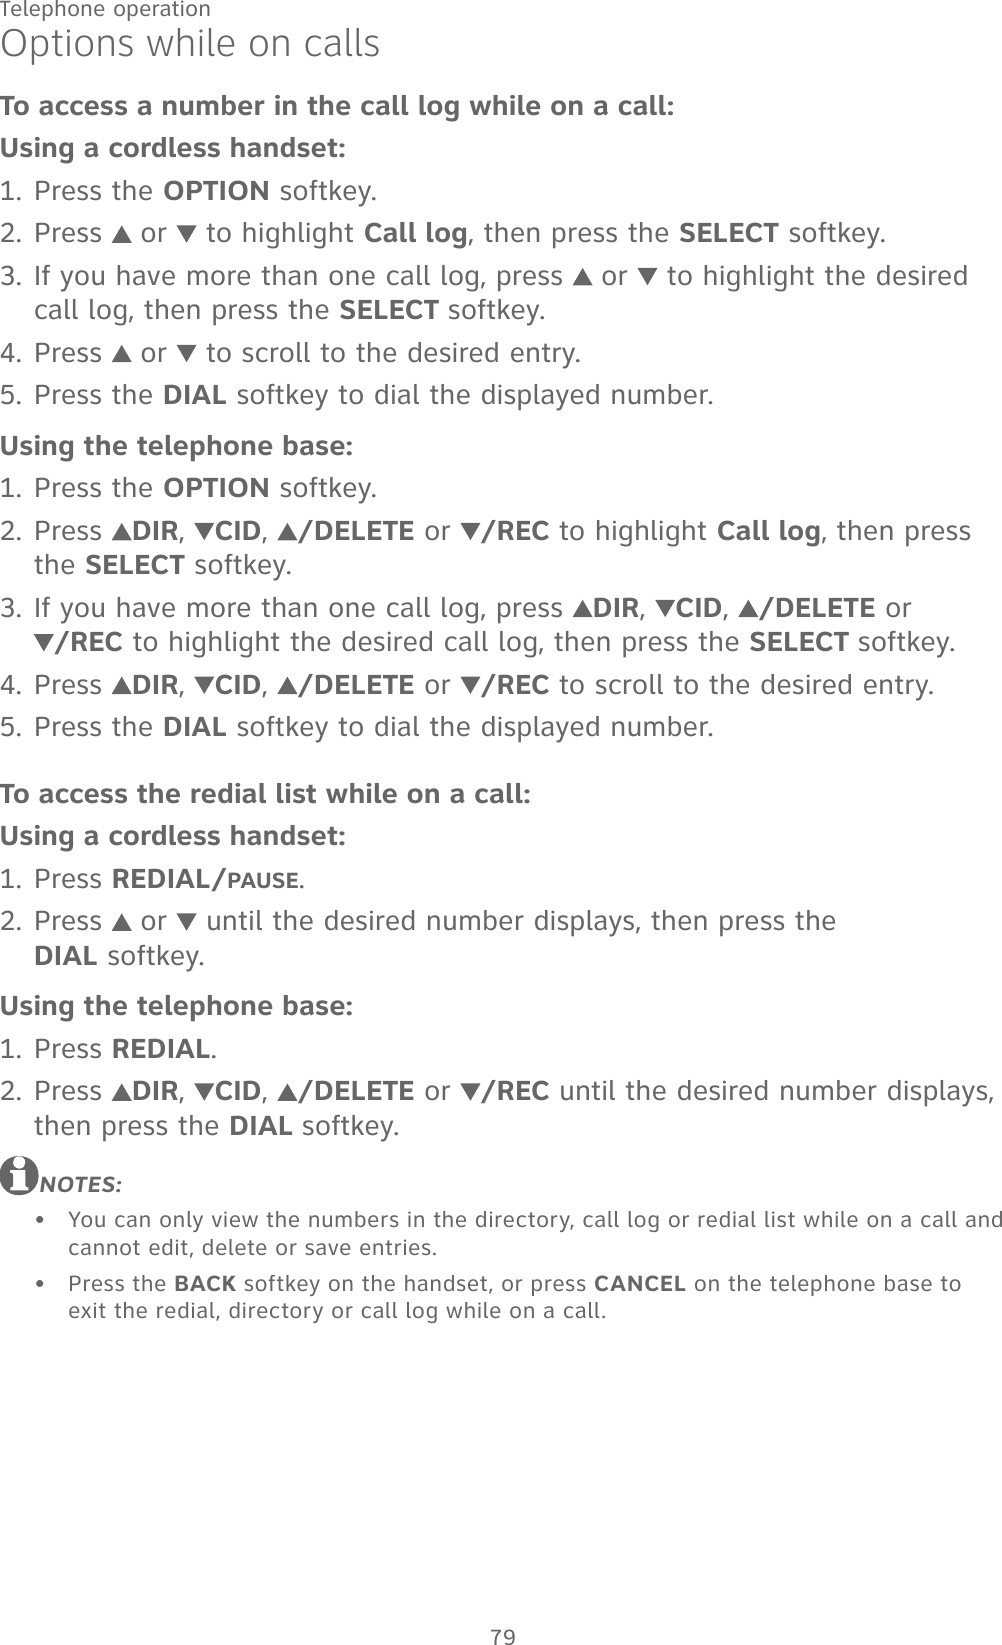
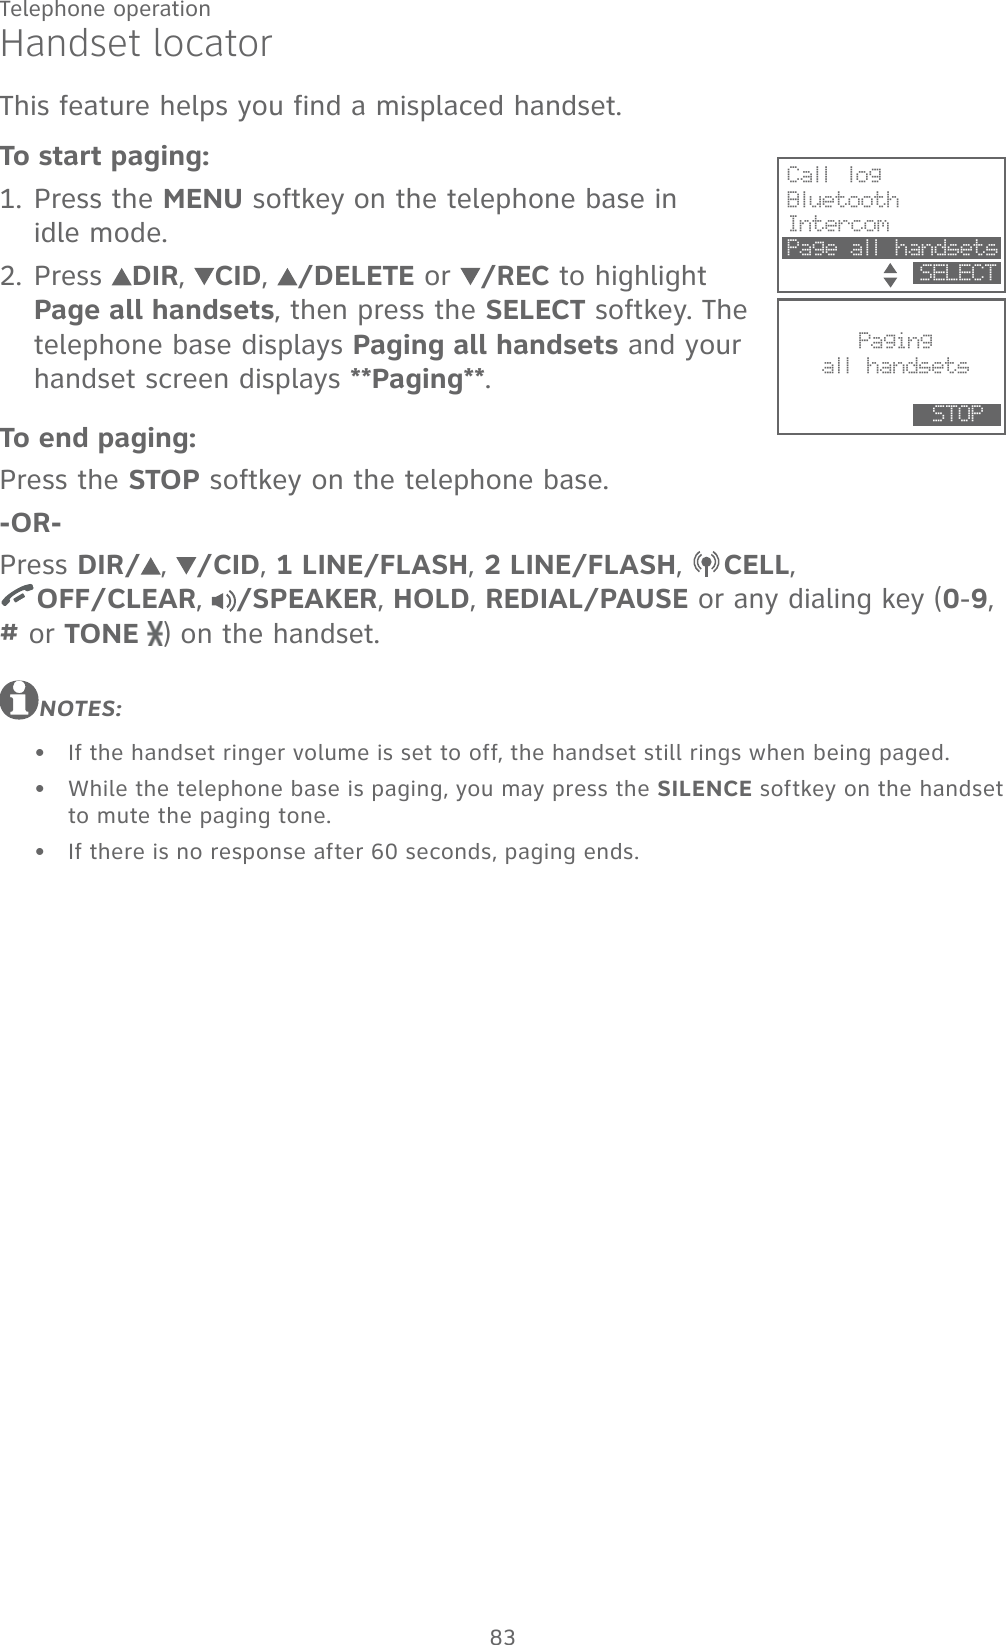
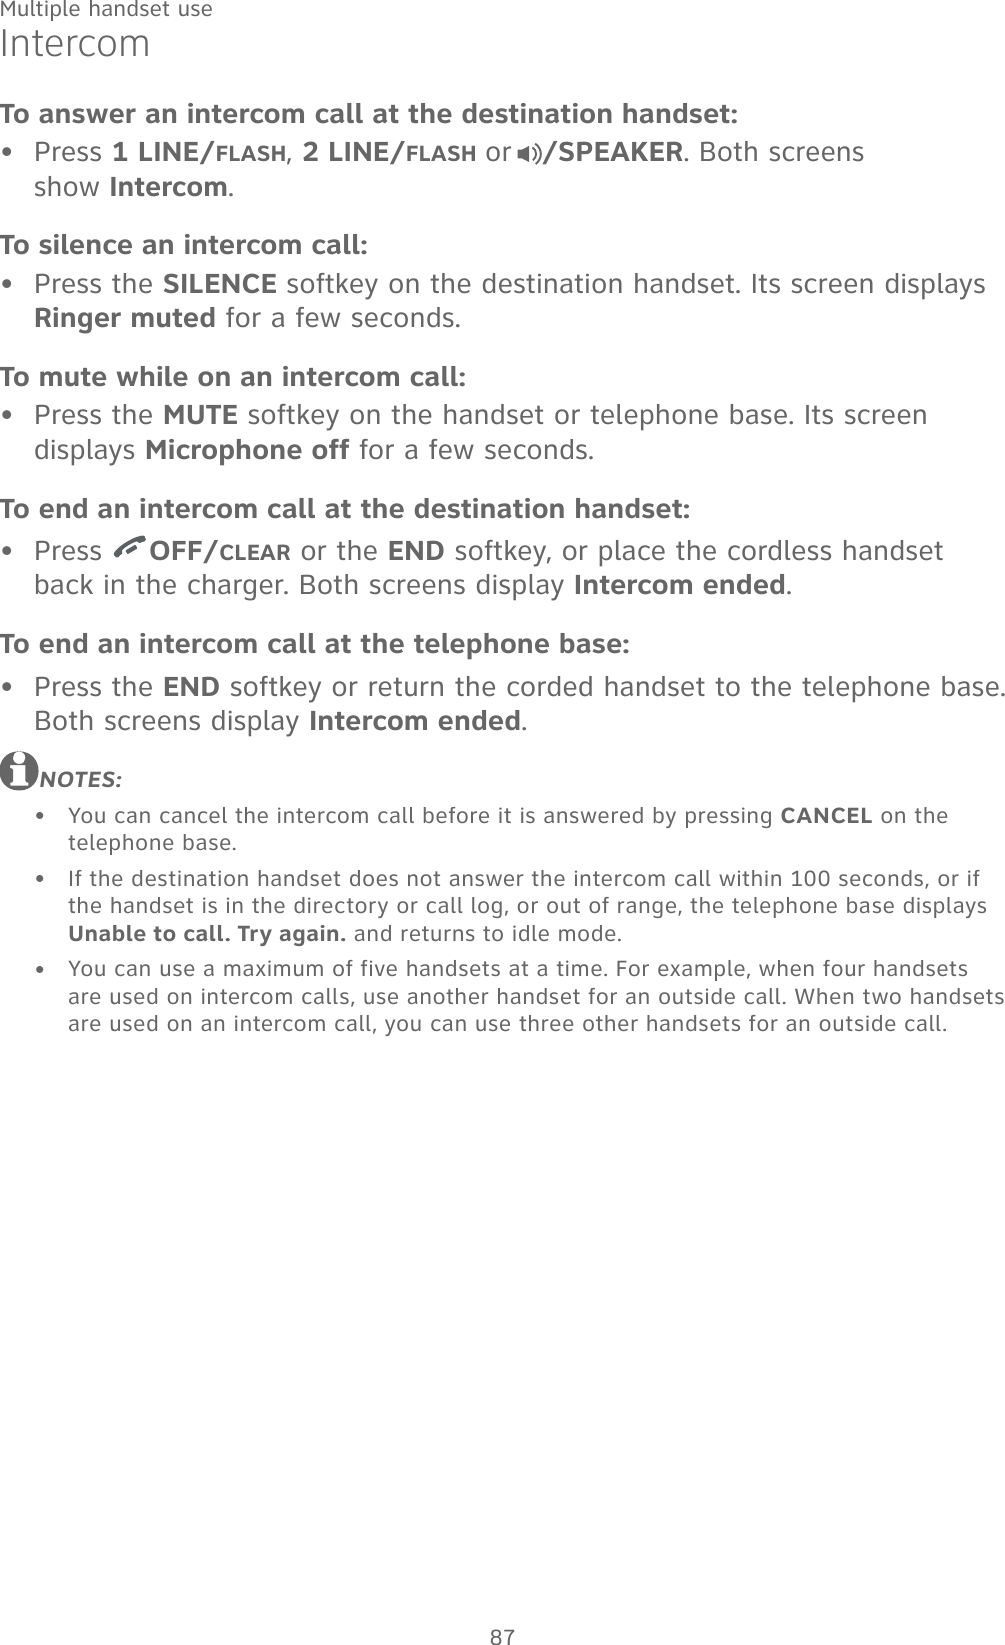


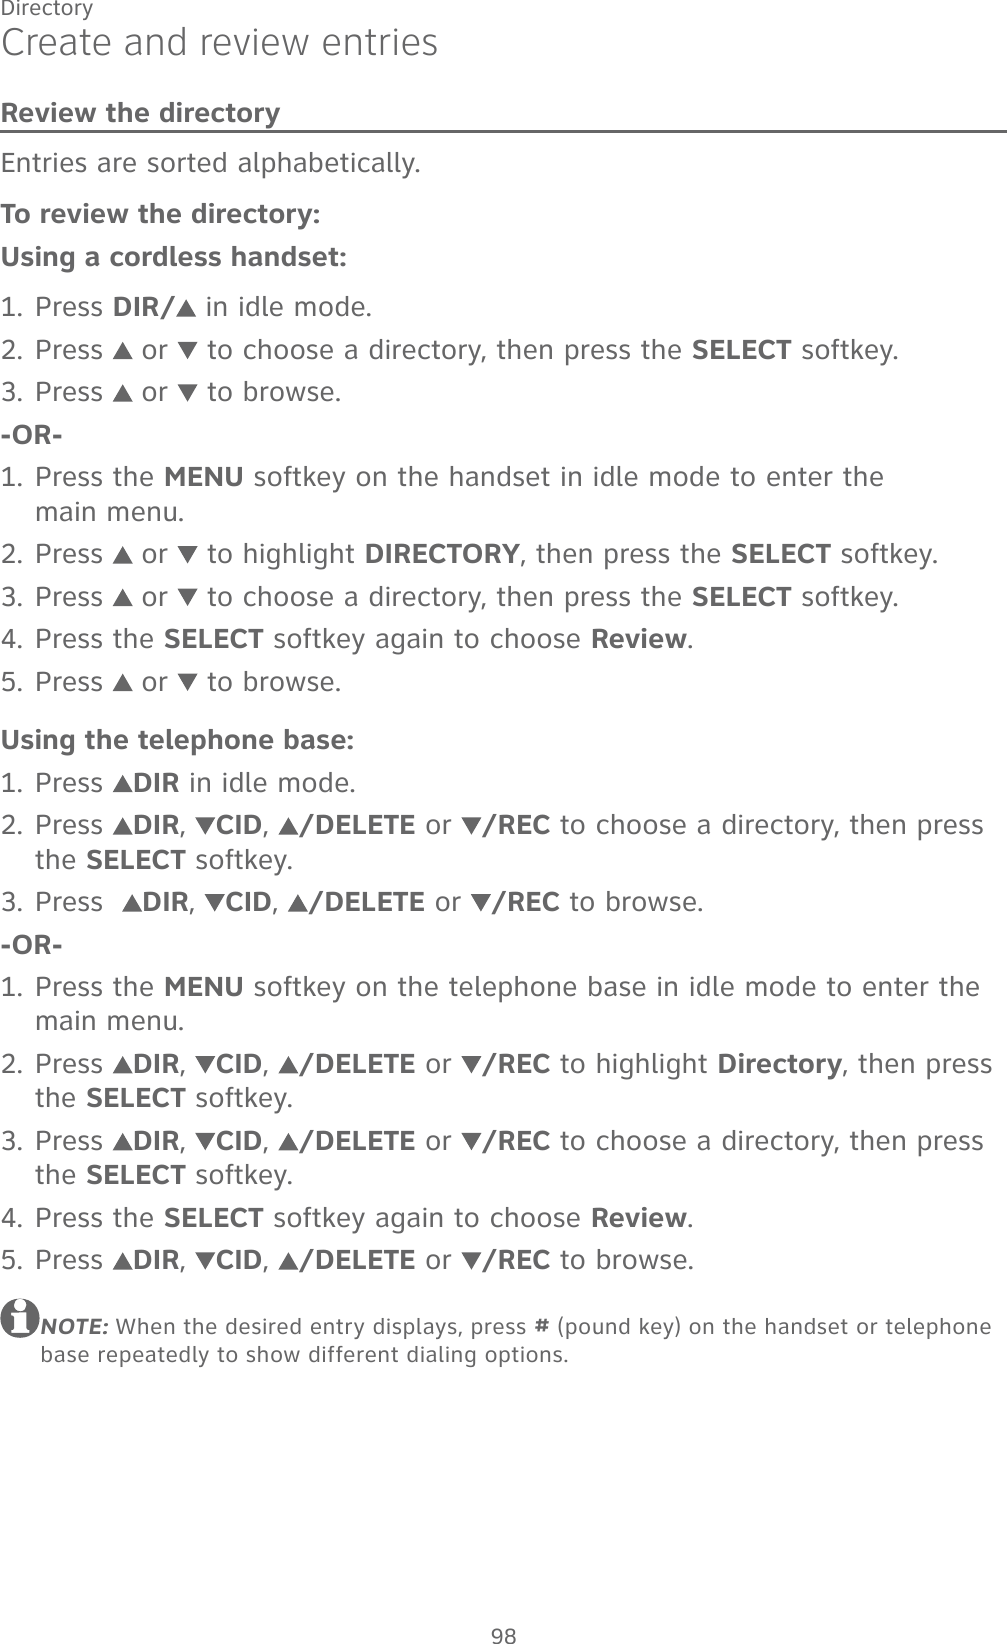
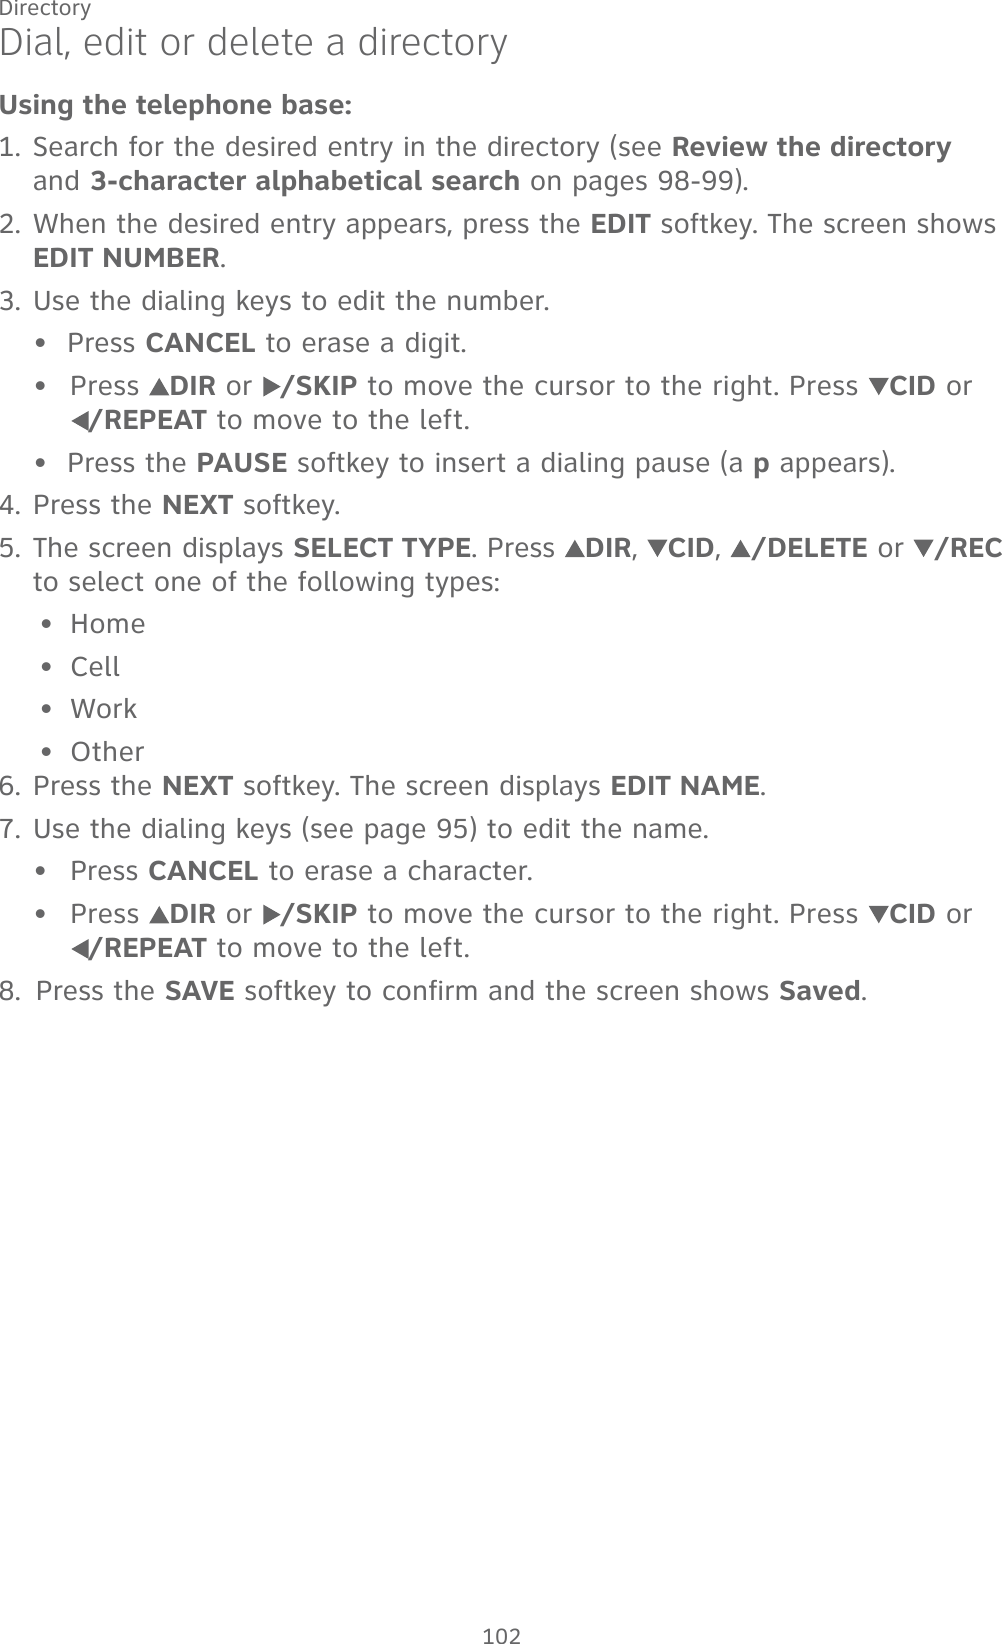
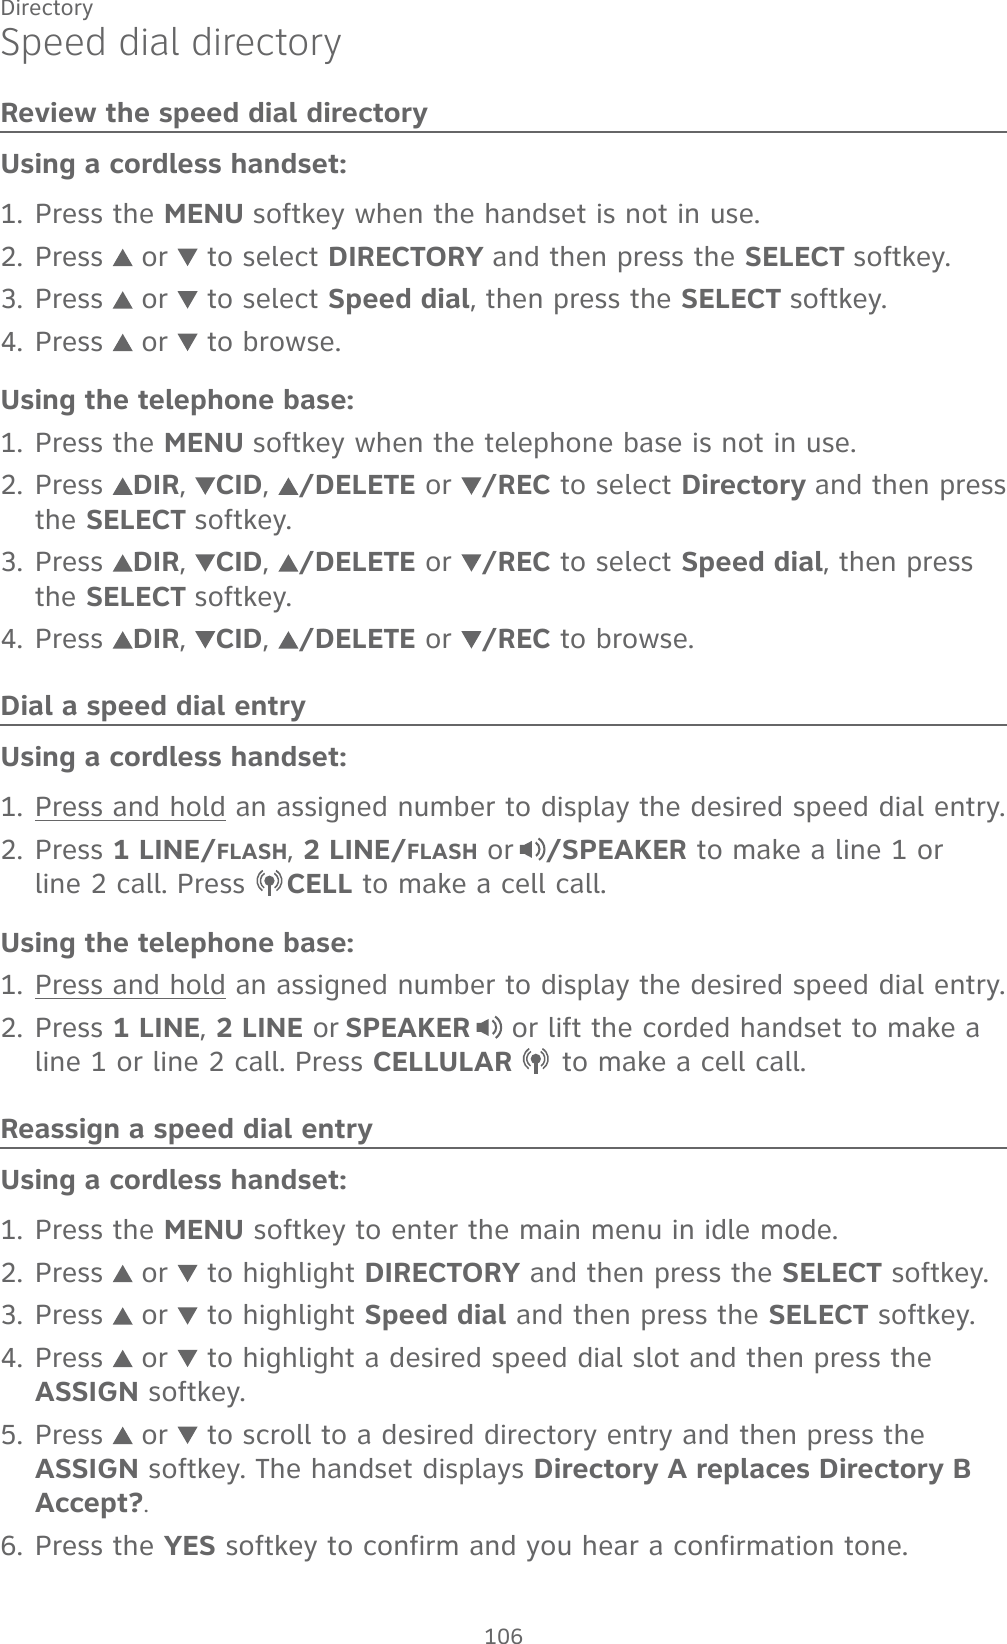

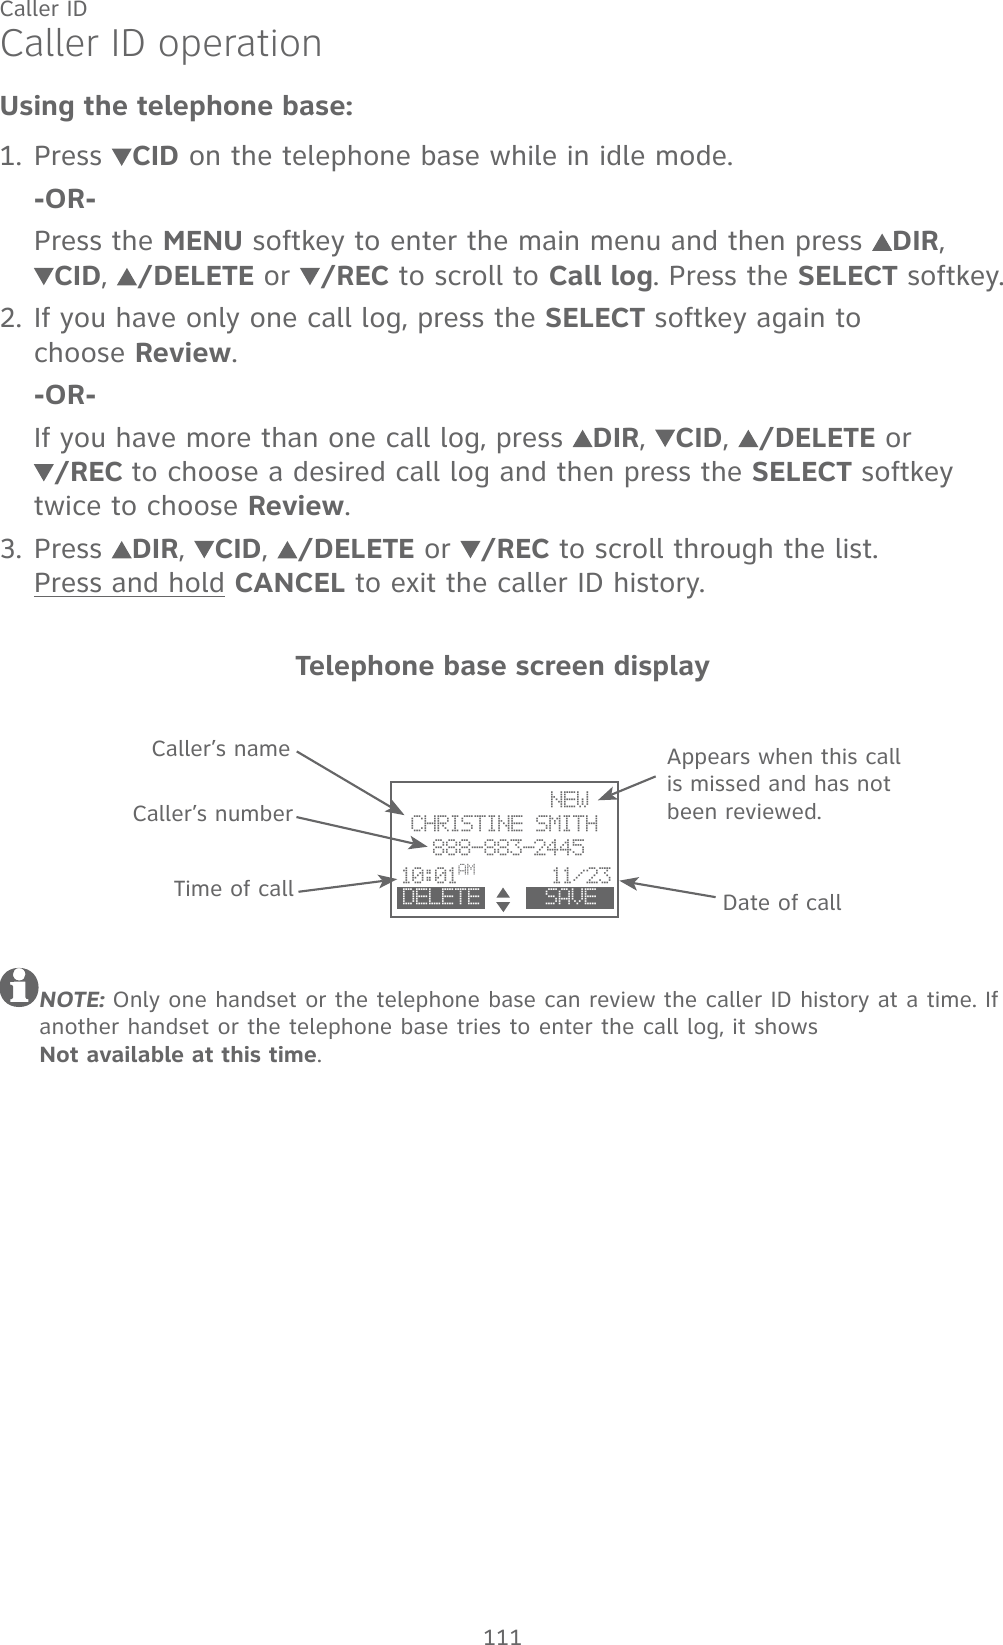

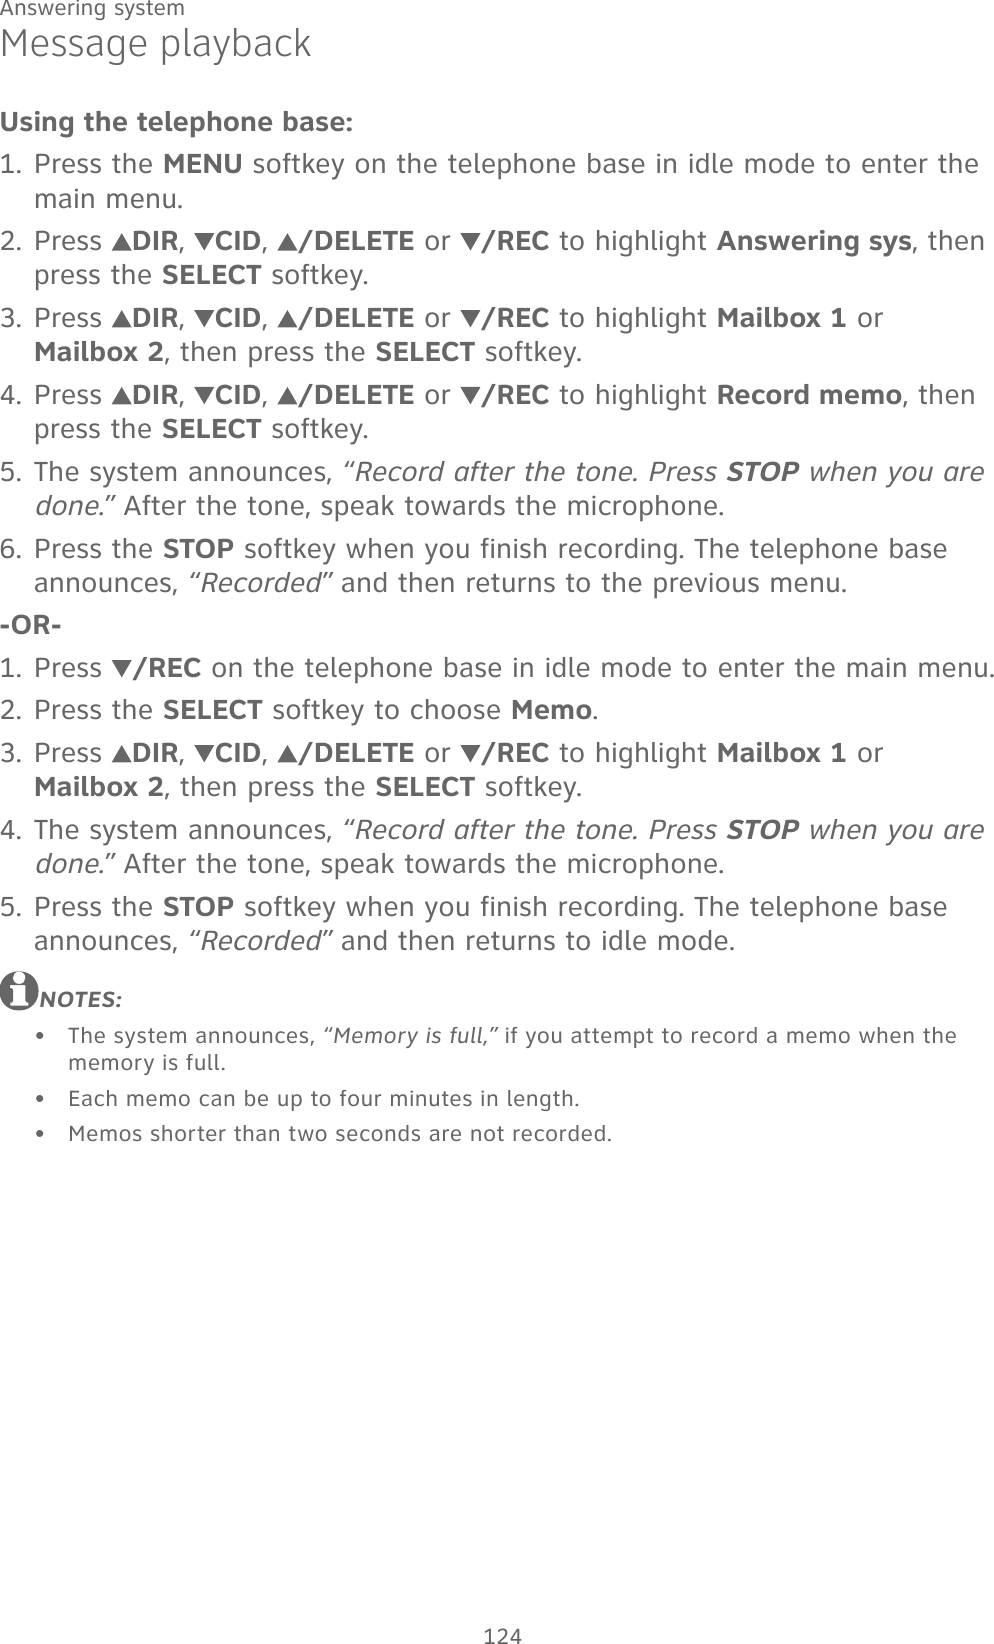


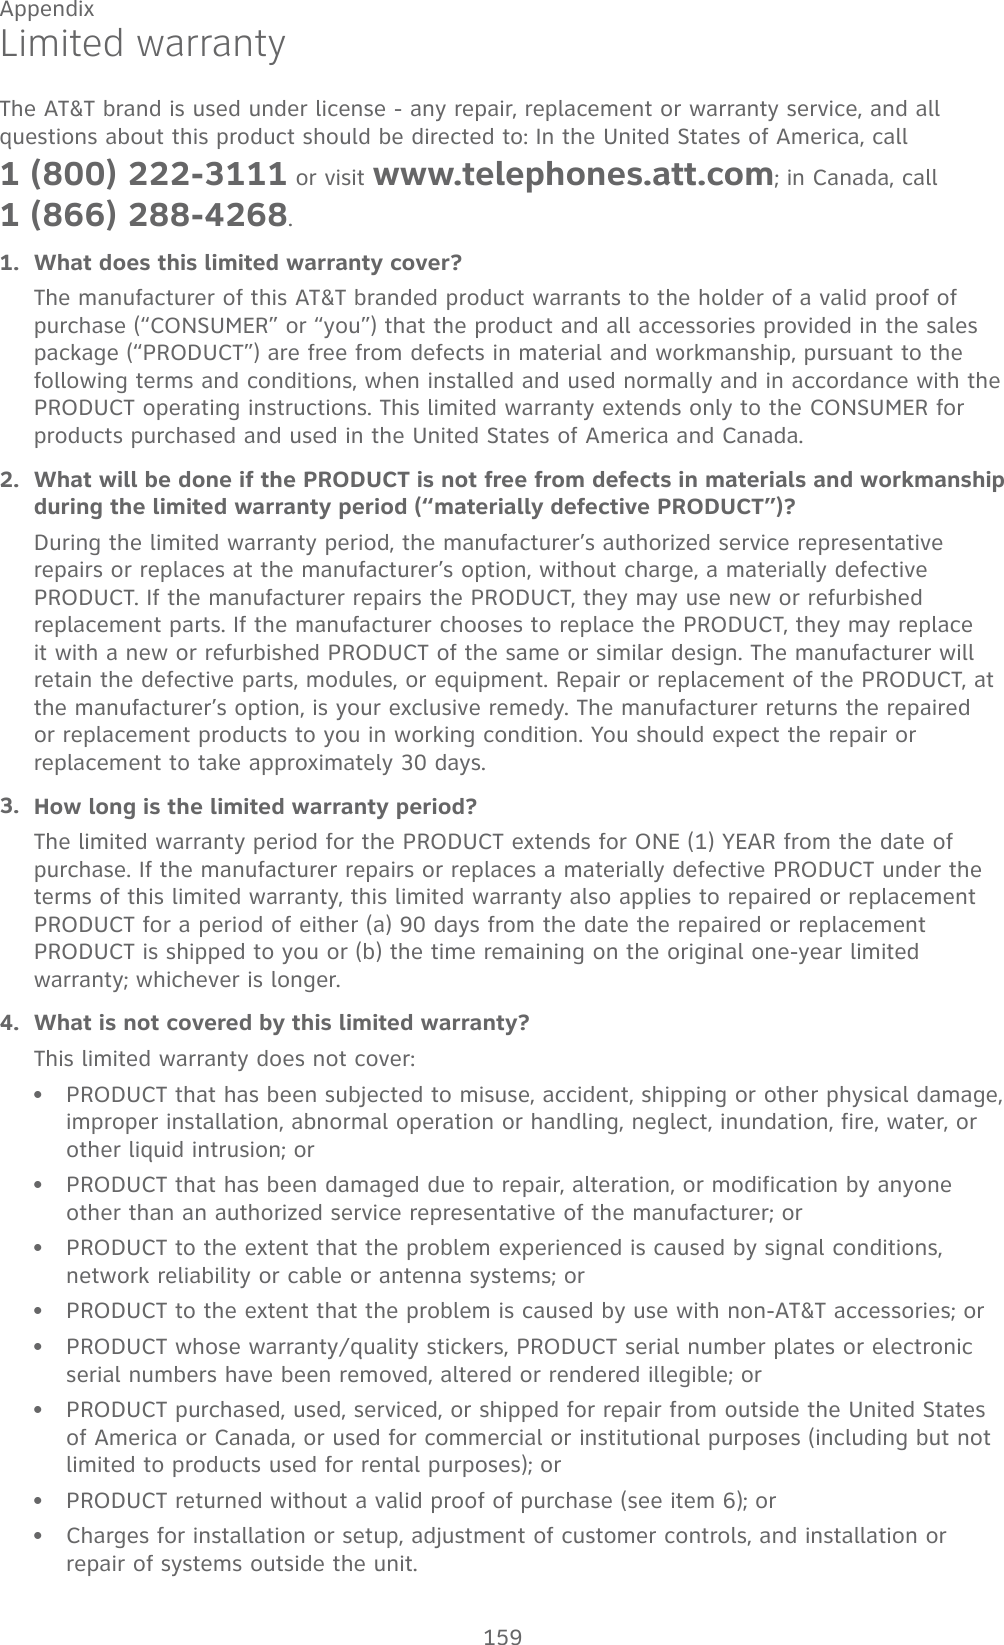
![135AppendixExpand your telephone systemThe cordless handset provided with your telephone system is already registered. Additional handsets registered to the telephone system are assigned in sequential order. For instance, if you already have HANDSET, the new registered handset is assigned HANDSET 2 and your first handset is then renamed as HANDSET 1. This telephone system accommodates up to 12 handsets.Add and register a handset (optional)You can add new handsets (TL86009, purchased separately) to your telephone system, but each handset must be registered with the telephone base before use. When first purchased, each expansion handset shows Press [HOLD] on base for 4 sec, then press [#] on handset after a battery is installed. Each handset should be charged without interruption for at least 25 minutes before registering to the telephone base. For more details on battery charging, see the table on page 12.To register a handset:Press and hold HOLD on the telephone base for about four seconds until it shows Registering...Please wait. Then, release the button.Press # (pound key) on the handset. Its screen shows Registering handset... and it takes up to 60 seconds to complete the registration. The handset and telephone base show HANDSET X Registered (X represents the handset number assigned) and you hear a beep when the registration completes.NOTES:If the registration fails, the handset shows Registration failed for a few seconds and then Press [HOLD] on base for 4 sec, then press [#] on handset. Try the registration process again.You cannot register a handset if any other system handset is in use.You cannot register more than 12 handsets to the telephone base. Registration slots are full shows on the base screen while you are in step 2.1.2.•••](https://usermanual.wiki/VTech-Telecommunications/80-6879-01/User-Guide-3194450-Page-141.png)
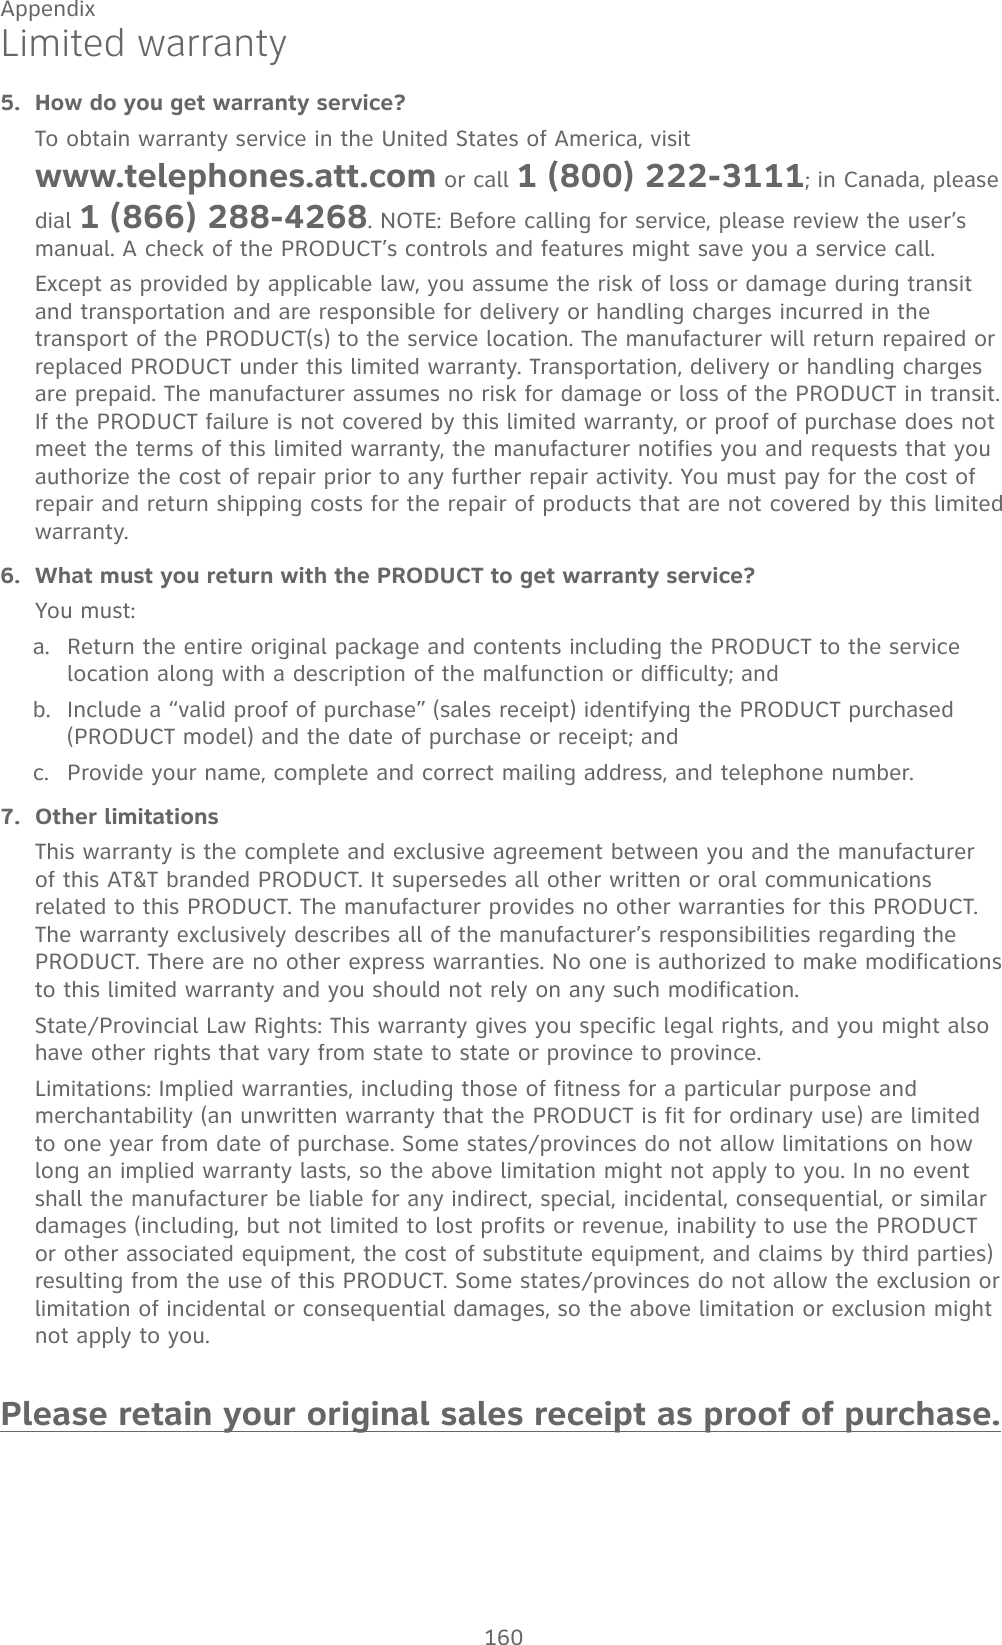
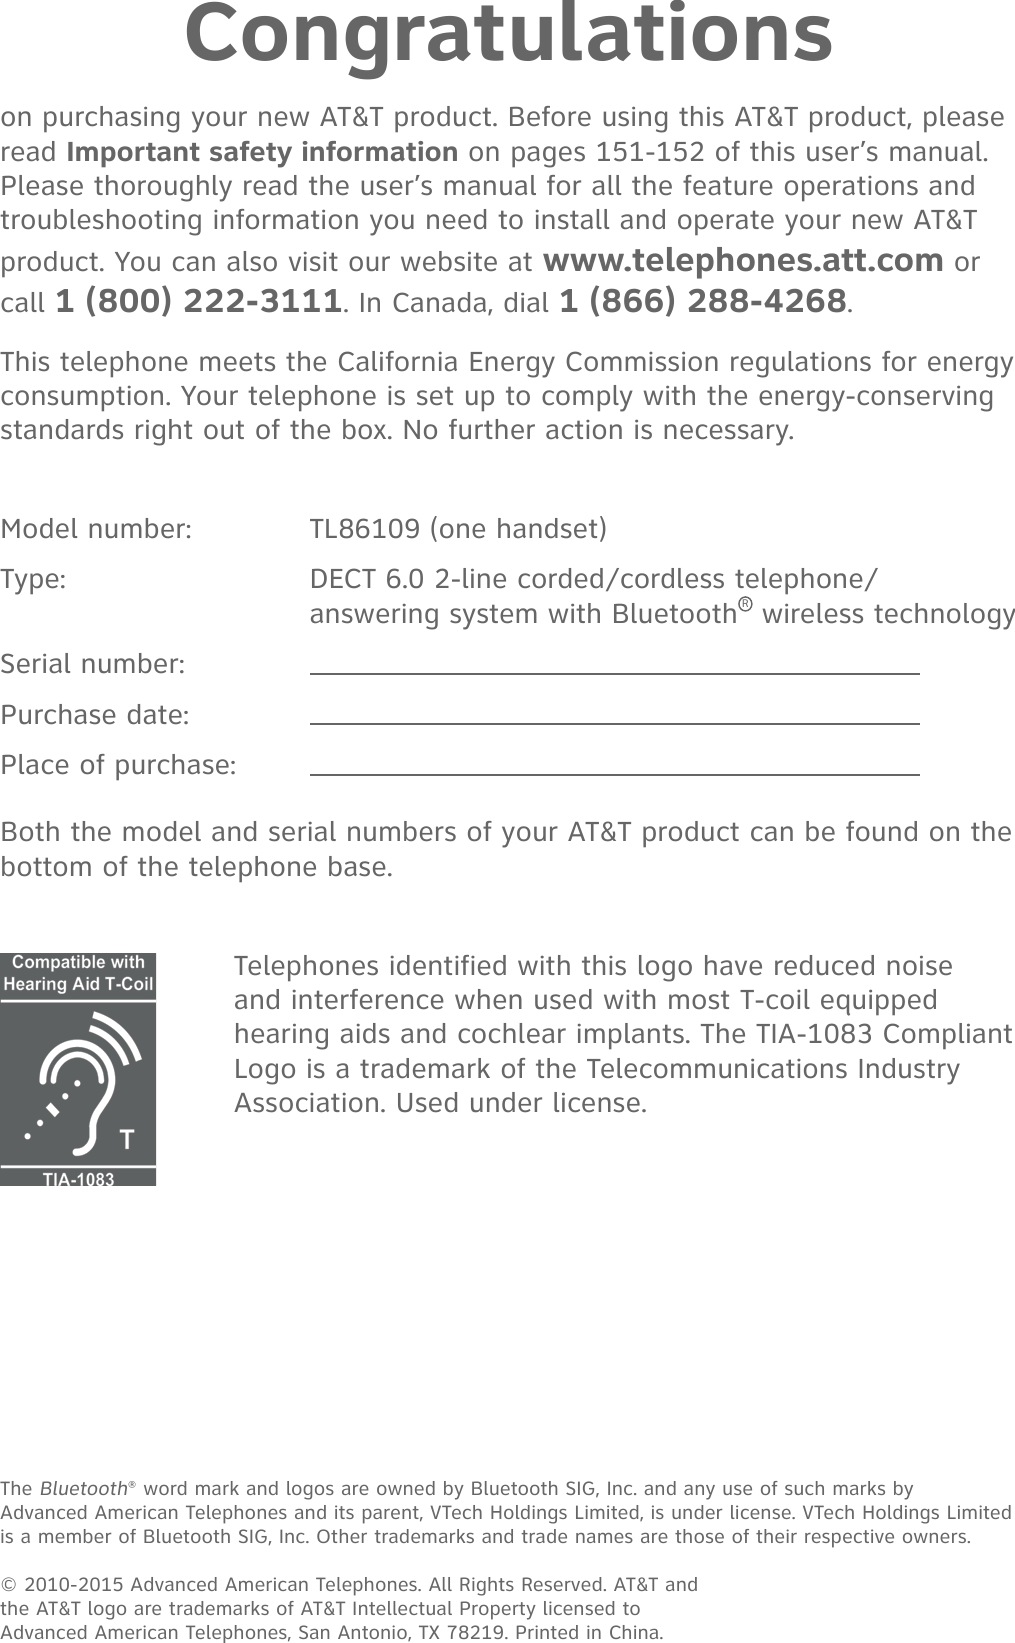
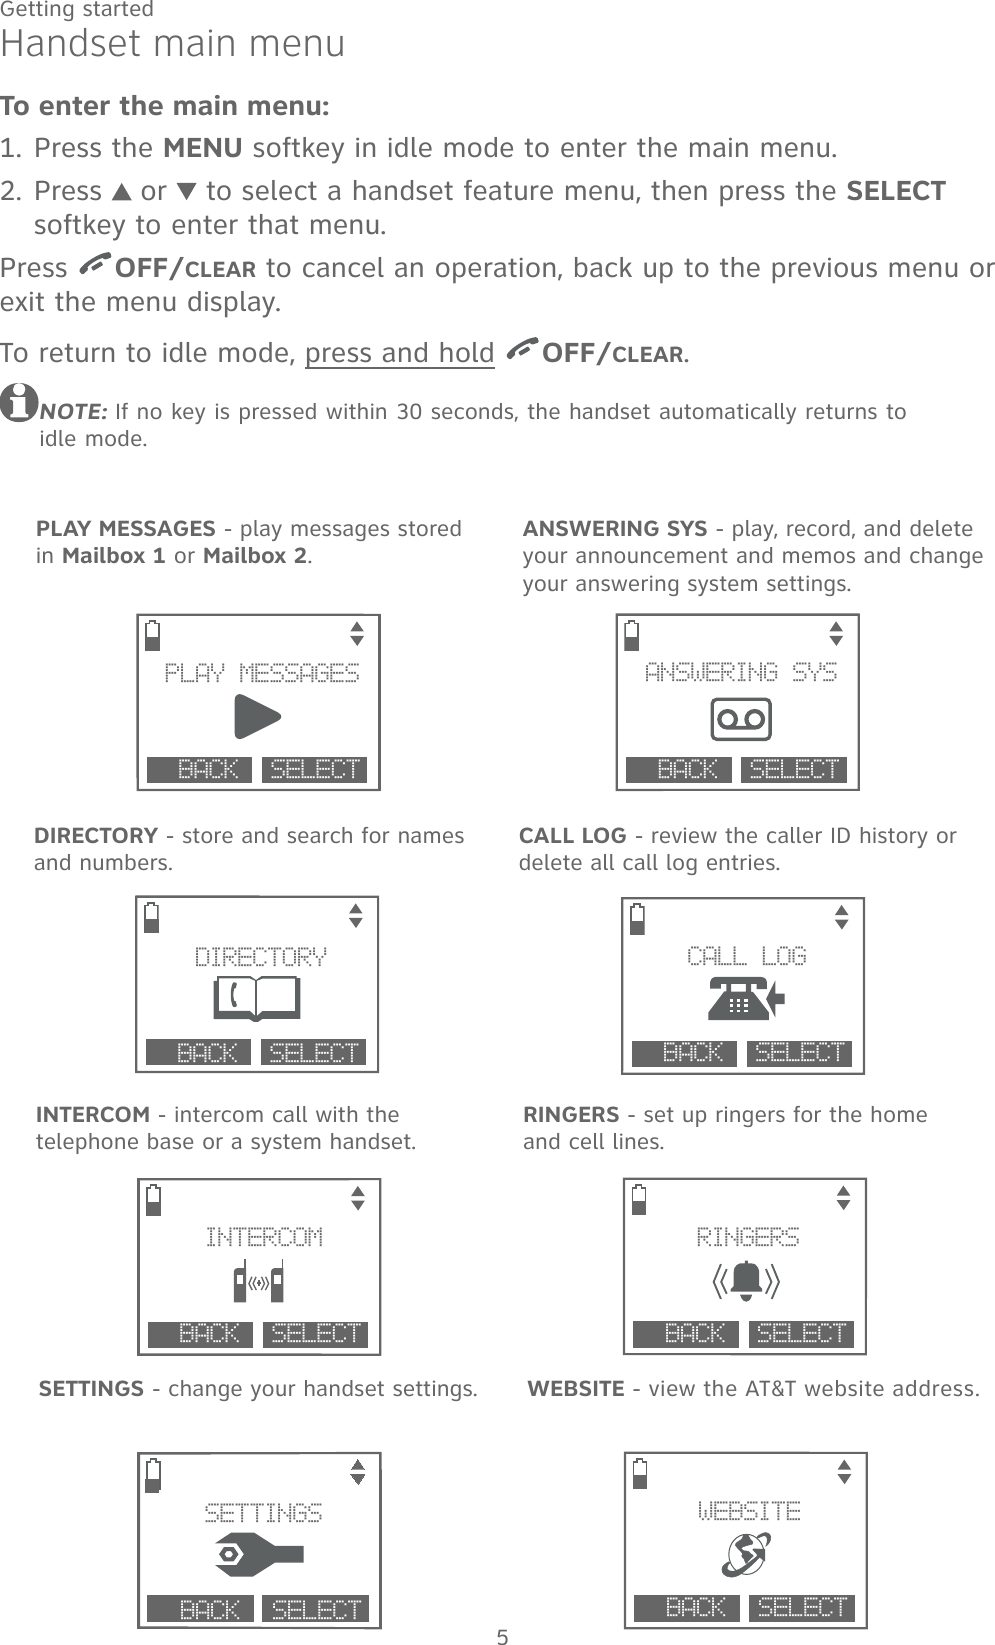
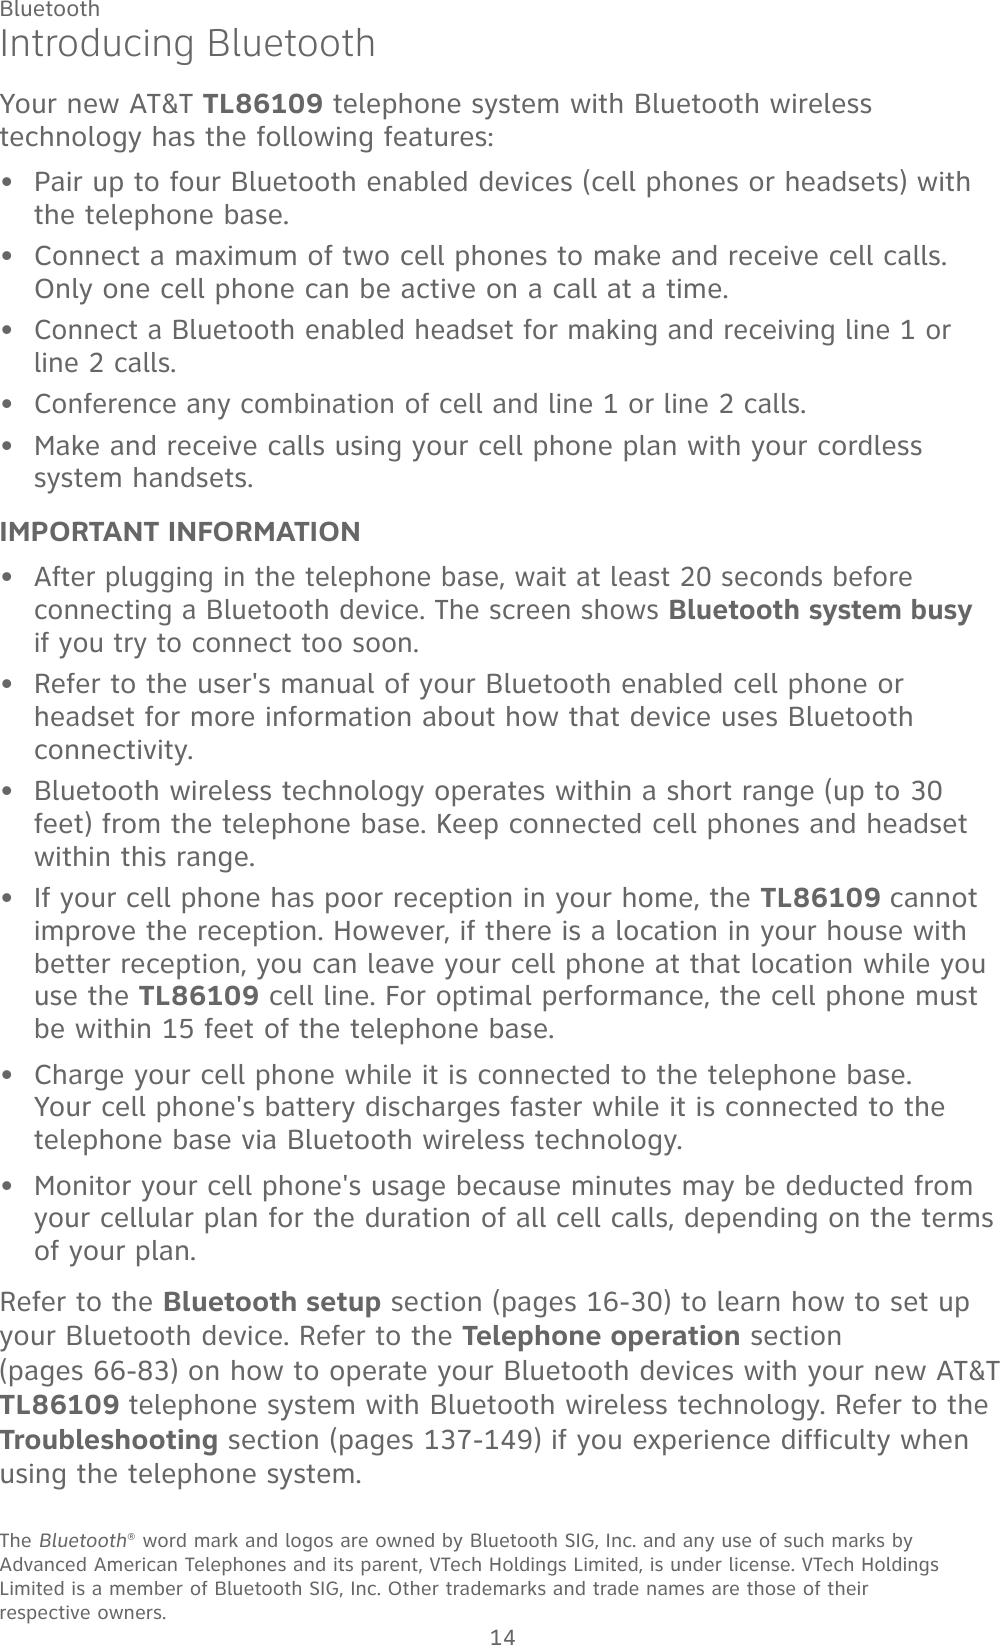
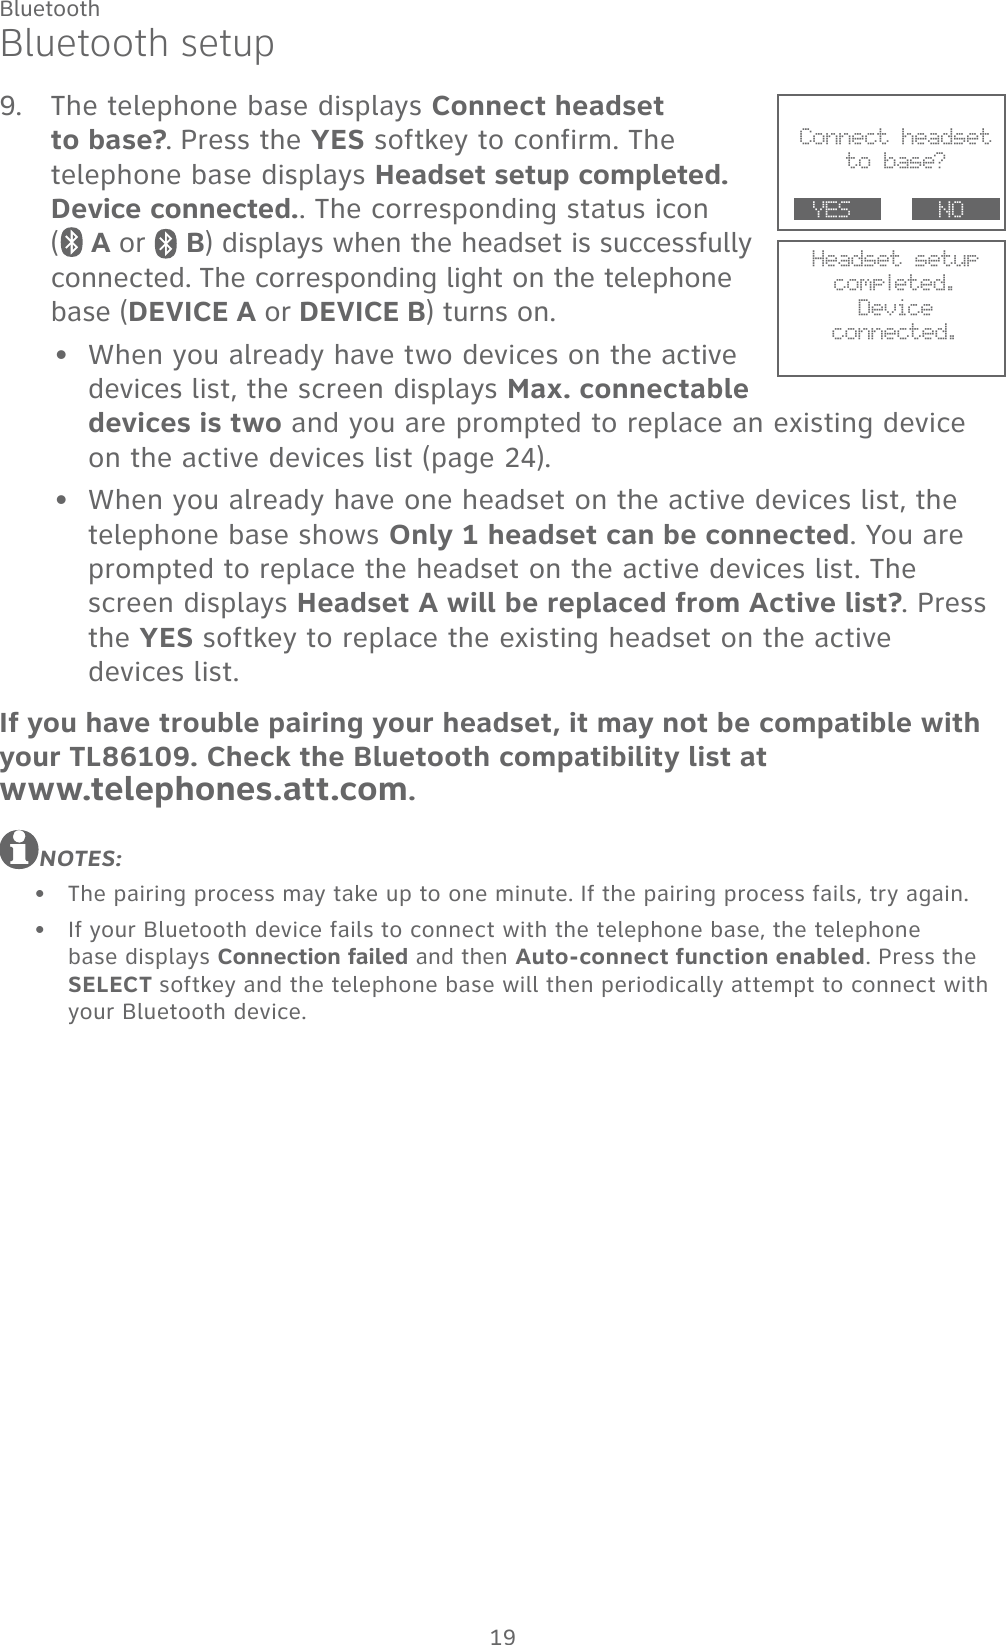
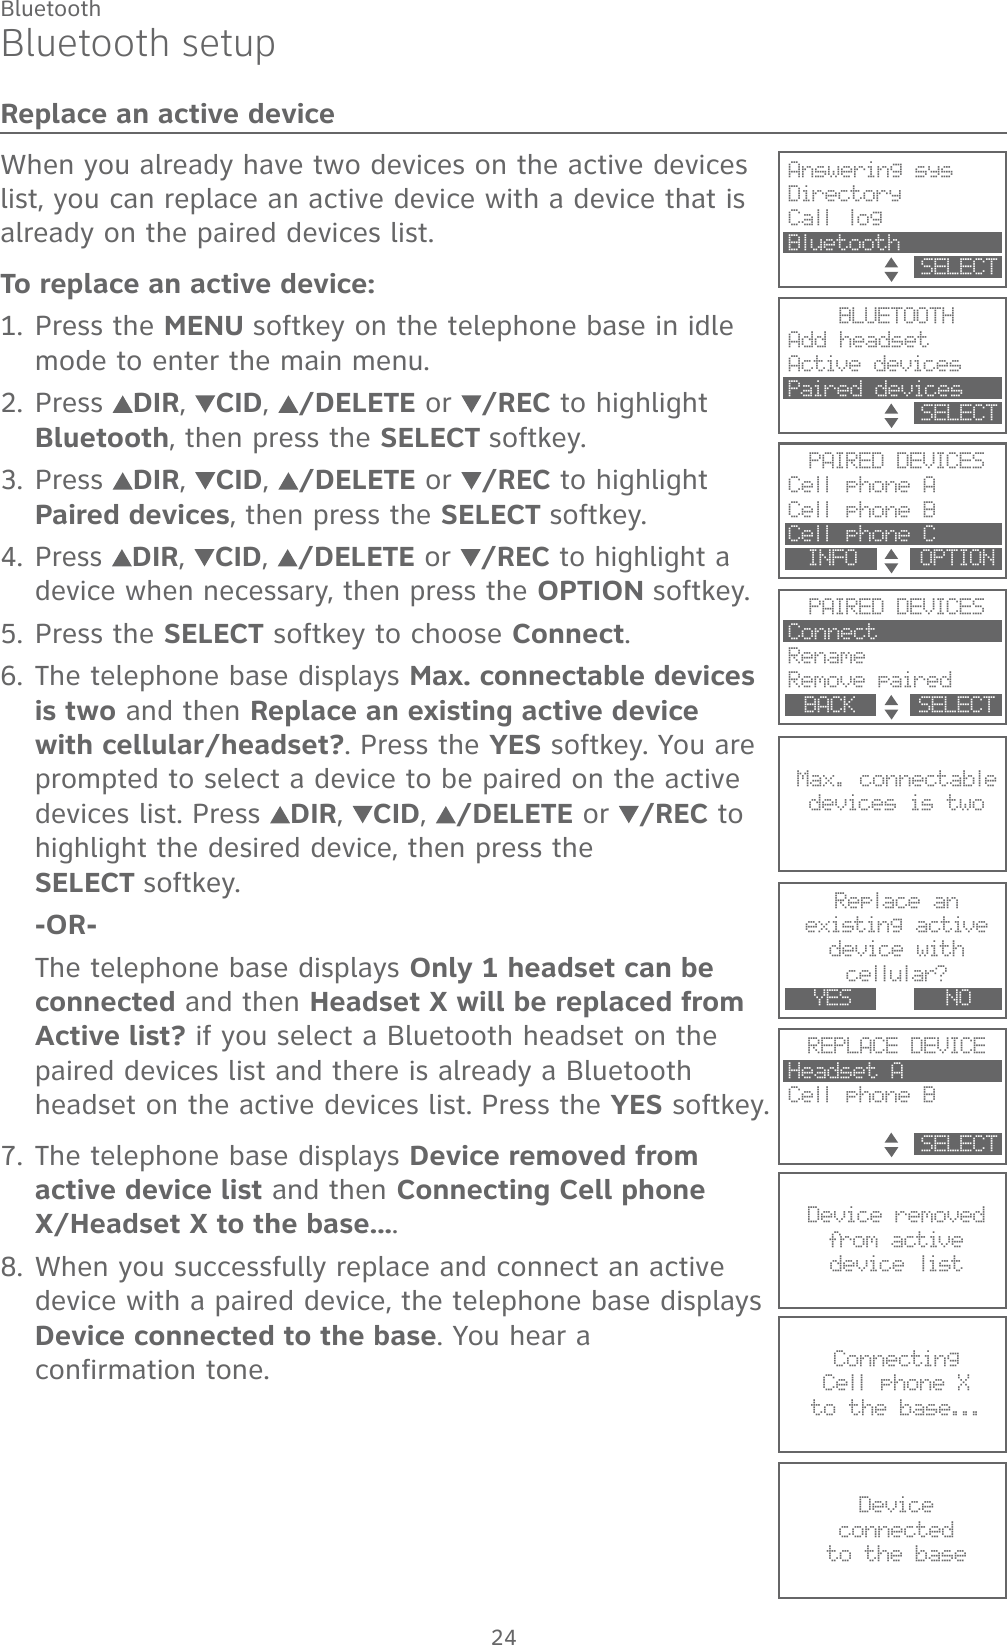
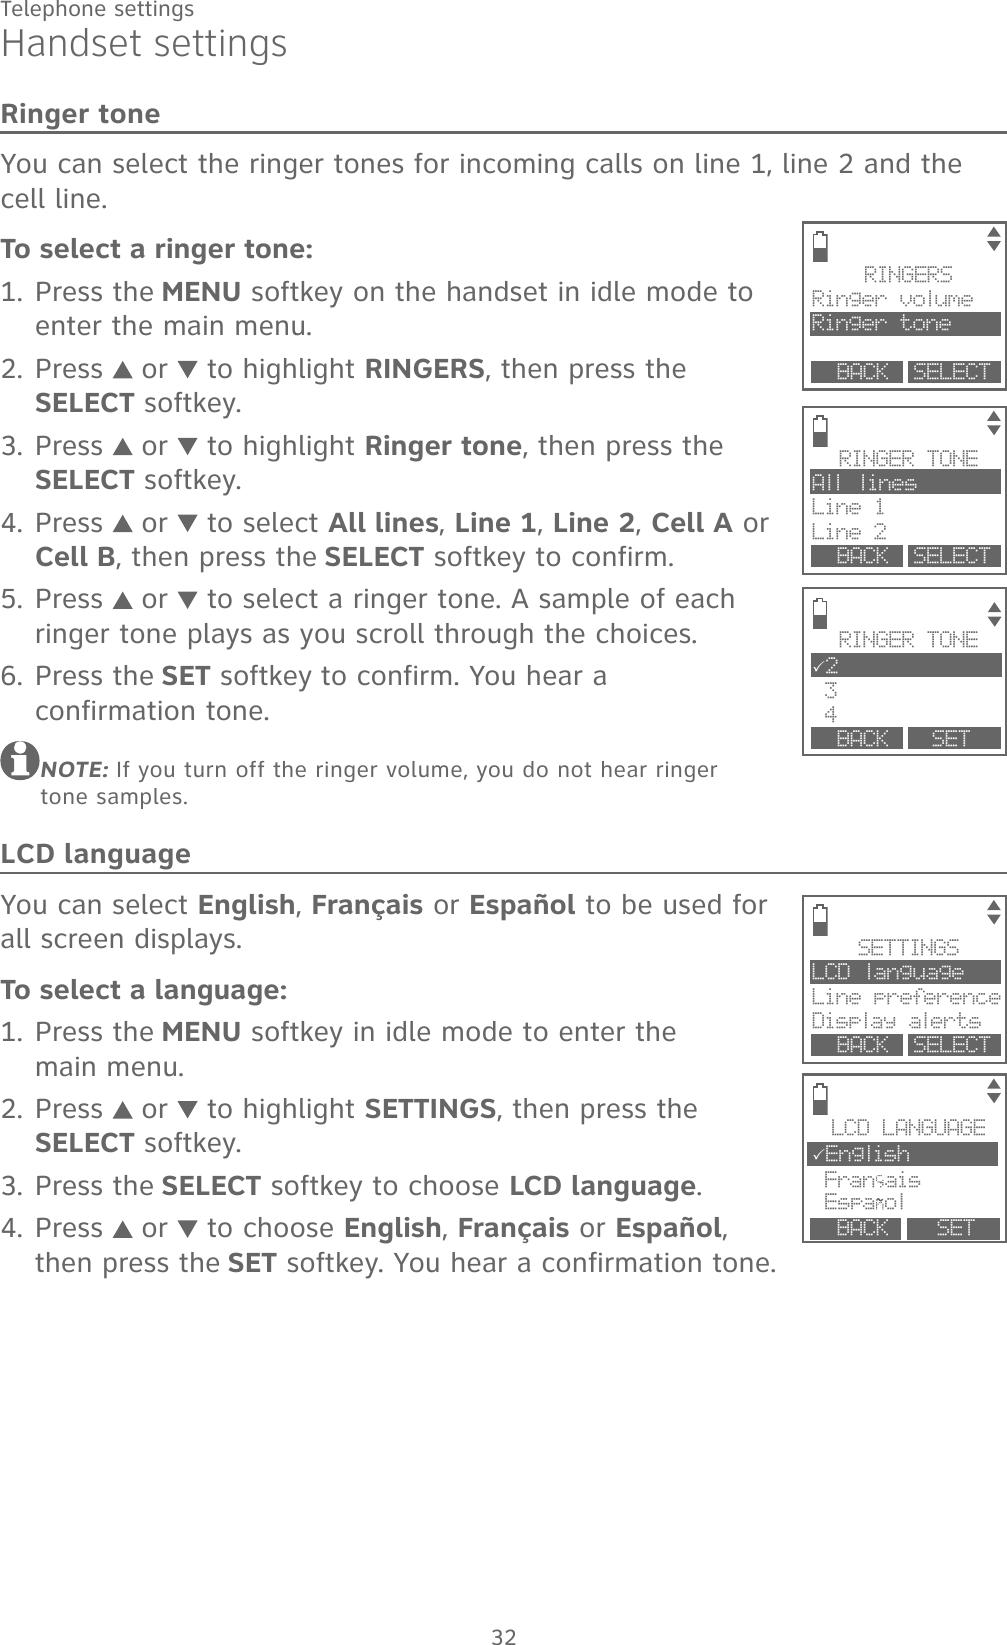
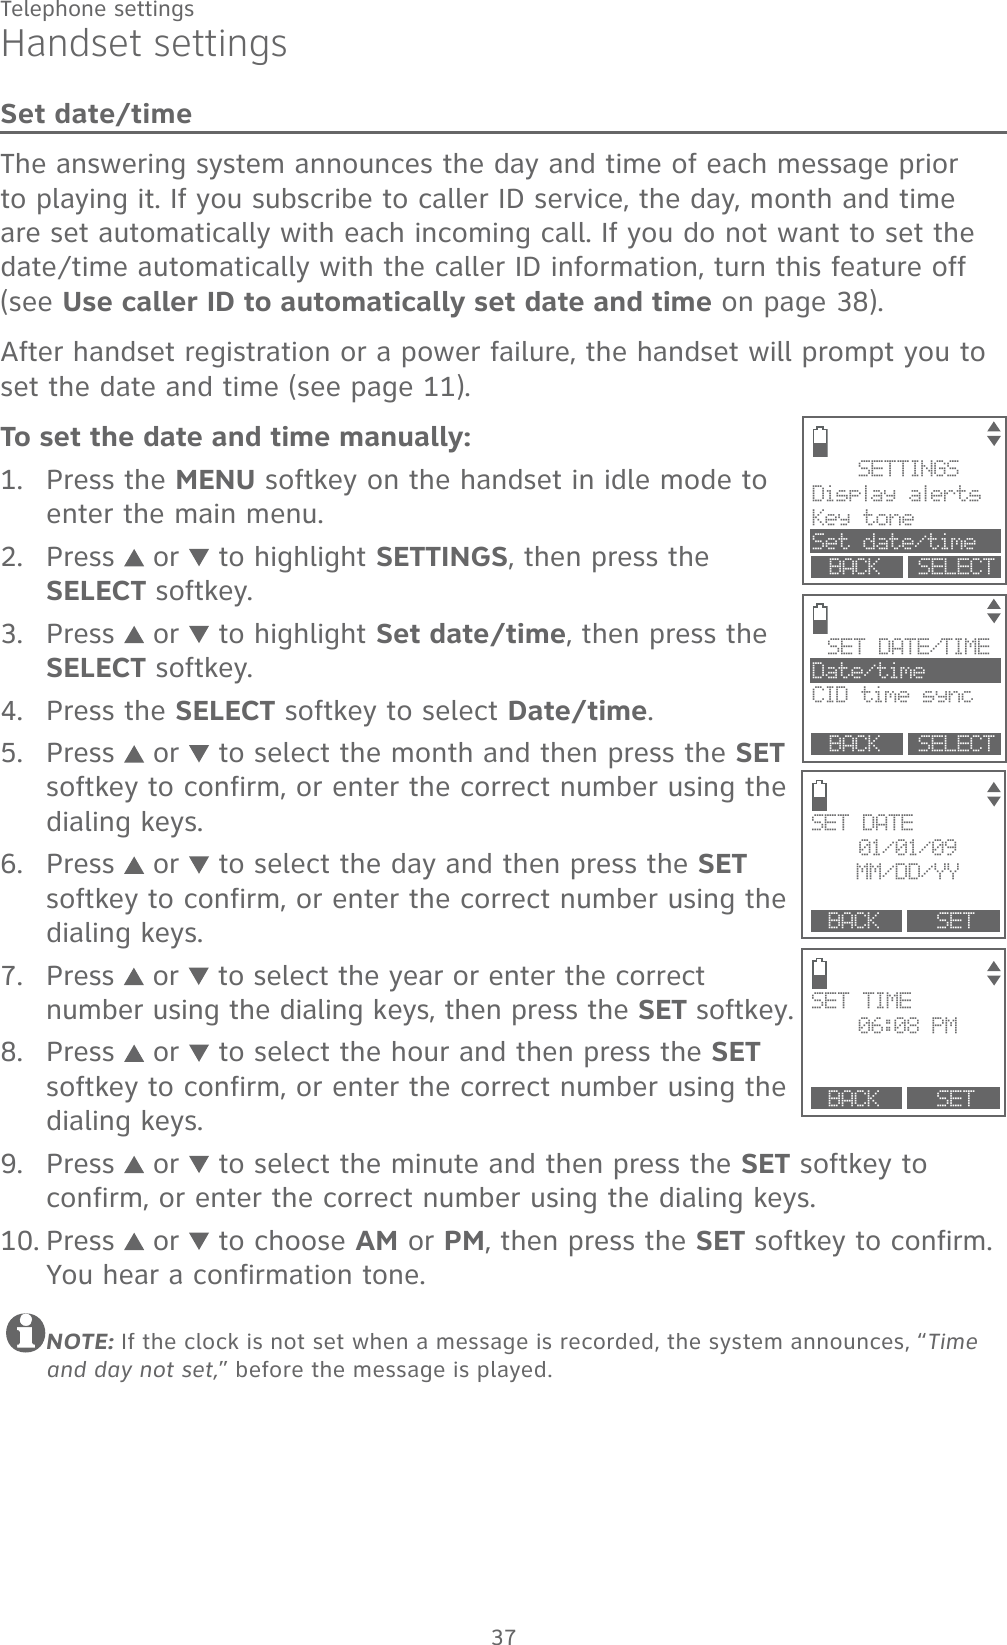
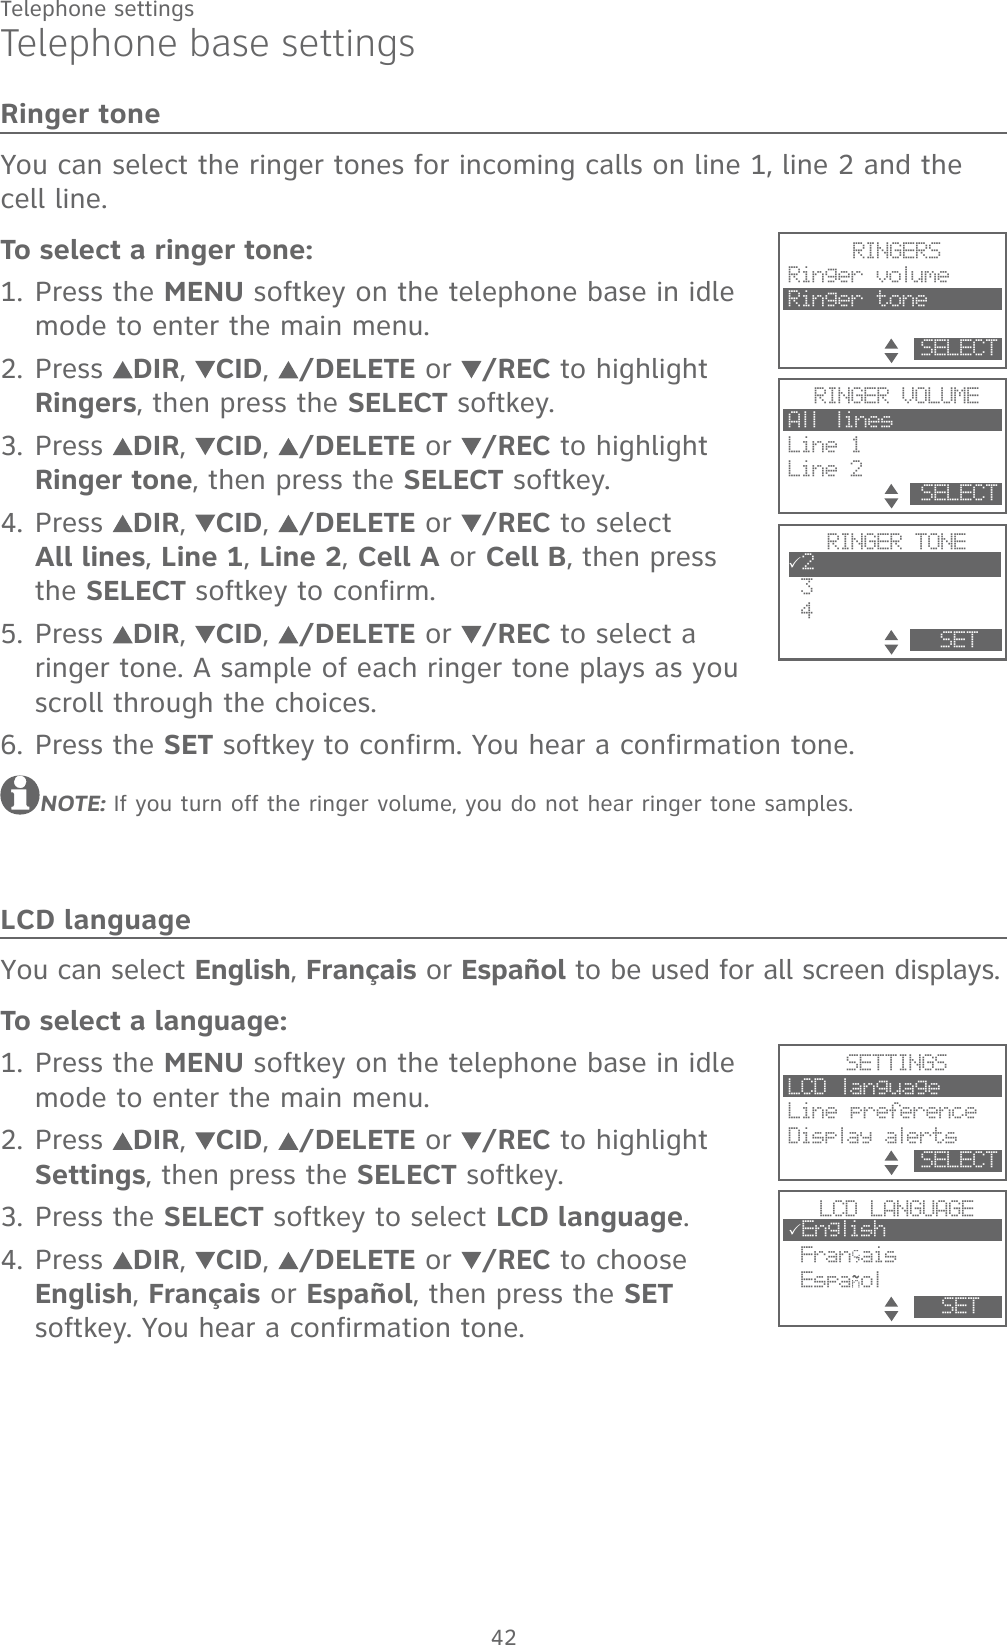
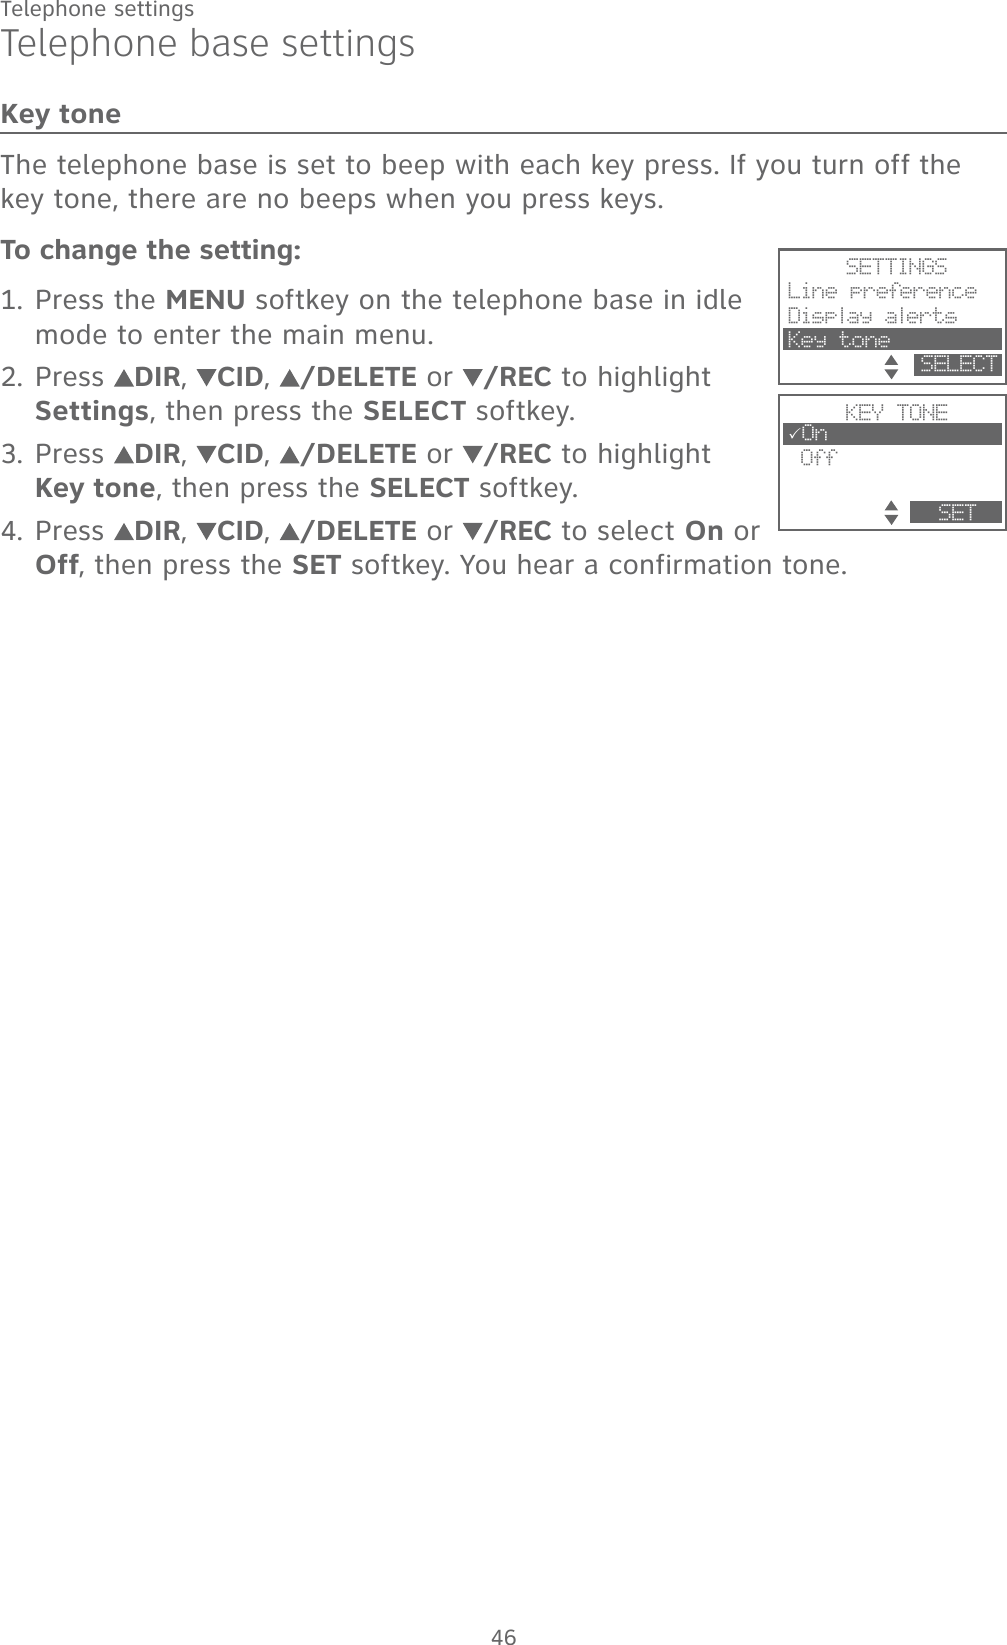
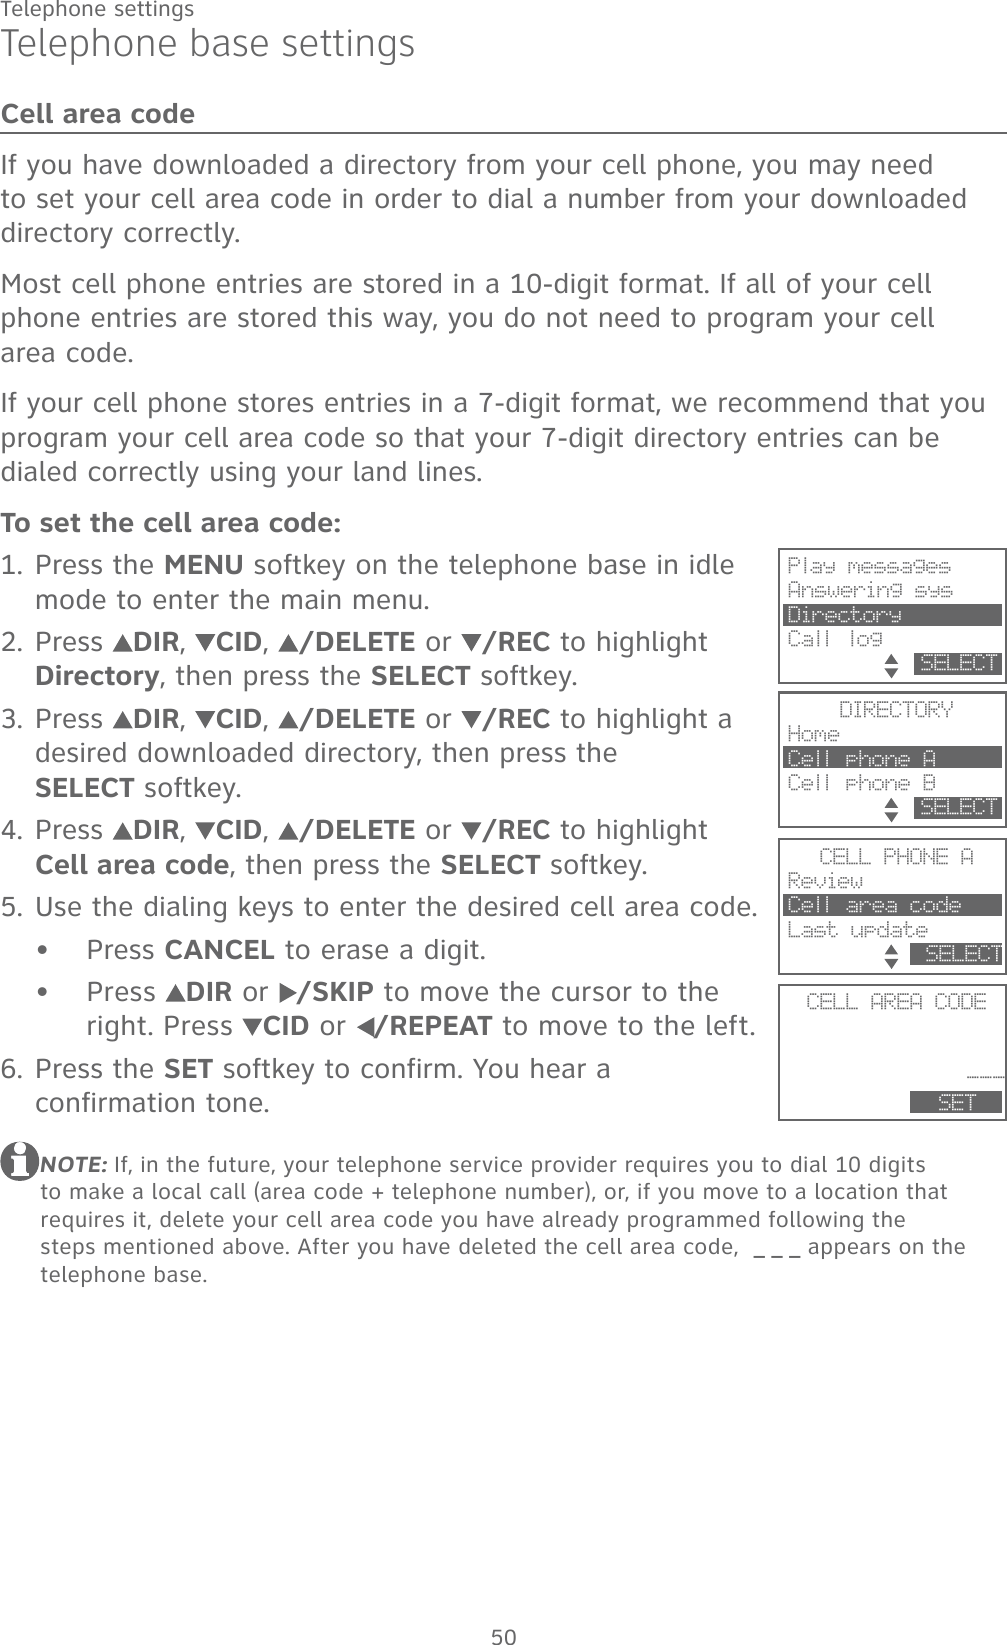
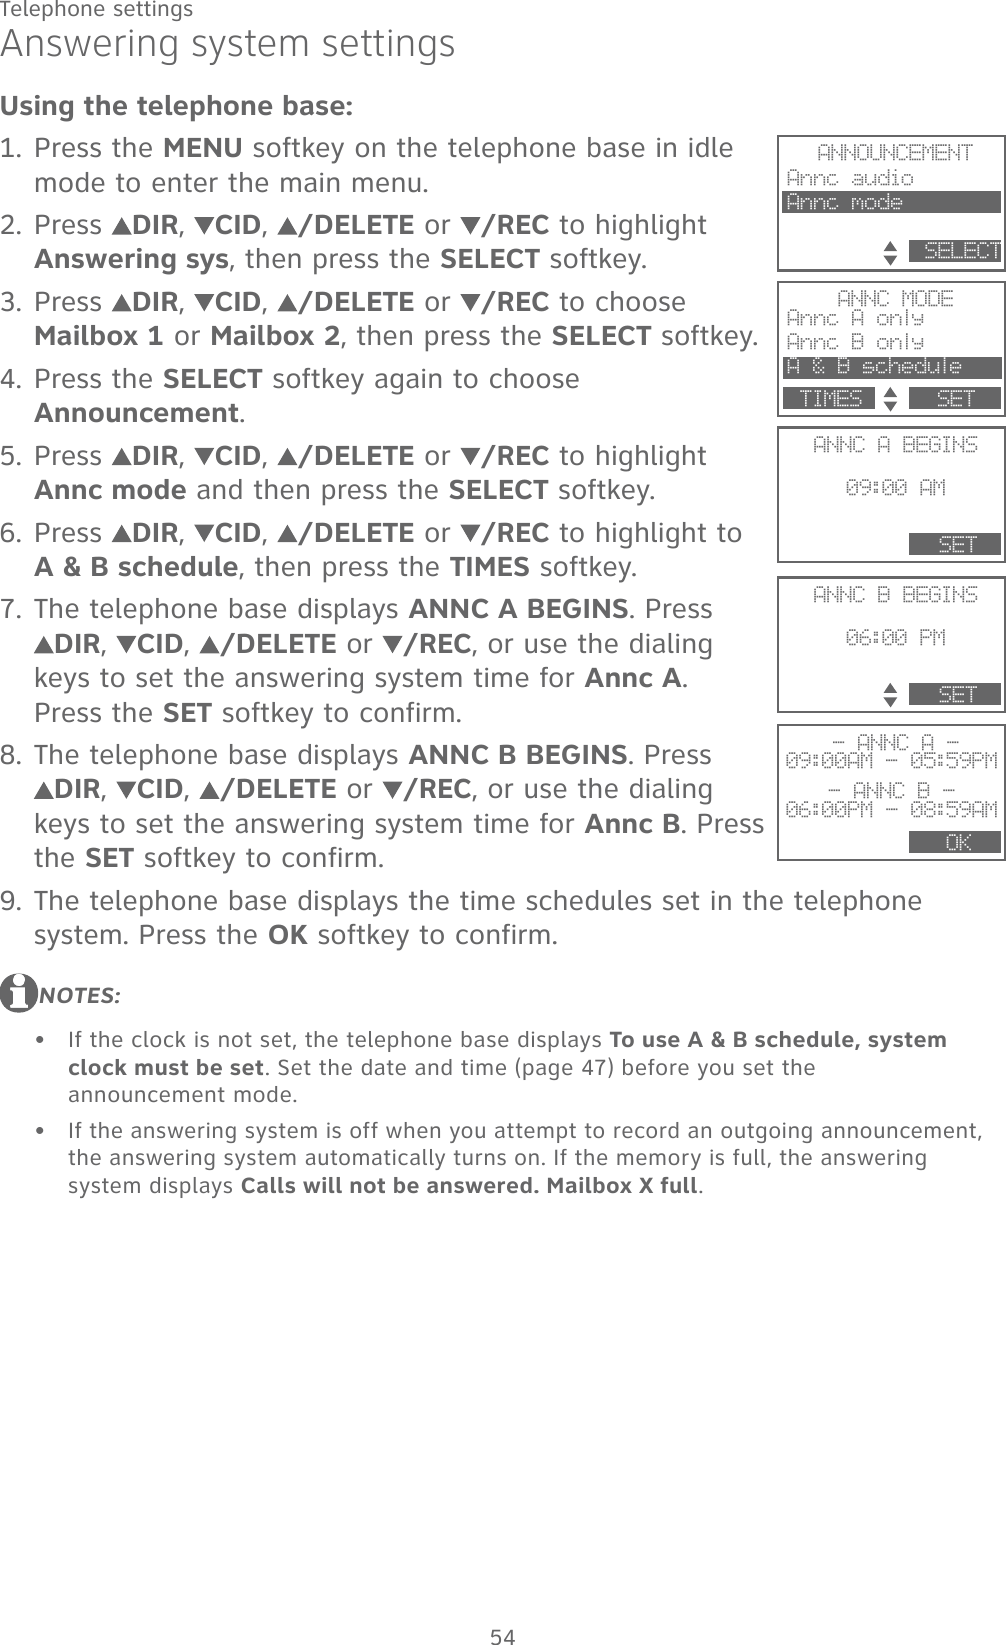
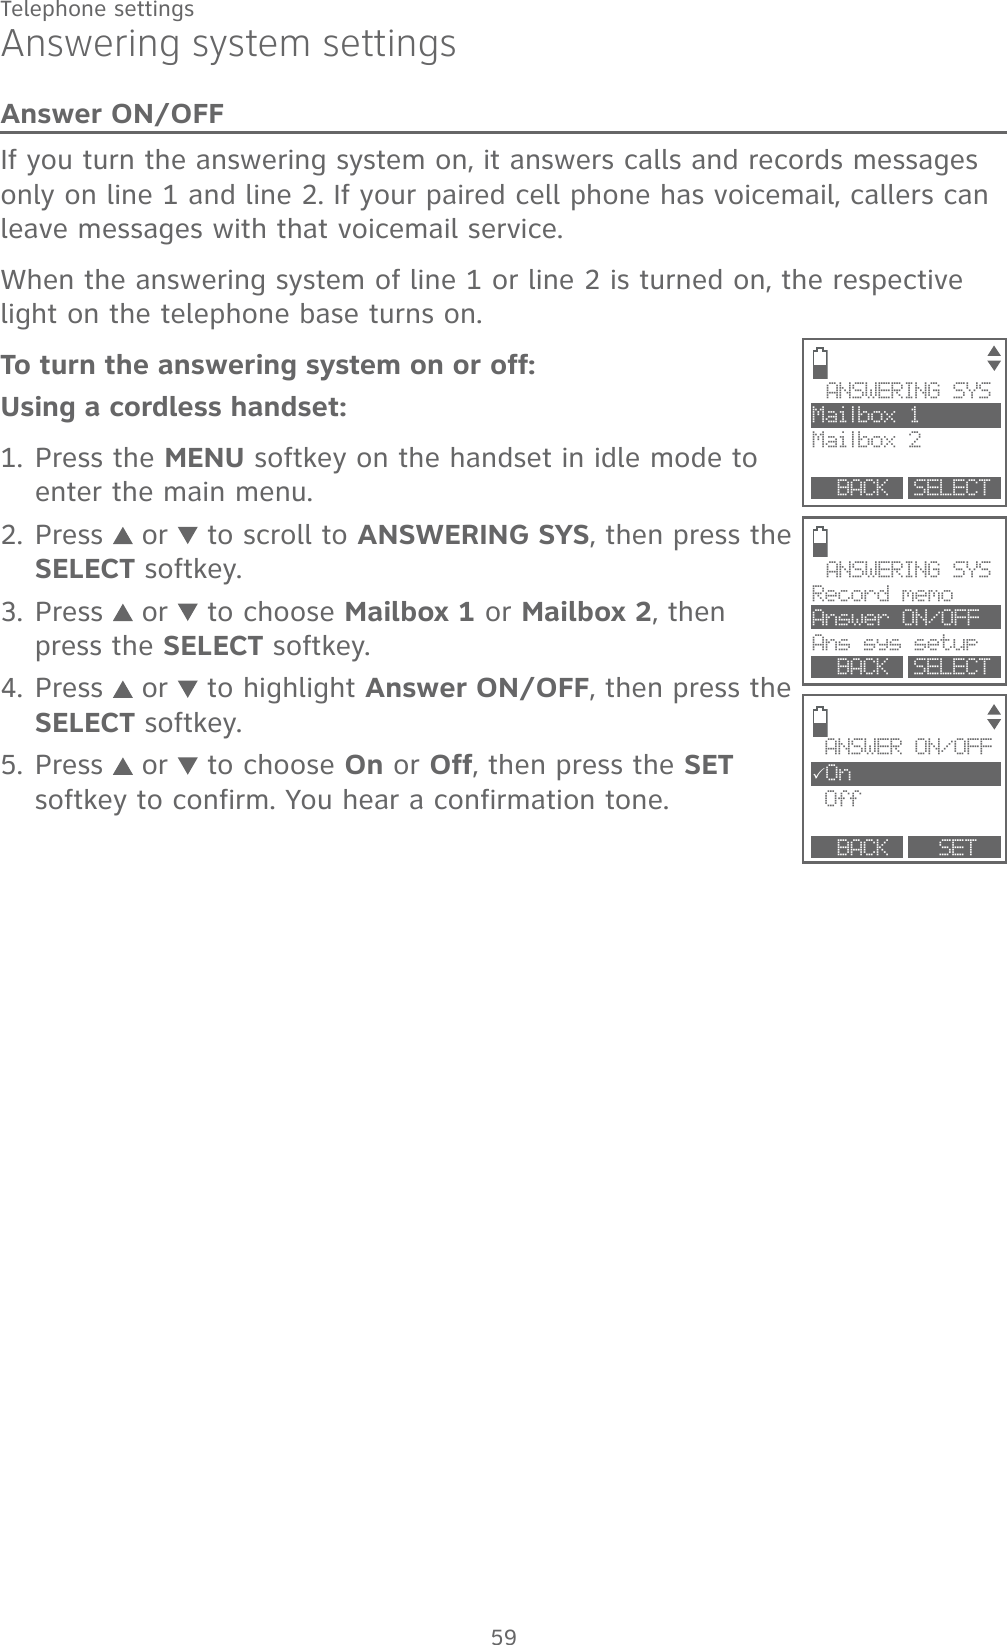
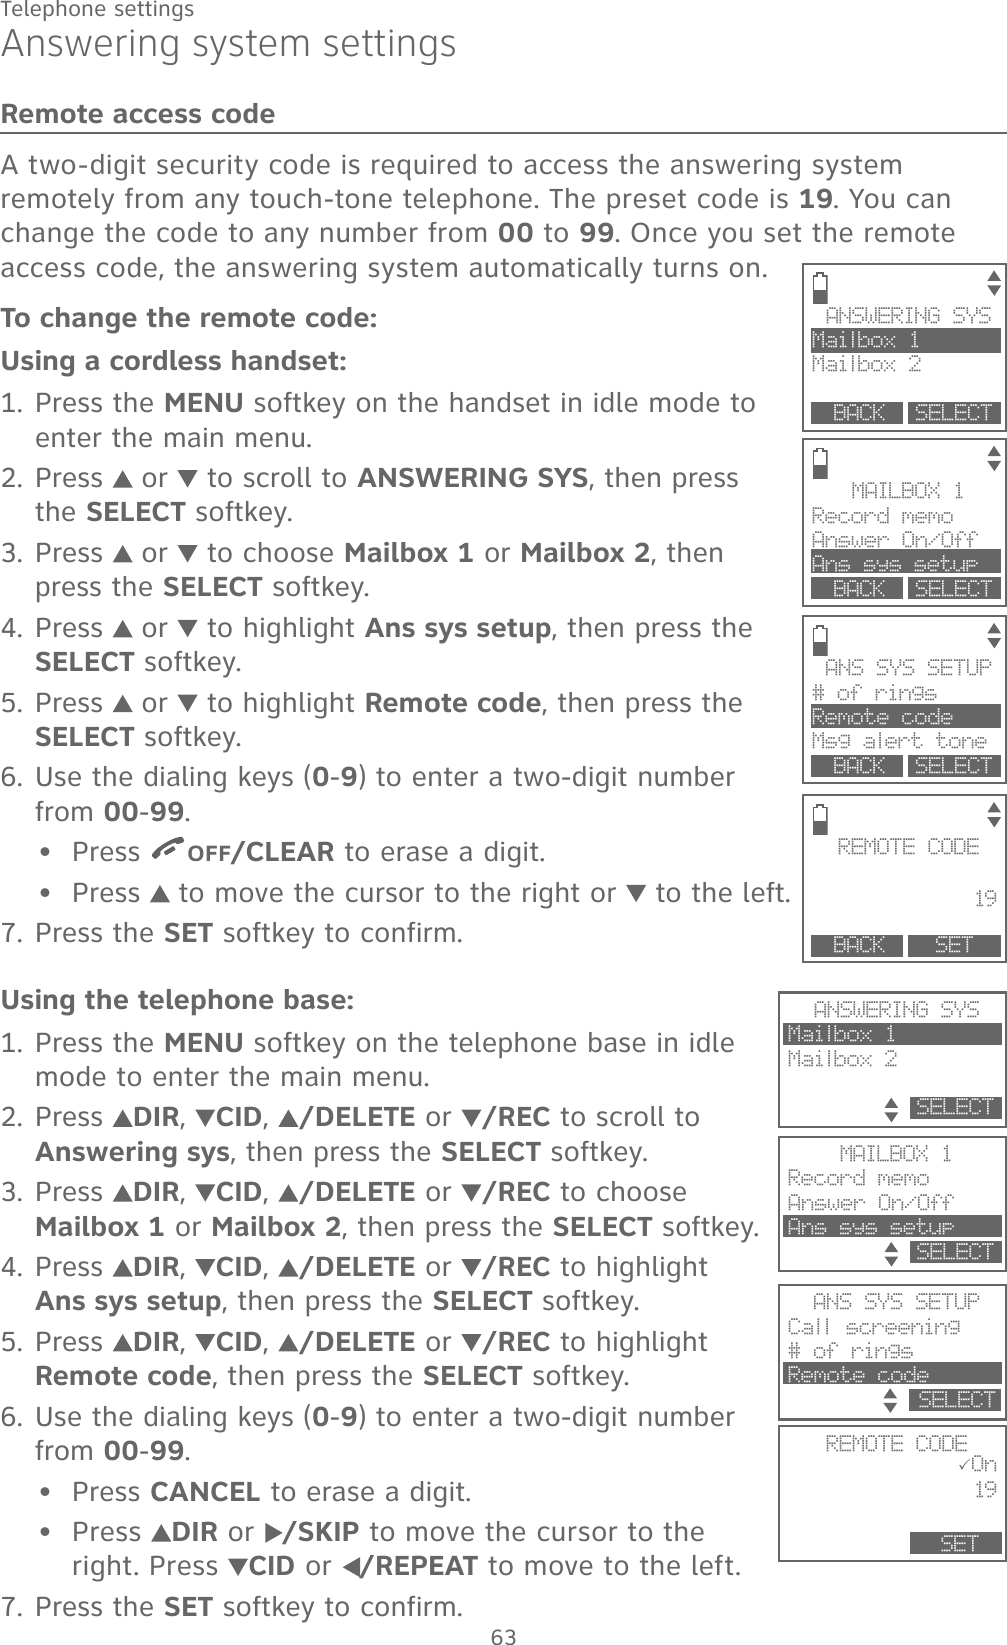
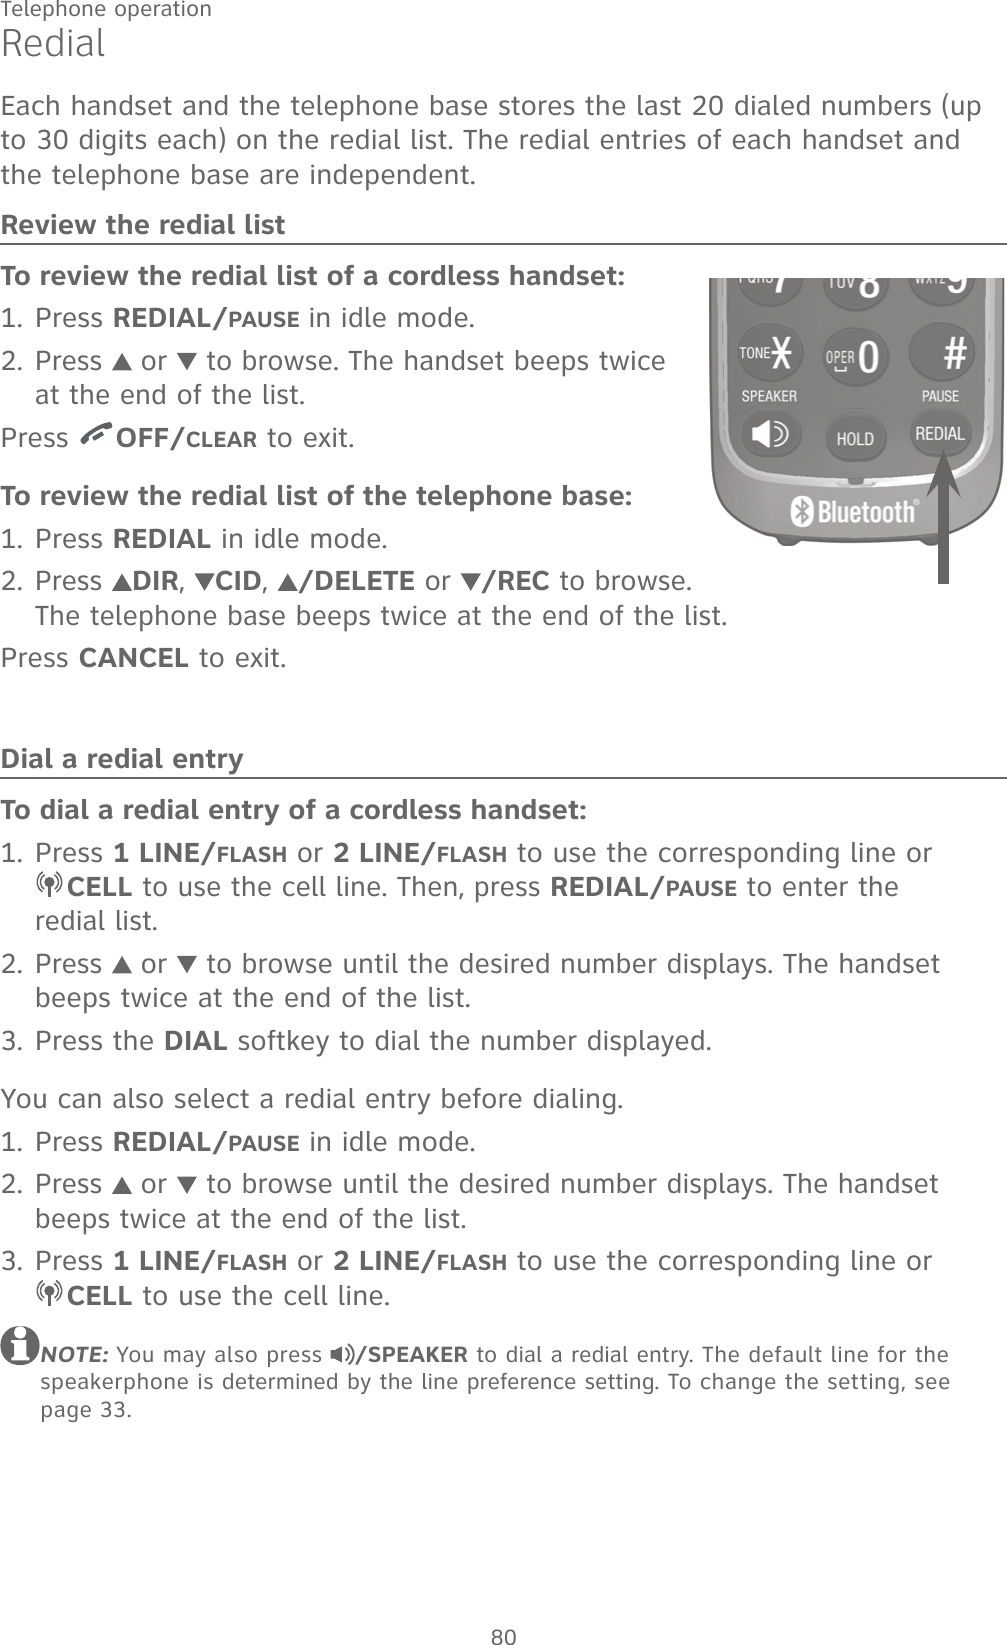
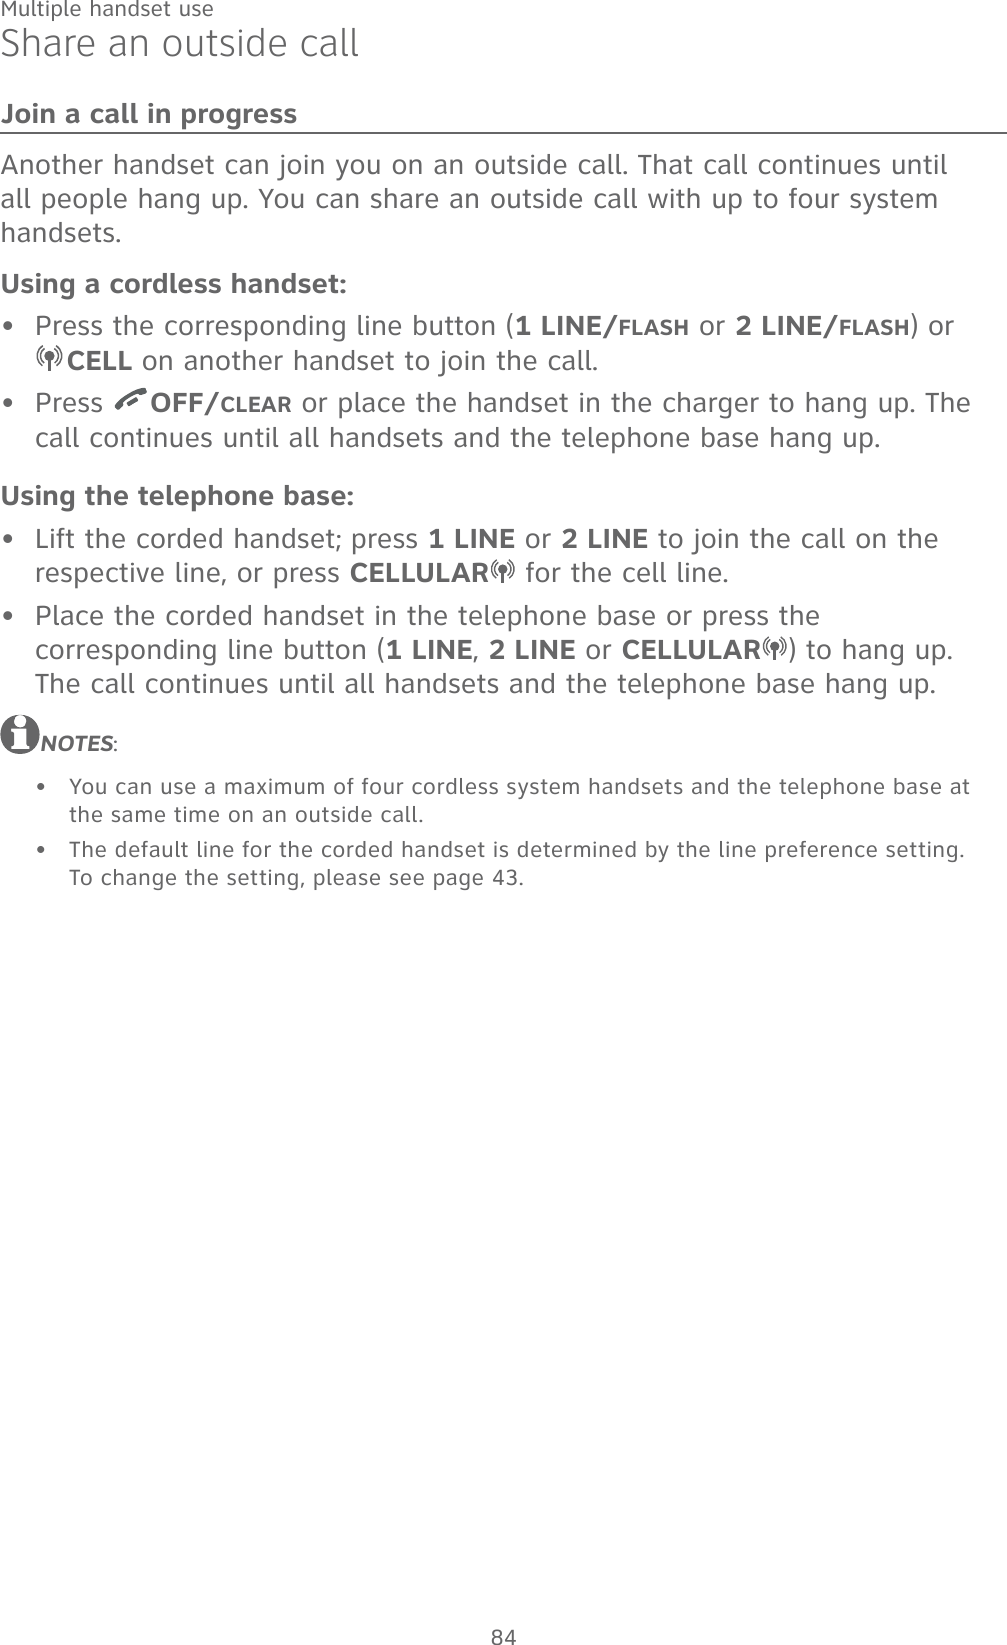
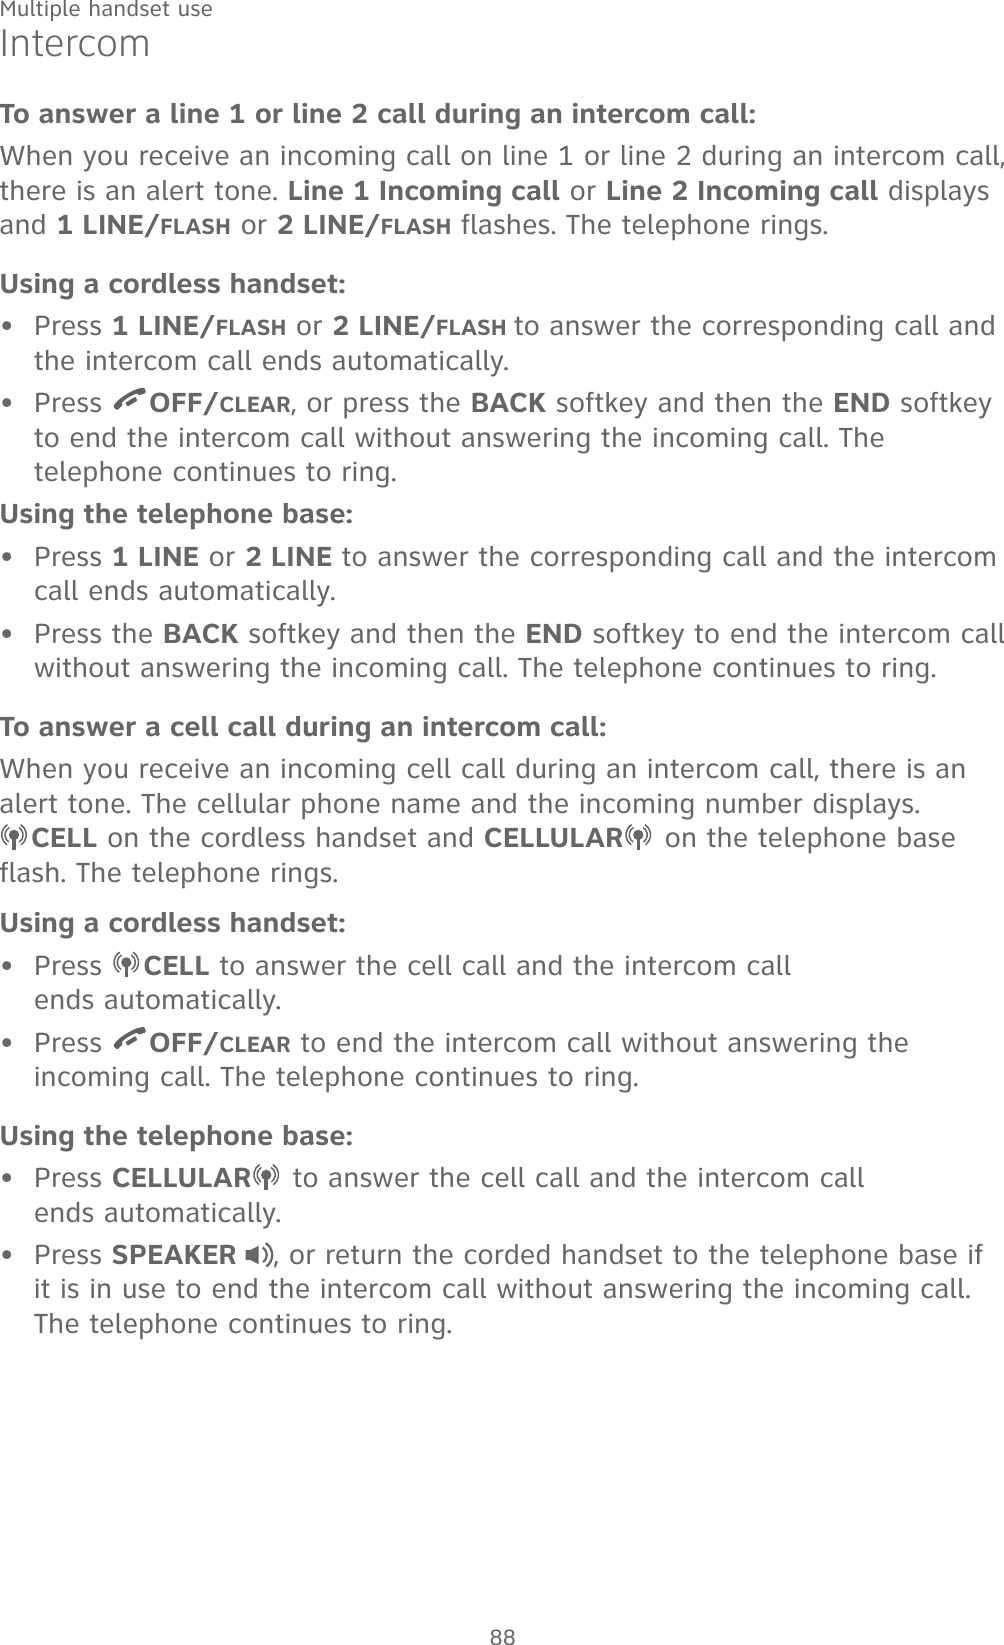
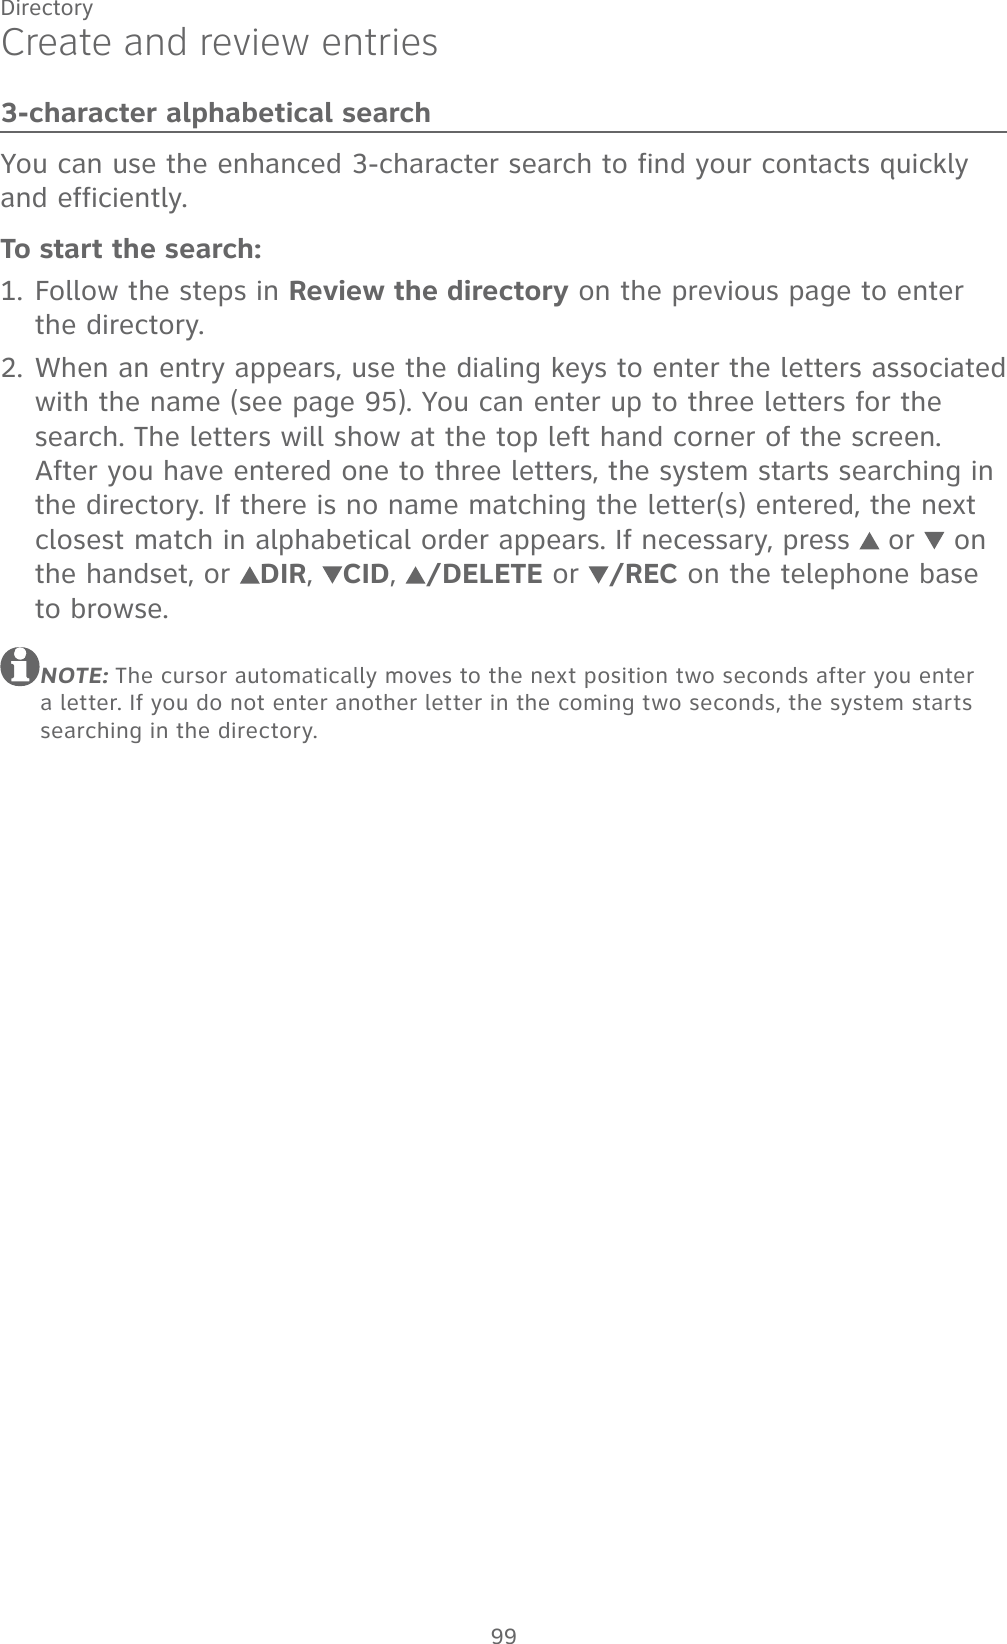
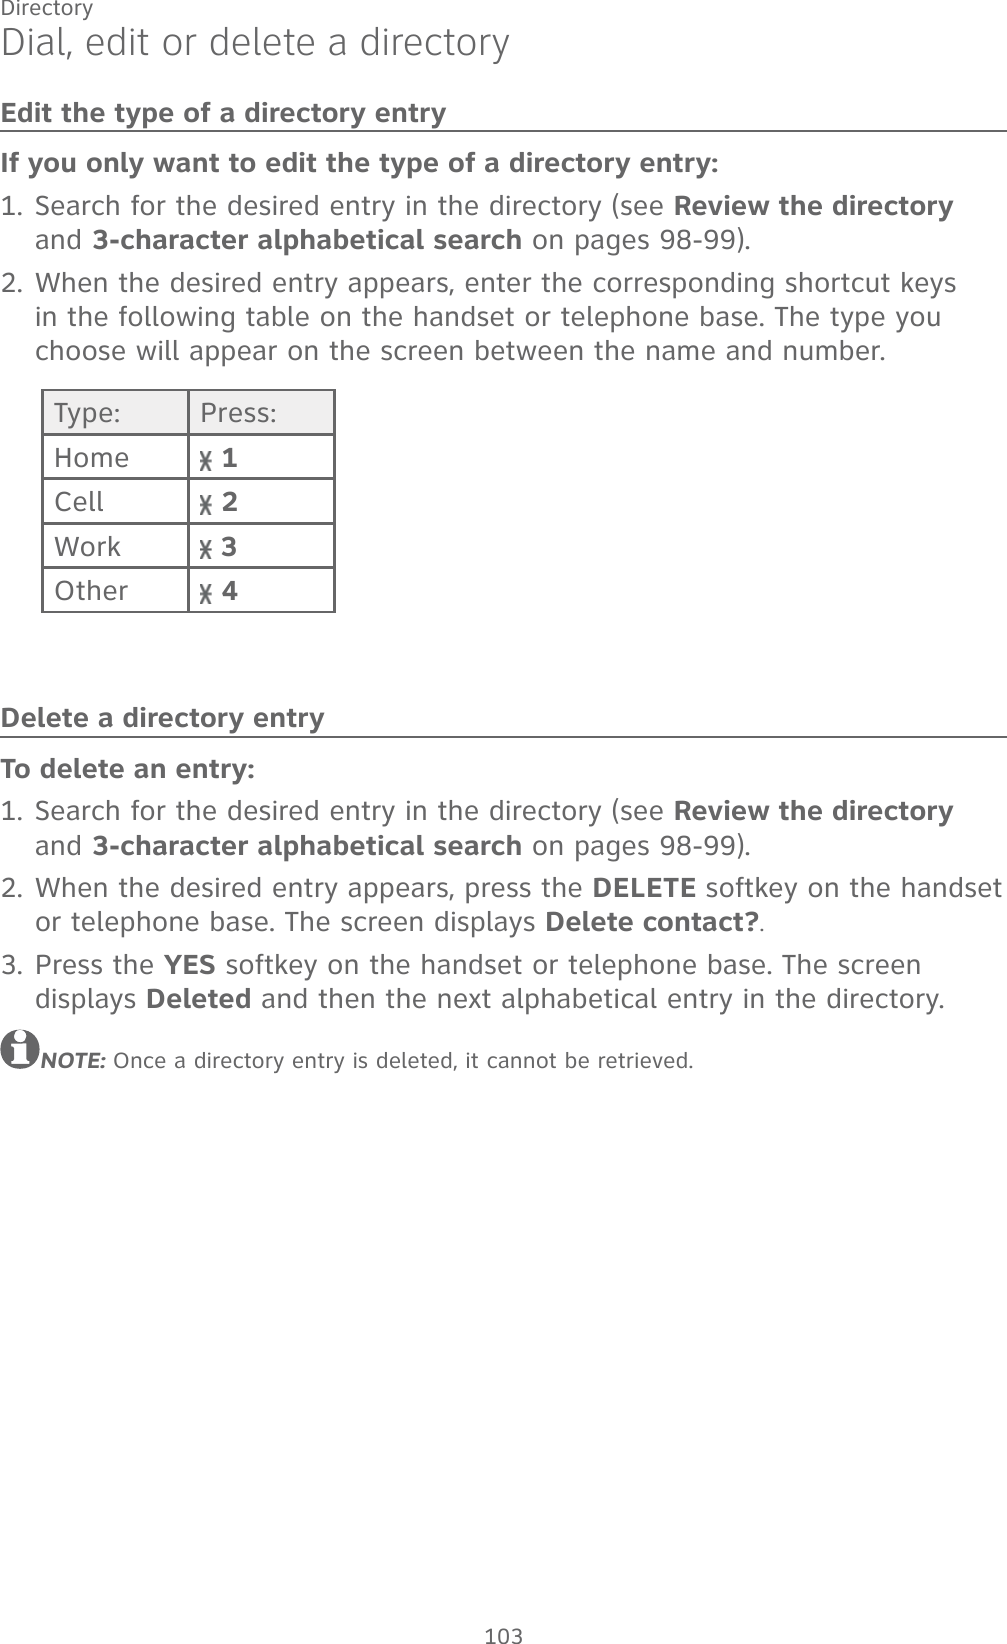
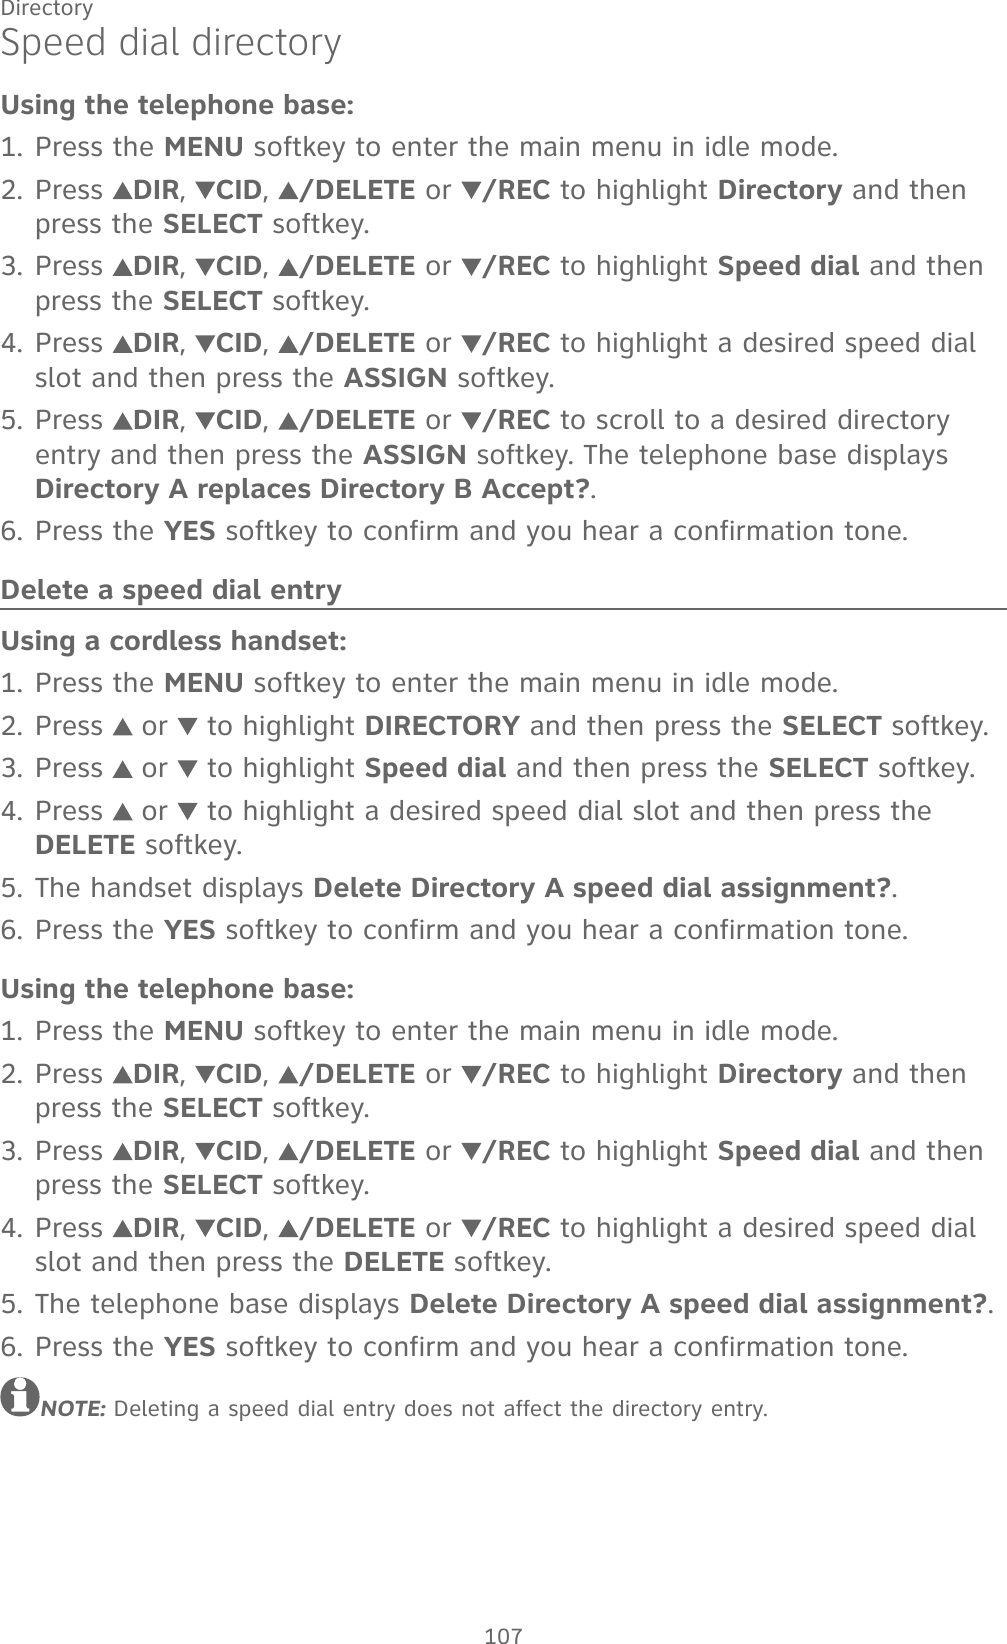
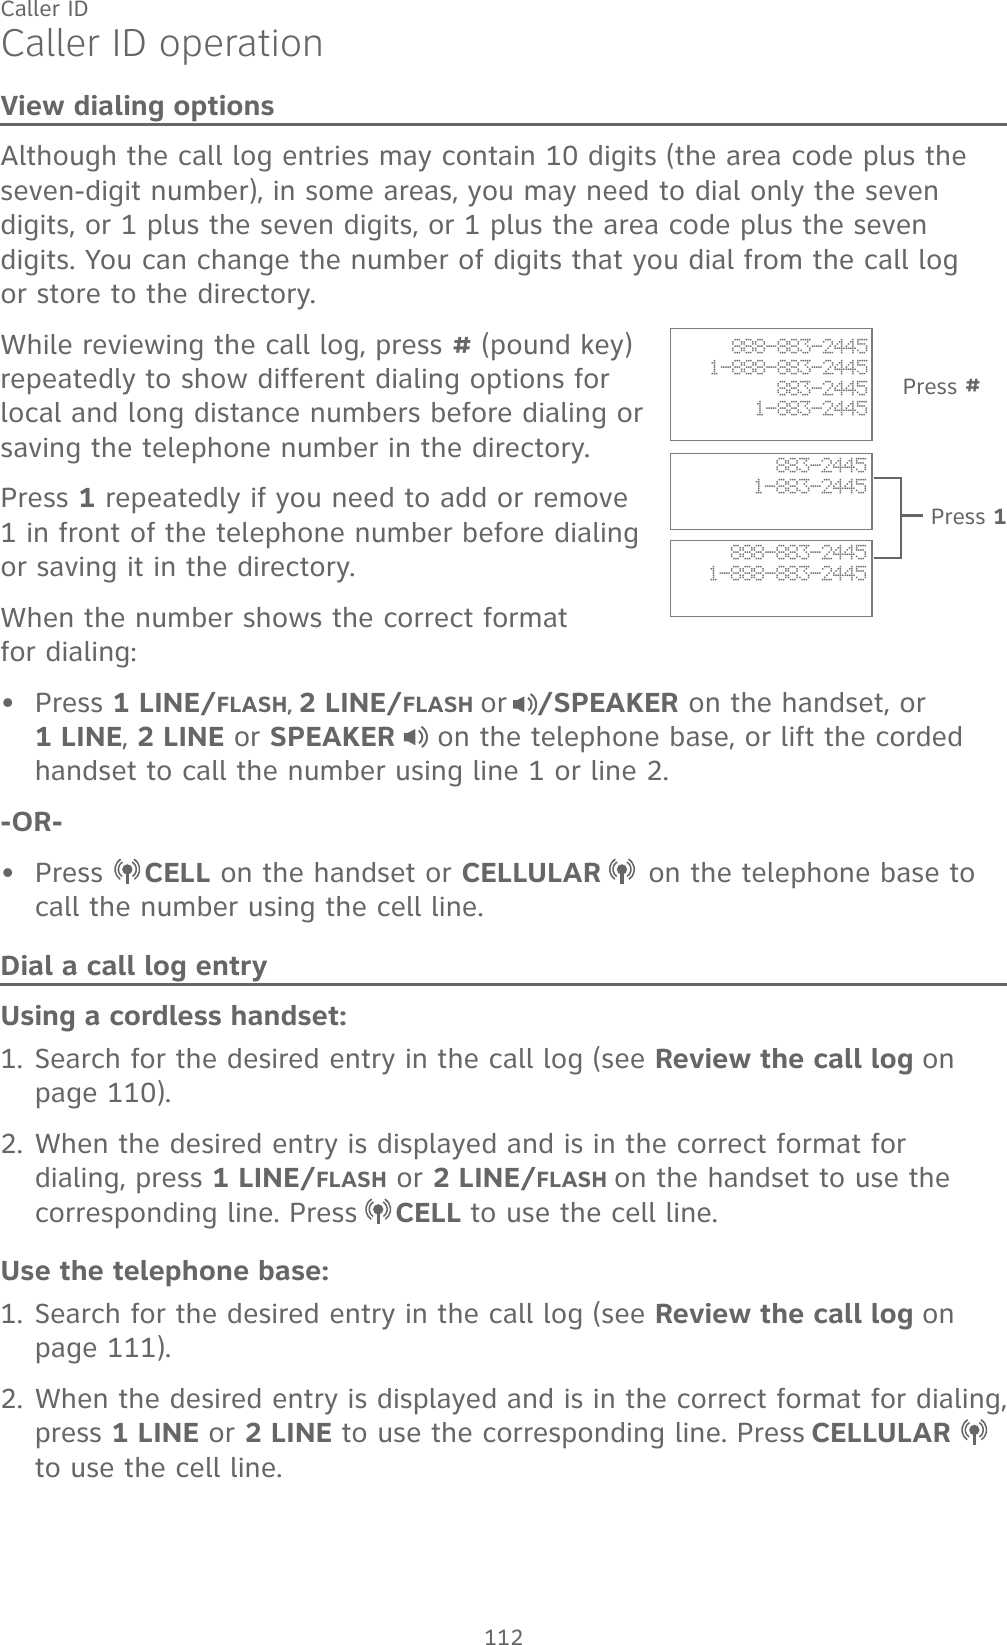
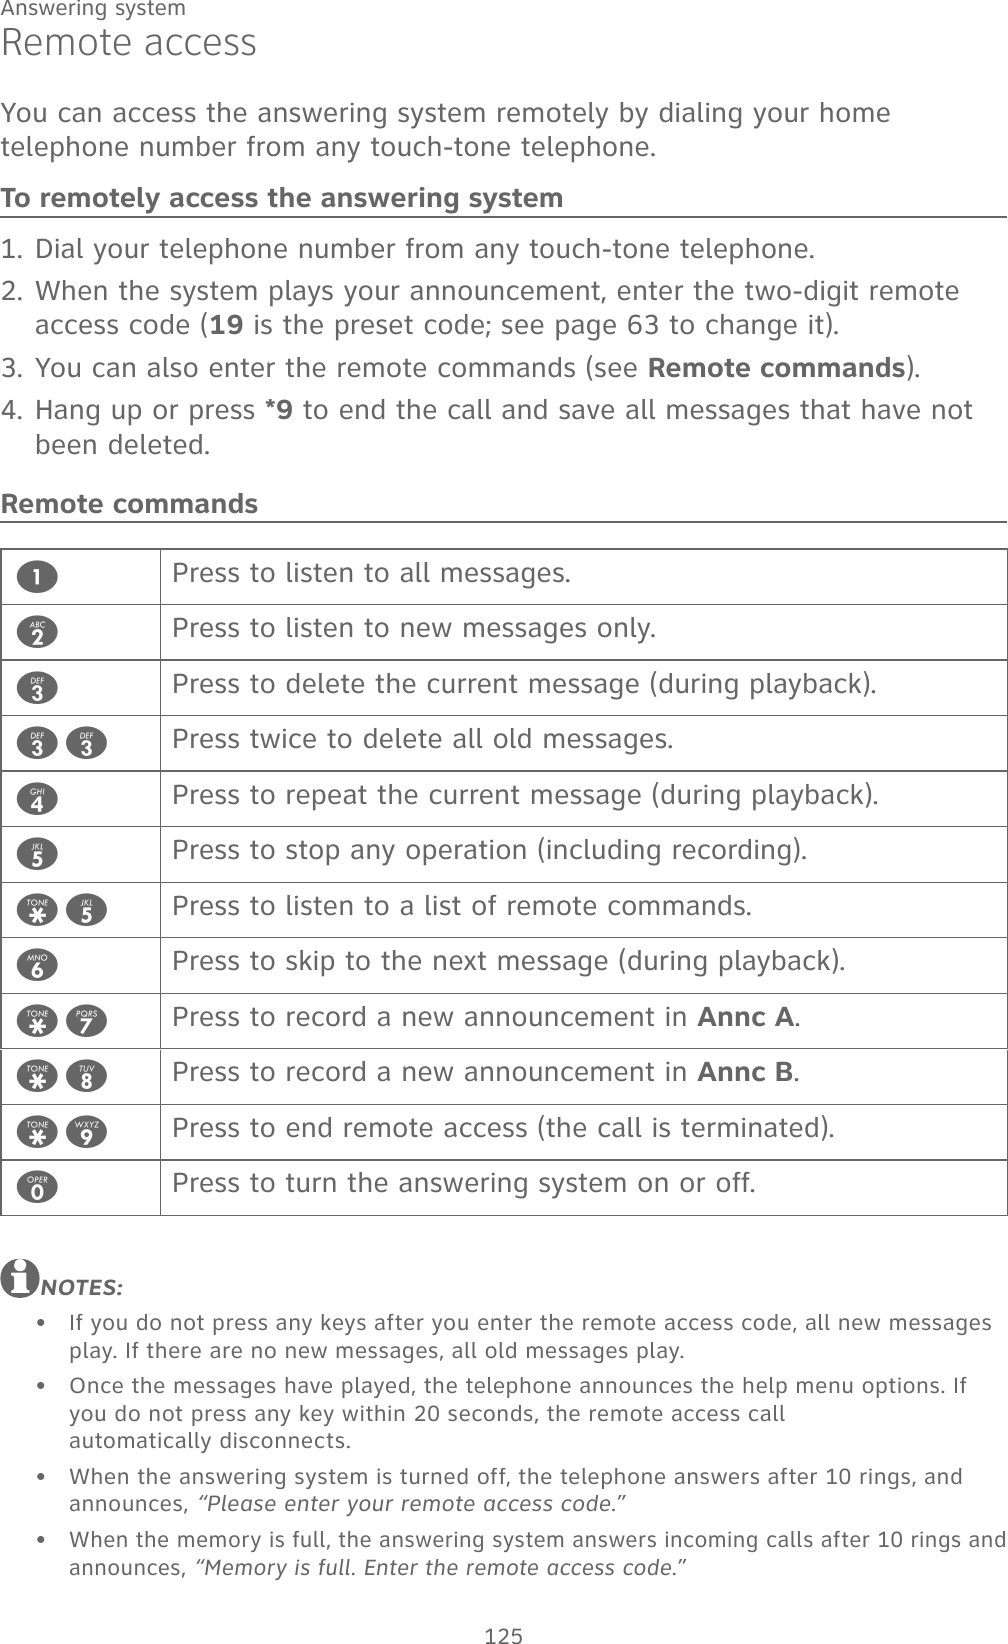
![136AppendixReplace a handsetIf you want to replace a handset or reassign the designated handset number of a registered handset, you must deregister all the handsets and then individually register each handset.To make deregistration easier, read all of the instructions on this page before you begin.To deregister all handsets:Press and hold FLASH on the telephone base for about 4 seconds until it shows Deregister all handsets?. Then, release the button.Press the YES softkey to continue. You hear a confirmation tone from the telephone base.The telephone base displays PLEASE WAIT.... All system handsets show Out of range OR no power at base for a few seconds, and then you hear a confirmation tone from the handset.All the handsets show Press [HOLD] on base for 4 sec, then press [#] on handset when the deregistration completes. The deregistration process takes about 10 seconds to complete.If deregistration fails, you may need to reset the telephone and try again.To reset:Unplug the power from the telephone base, then plug it back in.After deregistering, register each handset individually. See Add and register a handset on page 135.NOTES:You cannot deregister the handset(s) if any other system handset is in use.During deregistration, all cordless handset(s) and DECT 6.0 cordless headset(s) will also be deregistered.1.2.3.4.•••](https://usermanual.wiki/VTech-Telecommunications/80-6879-01/User-Guide-3194450-Page-142.png)
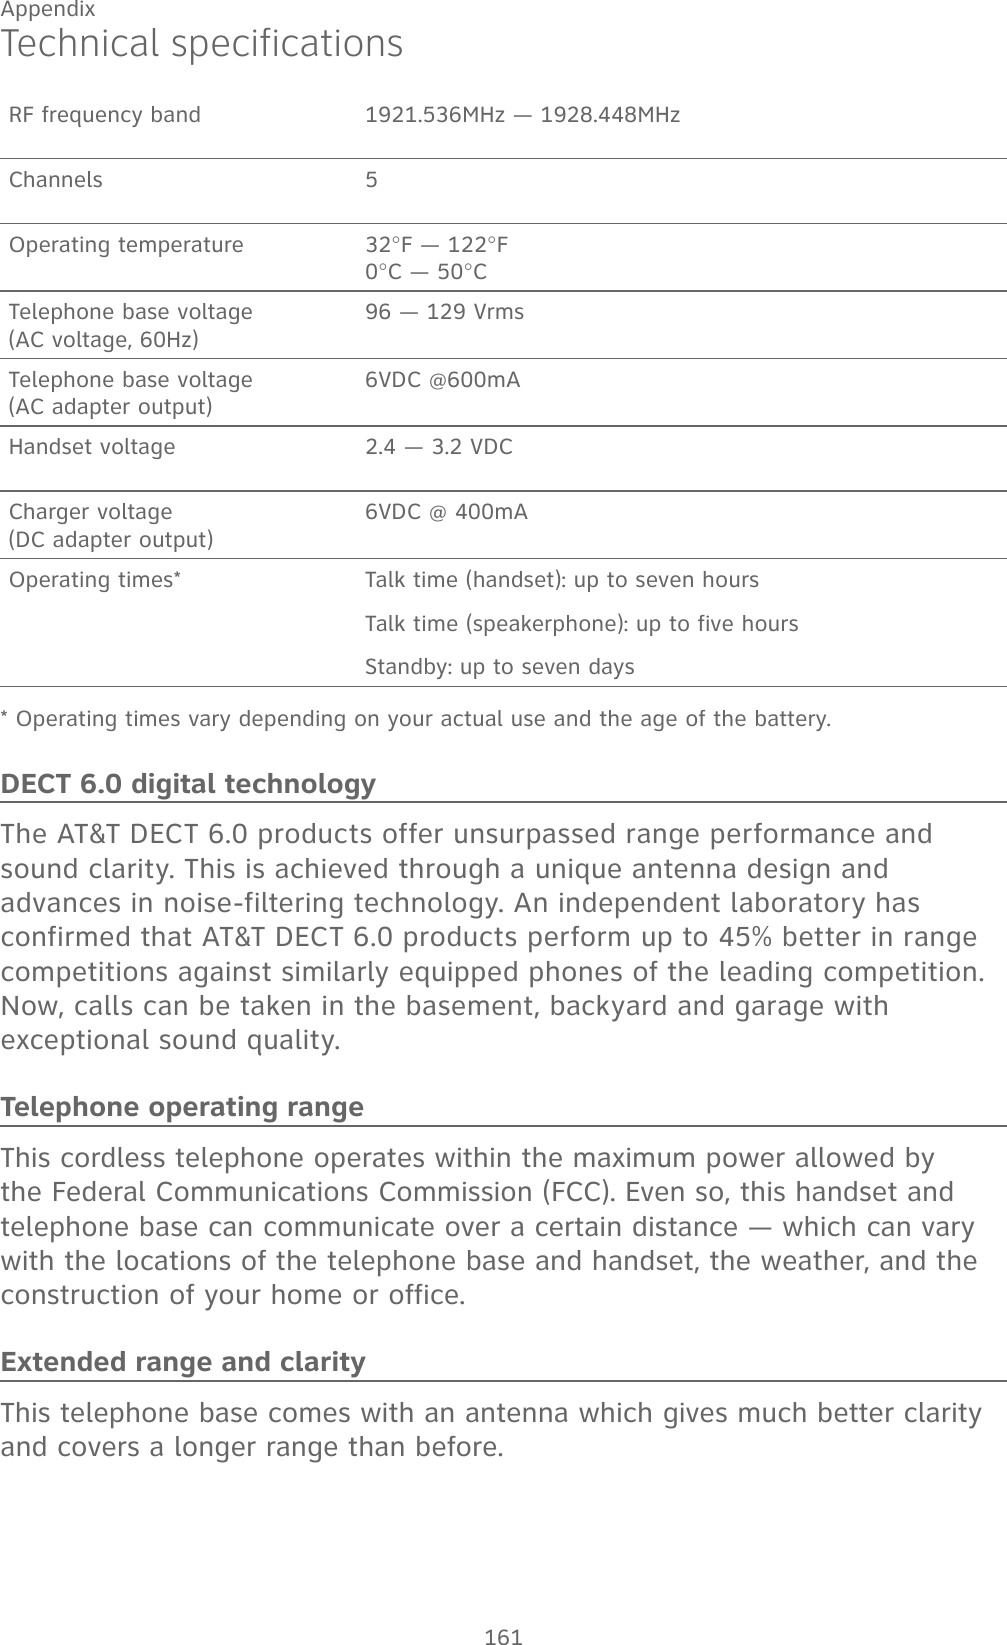
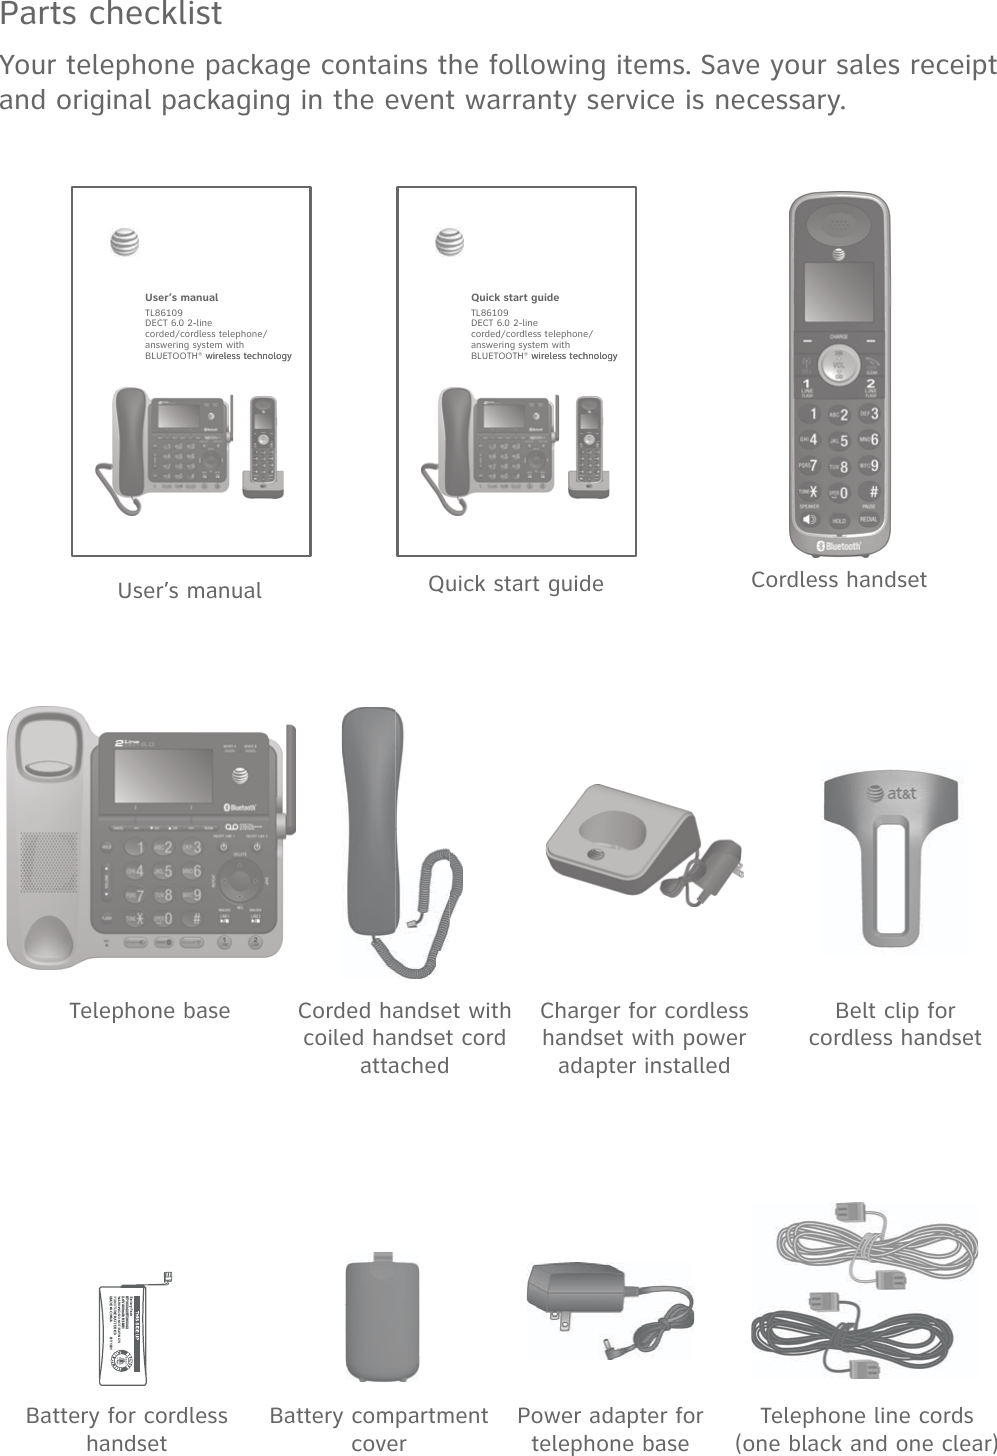
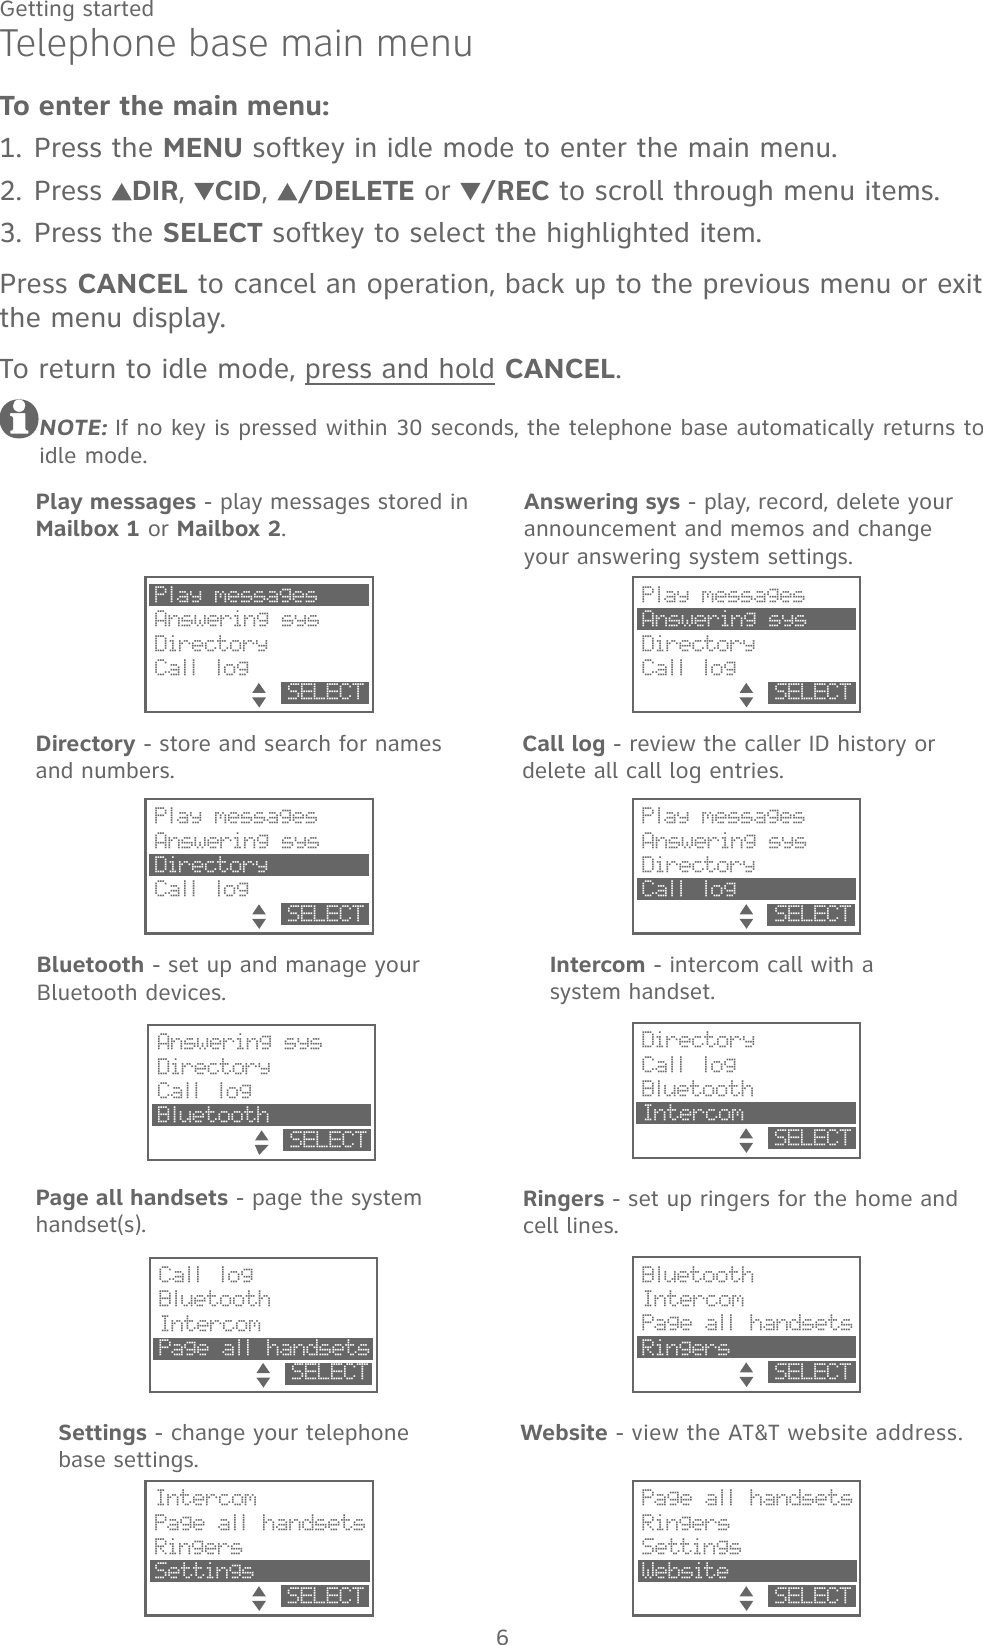
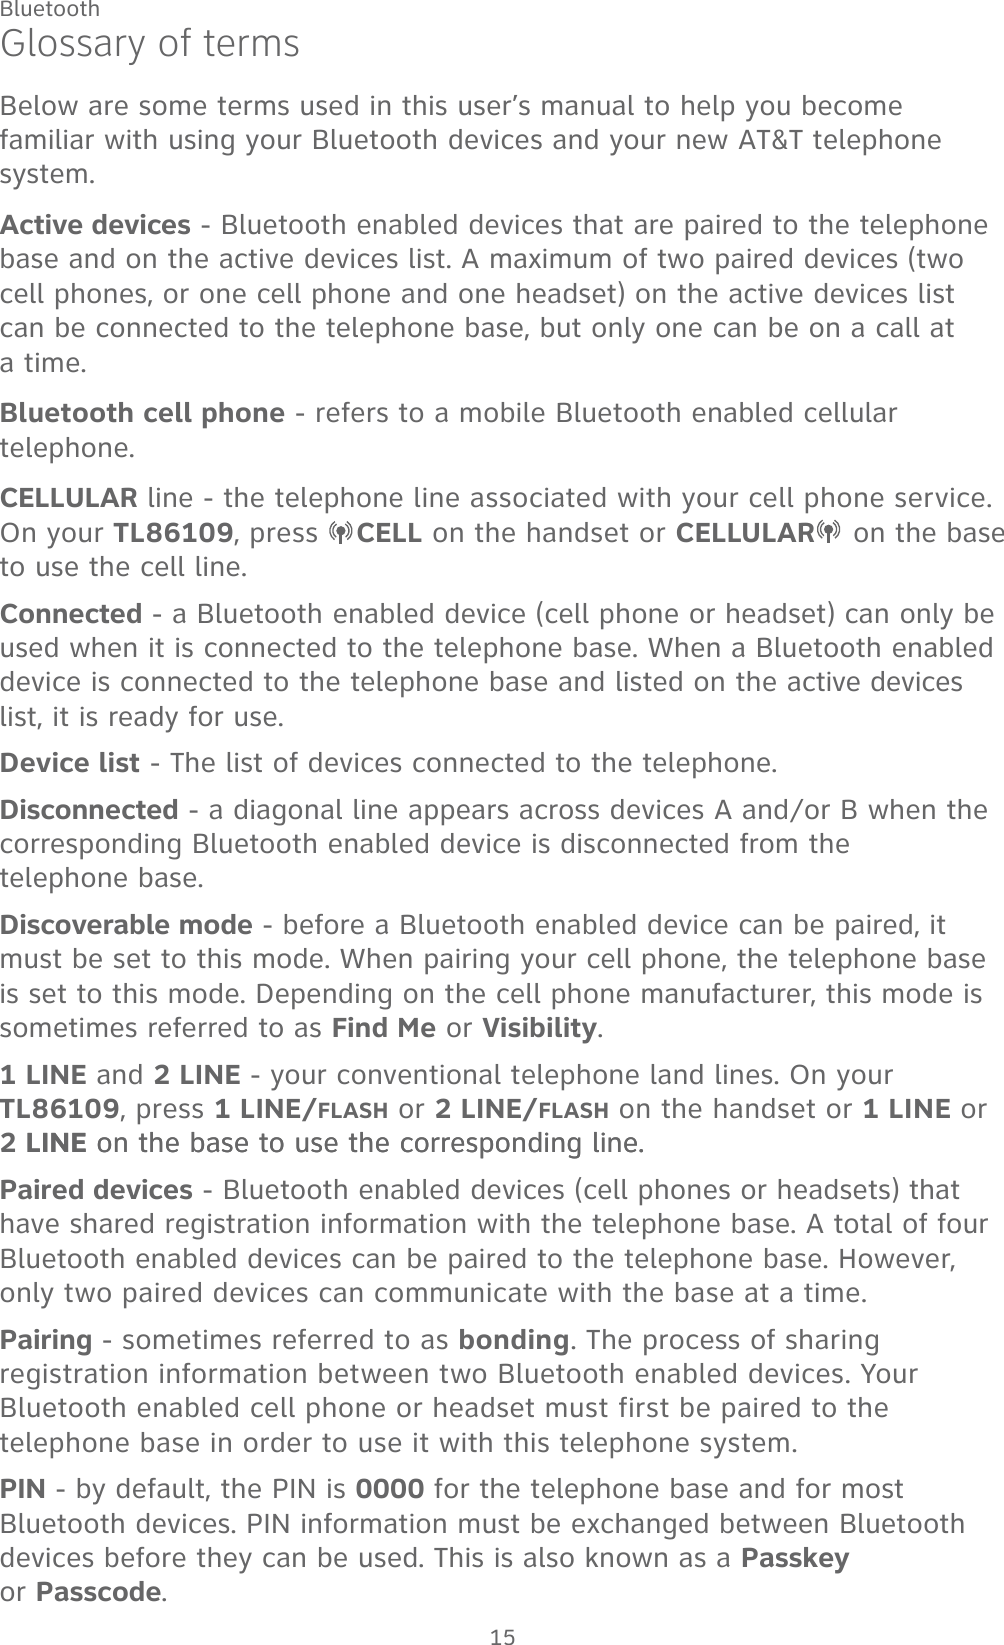
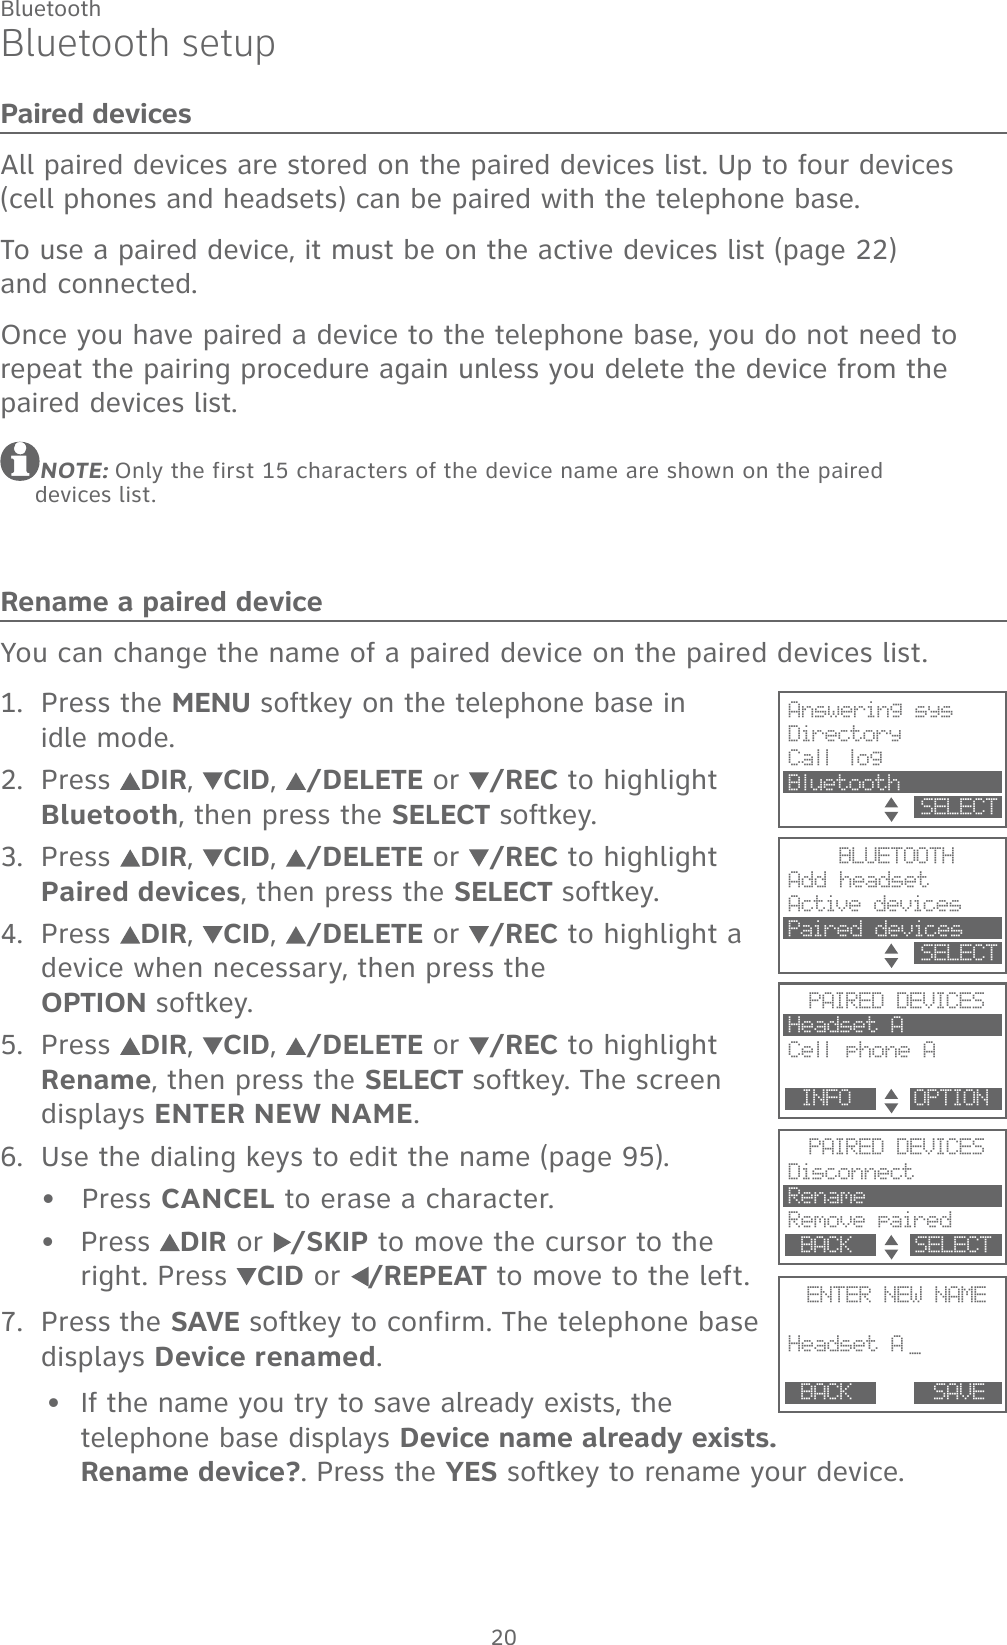
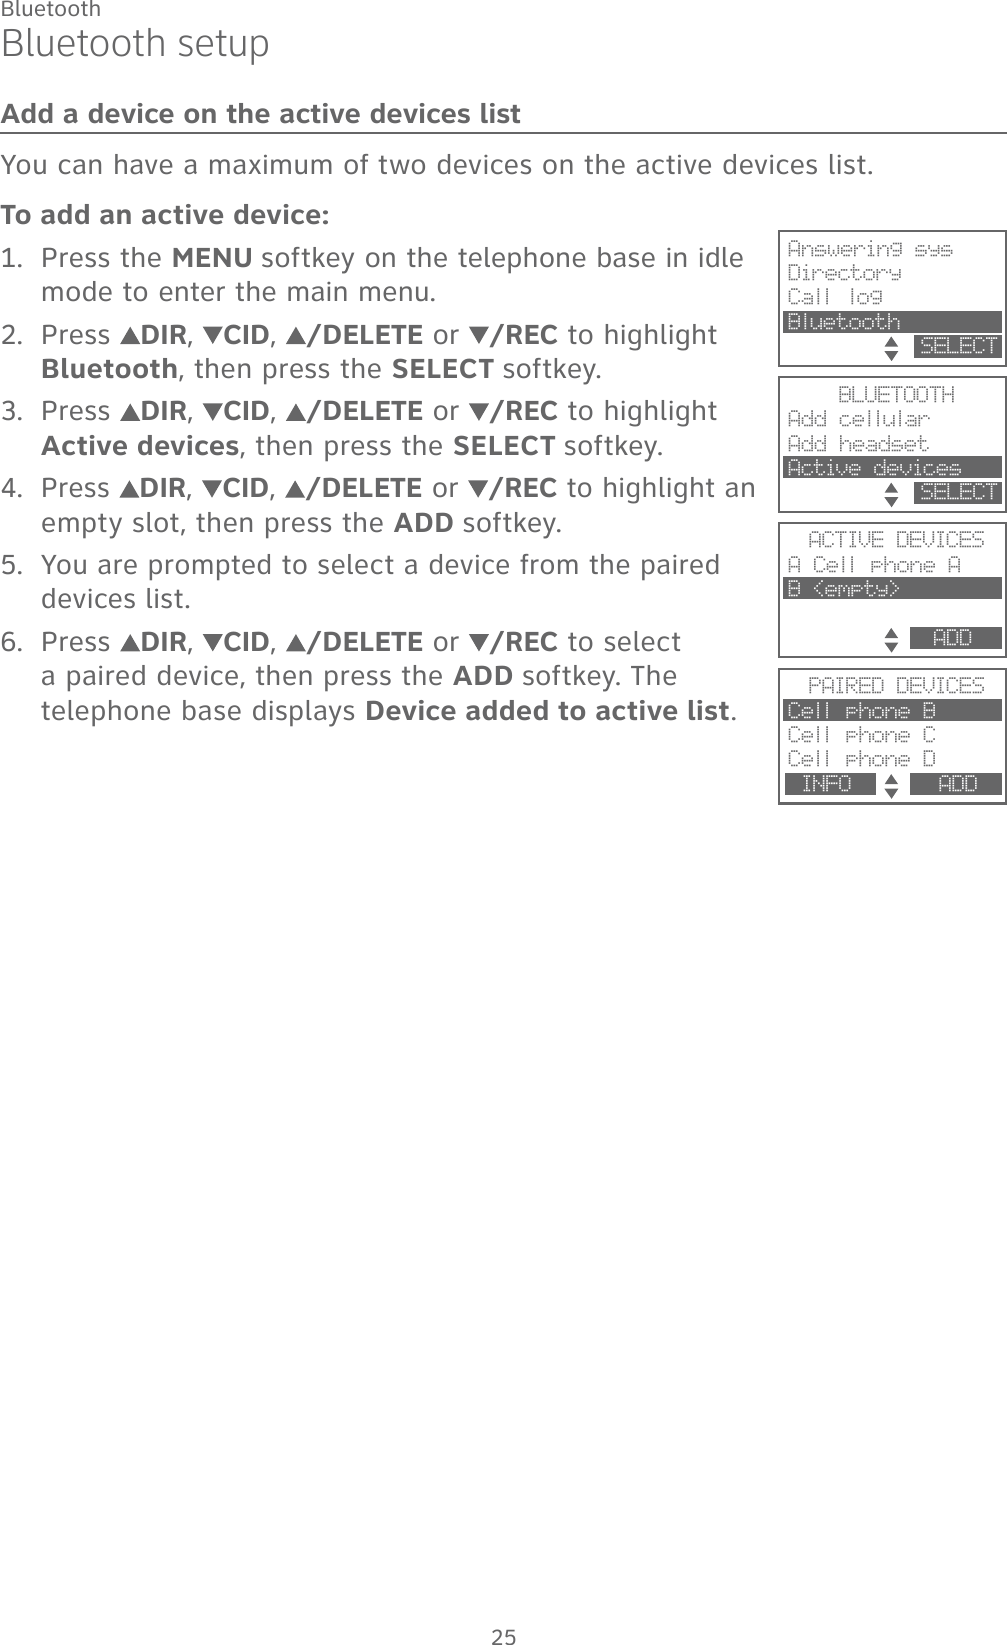
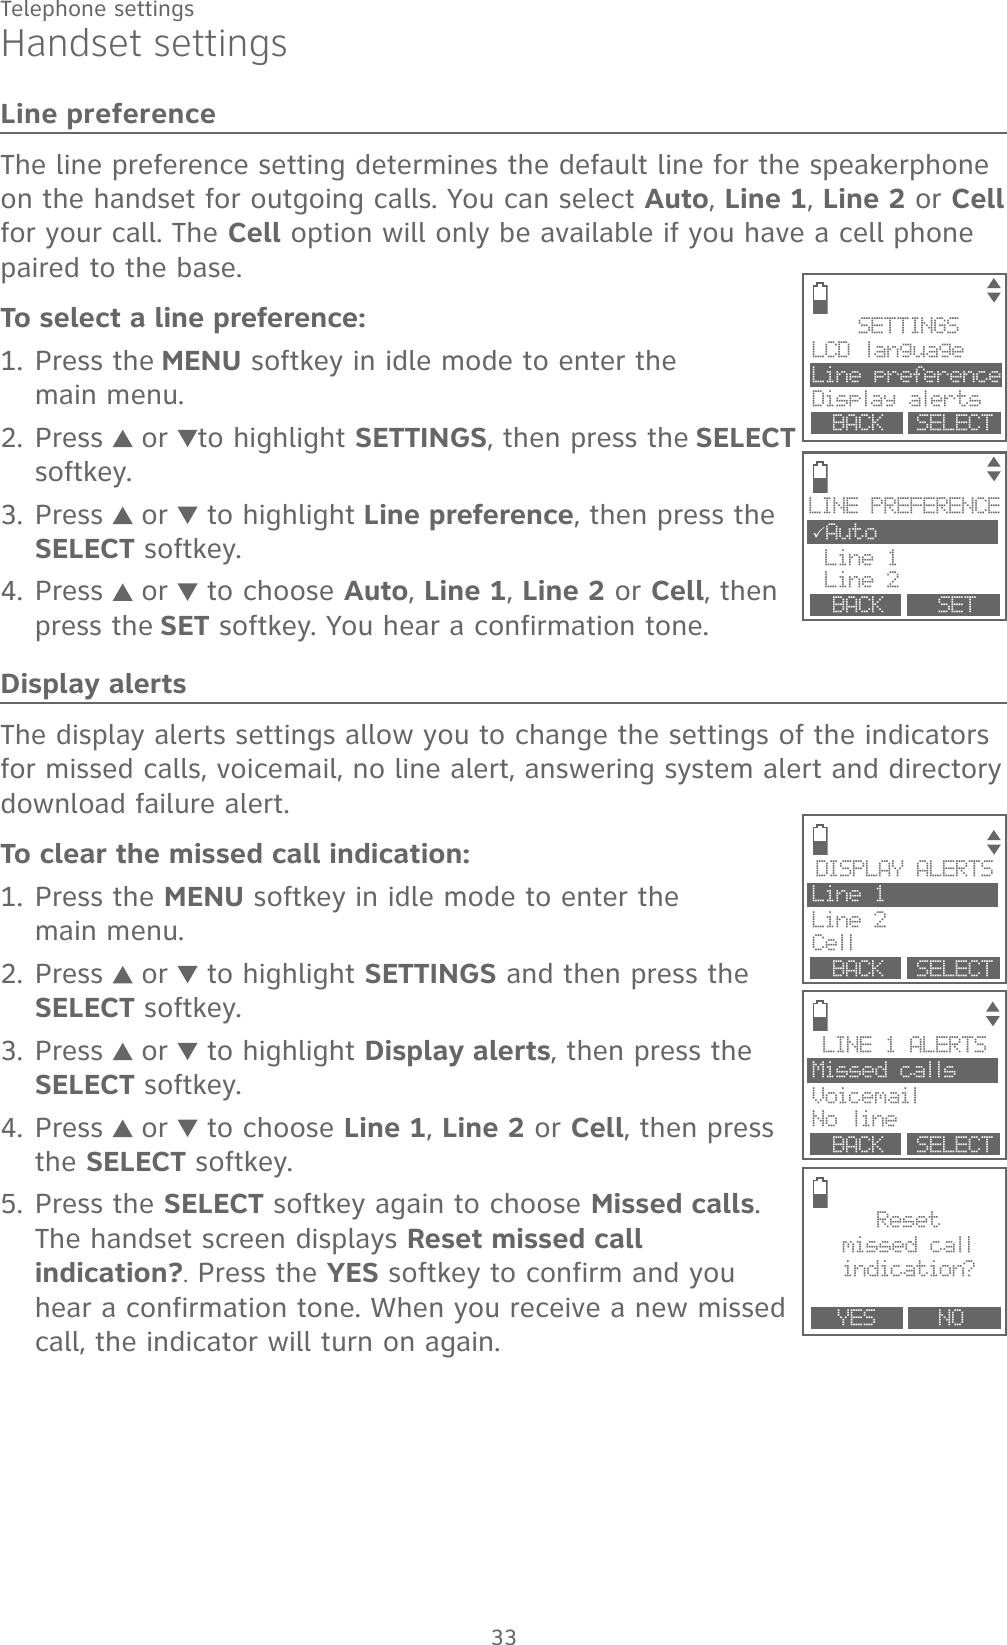
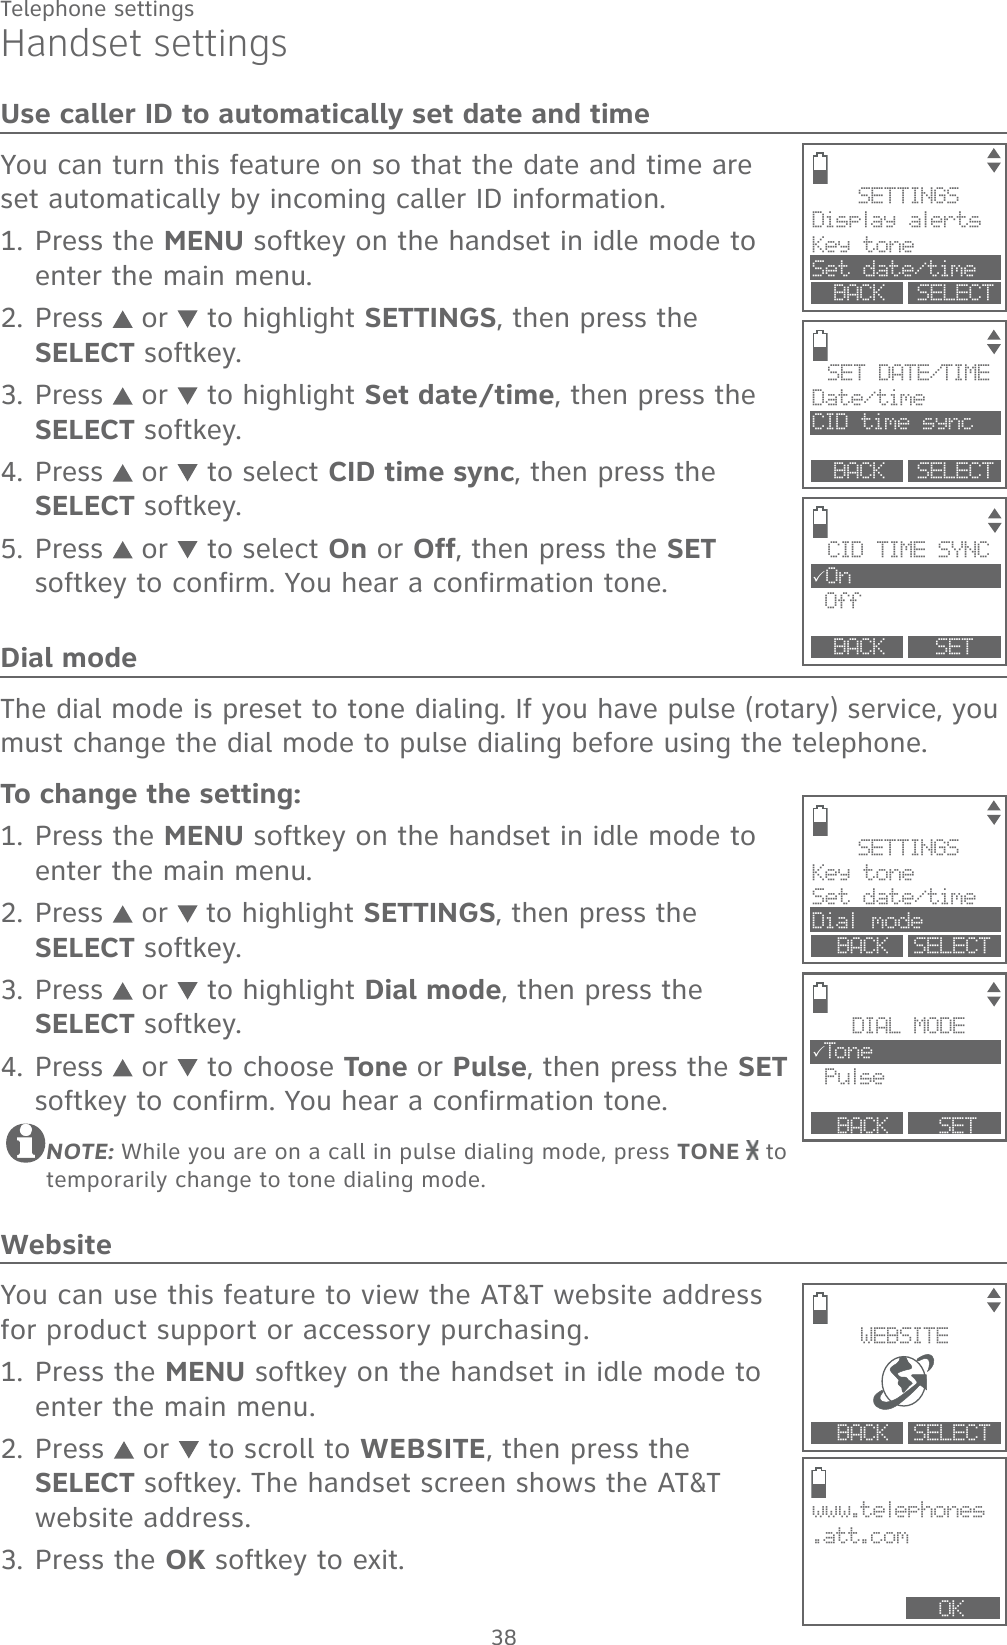
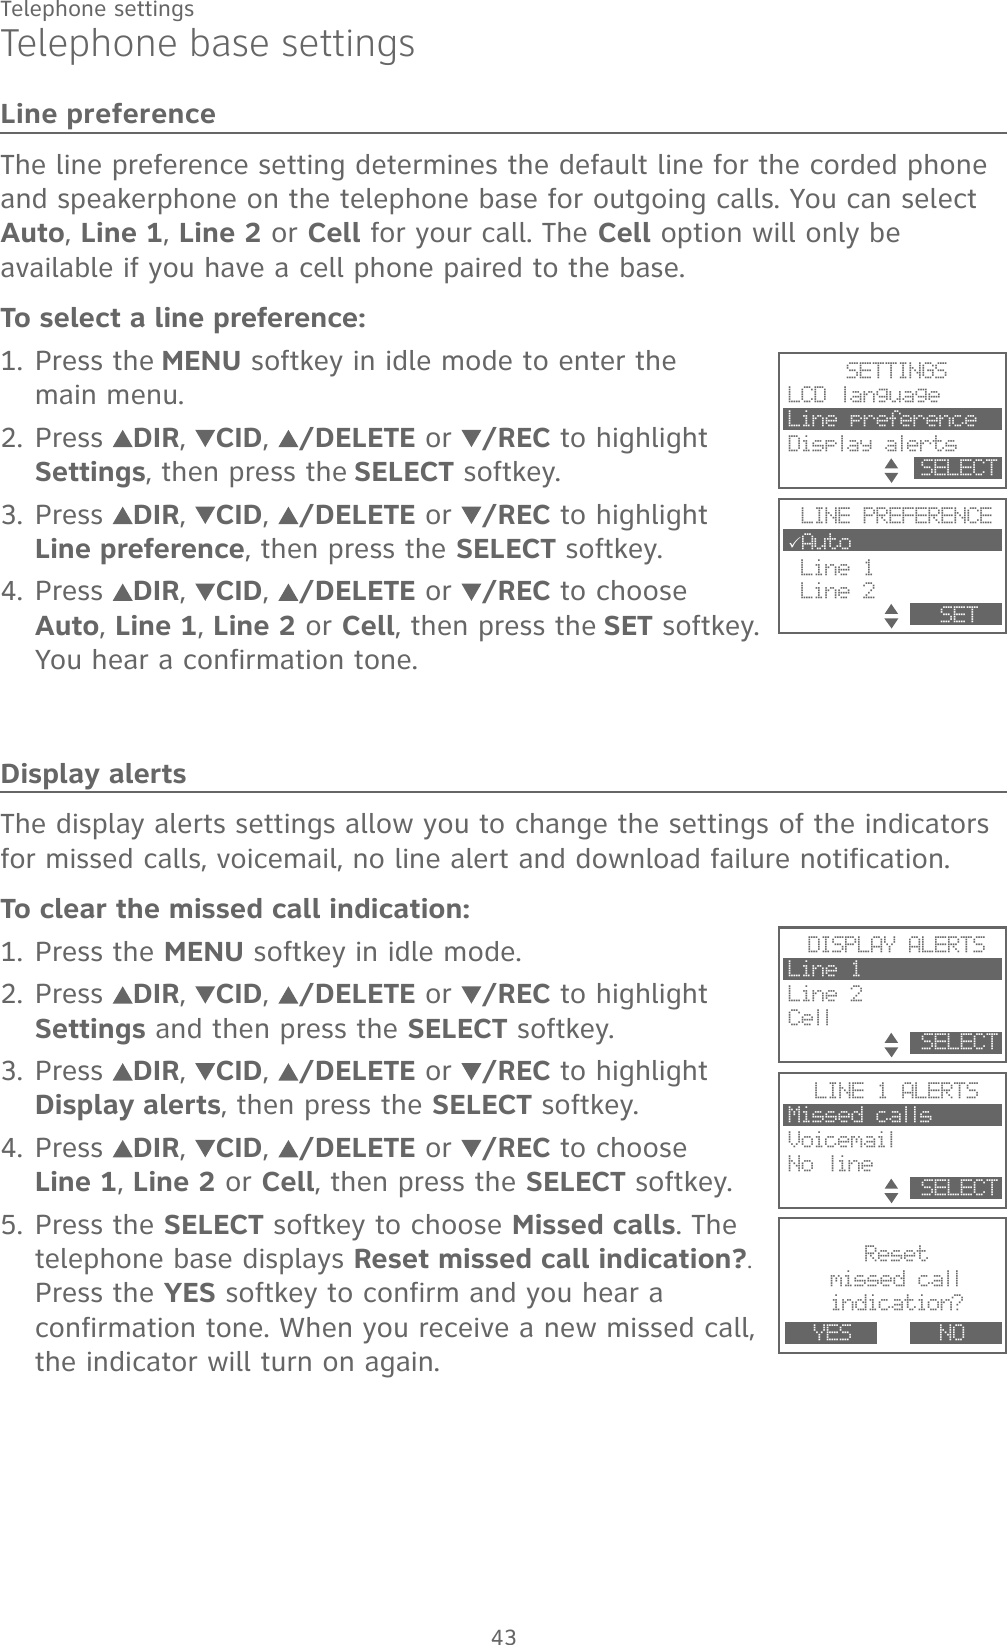
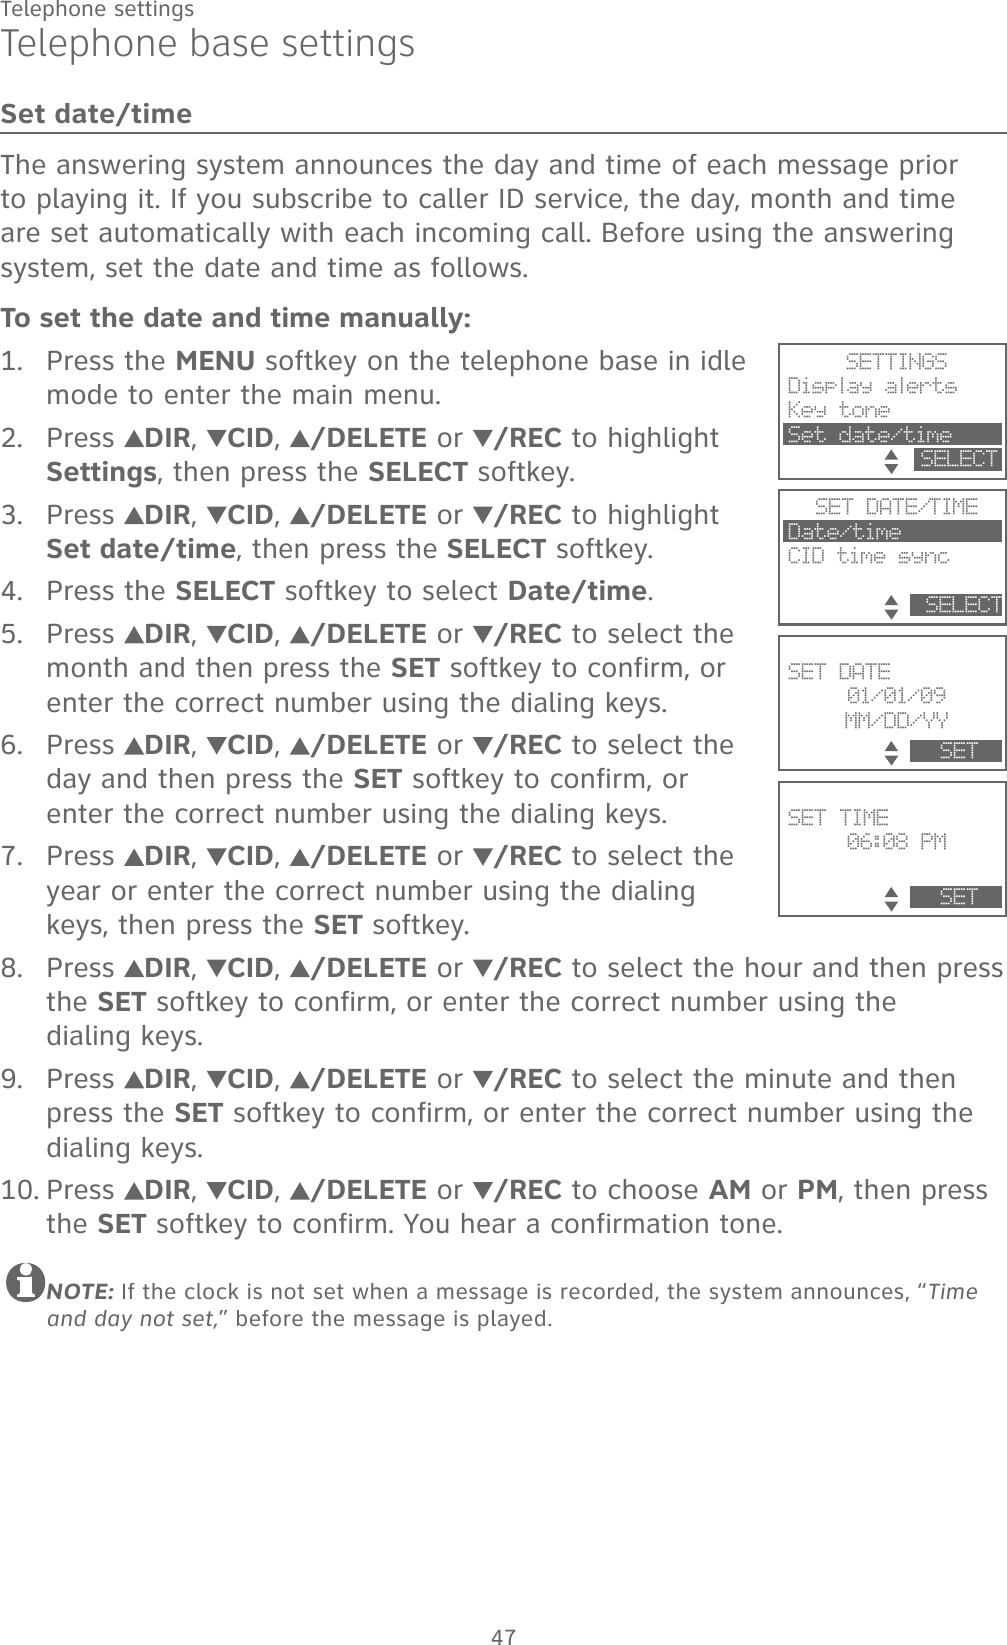
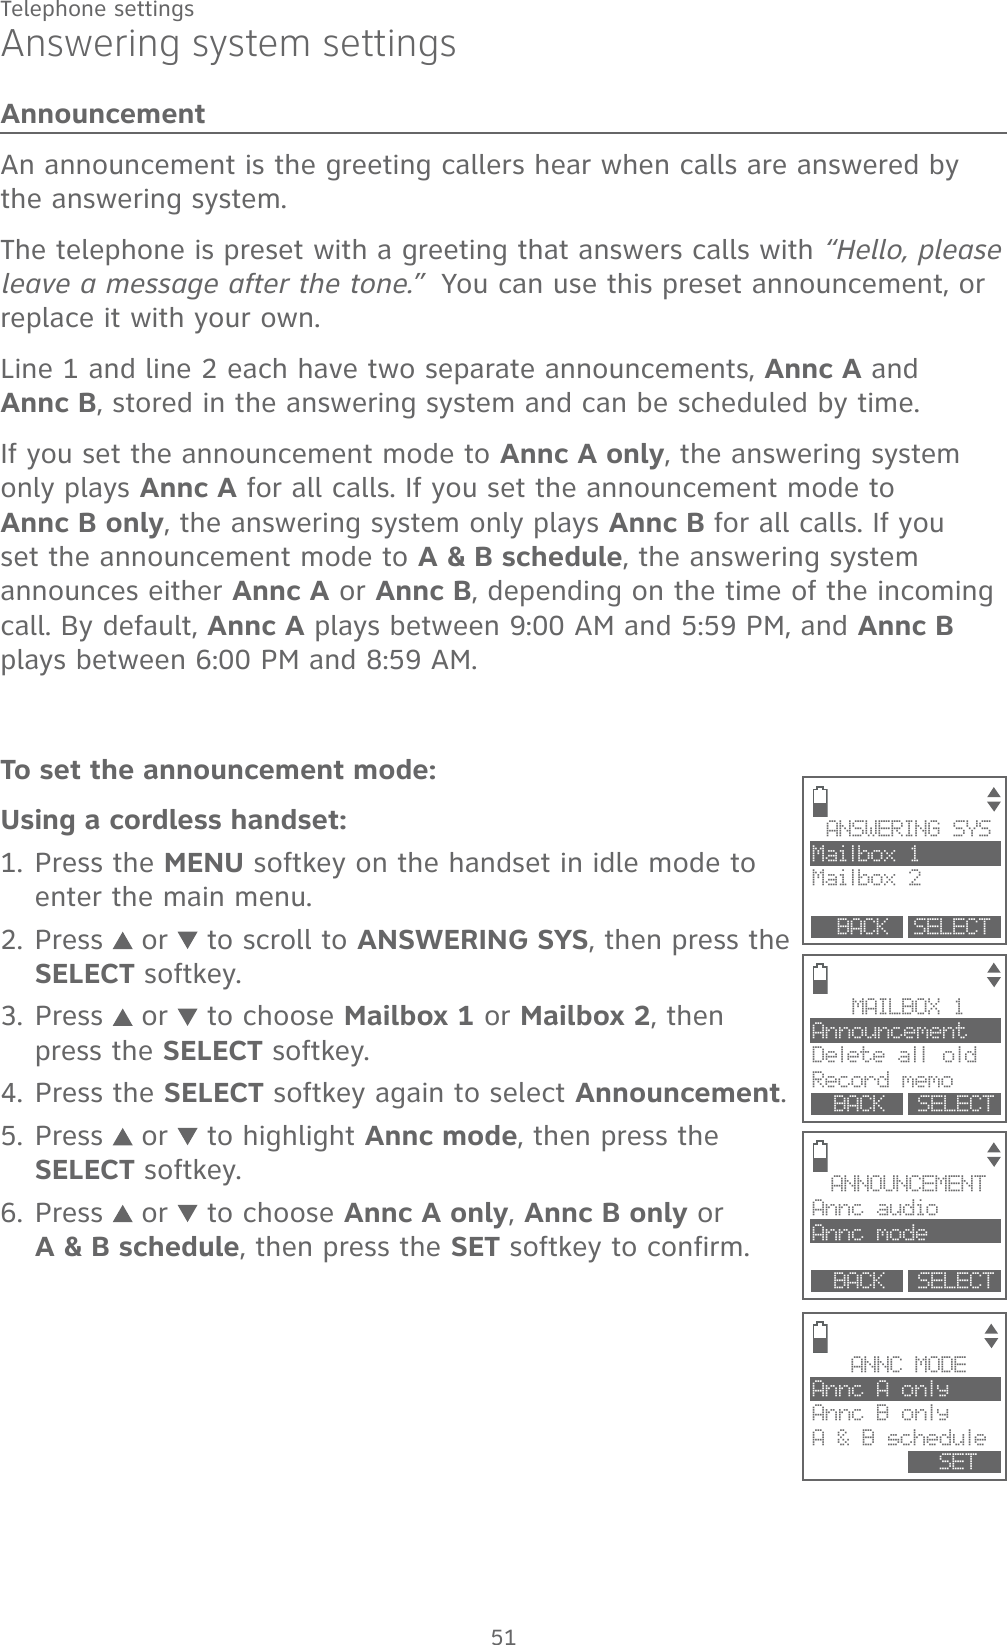
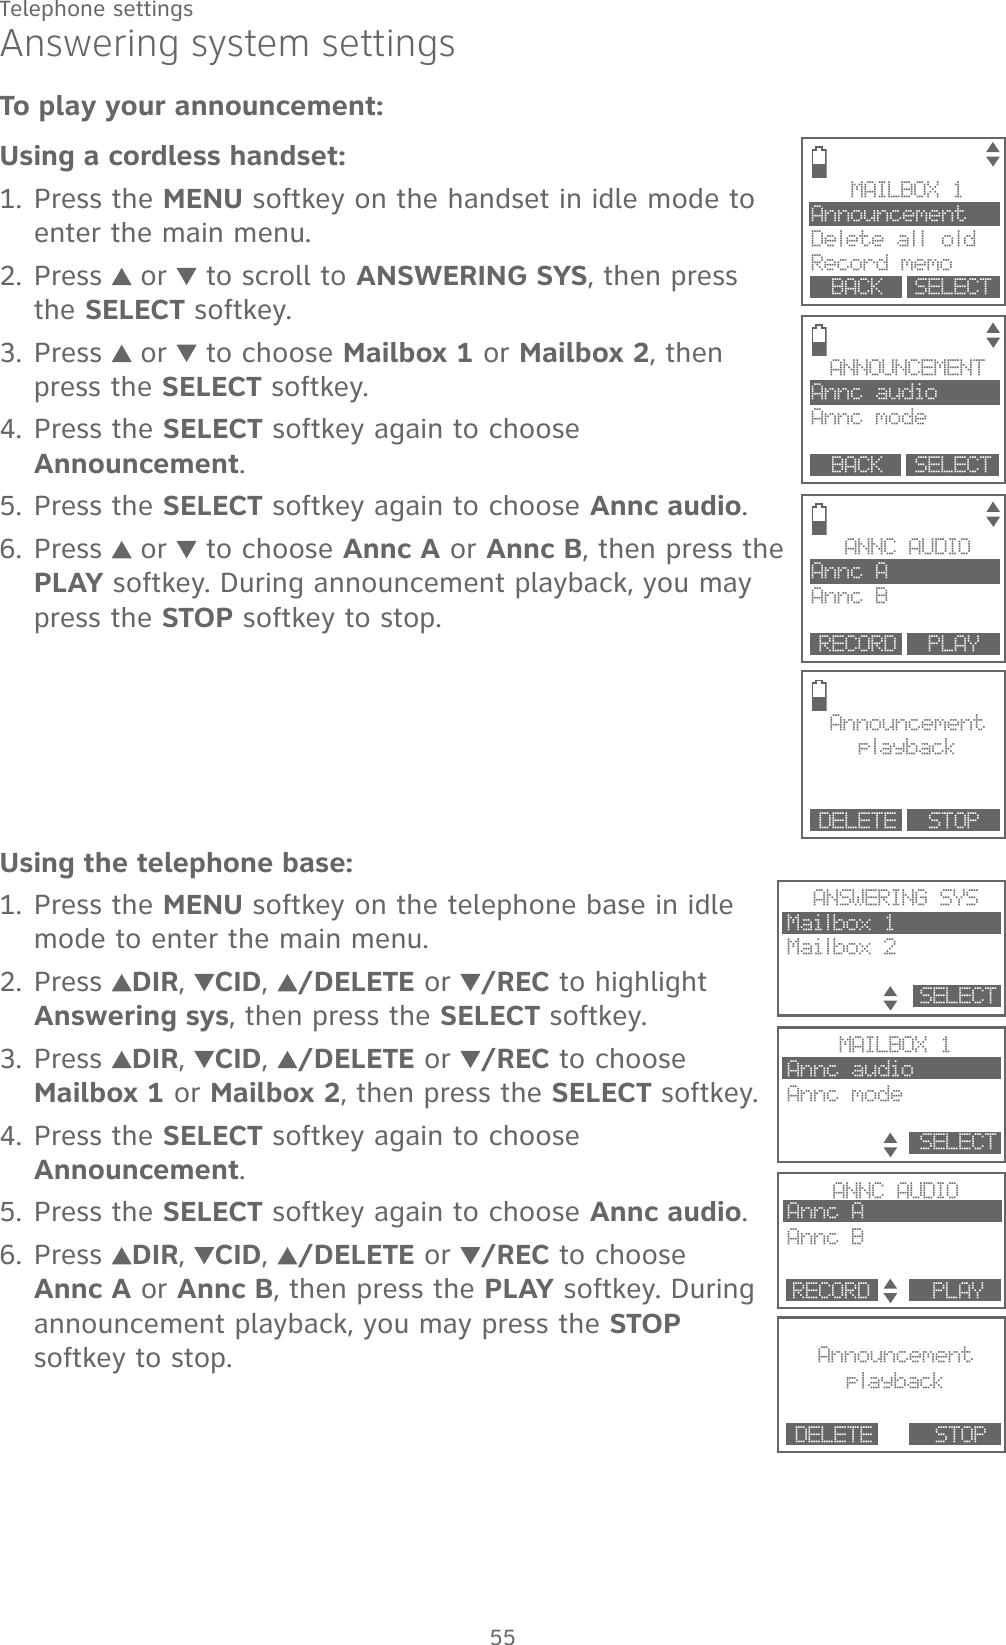
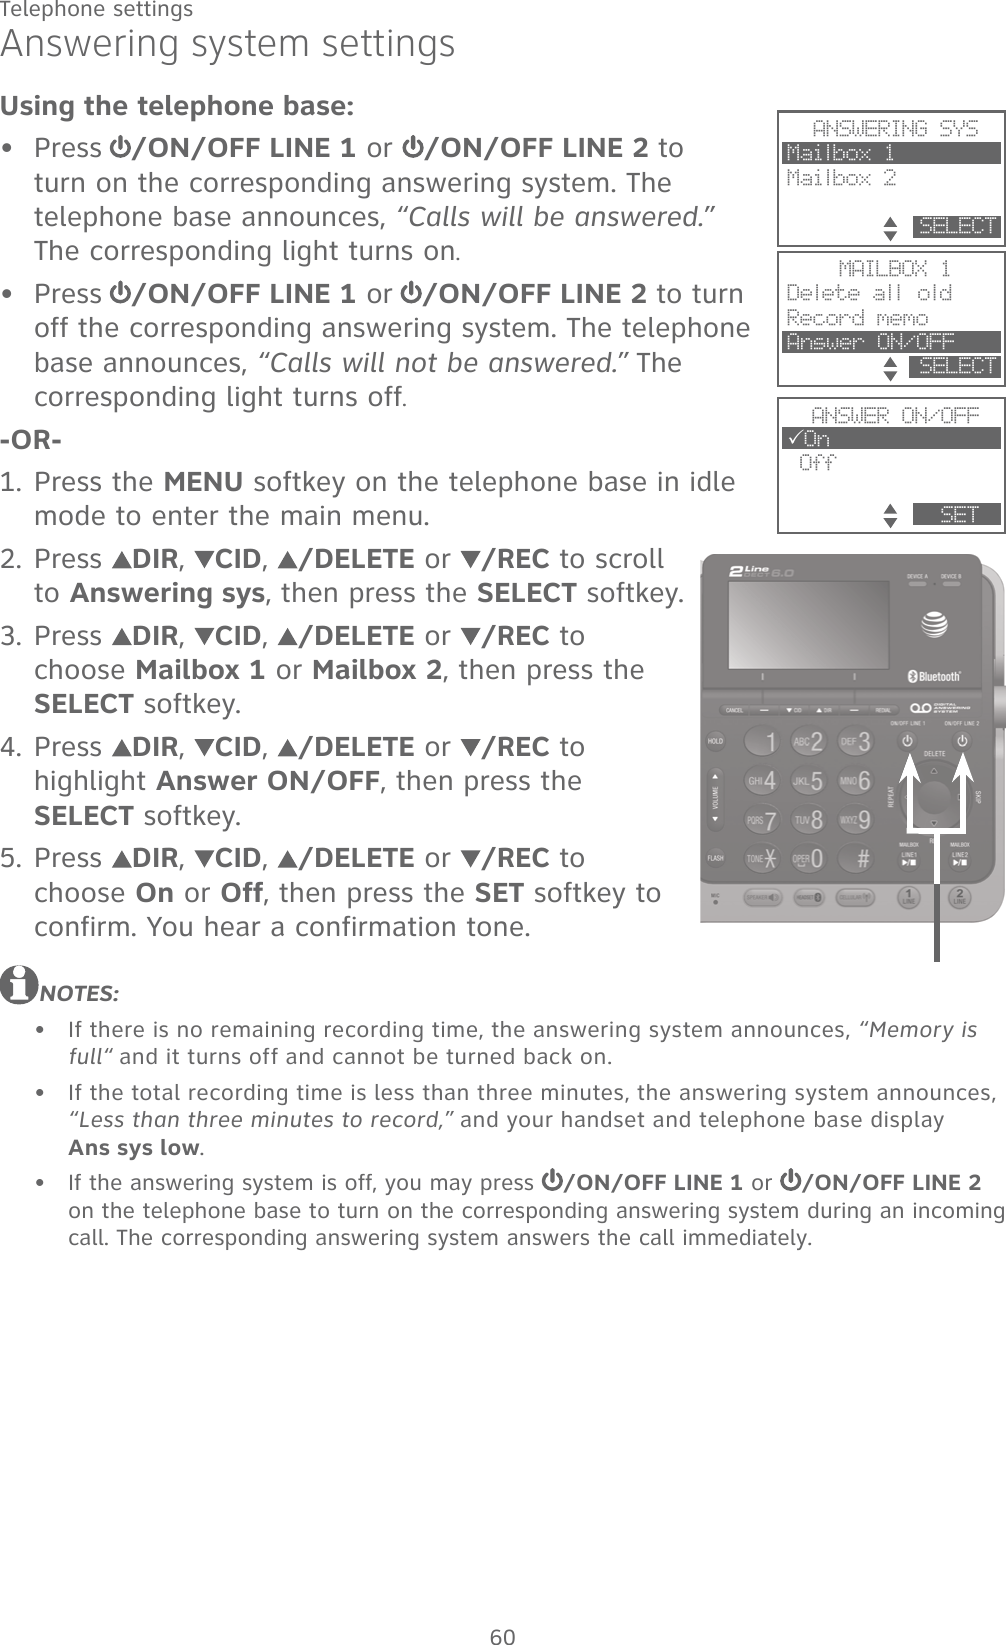
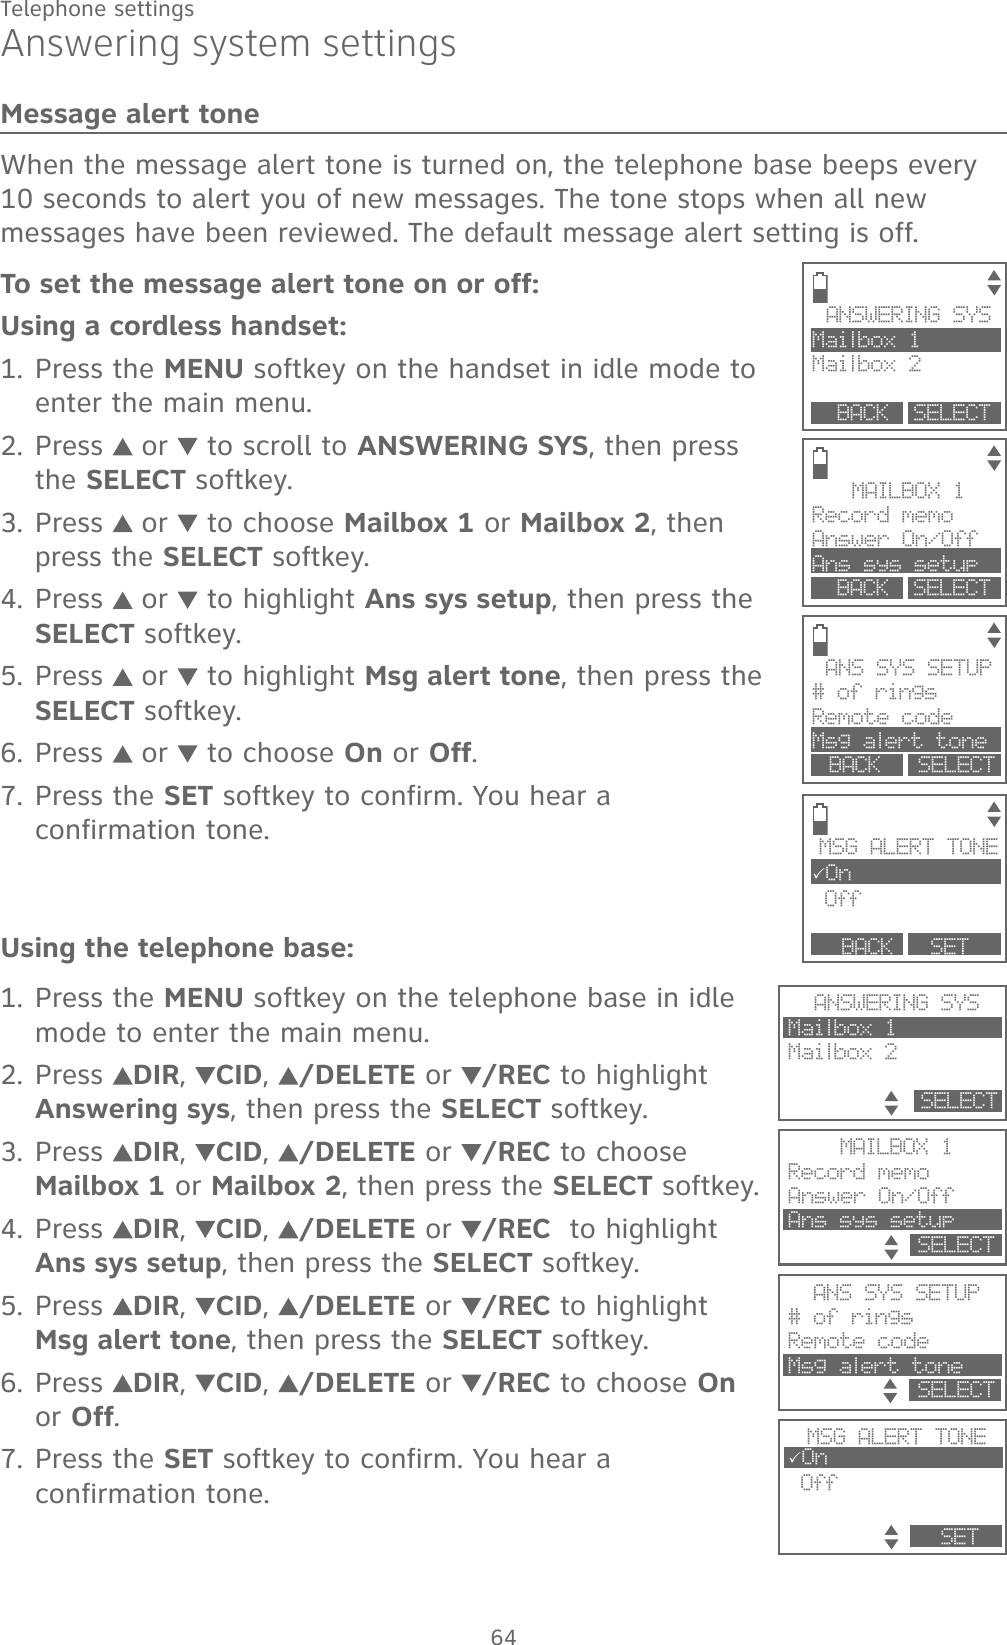
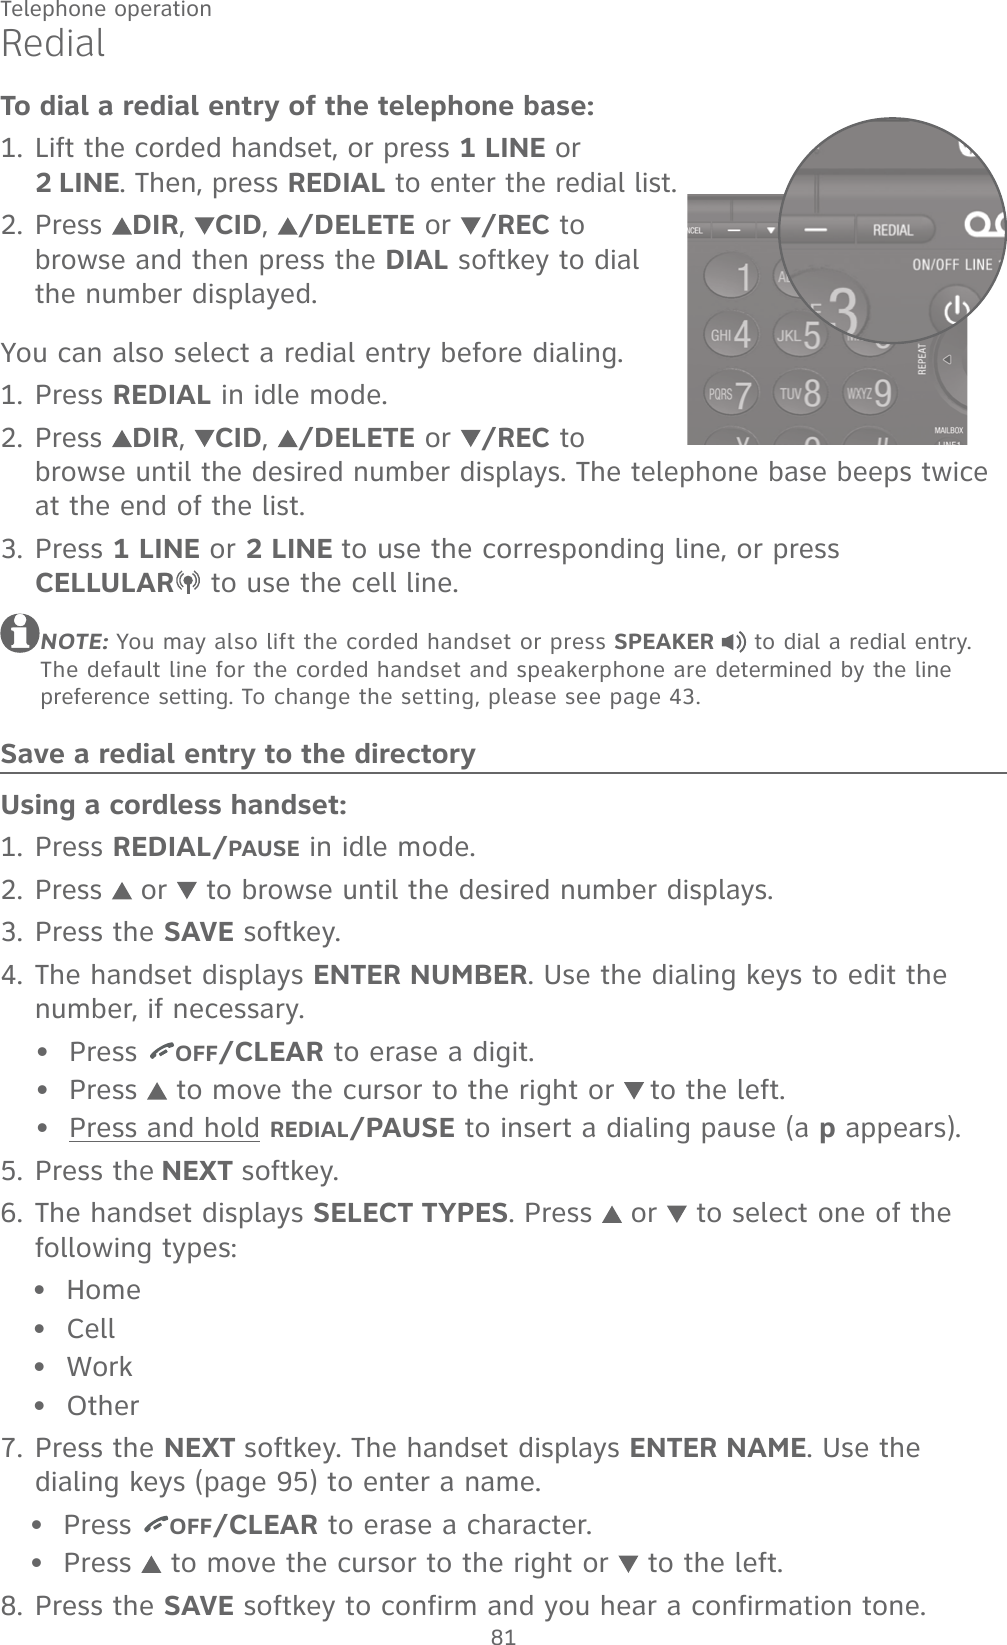
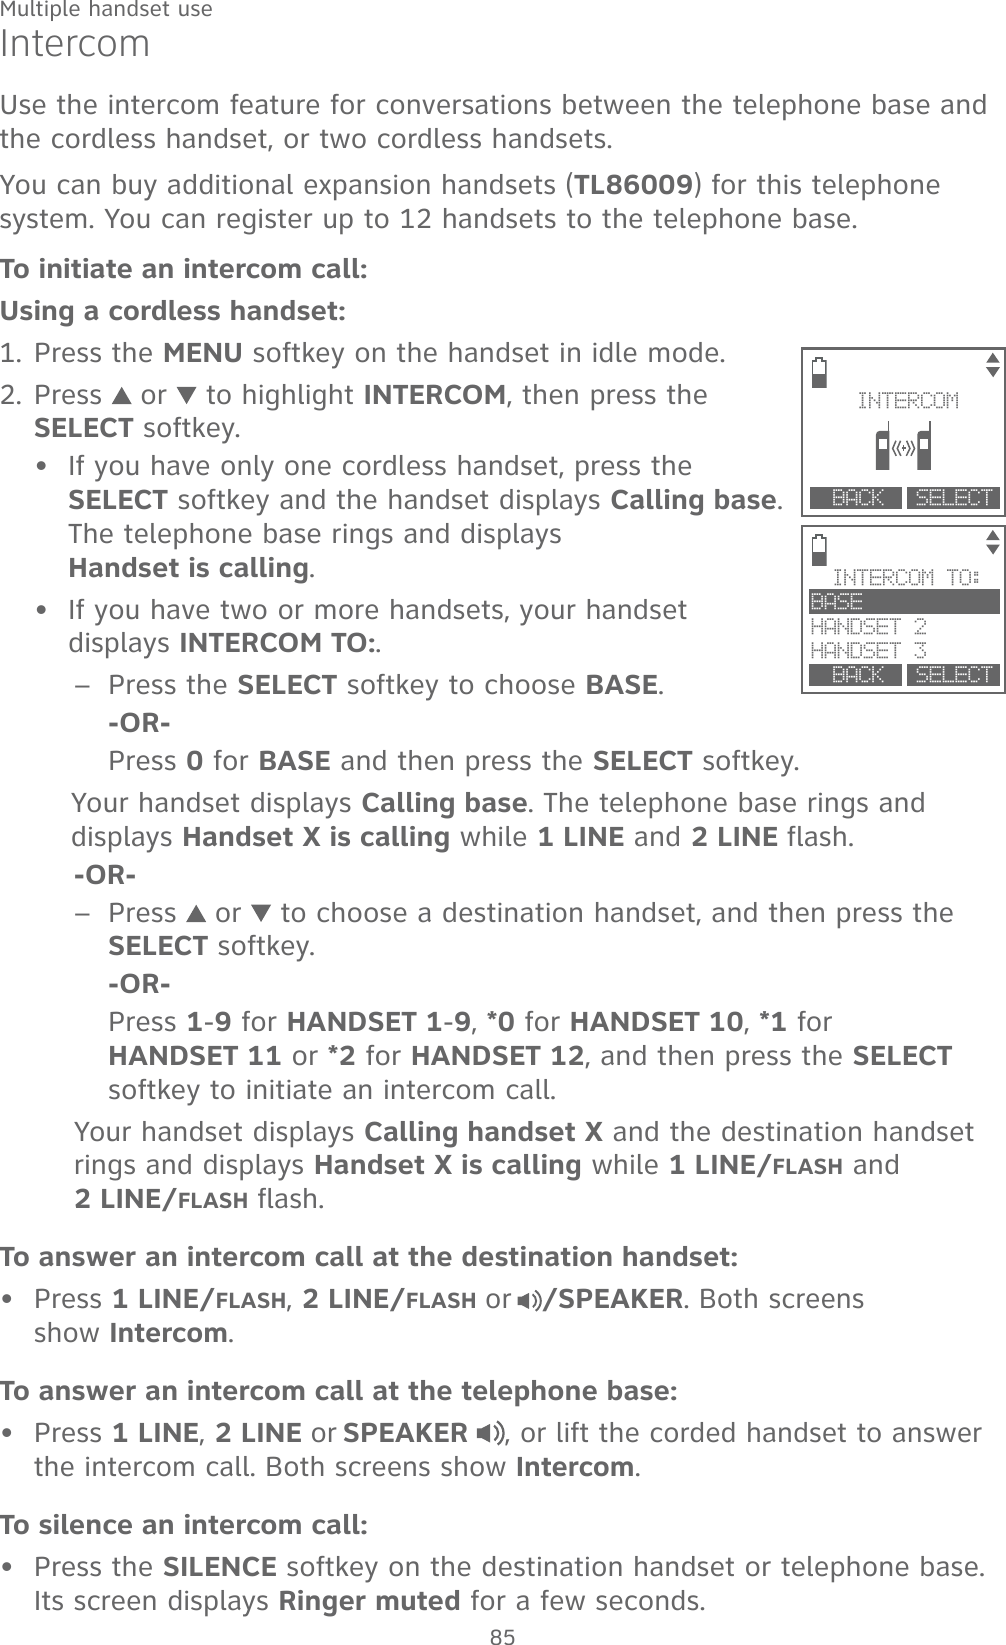
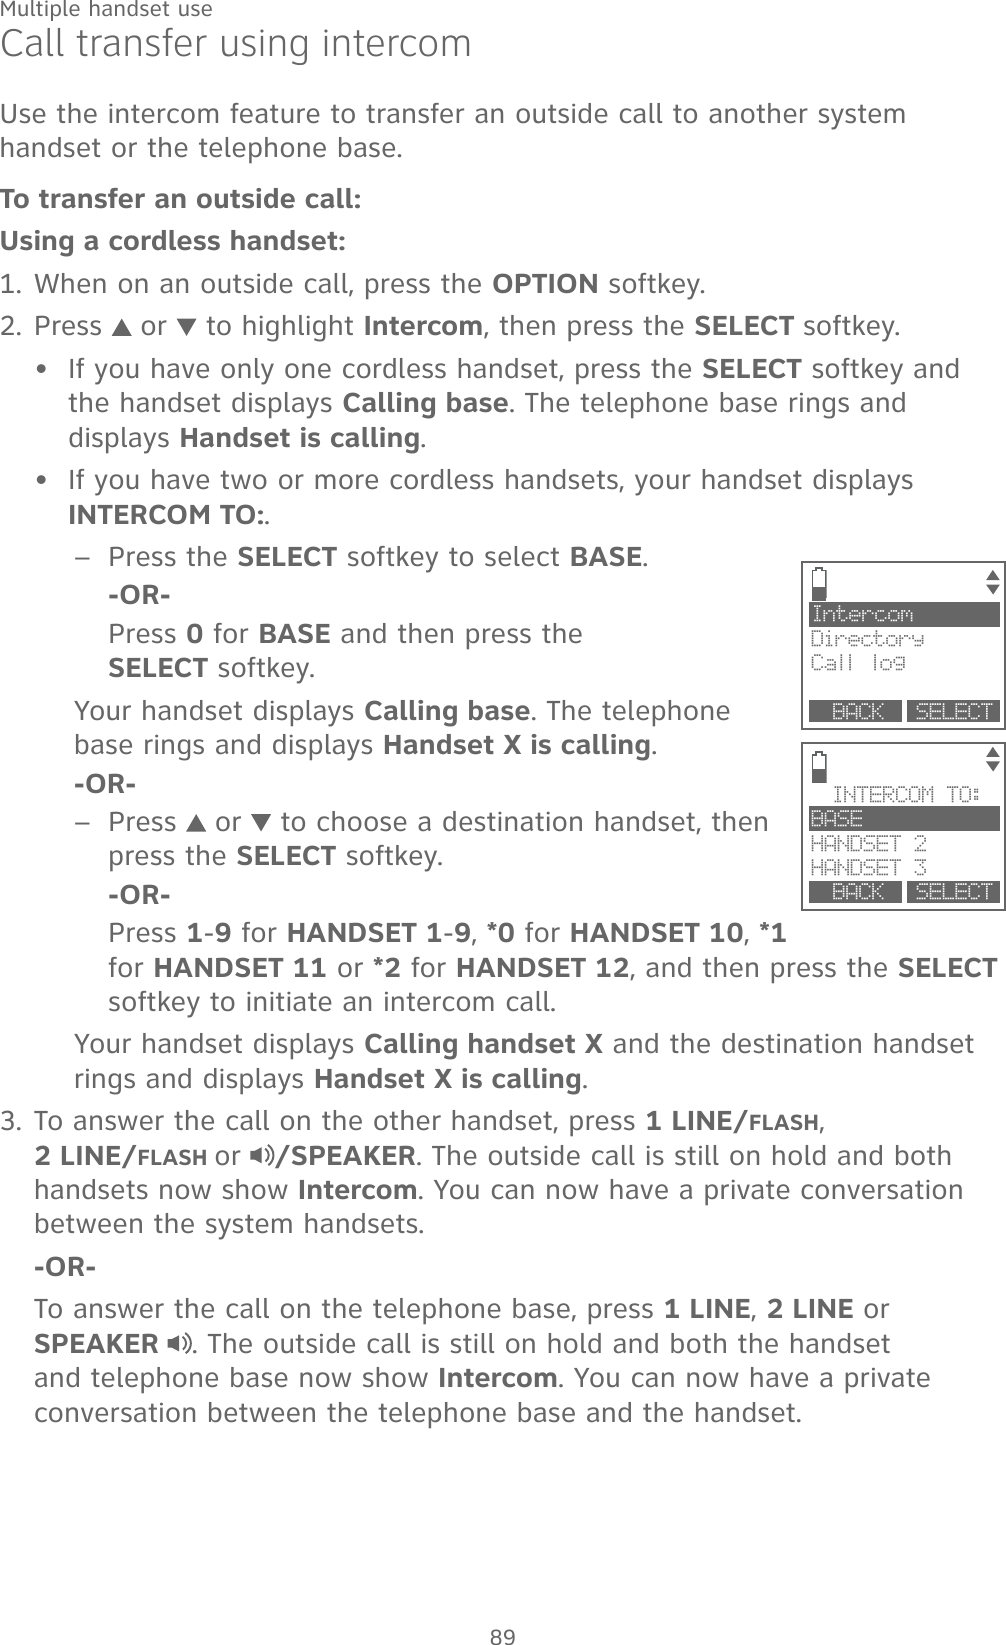
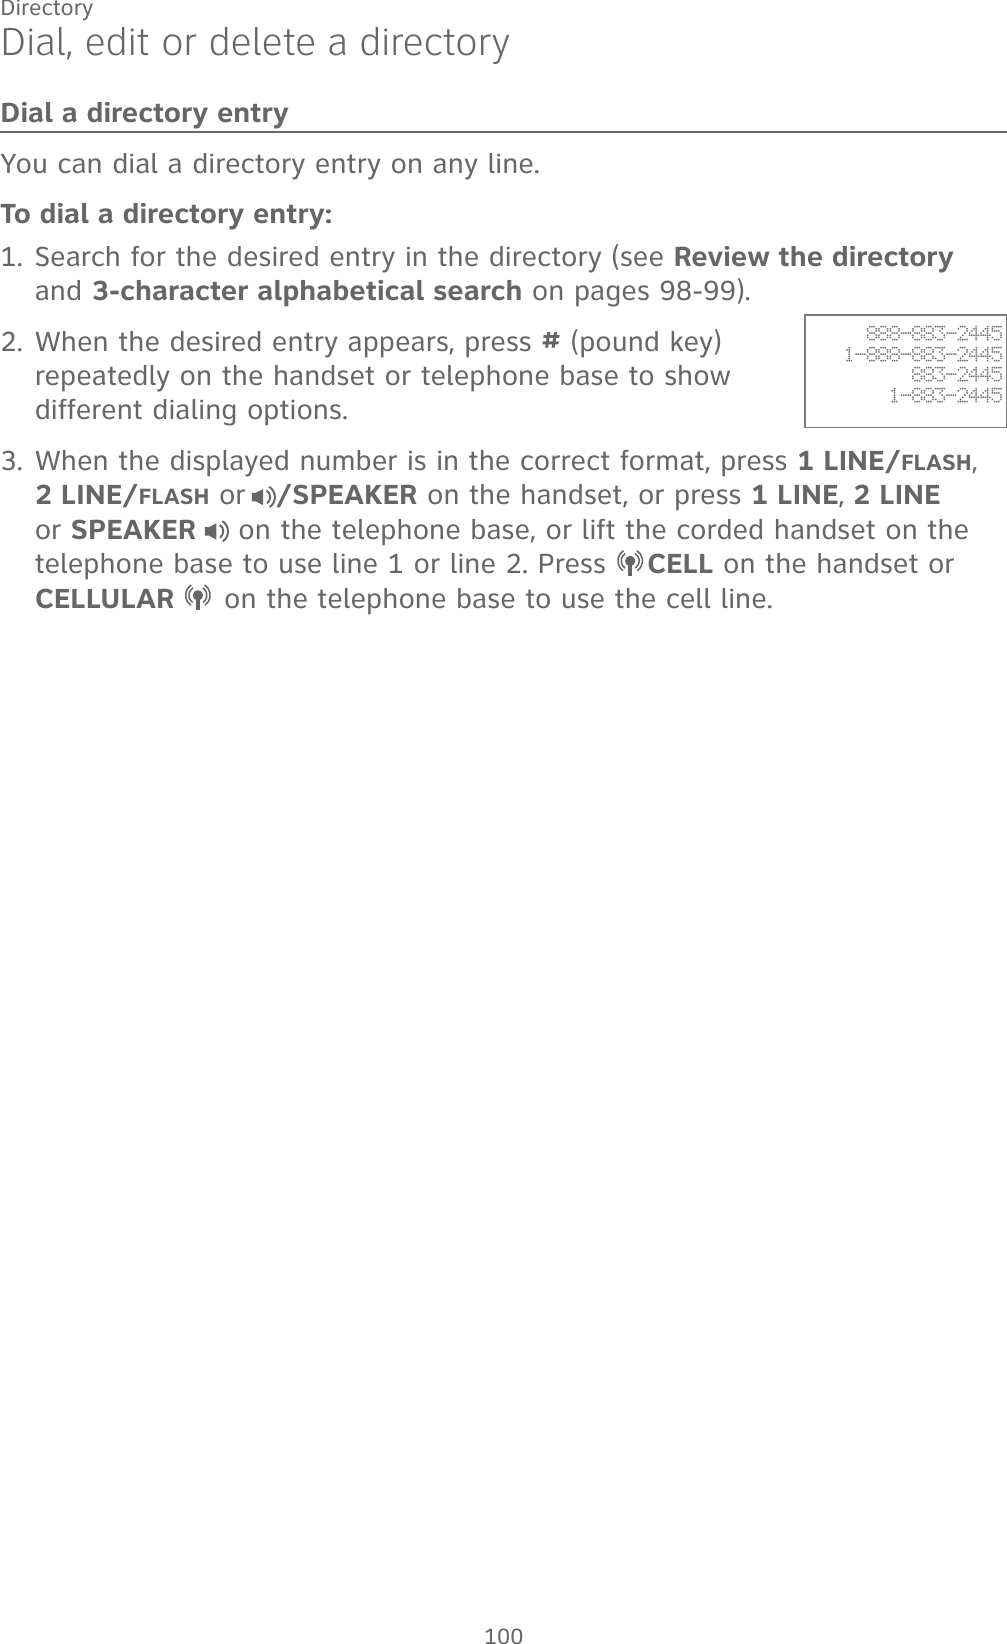
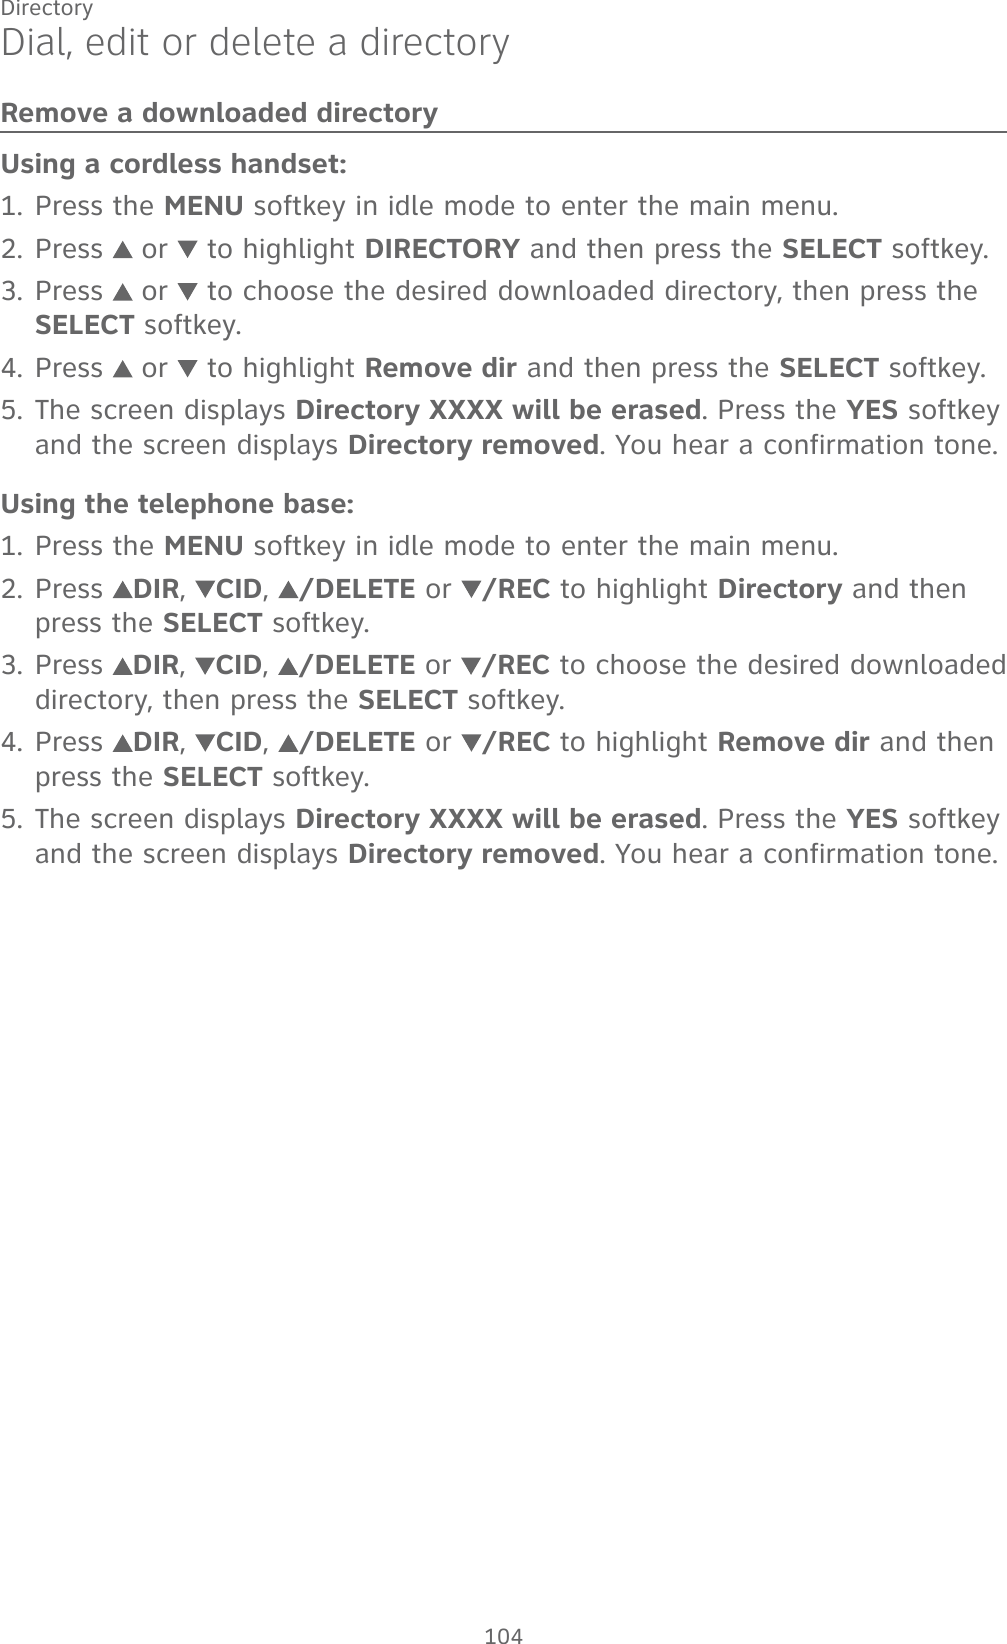
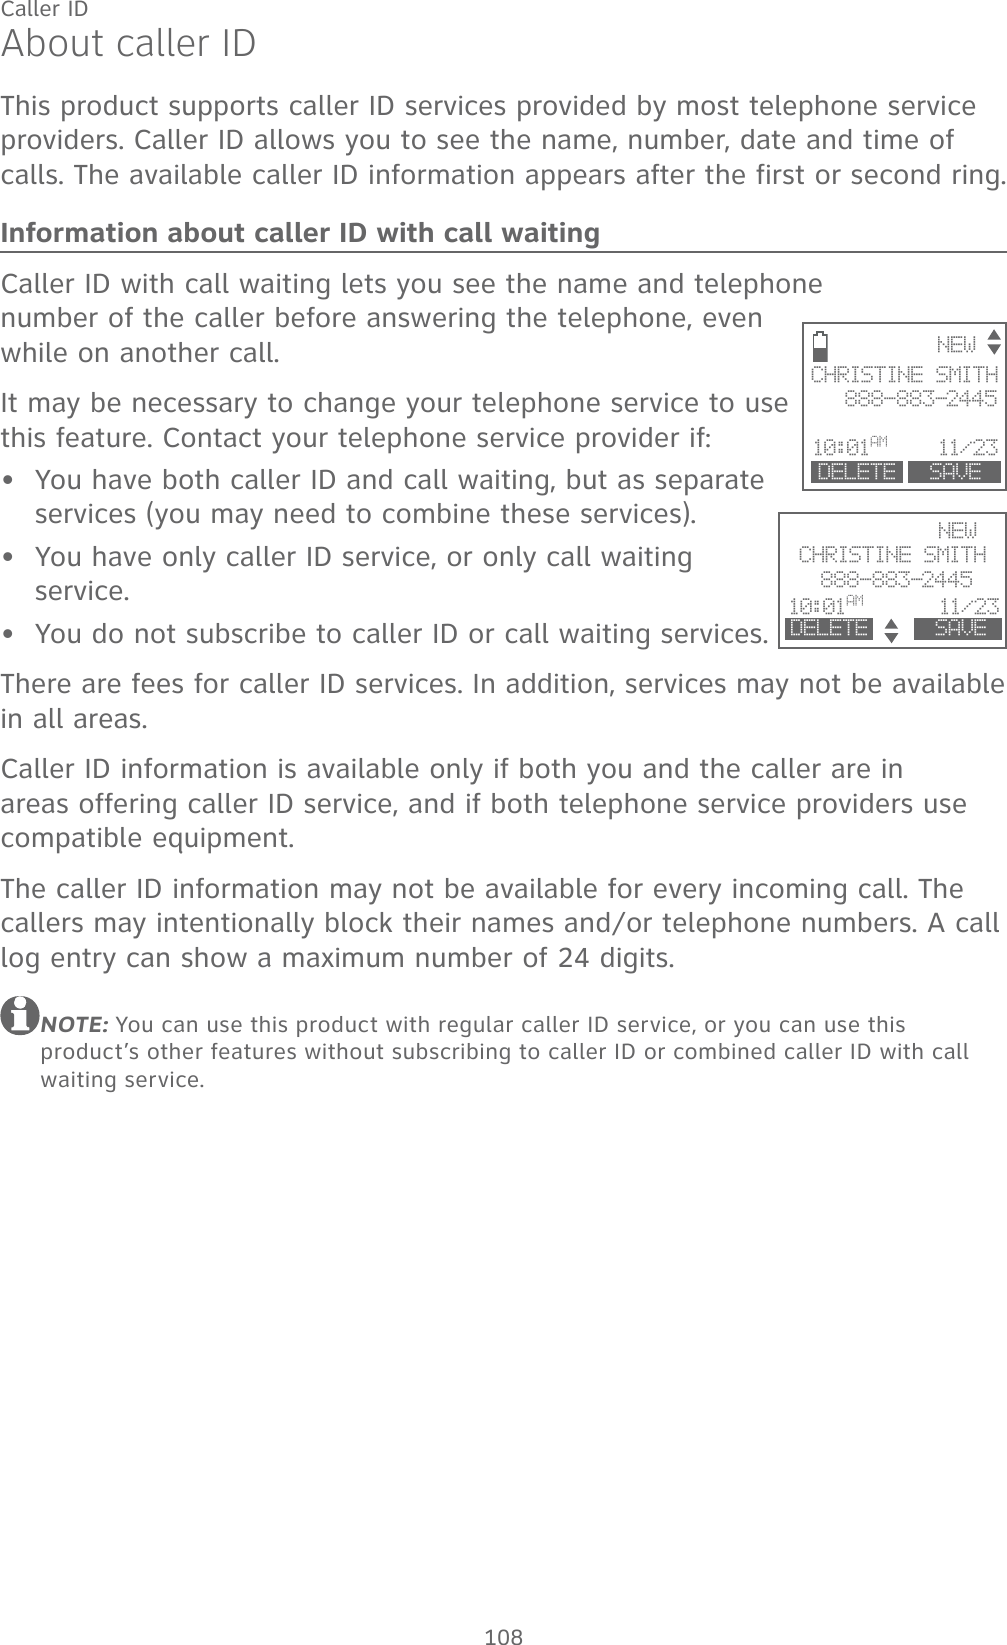
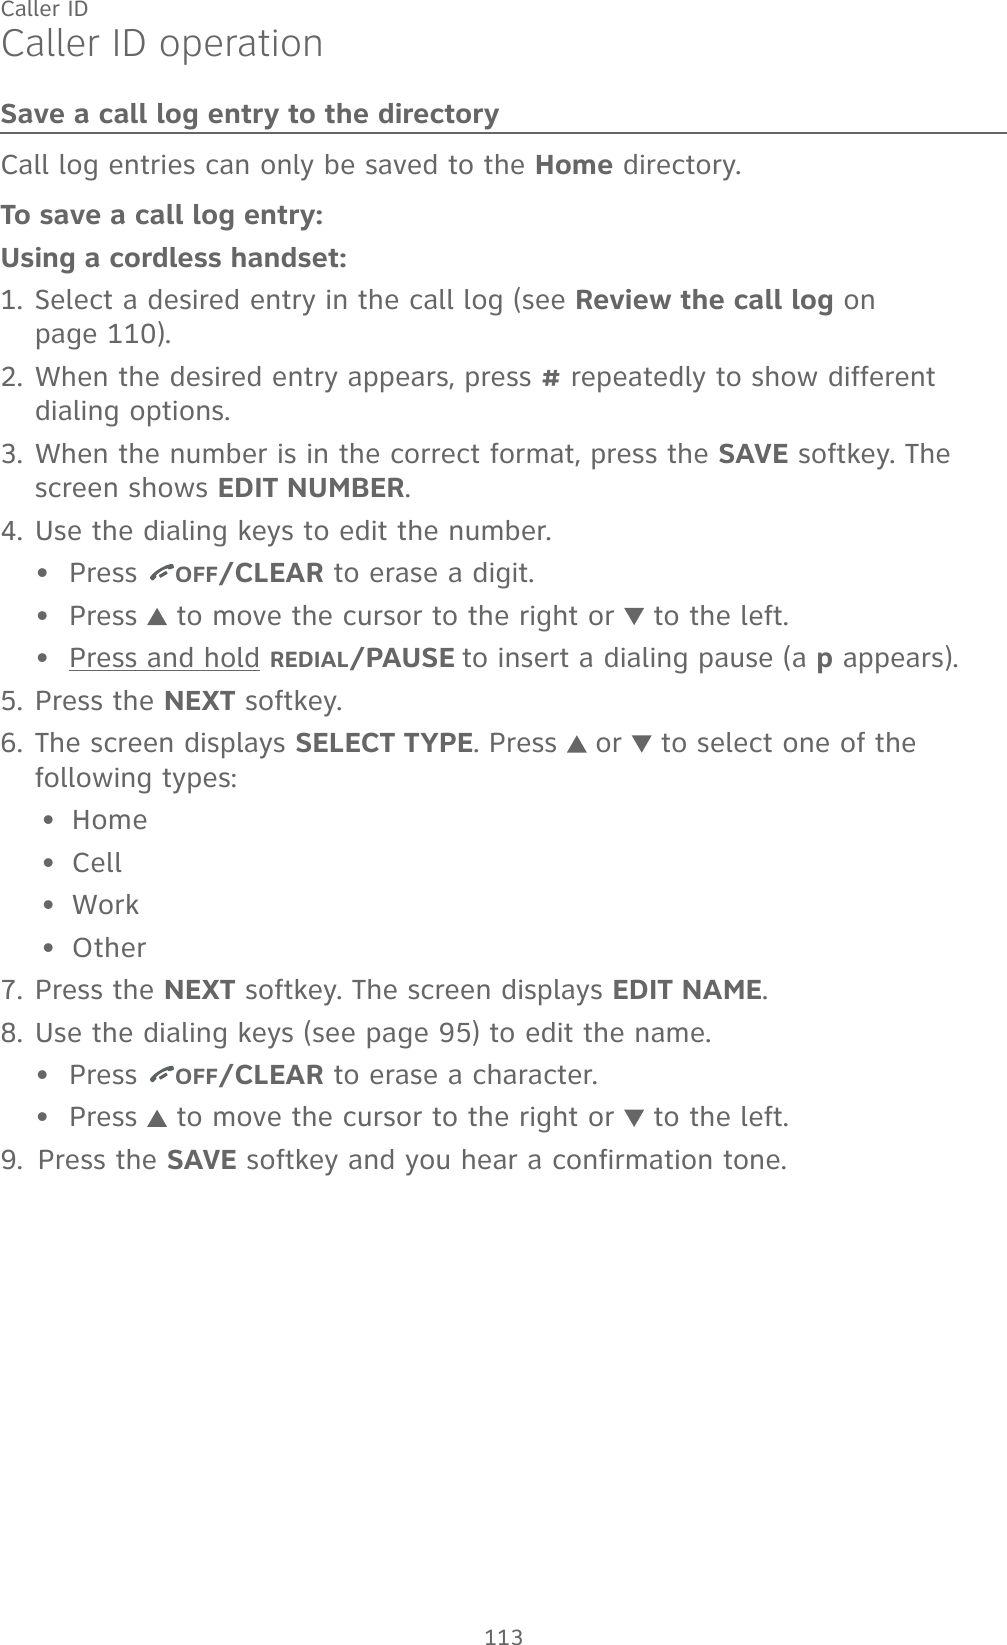
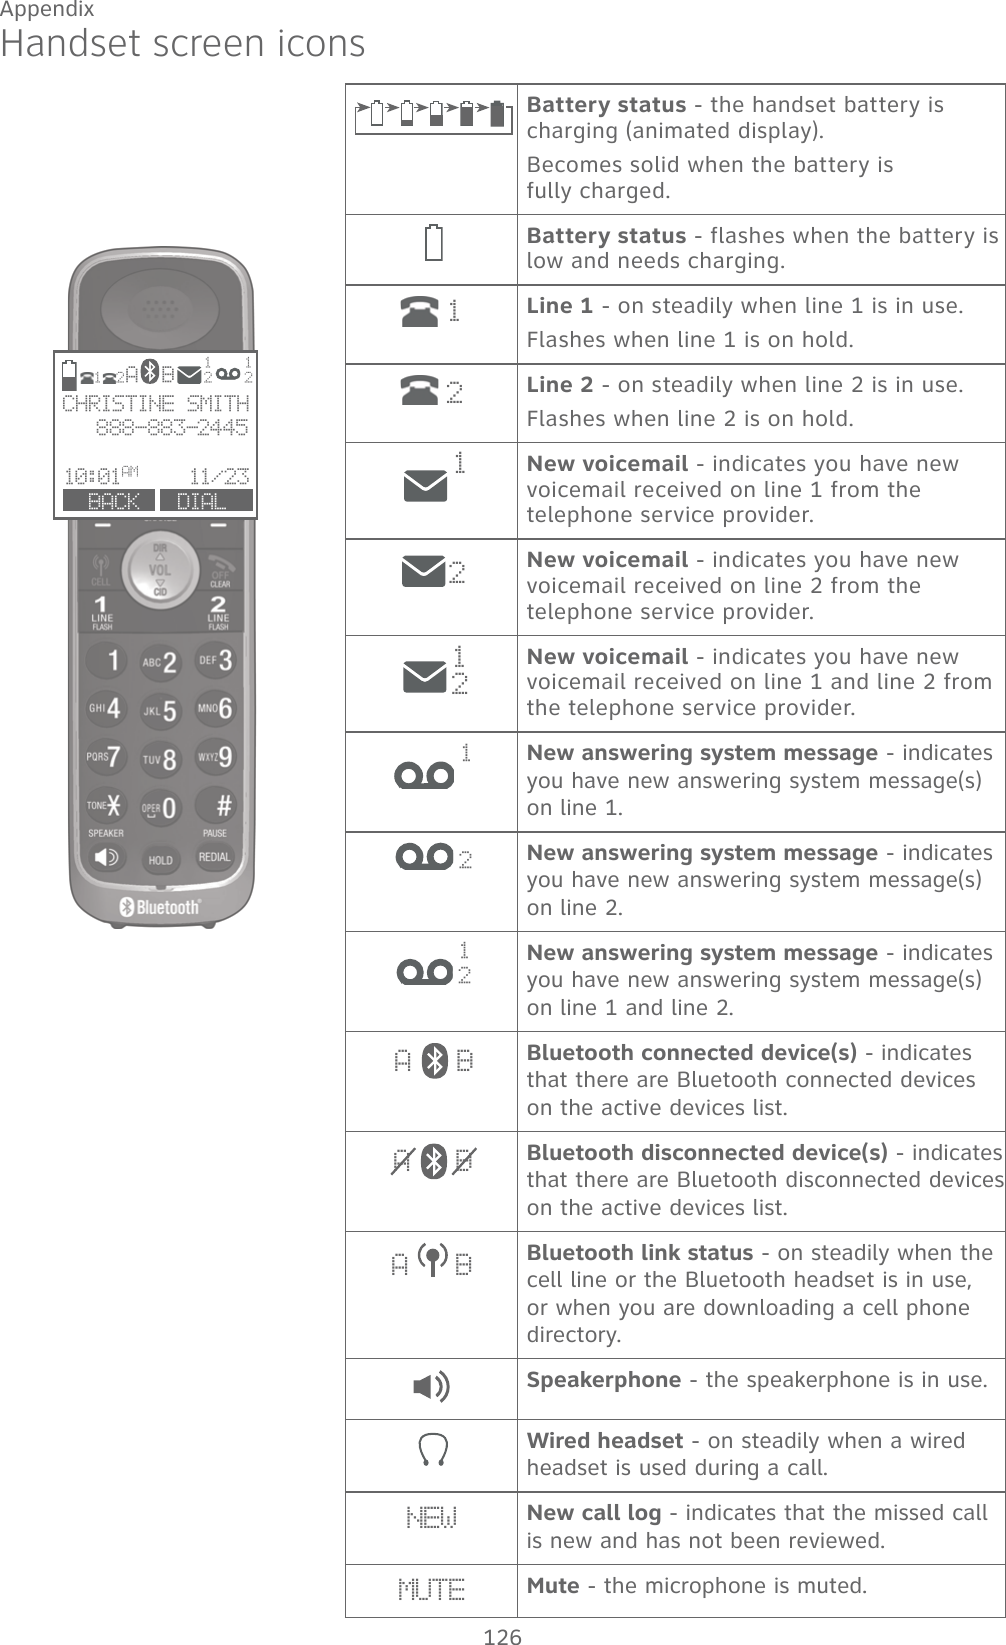
![141AppendixTroubleshootingI cannot dial out.Try all the suggestions in The display shows NO LINE. I cannot get a dial tone on page 140.Make sure you have a dial tone before dialing. The cordless handset may take a second or two to find the telephone base and produce a dial tone. This is normal. Wait an extra second before dialing.Eliminate any background noise. Noise from a television, radio or other appliances may cause the phone to not dial out properly. If you cannot eliminate the background noise, first try muting the cordless handset or the telephone base before dialing, or dialing from another room in your home with less background noise.If other phones in your home are having the same problem, the problem is in your wiring or local service. Contact your telephone service provider (charges may apply).My cordless handset isn’t performing normally.Make sure the power cord is securely plugged into the telephone base. Plug the power adapter into a different working electrical outlet not controlled by a wall switch.Move the cordless handset closer to the telephone base. You might have moved out of range.Reset the telephone base. Unplug the electrical power. Wait for 15 seconds, then plug it back in. Allow up to one minute for the cordless handset and telephone base to reset.Other electronic products such as HAM radios and other DECT phones, can cause interference with your cordless phone. Try installing your phone as far away as possible from these types of electronic devices.The handset registration is unsuccessful. Follow the steps, as mentioned below, to register the handset again.1. Make sure the handset is out of the charger and shows Press [HOLD] on base for 4 sec, then press [#] on handset before you begin.2. Press and hold HOLD on the telephone base for about four seconds until it shows Registering...Please wait. Then, release the button.3. Press # (pound key) on the handset. Its screen shows Registering handset... and it takes up to 60 seconds to complete the registration. The handset shows HANDSET X Registered (X represents the handset number assigned) and you hear a beep when the registration completes.Refer to Add and register a handset on page 135 for details.••••••••](https://usermanual.wiki/VTech-Telecommunications/80-6879-01/User-Guide-3194450-Page-147.png)
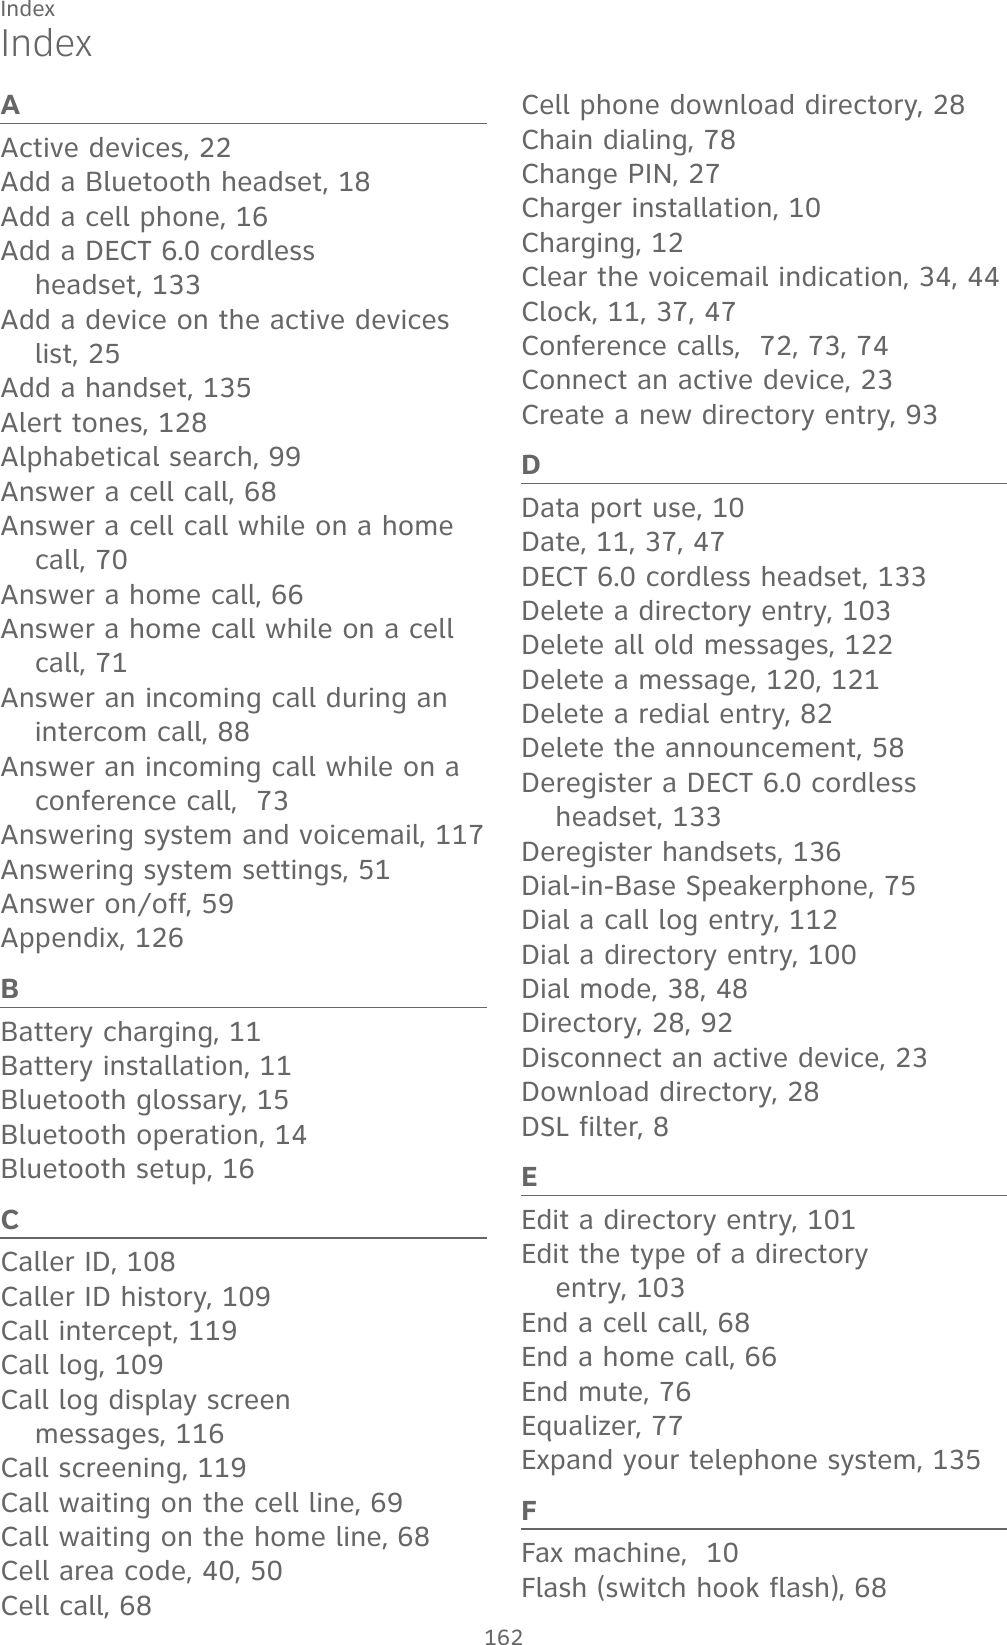
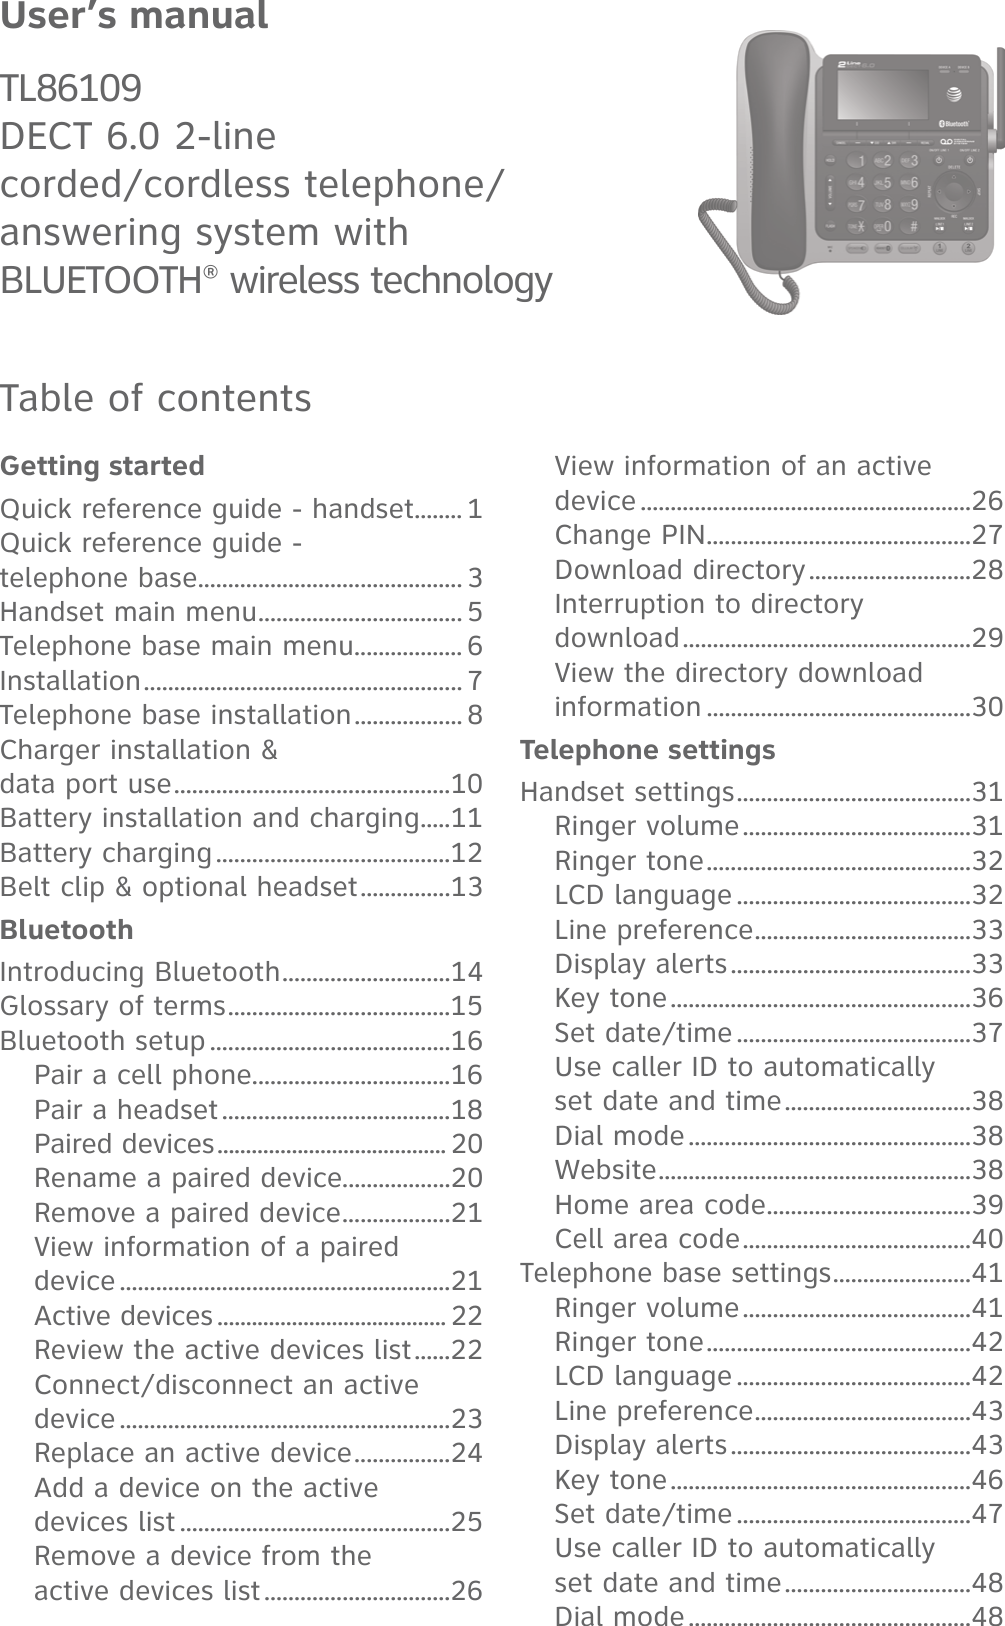
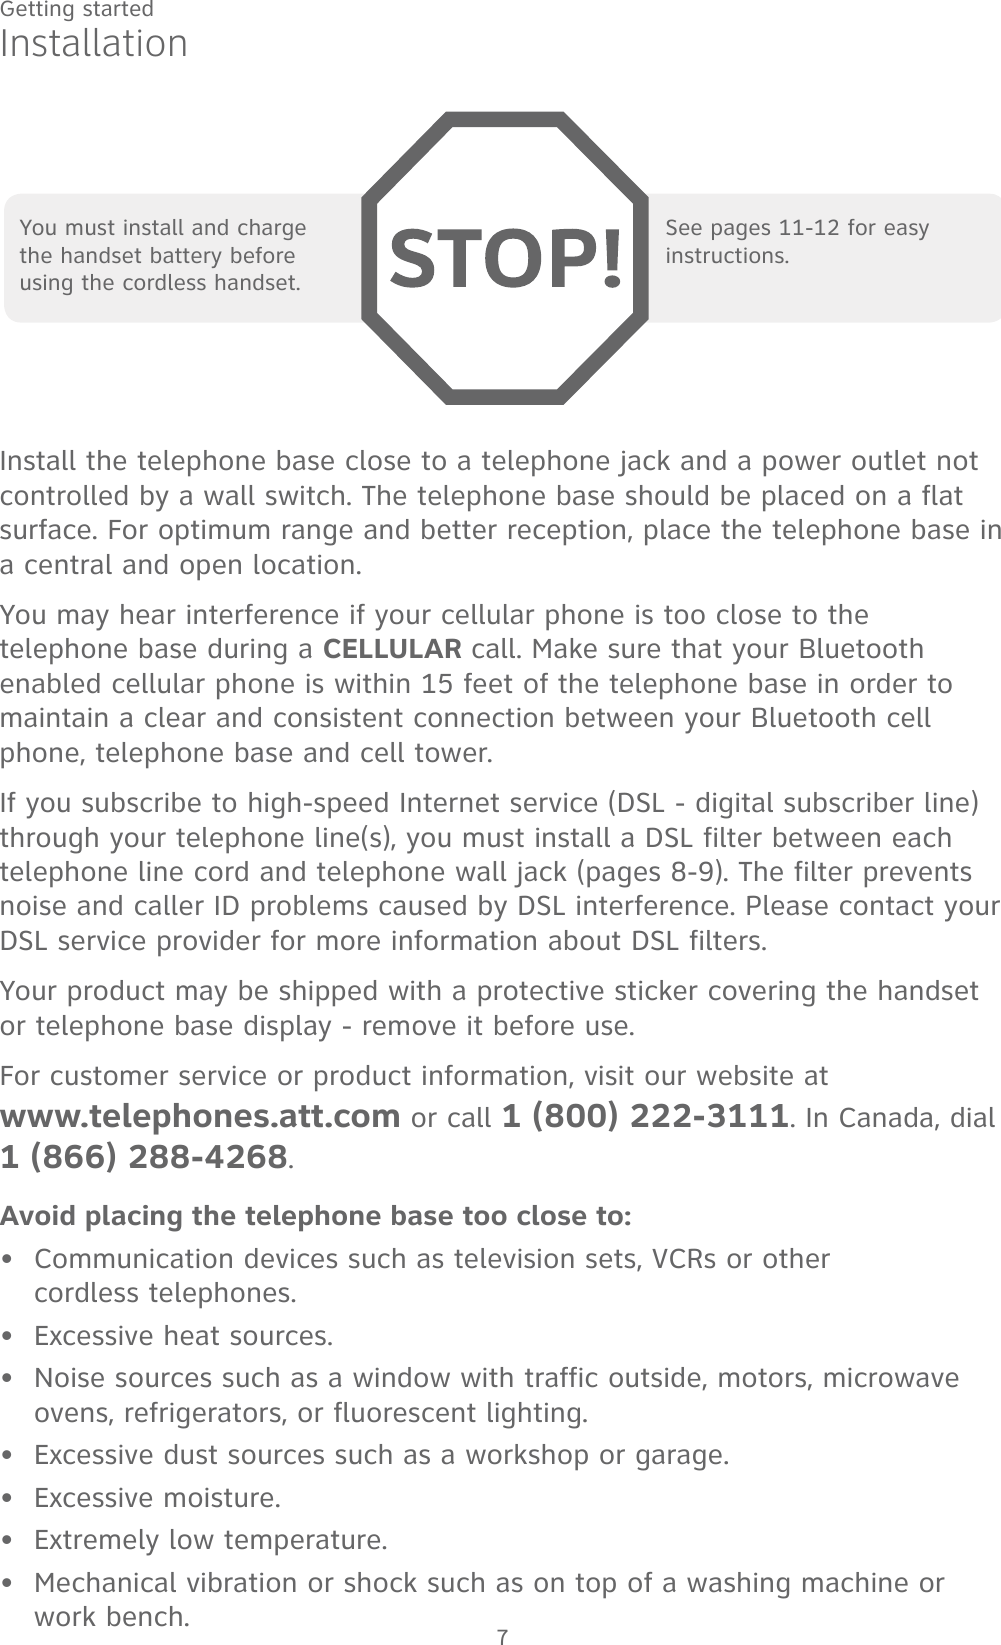
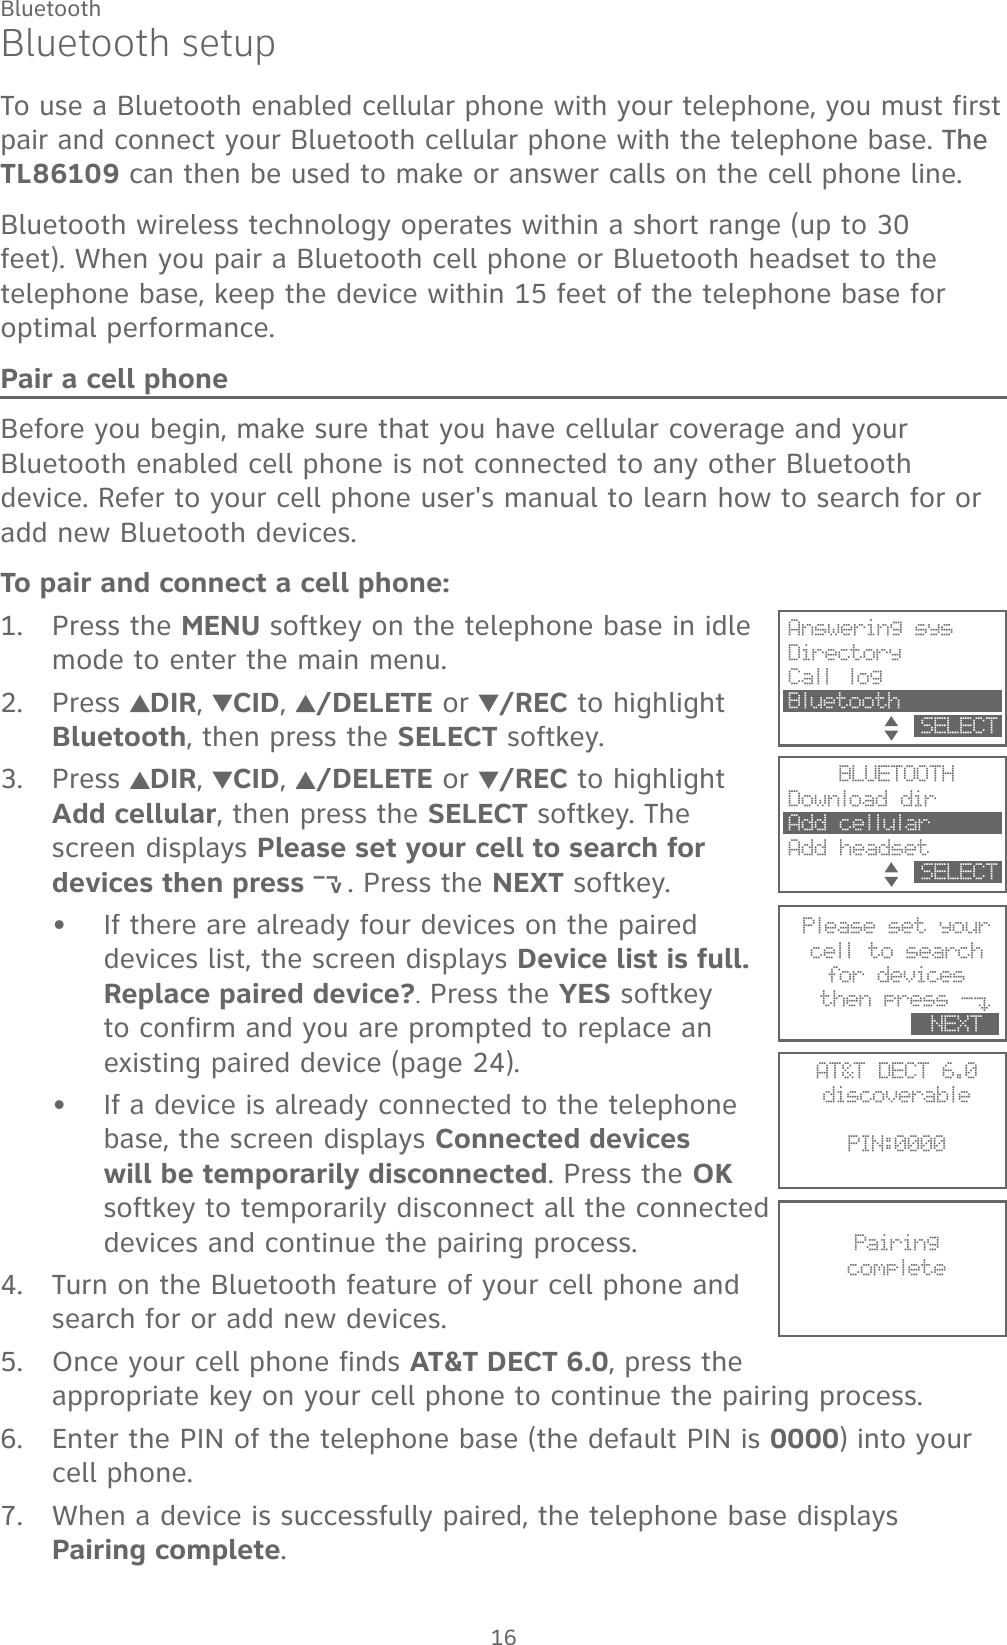
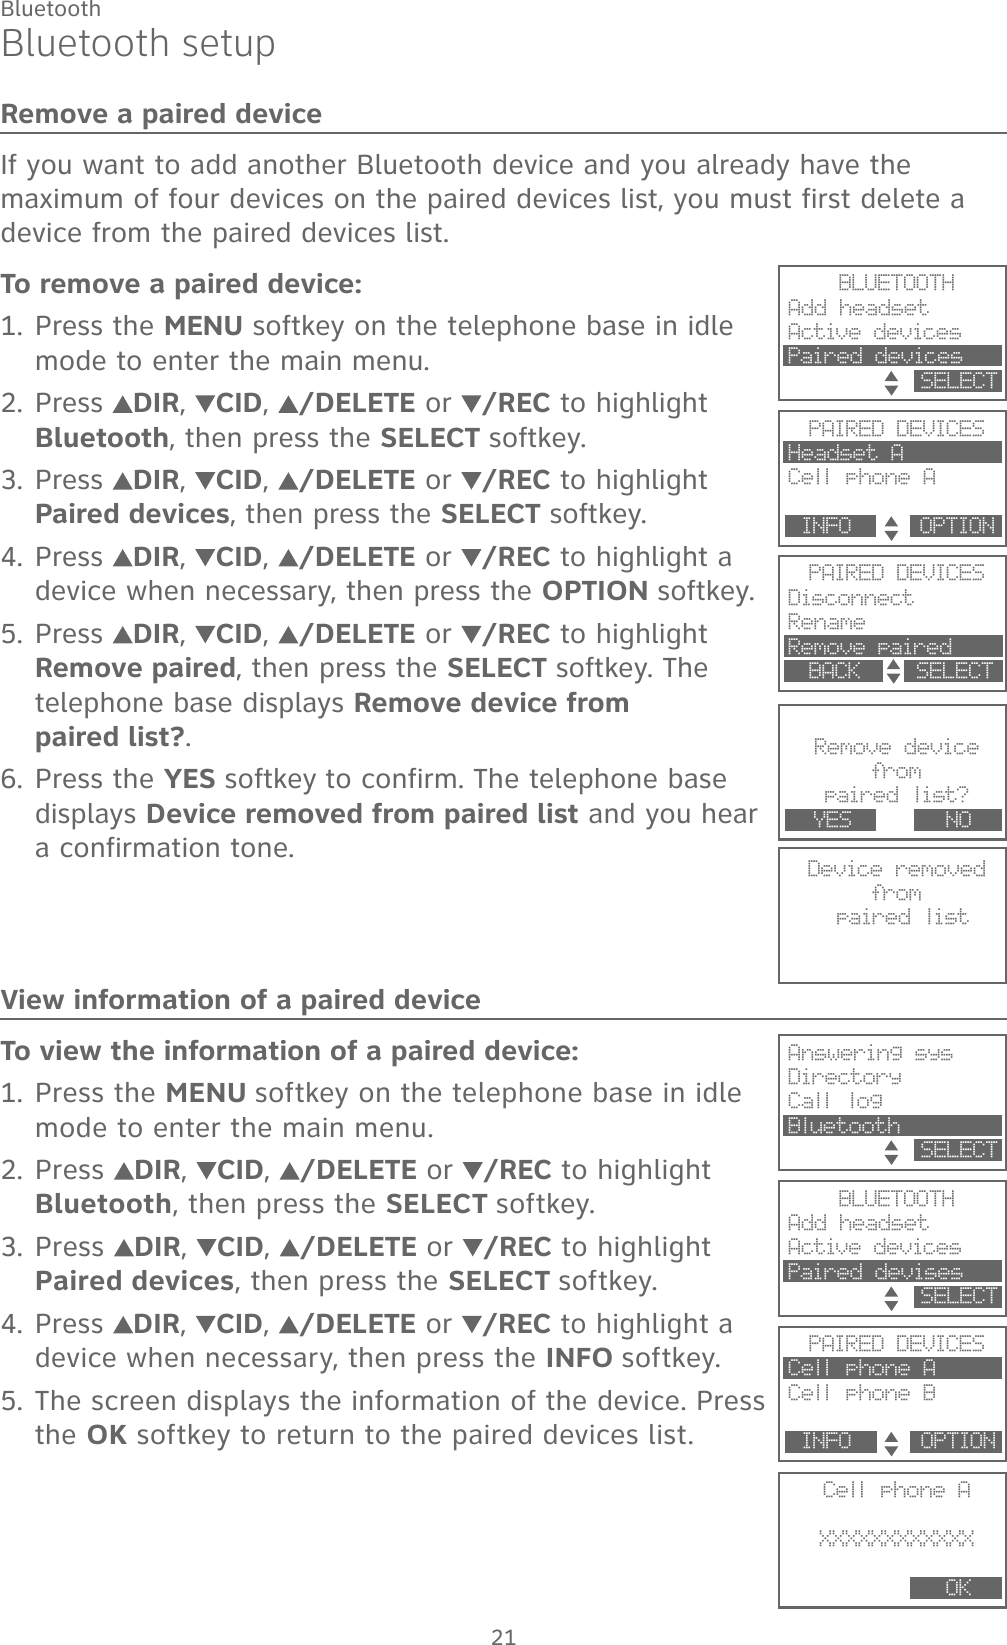
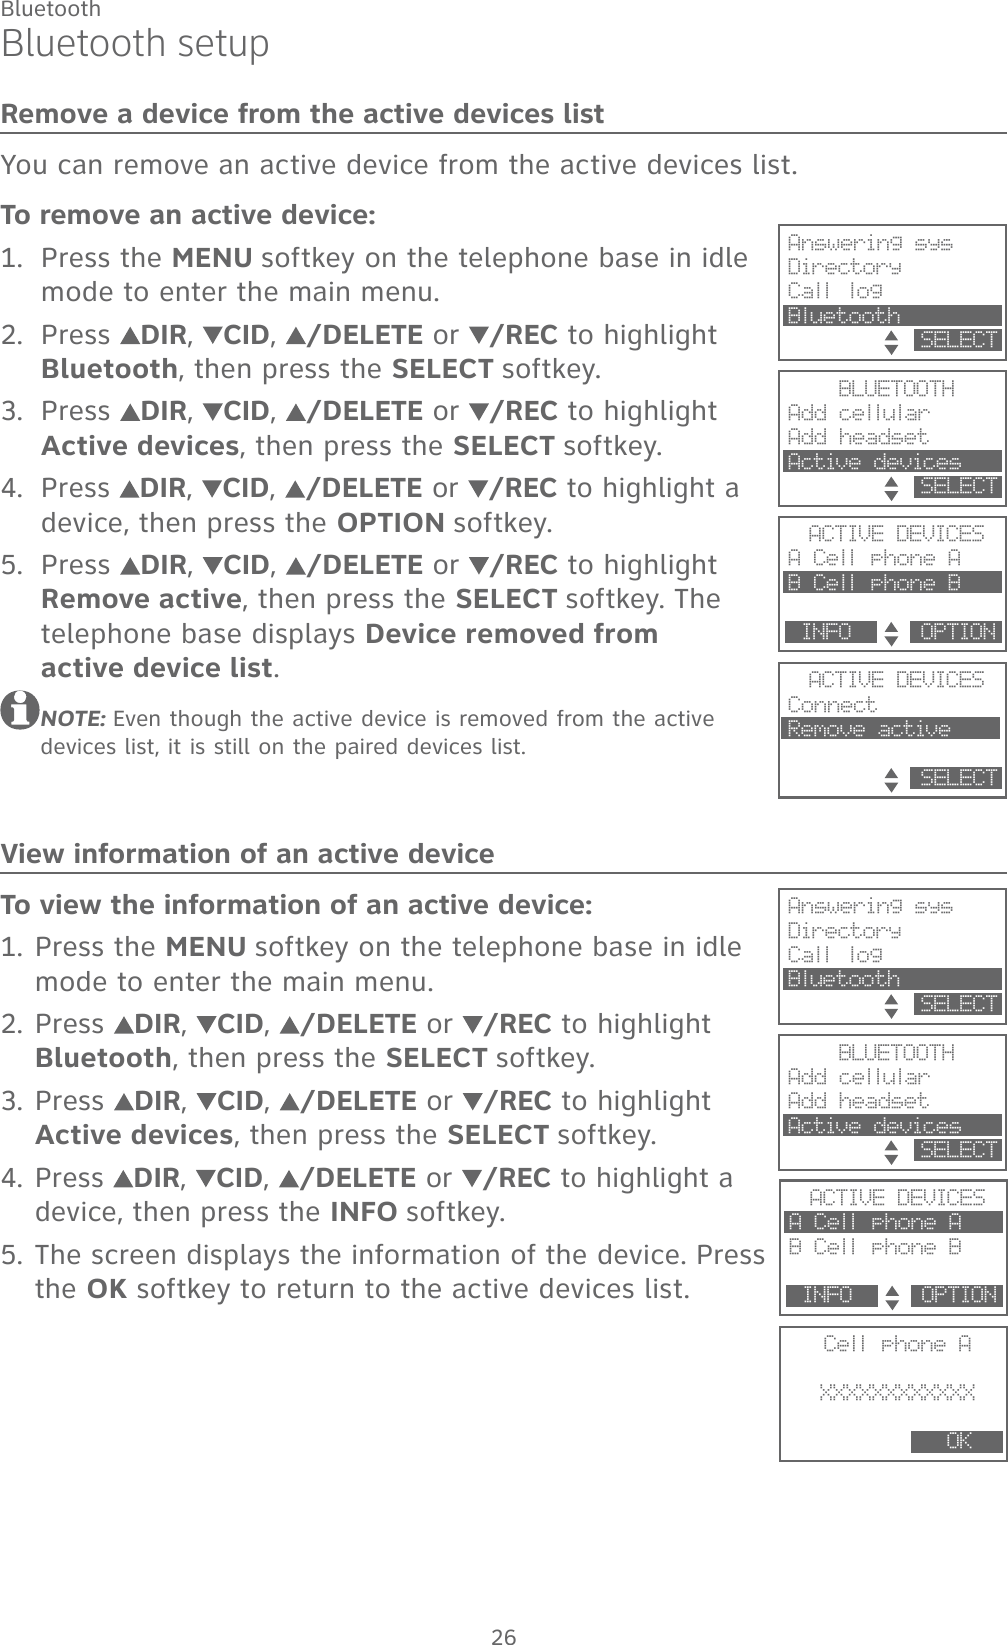
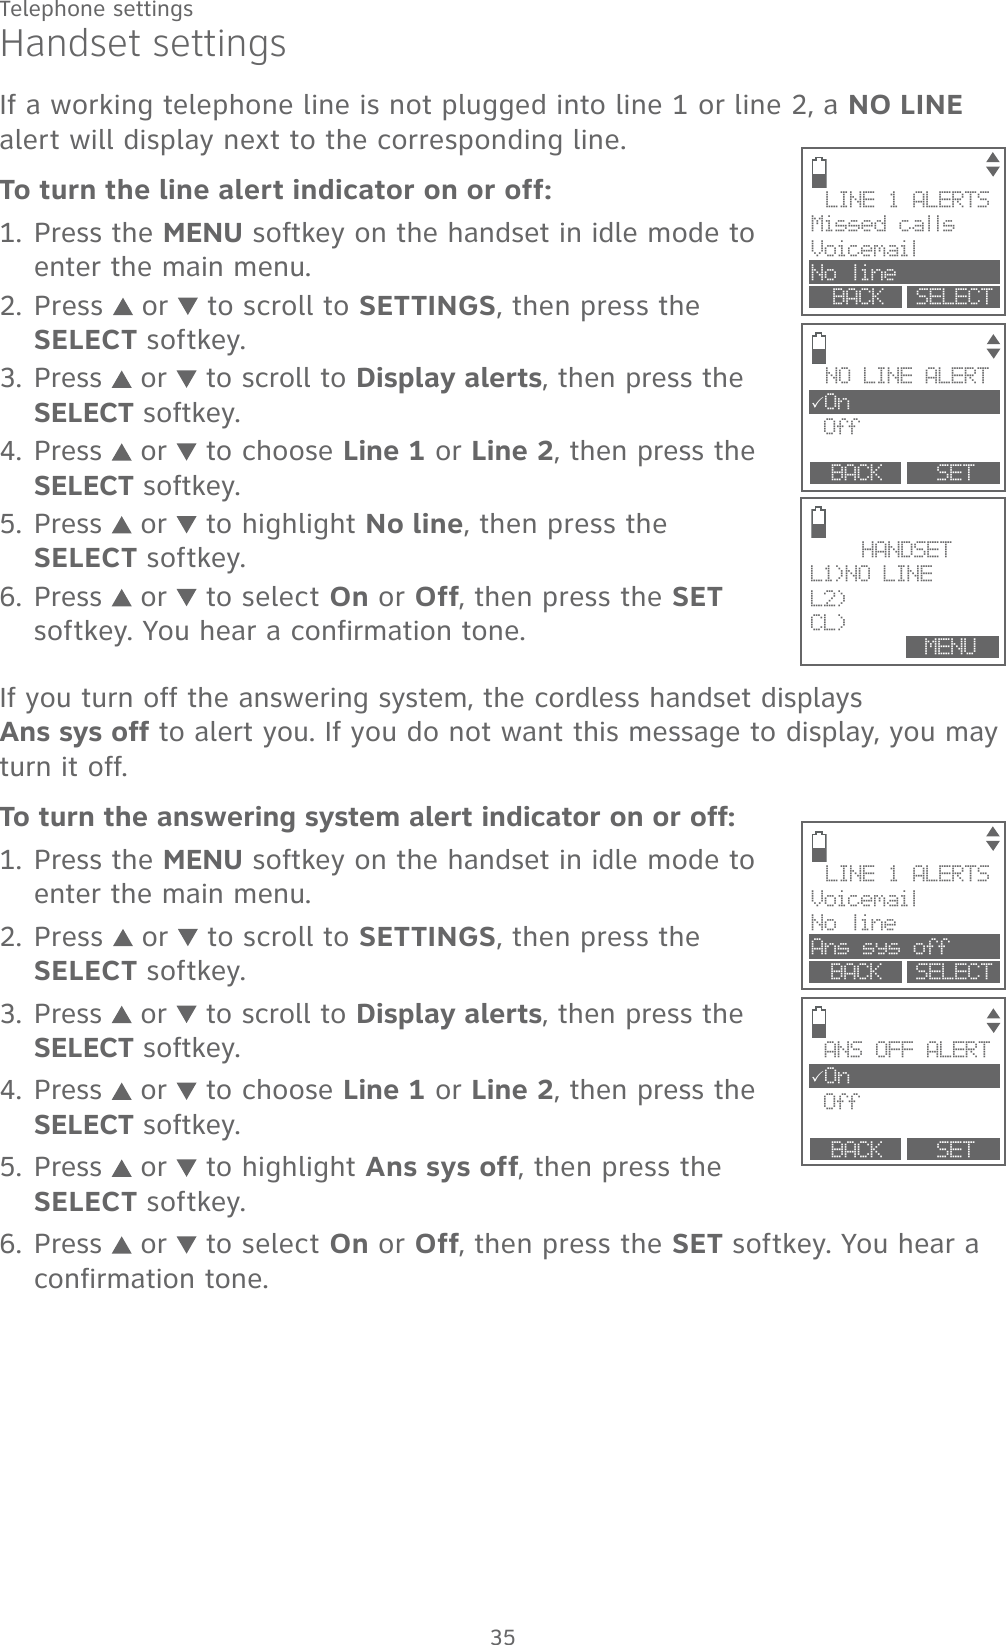
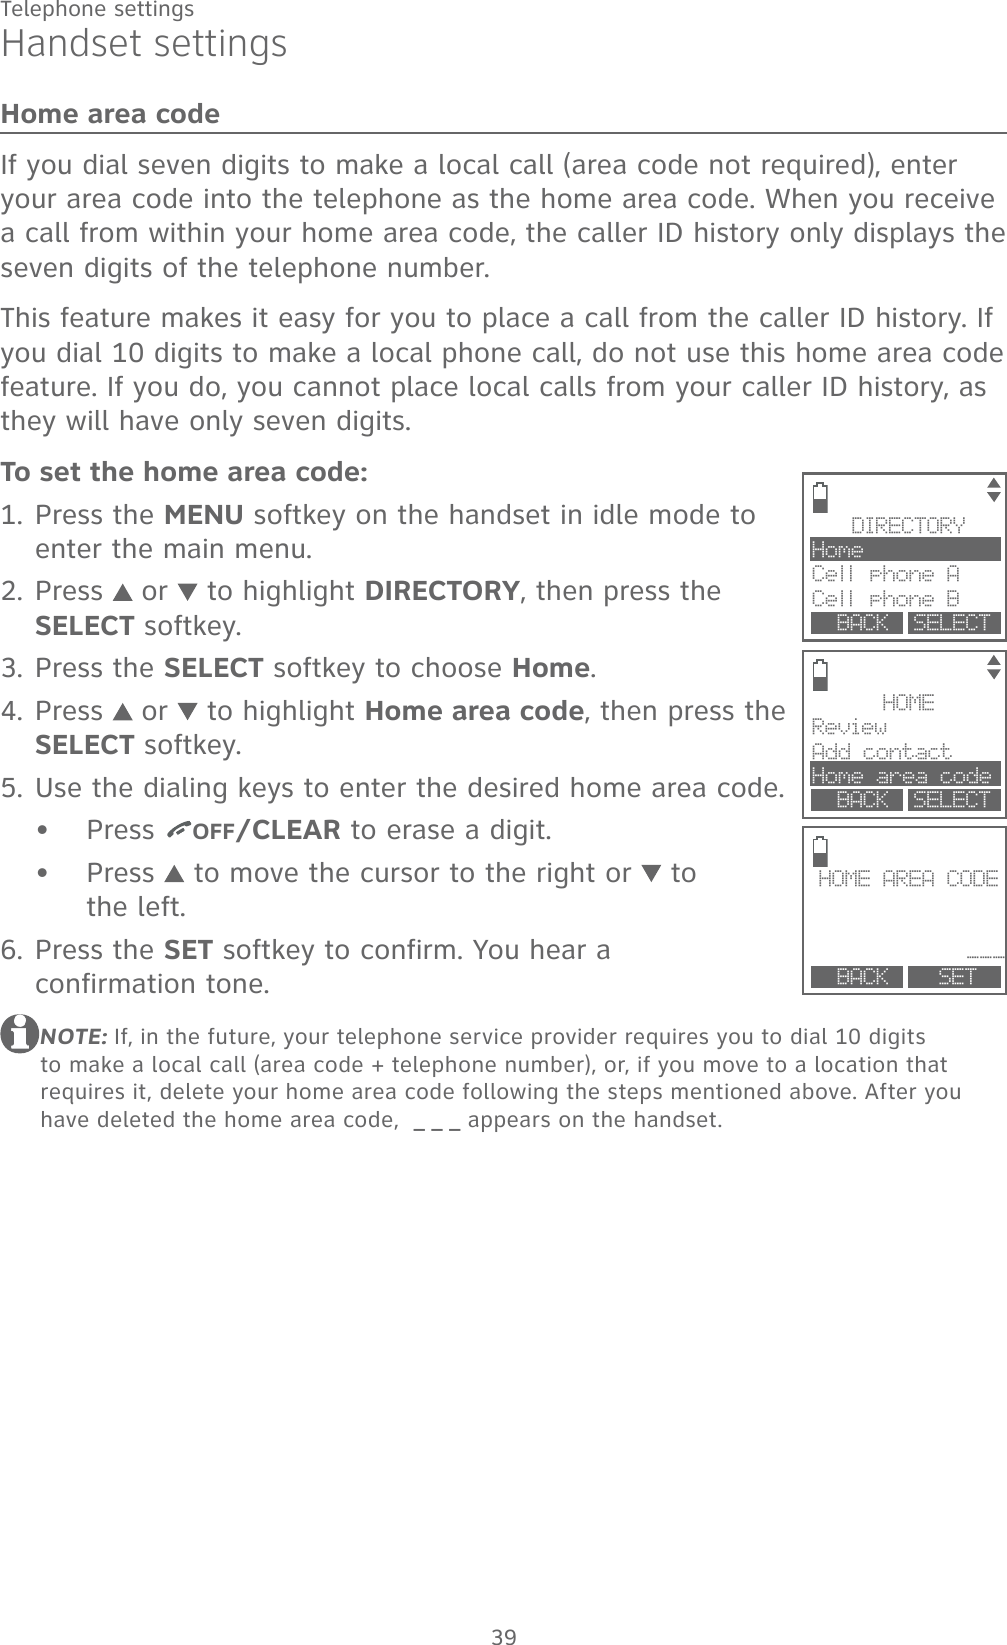
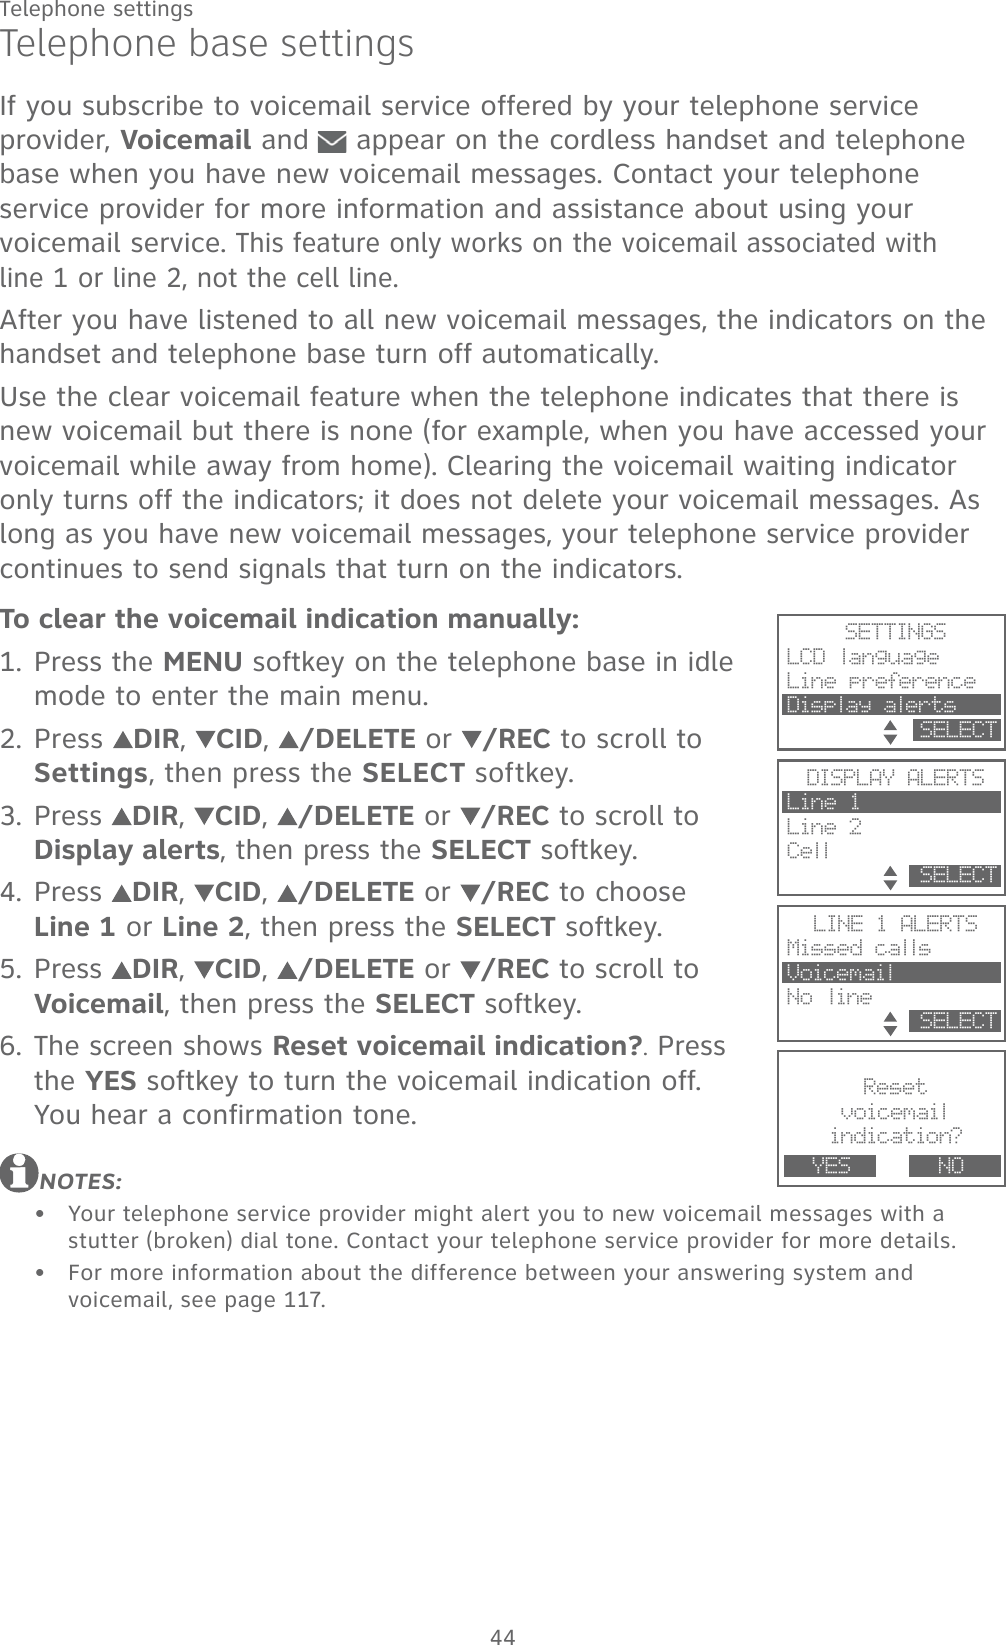
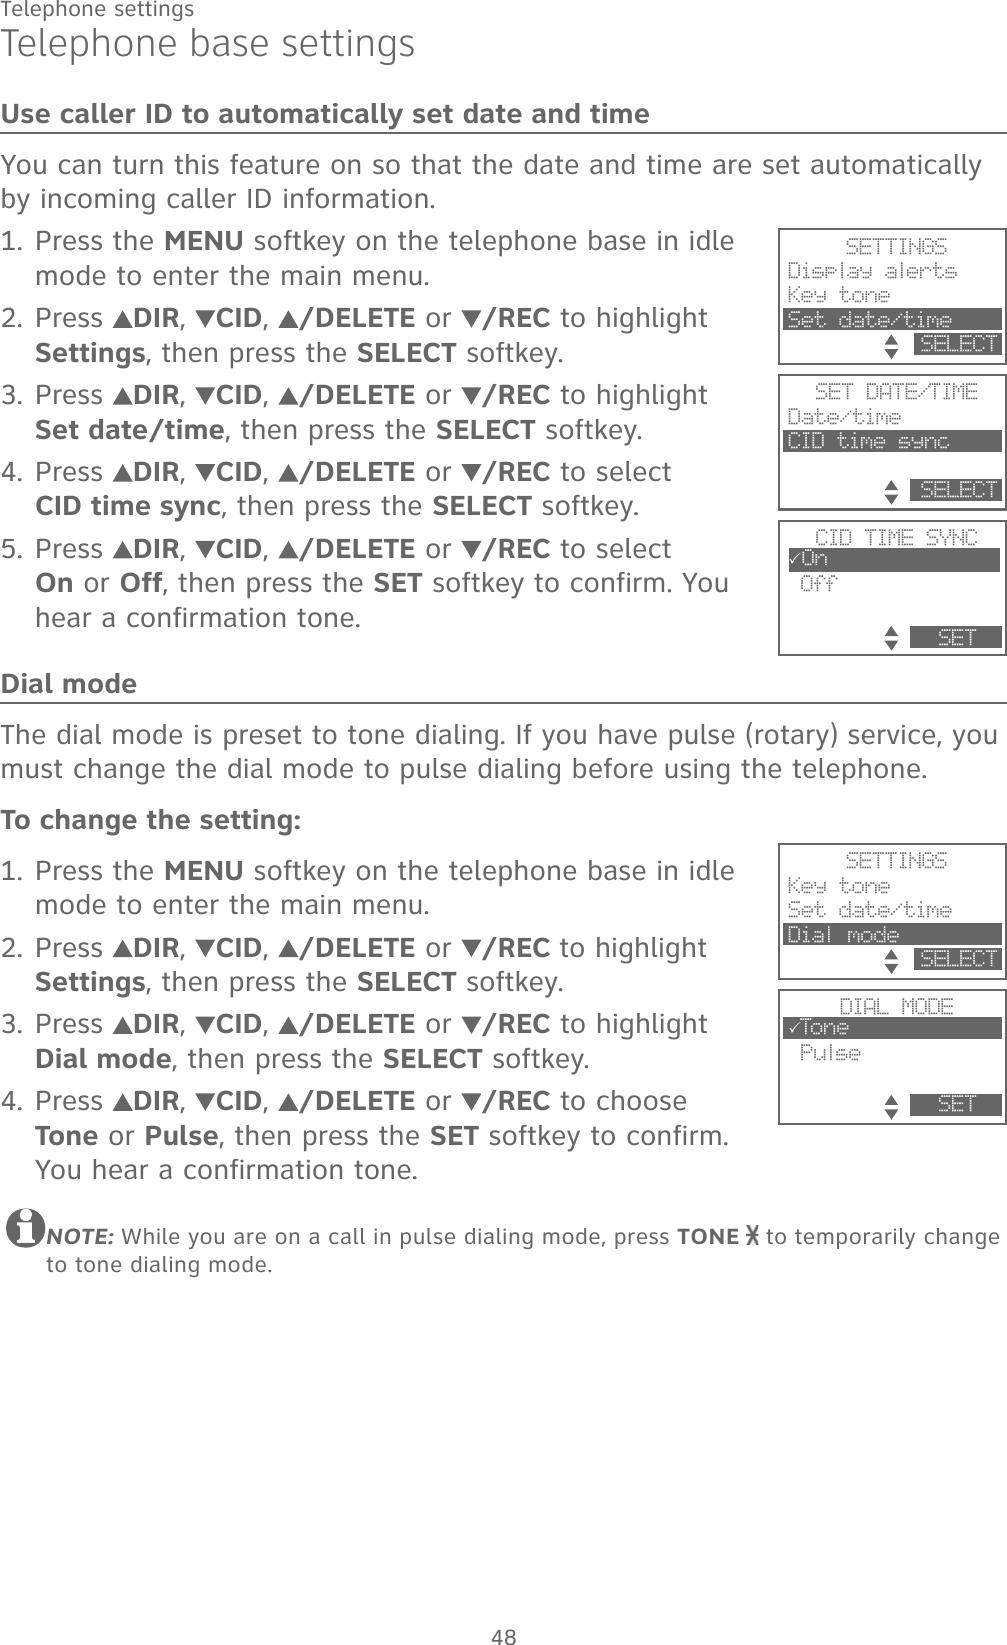
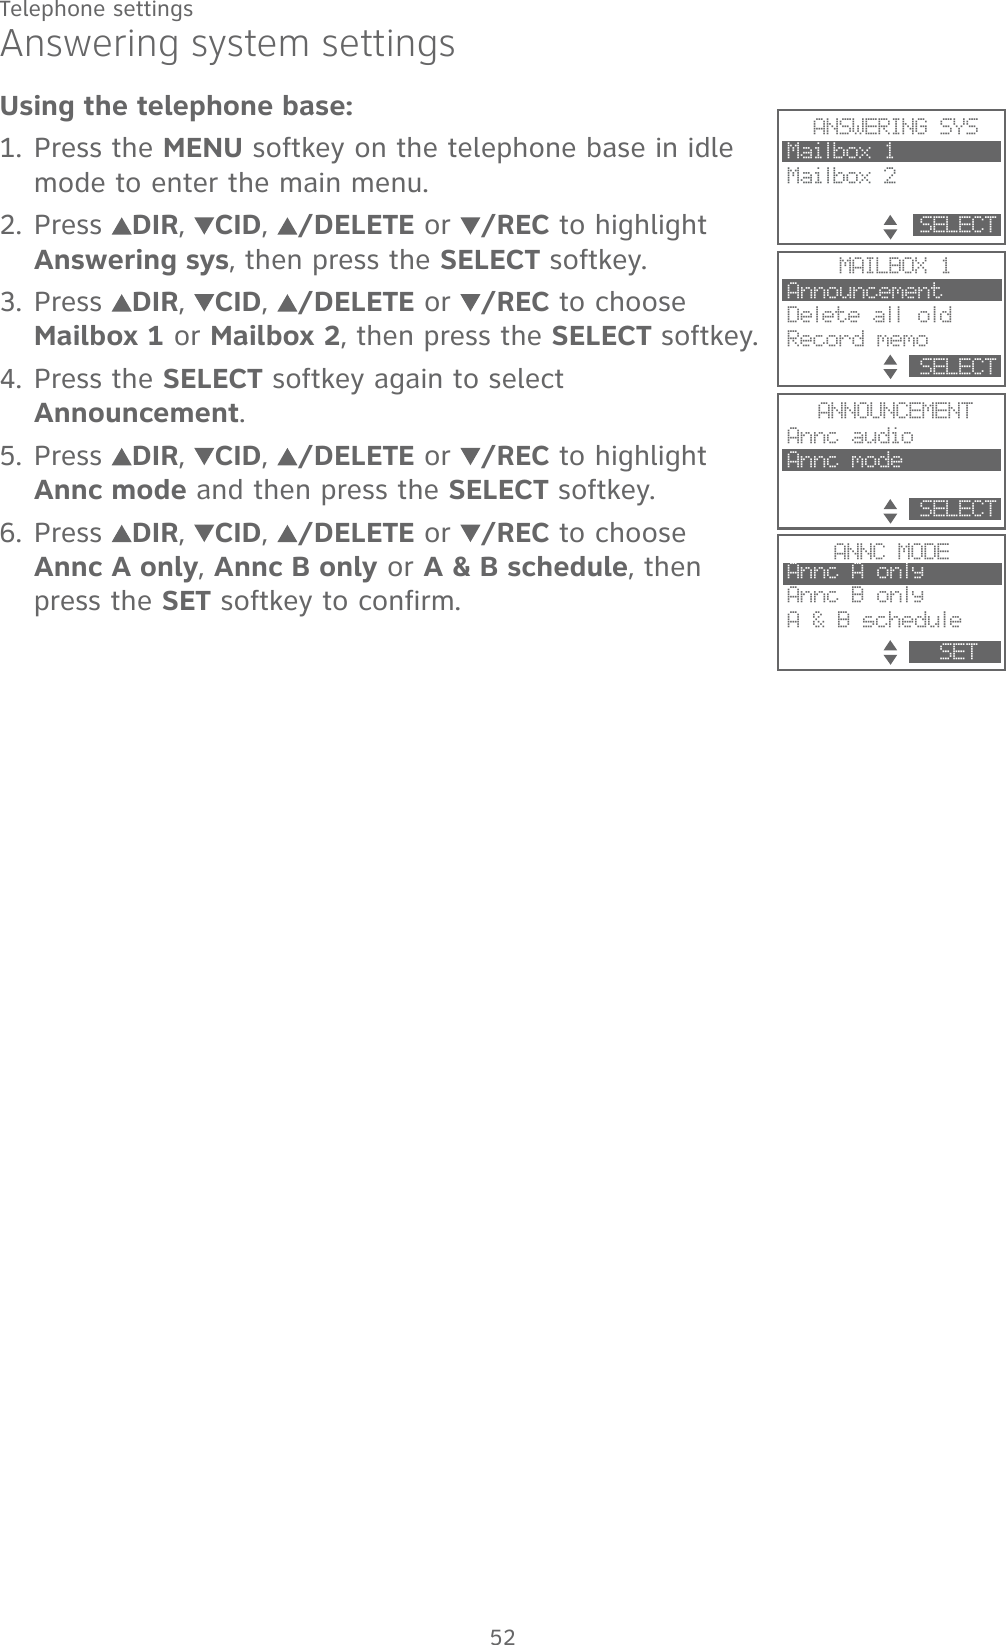
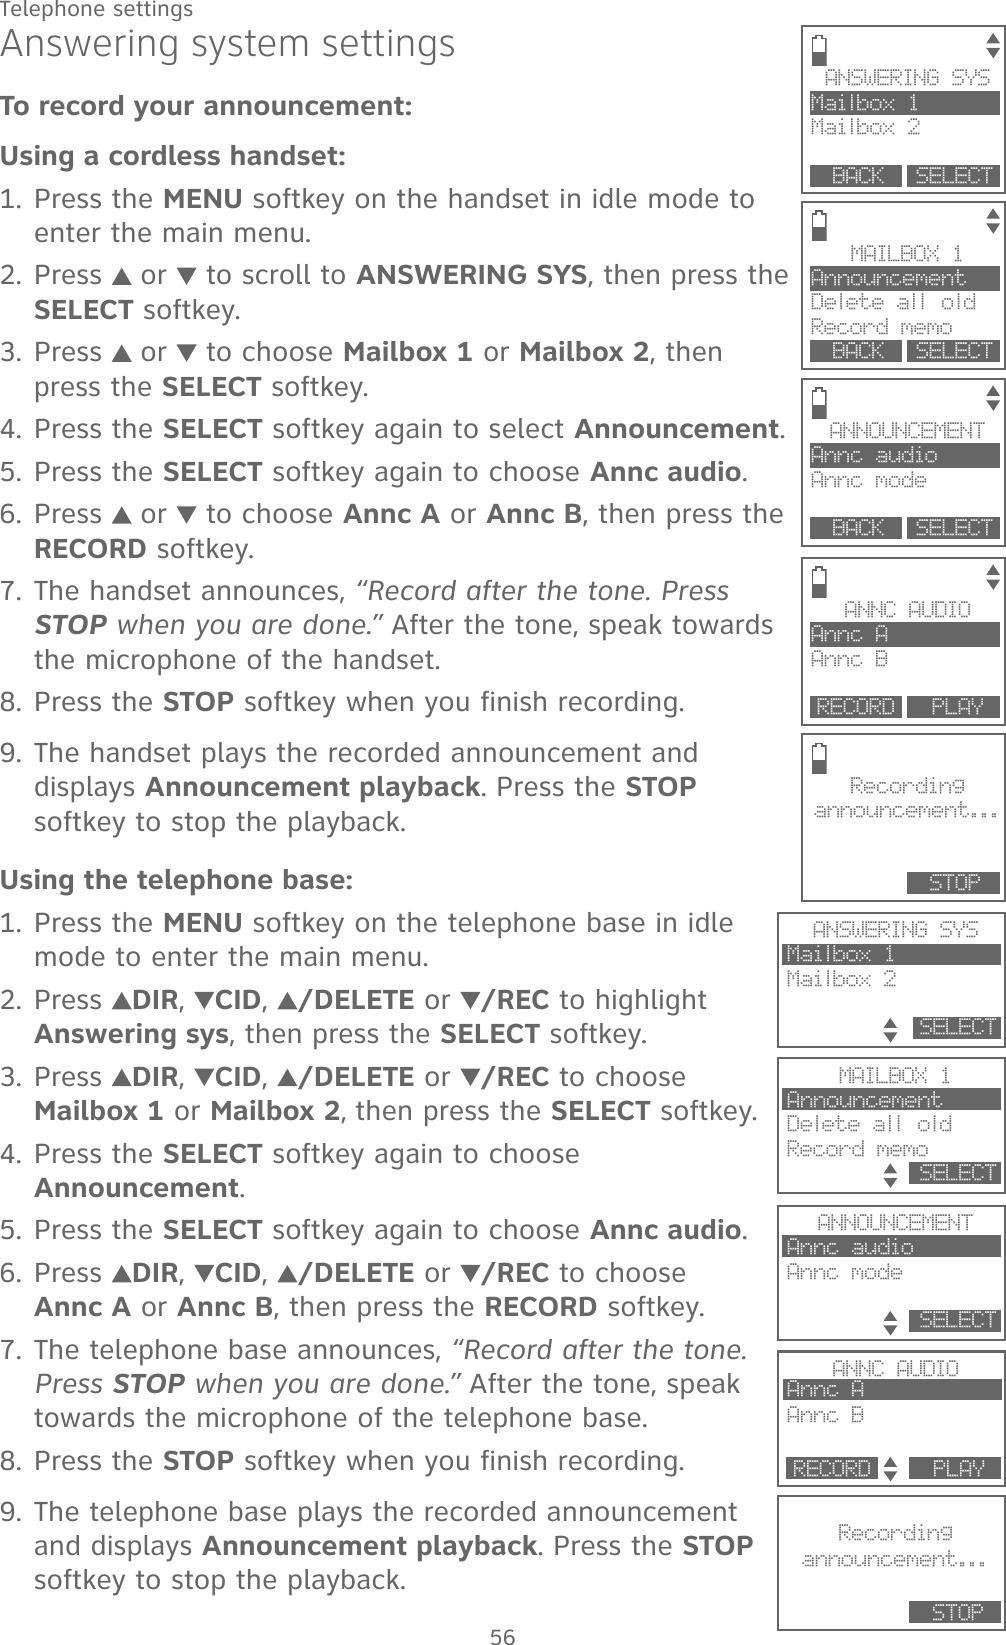
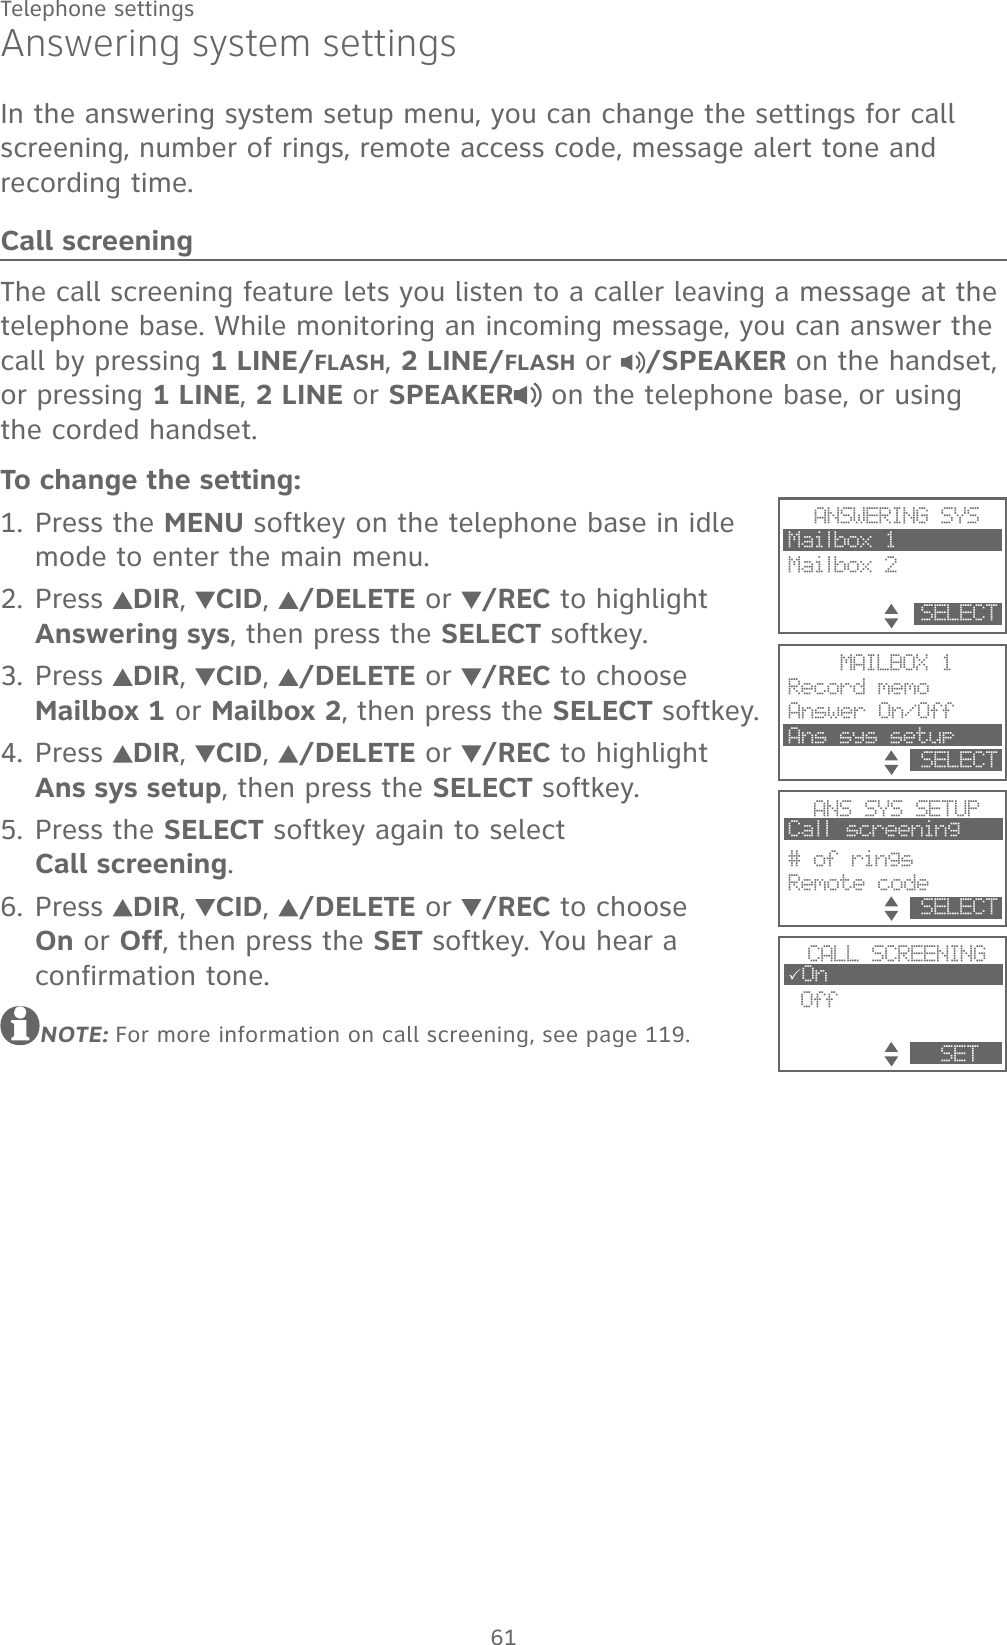
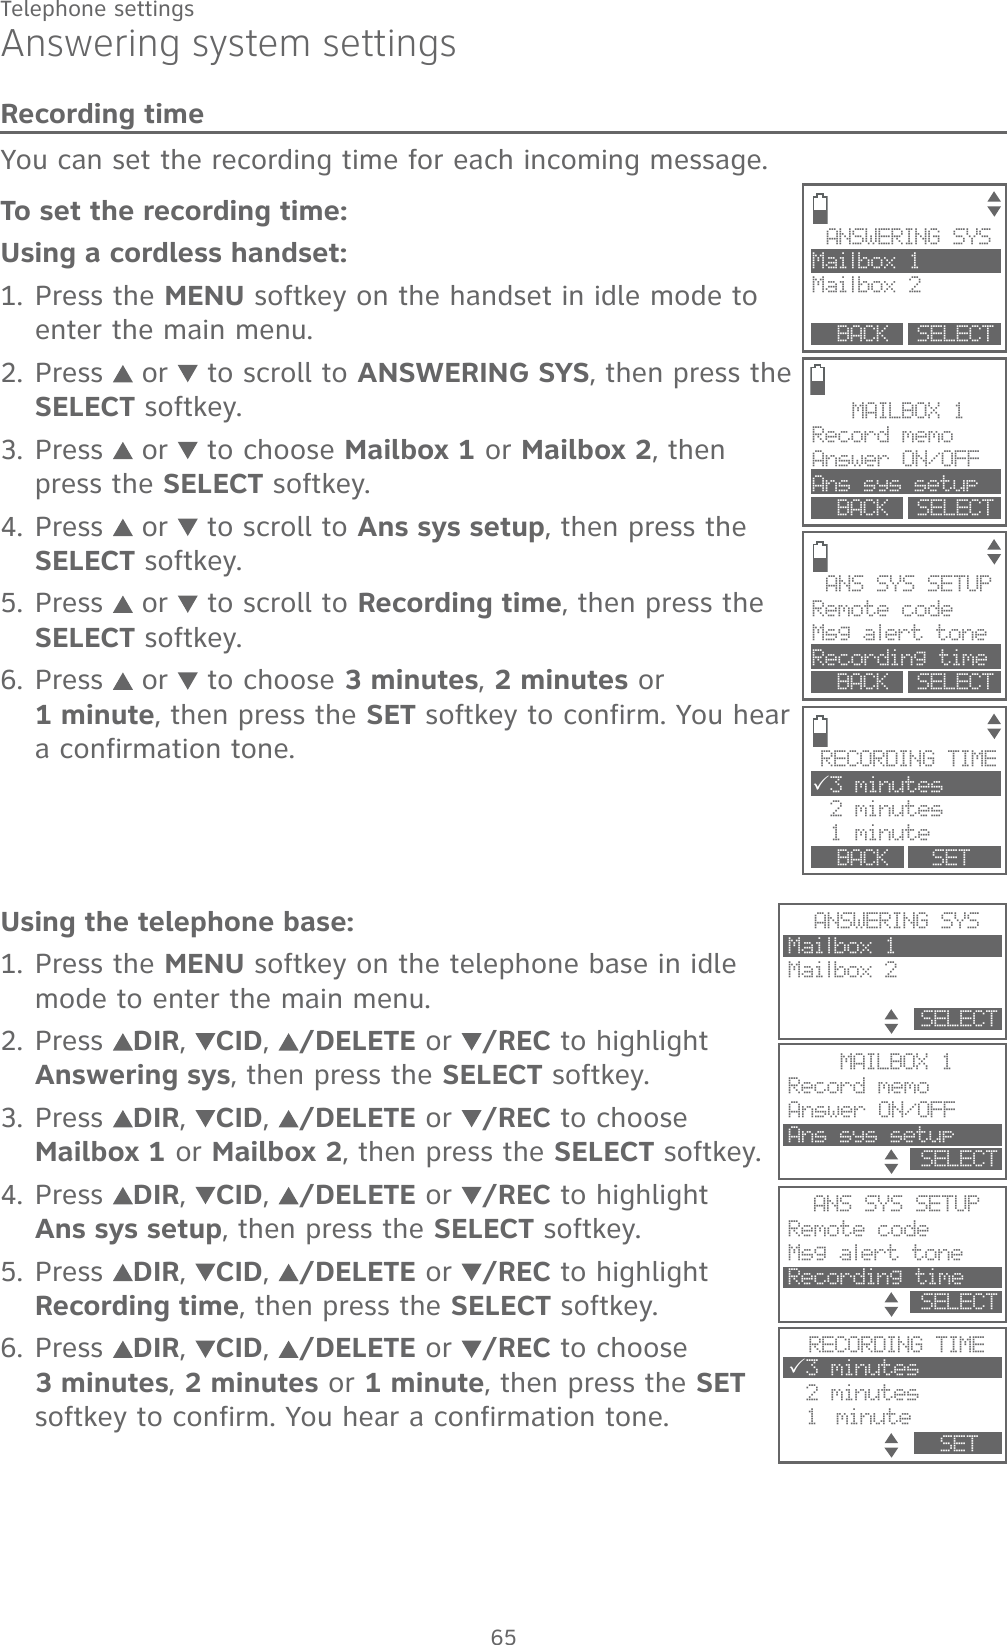
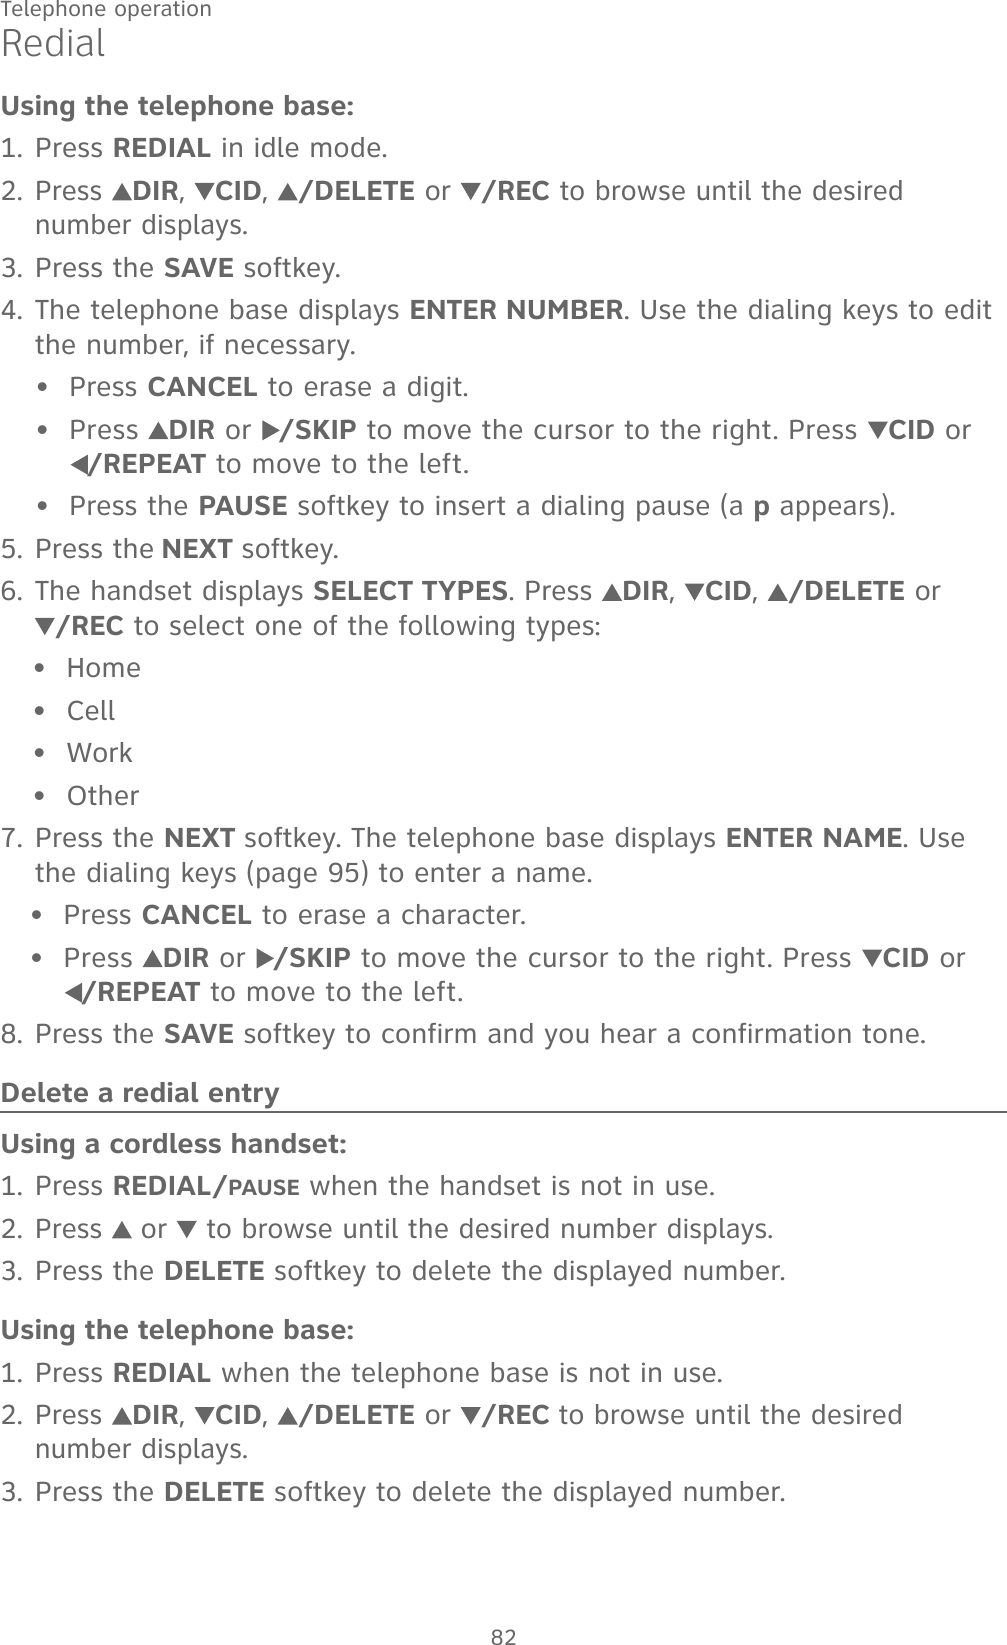
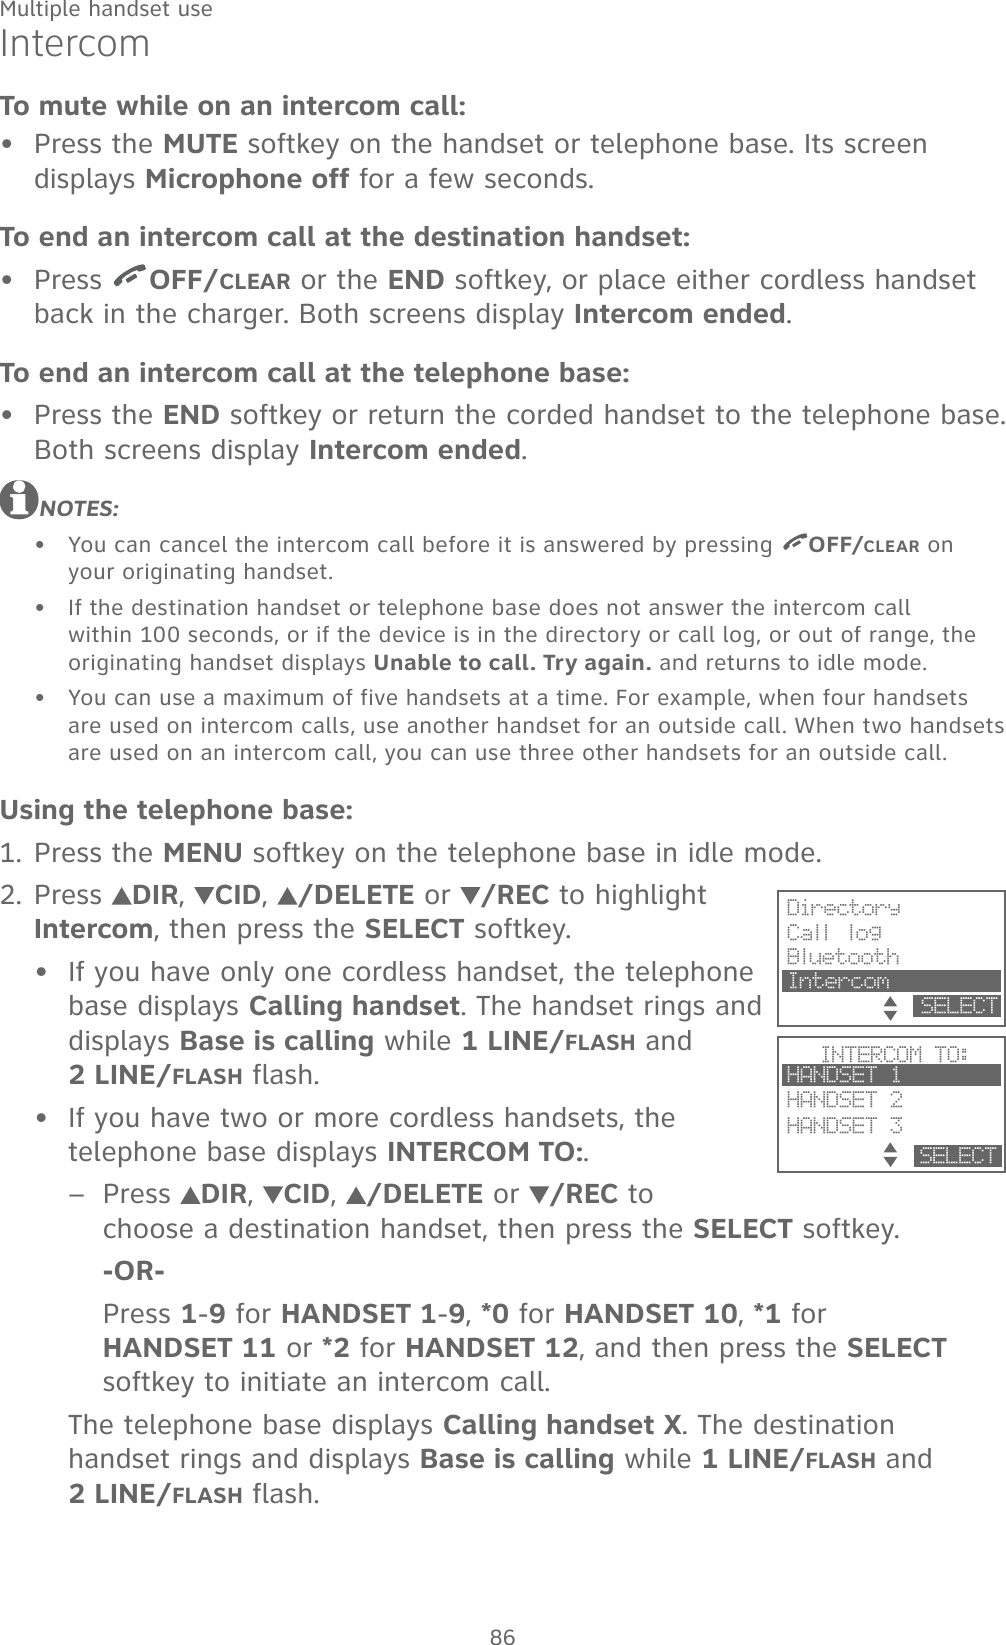
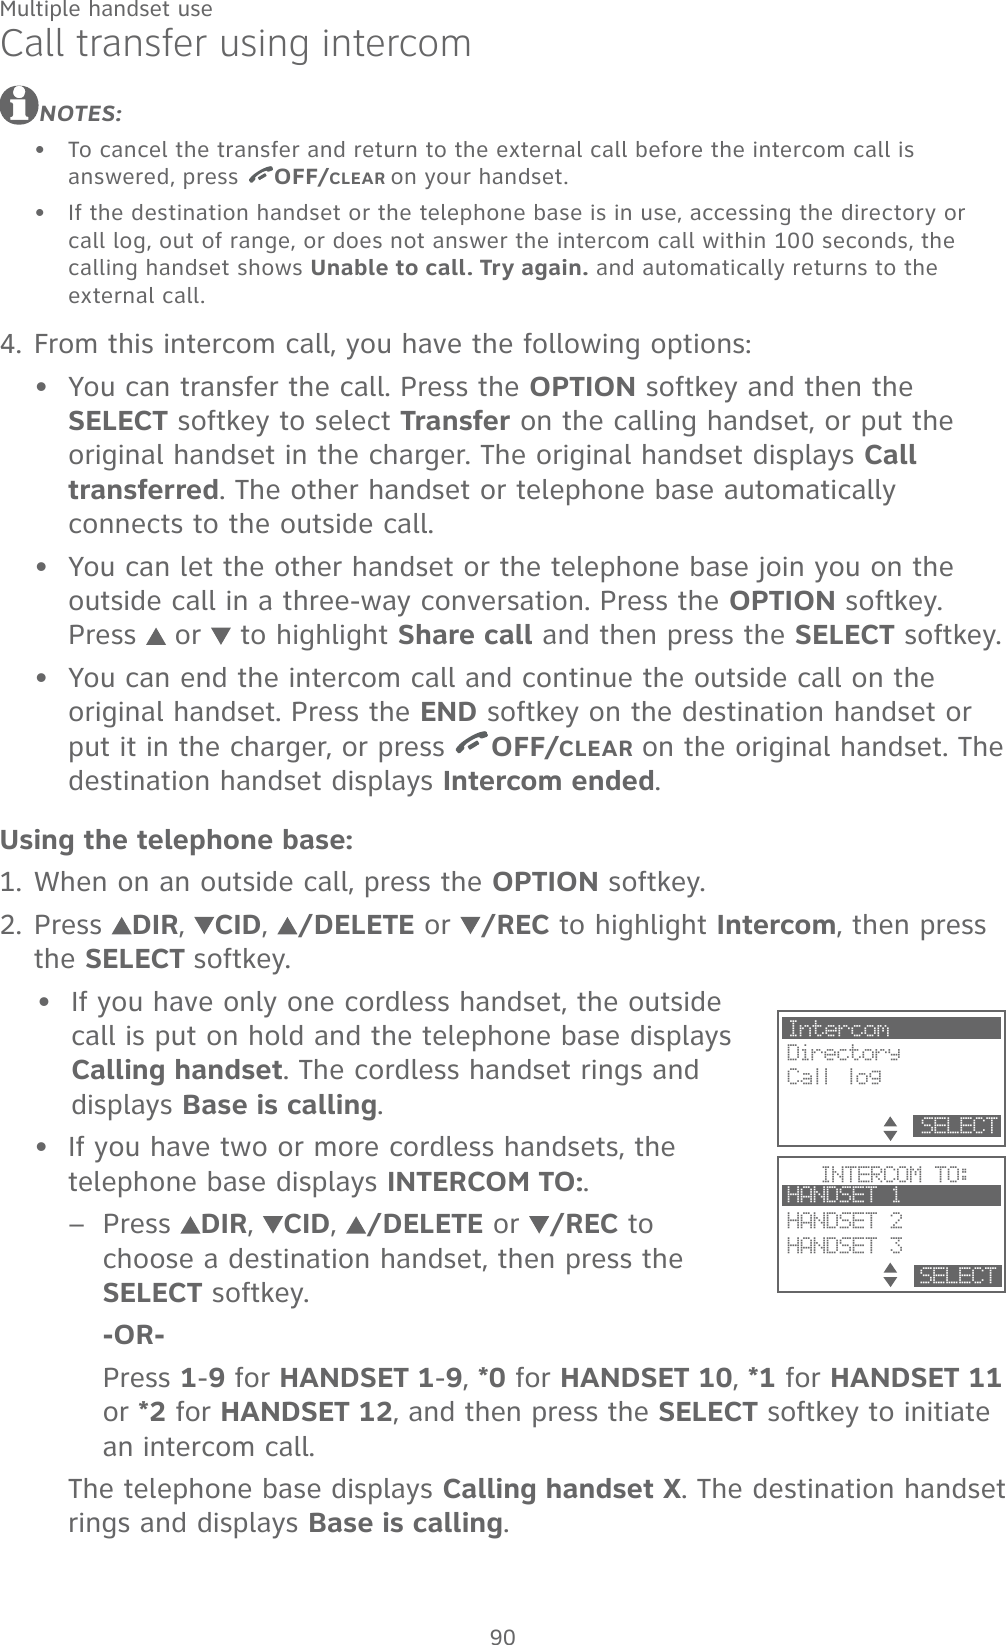
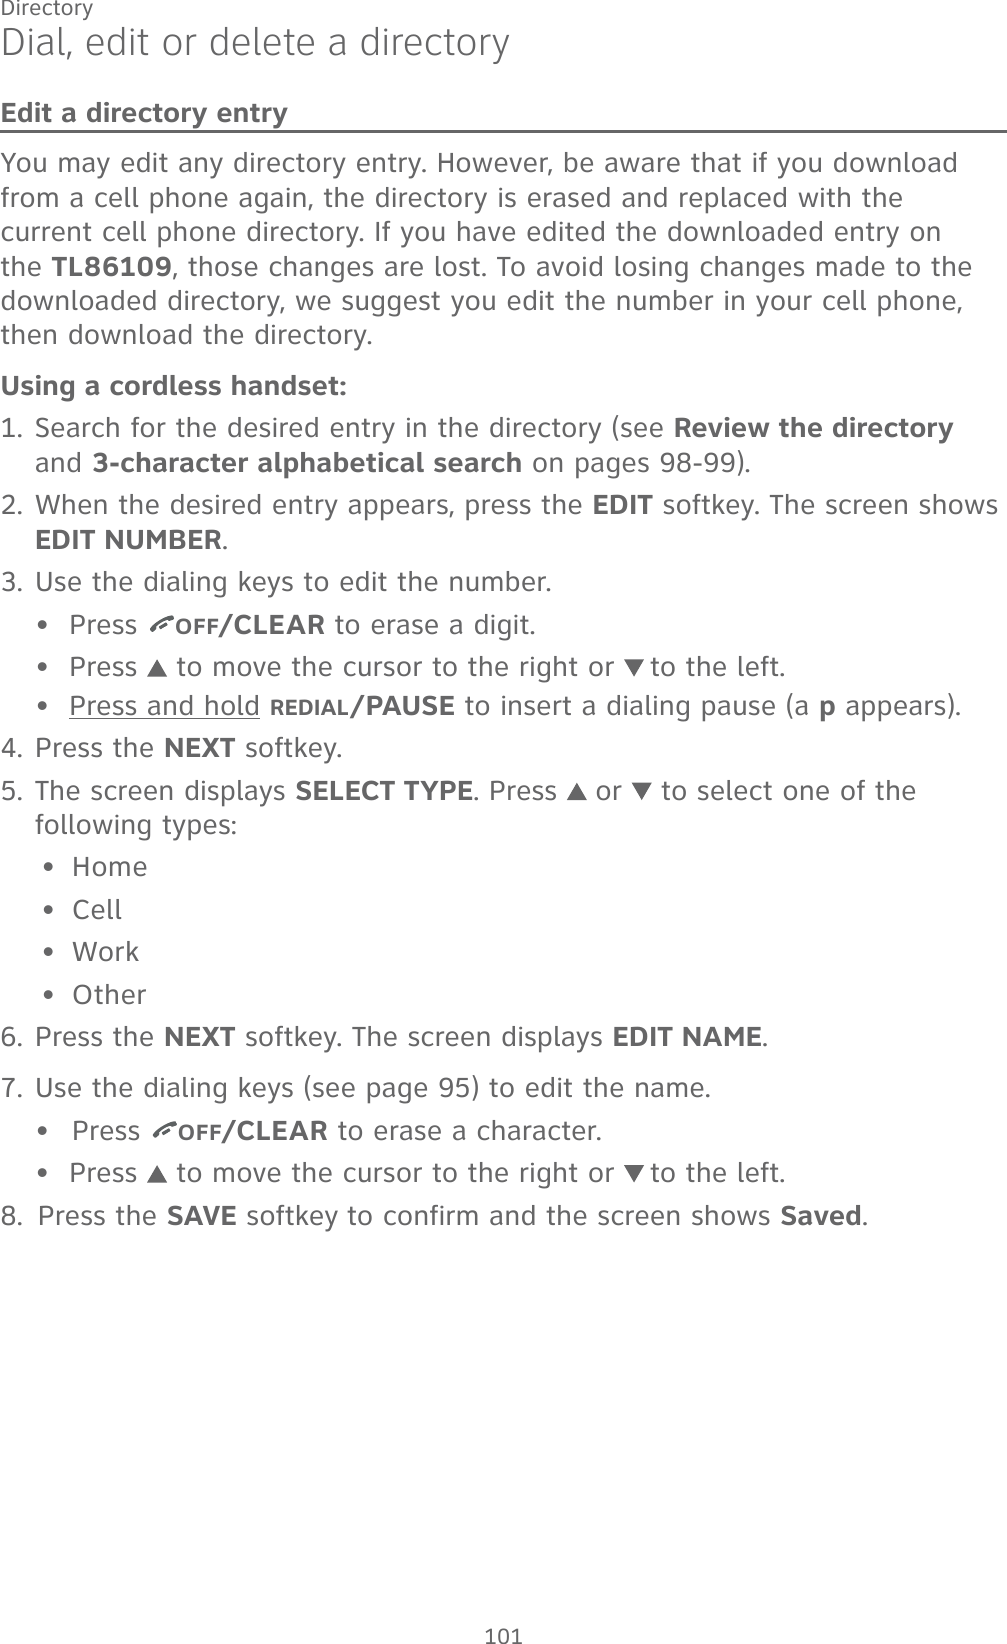
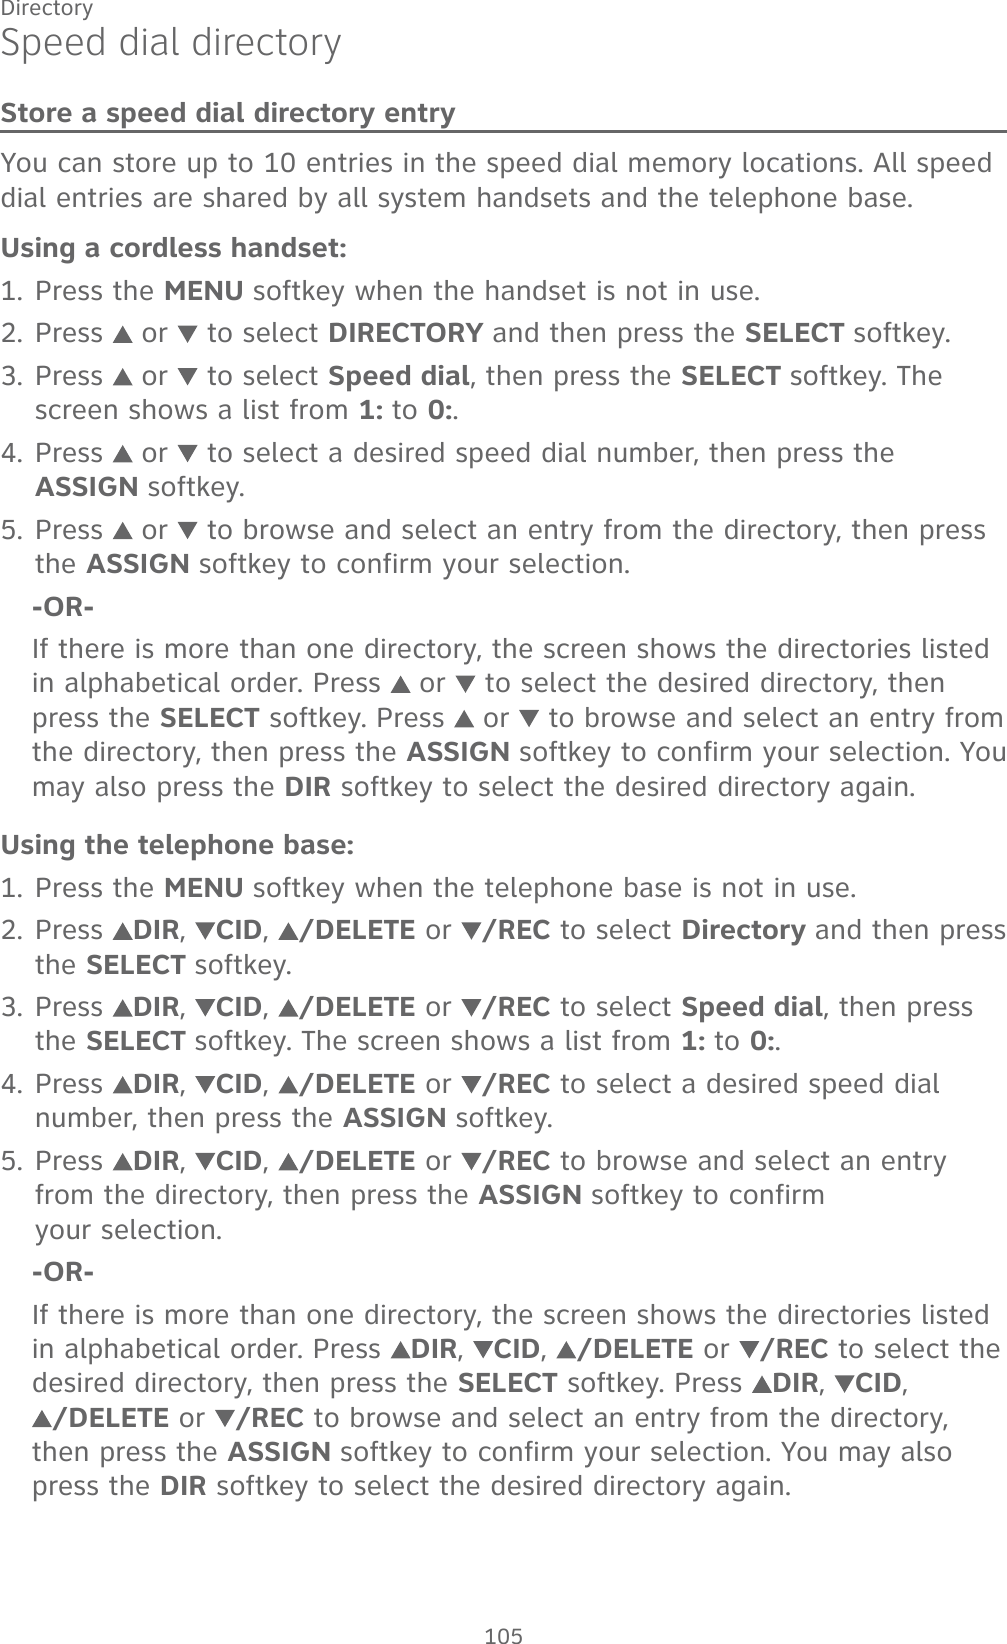
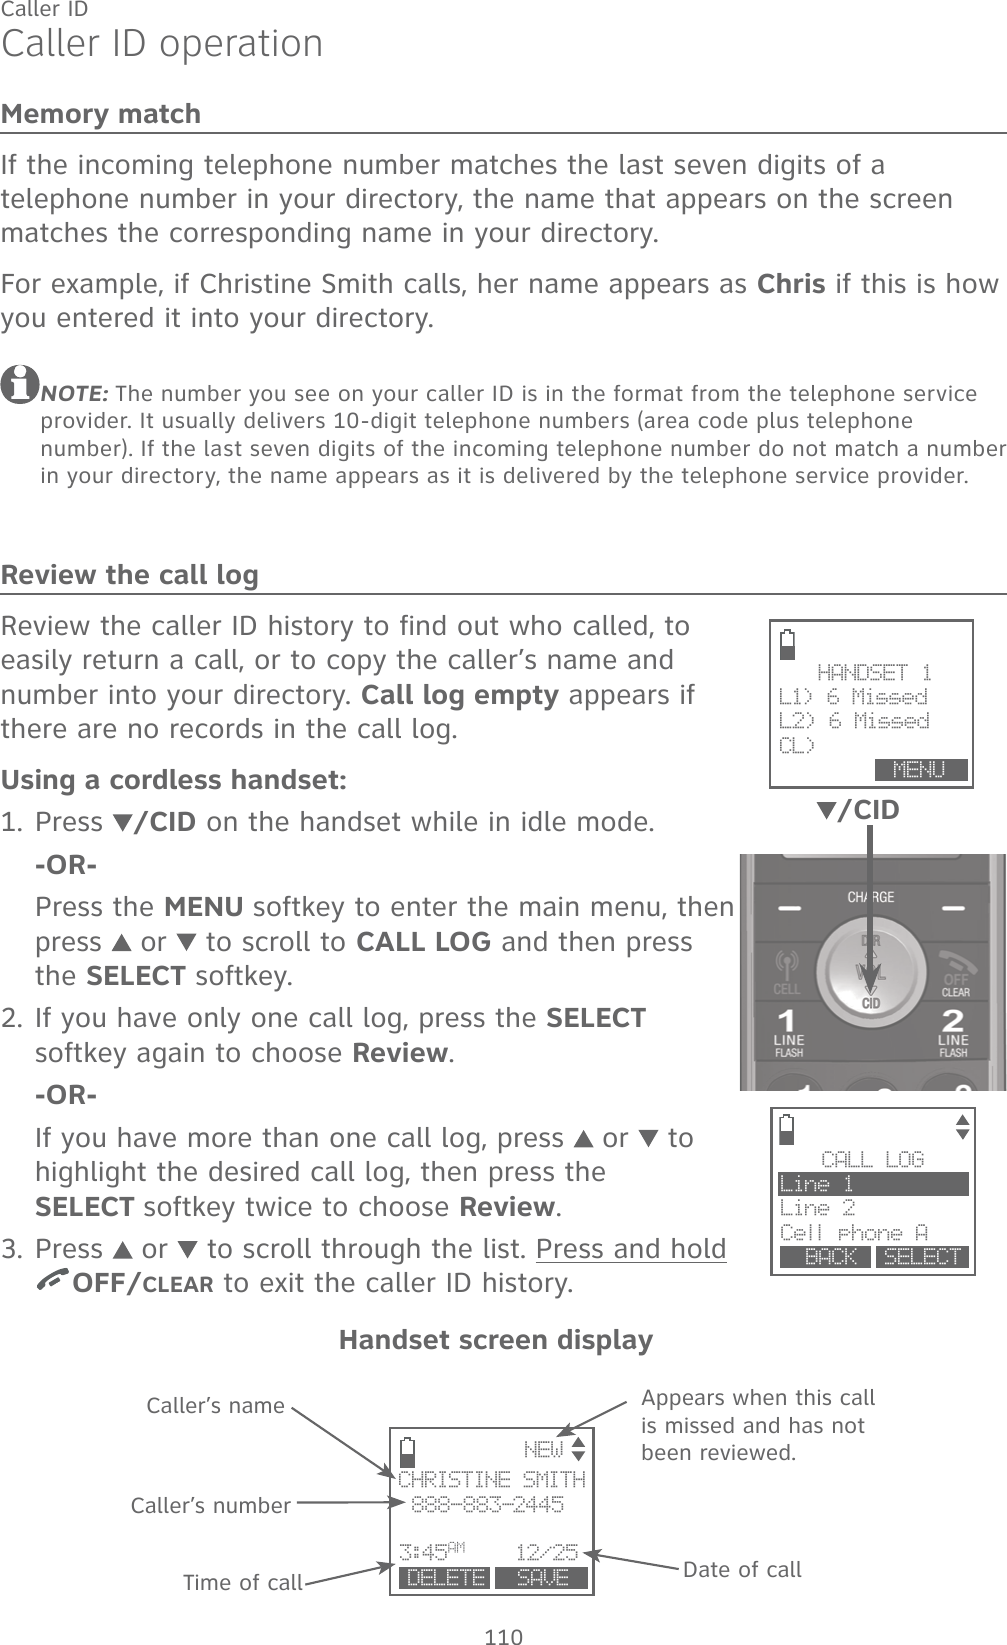
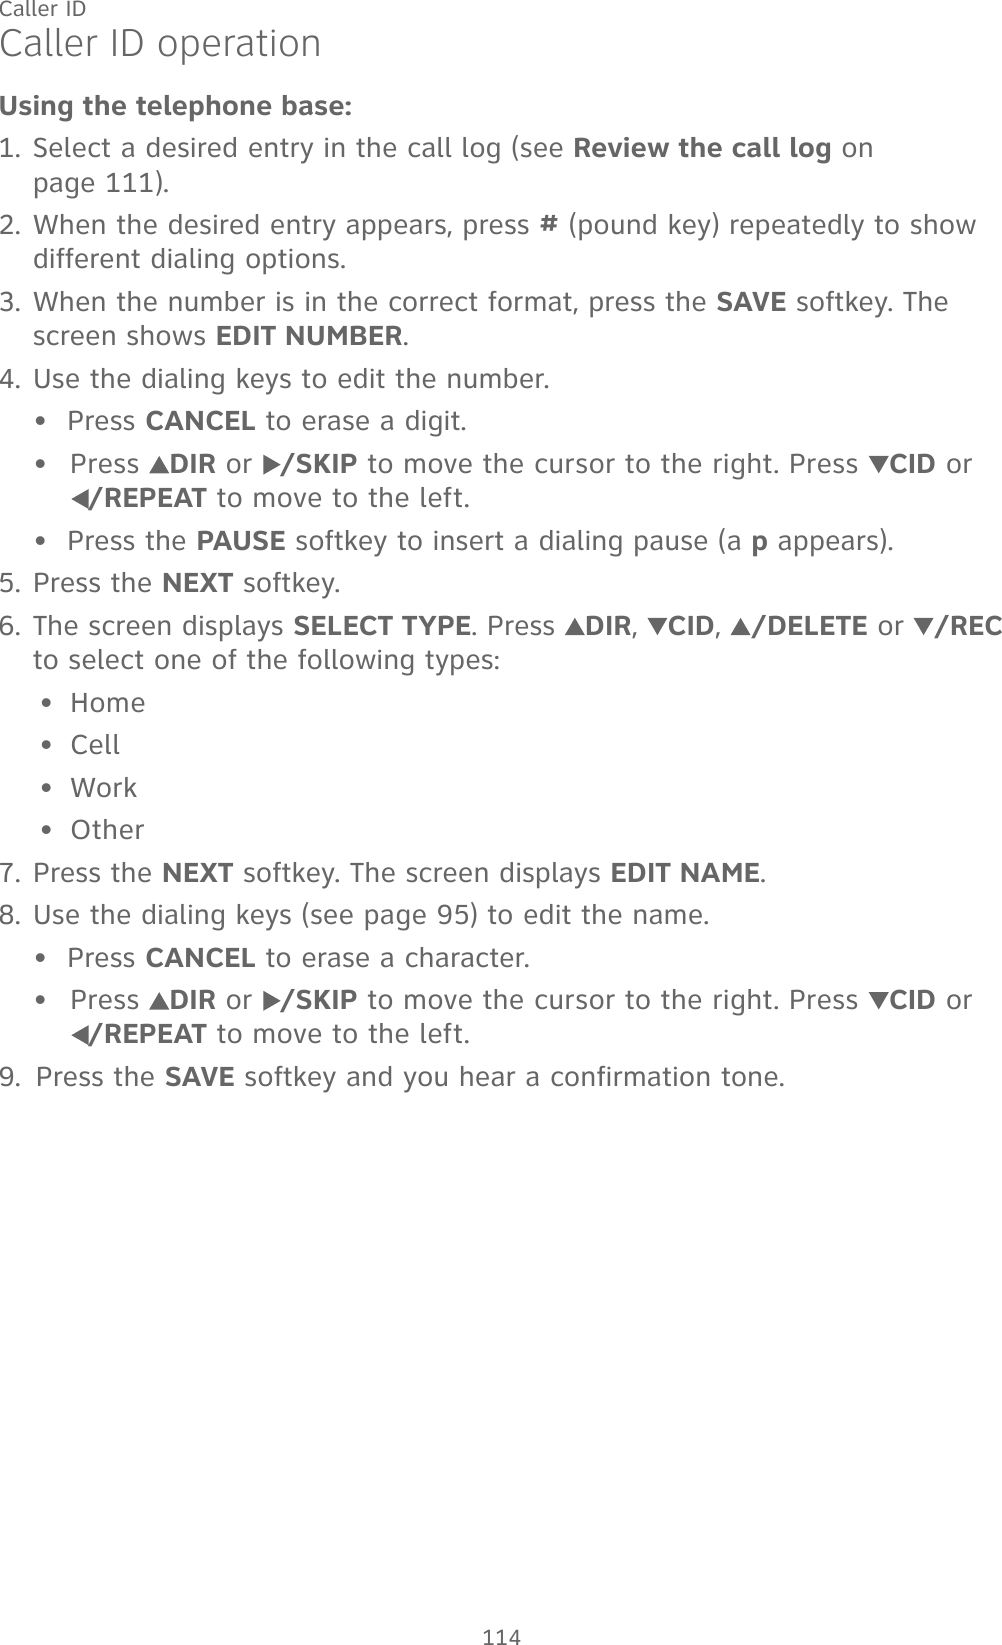
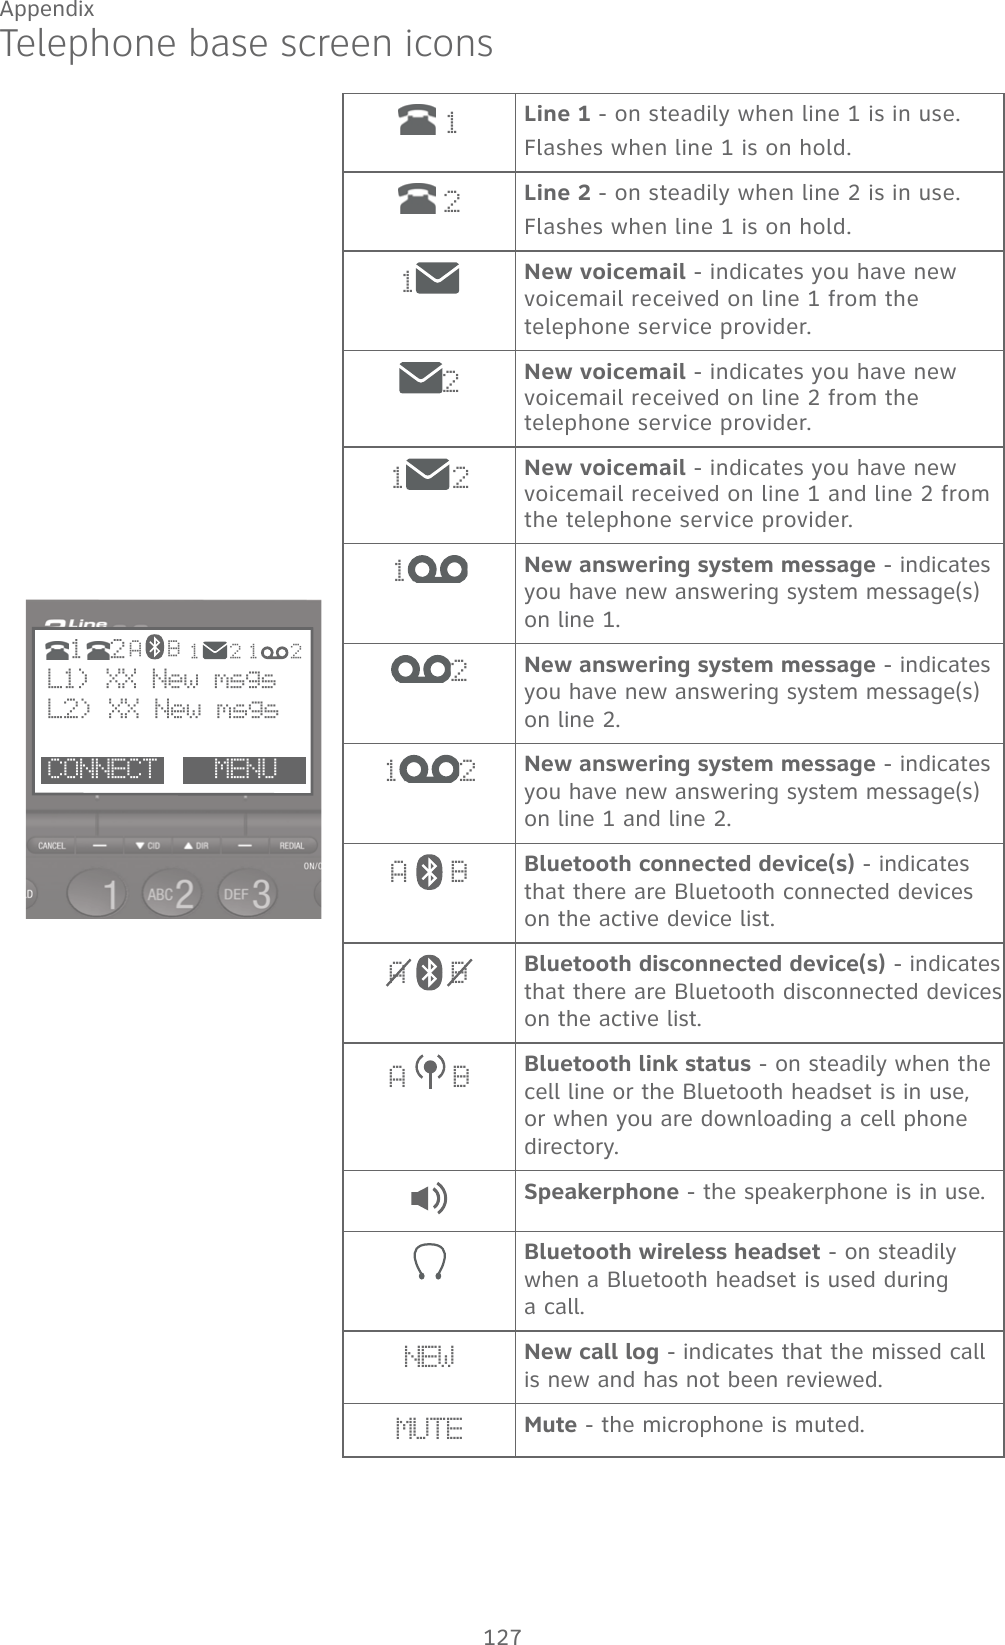
![158AppendixCalifornia Energy Commission battery charging testing instructionsThis telephone is set up to comply with the energy-conserving standards right out of the box. These instructions are intended for California Energy Commission (CEC) compliance testing only. When the CEC battery charging testing mode is activated, all telephone functions on the cordless handsets, except battery charging, will be disabled.To activate the CEC battery charging testing mode:1. When the phone is not in use, press and hold FLASH on the telephone base for about 4 seconds until it shows Deregister all handsets?. Then, release the button.2. Press the YES softkey to continue. You hear a confirmation tone from the telephone base.3. The telephone base displays PLEASE WAIT.... All system handsets show Out of range OR no power at base for a few seconds, and then you hear a confirmation tone from the handset.When the phone successfully enters the CEC battery charging testing mode, all handsets show Press [HOLD] on base for 4 sec, then press [#] on handset.When the phone fails to enter this mode, repeat all the steps mentioned above.To deactivate the CEC battery charging testing mode:1. Unplug the telephone base power adapter from the power outlet, then plug it back in. The telephone base is powered up as normal.2. Register your handsets back to the telephone base. See page 135 for handset registration instructions.BC](https://usermanual.wiki/VTech-Telecommunications/80-6879-01/User-Guide-3194450-Page-164.png)