VTech Telecommunications 80-7009-00 1.9GHz CORDLESS PHONE User Manual revised manual
VTech Telecommunications Ltd 1.9GHz CORDLESS PHONE revised manual
UserManual.wiki
>
VTech Telecommunications
>
80 7009 00 User Manual
Users Manual
Navigation menu
Upload a User Manual
Namespaces
Wiki Guide
HTML
PDF
Info
Views
User Manual
Discussion / Help
Navigation


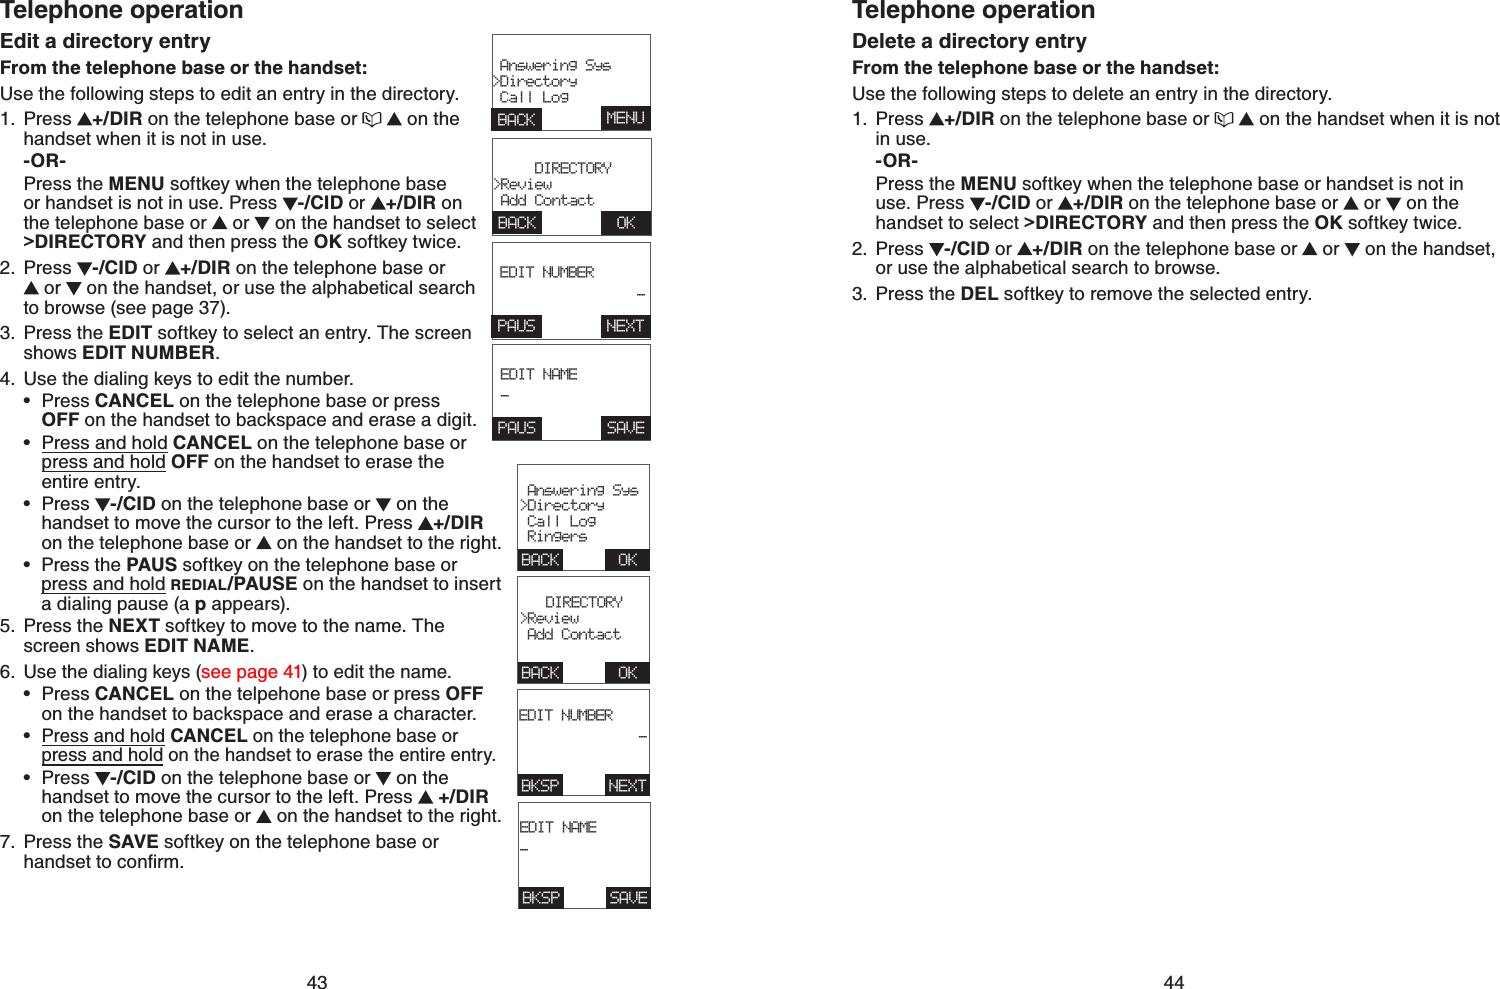
![45Telephone operationAbout caller IDThis product supports caller ID services provided by most local telephone service companies. Depending on your service subscription, you may see the caller’s number, or the caller’s name and number that are sent by the VGNGRJQPGUGTXKEGRTQXKFGTCHVGTVJGſTUVQTUGEQPFTKPI%CNNGT+&CNNQYU[QWto see the name, number, date and time of calls.Caller ID with call waiting lets you see the name and telephone number of the caller before answering the telephone, even while on another call.It may be necessary to change your telephone service to use this feature. Contact your telephone service provider if:You have both caller ID and call waiting, but as separate services (you may need to combine these services).You have only caller ID service, or only call waiting service.You do not subscribe to caller ID or call waiting services.There are fees associated with caller ID services. In addition, services may not be available in all areas.This product can provide information only if both you and the caller are in areas offering caller ID service and if both telephone companies use compatible equipment. The time and date are sent by the telephone service provider along with the call information.You can use this product with regular caller ID service, or you can use this product’s other features without subscribing to either caller ID or combined caller ID with call waiting service.•••46Telephone operationCaller ID History [previously named as Call log]If you subscribe to caller ID service, information about each caller will appear CHVGTVJGſTUVQTUGEQPFTKPI+H[QWCPUYGTCECNNDGHQTGVJGECNNGTKPHQTOCVKQPappears on the screen, it will not be saved in the call log.The call log stores up to 50 entries. Each entry has up to 24 digits for the phone number and 15 characters for the name. If the phone number has more than 15 digits, only the last 15 digits appear. If the name has more VJCPEJCTCEVGTUQPN[VJGſTUVEJCTCEVGTUCTGUJQYPCPFUCXGFKPVJGcall log.You can review, redial, and copy an entry into the directory.Entries appear in reverse chronological order.When the call log is full, the oldest entry is deleted to make room for new incoming call information.XX MISSED CALL(S) shows when there are new call log entries (including missed and unreviewed calls).CALL LOG EMPTY shows when there are no records in the call log.Only one handset can review the call log at a time. If a handset tries to enter the call log while another handset is already in it, NOT AVAILABLE AT THIS TIME appears.•••••••The caller ID information may not be available for every incoming call. The callers may intentionally block their names and/or telephone numbers.For call log entries with numbers between 16 and 24 digits, in order to view the entire number, you must save the entry to the directory (see page 49).If the phone number has more than 24 digits, it will not be saved or shown in the call log.•••HANDSET XXX MISSED CALLS 6:21am 12/25CALL LOG EMPTY](https://usermanual.wiki/VTech-Telecommunications/80-7009-00/User-Guide-1141576-Page-25.png)
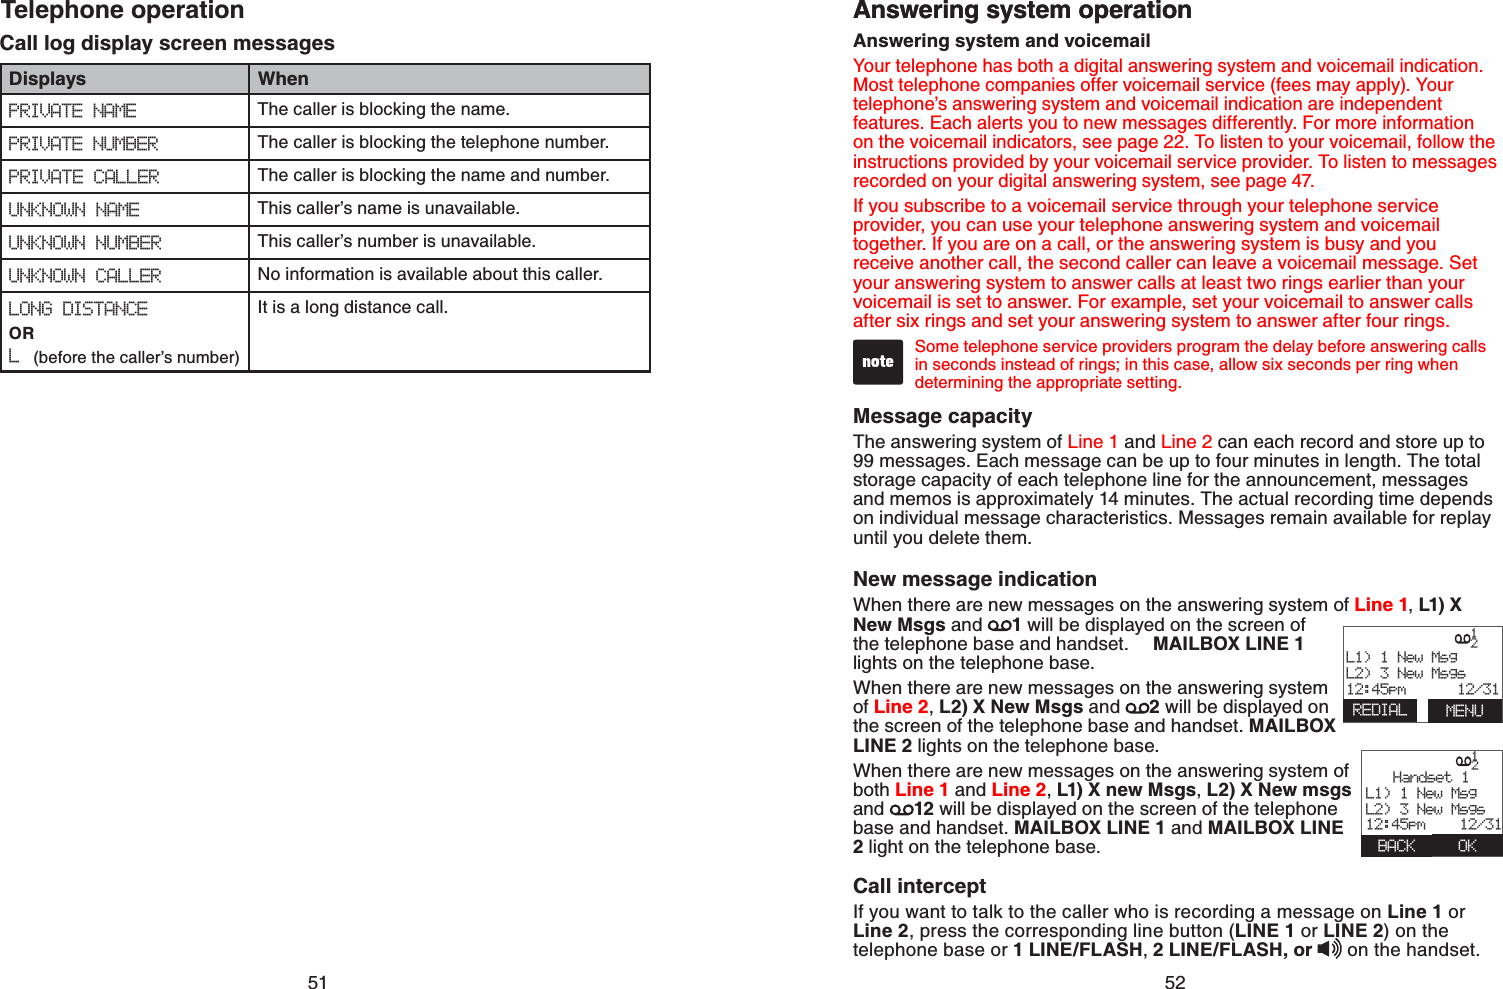
![63AppendixExpand your telephone systemThe handsets provided with your telephone system are pre-registered. Each handset is assigned a number that shows on the handset display. Additional handsets registered to the telephone system are assigned in sequential order. For instance, if the telephone system already has HANDSET 1, the new registered handset is assigned HANDSET 2. This telephone system accommodates up to 12 handsets.Add and register a handset (optional)You can add new handsets (DS6101, purchased separately) to your telephone system, but each handset must be registered with the telephone DCUGDGHQTGWUG9JGPſTUVRWTEJCUGFGCEJGZRCPUKQPJCPFUGVUJQYUNOT REGISTERED. You may need to charge the handset before registering to the telephone base. For more details on battery charging, see the table on page 3.To register a handset:Place the unregistered handset in the telephone base. If Press [HS LOC] on BASE for 4 sec. does not appear on the handset screen after a few seconds, remove the handset and place it in the telephone base again.On the telephone base, press and hold HOLD for about four seconds until the telephone base displays REGISTERING HANDSET. The handset shows HANDSET REGISTERING... and it takes up to 60 seconds to complete the registration. The handset shows HANDSET X REGISTERED(X represents the handset number assigned) and you hear a beep when the registration completes.1.2.If the registration fails, the handset shows NOT REGISTERED. To reset the handset, remove the handset from the telephone base and place it back in. Try the registration process again.You cannot register a handset if any other system handset is in use.••HOLD64AppendixReplace a handsetIf you want to replace a handset or re-assign the designated handset number of a registered handset, you must de-register all the handsets and then individually register each handset.To make de-registration easier, read all of the instructions on this page before you begin. To de-register all handsets:Press and hold FIND HANDSET on the telephone base for about 10 seconds (until the IN USE light on the telephone base turns on and starts VQƀCUJVJGPTGNGCUGFIND HANDSET.Press and release FIND HANDSET again. You must press FIND HANDSET while the IN USENKIJVKUUVKNNƀCUJKPI6JGIN USE light ƀCUJGUHQTCRRTQZKOCVGN[UGXGPUGEQPFUAll system handsets show CONNECTING... The de-registration process takes about 10 seconds to complete. All handsets show NOT REGISTERED when the de-registration completes.If de-registration fails, you might need to reset the telephone and try again.To reset:Pick up the registered handset and then press .Press OFF/CLEAR and place the handset back in the telephone base.-OR-Unplug the power from the telephone base, then plug it back in.1.2.3.1.2.1.You cannot de-register a handset if any system handset is in use.](https://usermanual.wiki/VTech-Telecommunications/80-7009-00/User-Guide-1141576-Page-34.png)